How to Take the Bitterness out of Greens
Written by Rachel, Posted in Dinner, Gluten Free, How To, Sides, Storage/Prep, Vegetables, Vegetarian
Can I tell you something that I might not admit to my 12-year old self? I really like vegetables. I’m totally crazy about lots of other foods that she would enjoy too (hello bacon), but you know how people say that the more you eat healthy things the more you crave them? It’s actually been true for me.
We started subscribing to Abundant Harvest Organics in December of 2007. We’ve been on this journey for a while now. I’ve learned a lot. There are so many vegetables that I’d never heard of 7 years ago. Thankfully, now I know what a rutabaga is, that beets are enjoyable, and most recently, how to cook some really good greens.
I’ve always been a “use what I have”, practical, efficient cooker. Don’t have an ingredient? I’ll substitute for it. If I don’t think a step is needed, I eliminate it. But, sometimes there are steps that I didn’t know were a good idea, like blanching when cooking things like collard greens. I’d never done it, because I didn’t know I should.
Blanching is when you partially cook a food in boiling water then submerge it in an ice bath to stop the cooking.
I learned my lesson today.
I’ve never really been bothered too much by the bitterness in greens. I think because I’ve got the basics down: add fat and salt (not like a waaaay too much amount, a good amount, to make them taste great). Sometimes I add sugar and spice. These are things that I read about doing to reduce bitterness in greens. Cool. Checkmark. Done did.
But but but wait. I needed to see if I was missing out on something. So I did a little test: collard greens three ways.
Here’s what happened.
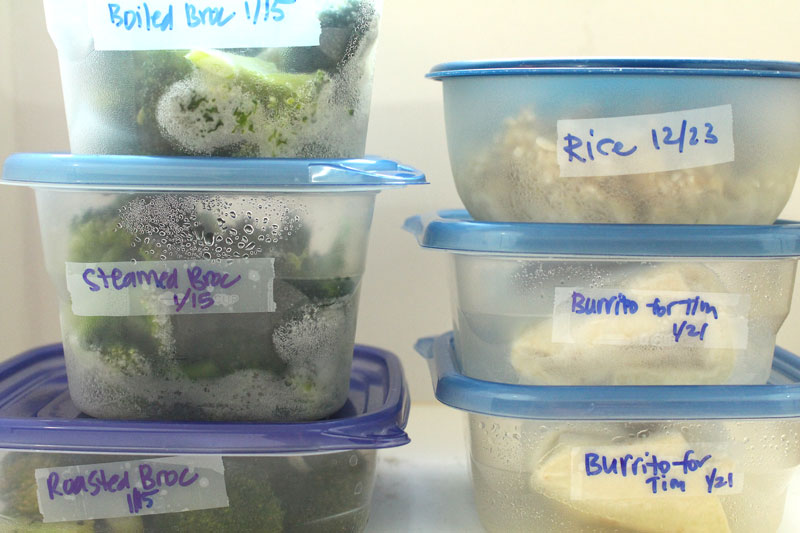
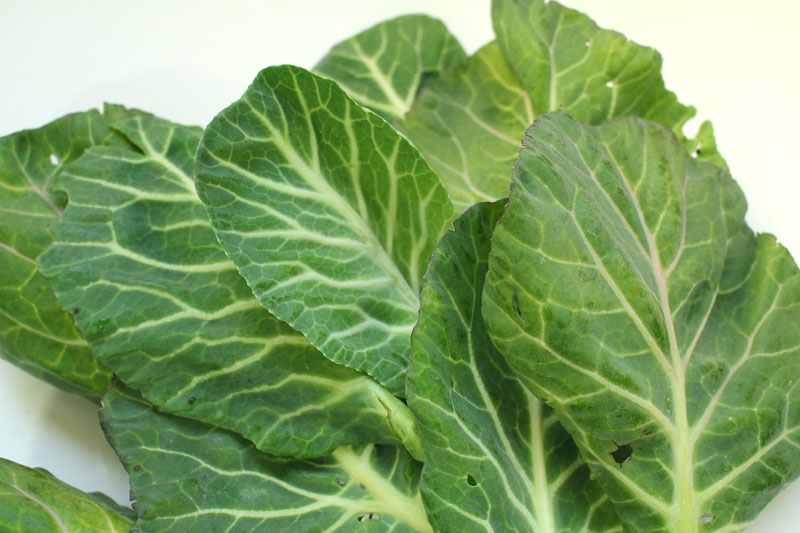
One bunch of collard greens was divided up into three groups (each had 3-4 medium sized leaves – a small test, but it worked out just fine).
Group 1
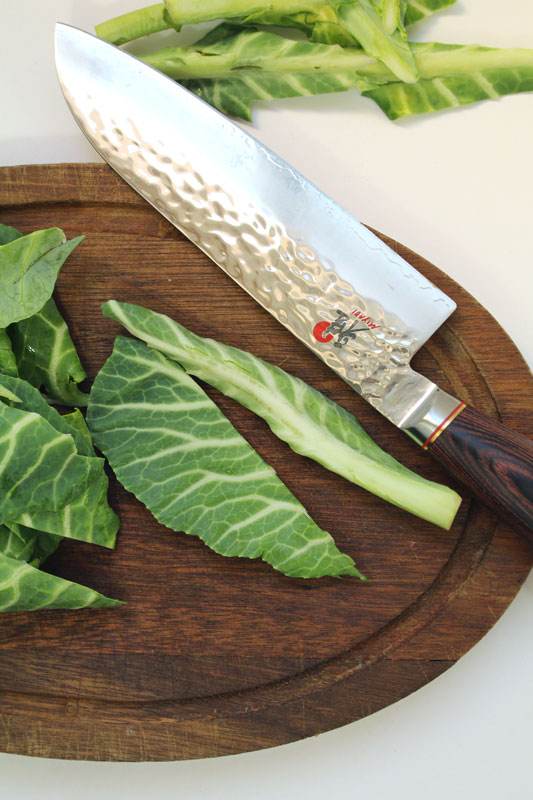
Washed with water, stems removed, sliced into ribbons.
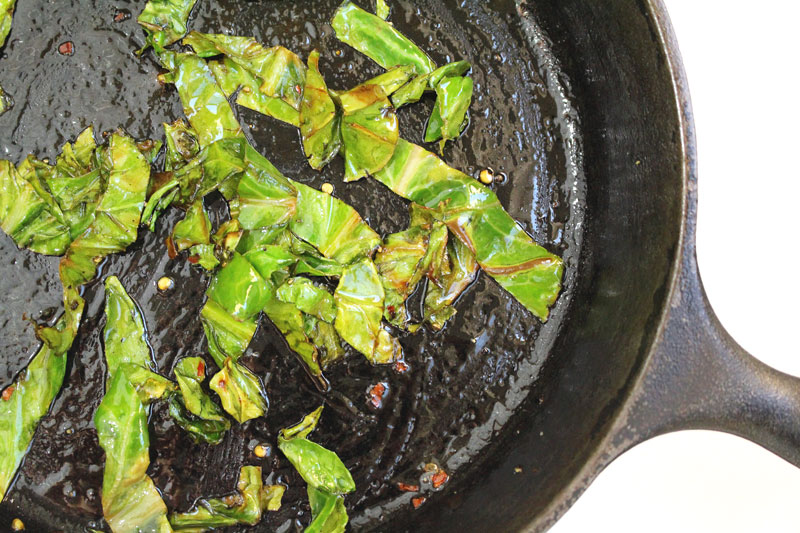
Skillet heated, 1/2 t butter added, let it melt a bit, added honey, then added the greens. Added salt, pepper, red pepper flakes and cooked over medium-low for 2 minutes. 1 t lemon juice is added and they cook for 1-2 minutes more. They’re removed from the heat and 1/2 t olive oil is added, along with a splash of lemon juice.
Group 2
Soaked in water and 1-2 t baking soda for a minute, then rinsed three times.
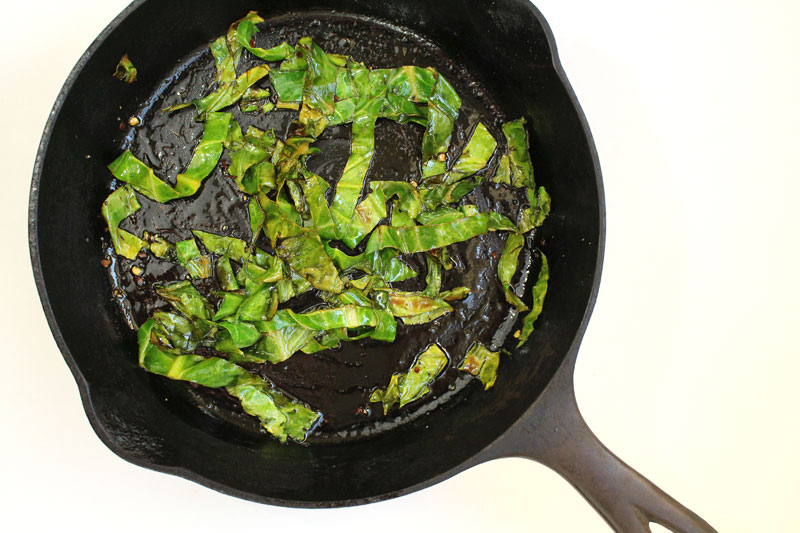
Skillet heated, 1/2 t butter added, let it melt a bit, added honey, then added the greens. Added salt, pepper, red pepper flakes and cooked over medium-low for 2 minutes. 1 t lemon juice is added and they cook for 1-2 minutes more. They’re removed from the heat and 1/2 t olive oil is added, along with a splash of lemon juice.
Group 3

Washed with water.
Stems removed.
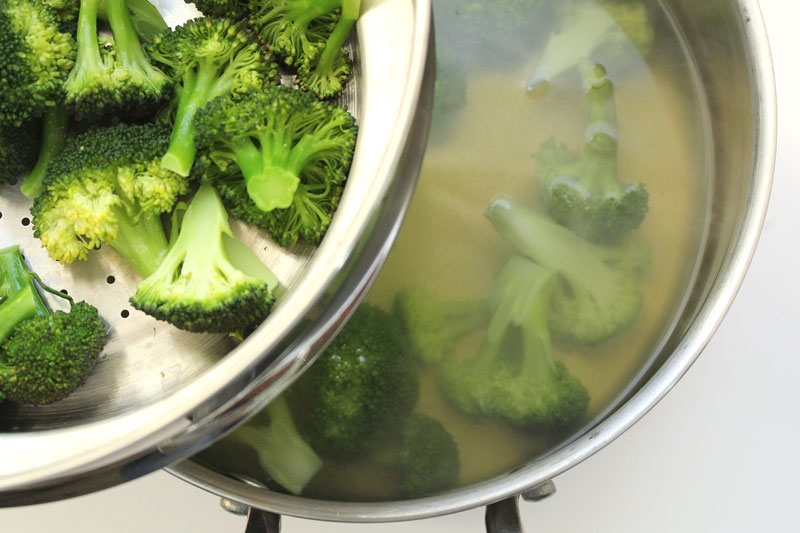
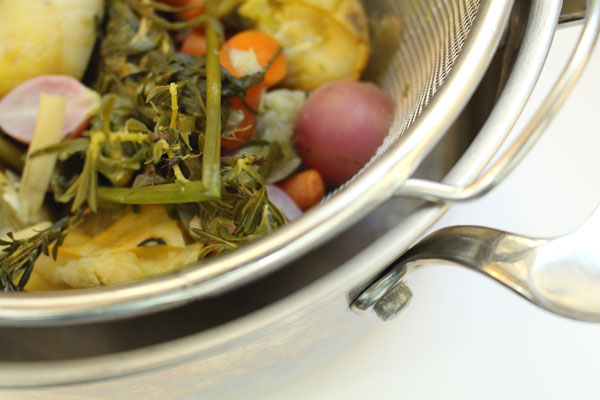
Blanched: Salted water came to a boil, leaves were added, they cooked for about 2 minutes, then took a bath in some ice water for a few.
Sliced into ribbons.
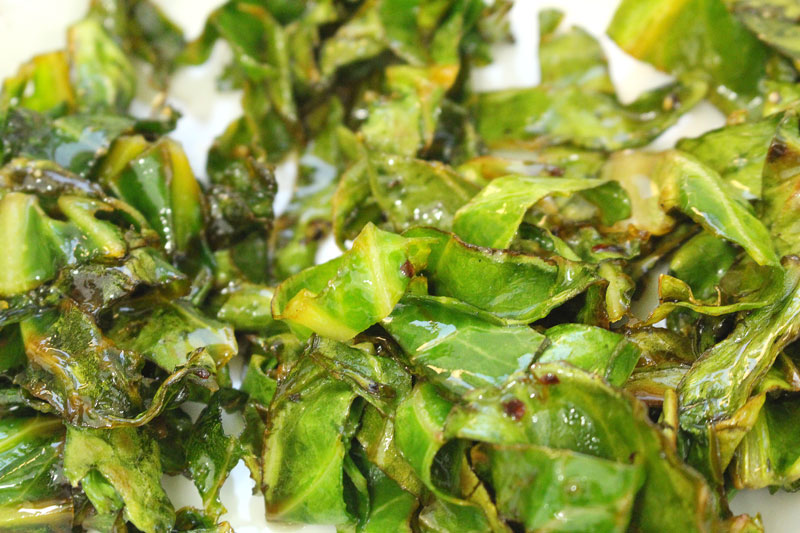
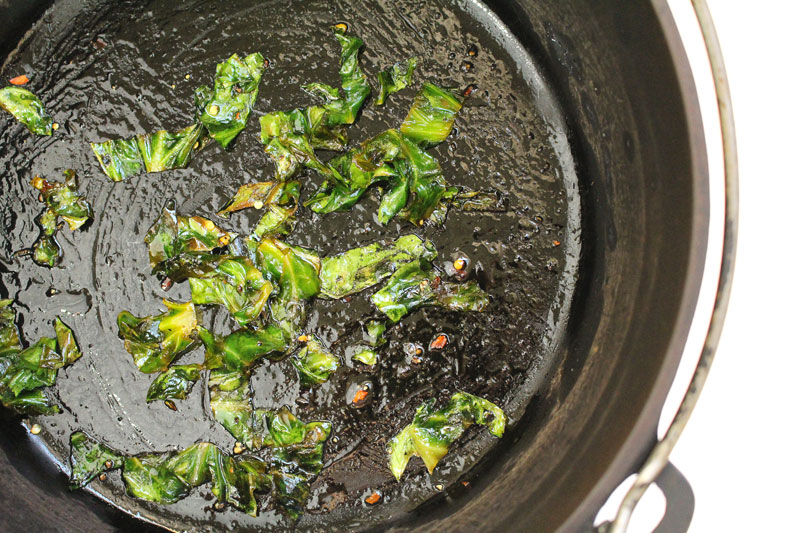
Skillet heated, 1/2 t butter added, let it melt a bit, added honey, then added the greens. Added salt, pepper, red pepper flakes and cooked over medium-low for 2 minutes. 1 t lemon juice is added and they cook for 1-2 minutes more. They’re removed from the heat and 1/2 t olive oil is added, along with a splash of lemon juice.
Group three was way for sure 100% the winner. I guess I’m gonna blanch from now on.
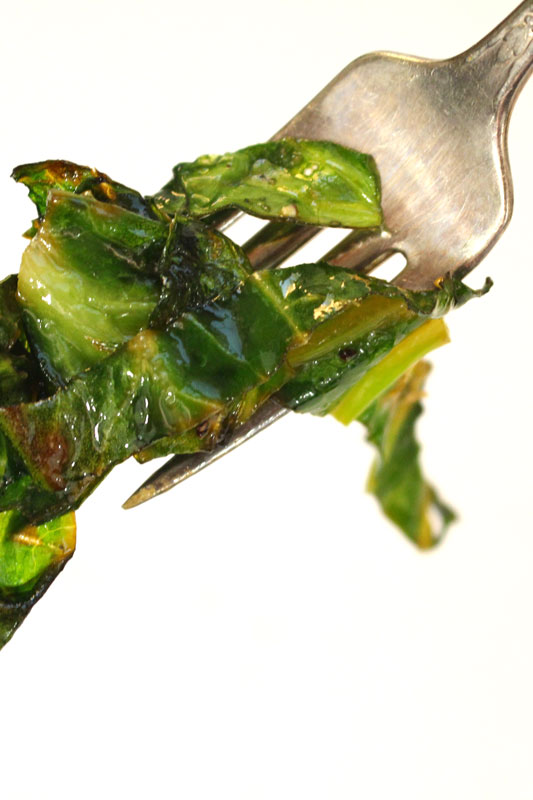
They were tender, they kept their color, and most importantly, they were the least bitter.
I stood at the stove and ate the entire pan.
I used the leftover greens from groups 1 and 2 and tossed them with some leftover Mac and Cheese, topped it with crushed up homemade croutons and a bit of Parmesan cheese, and baked it until it was hot. Made for an easy, delicious dinner. Groups 1 and 2 weren’t bad. I’d even say they’re good. But, when you compare good with great, you gotta go with great (hello life lesson).
I don’t know if the baking soda soak really did much for group two. They may have been a little more tender and a little less bitter than group 1. Just a little. I probably wouldn’t bother with this step again. But, it was fun to try.
In general, to reduce the bitterness of leafy greens like turnip greens, collards, mustard greens, kale, spinach, chard, broccoli rabe, and beet greens, there are a few tricks:
Cooking the greens (sautéeing, simmering, braising, blanching) mellows them out (some ways more than others, some better when combined, like I learned today). Tougher greens, like the collards that I used today, will do better when blanched, than say a daintier baby spinach.
Adding salt “takes the edge off”. (1)
Adding fat softens the bitterness and adds flavor. (1) (3)
Adding spice masks the bitterness.
You can add lemon juice or salt to help reduce bitterness. (3)
Add baking soda to water when washing then rinse three times. (2)
Some recipes that I like (or would like to try) with these greens:
Browned Butter Pasta with Italian Sausage and Basil
Orzo Pasta with Kale and Italian Sausage
Happy Eating!
- 16 collard green leaves, washed, stems removed
- water (for boiling)
- salt (for boiling)
- 2 t butter
- 2-4 t honey
- to taste salt
- to taste pepper
- to taste red pepper flakes
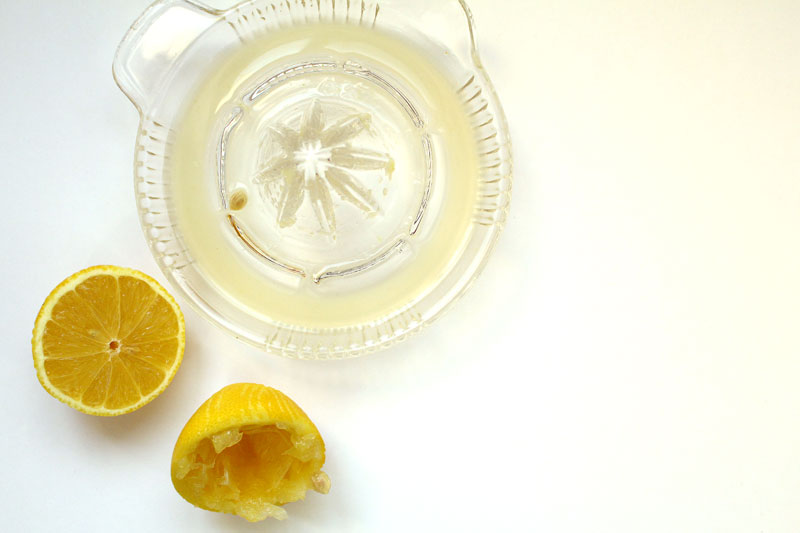
- 3-4 t lemon juice
- 2 t olive oil
- lemon juice, for topping
- Bring salted water to a boil. Add leaves and cook for about 2 minutes. Remove from water and place in a bowl of ice water for a few minutes.
- Slice into ribbons.
- Heat skillet and add butter, let it melt a bit, add honey, then add the greens. Add salt, pepper, red pepper flakes and cook over medium-low heat for 2 minutes, stirring often.
- Add lemon juice and cook for 1-2 minutes more.
- Remove from the heat and add olive oil.
- Serve topped with a splash of lemon juice.
(1) LA Times
(2) Yahoo Answers
(3) ehow