De Ma Cuisine

Storage/Prep Archive

Thursday

18

September 2014

0

COMMENTS

How to Make Tomato Sauce

Written by , Posted in Dairy-Free, Dinner, Fruit, Gluten Free, Herbs, How To, Kid-Friendly, Sauces, Storage/Prep, Vegan, Vegetables, Vegetarian

Tomato-Sauce-7

Tomatoes are one of the best things about summer.

Actually, all the fruits and veggies that we’ve been getting are the best.

They’re all favorites.

I want them to last all year long. I know that in a month or two, when it finally starts to cool down, I will be thankful for the heartier root veggies, apples, and pears that will be coming. But, for now, let’s keep talking about summer. ‘Cause I’m not quite ready to be done with it yet.

Tomato-Sauce-1

One of the ways to prolong summer is by preserving its fruits and veggies. So, like I’ve done a few times before, let’s talk about saving summer. In the form of a special tomato sauce.

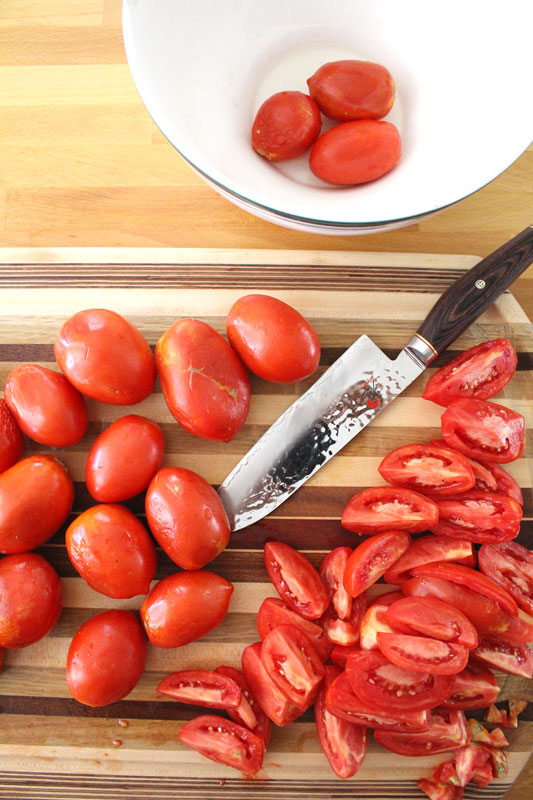
It starts with a bunch of Roma tomatoes. They’re my favorite for sauce. They have less seeds and goopy bits, and I find them a little less watery… Hooooowever, use what you have! Use what you have! Use what you have!!!

I quartered mine, sliced off the hard bit at the end, and then roughly chopped them. They’re going to be blended later, so precision isn’t necessary. You may have noticed that I didn’t peel them. Later you will notice that I don’t strain them. You can if you want, but a little tomato peel and seeds don’t bother me.

Tomato-Sauce-2

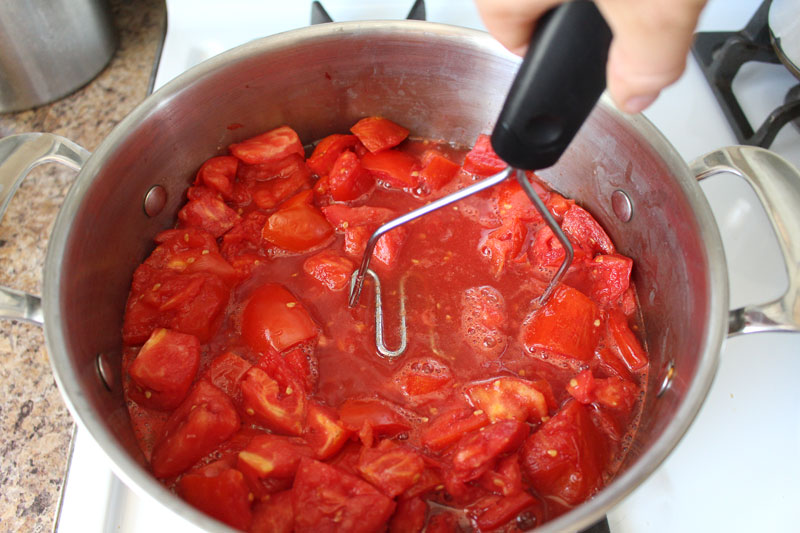
They cook up for a few minutes, then are mashed up with a potato masher. This just speeds things along a bit, breaking down-wise.

Tomato-Sauce-3

If you want to have just a plan tomato sauce, blend it up here and cook for an hour and a half or two.

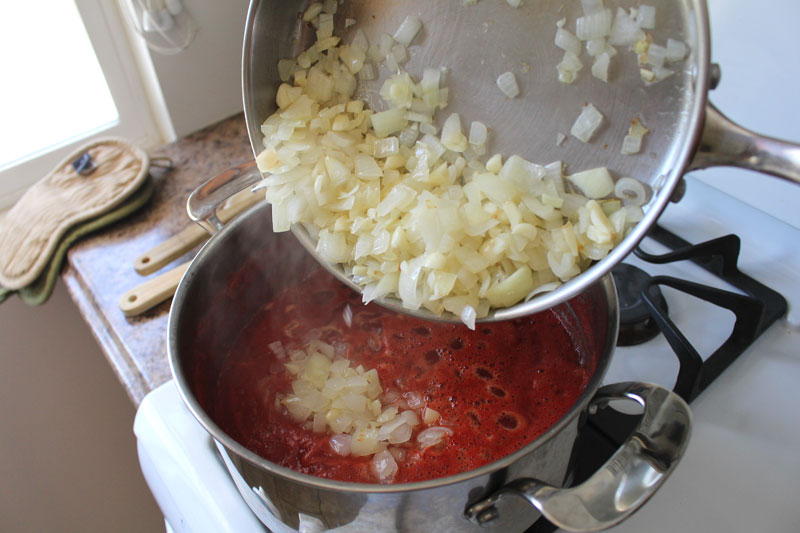
I know how I like my tomato sauce, so I thought I’d get ahead of the game a little, and add some onions, garlic, herbs, and a few other things to the mix before blending.

It’s up to you.

Choose your own adventure.

My adventure has a whole head of garlic in it. Just the way I like it.

Oh mah goodness the smell in our kitchen was just fantastic. A whole head of garlic is just like heaven to me.

Tomato-Sauce-4

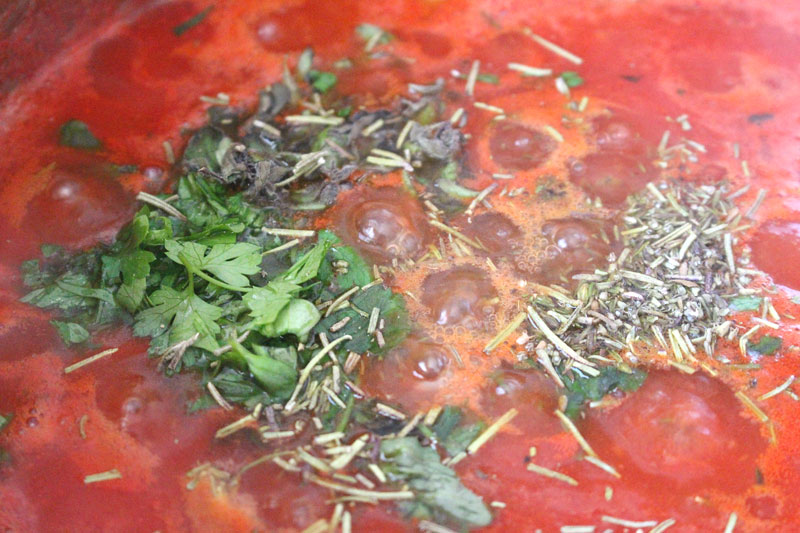
I have basil, parsley, and oregano growing in my garden right now. I added those summer favorites, along with some dried thyme and rosemary. Plus a glug of balsamic vinegar and a drizzle of honey.

Tomato-Sauce-5

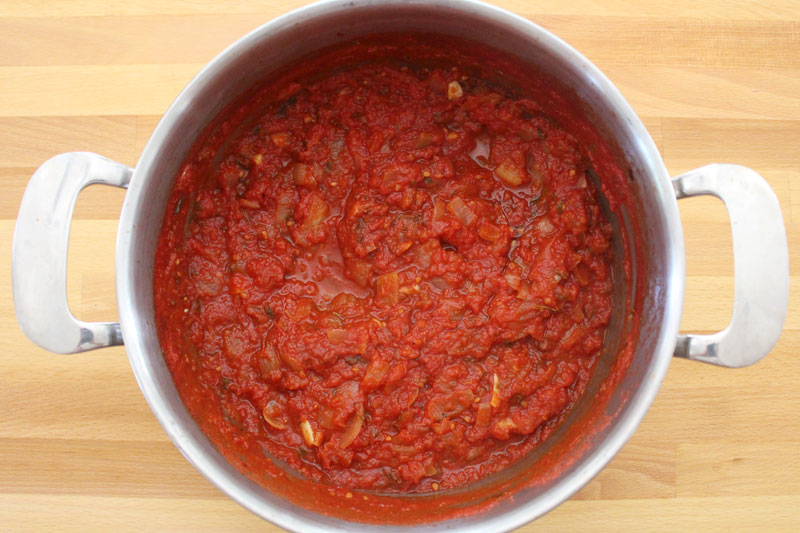
Then I cooked it all up until the water had mostly evaporated and the sauce was thick.

Tomato-Sauce-6

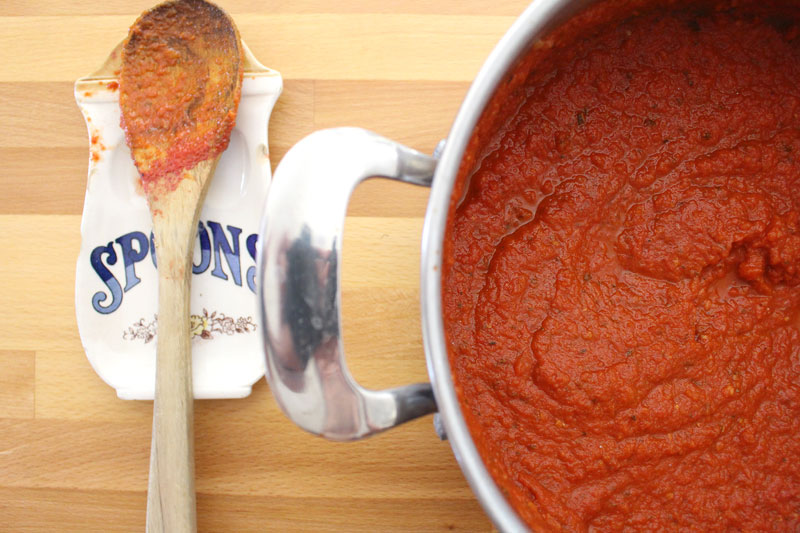
Quick blend with the hand blender (or the regular blender).

Taste. Add more salt if you want, but remember that you will probably be using this along with other things, so under-salting is ok here.

And only here.

Tomato-Sauce-8

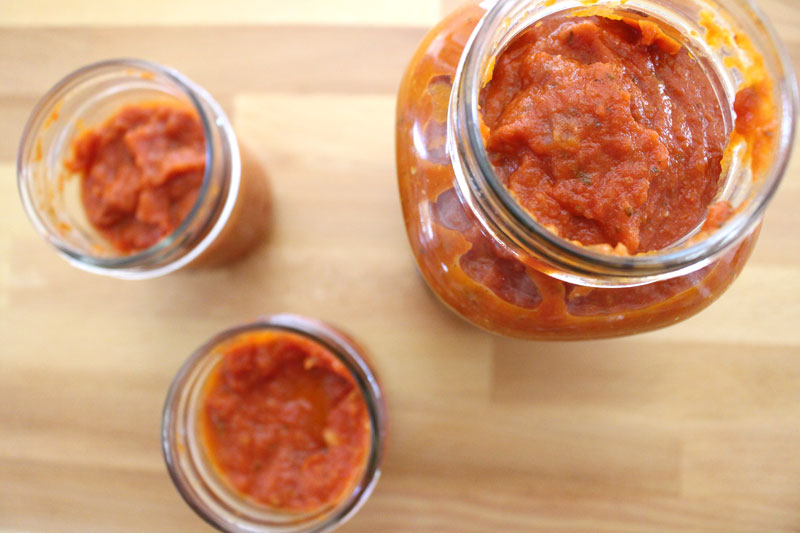
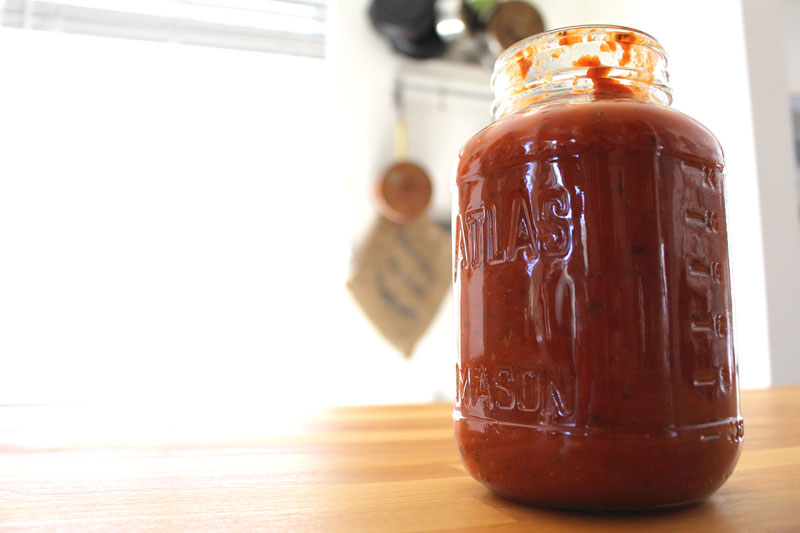
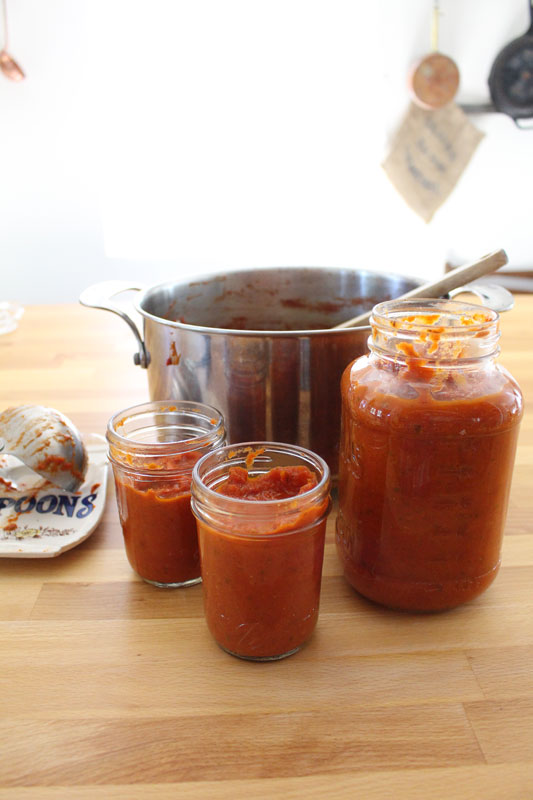
I had some jars sterilized and ready. I will store these in the freezer, since I don’t want to process them in a water bath for 35 minutes. Is it just me, or does anyone else get nervous about the jars breaking and losing their precious sauce? I don’t have a canning set, and I’m definitely not risking jars in a large pot of boiling water bumping in to each other.

Tomato-Sauce-9

The next thing to do is to figure out how to use this amazing sauce. 

Easy.

You can pair it with things like pasta, meats, and breads. It will go great with veggies too.

Specifically, you could make Eggplant or Squash Parmesan, Spaghetti and Meatballs, Deconstructed Lasagne, Meat and Cheese Lasagna, and Summer Pizza.

And oh my gosh you totally should use it to make Meatball Subs. Like right now. I’m serious.

Or, if you just can’t wait, grab some crusty bread and dip it in to the sauce. Good idea right?!

Happy Eating!

Tomato Sauce
Recipe Type: Condiment, Fruit, Vegetable, Vegan, Vegetarian, Gluten-Free, Dairy-Free
Cuisine: Italian
Author: Rachel Oberg – De Ma Cuisine
Prep time: 20 mins
Cook time: 140 mins
Total time: 2 hours 40 mins
Ingredients
  • 5 pounds Roma tomatoes, roughly chopped
  • 1 t salt
  • Extras: 2 T olive oil
  • 2 onions, roughly chopped
  • 1 head (about 12 cloves) garlic, roughly chopped
  • pinch pepper
  • 1/4 fresh basil, roughly chopped
  • 2 T fresh parsley, roughly chopped
  • 2 T fresh oregano, roughly chopped
  • 1 t dried rosemary, crushed
  • 1 t dried thyme
  • 2 T balsamic vinegar
  • 1 T honey
Instructions
  1. Combine tomatoes and salt in a large pot. Cook over medium heat, stirring occasionally, for about 10 minutes. Mash with a potato masher and cook for 10 minutes more.
  2. (If you don’t want to add anything else, skip to step 5.)
  3. Add olive oil to a hot pan. Add onions (bell pepper, zucchini) and cook over medium heat with a pinch of salt for about 10 minutes, stirring occasionally. Add garlic and cook, stirring constantly, for 3 minutes more.
  4. Add onion mixture, herbs, vinegar, and honey to the tomatoes. Use a spatula to get all the garlic infused oil from the pan. Stir once to combine.
  5. Blend with a hand blender, or in batches in a regular blender – removing the plug from the lid and covering with a clean towel.
  6. Bring back to a boil, then reduce to a simmer and cook for 1.5 – 2 hours, or until sauce has thickened, stirring occasionally.
  7. Sterilize your canning jars, bands, and lids in a pot of boiling water for at least 10 minutes at a rolling boil (or in the dishwasher).
  8. Pour sauce in to jars, leaving an inch or so (or a bit less) at the top for expansion.
  9. Store in the freezer once they have cooled completely.*
3.2.1311

(Yields about 2.5 pints or 5 C sauce.)

*To process jars in a water bath Ball suggests that you add 1 T lemon juice to each jar before filling and process in a water bath for 35 minutes. Do this if you want to store at room temperature – only store at room temperature if they have sealed properly).

Friday

22

August 2014

0

COMMENTS

How To Freeze Peaches

Written by , Posted in Fruit, How To, Kid-Friendly, Storage/Prep

Peaches-10

There’s nothing quite like the tangy-sweet taste of a peach. Ok, except maybe a nectarine… they’re pretty similar…

In these hot summer months, I love biting into a super juicy piece of fruit. So juicy that I either have to eat it standing leaned over the sink, or outside. It doesn’t have to be a peach. Watermelon, plums, apricots… they’ll all do the trick.

But, I’m eating a peach as I type this.

I just can’t get enough.

Peaches-1

Because of this, it makes sense to me to save some for the winter months, when we’re wondering when we will ever see stone fruit again. It makes sense to always have peaches on hand for Fruit Crisp and topping Tim’s Homemade Vanilla Bean Ice Cream.

Peaches-3

Peaches-4

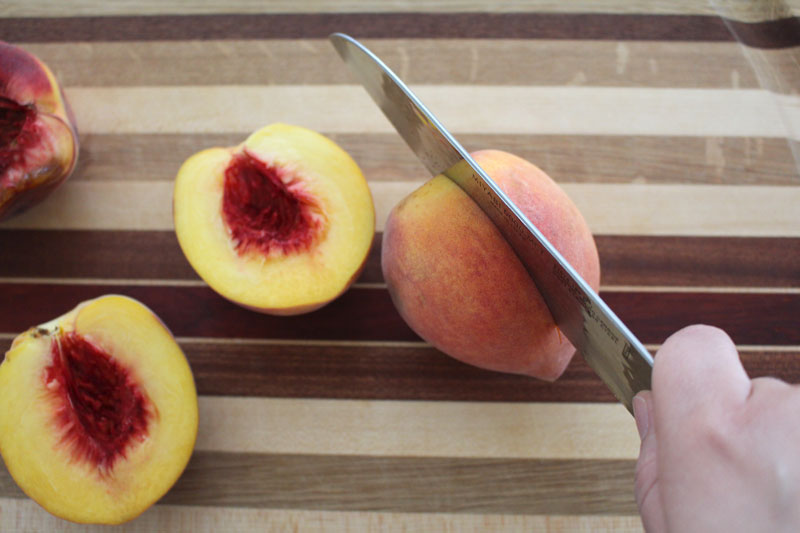
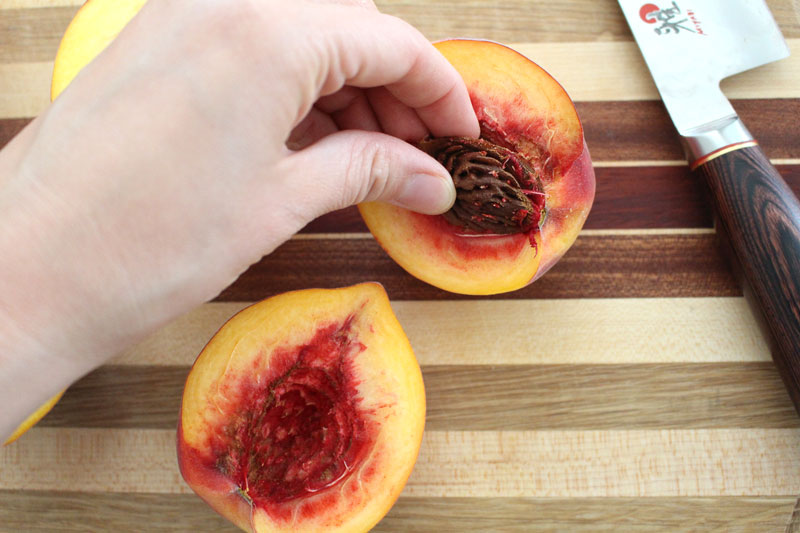
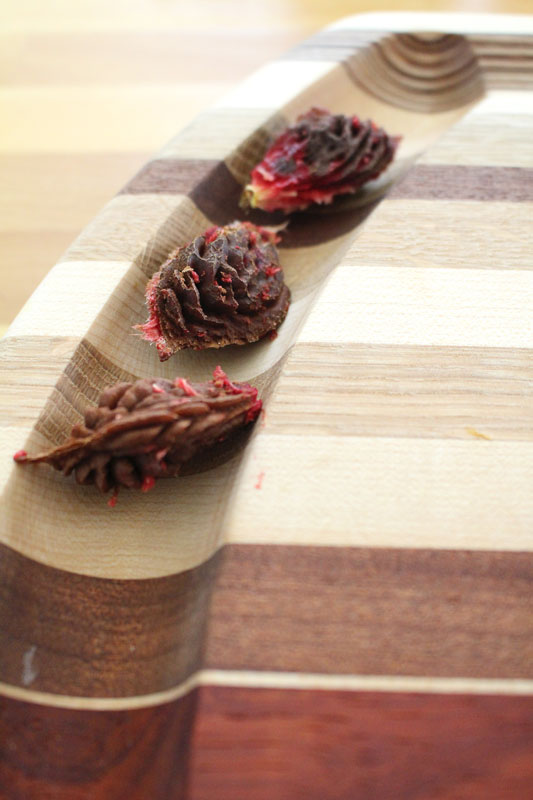
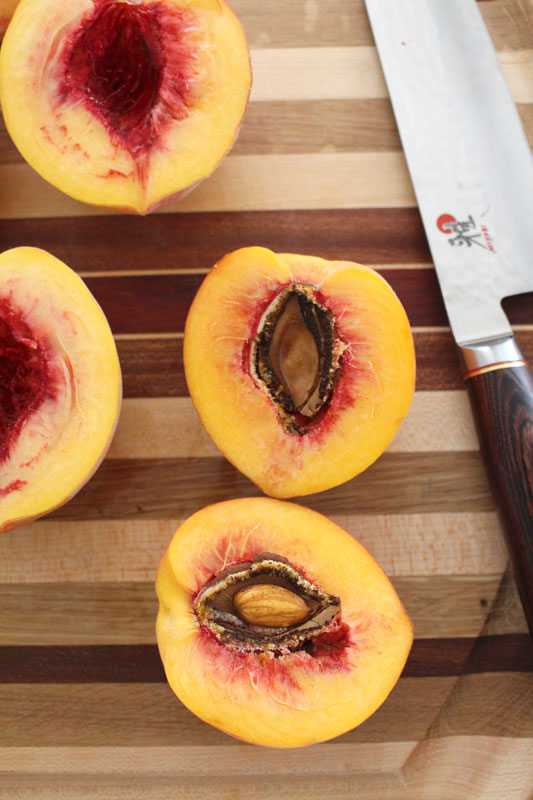
So here’s what I did the other day with part of my twenty pounds of peaches… I halved them, and pulled out the pits (which I’m saving to make some Peach Pit Tea).

You may notice that I left the skins on. If you want to skin them (some say to do this if you’re making peach ice cream, others don’t… it’s up to you), score the bottom with an X, toss whole ripe peaches into a pot of boiling water for 30-60 seconds, then quickly submerge in an ice bath (water and ice in a bowl). Let stand for 15-30 seconds or so, then peel the skin off with your fingers. (This is the same way you’d easily peel tomatoes, by the way.)
Peaches-5

Some of the pits were split. That’s fine. Just pull out the pit and if there’s anything pitty still in the peach flesh, scrape it out and discard. (I didn’t save these pits for tea.)

Peaches-9

Peaches-7

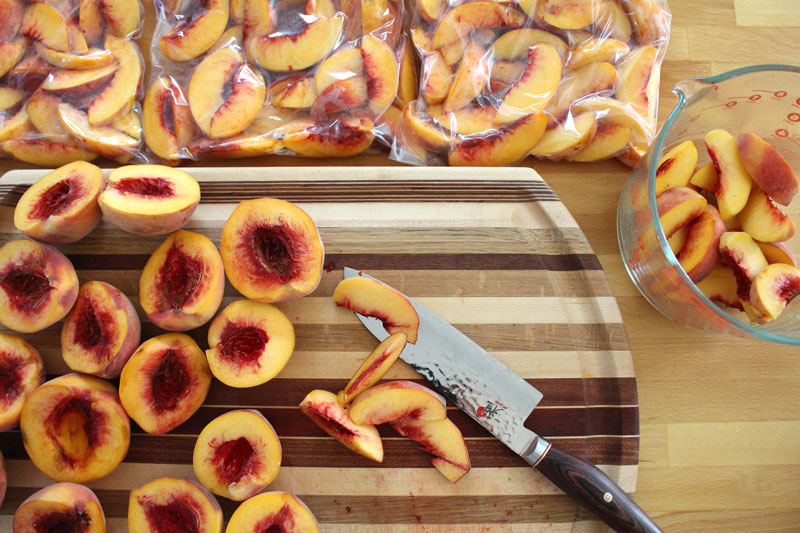
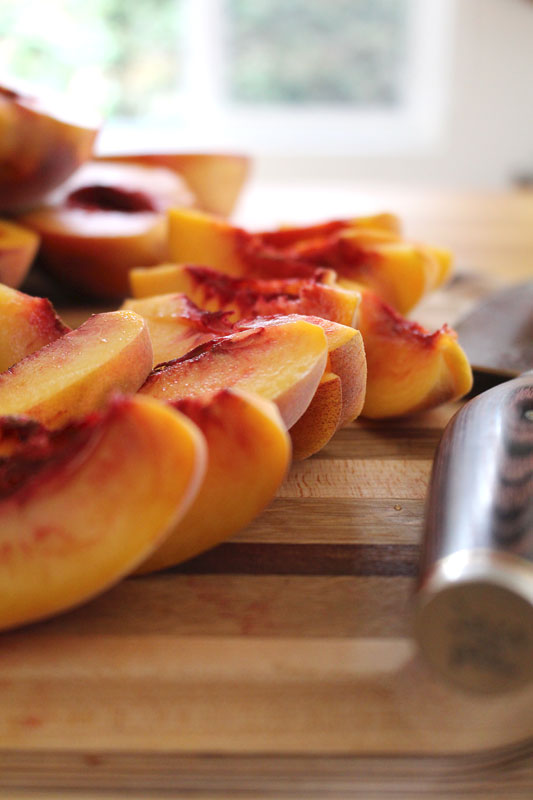
You could stop here and freeze the peaches halved if you want. I sliced them. I got about 8-10 slices per peach. They could then be chopped if you feel like doing a little more prep work ahead of time. But, I figured that it’s not too much work if I want to chop later for a crisp. Plus, I can’t unchop if I decide I want them all sliced again.

If you’d like to toss them with a little bit of lemon juice, that can help with browning. I guess that I worked quick enough that I didn’t have any turn brown, but if you want to be sure, lemon juice usually helps out.

Peaches-8

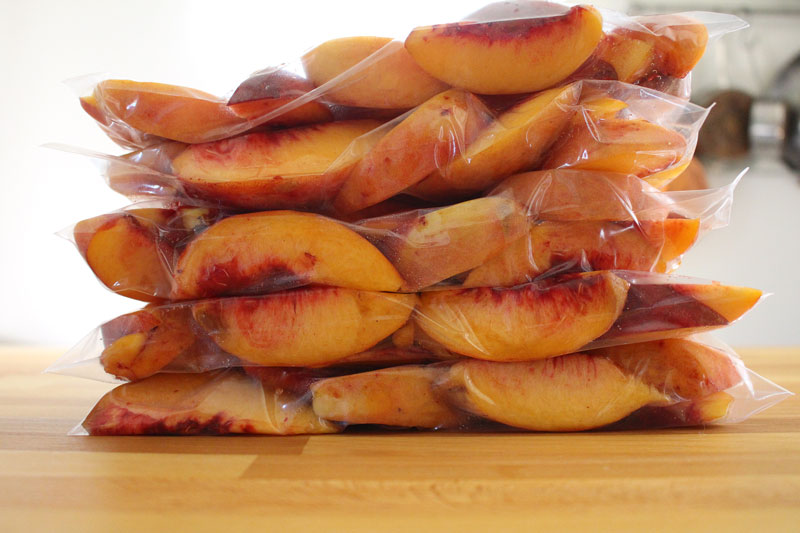
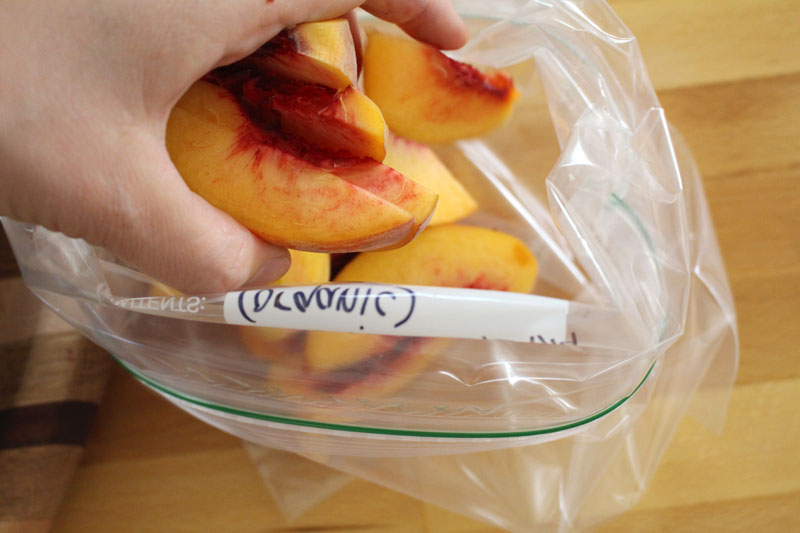
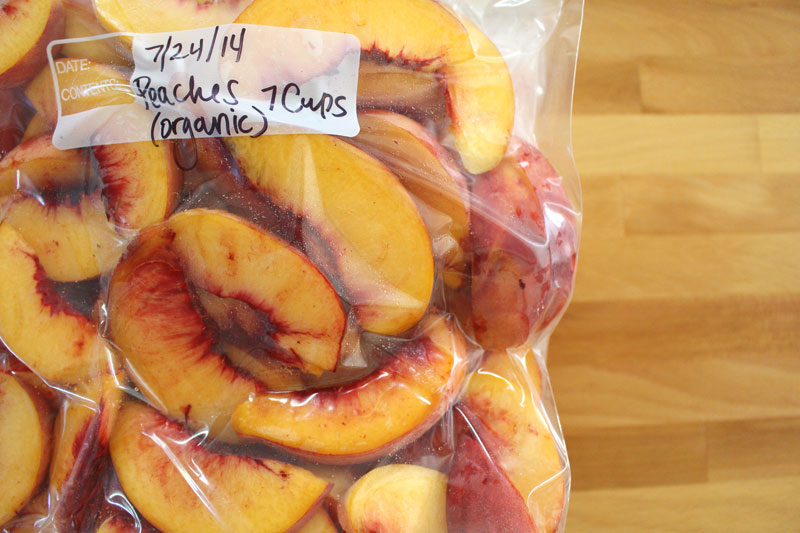
Freezer safe bags or containers are filled up. I used a large measuring cup and got a rough estimate for how much was going in to each bag. Some people like to freeze fruit by laying it flat on a baking sheet, freezing, then putting it into bags. That would be great. But, I was short on time, so I just didn’t fill the bags too full, and have laid them flat in the freezer, in hopes that the slices don’t stick together too much. And if they do, it won’t be a monster sized hunk’o peaches to break apart.

Do whatever works for you.

The sliced peaches can be eaten frozen, as a snack, right out of the freezer. They’d make a great popsicle replacement for a hot summer’s day. If you want to enjoy them with breakfast, thaw in the fridge overnight. They’ll be great with some Greek yogurt in the morning. To use them in a Vegan Fruit Crisp, you could use them frozen, or thaw them in the fridge overnight. If they’re frozen, just increase the baking time a bit.

Peaches go well with strawberries, vanilla, red, white, and sweet wines; pistachios, raspberries, blueberries, cinnamon, cream, ice cream, and oranges.*

Peaches-11

I ended up with about 35 cups of sliced peaches. Good for a while I hope… except that Tim has started making homemade ice cream most weekends, and peaches go really well with it.

We may be in trouble here. Maybe we will have to order another twenty pounds just to be saved for our ice cream addiction. 😉

Happy Freezing!

*Ideas for peach parings from The Flavor Bible.

Thursday

14

August 2014

0

COMMENTS

How To Dry and Pair Summer Herbs

Written by , Posted in Herbs, How To, Storage/Prep

DryingHerbs-1

If you walked into my kitchen, at most any time of the year, you’d see herbs at various stages in the drying process.

DryingHerbs-4

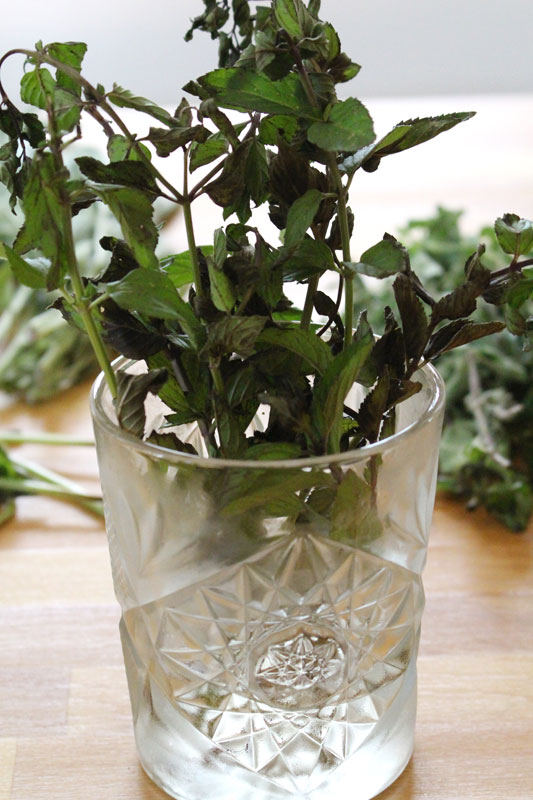
Usually they start in the fridge, in a glass, with a bit of water in the bottom. This is my favorite way to store fresh herbs, as they will sometimes last a week or two.

DryingHerbs-2

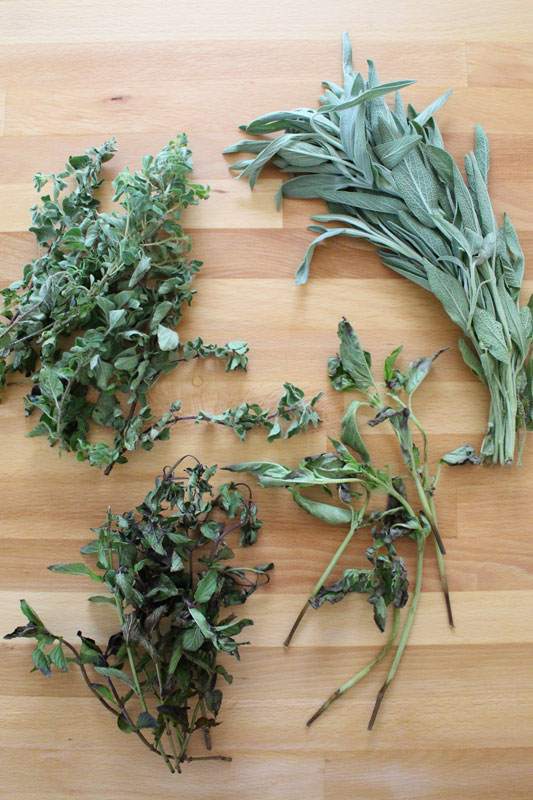
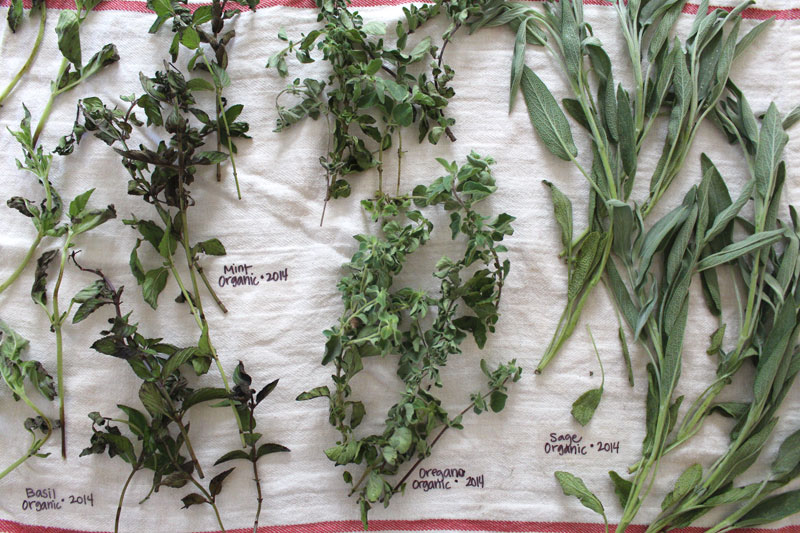
Once they’re past their prime, or if I don’t have plans to use them soon, I will wash them and lay them on a clean tea towel to dry. I leave them there for a week or two, or until they’re crispy and crumbly.

DryingHerbs-3

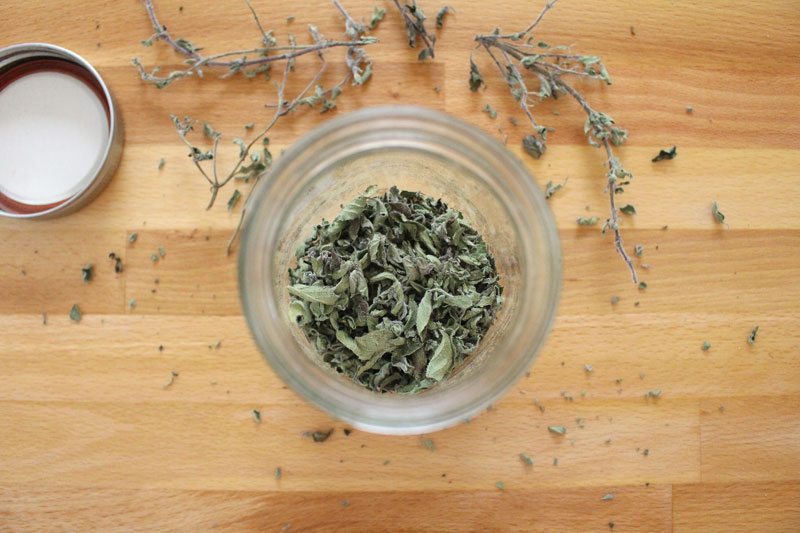
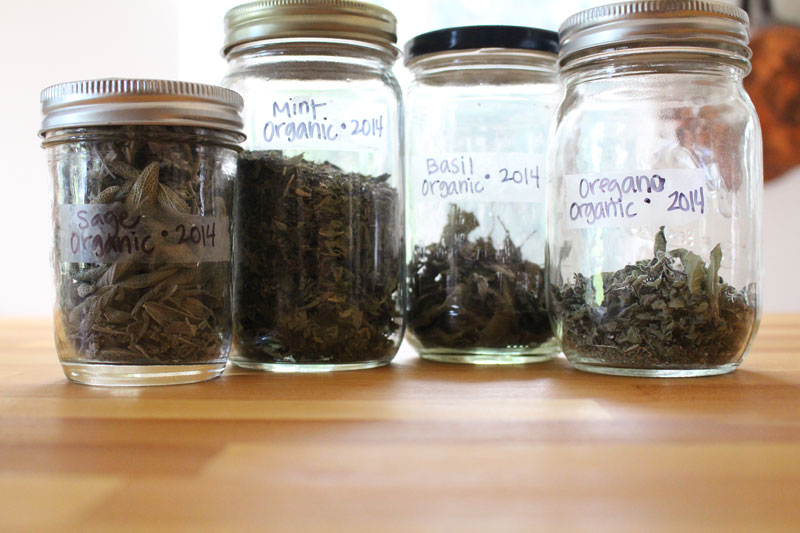
Dried herbs are stripped from their stems and stored in a labeled glass jar with a lid.

DryingHerbs-5

I have jars filled with most of the herbs we get from Abundant Harvest Organics in my pantry. Fresh is usually best, in my opinion, but I’m always happy to have things like basil and oregano on hand, no matter what state it is in.

DryingHerbs-6

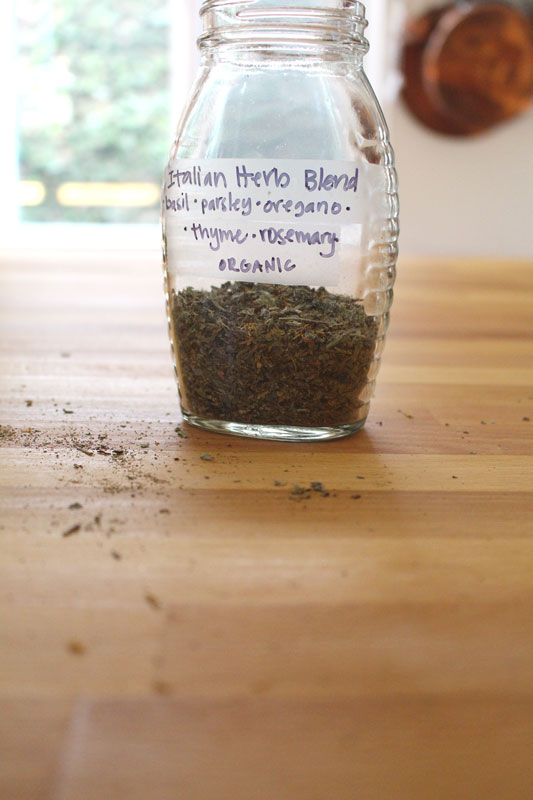
We enjoy Italian flavors a lot in our home, so having a jar of an Italian herb blend always comes in handy. It’s perfect for anything from pizzas and calzones, to pastas and soups. This week I combined some of my favorites: basil, oregano, parsley, thyme, and rosemary.

DryingHerbs-7

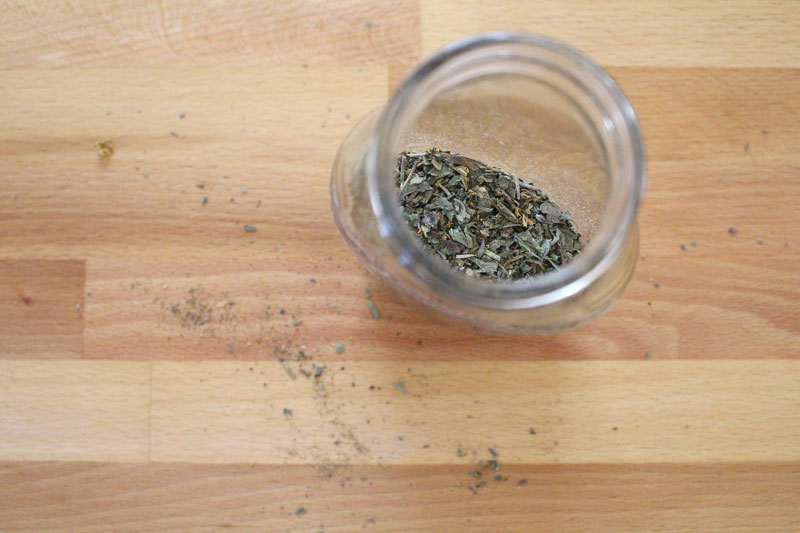
They are smashed up and mixed together with a mortar and pestle before being stored in a jar for the next time we have Italian inspired pasta (which will probably be tonight).

DryingHerbs-8

DryingHerbs-9

Since it’s summer right now, let’s talk about a few of the summer herbs that we’ve been getting, and what they will pair well with (I often find ideas for what pairs well together in one of my favorite kitchen tools, The Flavor Bible).

Basil

Herbs Basil Pairs Well With

Chives

Cilantro

Oregano

Parsley

Rosemary

Thyme

Marjoram

Mint

Foods Basil Pairs Well With

Cheese

Eggs

Garlic

Olive Oil

Fennel

Pasta

Pesto

Tomatoes

Zucchini

Cuisines Basil Can Be Found In

Asian

Italian

Mediterranean

Thai

Vietnamese

Great Ways to Use Basil

StuffedFrenchToast-7

Fresh Herb and Dried Tomato Bruschetta

Basil and Summer Squash Risotto

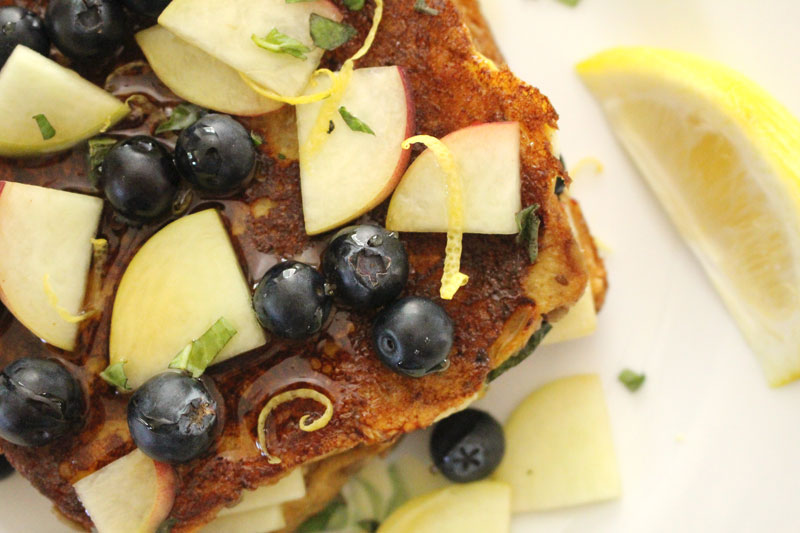
Fresh Fruit and Basil Stuffed French Toast

English Peas with Ricotta and Ham over Pasta

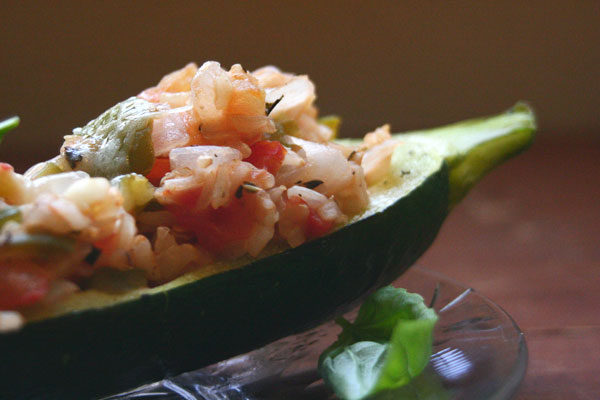
Roasted Stuffed Squash

Oregano

Herbs Oregano Pairs Well With

Basil

Marjoram

Chives

Parsley

Rosemary

Sage

Thyme

Foods Oregano Pairs Well With

Bell Peppers

Fish

Lemon

Meats

Pasta

Pizza

Tomatoes

Cuisines Oregano Can Be Found In

Greek

Italian

Mediterranean

Mexican

Tex-Mex

Great Ways to Use Oregano

Dried-Tomatoes-7

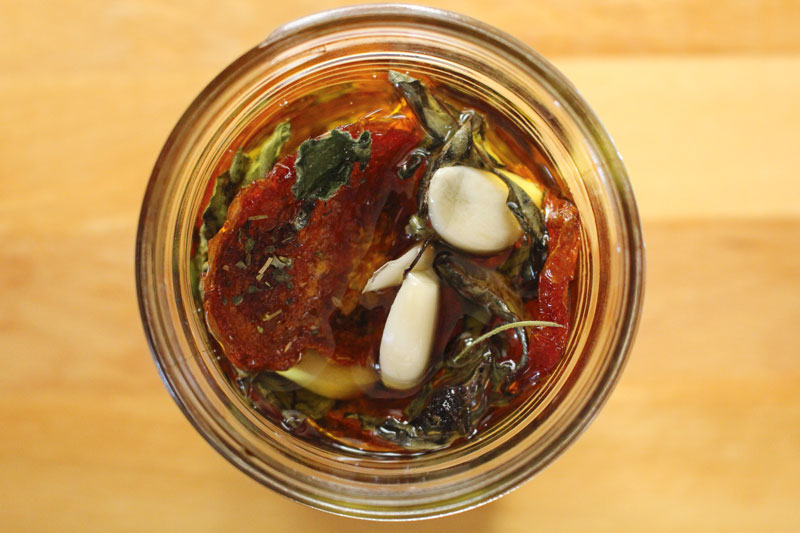
Dried Tomatoes

Herbed Roasted Chicken Thighs with Cherry Tomatoes

Simple Summer Salad

Roasted Stuffed Squash

Sage

Herbs Sage Pairs Well With

Lemon Balm

Lemon Thyme

Thyme

Rosemary

Savory

Parsley

Oregano

Mint

Marjoram

Foods Sage Pairs Well With

Fennel

Beans

Cheese

Chicken

Onions

Pork

Pasta

Stuffing

Eggplant

Cuisines Sage Can Be Found In

European

French

Greek

Italian

Mediterranean

Spanish

Great Ways to Use Sage

RoastedStuffedSquash4

Roasted Stuffed Squash

Roasted Lemon Balm Chicken

Sage Pesto

Mint

Herbs Mint Pairs Well With

Basil

Chives

Cilantro

Dill

Lavender

Lemongrass

Lemon Verbena

Marjoram

Parsley

Rosemary

Sage

Thyme

Foods Mint Pairs Well With

Beans

Chocolate

Cream

Ice Cream

Cucumbers

Fruit

Lamb

Salads

Sugar

Yogurt

Cuisines Mint Can Be Found In

Afghan

Asian

Egyptian

Greek

Indian

Mediterranean

Mexican

Middle Eastern

Moroccan

Thai

Turkish

Vietnamese

Great Ways to Use Mint

SummerDrinksWithHerbs-10

Mediterranean Summer Salad

Mint Iced Tea

Indian Spiced Okra

Fun Drinks with Summer Herbs

Happy Eating!

Thursday

24

July 2014

0

COMMENTS

Corn on the Cob

Written by , Posted in How To, Storage/Prep

CornOnTheCob-5

Summah summah summah corn corn corn.

My favorite.

As I type this I’m listening to some upbeat, fun music, and sipping an iced coffee with some homemade caramel drizzled in.

For as much as I complain about the heat that I don’t like, I sure do love a lot about summer.

I mean, just this corn alone could convert me.

When I got the email saying that corn was available as an add on I freaked out and wrote back right away so I wouldn’t miss out.

I got two dozen, plus the three ears that were in the small Abundant Harvest Organics box.

Except for one that I used in a stir fry for dinner last night, I decided to process them all today. I didn’t want to risk waiting to long to eat them and having the sugars turn in to starch (meaning not so tasty corn).

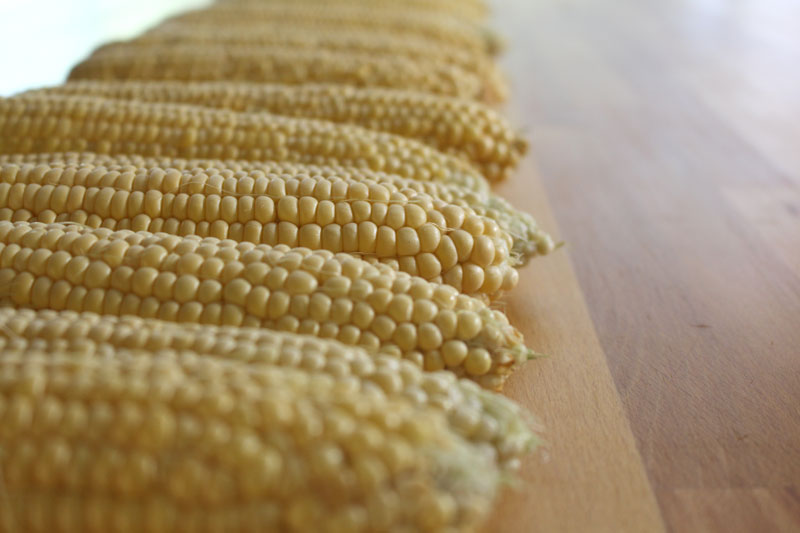
The first step, whether it’s being eaten now or later, is shucking the corn.

I shucked 26 cobs pretty quickly. Here’s how.

CornOnTheCob-1

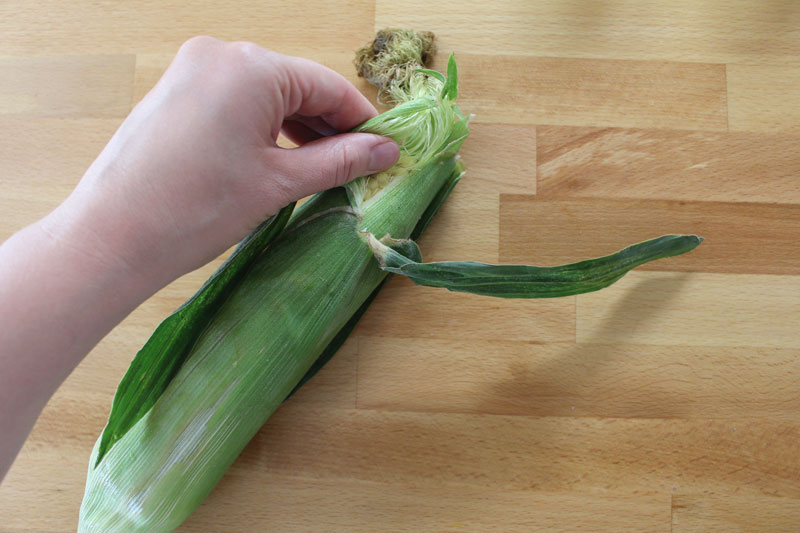
Pinch a portion of the husk right near the top. Get all the layers down to the cob.

CornOnTheCob-2

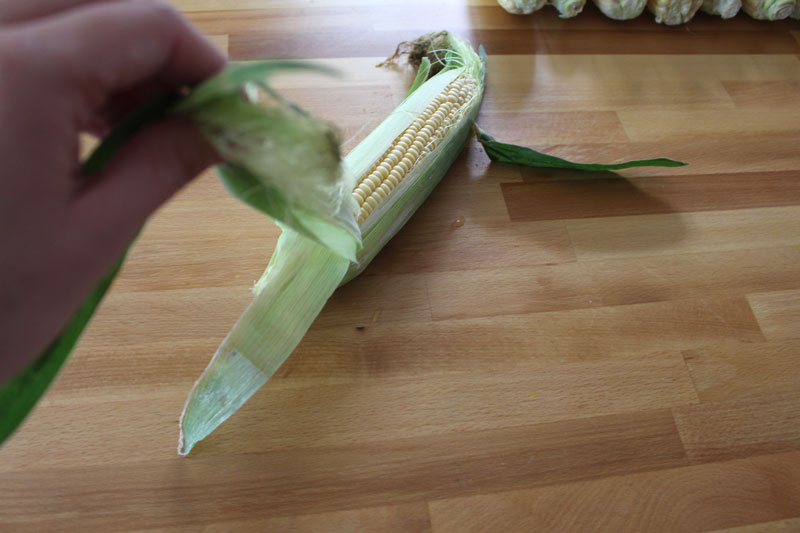
Pull down towards the base, revealing a few rows of kernels. Pull it all the way off.

CornOnTheCob-3

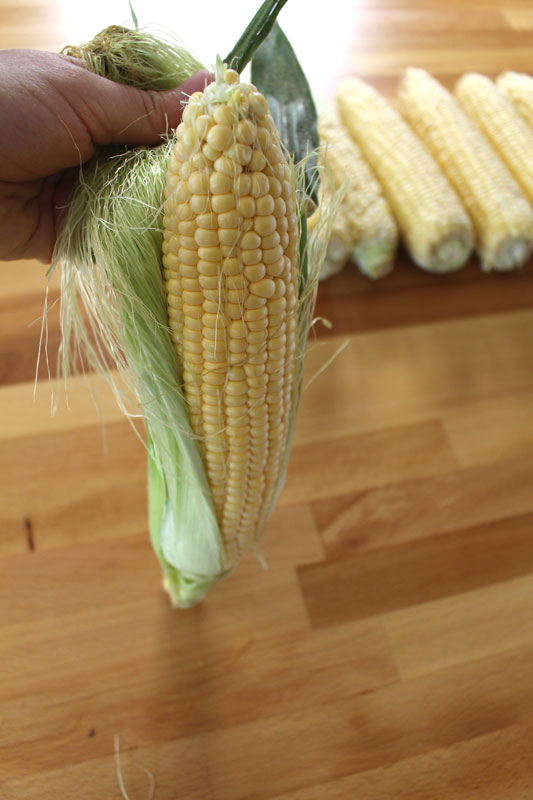
Take remaining portion of the husk firmly in one hand.

CornOnTheCob-4

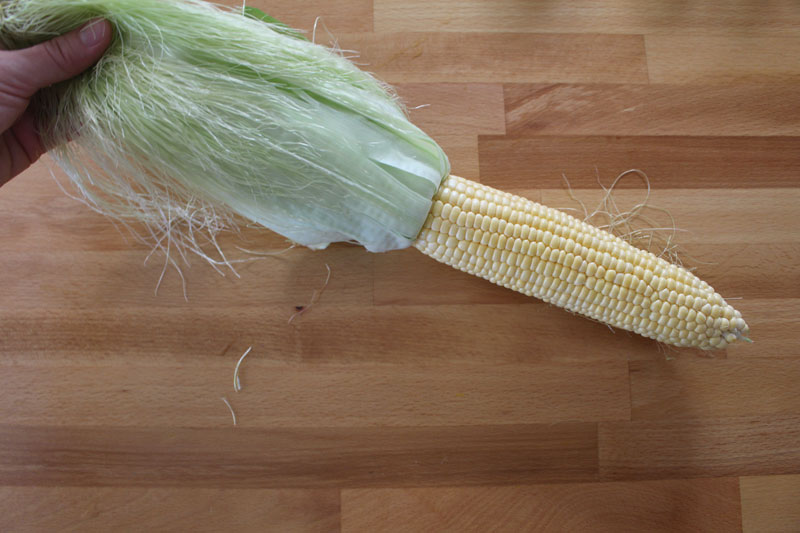
Pull down towards the base. Snap off the husk and stalk at the end and clean off any of the silk that remains.

CornOnTheCob-6

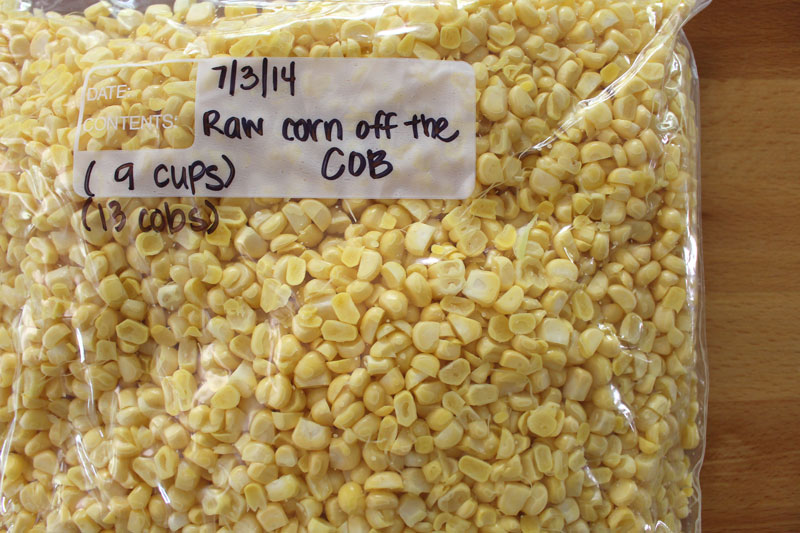
There are a few ways to prepare the corn for the freezer. The first way is to slice it off the cob, raw.

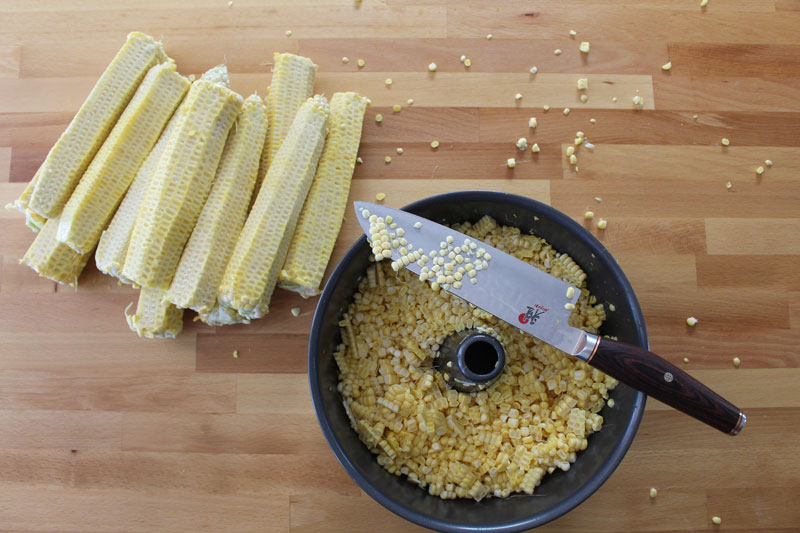
To do this, I like to use a bundt pan (a small bowl inverted inside a large bowl will also work). Stand the cob up on the middle part of the pan and hold it there with one hand. With the other, slice downward with a sharp knife.

CornOnTheCob-7

The pan will catch most of the kernels as they fall (try not to slice off in long strips, those are more likely to stick together and fall, hitting the side of the pan and scattering all over the counter, cough cough, I didn’t realize this until partway through).

CornOnTheCob-8

Now the corn is ready for Tomato Corn and Quinoa SaladSalmon and Corn Salad, and Shepherd’s Pie of the South.

CornOnTheCob-9

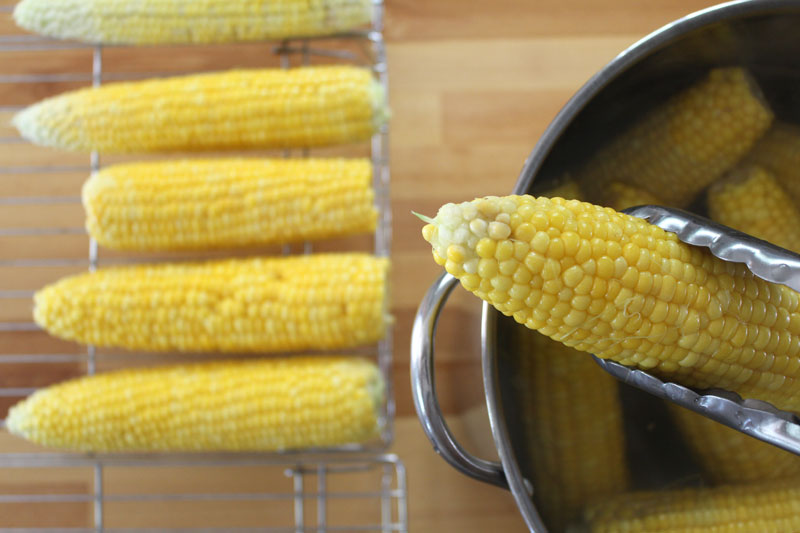
Another easy way to prepare the corn is to boil the cobs and freeze them whole.

CornOnTheCob-10

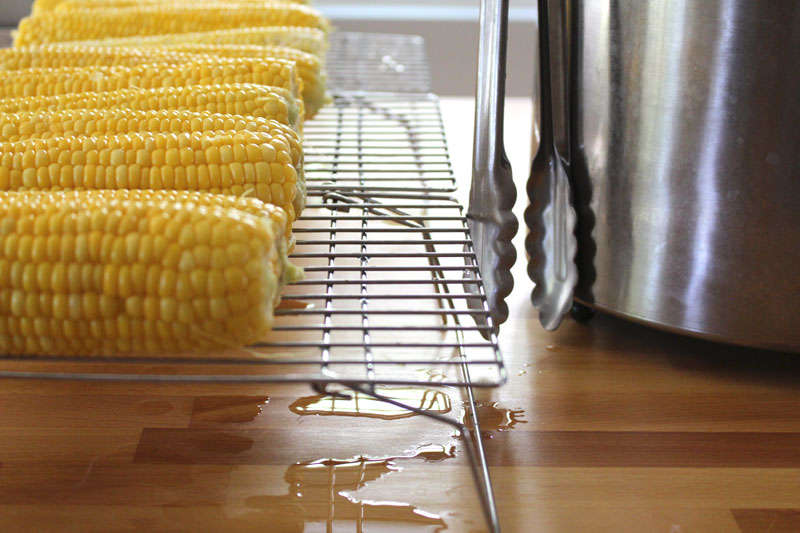
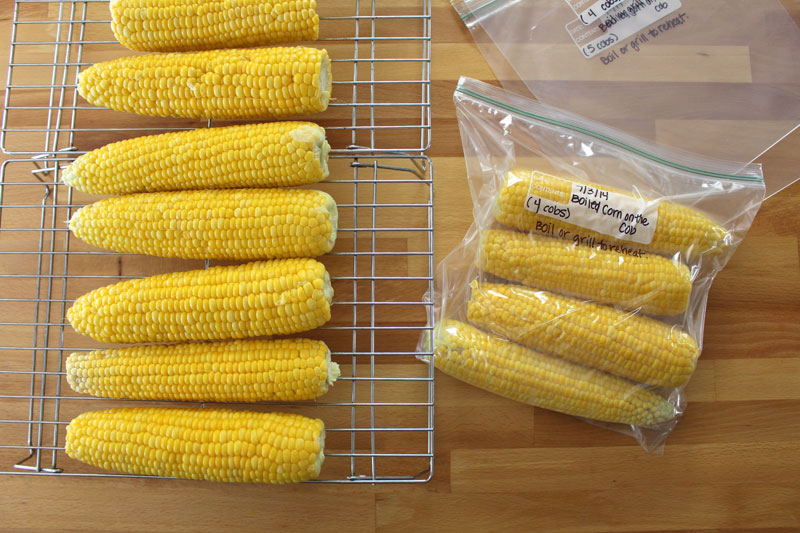
I used my baking cooling racks to cool completely. That way they don’t sit in water and more air circulates around them, cooling them quicker.

CornOnTheCob-11

Once the cobs are cool they go in to labeled freezer bags. The cobs can be reheated in boiling water or on the barbecue.

If you just can’t wait, enjoy them now, plain, topped with salt and butter, or topped with an herb butter (basil, chives, cilantro, rosemary, and thyme all go well with corn).

HamGreensChowder-5

Some of my favorite ways to use corn on the cob are:

Grilled with Herb Butter

Raw in Salads (Taco Salad, Salmon and Corn Salad)

Raw in Tomato-Corn Salsa

Boiled (with or without butter and salt, or herb butter)

Ham and Greens Chowder

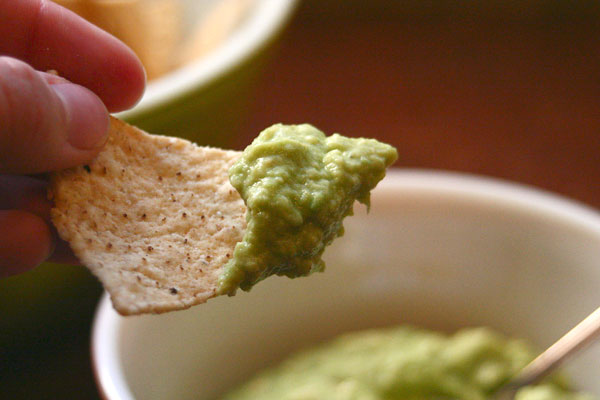
Guacamole2

I would like to try it as:

Crostini with Feta and Herbs

Mixed with cheese and cayenne in a Spicy Grilled Cheese

Added to Guacamole

In Cornbread or Biscuits… it seems like there are endless things that need corn added.

Some yummy corn-binations (see what I did there?!):

corn+bacon+basil+tomato

corn+bell peppers+beef+garlic+potatoes

corn+crab+basil+garlic+lemon juice

corn+tarragon+feta+chicken

A couple of tips:

If there are any grody spots or bugs, just cut those off. The whole cob probably isn’t ruined.

Let the kids help! They can shuck the corn. They could sit on the porch steps or the grass and go to town. If you have a dog, (s)he might enjoy cleaning up, so keep them nearby the kiddos. 😉

Happy Eating!

Thursday

24

April 2014

0

COMMENTS

How To: Asparagus

Written by , Posted in Breakfast, Dinner, How To, Lunch, Storage/Prep, Vegetables

Asparagus-3

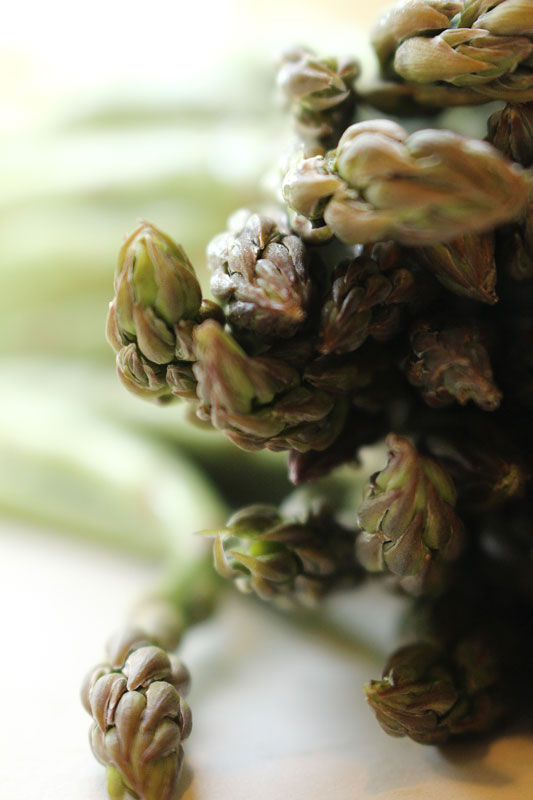
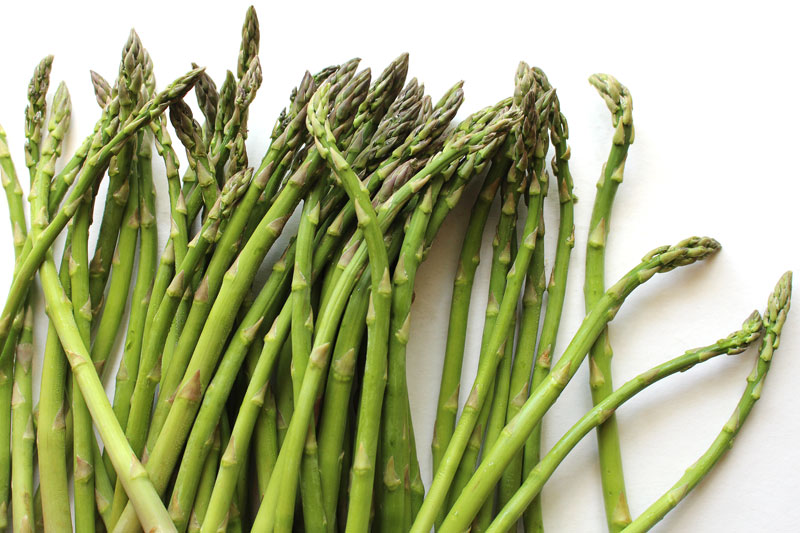
It’s asparagus time, friends. I hope you’re as excited about this as I am! Things like asparagus, snap peas, and green beans signify spring to me.

Oh spring.

Here in L.A. it just means a slight shift from cool-warm to warm-hot weather. But, after the winter many on the East Coast have had, I am glad that it’s spring for their sake.

Asparagus-2

Enough about the weather though. Let’s talk about this bright green vegetable.

Every week when we get our delivery of organic produce from Abundant Harvest Organics there’s an information packed newsletter tucked into the box. I love what Vernon has to say on the front, plus there are great recipe ideas, and such great storage tips.

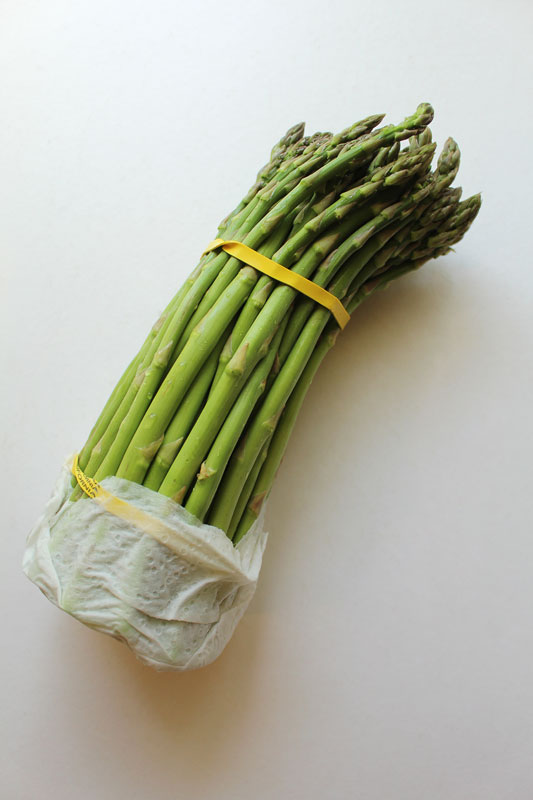
Like, for example, asparagus: I learned to cut off about an inch from the bottom, wrap them in a damp paper towel, and then store them in a plastic bag. Can I share a secret with you? The asparagus photographed were a week old. Yeah. This storage tip worked well.

Asparagus-1

Before using asparagus in any dish, I like to trim the ends (because they can get a little tough, so they are better saved for vegetable stock). To do this, take one stalk and hold it with one hand at each end. Bend it so that it snaps naturally, usually an inch or two from the bottom. That will give you a good idea of how much to remove and you can line up the remaining asparagus and cut them all off at the same time, rather than snapping each individually.

Easy. Now they’re ready to be cooked.

Asparagus-4

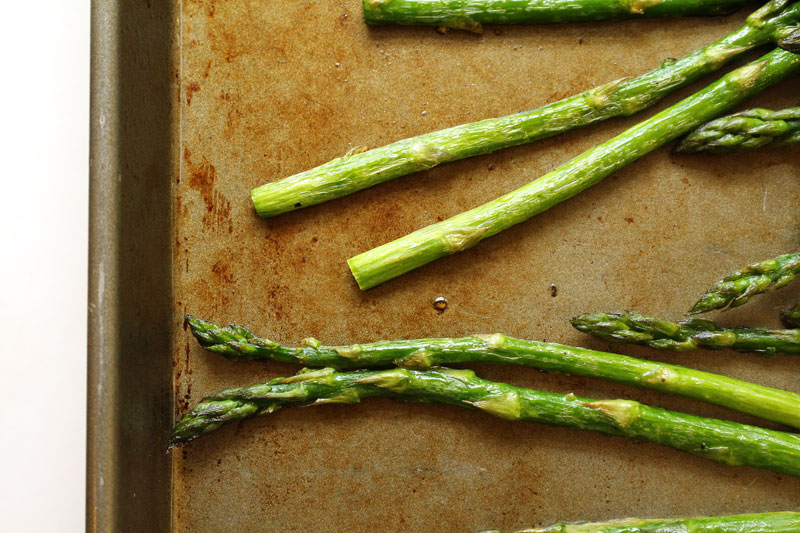
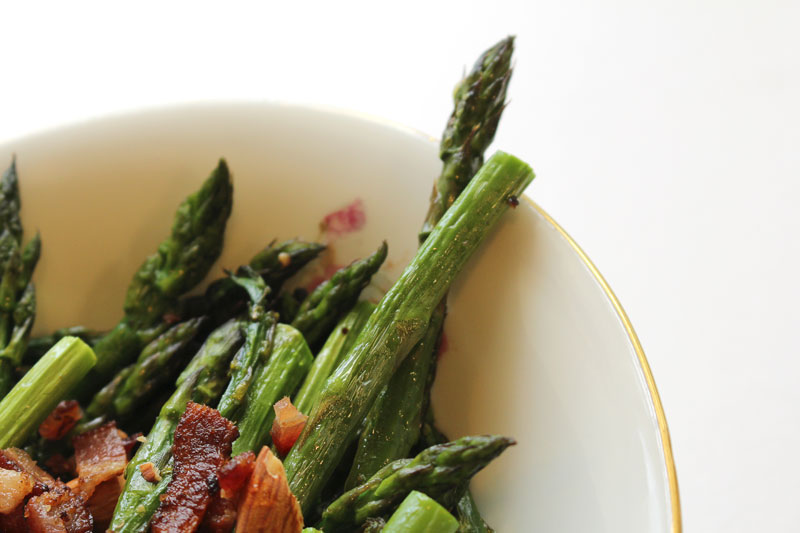
My favorite way to eat almost any vegetable is roasted. Asparagus is no different. They get a little sweeter, crispier outside, and tender inside.

Just perfect, in my opinion.

AsparagusWithCrispyBacon-8

The other week I shared a recipe for Roasted Asparagus with Almonds and Crispy Bacon. It’s like my favorite way to eat veggies taken to a whole new level when bacon, almonds, and a squeeze of lemon juice are added.

SpringFrittata7

If you’re up for something other than roasting, another favorite is to add asparagus to a Spring Frittata. Seriously good. Invite some friends over for this one. Serve the frittata alongside a Savory Baked French Toast and a Simple Orange Salad. Dark, rich coffee, fresh squeezed orange juice, or mimosas would be very acceptable beverage choices for this meal.

There you go. I’ve planned your next brunch for you.

AsparagusWithCrispyBacon-1

I would totally throw these friendly green stalks into a spring soup with some potatoes, cream/milk, thyme, cayenne, salt, pepper, and onions.

What if you made a cold sauce by mixing a little bit of heavy cream with some dijon mustard, salt, and pepper, then drizzled it over some hot, roasted asparagus?!

You could blanch them (cook in boiling water for about 2 minutes, then submerge into an ice bath to stop the cooking), top them with some of your favorite olive oil, fresh thyme, a squeeze of lemon juice, salt, pepper, and shaved parmesan cheese. Serve them alongside a perfectly cooked fried egg.

You might try either roasting or cooking in a little bit of oil, over high heat for just a few minutes. Then toss with some lemon juice and fresh tarragon.

I think I would like to eat any of these right now… but, we had some friends visiting from Germany, and they brought us an incredible assortment of chocolates. So that’s what I’ve been snacking as I’ve been writing about crispy, crunchy, green asparagus.

Happy Eating!