Thanksgiving with a Twist
Written by Rachel, Posted in Holiday, Meal Hero, Menu Planning
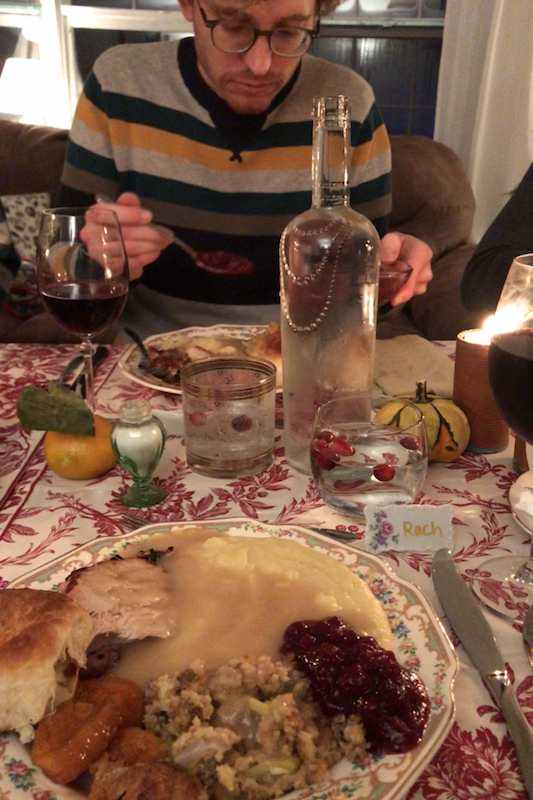
Thanksgiving is my favorite food holiday. My perfect bite is one with a little bit of everything on the fork. Turkey, mashed potatoes, gravy, a few green beans, sweet potato, some stuffing, and just enough cranberry sauce to bring some sweet tart to a very rich bite. I wait all year for this meal. It’s not like we can’t have it another time. But, somehow that seems wrong. Just me? Anyone else feel this way?
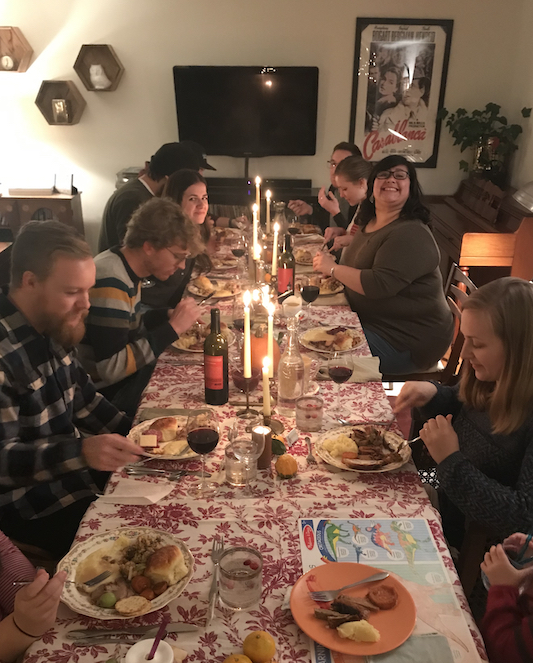
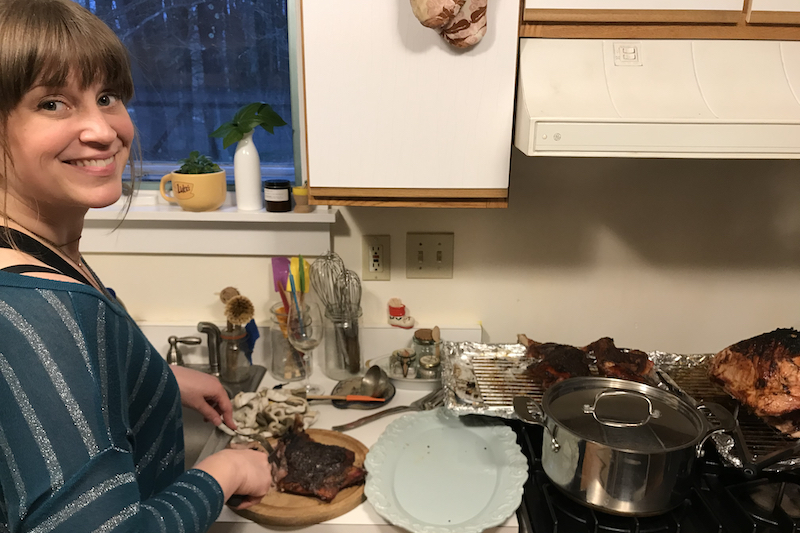
The last two years we’ve hosted Thanksgiving in our home. We’ve invited friends who, like us, live far away from family. Last year some of my family came to visit us for the holiday. It was the best! We pushed furniture out of the way and set up three tables in the living room. I got out the tablecloths that get used once a year, found some candles, and made use of the way too many plates that we have been holding on to.
If I could only have two things to eat at Thanksgiving it would be mashed potatoes and gravy. Last year our friend, Zach, brought the mashed potatoes. The serving dish was an industrial sized pot that was about two feet in diameter. Oh happy day!
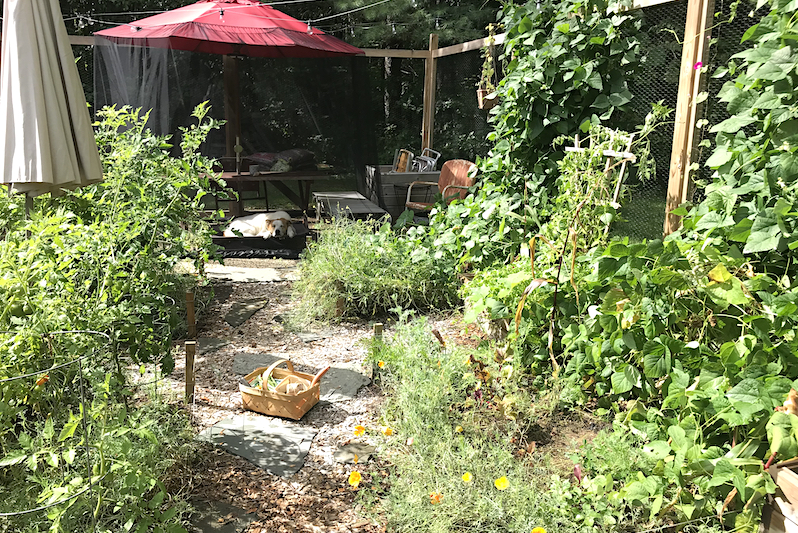
Thanksgiving will look a little different for us in 2020. I’m guessing yours might too. We haven’t hosted friends indoors in eight months. We’ve hung out in the garden, stood six feet apart in the driveway, and have had Zoom dinners. But the living room furniture will stay as is this year.
To make it feel special, we’re doing a month of Thanksgiving. Once a week we’re having a special dinner. Menus inspired by Thanksgiving. With a few elements that remind us of the traditional meal, or that are very loose and fun adaptations of it.
Menus Inspired by Thanksgiving
Menu One – A Twist on Thanksgiving
Cranberry Crostini (toast small pieces of bread topped with some cheese, when the cheese is melty top with warmed cranberry sauce and black pepper)
Salad with Cranberries and Candied Pecans (top butter lettuce with cranberries, candied pecans, and thin slices of apple or pear, then drizzle with olive oil and balsamic vinegar)
Apple Bourbon Galette with Pumpkin Pie Lattés
Menu Two – A Hint of Thanksgiving
Menu Three – A Play on Thanksgiving
Sweet Potato Parmesan Tater Tots
Massaged Kale Salad With Cranberries and Apples (swap the radishes for cranberries and leave out the carrots, if you want)
Sweet Potato Cake with Salted Cream Cheese Frosting
On the big day, it’ll be a paired down version. Maybe turkey breast instead of a whole bird. Mashed potatoes and gravy for days. And a side or two from our favorites.
My Traditional Thanksgiving Dinner
Spiced and Glazed Roast Turkey (I made this last year and it was amazing!!)
In the past we’ve had a whole turkey. Yum. Delicious. This year it will probably be roast turkey breast, or legs.
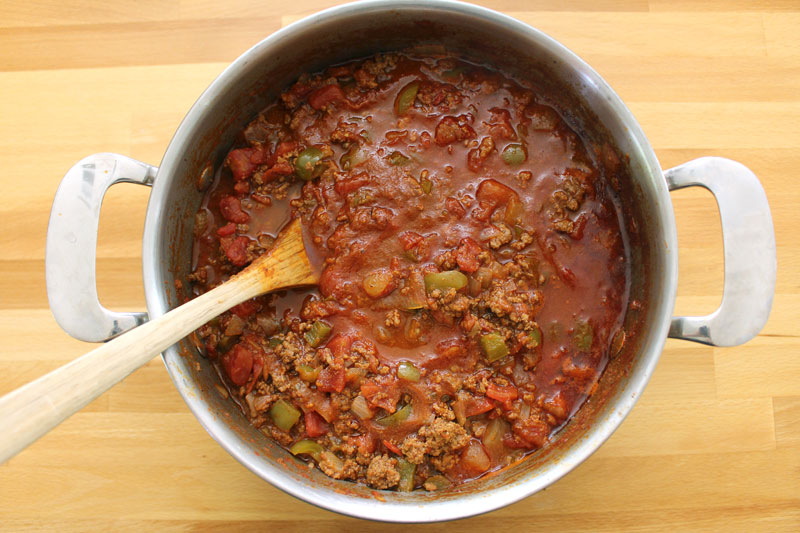
Last year when my brother and his family came they made a Seitan Roast since they are vegan. For those who don’t eat meat, or who want to try something new this year, this could be a delicious option.
Or is it dressing? Technically, stuffing is cooked in the bird. But at our Thanksgiving dinners it’s always made in a separate pan, no matter what we call it. Stuffing sounds so much better than “dressing”, so I’m going to keep calling it stuffing, even if that’s not technically correct.
A lot of gravy, please, to be ladled over the turkey, potatoes, and stuffing – it needs to be thick and rich and so flavorful.
Delicious vegan gravy can be made by replacing the turkey stock with a rich vegetable or mushroom stock.
I want there to be enough to have leftovers with gravy at least twice, plus some for making Potato Pancakes.
For vegan mashed potatoes use olive oil or a vegan butter (there are some great ones available) and use a dairy free, unsweetened milk that you like the flavor of.
Green Beans
Casserole, with caramelized shallots, roasted… just as long as there are green beans on my plate.
You may call those orange fleshed roots “yams” if you’d like. They are technically sweet potatoes, but we mean the same thing. I don’t go for the ones with marshmallows on top anymore. I like them cubed and roasted with a bit of olive oil and salt and pepper. Simple, but delicious.
Cranberry Sauce
Are you a cran from a can fan? I know that for some, it’s tradition. It needs to schloomp out of the can so they can see the ridges as it wobbles on the plate. That’s cool. My tradition is cranberry sauce made from scratch using fresh or frozen cranberries, a bit of orange zest, balsamic vinegar, and maybe some fuyu persimmons. But, with that said, if someone brought a can of cranberry sauce to Thanksgiving dinner as their contribution, I’d eat it and love every bite.
I’m new to loving brussels sprouts. I’ve been a big fan ever since I discovered that they don’t have to be boiled forever until they’re mushy and tasteless.
I may say that these take up valuable Thanksgiving stomach real estate. And I wouldn’t be wrong. But, my husband, Tim, makes the best rolls. They’re fluffy and tender, and are just the perfect thing for mopping up any extra gravy and cranberry sauce left on my plate. So, I’ll take one please… maybe two.
I have a confession. I don’t like pie. I know. I’m so sorry. Tim loves pie. So, he makes it. And I’ll admit that I’ve been converted by his apple pie. It’s delicious. He told me the other day that he’s going to get me to like pecan pie too. I told him there’s no chance. I guess we will see. Personally, I’d rather have cake or maybe just the ice cream that’s served with the pie. I know, I know, I’m the worst. ¯\_(ツ)_/¯
Things are different this year. But that doesn’t mean we won’t be enjoying all the foods we love. It’ll be a paired down version that might include Zoom dinners and FaceTime calls, but the main gist of the holiday remains: thankfulness.
People in our communities are struggling with food insecurity and loneliness. Here are some great ways that you could share the things you’re thankful for and bless someone this holiday season:
- Add the dishes in one of these menus into the Meal Hero app (for Apple or Android) and use the Instacart feature and have food delivered to someone you know who could use a little love right now.
- Make twice as much as you need for one of the above menus (at Thanksgiving or any meal) and bring a meal to someone in your community who might have a hardship.
- Make the food the day before they’ll eat it. Chill it and handwrite a menu. You could repurpose clean takeout containers so they don’t have to worry about getting any dishes back to you. To stay socially distant, drop the food off at their door, then send them a text that it’s there and wave from the driveway.
- Many families will be depending on their local food banks for Thanksgiving dinner and other meals. Click here to find a food bank in your area if you’d like to drop off non-perishable foods for those in need.
- There are also many food focused charities that you can donate to if you’d prefer to stay home and do it online.
How will you be celebrating this year? Will things be different in your household? From my home to yours, happy gratitude day.