Sheet Pan Chicken Dinner – A Cooking Show with Rachel O – Ep. 3
Written by Rachel, Posted in A Cooking Show with Rachel O, Contests, Dinner, Gluten Free, Main Dishes, Meat, One Dish Dinners, Poultry, Roasting, Sauces, Vegetables

This is going to be easy. Like, not as easy as making toast from store bought, pre-sliced bread. But, not as difficult as making toast from homemade bread. More like making toast from store bought not sliced bread.
The only difficult thing is waiting for the oven to heat up (ours takes twelve years) and making sure the chicken isn’t still frozen (ugh, mine is).
So while I wait for both of those things to correct themselves, I’m gonna halve some brussels sprouts and think about whether or not I could write a cookbook.
It’s something I’ve wanted to do for a while now. Just recently it’s been on my mind a little more. I was talking to Maggie Green about it last week and she asked “Why not you?” Yeah, why not me?!
So I’m putting this out there. Not for any reason but to tell you, so you can know first. “I’m gonna do the thing that scares me. Let my dreams be big enough to scare me.” –Arielle Estoria (paraphrase)
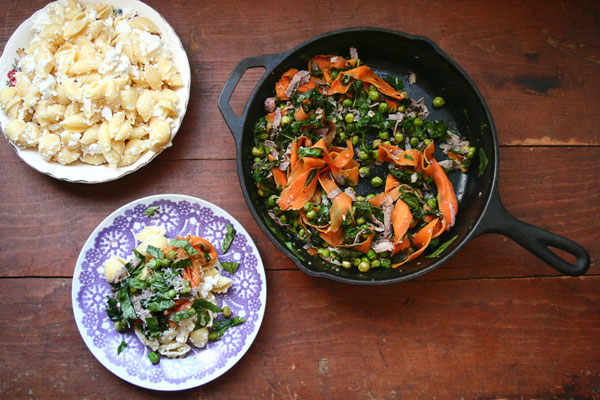
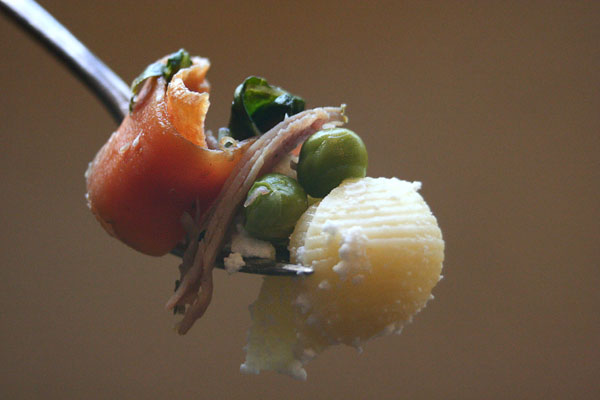
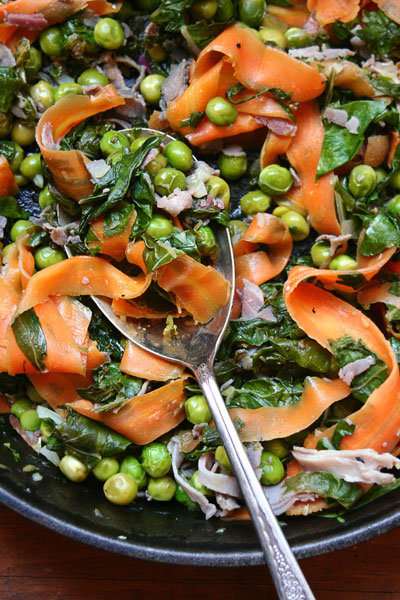
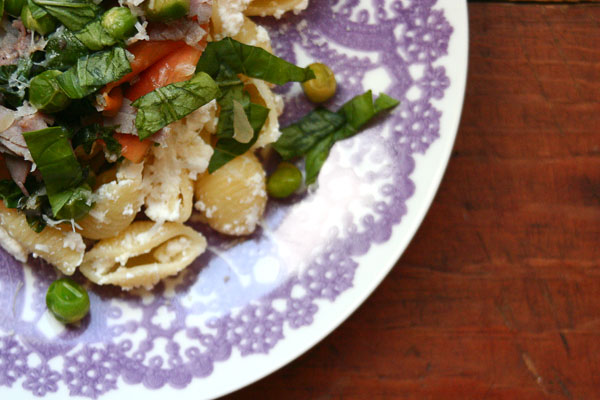
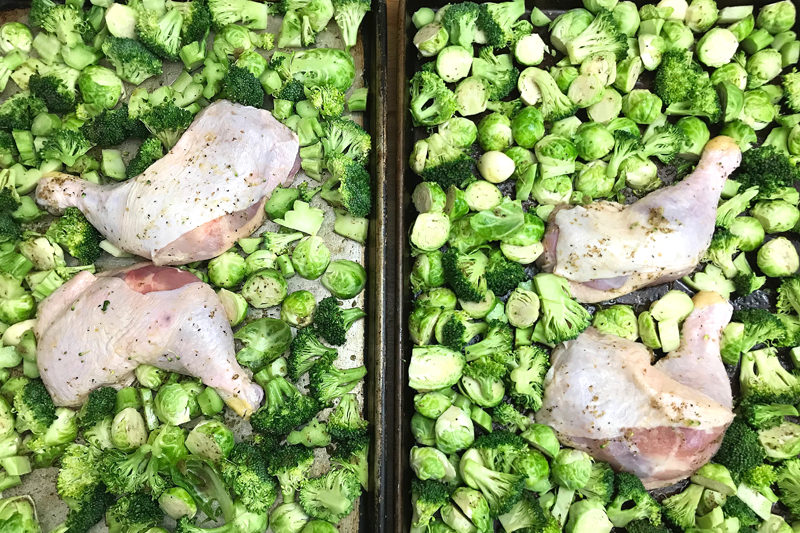
Ok, I think the oven’s ready. Remember, this is easy. You can swap out the veggies if you want to. I’m using brussels sprouts and broccoli, because it’s what I have on hand. I’d also like to make it with cauliflower, carrots, or even just a simple chicken and potatoes dinner. You could try rutabagas or parsnips, beets (chioggia beets would be super pretty), maybe even some cabbage wedges?? You’re the boss of your dinner, so make it how you want, use what you have on hand, and use this recipe as a guide, not something you have to follow exactly.
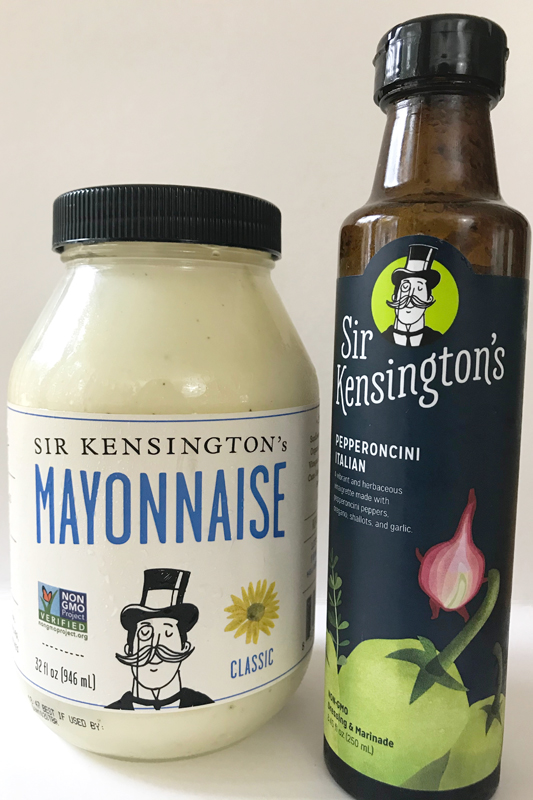
Since I’m the boss of my dinner, I’m using one of my favorite things: Sir Kensington’s Pepperoncini Italian Vinaigrette AND giving it away!! Winner winner chicken dinner!
The giveaway has now closed. Congratulations to the winner: @brambleberrybear!
To Enter:
- Follow both @De_Ma_Cuisine and @sirkensingtons on Instagram.
- Leave a comment on the @De_Ma_Cuisine Instagram post announcing the giveaway or on this blog post. You can comment about sheet pan dinners, whether or not you’d buy my cookbook, what Sir Kensington’s products you love the most, or anything else you find interesting.
Rules:
- Giveaway is open to residents of the United States.
- Winner will get to select any two Sir Kensington’s vinaigrettes.
- Giveaway will close Wednesday November 13, 2019 at 3pmEST.
- Winner will be chosen through random drawing.
- Winner will be contacted to get their shipping address.
Thanks for sponsoring the giveaway, Sir Kensington’s!
Happy eating and bonne chance!
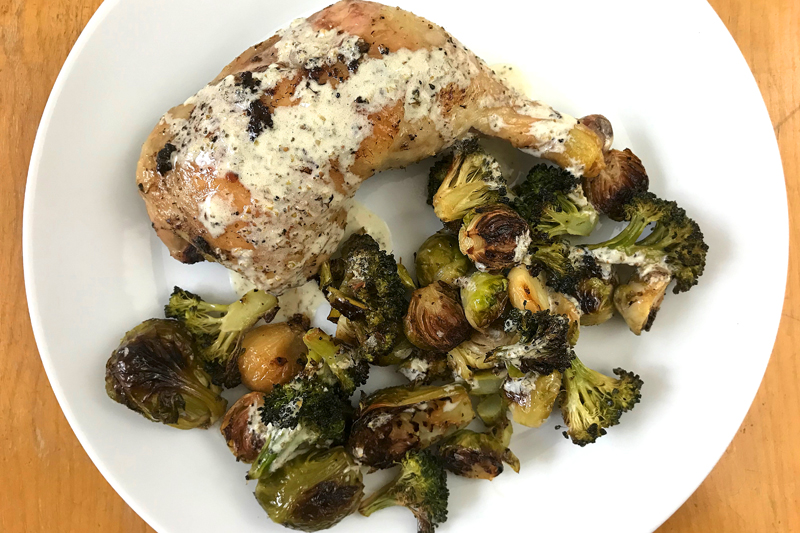
Sheet Pan Chicken Dinner
Serves 4-6 (with leftovers)
Ingredients
- 1-8.45oz bottle Sir Kensington’s Pepperoncini Italian Vinaigrette
- 4 chicken legs
- 1.5 lbs brussels sprouts, halved
- 1.5 pounds broccoli, cut into bite sized pieces
- 6 whole cloves garlic
- 1/4 cup mayo (I like Sir Kensington’s Avocado Oil Mayo or their Classic Mayo)
- Maldon salt
Directions
- Pre-heat the oven to 350°F.
- Using two baking sheets, toss the chicken and all veggies in 1 cup of Sir Kensington’s dressing. Spread everything out evenly. It’s good if it touches. I like to keep the chicken skin side up, keeping the bottom in contact with the baking sheet. Bake, turning sheets once and stirring the veggies, until the chicken is fully cooked and the veggies are tender inside and browned and crispy outside, about 50-60 minutes (depending on your oven).
- While everything roasts, whisk together the remaining vinaigrette and the mayo to make a sauce.
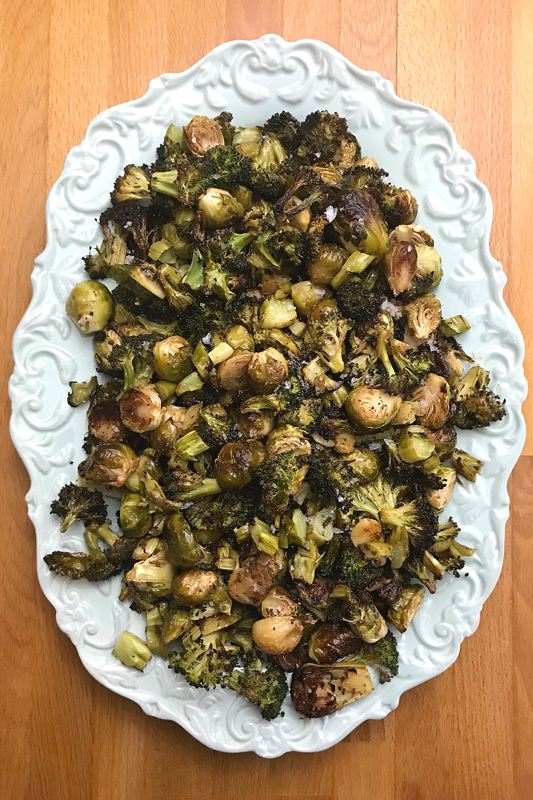
- Top veggies with Maldon salt. Serve the veggies and chicken with the sauce poured overtop or on the side for dipping.