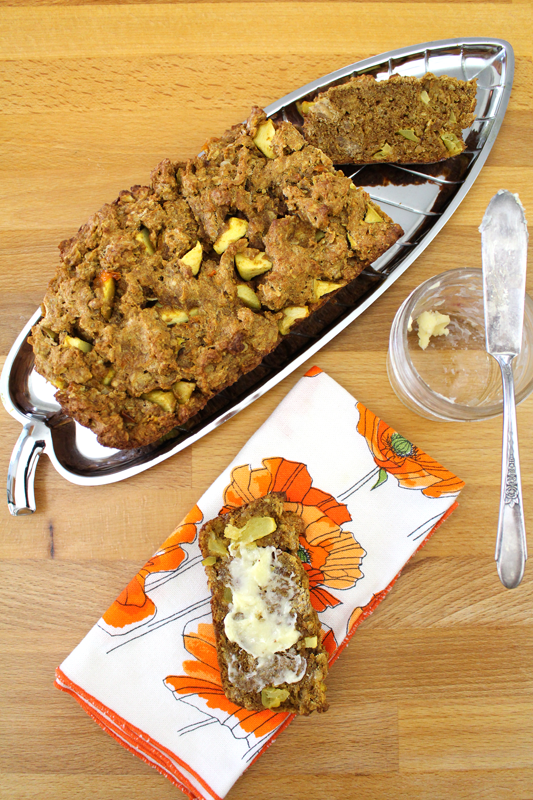
Persimmon Apple Bread
Written by Rachel, Posted in Baking, Bread, Breakfast, Brunch, Dairy-Free, Dessert, Eggs, Fruit, Grains, Kid-Friendly, Nuts, Snacks, Vegetables, Vegetarian
I don’t know if the old adage, “An apple a day keeps the doctor away” is true. But, apples have always been a favorite of mine, so if I can eat an apple every day that makes me happy. My favorite way to enjoy them is raw. Sliced, whole, chopped… it doesn’t matter. Since we go through apples pretty quickly, they don’t often get cooked. We either don’t feel the need, or there just aren’t any left. But, sometimes, I need to bake bread, and the bread needs to be studded with apples.
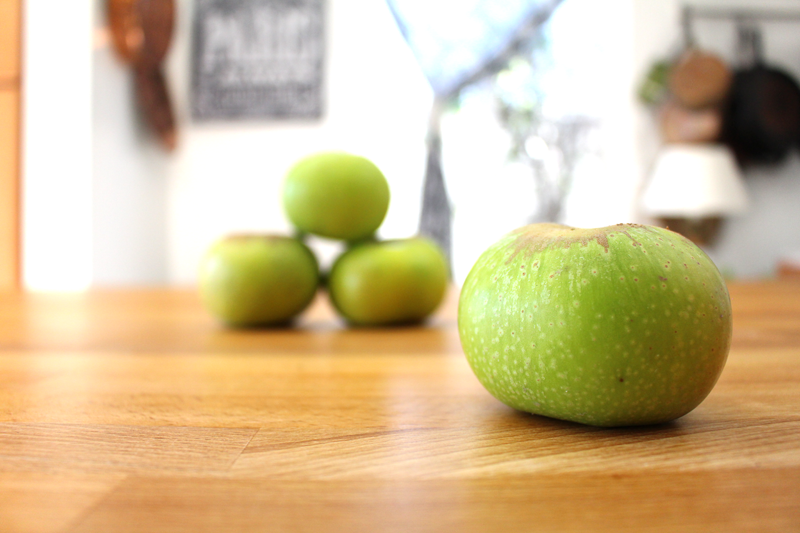
For this recipe I used Pippins. But, in my kitchen, I’d use whatever I have on hand. I’m sure the experts would disagree. There are some apples that are better for baking (Granny Smiths), and some that are best eaten out of hand (Fujis and Galas). But, as I’ve mentioned before, I’m a frugal cook, so I prefer to make do and adapt to what I’ve got, if at all possible.
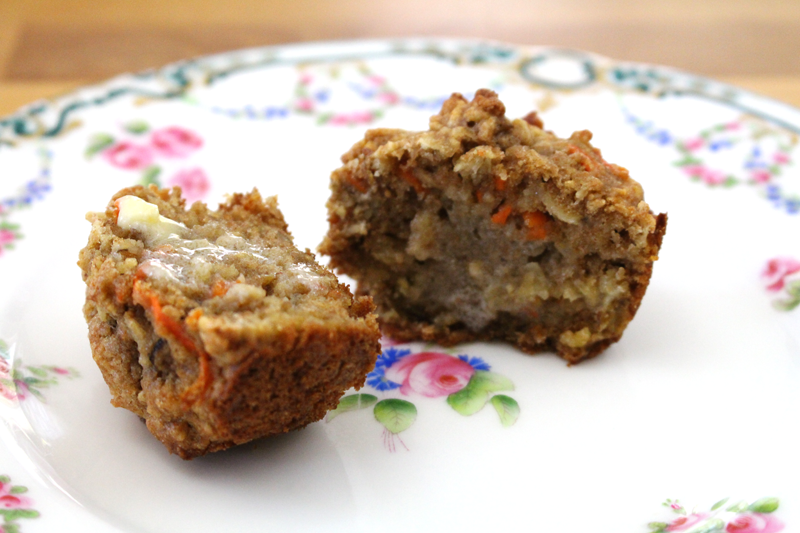
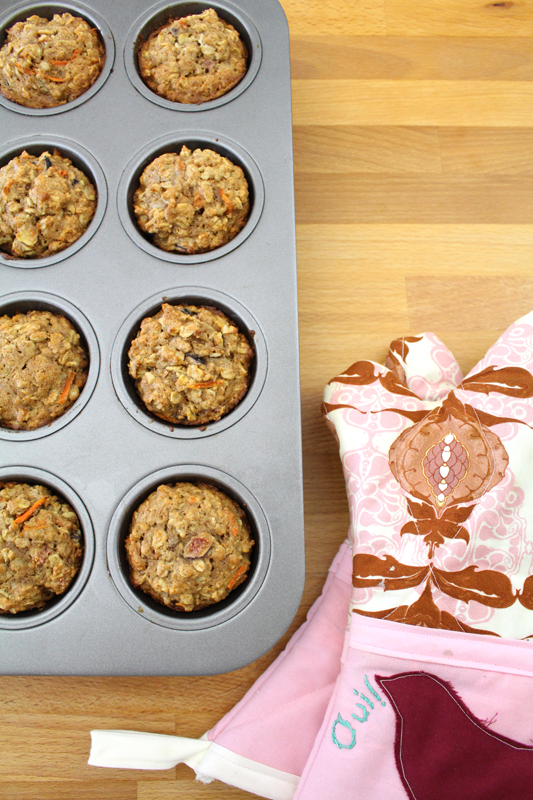
This bread is a dense, muffin-like bread. You could call it an Apple Snack Cake if that’s more appealing to someone that you’re trying to convince to try it. You could bake it in muffin tins if that’s easier or more manageable.
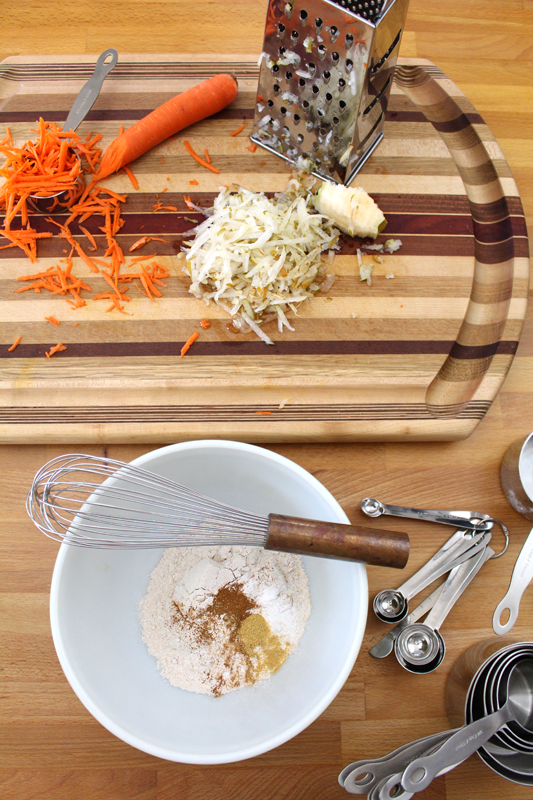
When persimmons are no longer in season you could add a super ripe (or frozen then thawed) banana. When apples are no longer in season, you could sub pears, Asian pears, persimmons, figs, cherries, or stone fruit. If you wanted to add some grated veggies, carrots, parsnips, or summer squash could be easily hidden (ok, maybe not the carrots, but you wouldn’t taste them too much). You could add nuts and seeds, raisins, dried cherries or cranberries (why don’t we call raisins “dried grapes”?), or maybe even chocolate chips.
What I’m trying to say is, it’s pretty versatile.
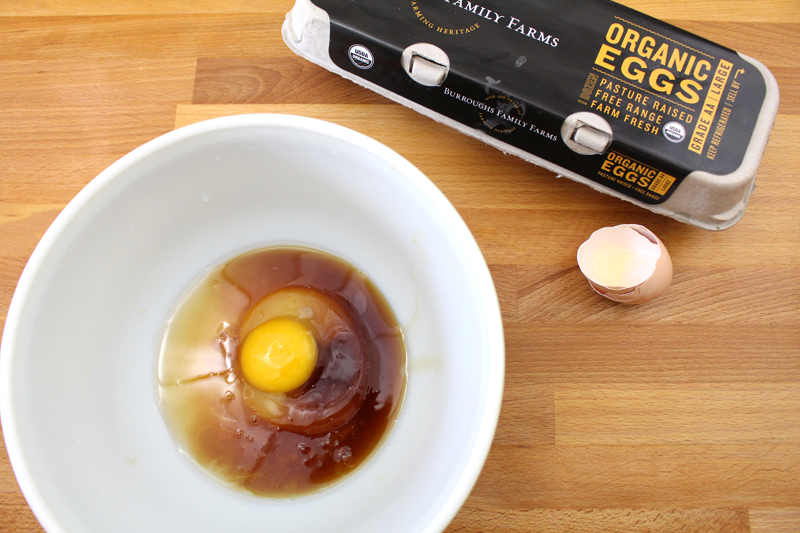
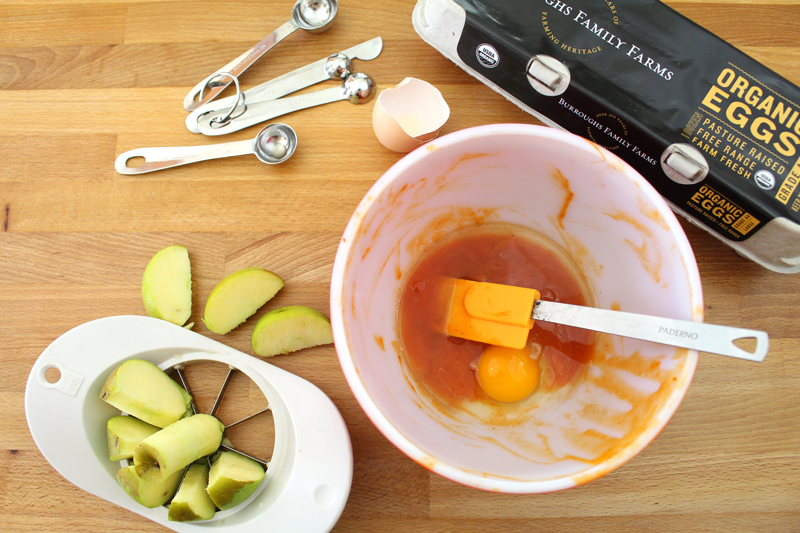
Like many baked goods, the dry ingredients are combined first, then set aside. The wet ingredients come together next. Everyone jumps into the bowl, then into a greased loaf pan. Easy. Quick. Snack attack time is near.
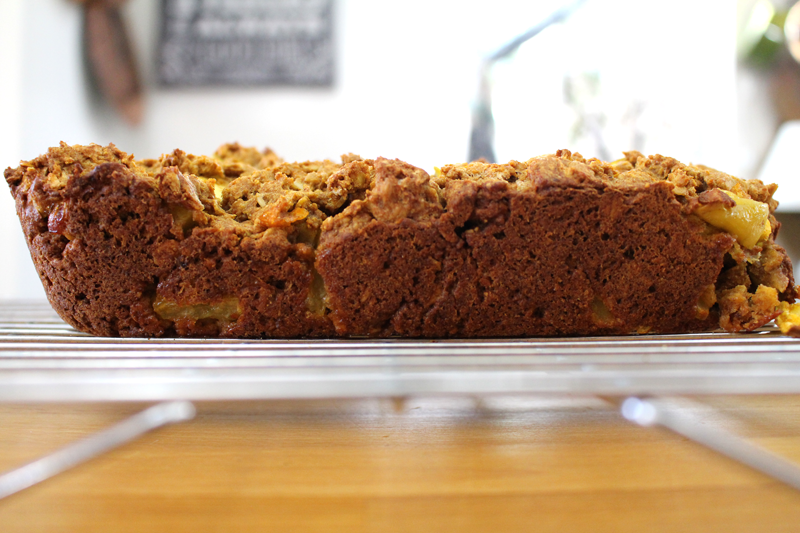
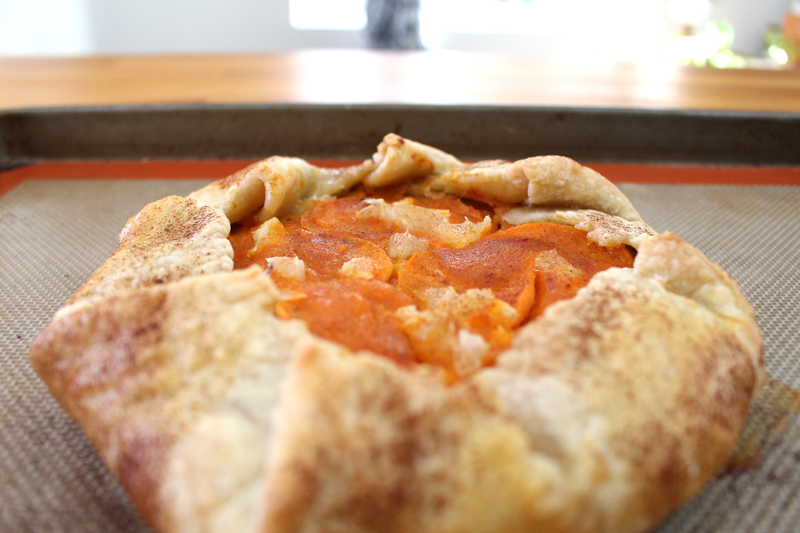
I would suggest letting the bread cool completely before slicing. If it’s still warm it may be a little too crumbly (although still yummy).
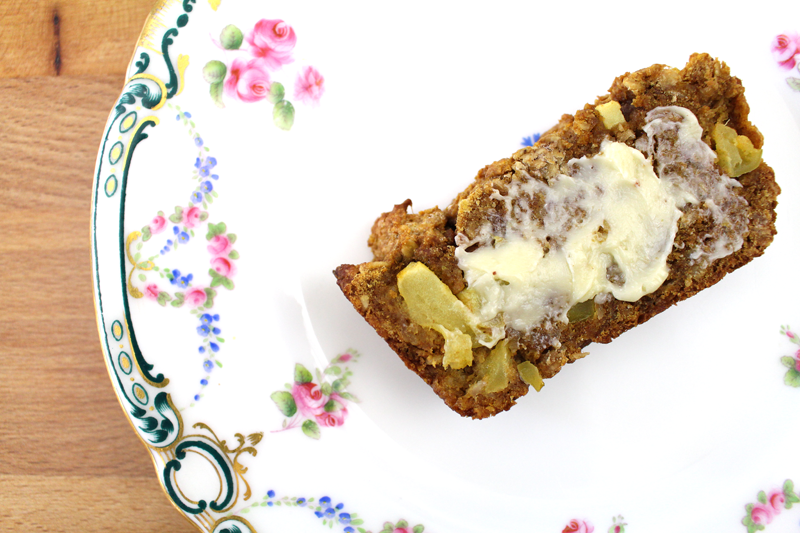
I opted for simple, and topped it with some homemade butter. But, you could also top it with caramel and serve it for dessert. You might spread some cream cheese on a slice, or top the whole thing with cream cheese frosting. Or, as an ode to one of my favorite snacks, eat it for breakfast topped with some crunchy peanut butter.
Peanut butter and apples. Apples and cheese. Apples and almonds… apples and almost anything.
Happy Eating!
Ingredients
- 1 C whole wheat flour
- 1/4 t salt
- 1/2 t baking powder
- 1/2 t baking soda
- 1/4 t cinnamon
- 1 t fresh ginger, minced (or 1/4 t ground)
- 1/2 C cold unsalted butter (could sub cold coconut oil), cut into small chunks
- 1 C oats (can also use granola)
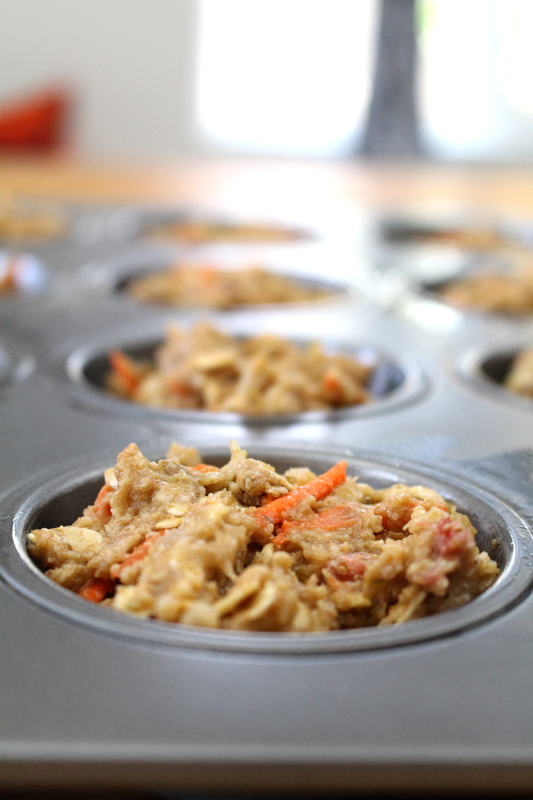
- 1 1/4 C apples (or chopped pears, Asian pears, persimmons, figs, cherries, stone fruit, or grated carrots, parsnips, or summer squash), chopped
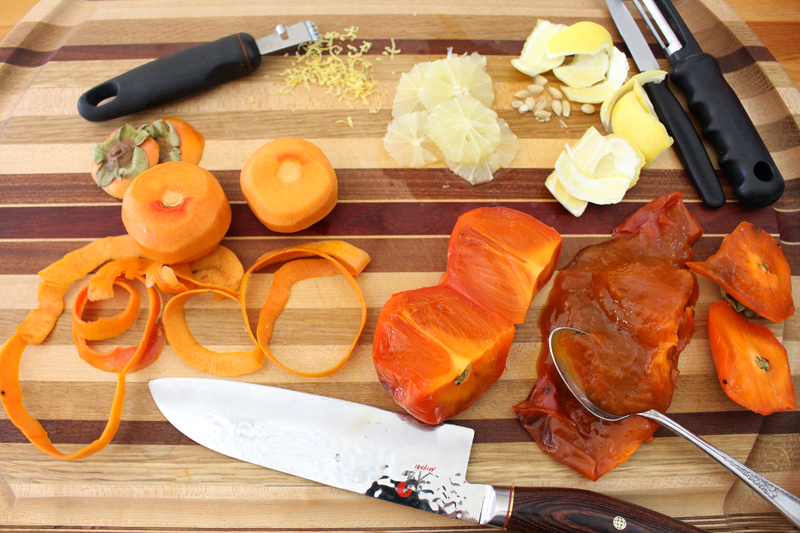
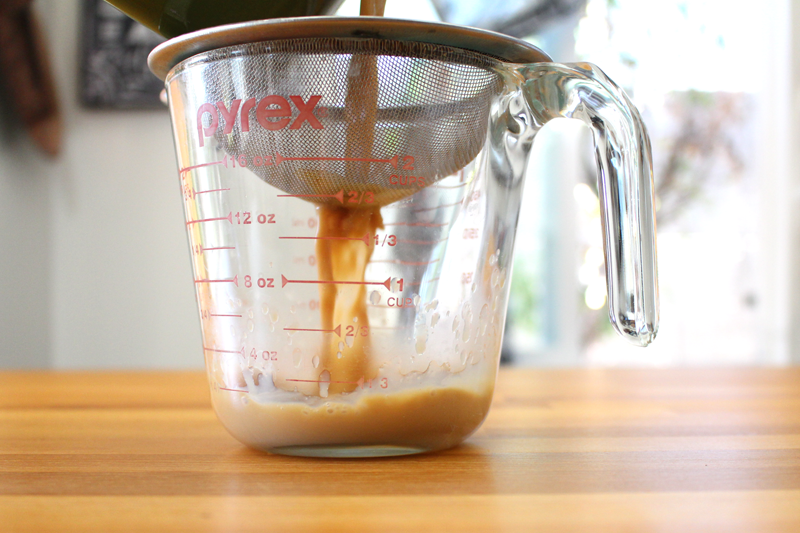
- 1/2 C persimmon pulp
- 1 egg
- 1 t apple cider vinegar
- 1 t vanilla extract
- 1 T maple syrup
- optional, for topping: seeds or chopped nuts
Instructions
- Pre-heat the oven to 350F.
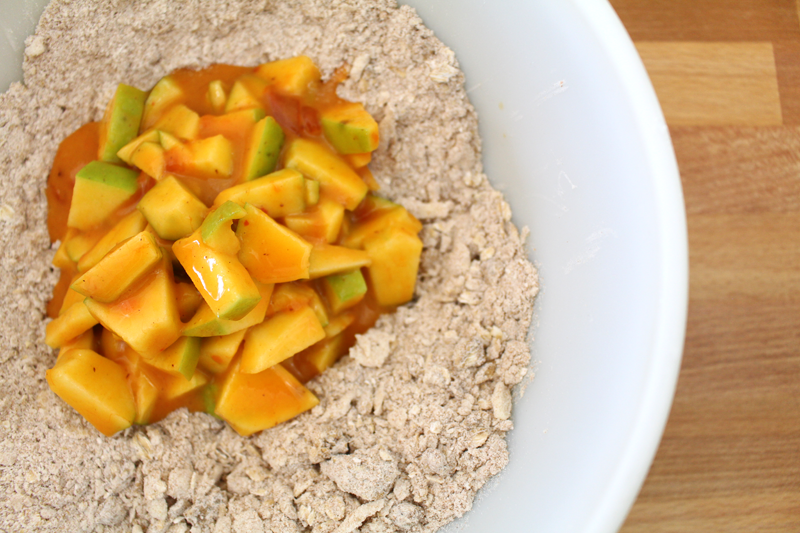
- Whisk the flour through ginger. Mix in butter or oil with a pastry blender or hands (until it resembles a coarse meal or pea sized chunks). Stir in oats and fruit. Set in the freezer while you assemble wet ingredients.
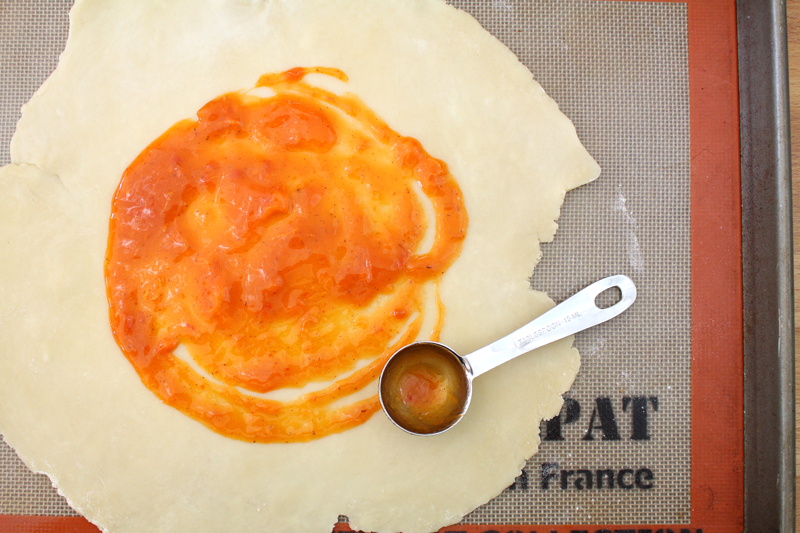
- In a separate bowl, whisk together the persimmon pulp through maple syrup. Add dry ingredients and stir to combine.
- Scoop into a greased loaf pan (or into greased muffin tins). Top with nuts and seeds if using. Bake for 35-40 minutes (20-22 for muffins), or until a toothpick inserted in the center comes out clean.
- Remove from the oven and cool in the pan for 5 minutes. Remove from the pan and cool completely on a cooling rack.