A few years ago I tried to make chocolate sauce for ice cream. As one who rarely makes desserts and who doesn’t bake a lot, the science behind these types of things can baffle me. I ended up with pudding instead of chocolate sauce.
But, it was one of those happy mistakes. Because I ended up with a delicious dessert (which, if you’re wondering, tasted just fine over ice cream).
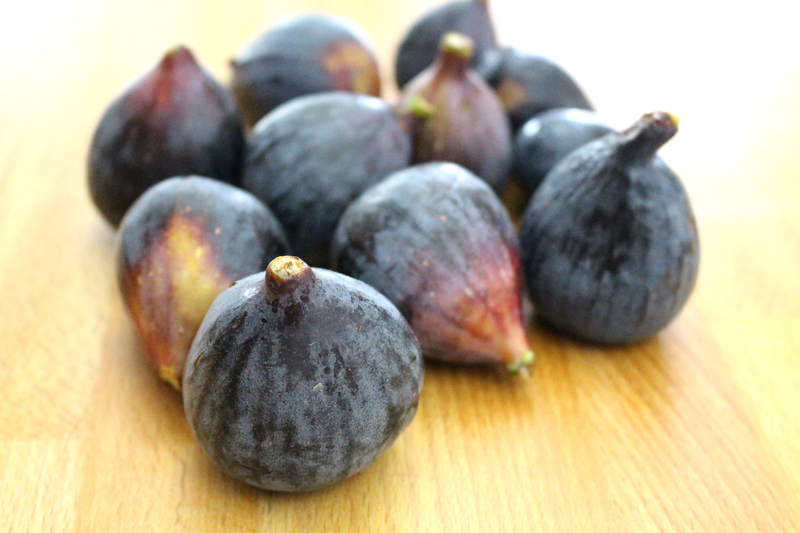
Since figs are way early this year, kinda like a lot of our produce, I figured it was time to recreate that pudding, with a figgy twist.
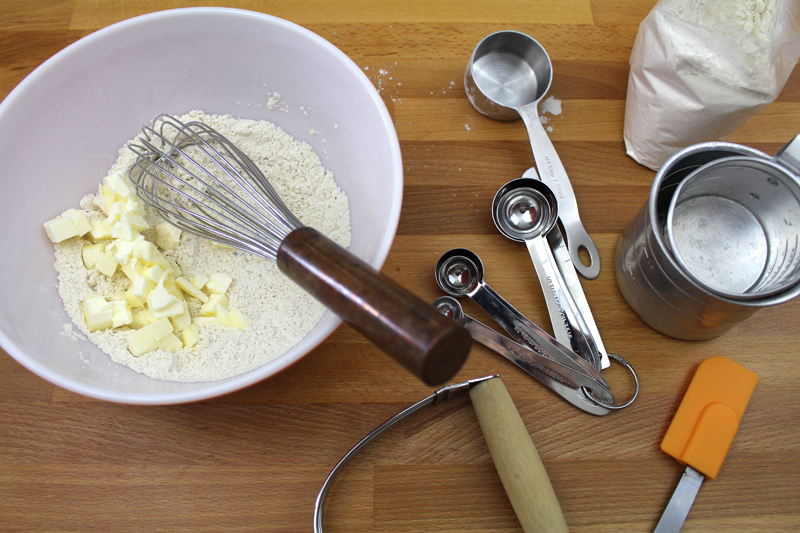
This is one of those times where it’s important to have read through the recipe and have all ingredients prepped in advance. It’s not complicated and the timing doesn’t have to be exact. But, for example, you don’t want to take the time to melt the chocolate, only to have it cool down too much, or for the milk to boil over, or the figs to burn while you get the rest of the ingredients ready. You want to be able to give each step the attention it deserves.
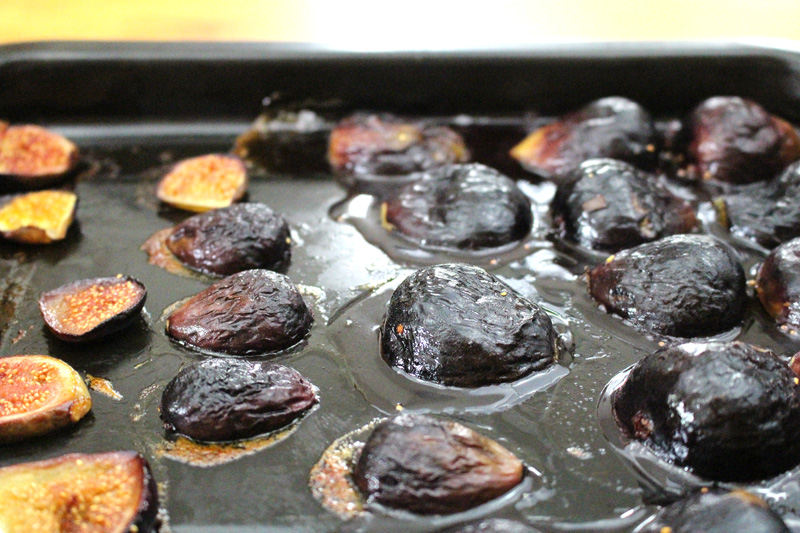
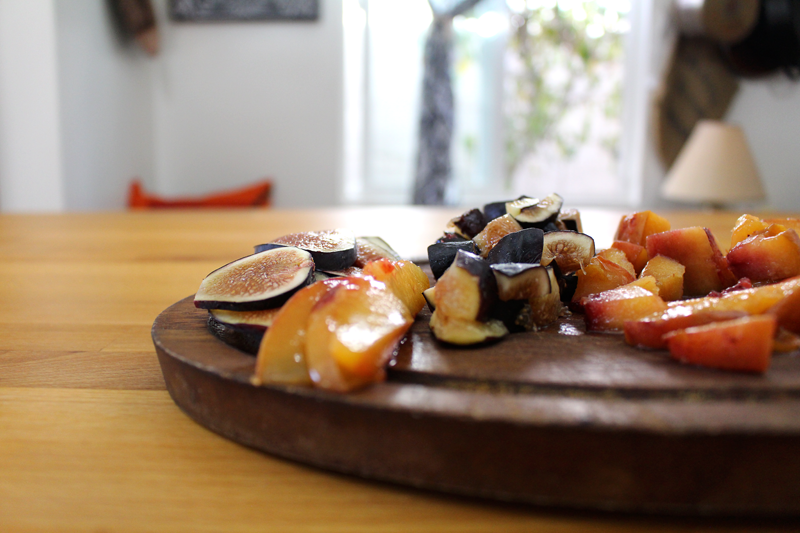
I took some fresh figs and roasted them. It’s my favorite way to enjoy them. They were tossed with some coconut oil before heading in to the oven.
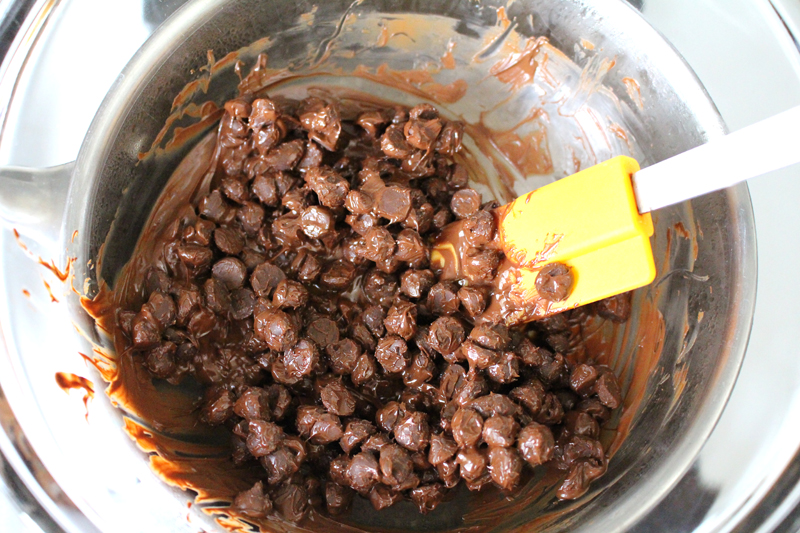
While the figs roasted, I melted some chocolate. We aren’t a microwaving house, so I made a double boiler from a medium-sized pot with about an inch of boiling water in the bottom, and a bowl that fit snugly over top and kinda in (without touching the water). This is gentler on the chocolate than cooking it right in the pan over the heat. It just took a few minutes, with a bit of stirring, to go from solid chips to…
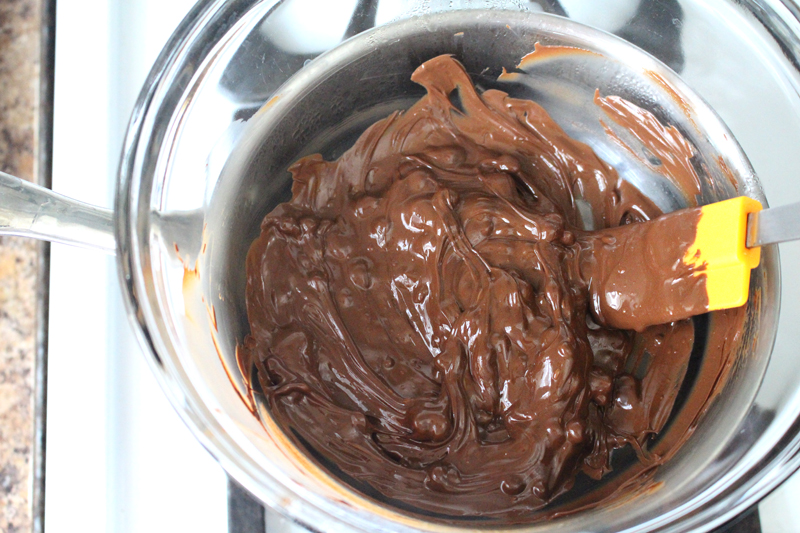
Melty but lumpy goodness, to…
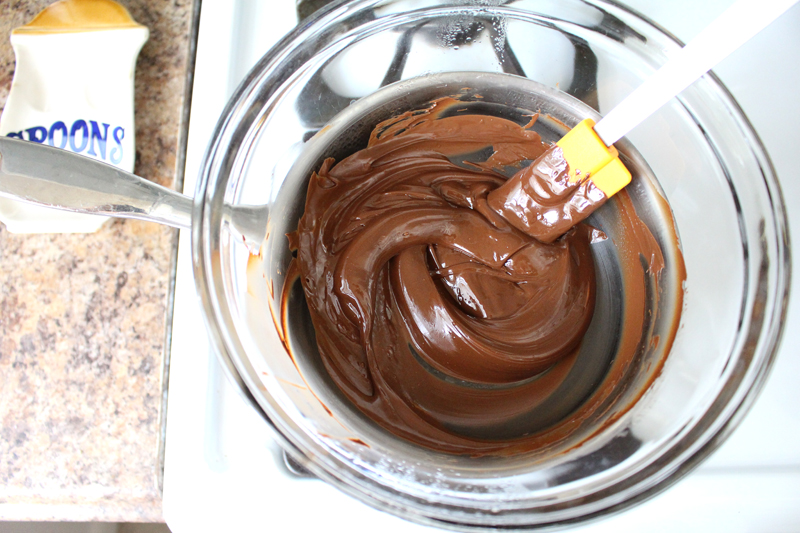
Smooth and creamy melted chocolate.
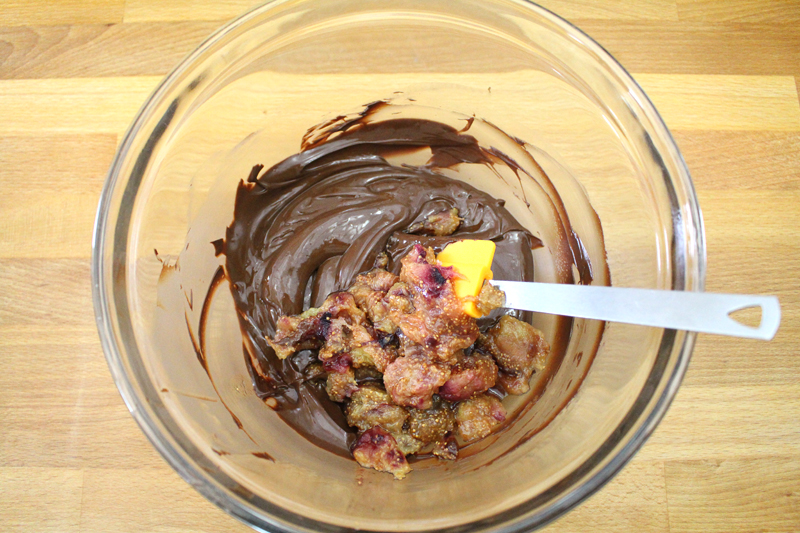
I scraped the flesh from the fig skins. Which sounds like pig skins. Which makes me think of bacon. But we’re not adding bacon. Really. No bacon… Although now I wonder if that would be good.
I digress.
I mashed the figgy goodness and mixed it in with the chocolate. It’s ok if it’s not perfectly smooth. A few chunks of fig are a good surprise when eating this pudding.
P.S. Don’t toss the fig skins. Chop them up and use them to make a fabulous treat: Toast a thinly sliced baguette. Top with cheese (like parmesan, cream cheese, feta, goat cheese, ricotta, or gorgonzola… to name just a few), figs, black pepper, and a drizzle of honey… you could even top it with some bacon if you wanted to.
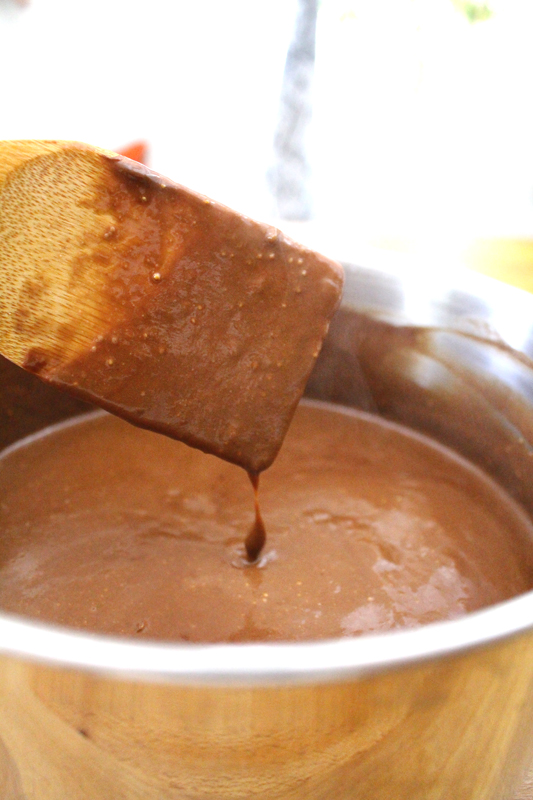
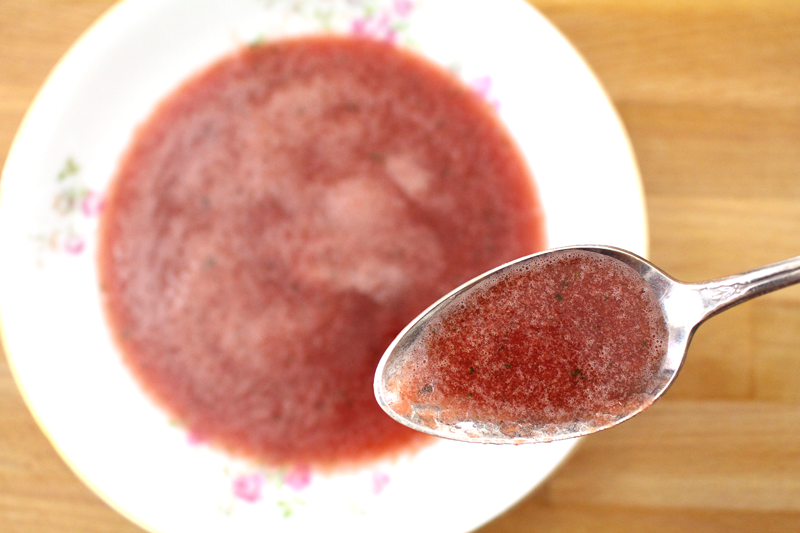
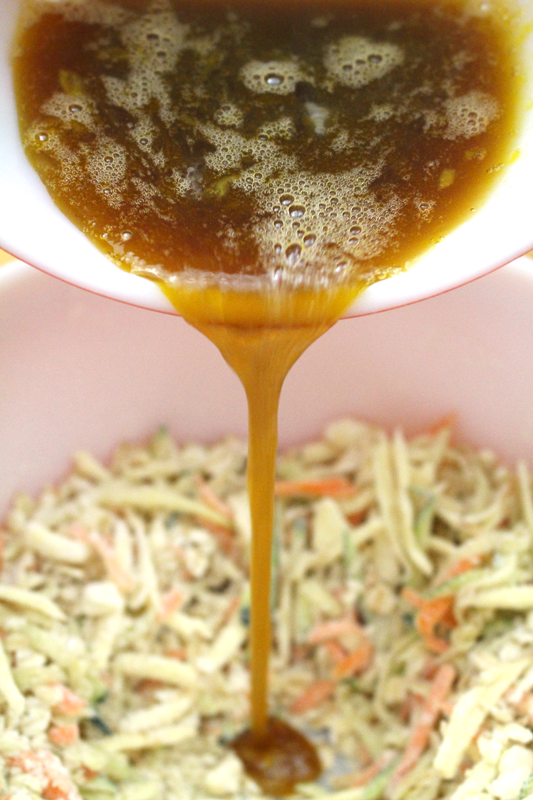
I added the chocolate and fig mixture to a milk and honey mixture that had been warming for a few minutes (with it was a pinch of salt and some cornstarch that had been whisked into a bit of water).
Yes, this is getting good.
The cornstarch acts as a thickener. You’ll see it working as things get hotter and hotter. Gone will be the thin and runny chocolate soup. It will be thick and creamy.
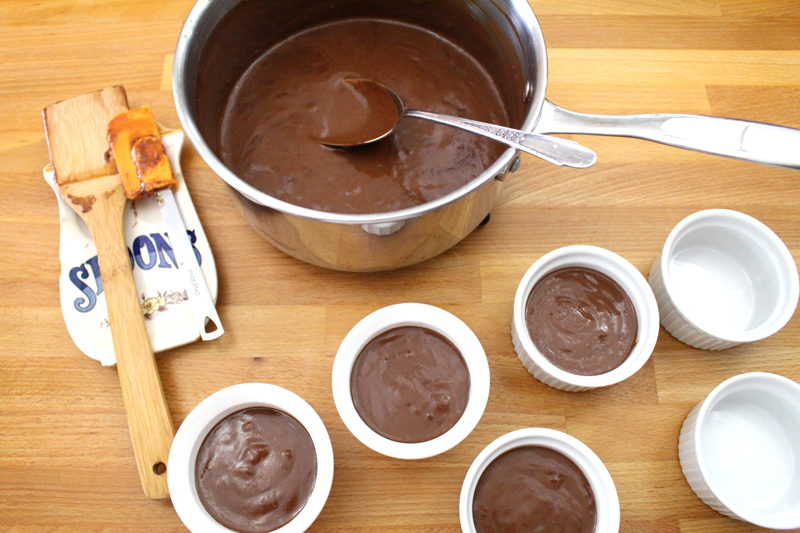
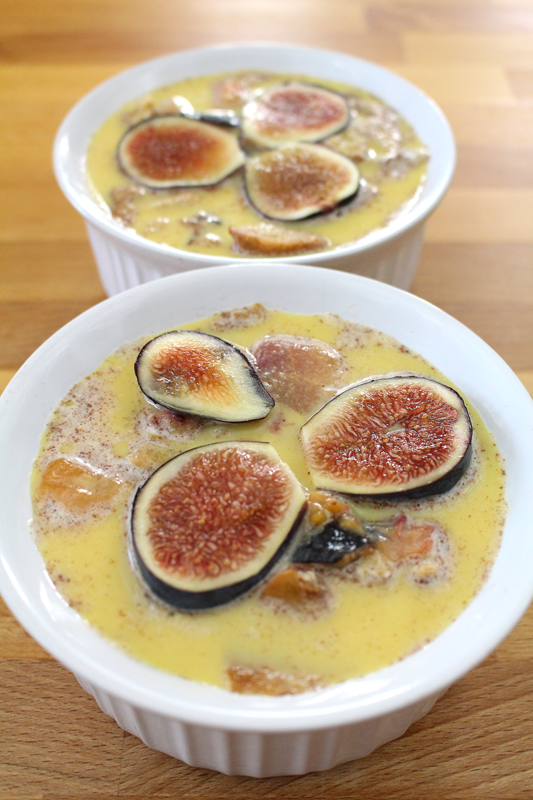
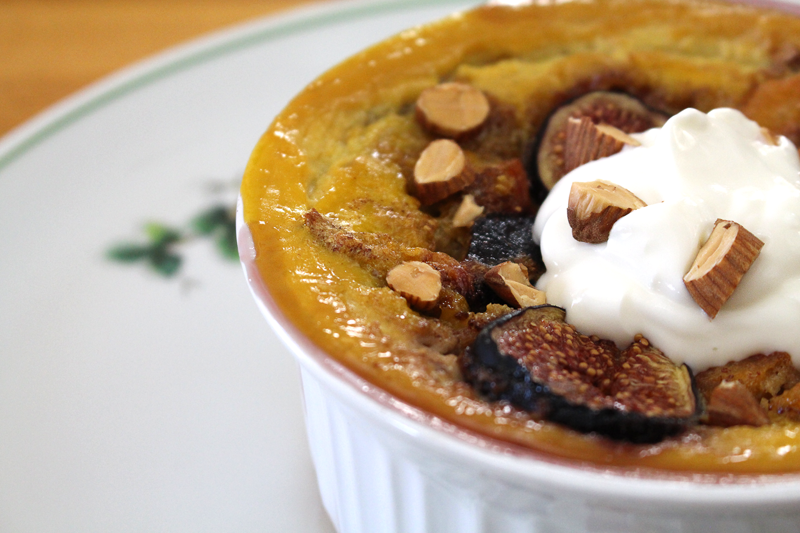
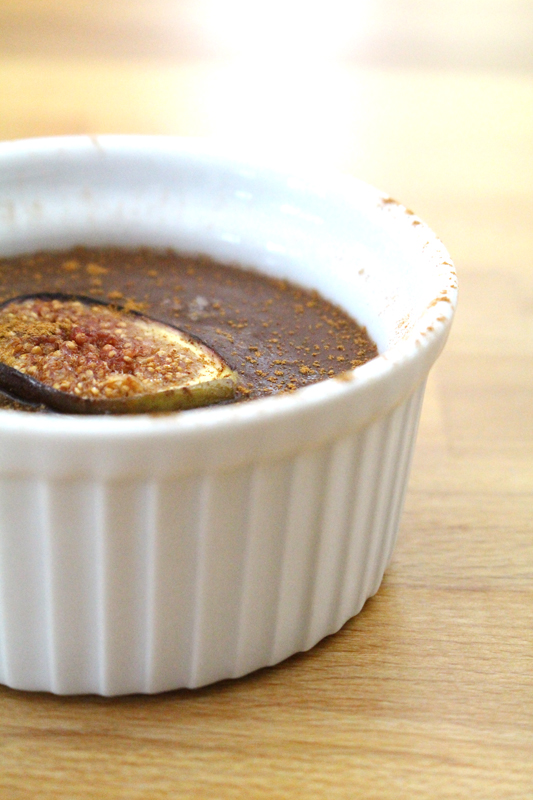
I divided the mixture between 8 ramekins. They’re small portions, but it’s a rich dessert, and I think that small portions are best for desserts. I also don’t have much of a sweet tooth. If you want bigger portions, just use larger ramekins, and less of them. Simple math.

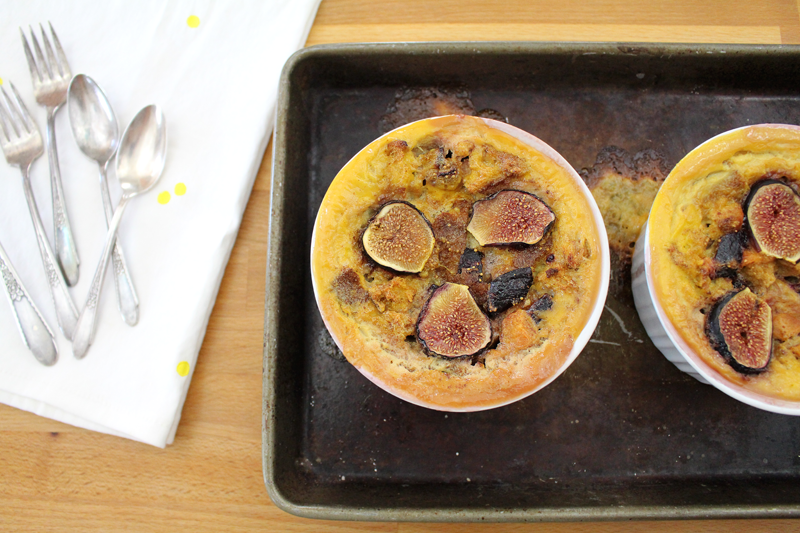
Those reserved sliced and roasted figs, one went in the center of each ramekin. And then, some flakes of sea salt were sprinkled over it all. This is a situation where a fancier “finishing salt” is great – table salt, not so much, as you want a few medium-sized flakes. For my birthday, Tim got me some Maldon Sea Salt Flakes, which is available at some grocery stores and online. I use them when I want to feel fancy.
If you’re skeptical, I understand. I have been slow to jump on the salted dessert bandwagon. But, after watching an episode of Good Eats, I was convinced to give it a try. The salt brings out the flavor of the chocolate. And it’s not like it’s salty salty, it’s just enhancing the flavor. If you’re unsure, do a little taste test. Take a spoonful of pudding and top it with one or two flakes of salt. Give it a taste. Then try a spoonful of pudding without. Do you notice a difference? I don’t think I’ll be salting my watermelon or apples anytime soon, but chocolate and salt have finally convinced my tastebuds that they’re good friends (Tim, I know, I know, you were right).

The last step before setting them in the fridge for an hour or so (to not only cool, but thicken and set) was to add a sprinkle of cinnamon. Once again I’ll ask you to trust me and do this. You can leave off the salt and cinnamon and your dessert will be fine, it will even be good. But, let’s elevate it to great. And then we’ve got a pudding that can be served at a dinner party, as a fancy birthday dessert, or a sweet way to end a holiday dinner.
I may have eaten most of a bowlful before it even got into the fridge. And remember, I don’t have a sweet tooth.
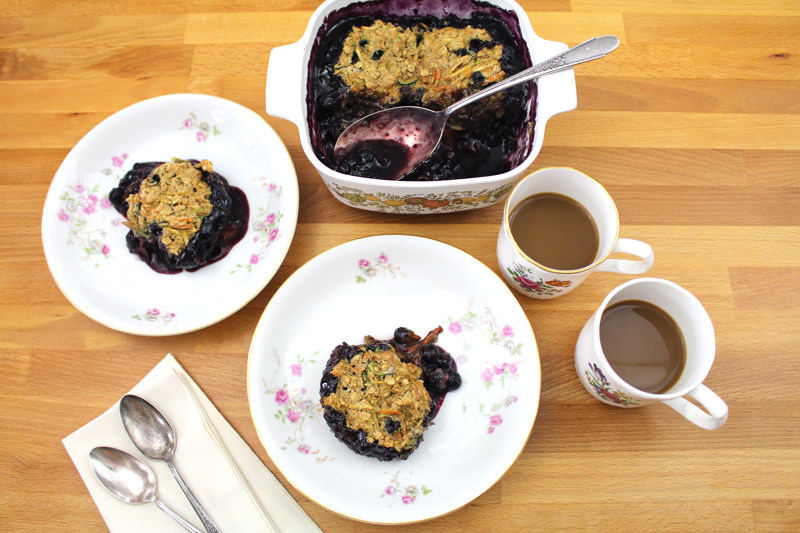
Happy Eating!
Salted Chocolate and Roasted Fig Pudding
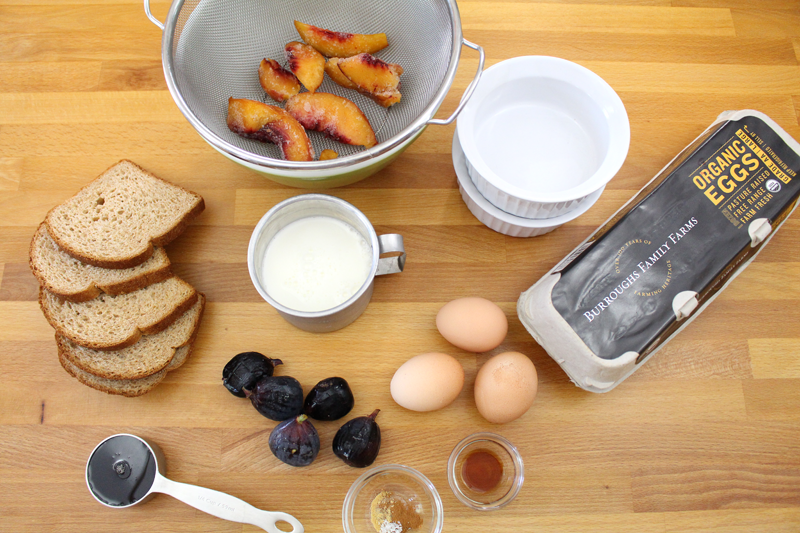
Ingredients
- 8-10 figs, halved
- 2 figs, sliced in four
- 1 t coconut oil, melted
- 6 oz (about 1 C) good quality chocolate (around 46% cacao)
- 1 T cornstarch
- 1/4 C cool water
- pinch salt
- 3 T honey
- 2 C milk (any kind, full fat)
- cinnamon, for topping (optional)
- flakes of sea salt, for topping (optional)
Instructions
- Pre-heat the oven to 375F.
- Toss figs with coconut oil. Place cut side down on a baking sheet. Roast for 10 minutes, flip sliced figs (leave halved ones cut side down), and roast for about 5-10 minutes more. Remove from pan and cool. Scrape fig flesh from skin and set aside.
- Make a double boiler (or use a real one) by heating a pot with about 1" water. When it boils, turn it down to a simmer and place a glass bowl that just fits over the top and into the pot, but doesn't touch the water. Add chocolate to the bowl and stir occasionally until chocolate is melted. Remove from heat. Add figs and mash into chocolate.
- Whisk cornstarch with water.
- Let an ice cube melt in the bottom of a clean pot (this keeps the milk from scalding). Add the cornstarch mixture, salt, honey, and milk and warm slowly, over medium heat, stirring occasionally. When it's warm (after about 2-4 minutes), whisk in the chocolate and fig mixture. Slowly bring the mixture to a boil over medium heat, gently whisking or stirring with a wooden spoon almost constantly until it has thickened (about 3-5 minutes).
- Remove from heat and pour into 8-4 oz. ramekins. Gingerly set one fig slice on top of the pudding, and sprinkle with cinnamon and a few flakes of sea salt. Cool for about 10 minutes on the counter, then cool completely in the refrigerator (about 1 hour). Serve when they're completely cooled and set.
3.1
http://www.de-ma-cuisine.com/salted-chocolate-and-roasted-fig-pudding/