Maple and Vanilla Bean Crème Brûlée
Written by Rachel, Posted in Baking, Dessert, Eggs, Gluten Free, Vegetarian
Crème brûlée is by far my favorite dessert. Ever. When we were in Paris nearly two years ago, we ate as much of it as we could. I never tired of it. I’ve made it a few times at home. Different recipes, different results. Same as when we were in Paris. Each restaurant yielded something a little bit different. Some were more of a crème anglaise (which is more of a thick creamy sauce), some more like what I consider to be a traditional crème brûlée.
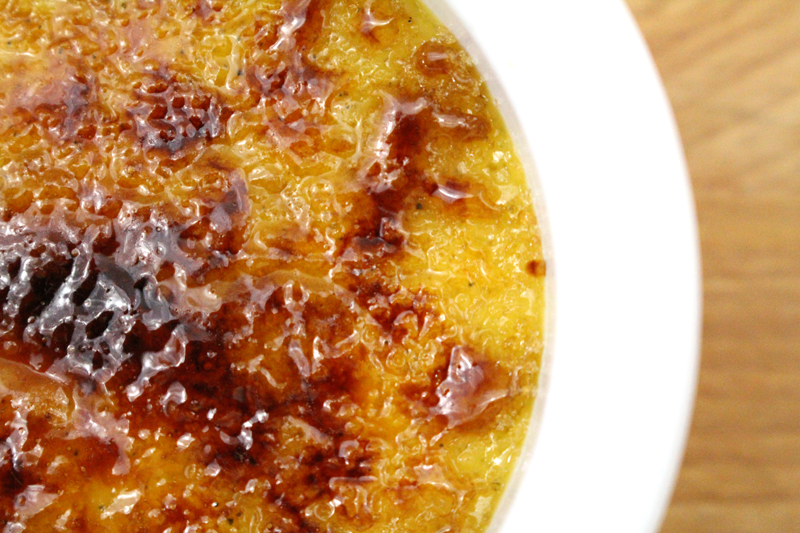
There’s just nothing like the subtle sweetness of the rich cream, the cracked sugar on top, the vanilla beans speckled throughout. I’m not much of a sweets person… unless there’s crème brûlée.
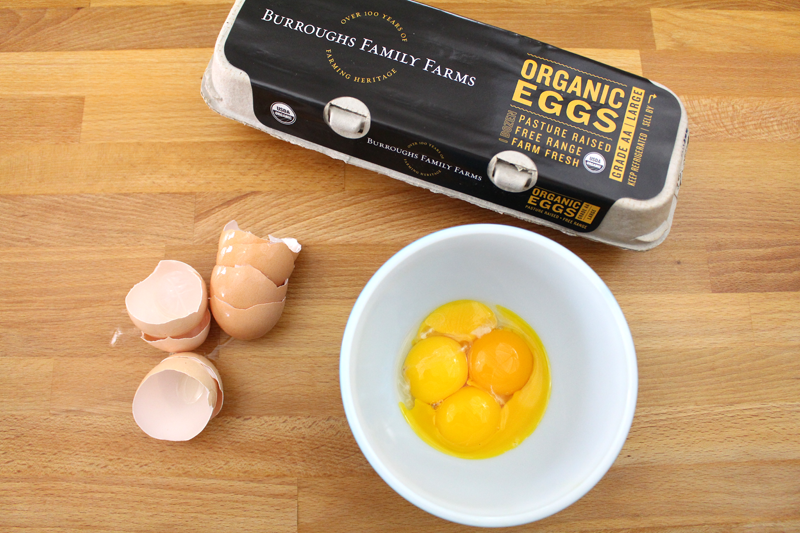
It’s a mixture of egg yolks, cream, and sugar. I separated the egg yolks from the whites (and saved them for dinner), and let them come to room temperature. That way when tempering, they will have less of a jump to warm to the temperature of the cream (more on that later). I used maple syrup and honey instead of sugar, and a mixture of cream and whole milk.
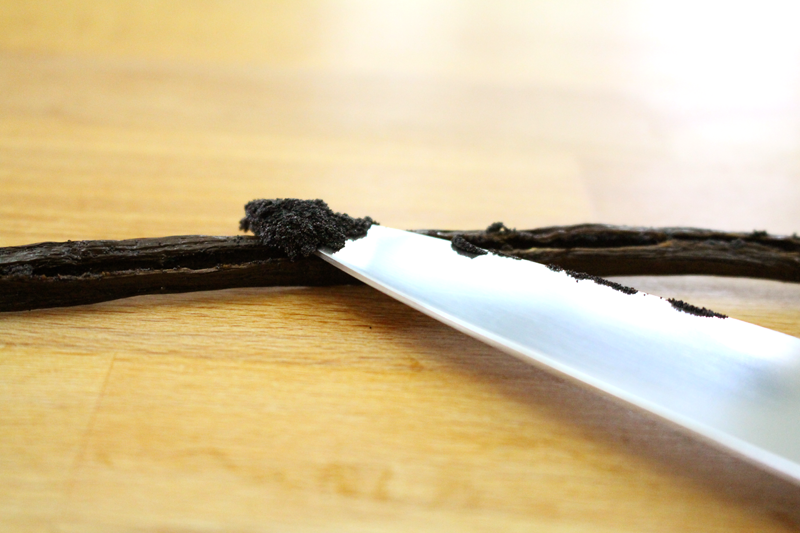
And then there’s the smell of the vanilla bean. It has to be one of my favorites. To remove the seeds from the pod, split it down the middle and scrape them out with a knife.
The next few steps are a little bit, not tricky, but particular about how they’re done. The cream, milk, vanilla, honey, maple syrup, and a pinch of salt are heated slowly in a saucepan. No boiling, just until steam rises. Not too difficult.
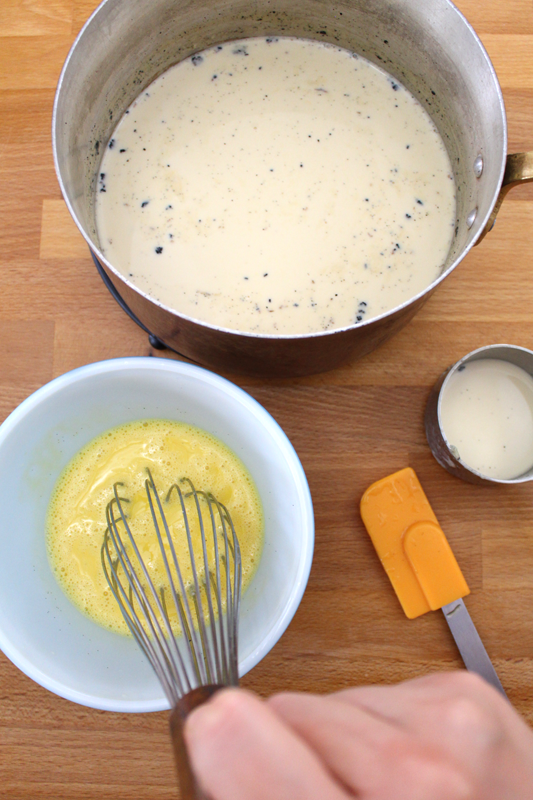
The next part is where you can get into trouble if you’re not careful… Egg tempering. A bit of the hot liquid is introduced to the cooler eggs, to bring them closer to the temperature of the hot mixture, before they’re added to it. We do this so that the eggs don’t scramble when added to the hot cream. Scrambled egg brûlée is a lot less appealing than crème brûlée.
If you do accidentally scramble them (you know, as long as it’s not all of them), you can strain the lumps out.
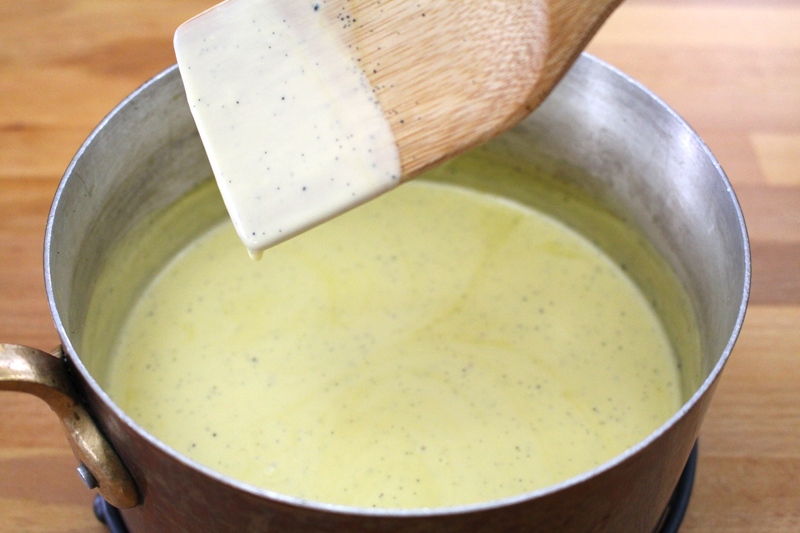
Once the eggs are warmed, they are whisked into the cream mixture. Then they all return to the stove to thicken. You don’t want to let them get too hot, because the eggs could still scramble. I like to stir constantly with a wooden spoon so I can keep an eye on things. After about 5 minutes it started to thicken, and at about 7 minutes, it was thick enough to coat the spoon without running right off. Perfect. Away from the heat it goes.
At this point, you could just whisk in some melted chocolate and drink it, straight from the saucepan. I didn’t, but I considered it.
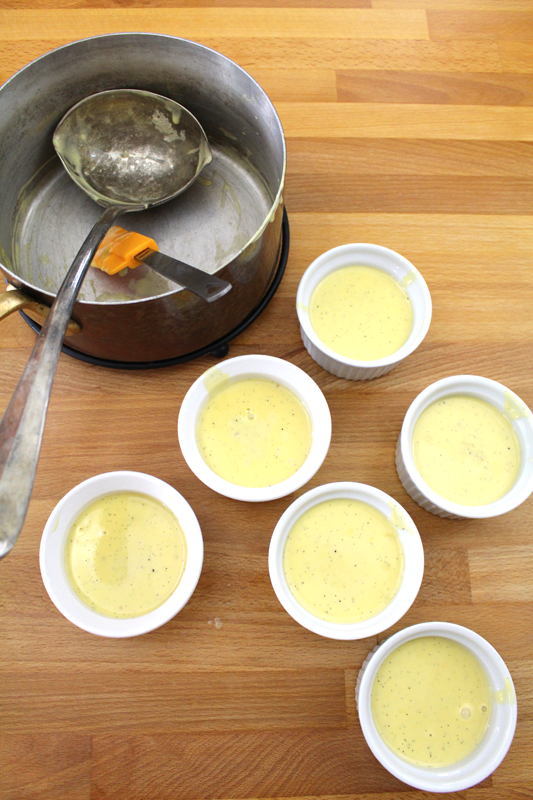
You have two other options. If you want to do a quicker, oven-less version, divide the custard mixture between six ramekins, then pop them into the fridge for 2-3 hours, or until thickened and set. This is more of a crème anglaise, but you can still top it with sugar and brûlée it. I made them both ways and they’re both delicious, but my preferred method is for a more traditional crème brûlée. This means putting the ramekins in an oven-proof dish with sides, adding some warm water, and baking until they’re just set.
After they come out of the oven, they need to cool completely… My one frustration with crème brûlée is how long I have to wait before I get to eat it. Whether they’re done in the oven or not, it’s best to give them 2-4 hours in the fridge to cool and set. I do not like this part.
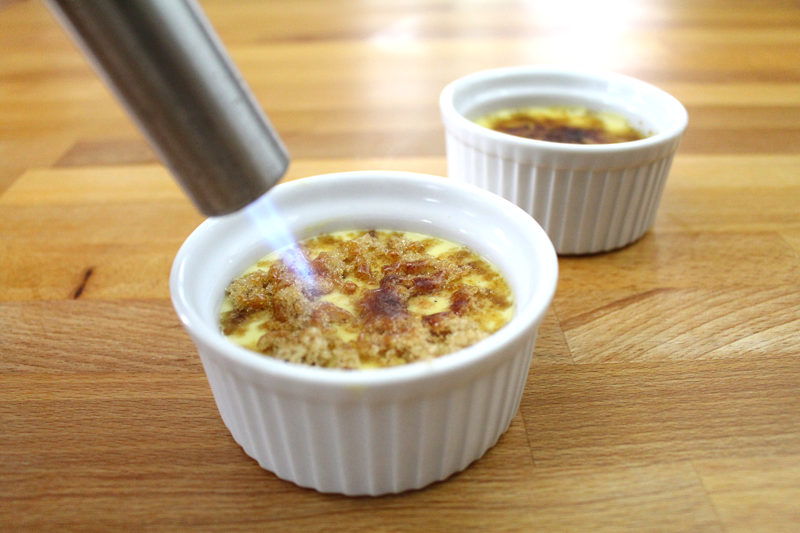
Whether you wait or not is up to you. I tried them at various stages of cooled doneness and they’re best really cold. But, suit yourself. Sprinkle with some brown sugar and torch ’em! If you don’t have a kitchen torch, you can use the broiler… But, leave the door open and watch them the whole time. They will burn quickly and you don’t want that.
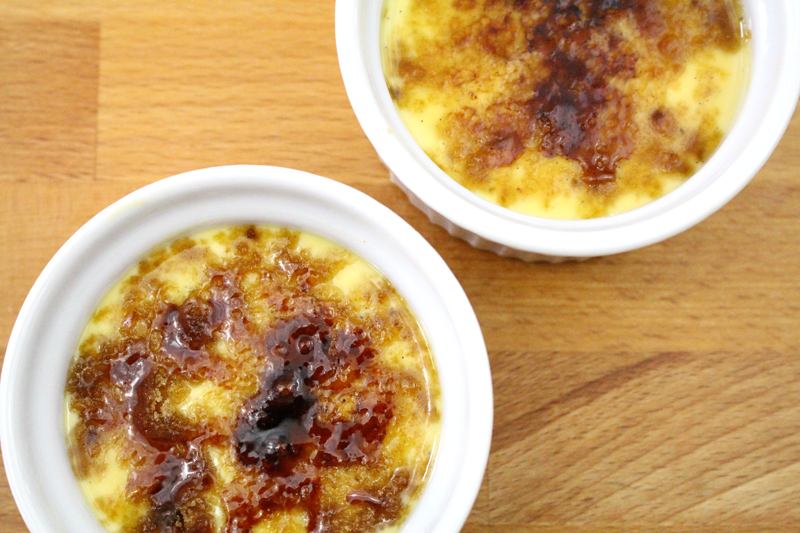
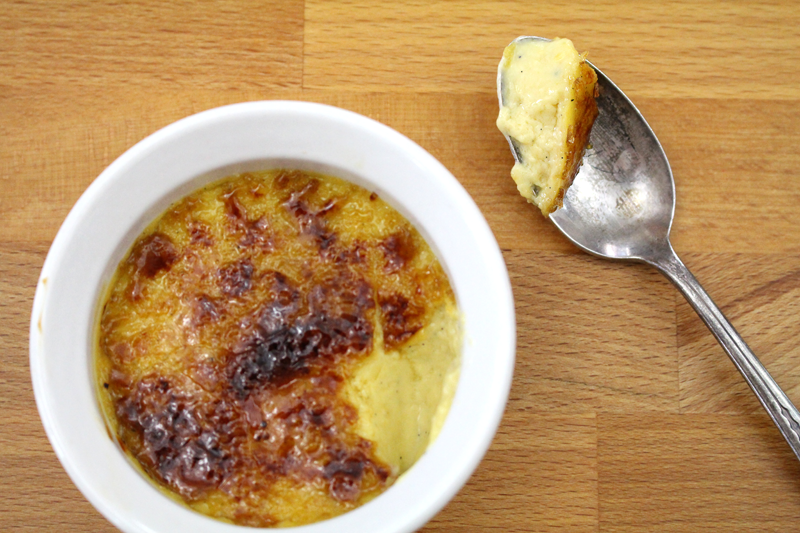
And now, it is time. Use the back of your spoon to tap the hard sugar and crack it. Rich, creamy, subtly hinted with vanilla.
If you eat two, I won’t judge.
I did.
Happy Eating!
Ingredients
- 1 C cream
- 1 C whole milk
- 1 vanilla bean, seeds removed*
- pinch salt
- 1/4 C maple syrup
- 1 T honey
- 4 egg yolks, at room temperature
- brown sugar, for serving
Instructions
- Rub an ice cube over the bottom of a medium-sized saucepan. Add the cream through honey and heat over low, stirring occasionally with a wooden spoon, until steaming (about 12 minutes) (do not boil). Remove from heat.
- Whisk eggs in a medium-sized bowl. As you whisk, slowly add about 1/2 C of the hot cream mixture. Add a bit more, until eggs are warm. Then add the egg mixture to the cream mixture. Whisk for 2 minutes off the heat. Return to the stove and cook over low heat, stirring constantly with a wooden spoon, about 6-7 minutes, or until the mixture has thickened slightly, enough to coat the back of a spoon without running right off.
- Pour the mixture into 6-3 inch ramekins (fill to about 1" deep). Set in a baking dish and pour warm water about halfway up the outside of the ramekins. Bake at 350F for 25-35 minutes, or until they're just set. Remove from water immediately and cool completely (cool to room temp and then refrigerate for 2-4 hours) before topping with brown sugar and brûléeing.
- (For more of a crème anglaise, pour the cream mixture into ramekins and refrigerate for 2-4 hours, or until completely cooled and thickened. Top with brown sugar and brûlée with a torch, or enjoy poured over berries, cakes, or other desserts.)
Notes
*To remove the vanilla seeds from the pod, split it lengthwise down the middle and scrape them out with a knife.



1 Comment