De Ma Cuisine

Boiling Archive

Thursday

22

January 2015

0

COMMENTS

How to Use it Best – Winter Edition

Written by , Posted in How To, Storage/Prep

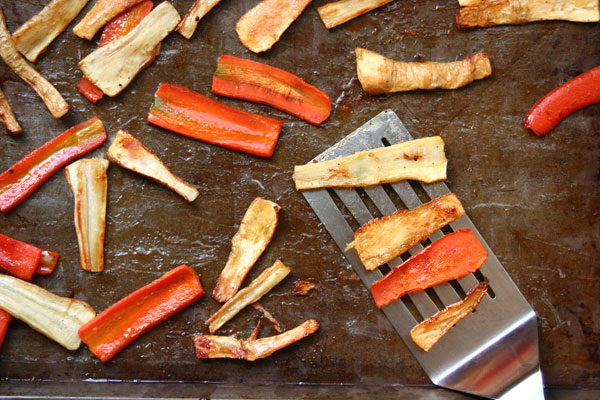
HoneyRoastedCarrotsParsnips2

It’s no secret that I love to roast veggies. I’ve been known to roast anything from beets, to peas, to cabbage. But, not all veggies are alike. And not all veggies act the same when they’re thrown into a pot of boiling water, sautéed in a skillet, or roasted in the oven.

Here’s some of what I’ve found to work (and sometimes not work), in my experience as a home cook.

In Soups

CannelliniBeetGreenSoup-2

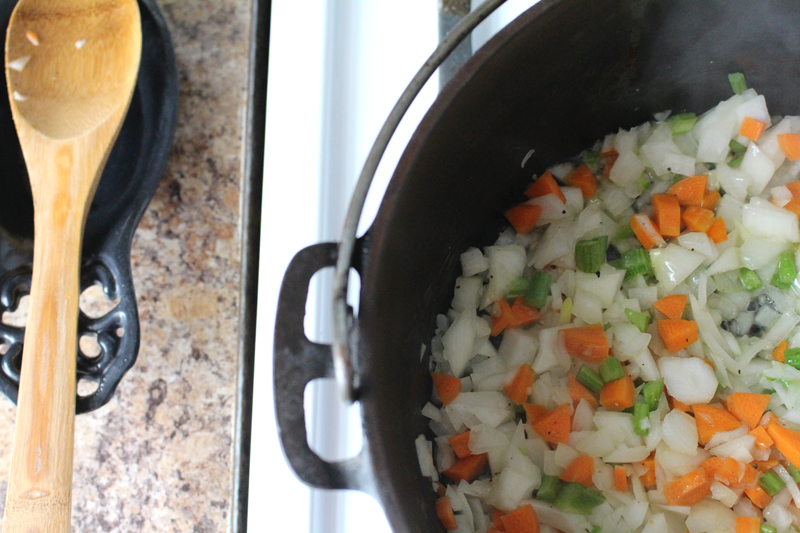
I use potatoes, sweet potatoes, butternut squash, acorn squash, and rutabagas interchangeably in soups. They respond similarly, and, unless I know that one or the other might not pair well with another of the soup’s components, if I have one, but not the other, I’m going to use what I have. Same thing with broccoli and cauliflower – I find them similar enough. And when it comes to soups, I’ll usually add as many veggies as I can. Starting with the harder veggies (think roots like carrots and beets), then adding slightly softer guys (hello broccoli and cauliflower, maybe even cabbage, and herbs like rosemary and thyme), and adding more delicate greens and herbs at the end (kale, chard, dill, parsley).

Cooking 101 – One of the keys to adding things at the same time is to make sure they’re chopped/diced/cubed the same size as all the other components. This will ensure that someone doesn’t burn, while someone else is still raw. This goes for any method of cooking.

In Salads

RoastedRadishes1

I love lots of different textures in a salad. I will often combine a nice butter lettuce with tuna, a hard boiled egg, some chopped nuts, croutons, dried fruit, and grated or chopped veggies.

I prefer to grate hard root veggies like carrots and radishes. If you’re ok with raw beets, grate them too. But, you can also roast for salads. Roasted beet chips and crispy potatoes are some of my favorite salad toppers.

Cooking 101 – If you want to tame a spicy radish a bit, grate it. You won’t bite into a big chunk of burning, if that’s not what you were hoping to get from your salad.

In the Oven

RoastedButternutSquashSoupVegan-5

As Fries

I love to cut potatoes, sweet potatoes, parsnips, and winter squash into sticks to make fries. Mostly, because I want to dip them in yummy sauce.

In Smaller Pieces

A head of broccoli or cauliflower cut into bite sized chunks, some cubes of potato, winter squash, or sweet potato; wheels of carrot, one inch pieces of beet all make a great side when roasted. Just toss them with some olive oil, salt, and pepper before they head into the oven, and you’re good to go.

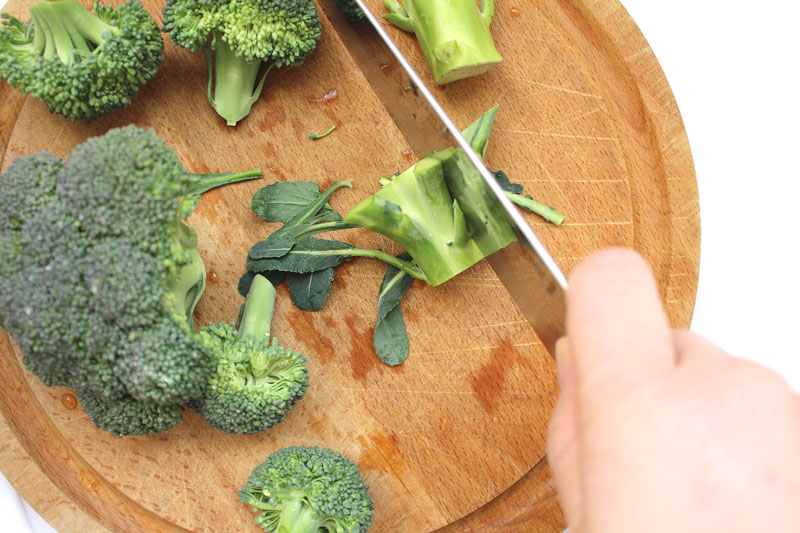
Cooking 101 – The stem of the broccoli doesn’t need to be discarded. Simply peel the tough outer layer, then slice the inner portion and use as you would the florets.

Roasting Whole

Beets are my favorite to roast whole. Recently, I’ve discovered that it’s best to put them in a pan, with about a cup of water, then tightly cover with foil. They will take about an hour (for small-ish beets) at around 425F, and maybe 10 to 20 minutes more if they’re larger.

Obviously, potatoes are kinda famous for being roasted whole. Sweet potatoes are the same story. You can leave them as they are, or wrap them in foil if you want. If you’re gonna do the foil method, before you wrap them up, drizzle them with some olive oil, and sprinkle with salt, so the skin is extra tasty. I like things extra tasty, so I’m all over the oliveoilsaltextrayummyskin.

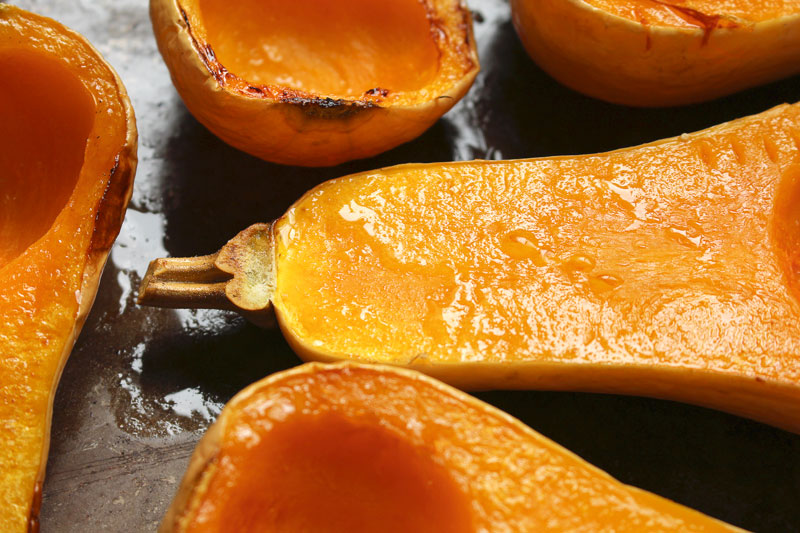
And there’s the winter squash, which technically I don’t roast whole, I cut them in half, but they’re so huge that I think they count. Sometimes, when I have a whole bunch on the counter I will roast them all, then scrape the roasted flesh out of the skin and freeze it. It makes soup prep incredibly easy. (And, save this tip for summer: I do the same thing when I have loads and loads of eggplant.)

Cooking 101 – You don’t have to peel beets before you roast them. Once they’re soft, leave them to cool slightly (covered or uncovered, I haven’t noticed much of a difference either way), then using gloves, a paper towel, a paring knife, or your fingers, peel the skin off – it should be pretty easy (and oddly satisfying).

On the Stove Top

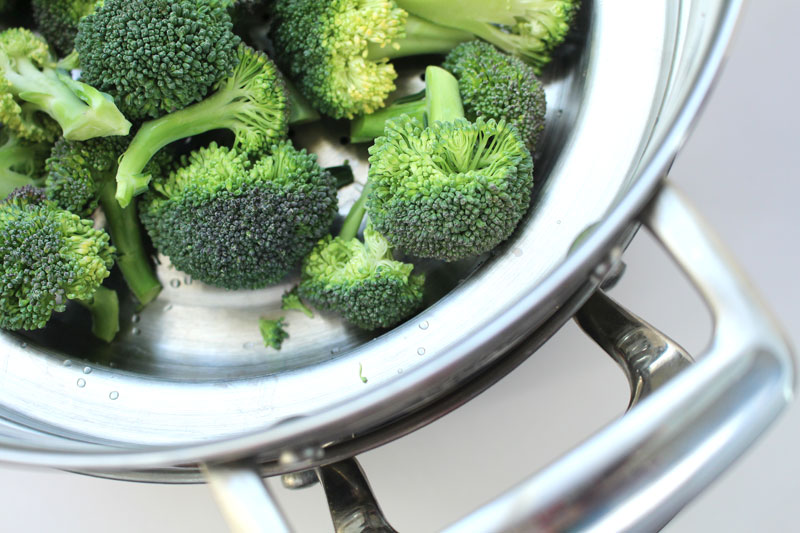
BoiledSteamedBroccoli-5

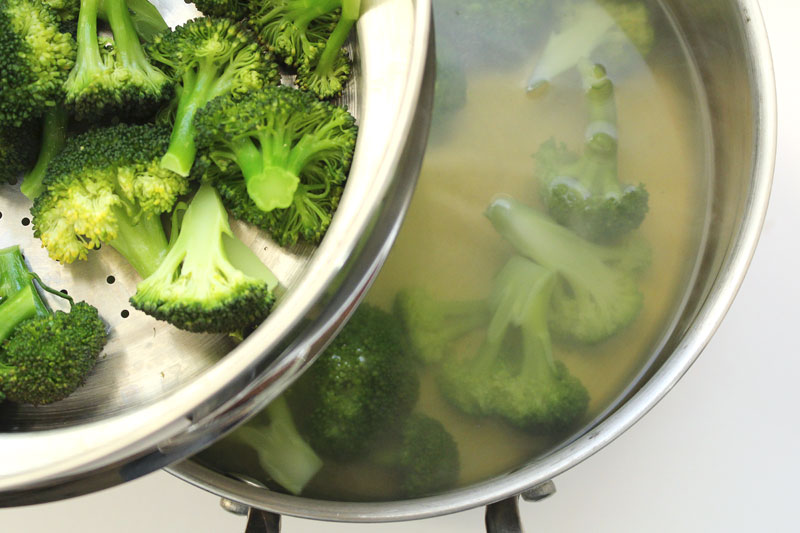
Steaming

I find that most veggies respond pretty well to steam. By this, of course, I mean veggies that are meant to be eaten cooked. I probably wouldn’t steam lettuce… although at the moment, that’s the only one coming to mind that I wouldn’t… But, you know, use your judgement on this one.

Some of my favorites to steam are: carrots, potatoes, broccoli, cauliflower, and green beans.

I prefer steaming over boiling, because I think the veggies retain more of their nutrients.

Cooking 101 – Save leftover steaming or boiling water to cook pasta, or to make veggie stock with the scraps that would have gone in the compost.

Boiling

My Oma always boiled the potatoes for special dinners. They tasted great. I know that boiling is the way people often cook potatoes when they’re going to be mashed. When I took that cooking class in Paris, that’s how we boiled the potatoes. It’s a tried and true method. And you can really pop quite a few veggies in a bunch of really hot water and get good results. Just beware that if you leave them too long, they can become water-logged and mushy, and may just fall apart in the pot (and then you adapt and pretend that you’d always planned to make soup).

Cooking 101 – So that you can save the boiling water for pasta cooking or stock, use a slotted spoon to pull out the veggies, rather than just dumping the water out. Or, if you don’t have anything else to cook, let the water cool completely, then take it outside to water your plants.

Sautéeing

Aren’t veggies just so versatile?! I mean, we’ve gone from roasting, to steaming, and now sautéeing, and there are some veggie-friends that are good with any option. So, I’d say, that things like broccoli, brussels sprouts, cauliflower, are an easy yes. If you want to do potatoes, carrots, parsnips… you know, the harder roots, that’s awesome too, just smaller pieces, and plenty of time. And then, if you want to go with the more delicate greens, like kale, chard, mizuna, mustard greens, and spinach, you’ll start with what feels like way too much, and end up with the perfect amount. If you’re starting with some harder veggies, once they’re a few minutes from being done, add the greens. They won’t take long and add a lot to a dish.

Cooking 101 – Don’t throw away those beet greens! They’re delicious sautéed, in salads, and in soups.

However you prepare them, have fun with your veggies!

Thursday

24

July 2014

0

COMMENTS

Corn on the Cob

Written by , Posted in How To, Storage/Prep

CornOnTheCob-5

Summah summah summah corn corn corn.

My favorite.

As I type this I’m listening to some upbeat, fun music, and sipping an iced coffee with some homemade caramel drizzled in.

For as much as I complain about the heat that I don’t like, I sure do love a lot about summer.

I mean, just this corn alone could convert me.

When I got the email saying that corn was available as an add on I freaked out and wrote back right away so I wouldn’t miss out.

I got two dozen, plus the three ears that were in the small Abundant Harvest Organics box.

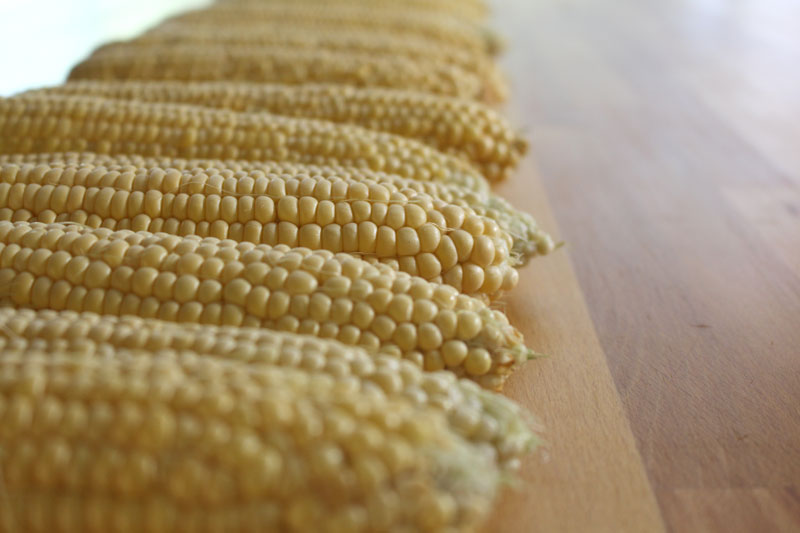
Except for one that I used in a stir fry for dinner last night, I decided to process them all today. I didn’t want to risk waiting to long to eat them and having the sugars turn in to starch (meaning not so tasty corn).

The first step, whether it’s being eaten now or later, is shucking the corn.

I shucked 26 cobs pretty quickly. Here’s how.

CornOnTheCob-1

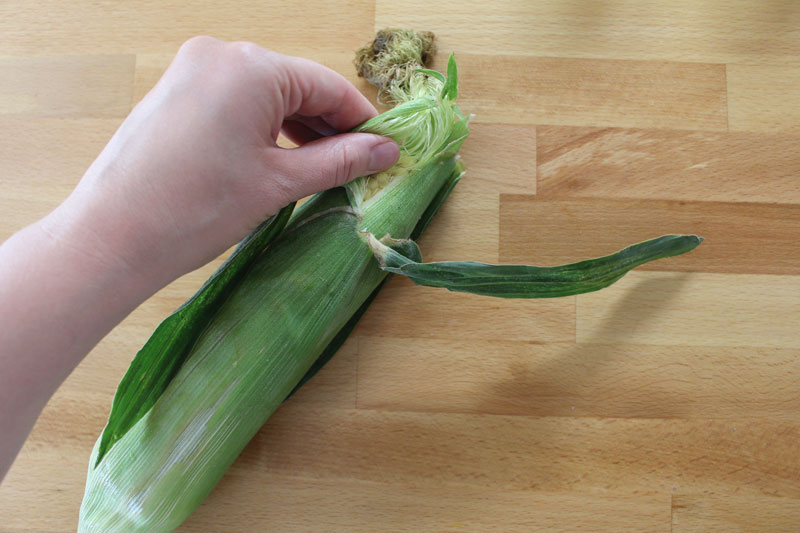
Pinch a portion of the husk right near the top. Get all the layers down to the cob.

CornOnTheCob-2

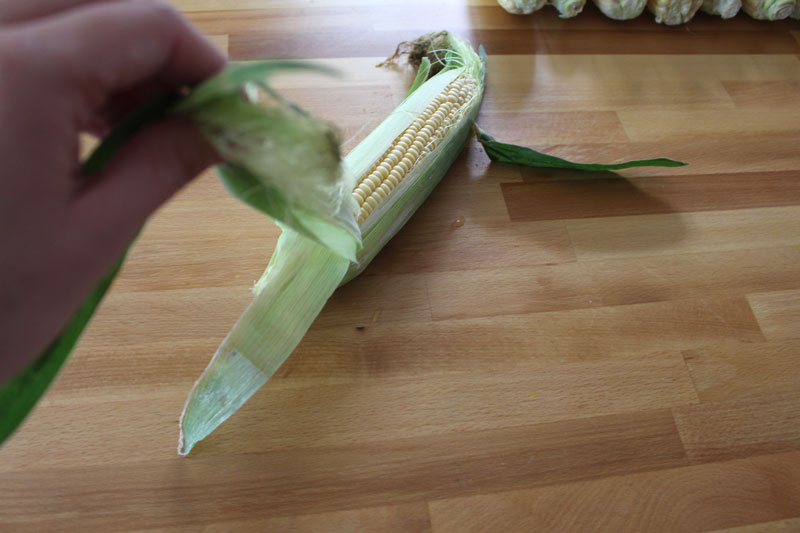
Pull down towards the base, revealing a few rows of kernels. Pull it all the way off.

CornOnTheCob-3

Take remaining portion of the husk firmly in one hand.

CornOnTheCob-4

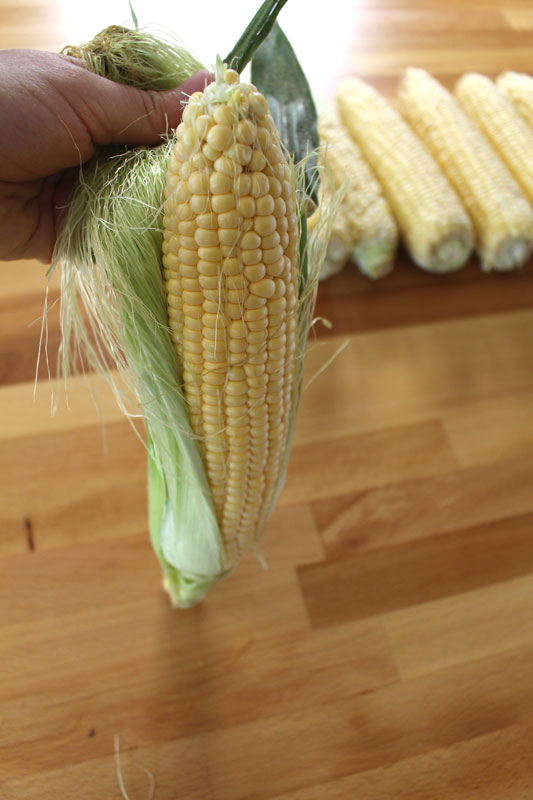
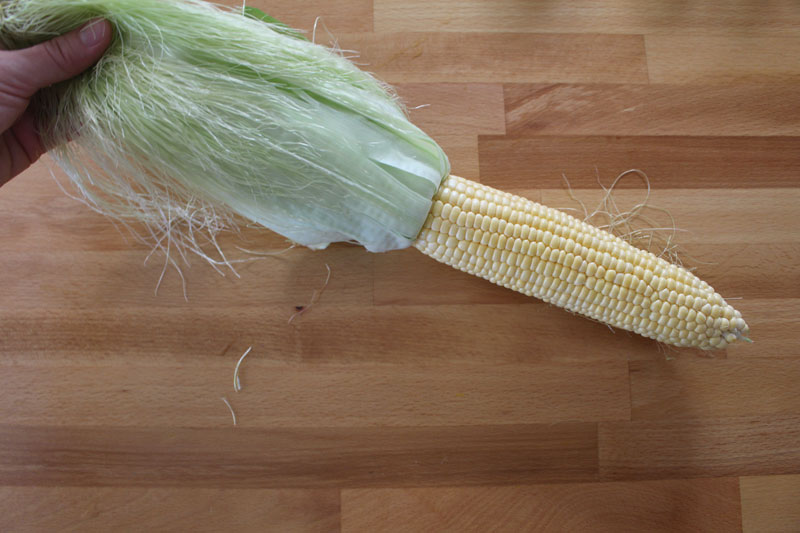
Pull down towards the base. Snap off the husk and stalk at the end and clean off any of the silk that remains.

CornOnTheCob-6

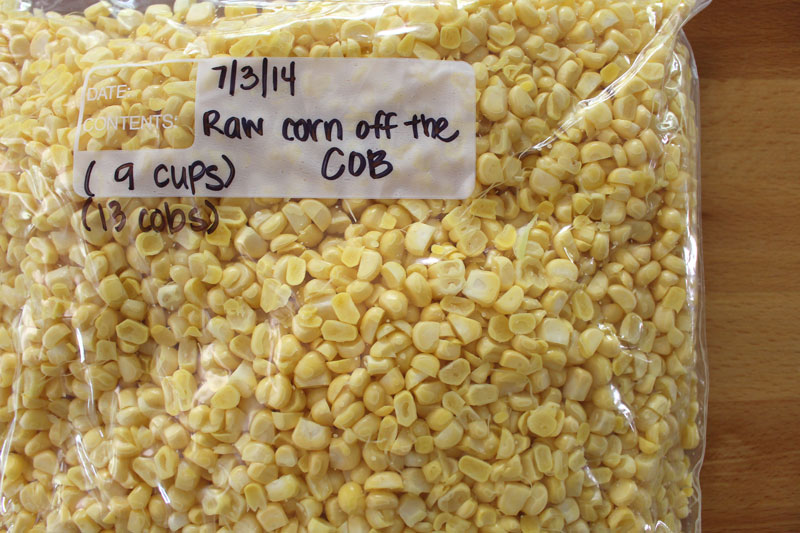
There are a few ways to prepare the corn for the freezer. The first way is to slice it off the cob, raw.

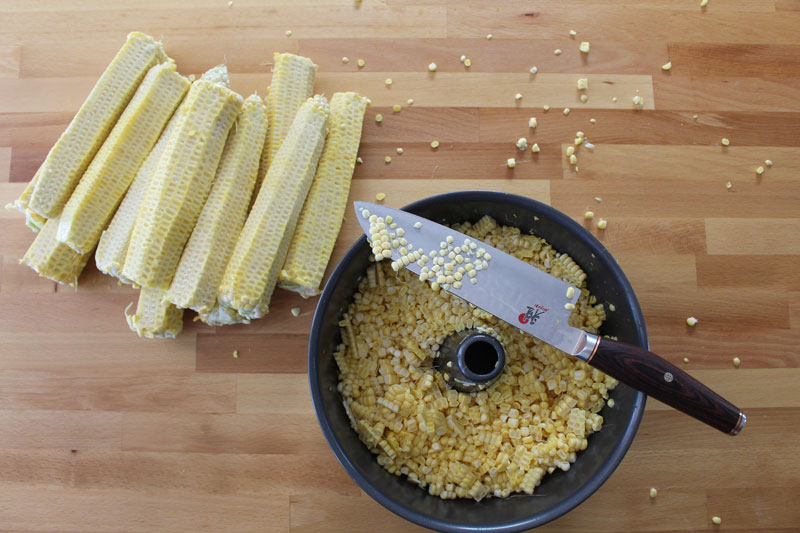
To do this, I like to use a bundt pan (a small bowl inverted inside a large bowl will also work). Stand the cob up on the middle part of the pan and hold it there with one hand. With the other, slice downward with a sharp knife.

CornOnTheCob-7

The pan will catch most of the kernels as they fall (try not to slice off in long strips, those are more likely to stick together and fall, hitting the side of the pan and scattering all over the counter, cough cough, I didn’t realize this until partway through).

CornOnTheCob-8

Now the corn is ready for Tomato Corn and Quinoa SaladSalmon and Corn Salad, and Shepherd’s Pie of the South.

CornOnTheCob-9

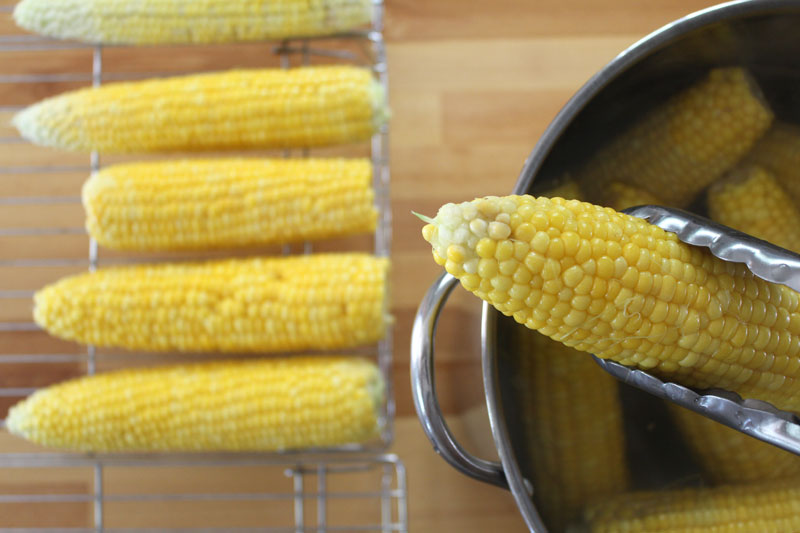
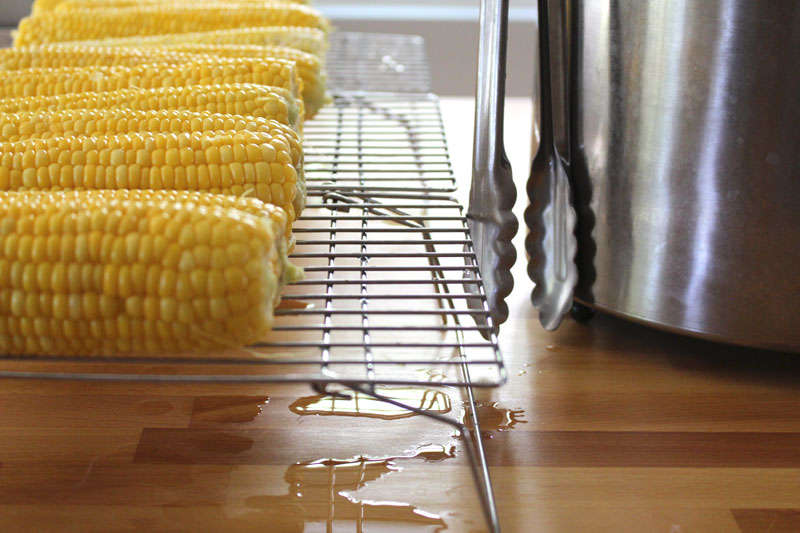
Another easy way to prepare the corn is to boil the cobs and freeze them whole.

CornOnTheCob-10

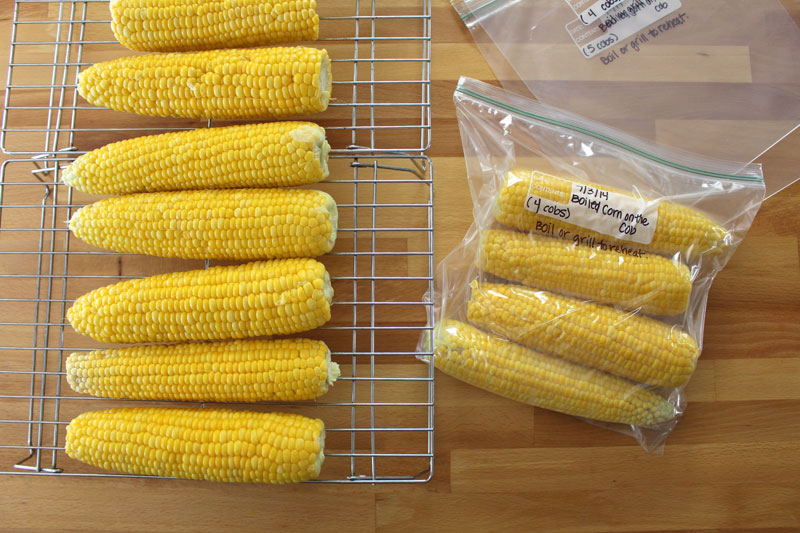
I used my baking cooling racks to cool completely. That way they don’t sit in water and more air circulates around them, cooling them quicker.

CornOnTheCob-11

Once the cobs are cool they go in to labeled freezer bags. The cobs can be reheated in boiling water or on the barbecue.

If you just can’t wait, enjoy them now, plain, topped with salt and butter, or topped with an herb butter (basil, chives, cilantro, rosemary, and thyme all go well with corn).

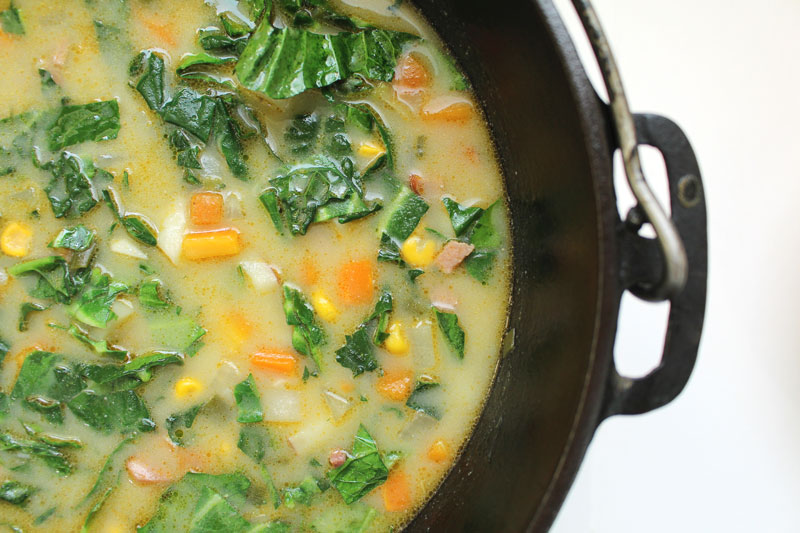
HamGreensChowder-5

Some of my favorite ways to use corn on the cob are:

Grilled with Herb Butter

Raw in Salads (Taco Salad, Salmon and Corn Salad)

Raw in Tomato-Corn Salsa

Boiled (with or without butter and salt, or herb butter)

Ham and Greens Chowder

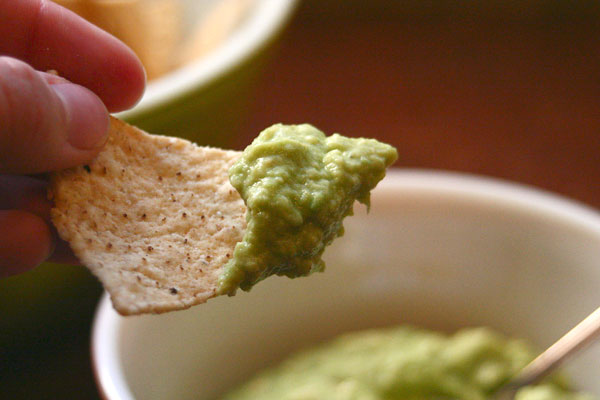
Guacamole2

I would like to try it as:

Crostini with Feta and Herbs

Mixed with cheese and cayenne in a Spicy Grilled Cheese

Added to Guacamole

In Cornbread or Biscuits… it seems like there are endless things that need corn added.

Some yummy corn-binations (see what I did there?!):

corn+bacon+basil+tomato

corn+bell peppers+beef+garlic+potatoes

corn+crab+basil+garlic+lemon juice

corn+tarragon+feta+chicken

A couple of tips:

If there are any grody spots or bugs, just cut those off. The whole cob probably isn’t ruined.

Let the kids help! They can shuck the corn. They could sit on the porch steps or the grass and go to town. If you have a dog, (s)he might enjoy cleaning up, so keep them nearby the kiddos. 😉
Happy Eating!

Monday

17

March 2014

0

COMMENTS

How To Cook Beets

Written by , Posted in How To, Roasting, Vegetables

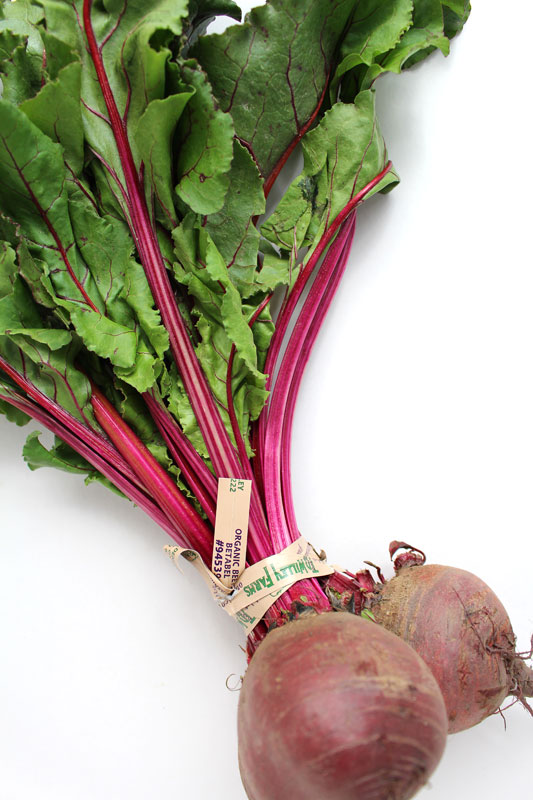
Beets1

I haven’t always loved beets. They’ve been one of those foods that I’ve had to grow to even like. But, now that I know how to prepare them, I enjoy eating them, and even crave them.

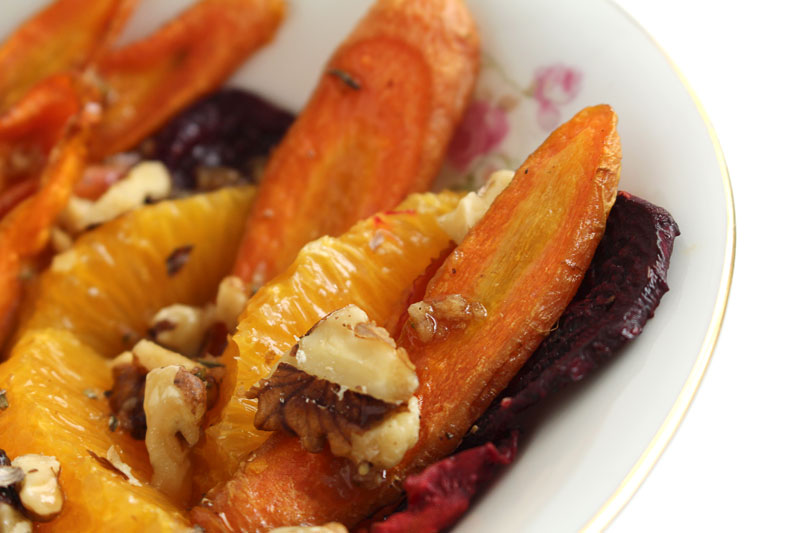
Right now I’m craving a Roasted Beet and Carrot Salad that I’m planning to make later today.

RoastedBeetCarrotSalad9

Are you craving beets?

If you are, my first suggestion for when you finish reading this post is to go and make this Mache and Citrus Salad or Roasted Beet Salad. I don’t think you’ll be sorry you did.

Since you’ve probably made extra beet chips for the salad (to eat right off the pan, right? Just me? Ok.), I would suggest saving them to make a simple and delicious pasta.

Then, if you have any beets left, I’d make some borscht.

And you thought you didn’t like beets. Wait, that was me.

Wrong.

Beets are awesome.

“Everybody loves beets.” – Dwight K. Schrute

Beets can be cooked in so many different ways. Like most vegetables, I prefer them roasted and a bit crispy. They’re also delicious roasted whole, so they get soft and tender, or in small, bite-sized pieces, to be dunked in a creamy sauce.

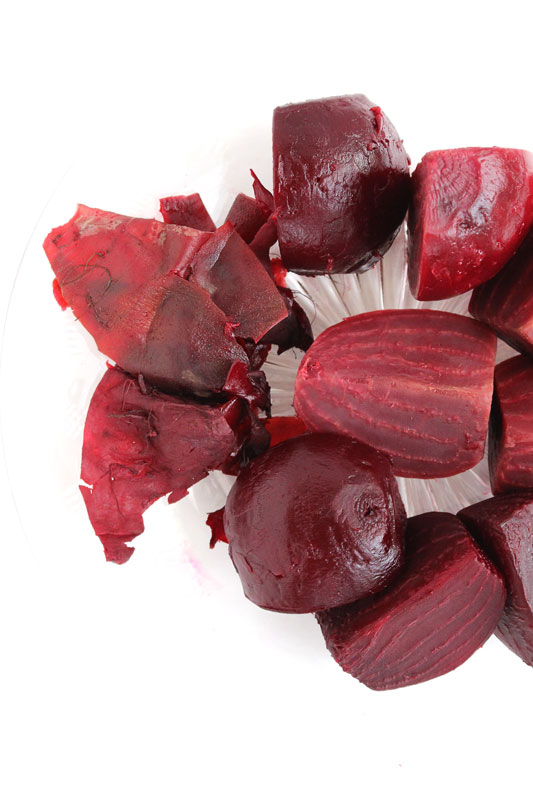
When roasting beets, I might peel them first, so they can be chopped small, or made into chips. I wouldn’t recommend trying to peel these after roasting. However, if you’re roasting whole or halved, you can let them cool a bit, then peel. The skin should come off suuuuper easily.

Beets7

Same goes for steaming or boiling.

Hey, if you’re going to boil, after you’ve removed the beets, what if you added some white vinegar to the water and saved it to dye Easter eggs!?

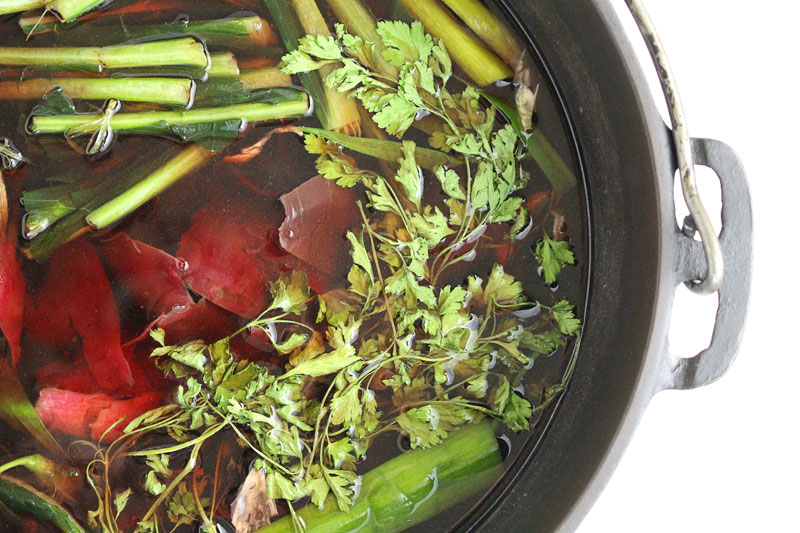
Or, throw in the beet peels and whatever other veggie scraps you have on hand and you’ve got homemade vegetable stock in about an hour.

Beets8

However you cook them, beets are a simple root, and can be dressed up to suit the occasion. They’re super dense, so they will take a while to soften. Do not be dismayed, they will eventually cook.

Roasted Whole/Halved/Quartered

Beets2

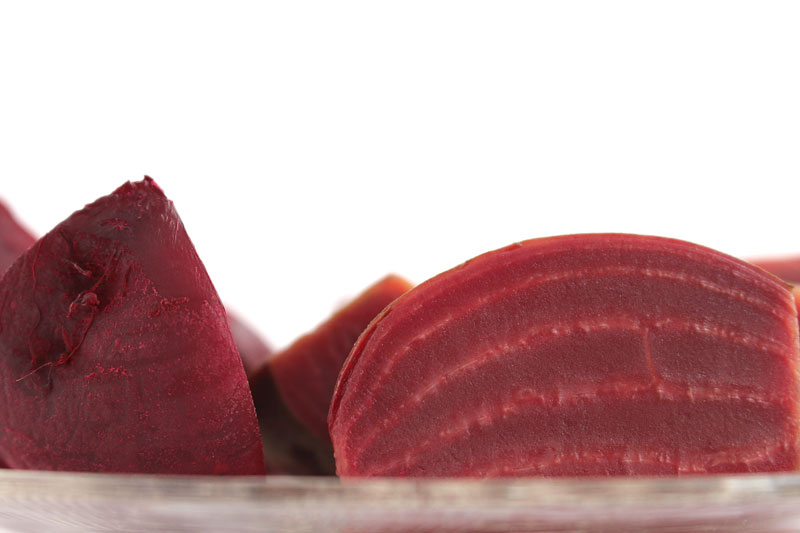
  1. Scrub well. Halve, quarter, or place whole on a baking sheet. Pierce a few times with a fork. Roast at 350F for about 60-90 minutes (or until the beet is easily pierced by a fork, but isn’t mushy).
  2. Remove from oven and let cool.
  3. Remove skin.

Beet Chips

Beets3

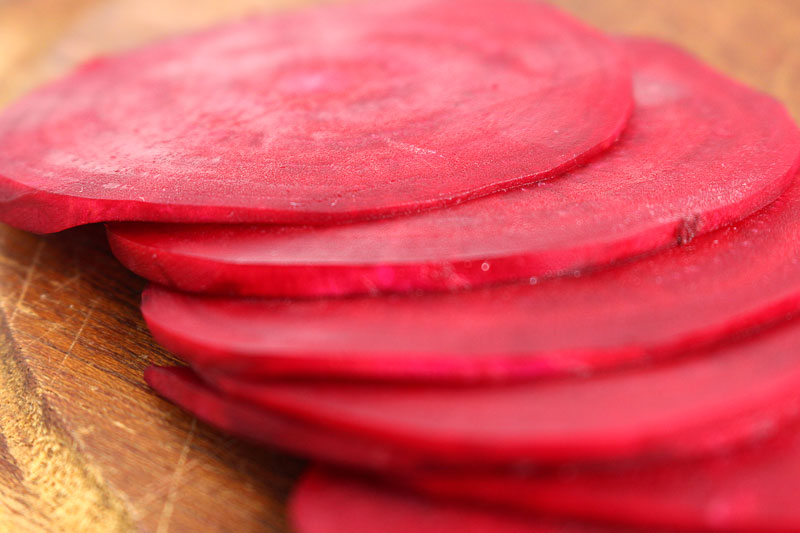
  1. Scrub and peel beets. Thinly slice.
  2. Toss beets with olive oil, salt, and pepper. Lay on a baking sheet and bake at 375F for 10-15 minutes, or until beets are slightly crispy and tender.
  3. Remove from oven and cool.

Steamed

Beets4

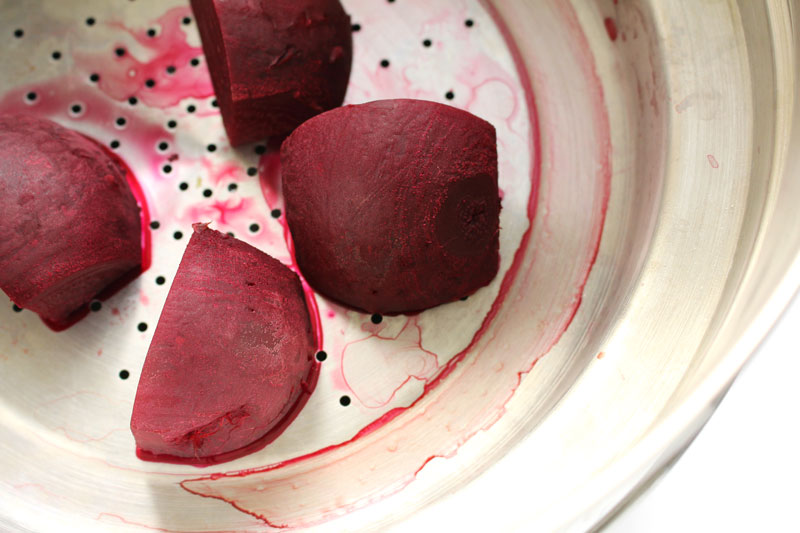
  1. Scrub well. Quarter and place in a steamer basket in a pot with boiling water. Steam for about 20-25 minutes, or until the beet is easily pierced by a fork, but isn’t mushy.
  2. Remove from steamer and let cool.
  3. Remove skin.

Boiled

Beets5

  1. Scrub well.
  2. Quarter and place in a pot of cold water. Cover and bring to a boil. Uncover and boil for about 20-25 minutes, or until the beet is easily pierced by a fork, but isn’t mushy.
  3. Remove from water and let cool.
  4. Remove skin.

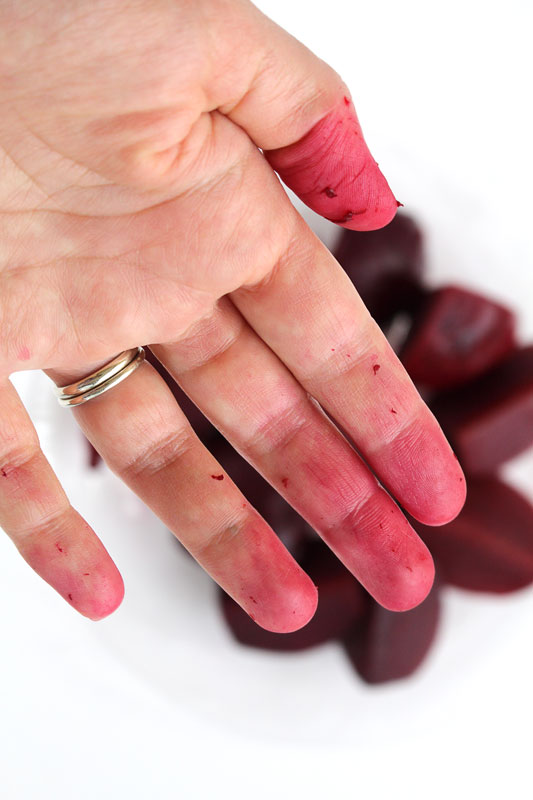
Handling beets makes for red fingers. Beware. 😉

Beets6

Happy Beeting!

Friday

24

January 2014

0

COMMENTS

How To Cook: Broccoli

Written by , Posted in Dinner, Gluten Free, Roasting, Storage/Prep, Thoughts, Vegetables

BoiledSteamedBroccoli-3Let’s talk about three ways to cook broccoli: steaming, boiling, and roasting.

I definitely have a favorite. Do you?

I tasted all three after I’d cooked them and wasn’t surprised that roasted was my preference. Also wasn’t bewildered that steamed was second. And, it was no shock to me that boiling was my least. That’s not to say that I won’t eat broccoli all three ways. I have and will probably do so again. But, I think that the taste and ease of preparation, hands down, goes to roasting.

Let’s begin.

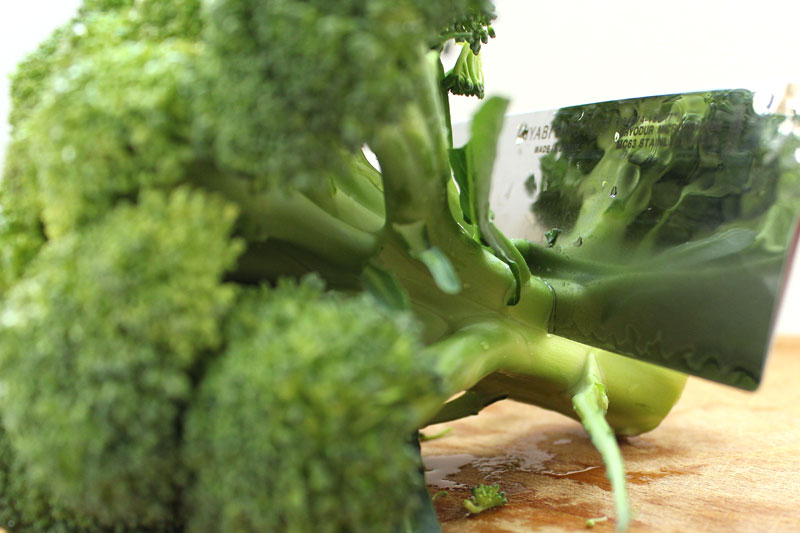
Wash broccoli, then cut off a bit of the stem, up about an inch (save discarded stem to make vegetable stock).

BoiledSteamedBroccoli-10

Make a second cut where the florets start to branch out. Cut away the tough outside edges of that piece of stem (saving for veggie stock) – you can eat the inside just like you’ll eat the rest of the broccoli.

BoiledSteamedBroccoli-7

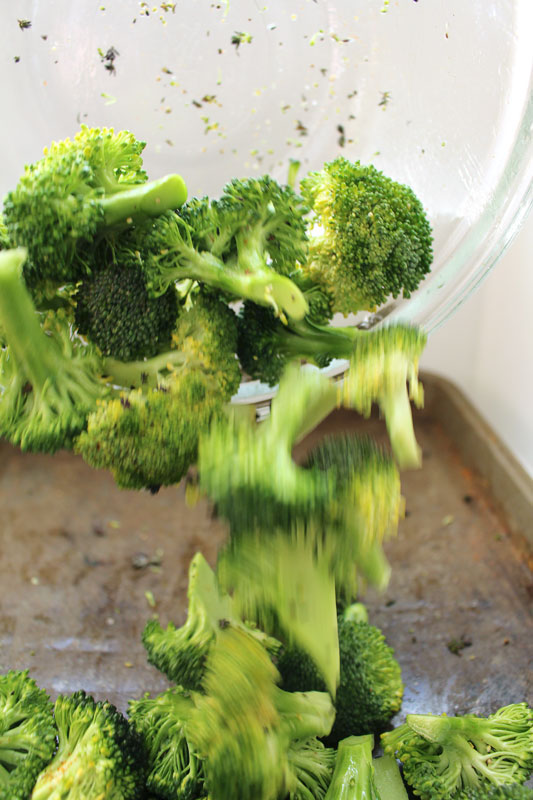
If you’re roasting, now’s the time to toss the broccoli with some olive oil, salt, pepper, and any other seasonings (like the thyme I used this week). Pour them out onto a baking sheet. I usually do about a head of broccoli per person, because we reeeally like roasted broccoli.

BoiledSteamedBroccoli-9

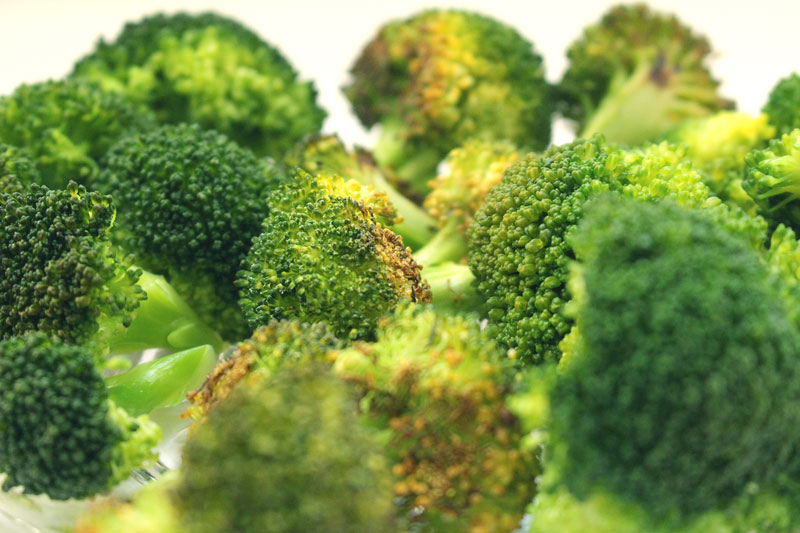
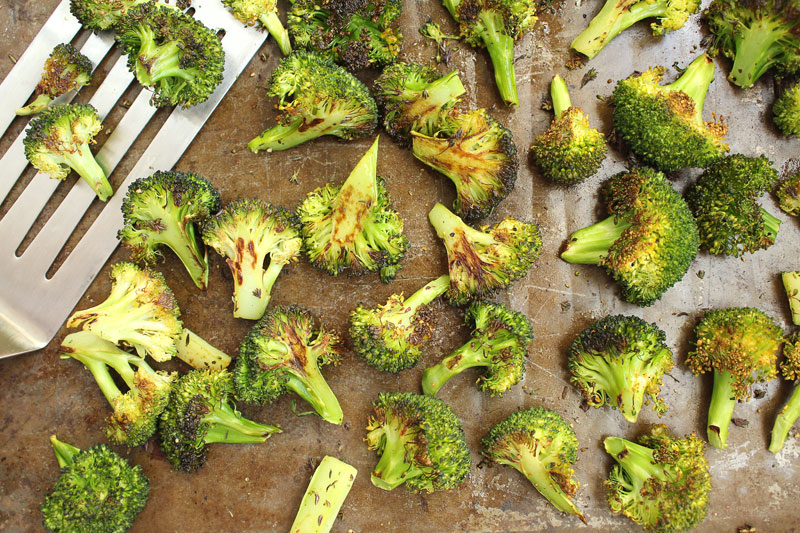
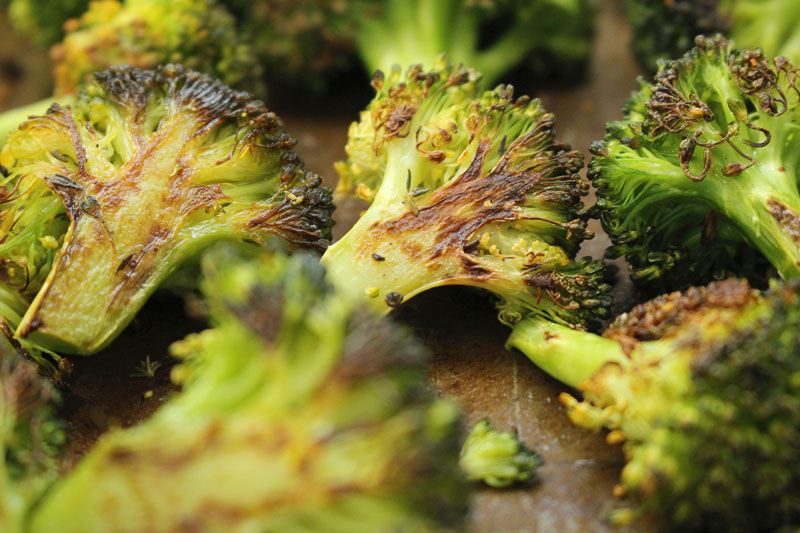
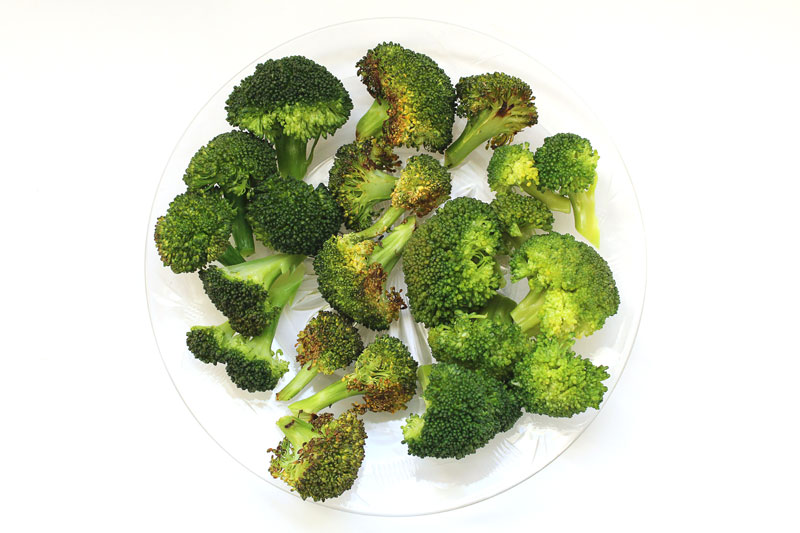
Roast the broccoli at 350F for 15-25 minutes. If you want just a hint of color, go for closer to 15. If you like ’em crunchier, stick to 20-25 minutes. (Times may vary slightly depending on your oven, so be sure to check at around 15 minutes.)

Scoop them off the tray and serve just like they are.

BoiledSteamedBroccoli-8

Roasted-Broccoli-1

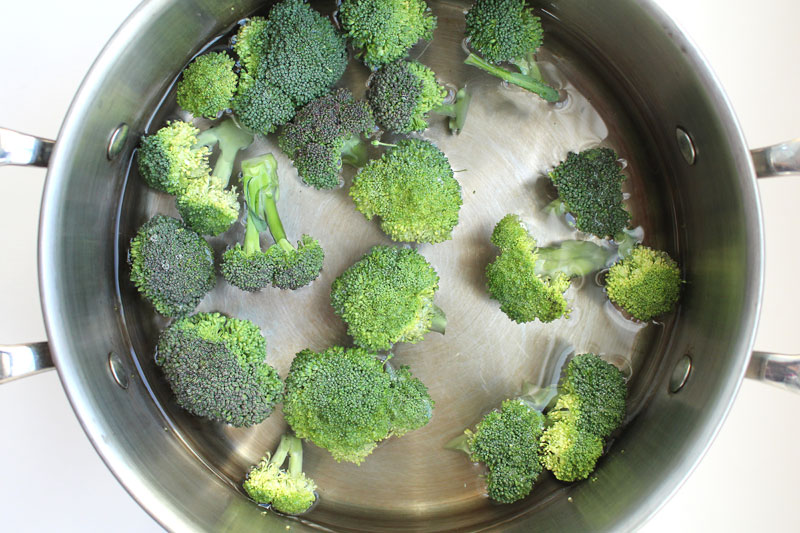
If you’re boiling, plunk the broccoli in a pot that’s got some water in it.

BoiledSteamedBroccoli-2

My method for boiling is to put broccoli into cold water and bring it up to a boil. It will cook for just a few minutes (around 3-5). I like to salt the water for veggies like this, because, as with pasta, then you are able to flavor the food itself. You are not obligated to do this though.

BoiledSteamedBroccoli-5

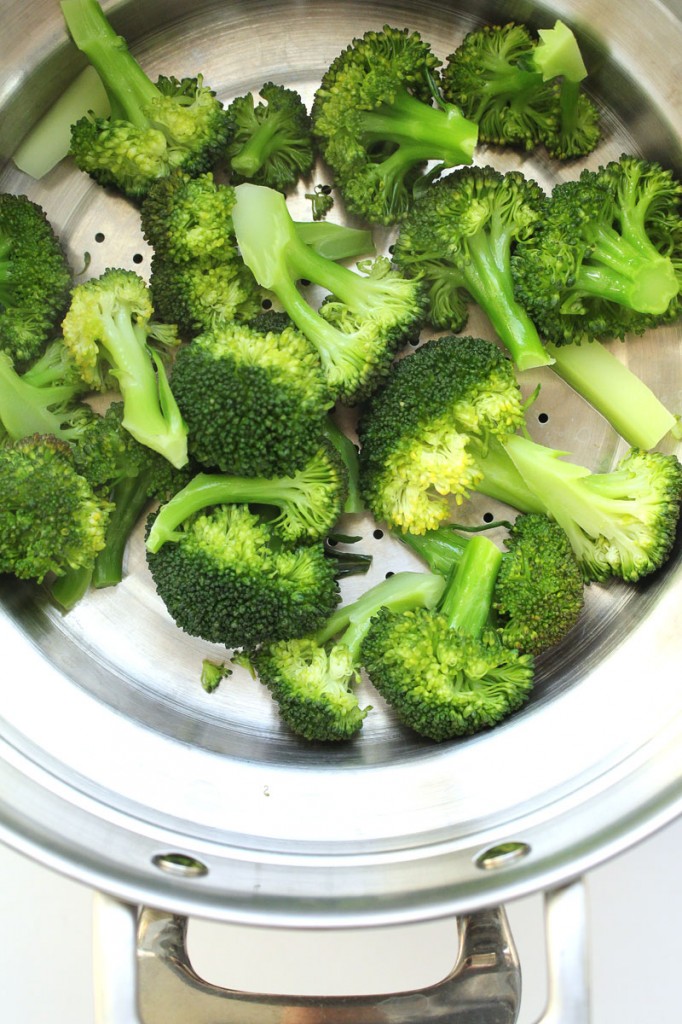
If you’re steaming, place the broccoli in a steamer basket above a pot with about an inch or inch and a half of water in it (and if you’re doing like I did, steaming and boiling, use the boiling water that’s cooking the broccoli to steam the second floor broccoli).

BoiledSteamedBroccoli-1

I like to place veggies in the steamer and bring the water up to a boil. It makes for less steps and fewer minutes spent watching the pot to see if it’s boiled. Once the water has boiled it will take about 4-5 minutes until they’re tender. Less time if you want a bit of a crunch, more time if you want them really soft.

BoiledSteamedBroccoli-6

When you’re done steaming or boiling, throw any stems, leaves, peels, and any other veggie scraps, or older veggies that need to be used up into the pot, add a little more water, and an hour later you will have homemade veggie stock. (If you’ve salted your boiling water and use it for vegetable stock, just make a note on the label so you know when using it later on.)

From left to right we have steamed, roasted, and boiled broccoli. I love the difference in color that results from each cooking method.

Each technique is fairly simple to prepare. Roasting takes a bit longer, because you have to wait for the oven to pre-heat. But, like I said earlier, I enjoy the results best, so it’s worth the wait. However, even I could get tired of roasted broccoli, so I love to change it up.

BoiledSteamedBroccoli-4

Broccoli, be it roasted, boiled, or steamed, will go well with pasta (I really enjoy this pasta that gets topped with a fried egg), on sandwiches, topping a roasted potato, alongside polenta, risotto, or roasted chicken. It’s great topped with chopped almonds, red pepper flakes, and lemon juice. It is delicious in a stir-fry, alongside some fried rice. Or, never underestimate a big plate of broccoli, just on it’s own, with a drizzle of good olive oil, some shaved parmesan cheese, a sprinkle of salt, and some freshly ground pepper.

Can you guess what I’m having for dinner tonight?!

Happy Eating!