De Ma Cuisine

herbs Archive

Thursday

18

September 2014

0

COMMENTS

How to Make Tomato Sauce

Written by , Posted in Dairy-Free, Dinner, Fruit, Gluten Free, Herbs, How To, Kid-Friendly, Sauces, Storage/Prep, Vegan, Vegetables, Vegetarian

Tomato-Sauce-7

Tomatoes are one of the best things about summer.

Actually, all the fruits and veggies that we’ve been getting are the best.

They’re all favorites.

I want them to last all year long. I know that in a month or two, when it finally starts to cool down, I will be thankful for the heartier root veggies, apples, and pears that will be coming. But, for now, let’s keep talking about summer. ‘Cause I’m not quite ready to be done with it yet.

Tomato-Sauce-1

One of the ways to prolong summer is by preserving its fruits and veggies. So, like I’ve done a few times before, let’s talk about saving summer. In the form of a special tomato sauce.

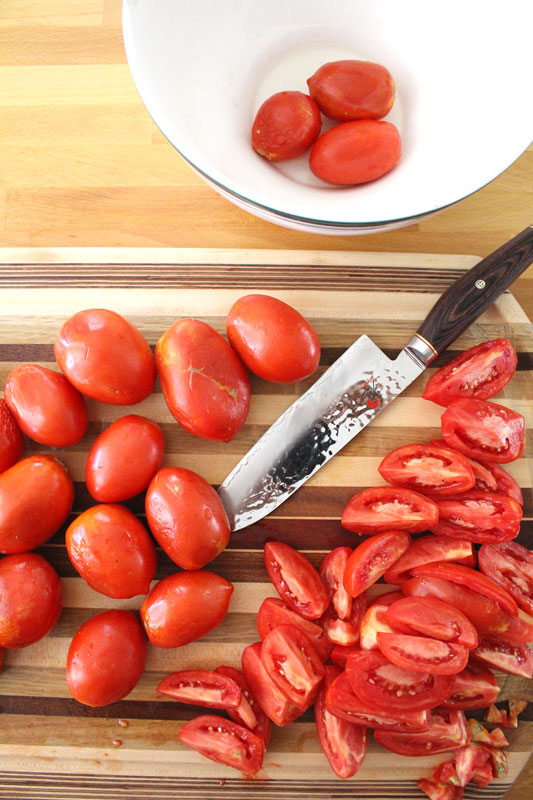
It starts with a bunch of Roma tomatoes. They’re my favorite for sauce. They have less seeds and goopy bits, and I find them a little less watery… Hooooowever, use what you have! Use what you have! Use what you have!!!

I quartered mine, sliced off the hard bit at the end, and then roughly chopped them. They’re going to be blended later, so precision isn’t necessary. You may have noticed that I didn’t peel them. Later you will notice that I don’t strain them. You can if you want, but a little tomato peel and seeds don’t bother me.

Tomato-Sauce-2

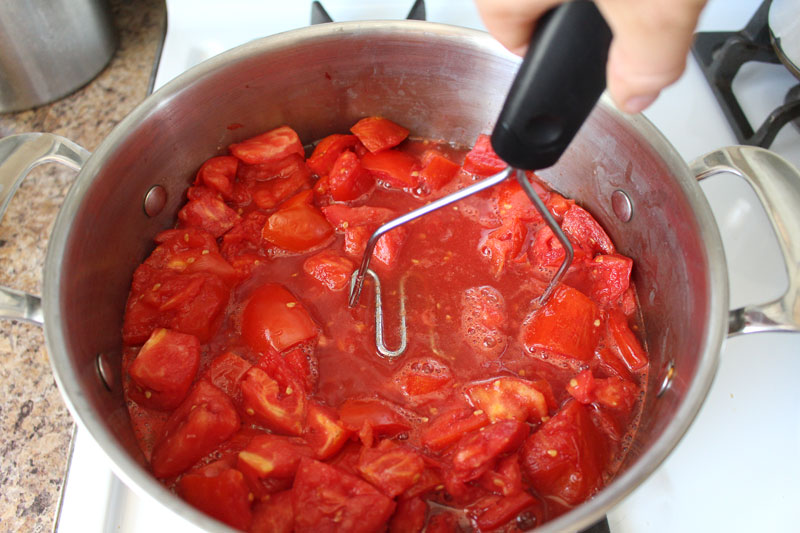
They cook up for a few minutes, then are mashed up with a potato masher. This just speeds things along a bit, breaking down-wise.

Tomato-Sauce-3

If you want to have just a plan tomato sauce, blend it up here and cook for an hour and a half or two.

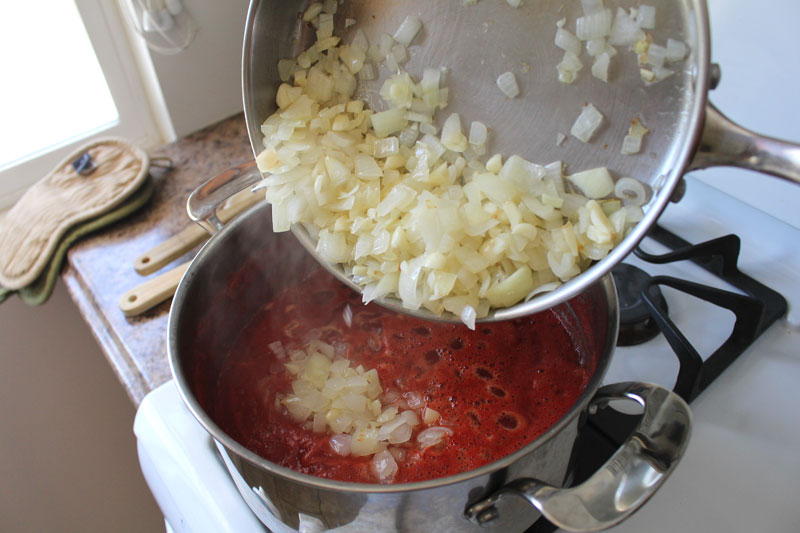
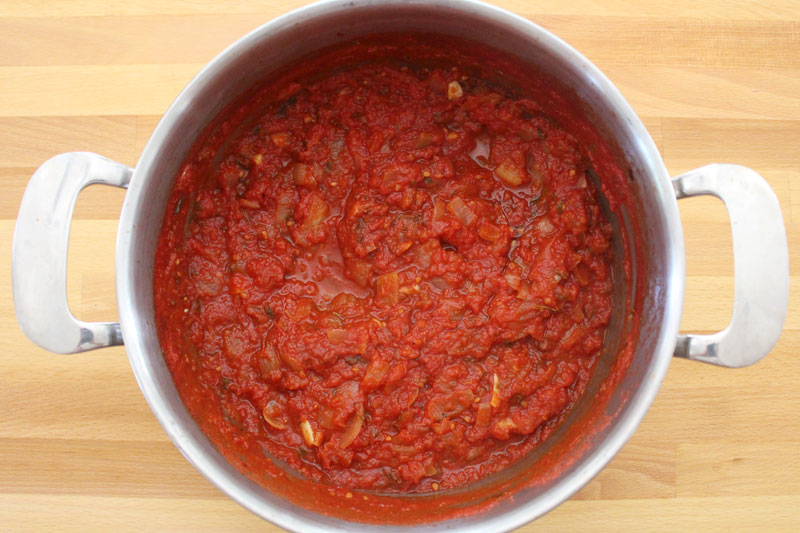
I know how I like my tomato sauce, so I thought I’d get ahead of the game a little, and add some onions, garlic, herbs, and a few other things to the mix before blending.

It’s up to you.

Choose your own adventure.

My adventure has a whole head of garlic in it. Just the way I like it.

Oh mah goodness the smell in our kitchen was just fantastic. A whole head of garlic is just like heaven to me.

Tomato-Sauce-4

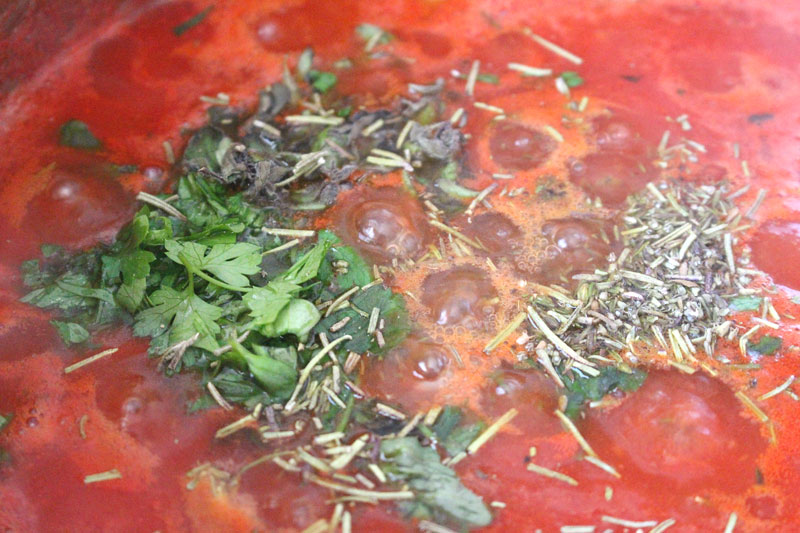
I have basil, parsley, and oregano growing in my garden right now. I added those summer favorites, along with some dried thyme and rosemary. Plus a glug of balsamic vinegar and a drizzle of honey.

Tomato-Sauce-5

Then I cooked it all up until the water had mostly evaporated and the sauce was thick.

Tomato-Sauce-6

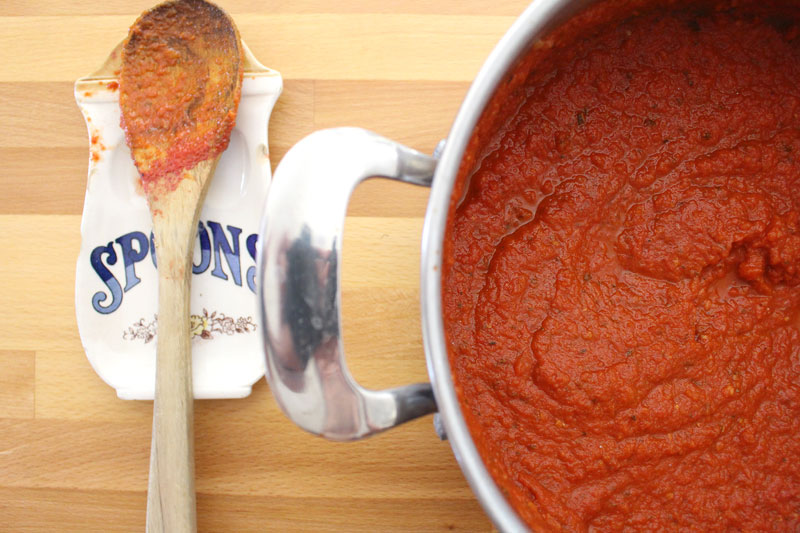
Quick blend with the hand blender (or the regular blender).

Taste. Add more salt if you want, but remember that you will probably be using this along with other things, so under-salting is ok here.

And only here.

Tomato-Sauce-8

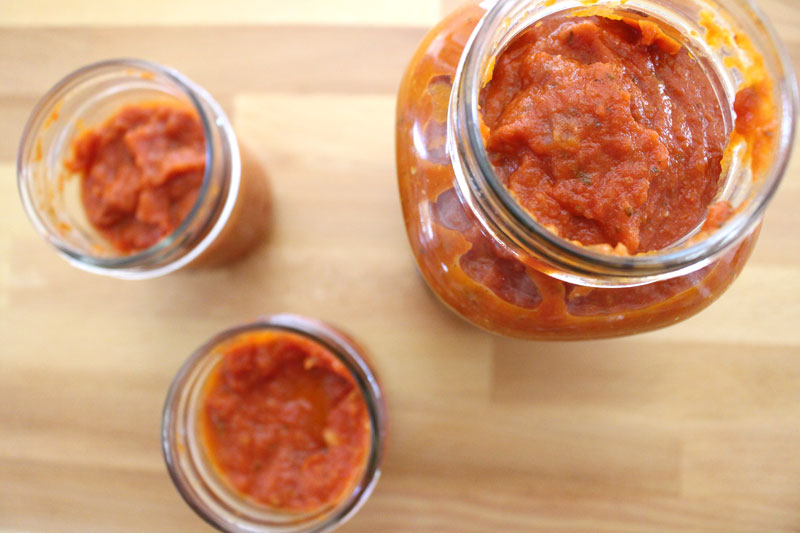
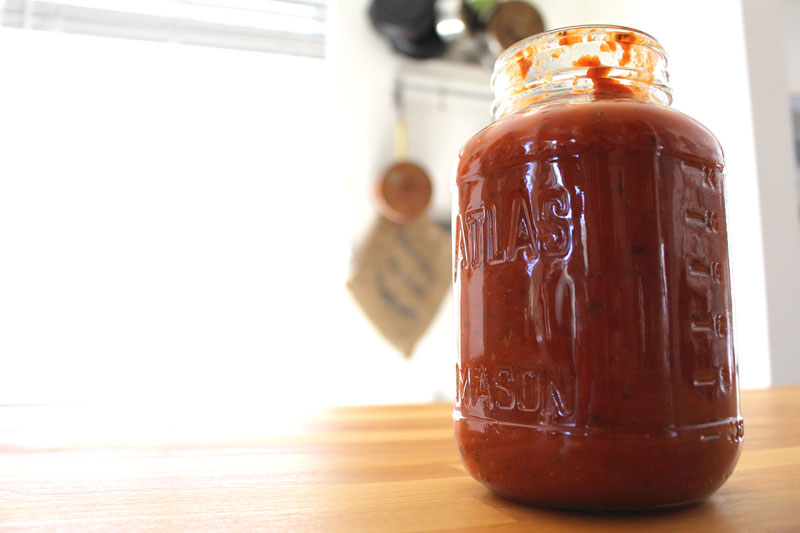
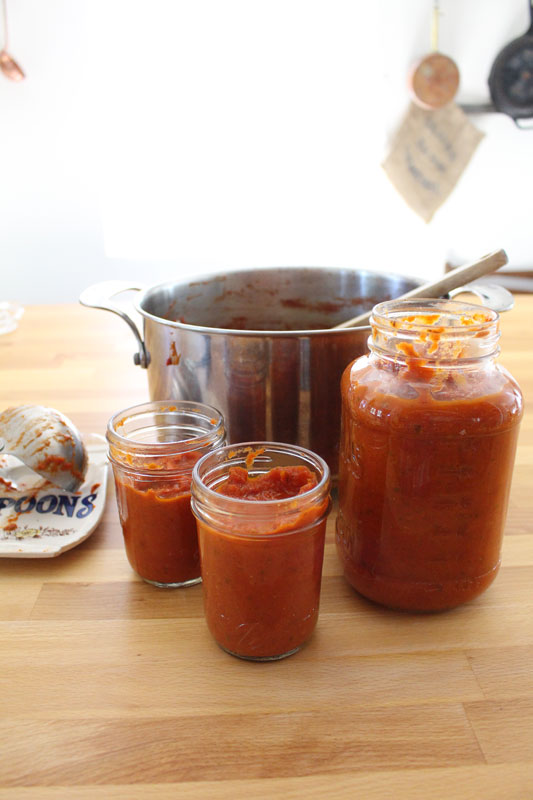
I had some jars sterilized and ready. I will store these in the freezer, since I don’t want to process them in a water bath for 35 minutes. Is it just me, or does anyone else get nervous about the jars breaking and losing their precious sauce? I don’t have a canning set, and I’m definitely not risking jars in a large pot of boiling water bumping in to each other.

Tomato-Sauce-9

The next thing to do is to figure out how to use this amazing sauce. 

Easy.

You can pair it with things like pasta, meats, and breads. It will go great with veggies too.

Specifically, you could make Eggplant or Squash Parmesan, Spaghetti and Meatballs, Deconstructed Lasagne, Meat and Cheese Lasagna, and Summer Pizza.

And oh my gosh you totally should use it to make Meatball Subs. Like right now. I’m serious.

Or, if you just can’t wait, grab some crusty bread and dip it in to the sauce. Good idea right?!

Happy Eating!

Tomato Sauce
Recipe Type: Condiment, Fruit, Vegetable, Vegan, Vegetarian, Gluten-Free, Dairy-Free
Cuisine: Italian
Author: Rachel Oberg – De Ma Cuisine
Prep time: 20 mins
Cook time: 140 mins
Total time: 2 hours 40 mins
Ingredients
  • 5 pounds Roma tomatoes, roughly chopped
  • 1 t salt
  • Extras: 2 T olive oil
  • 2 onions, roughly chopped
  • 1 head (about 12 cloves) garlic, roughly chopped
  • pinch pepper
  • 1/4 fresh basil, roughly chopped
  • 2 T fresh parsley, roughly chopped
  • 2 T fresh oregano, roughly chopped
  • 1 t dried rosemary, crushed
  • 1 t dried thyme
  • 2 T balsamic vinegar
  • 1 T honey
Instructions
  1. Combine tomatoes and salt in a large pot. Cook over medium heat, stirring occasionally, for about 10 minutes. Mash with a potato masher and cook for 10 minutes more.
  2. (If you don’t want to add anything else, skip to step 5.)
  3. Add olive oil to a hot pan. Add onions (bell pepper, zucchini) and cook over medium heat with a pinch of salt for about 10 minutes, stirring occasionally. Add garlic and cook, stirring constantly, for 3 minutes more.
  4. Add onion mixture, herbs, vinegar, and honey to the tomatoes. Use a spatula to get all the garlic infused oil from the pan. Stir once to combine.
  5. Blend with a hand blender, or in batches in a regular blender – removing the plug from the lid and covering with a clean towel.
  6. Bring back to a boil, then reduce to a simmer and cook for 1.5 – 2 hours, or until sauce has thickened, stirring occasionally.
  7. Sterilize your canning jars, bands, and lids in a pot of boiling water for at least 10 minutes at a rolling boil (or in the dishwasher).
  8. Pour sauce in to jars, leaving an inch or so (or a bit less) at the top for expansion.
  9. Store in the freezer once they have cooled completely.*
3.2.1311

(Yields about 2.5 pints or 5 C sauce.)

*To process jars in a water bath Ball suggests that you add 1 T lemon juice to each jar before filling and process in a water bath for 35 minutes. Do this if you want to store at room temperature – only store at room temperature if they have sealed properly).

Thursday

4

September 2014

0

COMMENTS

Deconstructed Lasagna

Written by , Posted in Cheese, Dinner, Fruit, Gluten Free, Herbs, Inspired By, Kid-Friendly, Lunch, Main Dishes, Pasta, Quick and Easy, Sauces, Sides, Vegetables, Vegetarian

DeconstructedLasagne-7

This is an ode to lasagna.

Or lasagne.

I don’t really care how you spell it. What matters is that it tastes amazing.

But, it’s a lazy lasagna. It’s a quick and easy lasagna. It’s a lasagne whose best parts have taken apart and reassembled.

Deconstructed.

DeconstructedLasagne-1

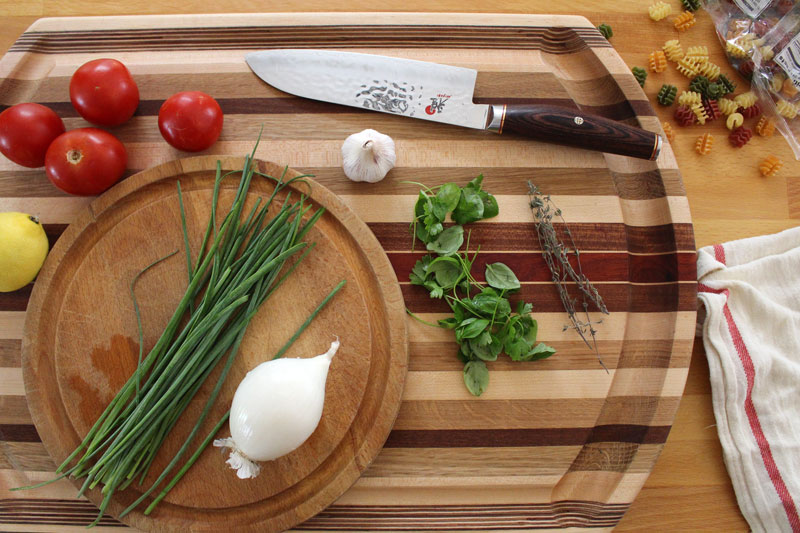
It starts, as most dinners cooked by me do, with lots of veggies. You could totally add more. Summer squash would be great. More greens are always fun. Grated carrots are fabulous.

You know how it is, use what you have.

DeconstructedLasagne-2

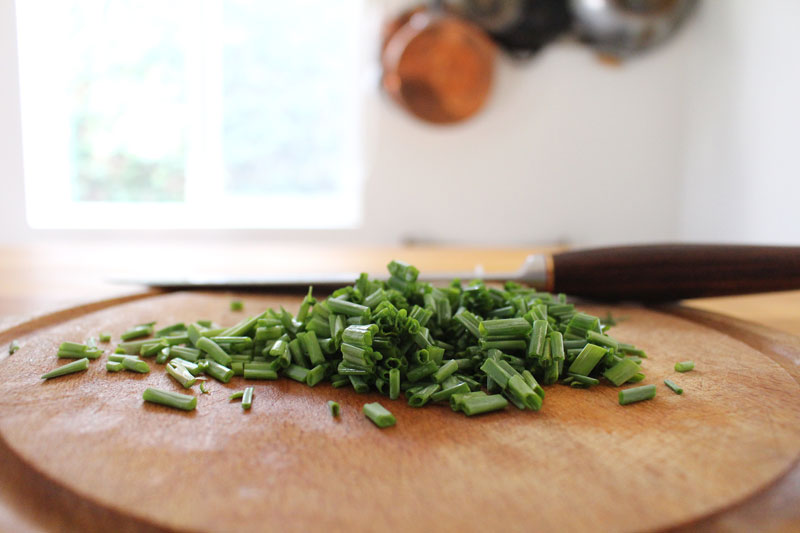
Today, I have chives.

Had.

They all went into the pasta.

A good decision.

DeconstructedLasagne-3

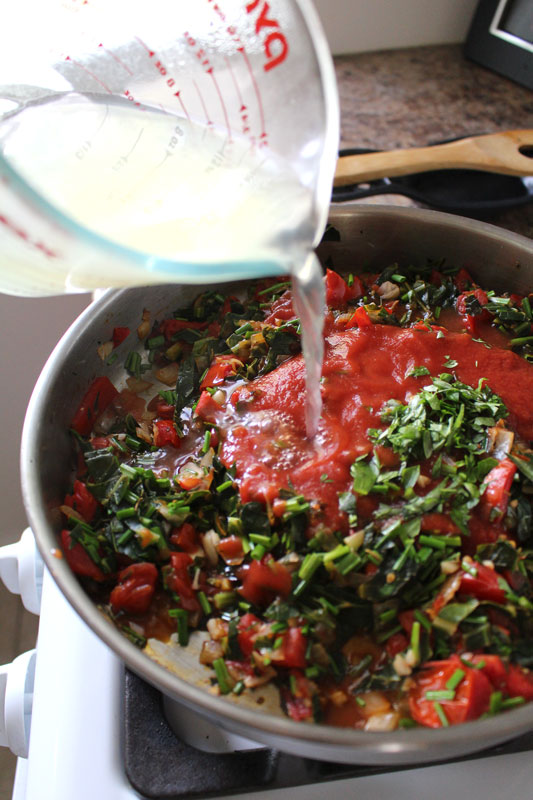
It’s always a good idea to add a little bit of the starchy pasta water to a pasta sauce. It helps the sauce to stick to the pasta when it’s combined. 

DeconstructedLasagne-4

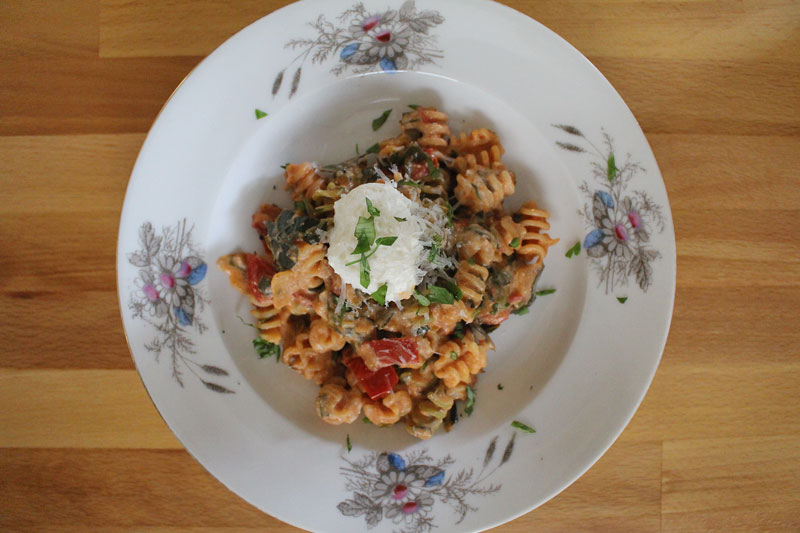
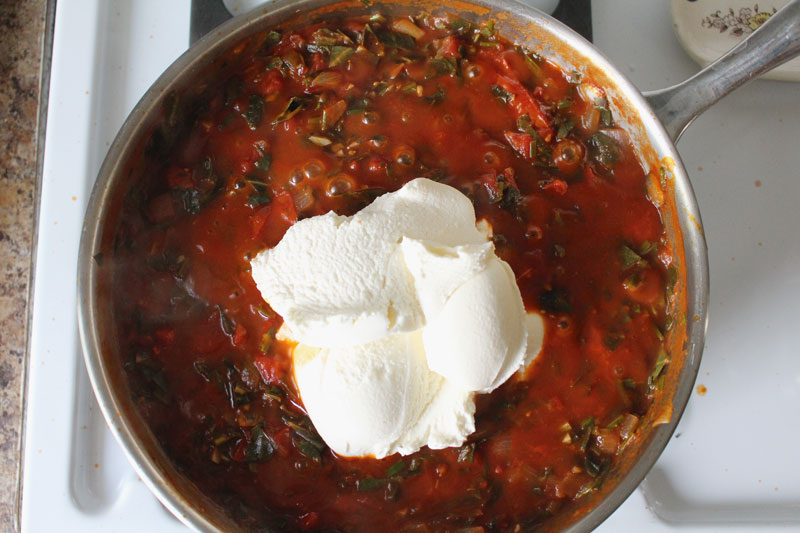
Since the point of this dish was to make a lasagna-like meal, it has many of the same elements. I went for a vegetarian version, because I didn’t have any ground beef. I think that beef would still be delicious, but I really liked it without.

I finished photographing and couldn’t stop eating it.

I wrote “Oh my gosh! So freaking good!!!” at the top of the page in my notebook where I’d written down the recipe.

I could eat this again and again. With or without the beef.

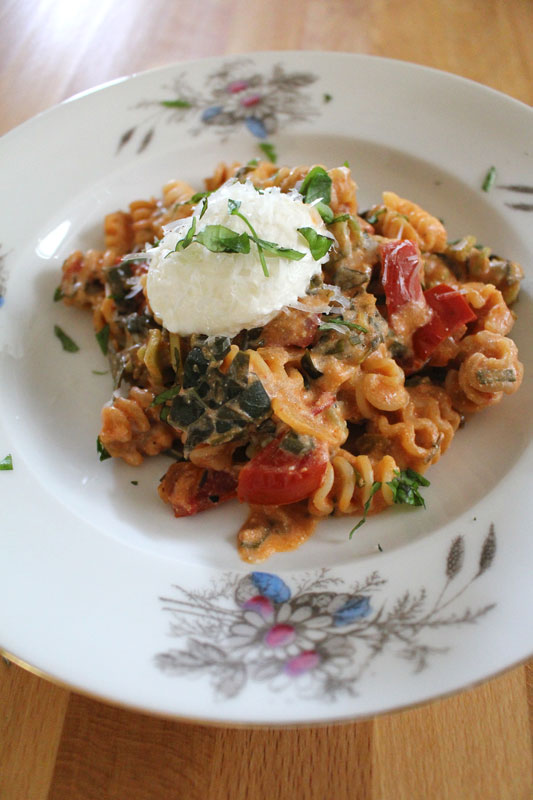
With the ricotta. Definitely with.

DeconstructedLasagne-5

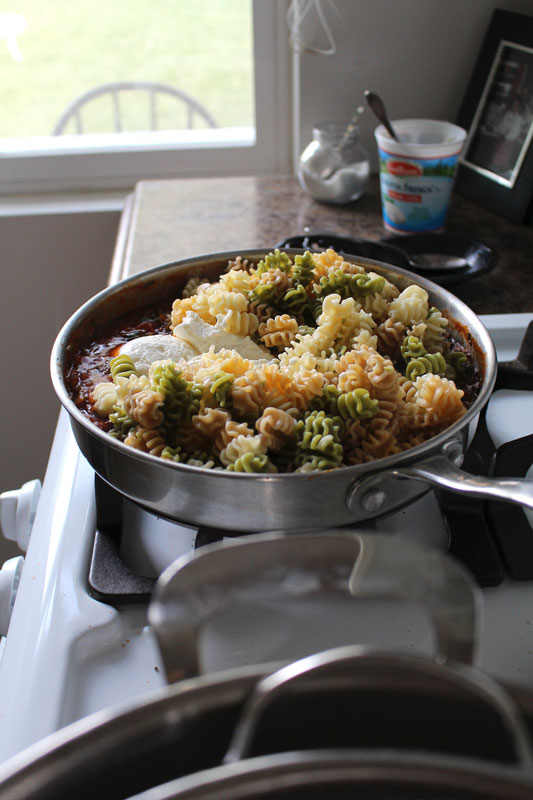
What didn’t seem like a lot of pasta ended up as just the perfect amount. I always overestimate how much pasta I’m going to need.

DeconstructedLasagne-6

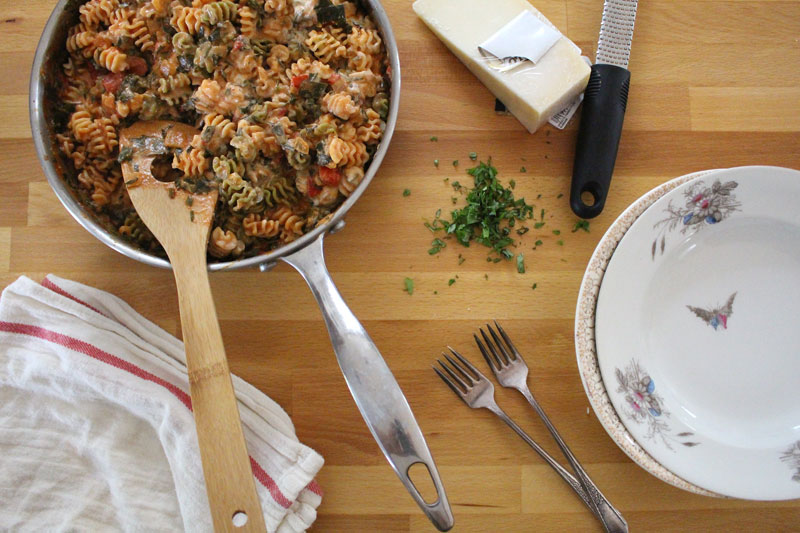
I’ve invited Tim for dinner.

Because we’re married and he lives here.

Because I’m the cooker and this is what I’ve made for dinner…

But, I totally think this would be a great dinner party meal too.

DeconstructedLasagne-8

Happy Eating!

Deconstructed Lasagna
 
Recipe Type: Main, Dinner, Pasta, Vegetarian
Author: Rachel Oberg – De Ma Cuisine
Prep time:
Cook time:
Total time:
Serves: 3-4
If lasagna were taken apart, this amazing pasta would be the result. It’s rich, creamy, and delicious.
Ingredients
  • pasta
  • 1 T olive oil
  • 1 onion, diced
  • to taste salt
  • to taste pepper
  • 1 C greens (collards, spinach, chard, kale), chopped
  • 4 small tomatoes, diced
  • 1/2 t dried rosemary, chopped
  • 1/2 t dried thyme
  • 1/2 to 1 t dried oregano
  • 4 cloves garlic, minced
  • 1 bunch chives, chopped
  • 1 T balsamic vinegar
  • 8 oz. tomato sauce
  • 1 T fresh parsley, chopped, divided
  • 1 T fresh basil, chopped, divided
  • 1/2 C water from cooked pasta
  • 1 T lemon juice
  • 15 oz. ricotta, divided
  • parmesan cheese, grated, for serving
  • lemon wedges, for serving
Instructions
  1. Cook pasta. Reserve the pasta water when pasta is almost done and the water is starchy.
  2. Heat skillet, add onion, salt, and pepper. Cook over medium or medium-low heat for 5 minutes, stirring occasionally.
  3. Add collards through oregano. Cook for 3 minutes. Then add garlic and chives. Cook for 1 minute more.
  4. Add balsamic vinegar and cook for 30 seconds. Add tomato sauce, half of the parsley, half of the basil, pasta water, and lemon juice. Stir to combine and simmer for about 5 minutes.
  5. Stir in half of the ricotta. Cook for about 30 seconds more. Remove from heat and taste and adjust seasoning if needed.
  6. Top with a dollop of ricotta, some parmesan, and a squeeze of lemon.
 
Notes
To make this recipe gluten-free use your favorite GF pasta.

Monday

1

September 2014

2

COMMENTS

Irish Nachos

Written by , Posted in Appetizers, Cheese, Dinner, Gluten Free, Herbs, Kid-Friendly, Lunch, Main Dishes, Potatoes, Quick and Easy, Roasting, Sides, Snacks, Vegetables, Vegetarian

IrishNachos-9

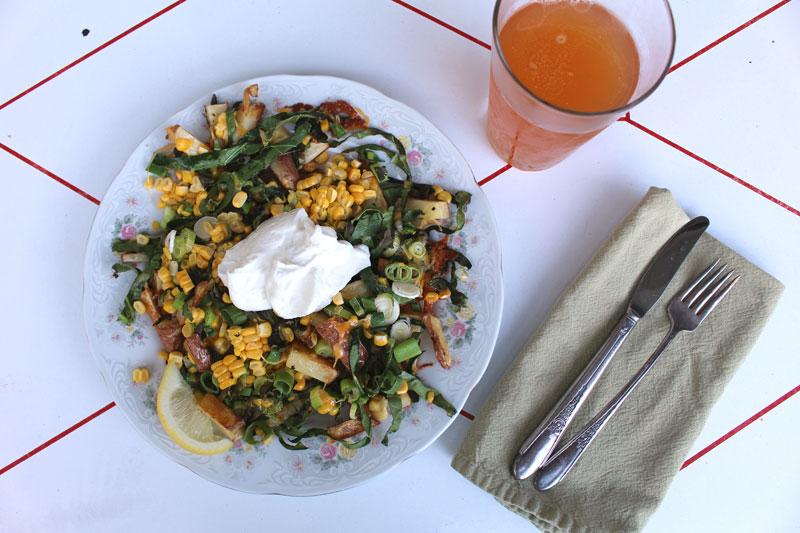
Confession: I’ve never actually had Irish Nachos. I’ve seen some pictures though, so maybe that counts for something. Tim had them once when he was out with friends. He came home and talked about how good they were.

They seemed like something that I could make.

IrishNachos-1

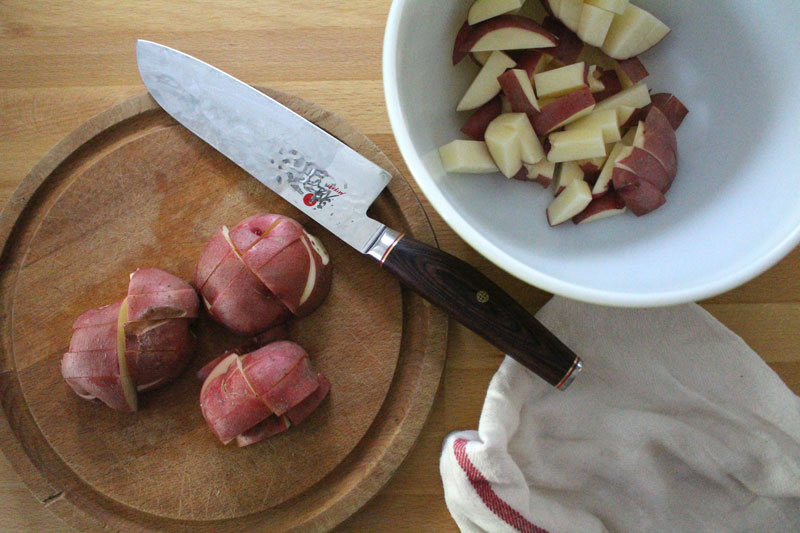
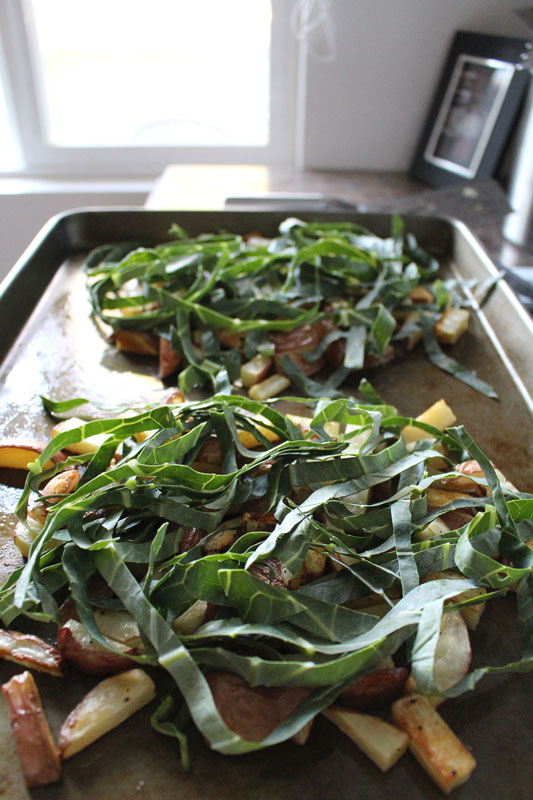
It all starts with potatoes. You could slice them thin and round if you’d like. I cut them in to chunks because it’s quick and easy.

I need more quick and easy when it comes to meal preparations.

IrishNachos-2

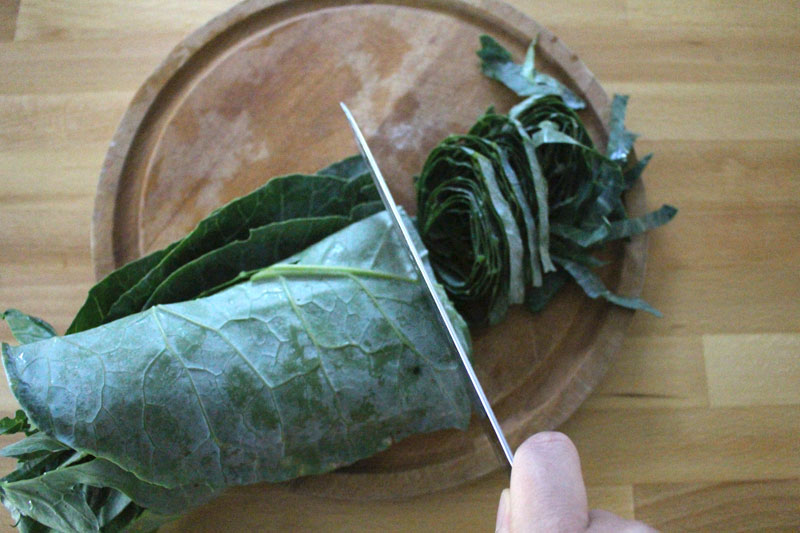
Since we get a weekly box of produce from Abundant Harvest Organics, I try to add as many veggies as possible to our meals. The longer I do it the easier it is and now it’s become second nature. All the times that I’ve made my Irish Nachos, I’ve added some sort of greens. I just love their flavor when they’re roasted.

This particular version of Irish Nachos has more veggies than Tim would prefer (just a little too piled on for him). I’ve made them two or three other times with less. He liked those better. So use my recipe as a suggestion box and tweak it and adapt it to suit your family.
IrishNachos-3

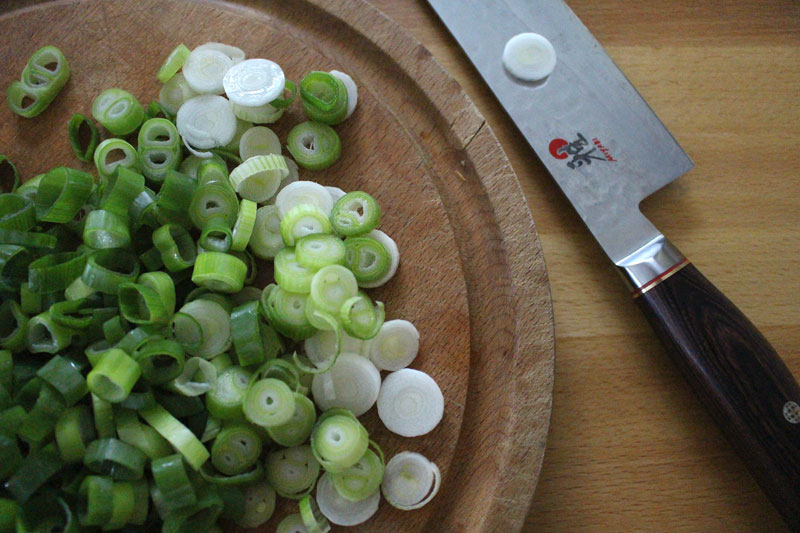
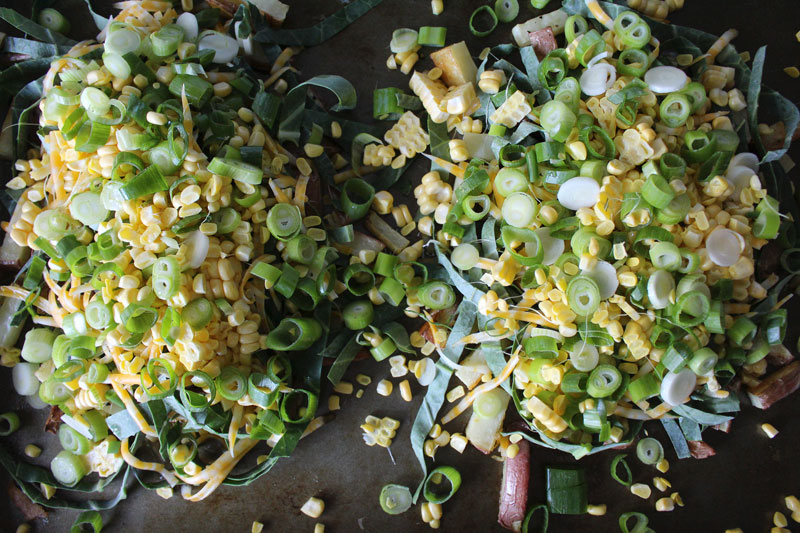
I feel like Irish Nachos ought to have some sort of green onion sprinkled over top. That might just be me. In any case, I really like what they add to the dish.

IrishNachos-4

Crisped up potatoes are gathered into piles.

Mmmmm piles of potatoes.

IrishNachos-5

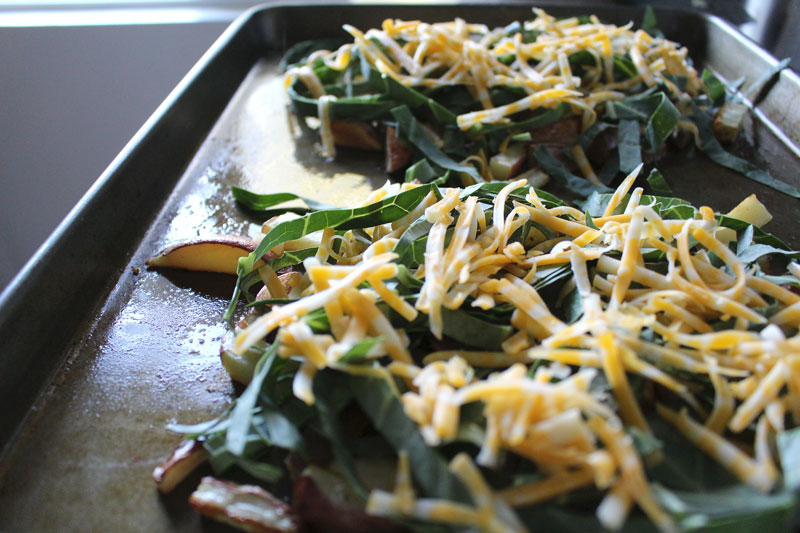
Then all of the toppings are piled on. You can do them in whatever order you’d like.

IrishNachos-6

Don’t forget the cheese. They are nachos after all.

IrishNachos-7

Since I recently cut a bunch of corn off the cob, I’m using it in everything. Summer Pizza, Squash and Egg Wraps, and Quinoa Salads… It’s good to have corn on hand.

IrishNachos-8

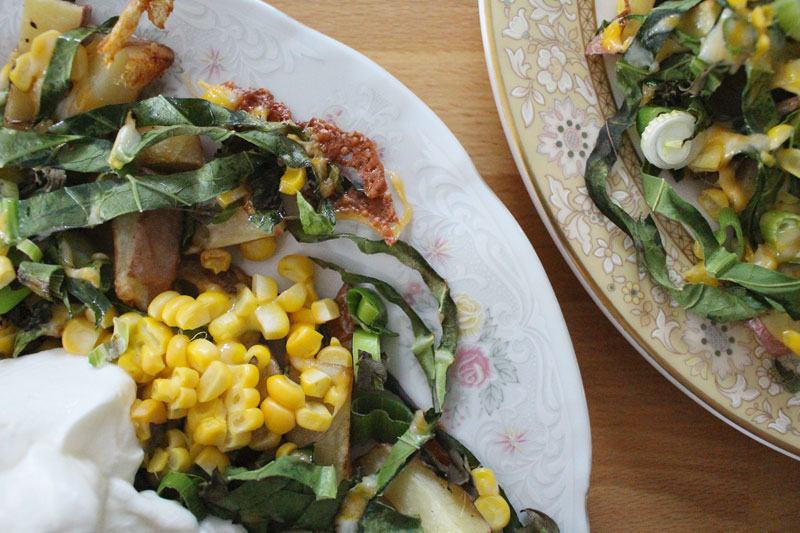
My favorite part, whenever there’s hot cheese involved, are the crispy bits of cheeeeeese. Every last bit needs to be scraped off the pan.

Every last bit.

Happy Eating!

Irish Nachos
Recipe Type: Main, Dinner, Side, Snack, Potatoes, Vegetarian
Author: Rachel Oberg – De Ma Cuisine
Prep time:
Cook time:
Total time:
Serves: 2-4
Ingredients
  • 4 potatoes, cut into long chunks
  • 1 T olive oil
  • 1/2 t (or more) salt
  • to taste pepper
  • 1/2 to 1 C greens (collards, kale, spinach, chard) cut in a chiffonade (thin ribbons)
  • 1/2 to 1 C green onions (or chives), chopped
  • 1/2 to 1 C cheese, grated
  • 2 cobs corn, cut off the cob
  • yogurt, for topping
  • lemon wedges, for serving
Instructions
  1. Pre-heat the oven to 350F.
  2. Toss potatoes with olive oil, salt, and pepper. Place on 1-2 baking sheets (don’t overcrowd them – use two sheets if needed), and bake for 15 minutes, flip them (and rotate the position in the oven if using two sheets), and bake about 15 minutes more (or until potatoes are crispy outside, tender inside).
  3. Gather potatoes into piles (as many piles as there are people eating), and top with greens, onions, cheese, and corn. Bake for 10 minutes more.
  4. Serve topped with yogurt and a squeeze of lemon.


Monday

25

August 2014

2

COMMENTS

Meatball Subs

Written by , Posted in Beef, Bread, Cheese, Dinner, Fruit, Herbs, Kid-Friendly, Lunch, Main Dishes, Meat, Quick and Easy, Sandwiches, Sauces

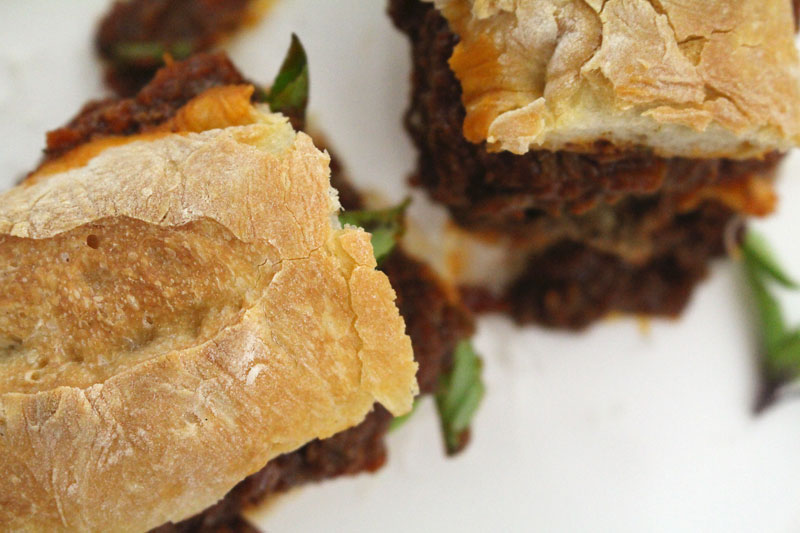
MeatballSubs-6

I want you to know that I almost had to stop working on this post to go back to the grocery store to buy some ground beef so I can make these sandwiches. They are not on the menu for dinner tonight, but working on these pictures is tormenting me.

Tormenting I say.

The day that I photographed this dish, as soon as I was done, I stood next to the island and inhaled it so fast that I think I gave myself heartburn.

Oops.

Worth it.

MeatballSubs-2

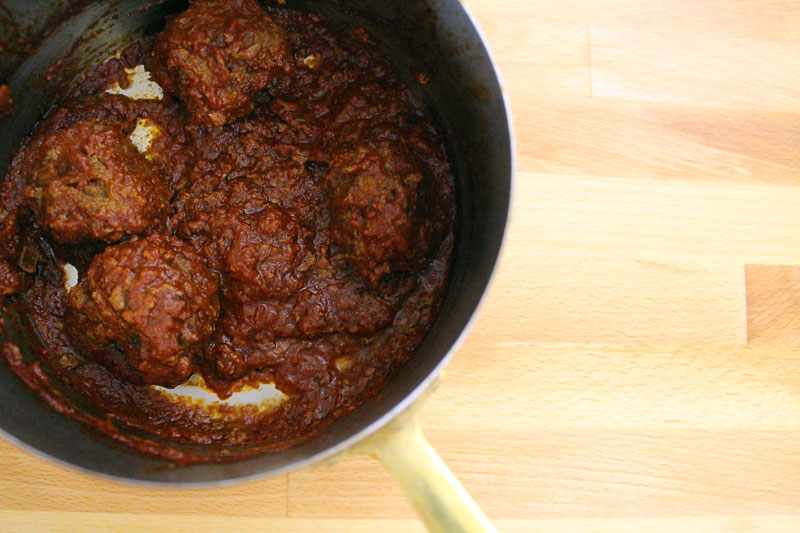
It all starts with meatballs. They’re made with organic beef, an egg, and some honey. Plus herbs. Gotta have herbs.

They start in the pan that an onion has just cooked in.

Some homemade tomato sauce is added, and they cook a bit longer.

I’m drooling here.

MeatballSubs-1

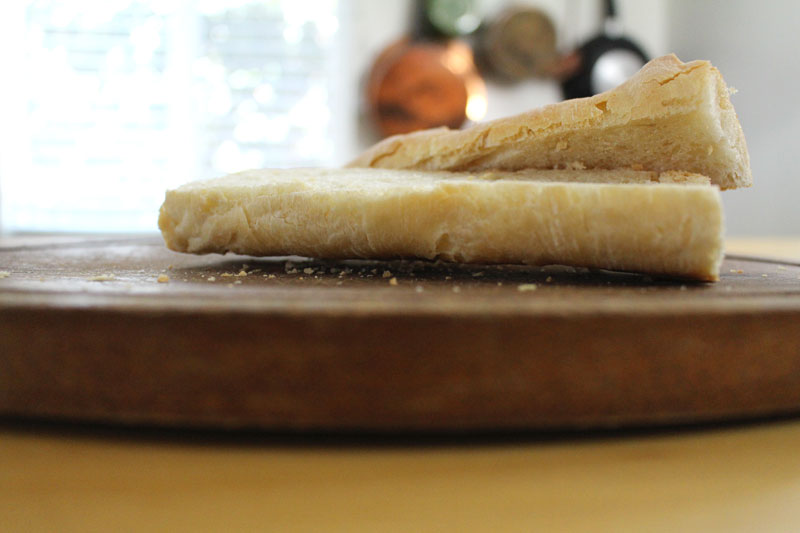
And then there’s a homemade baguette.

Can this meal get any better?!

If you don’t have the time to make homemade baguettes, I understand. They are a lot of work. Buuuut so worth it.

The bread is toasted in a buttered skillet.

Yep. It got better.

MeatballSubs-3

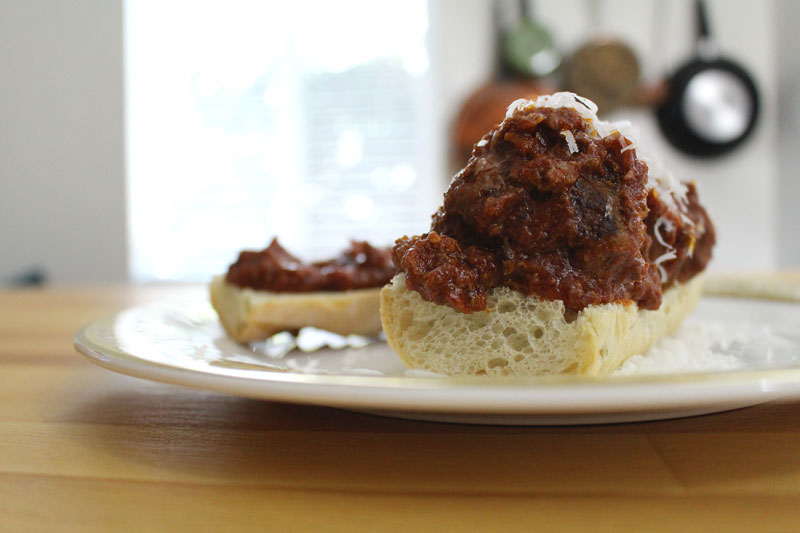
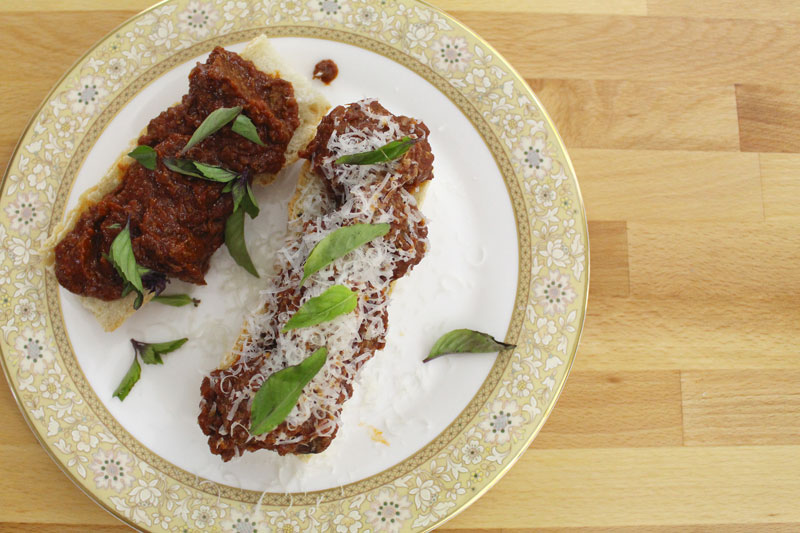
If you can manage to stop yourself from just standing at the stove and scooping the meatballs out of the pan with the bread, you can top it with cheese.

If you can’t, I understand.

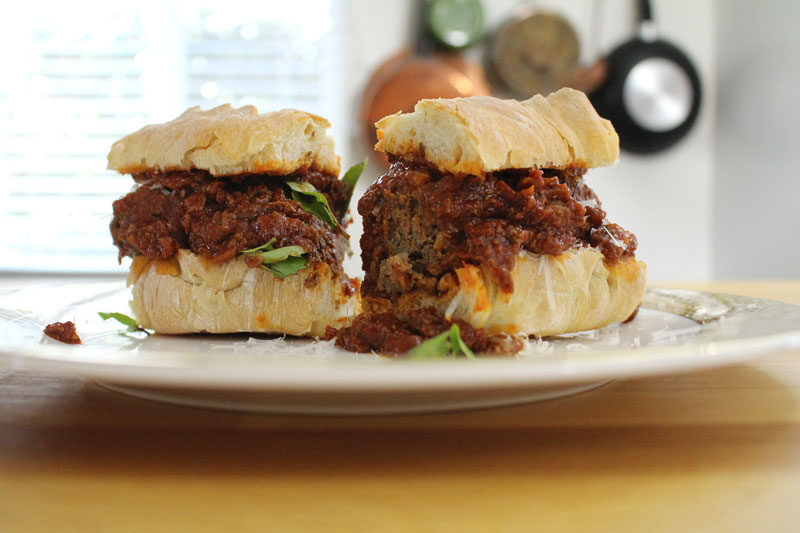
Buuuuuuut I think that might actually be a good idea. You know how the best part of eating a plate of tomato sauced spaghetti is wiping down the plate with your buttered bread? This is kinda like that but better, because there’s so much more goodness to scoop up.

Next time I’m trying this.

MeatballSubs-4

If you’ve held yourself together and convinced yourself to not eat like a maniac at the stove, top the sandwich with lots of basil.

MeatballSubs-5

Now you’ve earned a bite.

So have I.

I’m hungry.

Happy Eating!

Meatball Subs
Recipe Type: Main, Sandwich, Lunch, Dinner, Beef
Author: Rachel Oberg – De Ma Cuisine
Prep time:
Cook time:
Total time:
Serves: 3
One of our favorite sandwiches is also one of the messiest. Filled with delicious beef, basil, and cheese, we love a good meatball sub.
Ingredients
  • 1 onion, diced
  • 2 T olive oil, divided
  • 1 egg
  • to taste salt
  • to taste pepper
  • 1 t honey
  • 1 t balsamic vinegar
  • 2 C tomato sauce
  • 1/2 t mustard
  • 1 T fresh (or 1/2 t dried) parsley, divided
  • 1 T fresh (or 1/2 t dried) thyme, divided
  • 1 lb. ground beef
  • 2 C tomato sauce
  • to taste salt
  • to taste pepper
  • 1 t lemon juice
  • 1 T butter
  • pinch salt
  • 3 longish portions of baguette or crusty bread, sliced in half lengthwise
  • cheese, grated
  • fresh basil, for topping
Instructions
  1. Heat a large skillet. Add 1 T olive oil. When it’s hot, add the onion and cook over medium heat for about 5 minutes (or until onion is translucent and softened), stirring occasionally.
  2. Whisk together egg through thyme. Combine beef with egg mixture, mixing together with your hands (do not over mix). Roll into about 12 meatballs.
  3. In the onion skillet, add remaining 1 T olive oil, turn heat to medium-high, and add meatballs. Cook, turning often, until browned all over (about 8-10 minutes total).
  4. Whisk together tomato sauce, salt, pepper, remaining parsley, and thyme. Pour into meatball pan. Bring to a boil, then reduce to a simmer. Cook meatballs until they reach 160F (about 10-15 minutes). Stir in a squeeze of lemon.
  5. Heat another skillet and add the butter and a pinch of salt. Once the butter is hot, add the bread (cut side down) and cook over medium heat it until it’s browned.
  6. Top the bottom piece of bread with some cheese, four meatballs, a couple scoops of sauce, a bit more cheese, and the basil. Scoop a bit more sauce on the top piece of bread and close the sandwich.


Thursday

14

August 2014

0

COMMENTS

How To Dry and Pair Summer Herbs

Written by , Posted in Herbs, How To, Storage/Prep

DryingHerbs-1

If you walked into my kitchen, at most any time of the year, you’d see herbs at various stages in the drying process.

DryingHerbs-4

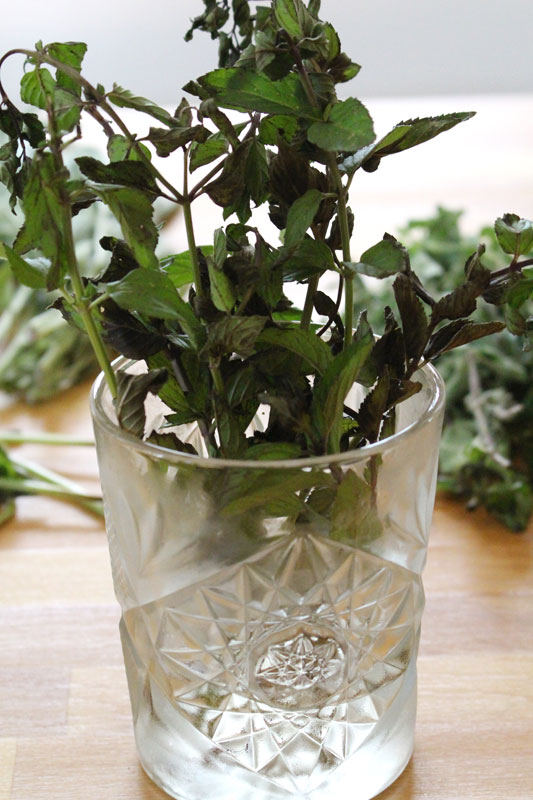
Usually they start in the fridge, in a glass, with a bit of water in the bottom. This is my favorite way to store fresh herbs, as they will sometimes last a week or two.

DryingHerbs-2

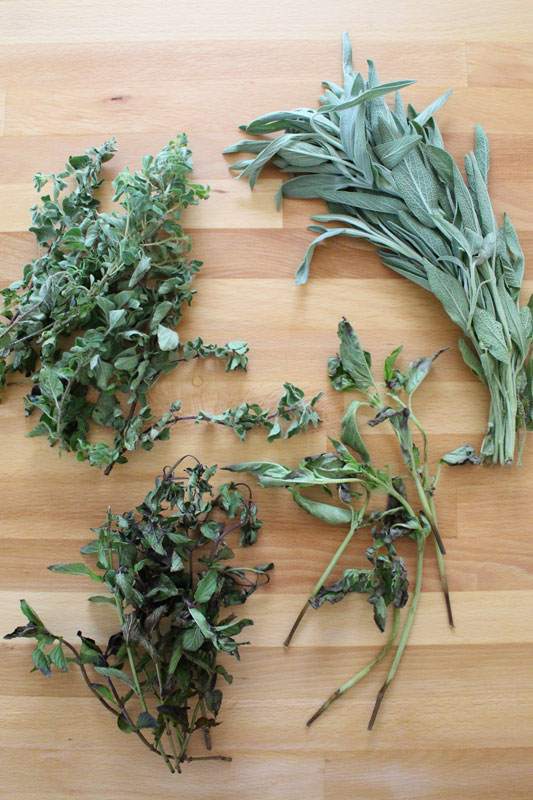
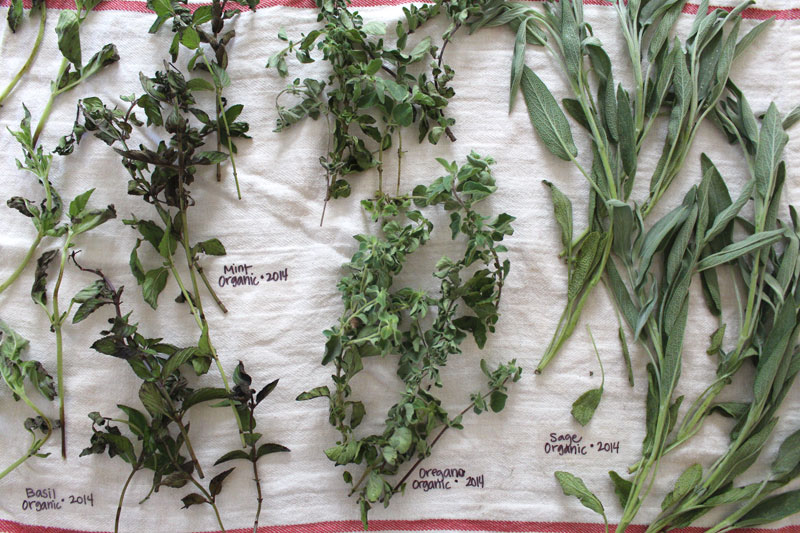
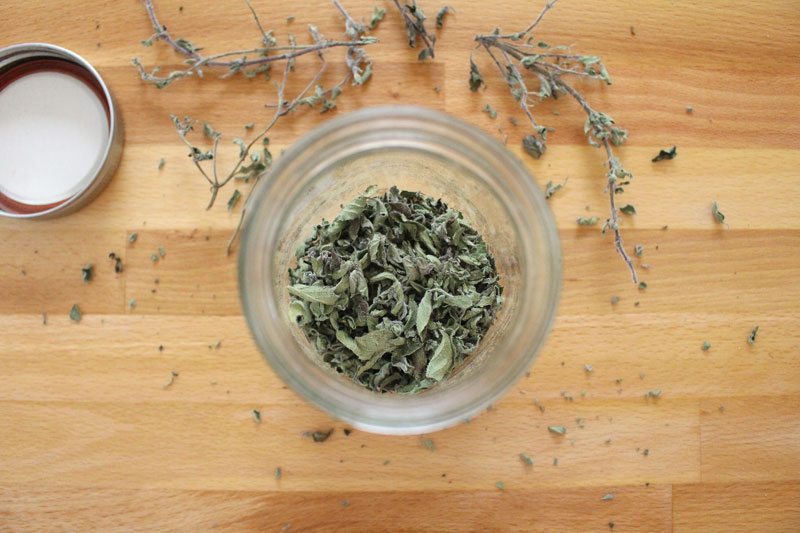
Once they’re past their prime, or if I don’t have plans to use them soon, I will wash them and lay them on a clean tea towel to dry. I leave them there for a week or two, or until they’re crispy and crumbly.

DryingHerbs-3

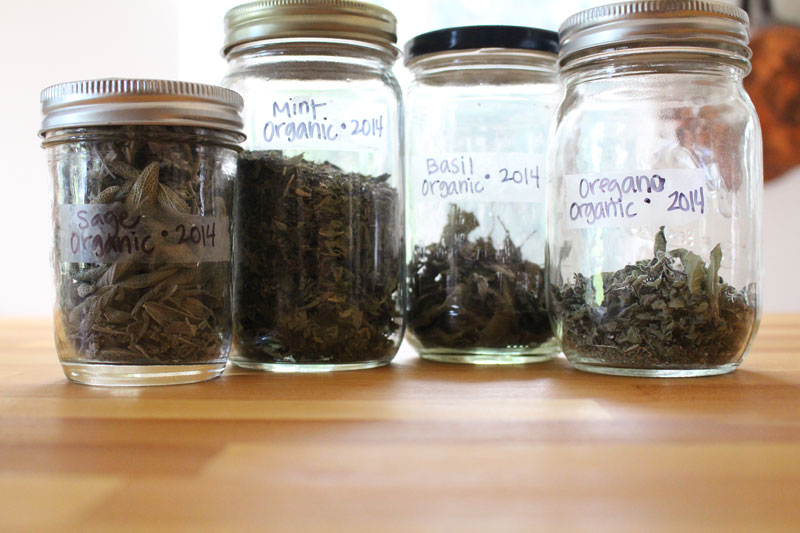
Dried herbs are stripped from their stems and stored in a labeled glass jar with a lid.

DryingHerbs-5

I have jars filled with most of the herbs we get from Abundant Harvest Organics in my pantry. Fresh is usually best, in my opinion, but I’m always happy to have things like basil and oregano on hand, no matter what state it is in.

DryingHerbs-6

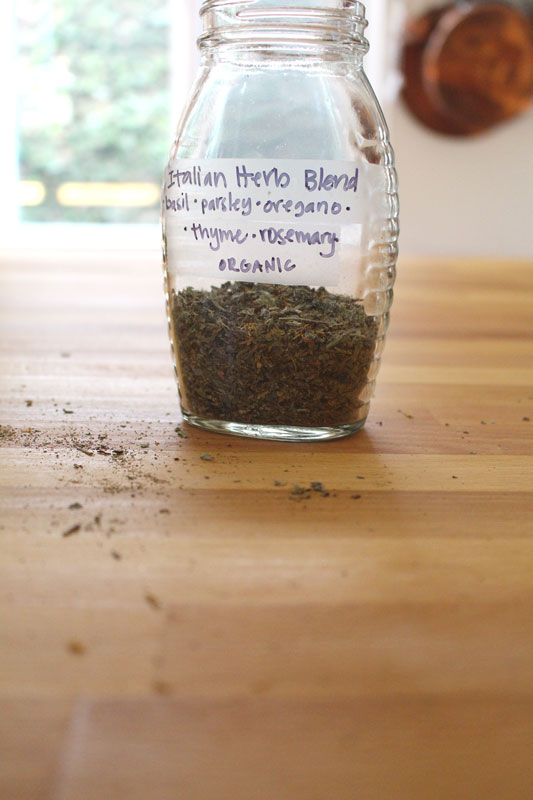
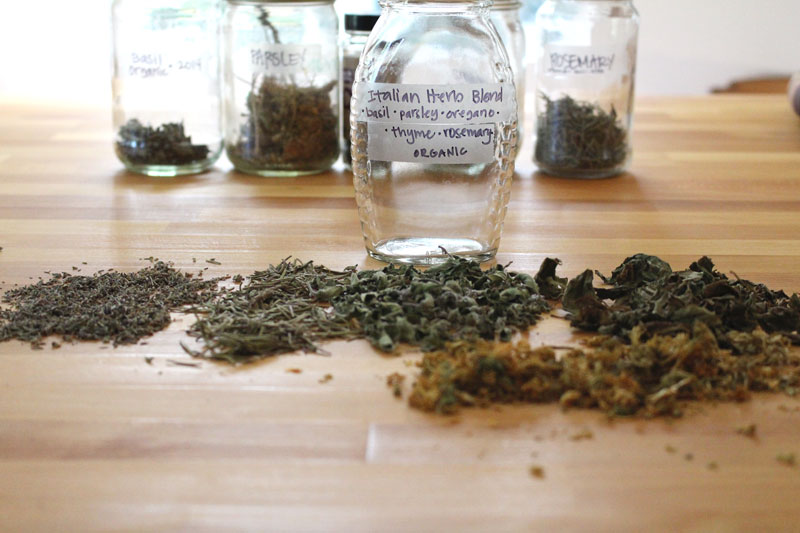
We enjoy Italian flavors a lot in our home, so having a jar of an Italian herb blend always comes in handy. It’s perfect for anything from pizzas and calzones, to pastas and soups. This week I combined some of my favorites: basil, oregano, parsley, thyme, and rosemary.

DryingHerbs-7

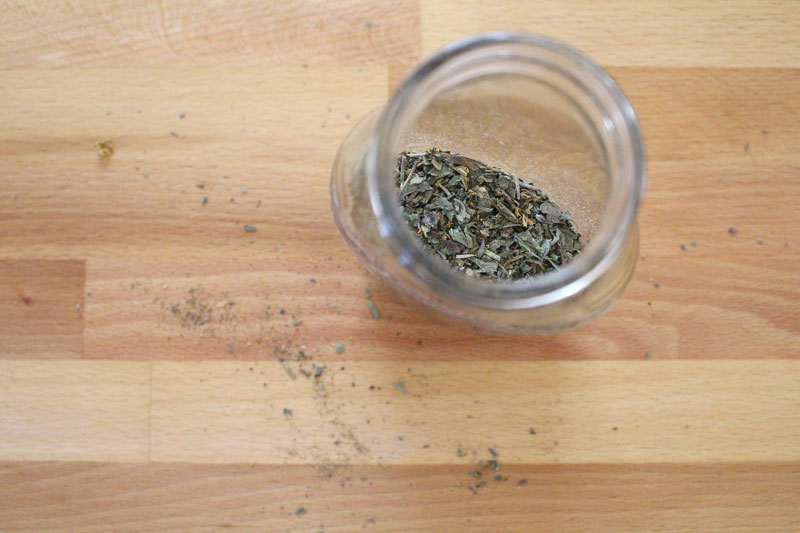
They are smashed up and mixed together with a mortar and pestle before being stored in a jar for the next time we have Italian inspired pasta (which will probably be tonight).

DryingHerbs-8

DryingHerbs-9

Since it’s summer right now, let’s talk about a few of the summer herbs that we’ve been getting, and what they will pair well with (I often find ideas for what pairs well together in one of my favorite kitchen tools, The Flavor Bible).

Basil

Herbs Basil Pairs Well With

Chives

Cilantro

Oregano

Parsley

Rosemary

Thyme

Marjoram

Mint

Foods Basil Pairs Well With

Cheese

Eggs

Garlic

Olive Oil

Fennel

Pasta

Pesto

Tomatoes

Zucchini

Cuisines Basil Can Be Found In

Asian

Italian

Mediterranean

Thai

Vietnamese

Great Ways to Use Basil

StuffedFrenchToast-7

Fresh Herb and Dried Tomato Bruschetta

Basil and Summer Squash Risotto

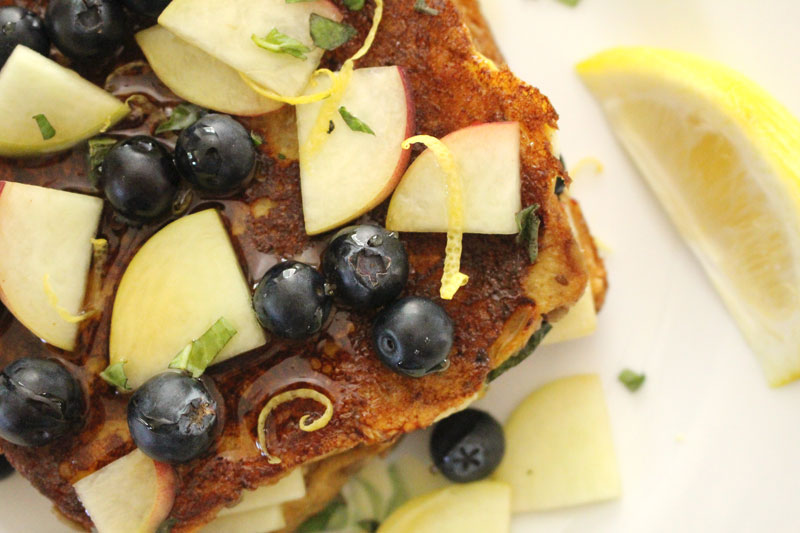
Fresh Fruit and Basil Stuffed French Toast

English Peas with Ricotta and Ham over Pasta

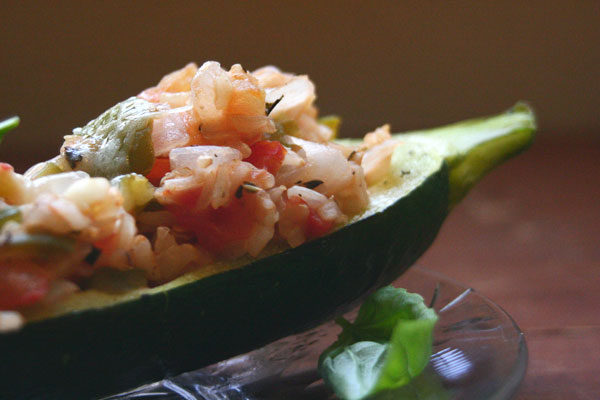
Roasted Stuffed Squash

Oregano

Herbs Oregano Pairs Well With

Basil

Marjoram

Chives

Parsley

Rosemary

Sage

Thyme

Foods Oregano Pairs Well With

Bell Peppers

Fish

Lemon

Meats

Pasta

Pizza

Tomatoes

Cuisines Oregano Can Be Found In

Greek

Italian

Mediterranean

Mexican

Tex-Mex

Great Ways to Use Oregano

Dried-Tomatoes-7

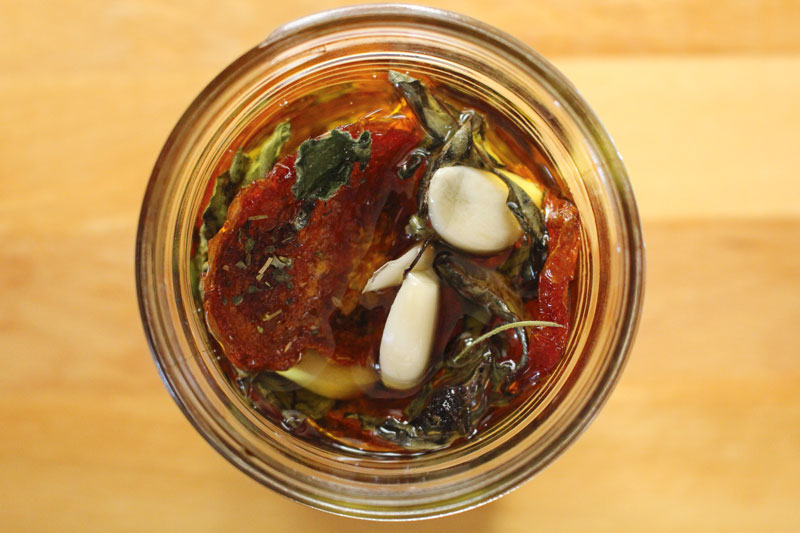
Dried Tomatoes

Herbed Roasted Chicken Thighs with Cherry Tomatoes

Simple Summer Salad

Roasted Stuffed Squash

Sage

Herbs Sage Pairs Well With

Lemon Balm

Lemon Thyme

Thyme

Rosemary

Savory

Parsley

Oregano

Mint

Marjoram

Foods Sage Pairs Well With

Fennel

Beans

Cheese

Chicken

Onions

Pork

Pasta

Stuffing

Eggplant

Cuisines Sage Can Be Found In

European

French

Greek

Italian

Mediterranean

Spanish

Great Ways to Use Sage

RoastedStuffedSquash4

Roasted Stuffed Squash

Roasted Lemon Balm Chicken

Sage Pesto

Mint

Herbs Mint Pairs Well With

Basil

Chives

Cilantro

Dill

Lavender

Lemongrass

Lemon Verbena

Marjoram

Parsley

Rosemary

Sage

Thyme

Foods Mint Pairs Well With

Beans

Chocolate

Cream

Ice Cream

Cucumbers

Fruit

Lamb

Salads

Sugar

Yogurt

Cuisines Mint Can Be Found In

Afghan

Asian

Egyptian

Greek

Indian

Mediterranean

Mexican

Middle Eastern

Moroccan

Thai

Turkish

Vietnamese

Great Ways to Use Mint

SummerDrinksWithHerbs-10

Mediterranean Summer Salad

Mint Iced Tea

Indian Spiced Okra

Fun Drinks with Summer Herbs

Happy Eating!