De Ma Cuisine

Beef Archive

Monday

3

August 2020

0

COMMENTS

Nachos

Written by , Posted in Beans, Beef, Cheese, Dinner, Fruit, Gluten Free, Herbs, Kid-Friendly, Legumes, Main Dishes, Meat, Pork, Poultry, Quick and Easy, Red Sox, Snacks, Vegetables
Baseball is back. I’ve missed it, mostly. During the off season the Red Sox let Mookie and Brock get away. They’ve been favorites in our house, so it’s a little sad. I’m excited for the other guys to get to shine though. Benny, Bogaerts, Chavis, JD… they have a good offensive team.

I’ve been a baseball fan for as long as I can remember. I was a diehard Jays fan during the “Touch ’em all Joe” World Series. My brothers and I screamed and jumped so hard that the VCR fell off the TV.

Tim and I fell in love with the Red Sox in 2007. After nearly a decade of not paying much attention to baseball, we were on a fall anniversary trip and the Red Sox were in it. I started planning our outings around the playoff schedule. It was Dustin Pedroia’s rookie year. What a time to join Red Sox Nation! Dustin and Papi will forever be my all time favorites. I cried when Papi retired. If Pedroia ever plays again I’ll cry too.

It’s gonna be a weird season (#ThanksCorona). But, whatever it looks like, however short it may be, we will be cheering on the Red Sox. It’s a bit of brightness during a dark time. I like to plan fun foods to eat during the games. Things that we might eat at the ballpark: nachos, pizza, popcorn, hotdogs, fries… So if you need us for the next while, we’ll be eating all the baseball food, yelling at the TV, and texting LeBlanc about how much we love having Jerry Remy back in the booth.

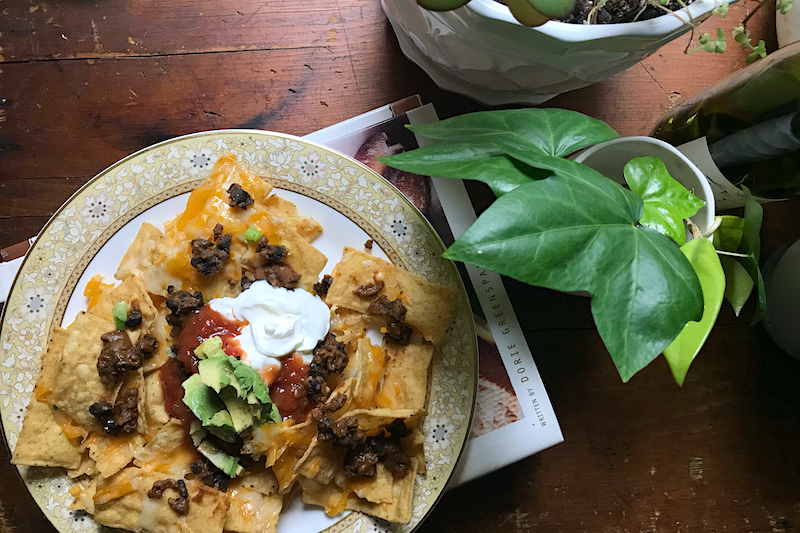
Our Favorite Nachos

Ingredients

  • our favorite hot toppings: sautéed onions and bell peppers, ground meat, pinto beans, black beans
  • taco seasoning
  • salt, to taste
  • tortilla chips, lots of them
  • grated cheese, a lot, like more than you think you’ll need
  • cold toppings: sour cream, salsa, avocado or guacamole, chopped tomatoes, chives/red onions/scallions

Directions

  1. Pre-heat the oven to 350°F (toaster oven please bc summer!).
  2. Cook or re-heat any hot toppings. Stir in some taco seasoning and a pinch of salt.
  3. Arrange the chips in a layer with no gaps for cheese to fall through. This is important. Sprinkle with a ton of evenly distributed cheese. Layer with more chips. Add more cheese. This is like chip lasagna. Do a third layer if you want. We usually stick to two. But, it’s 2020, nothing makes sense. Maybe we’ve been making nachos all wrong by omitting the third layer. Bake for a few minutes, check on the cheese, bake a little longer if it’s not all the way melted. You can always do more melting. You can never un-melt burnt cheese.
  4. When the nachos are perfect, take them out of the oven. Plomp them onto some plates. Top with those cooked hot toppings. Add the sour cream, salsa, avocado, tomatoes, and anything oniony. Did I forget anything? Oh! Tim likes thinly sliced black olives. I think it’s weird, but if he’s in charge I’ll eat it without complaint and will probably like it.

Saturday

11

July 2020

0

COMMENTS

Pasta with Otamot

Written by , Posted in Affiliate Post, Beans, Beef, Burlap & Barrel, Dairy-Free, Dinner, Gluten Free, Kid-Friendly, Main Dishes, Meat, Otamot, Pasta, Pork, Poultry, Quick and Easy, Sauces, Sausage, Vegan, Vegetables, Vegetarian

The flavor of a tomato that’s been warmed by the sun. It’s simultaneously bright and deep, acidic, sweet, and deeply rich. The warmth of the sun mellowing its sharp acidity, turning it into a gentle escape. I know these tomatoes. I can still taste them on my tongue. A childhood memory that’s grown up.

This summer I will consider it an accomplishment if I can coax tomatoes out of what last spring was just lawn. The cherry tomatoes will be eaten out of hand. Dirt brushed off while the sun kisses our cheeks. Each tomato bursting as we bite into it. Beefsteaks will be sliced thick and served on toasted bread with a smear of mayo or a drizzle of very good olive oil, topped with fresh basil leaves and a sprinkle of Maldon salt. San Marzanos will be saved for sauce. Thick, rich, flavorful sauce that will envelop penne, luxuriate over meatballs on a sub, or gently braise meat. I love to make my own sauce. I think I’m good at it too. But, the other day I tried a sauce that gives mine some tough competition.

Otamot.

The Brooklyn based company started because the founder, Andrew Suzuka, wanted fewer battles over food with his daughter. (That’s fair.) So he created a tomato sauce that doesn’t have added sugar or preservatives and packed it with veggies and nutrients.

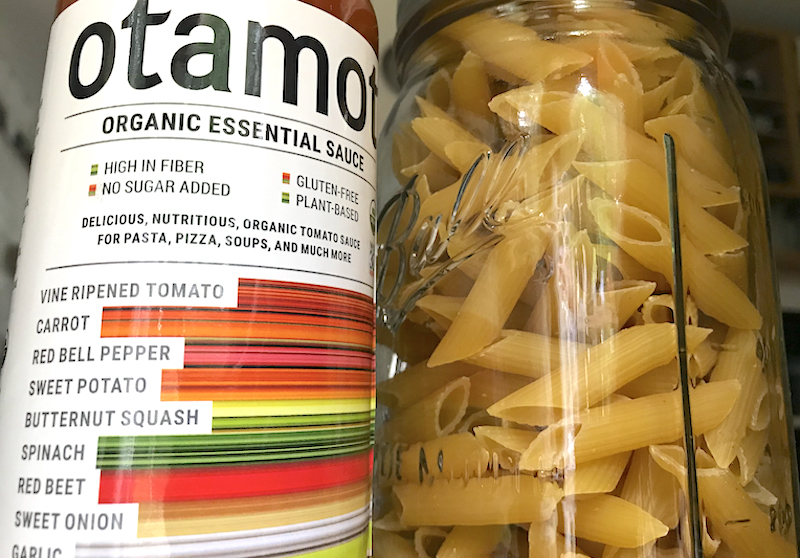
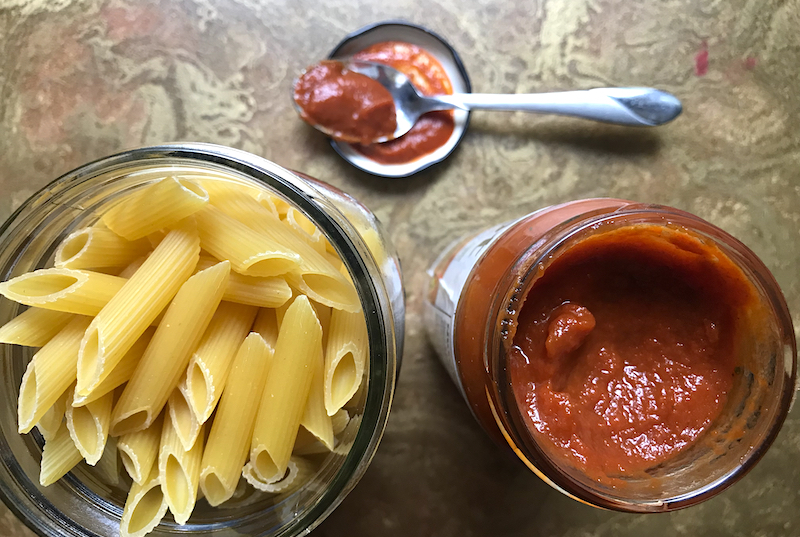
Tomato, carrot, red bell pepper, sweet potato, butternut squash, spinach, red beet, sweet onion, garlic, and shiitake mushroom are blended up to a thick purée that begs to have crusty garlic bread swiped through. (Have you tried Burlap & Barrel’s Purple Stripe Garlic yet?? It makes the most amazing garlic bread!)

I compared Otamot to another popular sauce brand. The other one could be fine. But, I want more than that. Otamot is a nutrient dense food that’s got 25% of your daily recommended vitamin E, 10% vitamin C, 20% vitamin A, 15% vitamin B3… Read the label. It’s really good stuff.

Sometimes I don’t have the energy to make food that’s this healthy and delicious. Or I don’t have all the ingredients on hand. Maybe it’s 5:30pm and I’m still working on a blog post and dinner needs to be quick and right now. I’m thankful that there are companies out there making truly high quality food that allows us to easily feed ourselves well.

I learned about Otamot at the virtual Yellow Co conference in June. A free jar was in our virtual goodie bag. Yes please! I used the entire jar to make a simple pasta. I’m regretting not saving some for pizza night though. ¯\_(ツ)_/¯ Next time I think I’ll get the Otamot Organic Mixed Sauce 4-Pack. It’s a good deal and I’d get to try all the flavors. And, youguys, Otamot is offering 10% off to my readers (code RACHO10)!

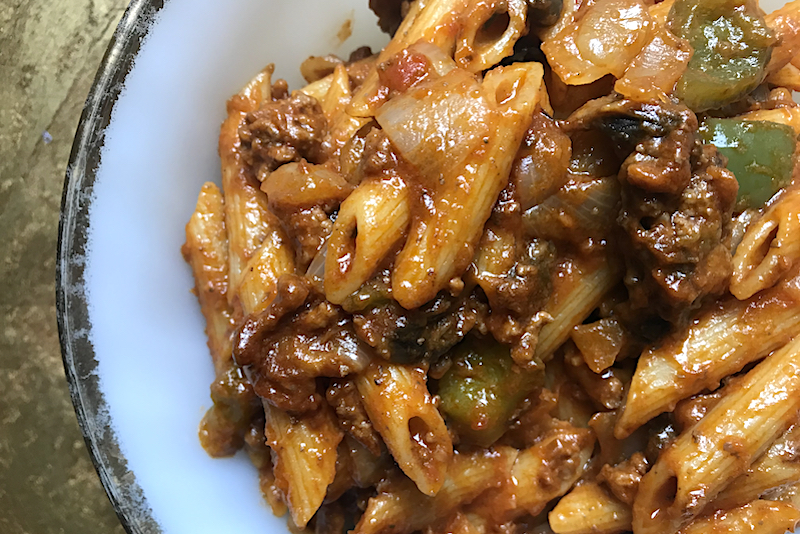
Here’s an easy dinner to make with your Otamot. Use the veggies that you have on hand. Sub any type of ground meat, or try a meat free option like cannellini beans, seitan, or vegan sausage.

Happy Eating!

Pasta with Otamot

Serves: 4

Prep: 10 minutes Cook: 15 minutes Total: 25 minutes

Ingredients

  • 1 pound penne or rigatoni pasta (wheat or rice)
  • 1 pound ground beef/pork/chicken/turkey, vegan sausage, seitan, or 1 can cannellini beans (drained)
  • 1 bell pepper, chopped
  • 1 yellow onion, chopped
  • 8 button mushrooms, chopped
  • 1-16 ounce jar Otamot (Organic Essential) sauce
  • 1 cup pasta water
  • to taste salt
  • 1 t unsalted butter or olive oil (optional)

Directions

  1. Bring salted water to a boil in a large pot.
  2. Cook your protein in a large skillet for about 3-5 minutes. Add the bell pepper, onion, and mushrooms. Cook until the veggies are tender, stirring occasionally, about 5 minutes more. Add the Otamot sauce and cook until it’s bubbly.
  3. While the veggies cook, cook the pasta to just shy of al dente. Add 1 cup pasta water to the sauce before draining the pasta. Stir the pasta into the sauce and let it finish cooking. Add salt if desired. Stir in butter, if using. If not, drizzle each serving with a bit of olive oil.

Otamot and Burlap & Barrel are affiliate links. I get a small commission for any sales generated from these referrals.

Thursday

28

May 2015

0

COMMENTS

Customizable Panzanella Salad

Written by , Posted in Beans, Beef, Bread, Cheese, Condiments, Dairy-Free, Dinner, Eggs, Fish, Fruit, Gluten Free, Grains, Herbs, Legumes, Low Carb, Lunch, Main Dishes, Meat, Nuts, Pork, Poultry, Quick and Easy, Quinoa, Salads, Sides, Toasting, Vegan, Vegetables, Vegetarian

PanzanellaSalad2015-6

There are so many things that this salad can be. It can be vegan, paleo, low-carb, gluten-free, high-protein… It all depends on what you add to it.

PanzanellaSalad2015-1

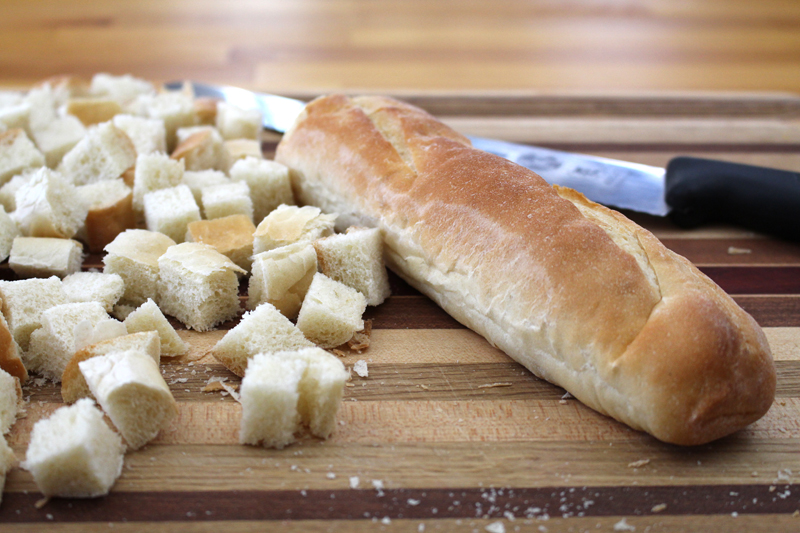
I made some baguettes a few weeks ago that I wasn’t thrilled with. They’re prefect for croutons though. If you prefer to avoid bread, quinoa or tofu would be great bread replacers. Or, if you’re eating gluten-free, your best gluten-free bread will be just perfect.

PanzanellaSalad2015-2

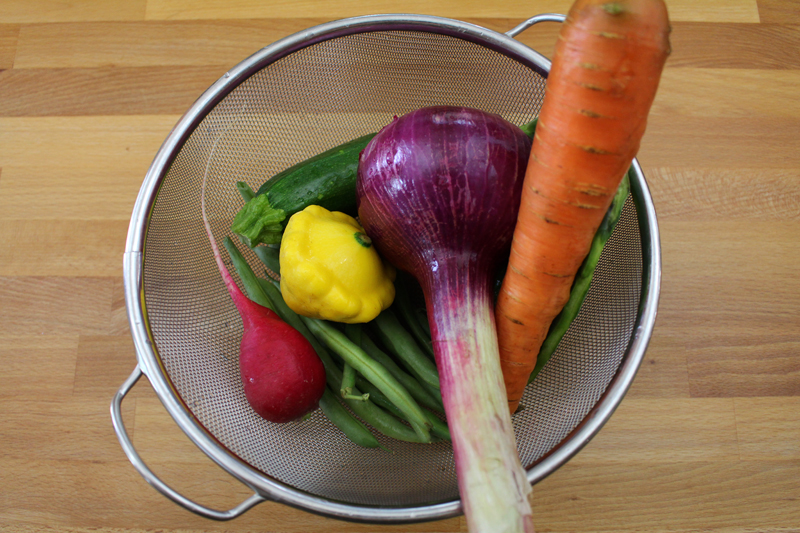
To make up the bulk of this salad, I opened this week’s Abundant Harvest Organics box then pulled a few things from the produce drawer. But this is where there are so many ways you can make this salad your own.

Beyond tons of veggie options, here are a few ways you could adapt this dish:

Protein a Plenty: Add beans, quinoa (instead of or alongside the bread), tofu, hard boiled eggs, meat (tuna, beef, chicken, turkey, pork), nuts, cheese.

Paleo: Add eggs, meat, and nuts instead of the bread.

Vegan: Leave as is, or add quinoa or tofu.

Gluten-Free: Use your favorite gluten-free bread, or swap out the bread for quinoa.

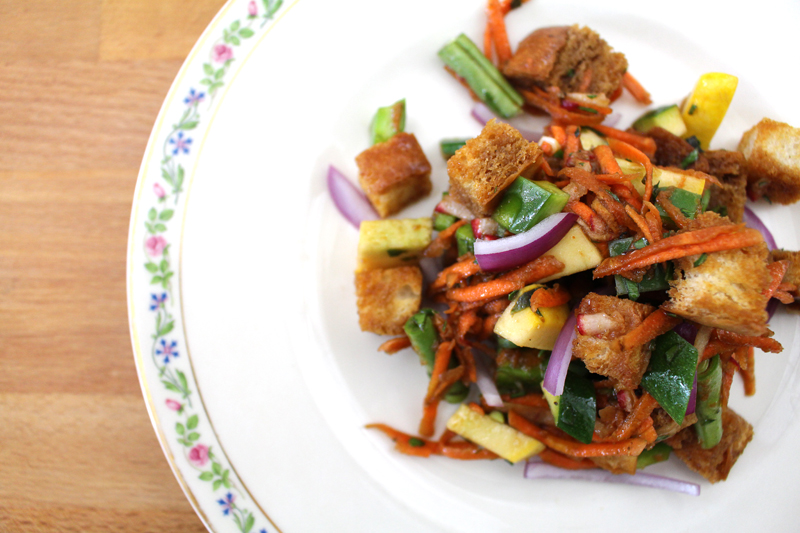
All the Veggies: I used nopales, onion, carrot, green beans, radish, and summer squash. You could also add: snap peas, greens, tomatoes, bell peppers, corn, eggplant, cucumber… or any other veggies that are in season and you think would taste great.

PanzanellaSalad2015-3

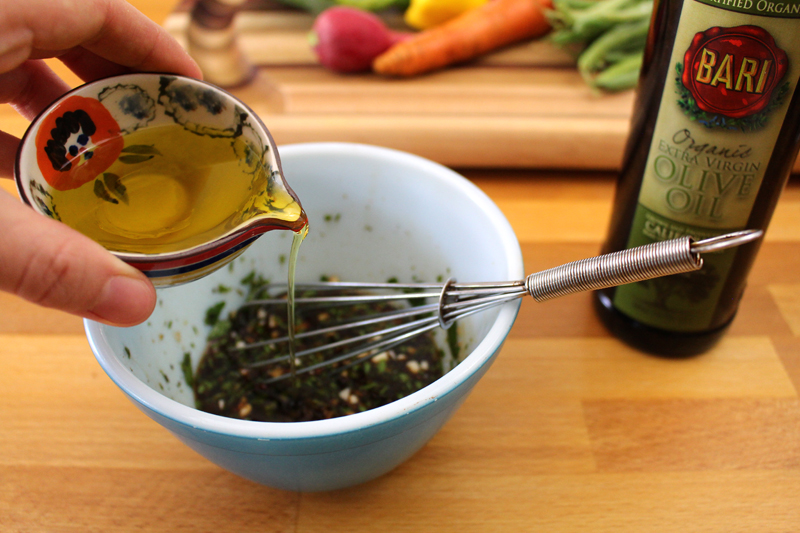
I love the combination of a really good quality olive oil like Bari’s along with balsamic vinegar. But, a mixture of red wine vinegar and lemon juice, or balsamic and lemon juice would also be great. Customize it to make it your own!

PanzanellaSalad2015-4

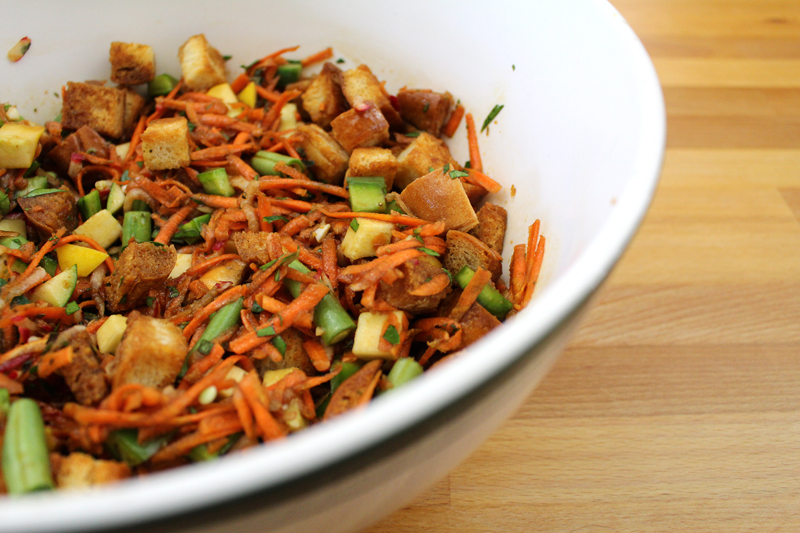
Riiiiiight before serving add the bread. Or to really avoid soggy bread, put the bread on the plate and top it with salad, letting the dressing soak in slowly. The lesson I learned today: only add as much bread as you’re going to eat. The leftovers will get way soggy (#freetofail).

PanzanellaSalad2015-5

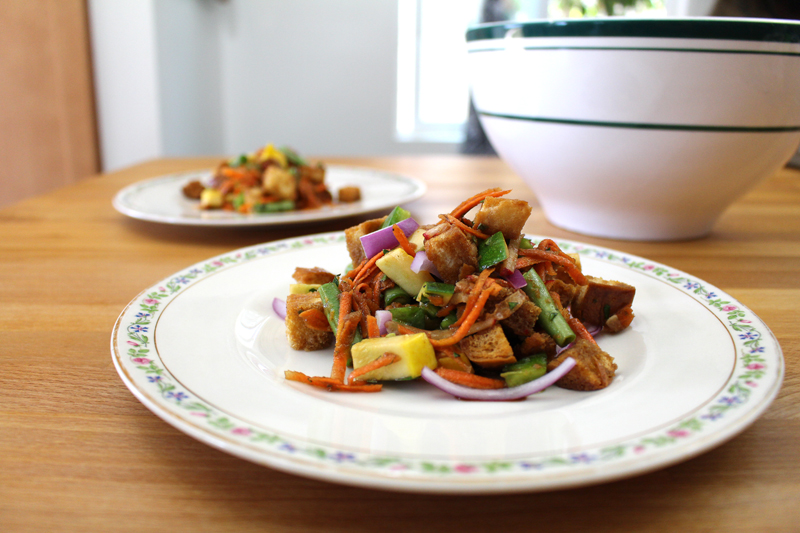
This is one of my favorite ways to welcome summer. But, come fall or winter, just trade the summer veggies for some roasted winter ones and you’ve got a winner all year round.

Happy Eating!

Customizable Panzanella Salad

Prep Time: 15 minutes

Cook Time: 15 minutes

Total Time: 30 minutes

Yield: 4

Customizable Panzanella Salad

Ingredients

  • 3-4 C stale bread (any kind - or could sub 2-3 C quinoa or tofu), cubed
  • 1 t olive oil
  • to taste salt
  • to taste pepper
  • 1/4 to 1/2 C balsamic or red wine vinegar (or half vinegar half lemon juice)*
  • 1 1/2 t dijon mustard
  • pinch cayenne (optional)
  • 2 cloves garlic, diced
  • to taste salt
  • to taste pepper
  • 2 T to 1/4 C olive oil*
  • 3-4 T fresh herbs (basil, parsley, chives, oregano, thyme), chopped
  • 4-6 C any of the following (cubed, chopped, grated, or torn): summer squash, nopales, snap peas, green beans, greens, radishes, tomatoes, bell peppers, corn, eggplant, cucumbers, red onions, nuts, hard boiled eggs, nuts, chicken, beef, tuna, pork, mozzarella, parmesan, cannellini beans, garbonzo beans)

Instructions

  1. Pre-heat the oven to 400F. Toss bread with 1 t olive oil, salt, and pepper, Place on a baking sheet, bake for 10 minutes, flip, and bake for about 5 minutes more (or until they're golden and toasty).
  2. Whisk balsamic vinegar through pepper. Stream in oil as you whisk. Taste and adjust seasoning if desired.
  3. Toss salad contents (except bread, if using quinoa or tofu, add it now) with dressing. Add bread just before serving.

http://www.de-ma-cuisine.com/customizable-panzanella-salad/

Monday

25

August 2014

2

COMMENTS

Meatball Subs

Written by , Posted in Beef, Bread, Cheese, Dinner, Fruit, Herbs, Kid-Friendly, Lunch, Main Dishes, Meat, Quick and Easy, Sandwiches, Sauces

MeatballSubs-6

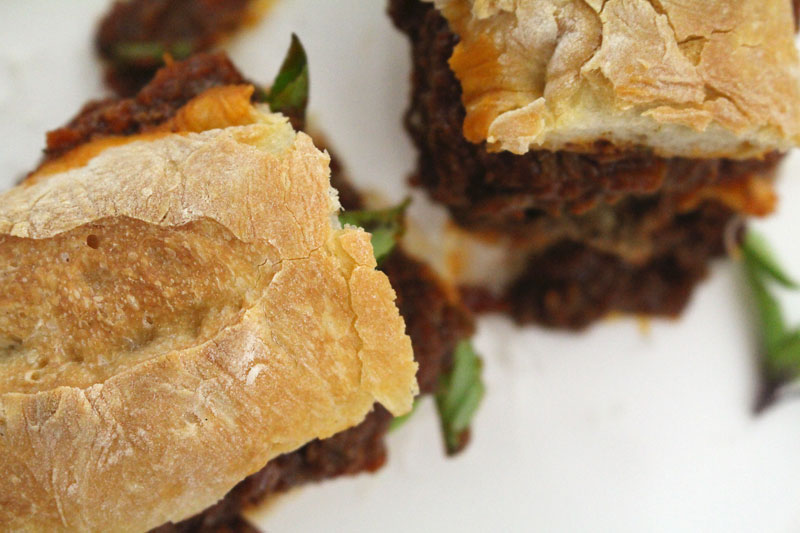
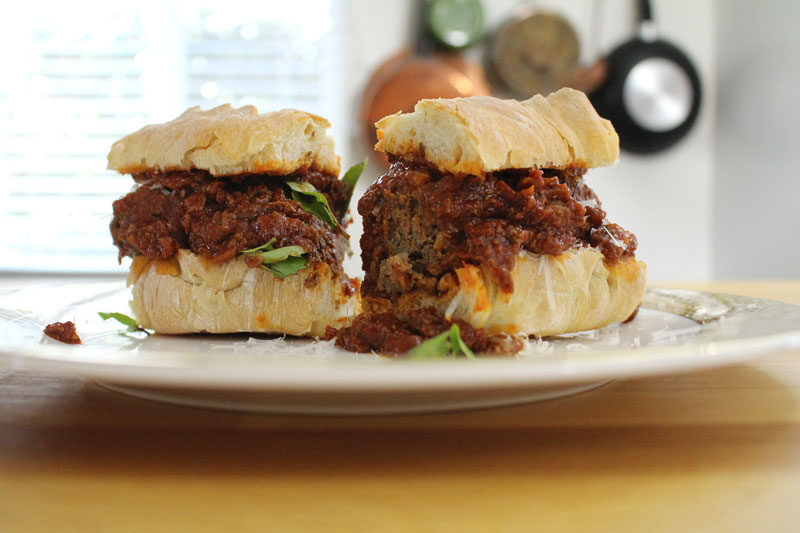
I want you to know that I almost had to stop working on this post to go back to the grocery store to buy some ground beef so I can make these sandwiches. They are not on the menu for dinner tonight, but working on these pictures is tormenting me.

Tormenting I say.

The day that I photographed this dish, as soon as I was done, I stood next to the island and inhaled it so fast that I think I gave myself heartburn.

Oops.

Worth it.

MeatballSubs-2

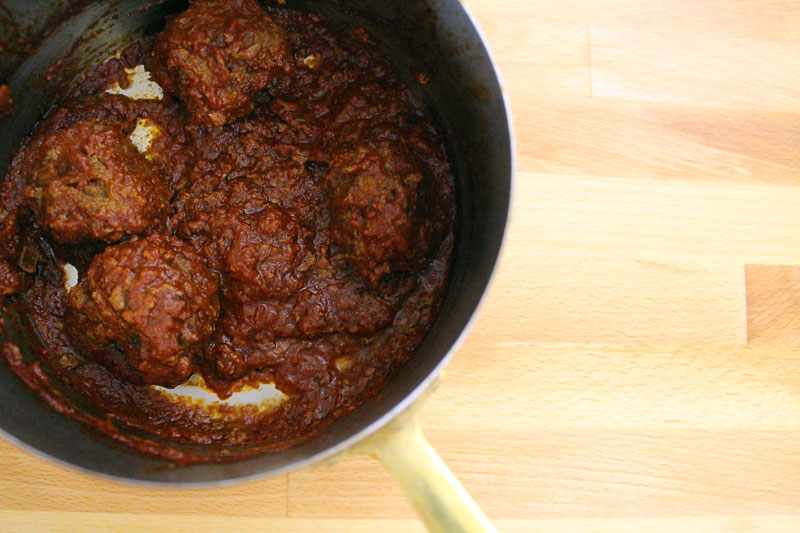
It all starts with meatballs. They’re made with organic beef, an egg, and some honey. Plus herbs. Gotta have herbs.

They start in the pan that an onion has just cooked in.

Some homemade tomato sauce is added, and they cook a bit longer.

I’m drooling here.

MeatballSubs-1

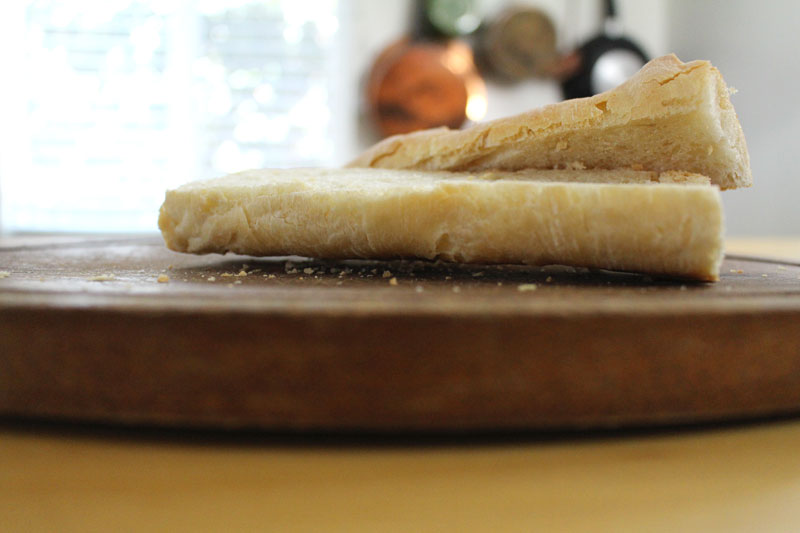
And then there’s a homemade baguette.

Can this meal get any better?!

If you don’t have the time to make homemade baguettes, I understand. They are a lot of work. Buuuut so worth it.

The bread is toasted in a buttered skillet.

Yep. It got better.

MeatballSubs-3

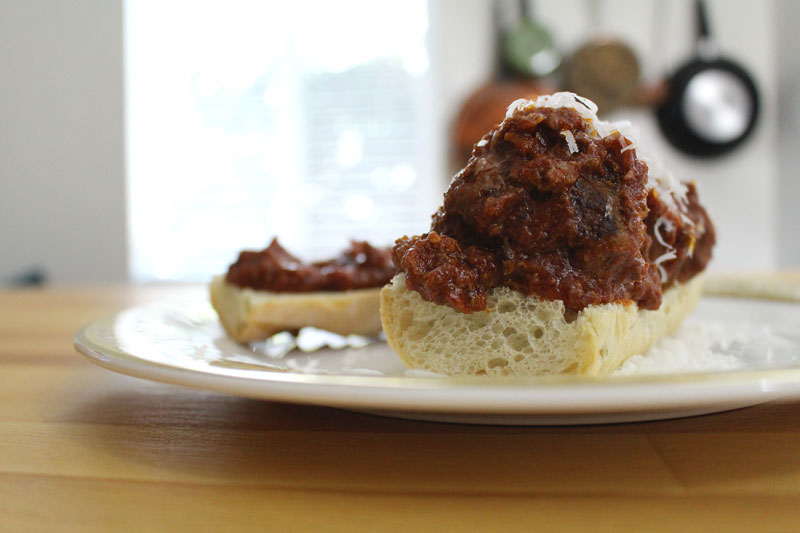
If you can manage to stop yourself from just standing at the stove and scooping the meatballs out of the pan with the bread, you can top it with cheese.

If you can’t, I understand.

Buuuuuuut I think that might actually be a good idea. You know how the best part of eating a plate of tomato sauced spaghetti is wiping down the plate with your buttered bread? This is kinda like that but better, because there’s so much more goodness to scoop up.

Next time I’m trying this.

MeatballSubs-4

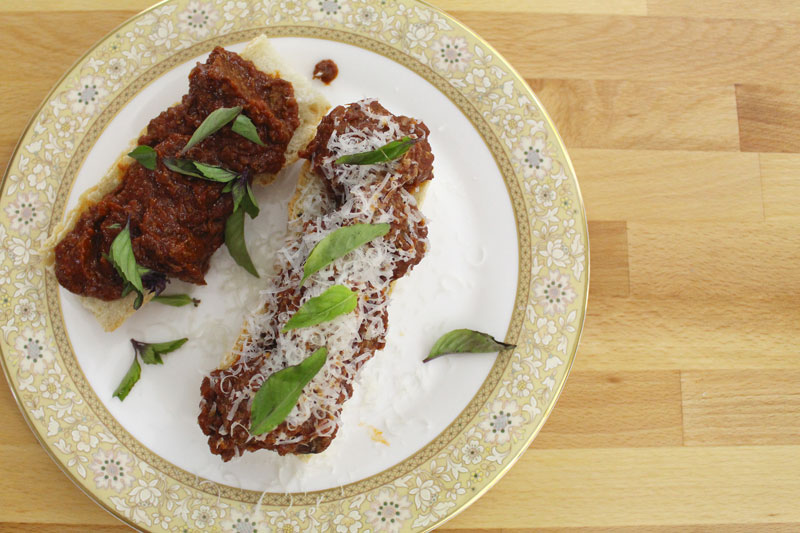
If you’ve held yourself together and convinced yourself to not eat like a maniac at the stove, top the sandwich with lots of basil.

MeatballSubs-5

Now you’ve earned a bite.

So have I.

I’m hungry.

Happy Eating!

Meatball Subs
Recipe Type: Main, Sandwich, Lunch, Dinner, Beef
Author: Rachel Oberg – De Ma Cuisine
Prep time:
Cook time:
Total time:
Serves: 3
One of our favorite sandwiches is also one of the messiest. Filled with delicious beef, basil, and cheese, we love a good meatball sub.
Ingredients
  • 1 onion, diced
  • 2 T olive oil, divided
  • 1 egg
  • to taste salt
  • to taste pepper
  • 1 t honey
  • 1 t balsamic vinegar
  • 2 C tomato sauce
  • 1/2 t mustard
  • 1 T fresh (or 1/2 t dried) parsley, divided
  • 1 T fresh (or 1/2 t dried) thyme, divided
  • 1 lb. ground beef
  • 2 C tomato sauce
  • to taste salt
  • to taste pepper
  • 1 t lemon juice
  • 1 T butter
  • pinch salt
  • 3 longish portions of baguette or crusty bread, sliced in half lengthwise
  • cheese, grated
  • fresh basil, for topping
Instructions
  1. Heat a large skillet. Add 1 T olive oil. When it’s hot, add the onion and cook over medium heat for about 5 minutes (or until onion is translucent and softened), stirring occasionally.
  2. Whisk together egg through thyme. Combine beef with egg mixture, mixing together with your hands (do not over mix). Roll into about 12 meatballs.
  3. In the onion skillet, add remaining 1 T olive oil, turn heat to medium-high, and add meatballs. Cook, turning often, until browned all over (about 8-10 minutes total).
  4. Whisk together tomato sauce, salt, pepper, remaining parsley, and thyme. Pour into meatball pan. Bring to a boil, then reduce to a simmer. Cook meatballs until they reach 160F (about 10-15 minutes). Stir in a squeeze of lemon.
  5. Heat another skillet and add the butter and a pinch of salt. Once the butter is hot, add the bread (cut side down) and cook over medium heat it until it’s browned.
  6. Top the bottom piece of bread with some cheese, four meatballs, a couple scoops of sauce, a bit more cheese, and the basil. Scoop a bit more sauce on the top piece of bread and close the sandwich.


Monday

18

August 2014

0

COMMENTS

Beef and Bean Enchiladas

Written by , Posted in Baking, Beans, Beef, Cheese, Dinner, Fruit, Gluten Free, Kid-Friendly, Legumes, Lunch, Main Dishes, Meat, Potlucks, Vegetables

BeefBeanEnchiladas-11

Enchiladas are one of my go-to meals when I want to bring dinner to friends. It’s pretty quick and easy to make, it’s hearty, and it can be pretty healthy.

They’re also one of Tim’s favorites.

I try to have some in the freezer at all times.

BeefBeanEnchiladas-2

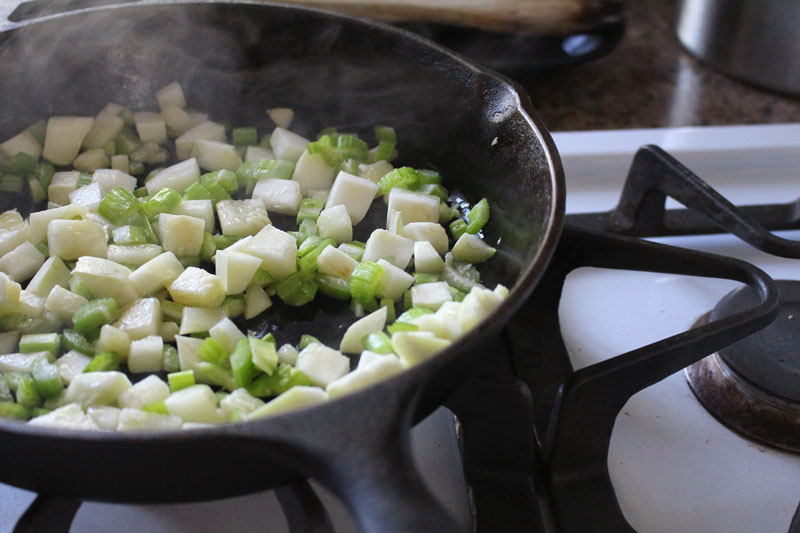
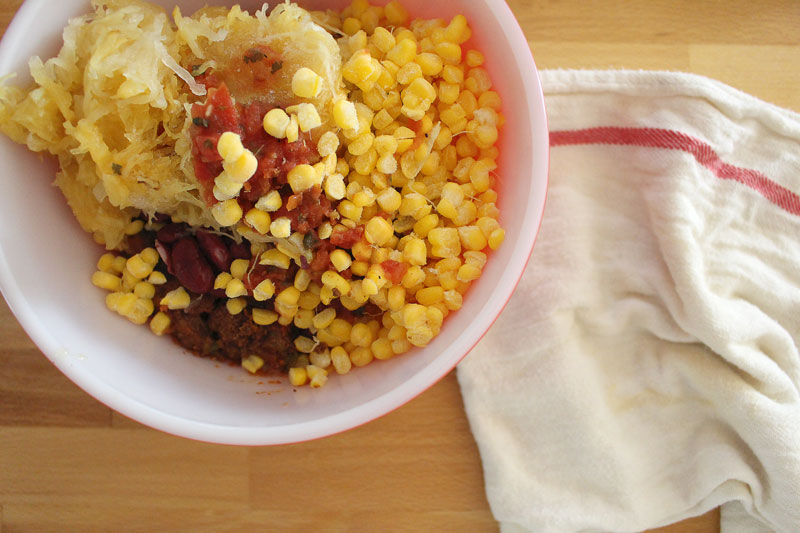
I mean, take a look at all of the veggies I’ve piled in here. I had celery on hand, but normally I’d use bell peppers (note: if you’re using celery, make sure it’s really cooked down and soft). I also have been putting summer squash in everything, so why not these too?!

BeefBeanEnchiladas-1

Also corn. In everything. I am addicted.

This winter when we had a million spaghetti squash I cooked a bunch of ’em and froze the flesh. I’ve been slowly using it. If you don’t have any cooked spaghetti squash you could just add more beans and summer squash.

Tim doesn’t mind when I sneak spaghetti squash into things like this. But, he did note that he got a pretty squashy bite, so stir it in pretty well if that might bother someone in your family. 😉

BeefBeanEnchiladas-4

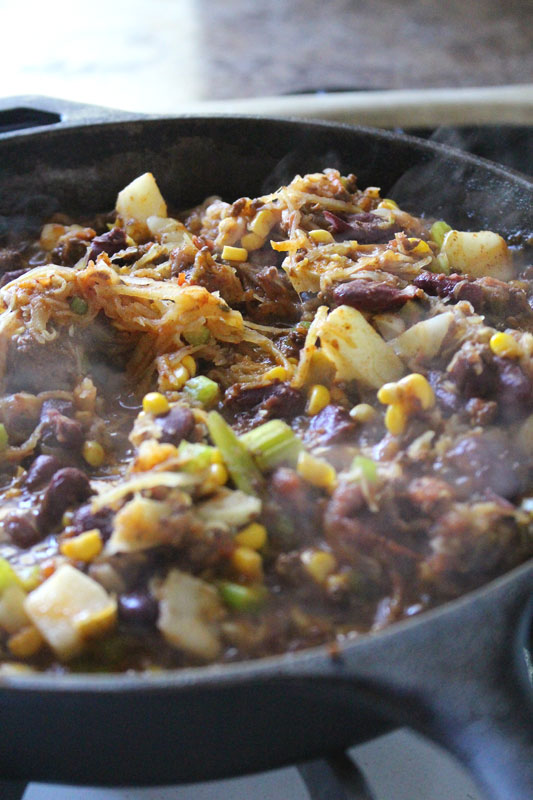
I like to cook up the filling first. That way they take less time in the oven. Plus then I can make sure that all the veggies are soft. No one wants a crunchy this or that, unless it’s supposed to be there.

BeefBeanEnchiladas-5

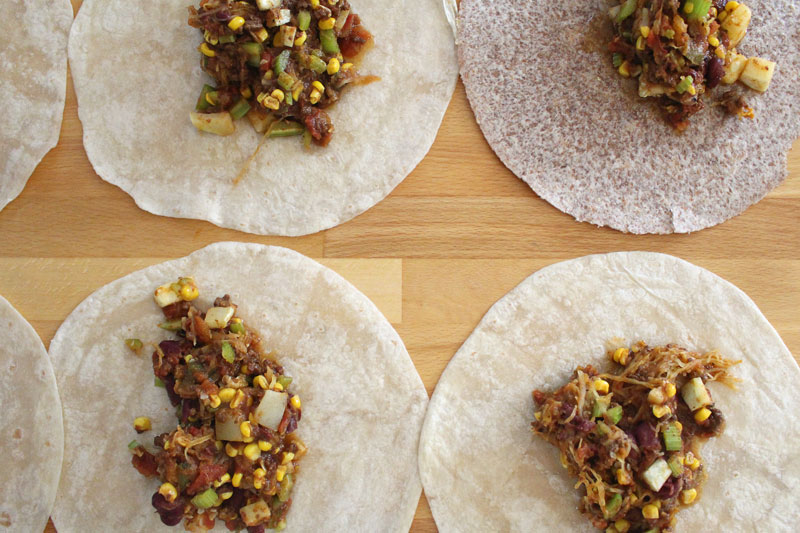
Tim built me a beautiful, huge kitchen island when we moved. So I have tons of space to lay out all the tortillas I could ever need.

I’m thankful for this workspace.

The sauce gets divided evenly between the tortillas.

BeefBeanEnchiladas-6

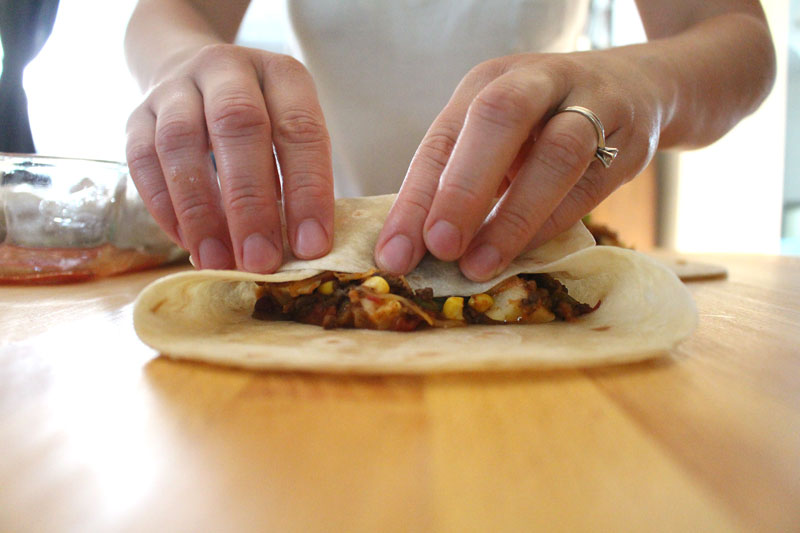
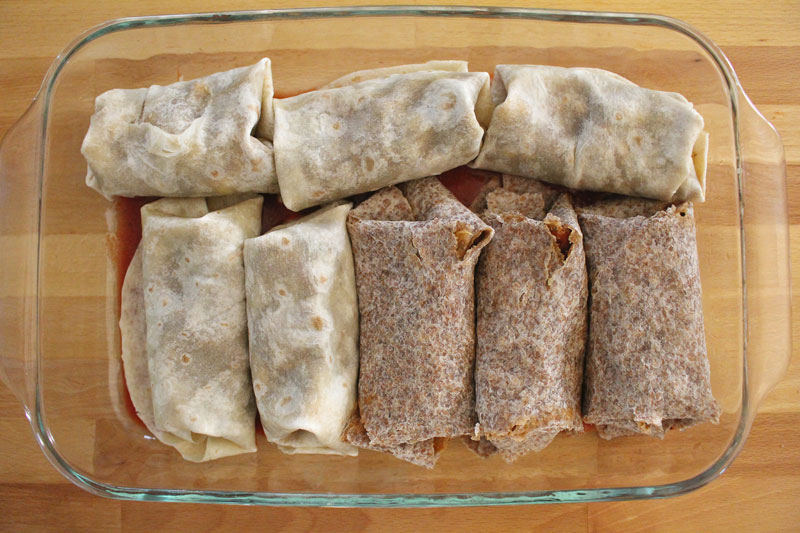
The ends get folded in and then it’s rolled up. My whole wheat tortillas cracked a bit. No big deal.

BeefBeanEnchiladas-3

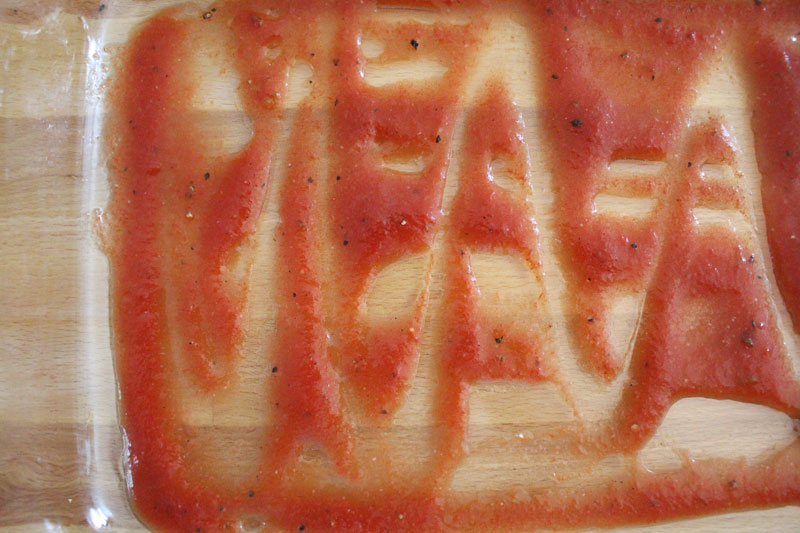
I like a bit of sauce in the bottom of the pan. If you like it extra saucy, add more! I used what I had in the freezer, so normally I’d make it a bit juicier than this looks (the recipe is adapted to be saucier).

BeefBeanEnchiladas-7

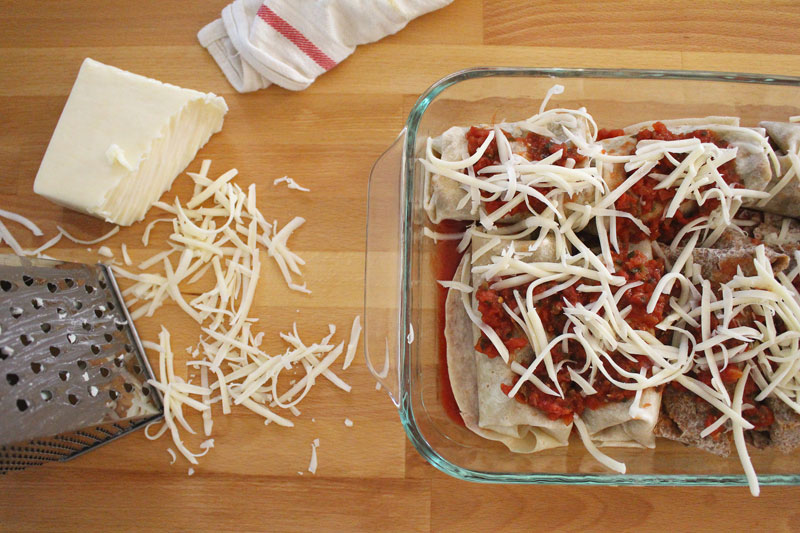
Rolled up and ready for cheeeeeeeeese.

BeefBeanEnchiladas-8

You could add way more cheese if you’d like, but I didn’t want to go overboard. Moderation, right?!

BeefBeanEnchiladas-10

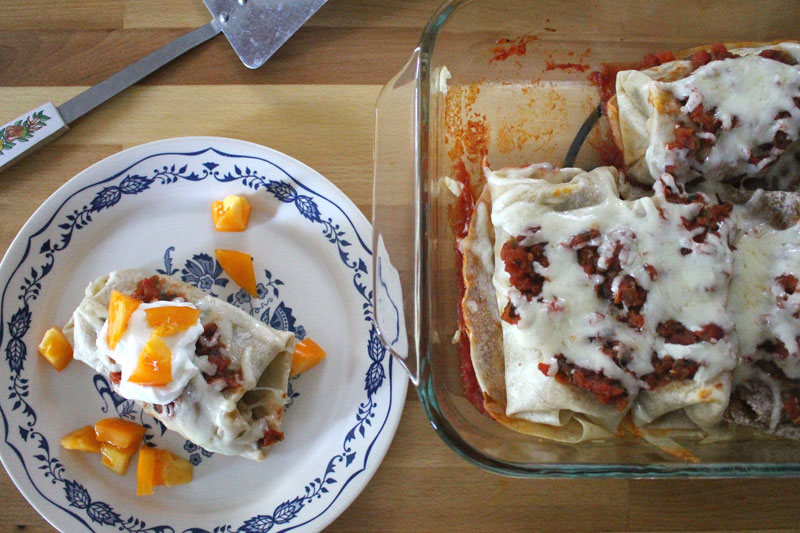
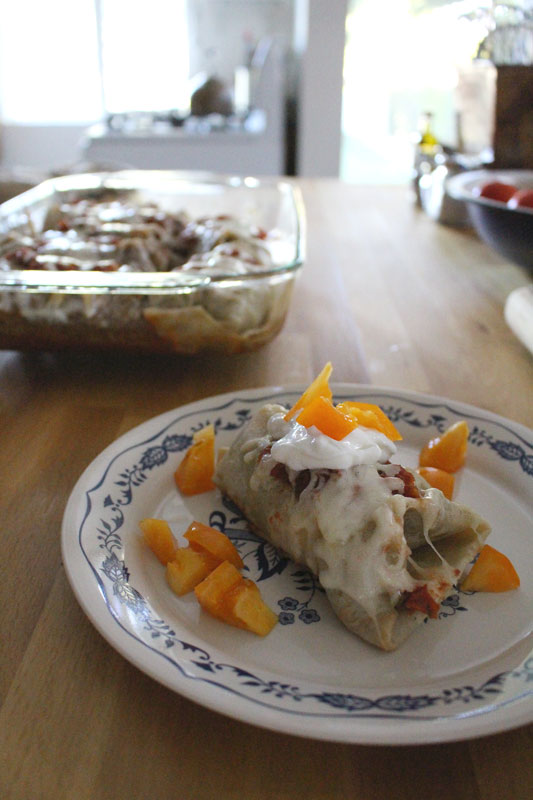
After these came out of the oven, I put half of them into freezer safe containers so they will be ready for lunches. The rest we devoured.

BeefBeanEnchiladas-9

If you’re gonna bring these to some friends, send along a container of Greek yogurt (or sour cream), salsa, corn chips, and guacamole (if you’re feeling extra generous). Make them a simple green salad with some chopped fresh tomatoes and a container of homemade Ranch dressing (whisk together a bit of yogurt, mayo, fresh herbs, garlic, salt, and pepper). And for dessert, how about some Fruit Crisp that can be added to the leftover Greek yogurt for breakfast the next morning?

If you’re serving it tonight for your family, serve it exactly the same way.

Happy Eating!

Beef and Bean Enchiladas
Recipe Type: Main, Easy, Beans, Beef, Vegetables, Dinner, Main Dishes
Author: Rachel Oberg – De Ma Cuisine
Prep time:
Cook time:
Total time:
Serves: 4-6
Perfect for a hearty dinner tonight, or to make to take to a friend in need.
Ingredients
  • 1 t olive oil
  • 1/4 to 1/2 C bell peppers (or celery), chopped
  • 1/2 to 1 C summer squash, chopped
  • pinch salt
  • 1-2 C Chili (I used Beef Chili), or 1 lb. ground beef
  • 8-15 oz. kidney beans
  • 1 1/2 C cooked spaghetti squash (or add more beans and summer squash)
  • 1/4 C salsa
  • 1 C corn
  • 1/2 t chili powder (or more if using ground beef)
  • pinch ginger
  • to taste salt
  • to taste pepper
  • 1/2 to 1 C tomato sauce (add an extra 1/4 C if using ground beef)
  • to taste salt
  • to taste pepper
  • 8-10 tortillas
  • 1 C cheese, grated (Monterey/Pepper Jack or Cheddar)
  • Greek yogurt, for topping
  • 1-2 fresh tomatoes, chopped, for topping
  • jalapeño, chopped, for topping (optional – if you like it extra spicy)
Instructions
  1. Pre-heat oven to 350F.
  2. Heat a skillet, add olive oil. When oil is hot, add bell peppers/celery, summer squash, and a pinch of salt. Cook for about 5 minutes, or until veggies are tender, over medium heat, stirring occasionally. (Note: if using raw ground beef, cook first, then add veggies when beef is almost done. Add the extra 1/4 C tomato sauce with the beans in the next step.)
  3. Mix together chili, beans, spaghetti squash, salsa, corn, chili powder, ginger, salt, and pepper. Add to skillet. Bring to a boil, reduce to a simmer, and cook for about 5 minutes. Taste and adjust seasoning if needed.
  4. Mix tomato sauce with salt and pepper. Pour into the bottom of a greased 9×13 baking dish.
  5. Divide the beef and bean filling between the tortillas. Fold ends in and roll up. Place seam side down in tomato sauced pan. Top with salsa and cheese. Bake for 20 minutes, uncovered, or until cheese is melted.
  6. Serve topped with yogurt and fresh tomatoes (and jalapeño if desired).
Notes
Gluten-free if you use corn tortillas.