De Ma Cuisine

Baking Archive

Monday

18

November 2013

4

COMMENTS

Christy’s Homemade Granola Bars

Written by , Posted in Baking, Breakfast, Fruit, Grains, Guest Posts, Kid-Friendly, Quick and Easy, Snacks, Vegetarian

My friend, Christy, is an inspiration to me. She’s a great cook. A really great cook. She makes healthy foods taste great! She’s a homemade savvy, down to earth, super awesome friend.

She and her husband, Rick, are instilling great eating habits in their four kids. They don’t do much in the way of processed foods. I applaud and admire this. They don’t tell their kids they can’t have anything processed, or occasional treats. But, the majority of their food is made by Christy.

I admire this!

Christy gladly shared her favorite recipe for Granola Bars. They are a staple in their home. I’m going to make them as soon as I finish typing this post, to eat the rest of this week, and to take with us to Paris (I’m writing this way in advance… no working for me while we’re away!!).

Happy Eating!

Christy’s Homemade Granola Bars
 
Author: Christy Durrance (adapted from Kitchen Stewardship)
Cook time:
Total time:
Ingredients
  • ½ c. (1 stick) unsalted butter, softened
  • ½ c. peanut butter (or other nut butter)
  • 1 c. honey
  • 1 t. vanilla
  • 4 ½ cups old-fashioned oats
  • 1 c. oat flour (or whole wheat flour)
  • 1 t. baking soda
  • ¼ c. wheat germ, optional
  • ¼ c. flax seed meal, optional
  • 2 cups total of any combination of the following extra goodies (or anything else that sounds good to your family in a granola bar): Chopped nuts (walnuts, almonds, pecans, etc.)
  • Seeds (sunflower, sesame, pumpkin, etc.)
  • Chocolate chips
  • Chopped, dried fruit (cranberries, raisins, cherries, apricots, etc.)
  • Unsweetened coconut flakes
  • Cocoa powder (up to ¼ cup)
Instructions
  1. Place butter through vanilla in bowl of stand mixer. Using a mixer with paddle attachment, beat on medium speed until smooth.
  2. Add old-fashioned oats, flour, baking soda, wheat germ (optional), and flax seed meal (optional), and continue to beat with mixer until oats are broken up into smaller bits.
  3. At this point, add 2 cups total of any combination of the extra goodies.
  4. Press firmly into a 9×13 pan. Bake at 325 degrees F for 15-18 minutes until lightly golden. Let cool completely before cutting into bars (I often cover and put in the fridge for a few hours which makes cutting a bit easier). Best stored in the refrigerator or freezer, though they travel just fine.


Friday

15

November 2013

6

COMMENTS

Chicken Pot Pie – In the Kitchen with Rachel O – Video

Written by , Posted in Baking, Dinner, Herbs, In the Kitchen with Rachel O, Leftovers, Main Dishes, Meat, One Dish Dinners, Potatoes, Poultry, Vegetables

Chicken-Pot-Pie-2_6

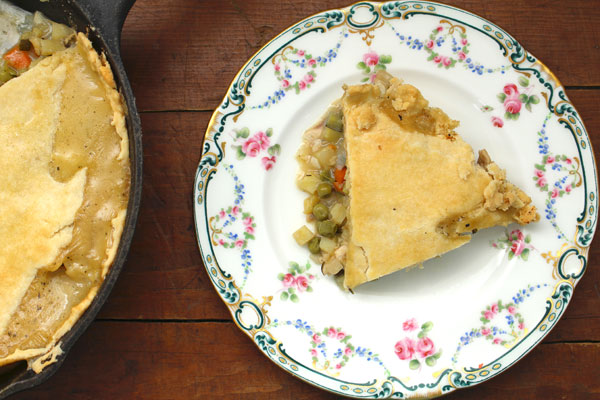
It’s cold. It’s fall. It’s the perfect weather for Chicken Pot Pie.

I would, I could, I will eat it any time of year. But, I especially love to eat cozy foods when the weather co-operates.

Chicken-Pot-Pie-2_5

Chicken Pot Pie is one of my favorites. That might be why I have made it twice, once on each show. 😉 You can see the original here.

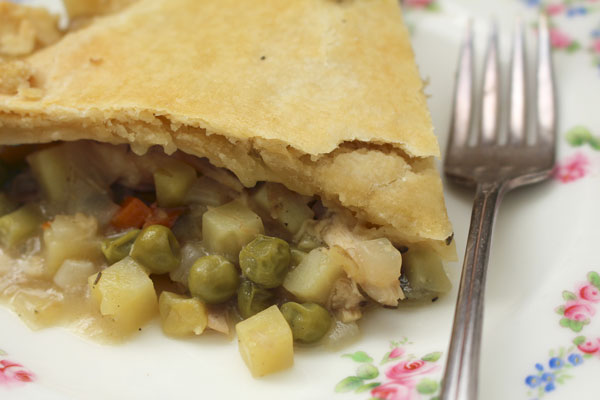
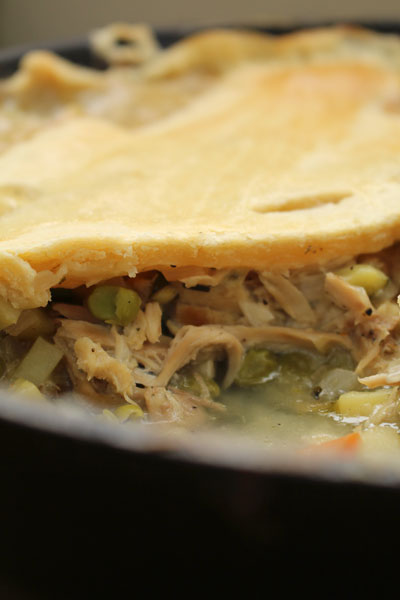
I don’t know if I’ve ever not liked it. I mean, can you really go wrong with a flaky crust (I used Aimée’s recipe this time, yum!), sautéed veggies, and a creamy sauce?! You are shaking your head no too, right?

Chicken-Pot-Pie-2_2

Chicken-Pot-Pie-2_3

Chicken-Pot-Pie-2_1

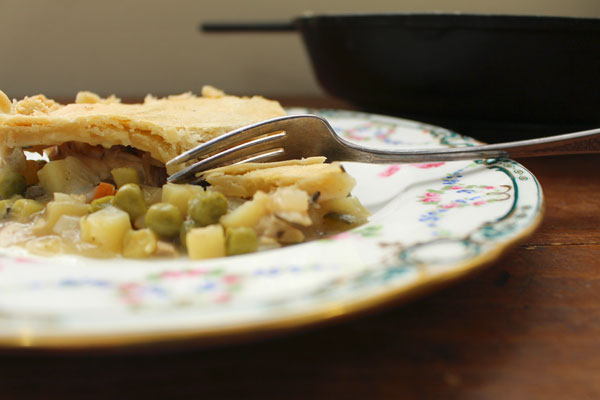
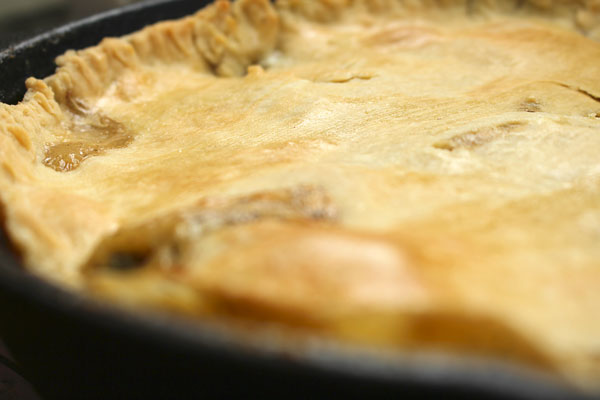
I would almost be happy just to look at it. Even the one I made for the most recent show, as ugly as I made it (I had some trouble crimping the crust… I think I need more practice), still looked amazing. But, then you cut into it… Steam pours out and you get a whiff. Oh that filling… And you know that you have to eat it right away. Something this good just can’t be made to wait.

Chicken-Pot-Pie-2_4

Happy Eating!

Chicken Pot Pie
Recipe Type: Main Dish, Dinner, Meat, Chicken, Poultry, Vegetables, Stove Top, Oven, Baking
Cuisine: American
Author: Rachel Oberg – De Ma Cuisine
Prep time:
Cook time:
Total time:
Serves: 4-6
A classic comfort food, this Chicken Pot Pie is perfect for a cool fall evening.
Ingredients
  • 1 T olive oil
  • 1/2 C carrots, chopped or diced
  • 1 onion, chopped or diced
  • 1 C potatoes, chopped or diced
  • 1 C zucchini, chopped or diced
  • 1 t fresh savory, chopped
  • 1/4 t dried rosemary
  • 1/4 t dried thyme
  • 1/4 t dried oregano
  • 1/4 t dried parsley
  • to taste, salt
  • to taste, pepper
  • 3/4 C peas (frozen are fine)
  • 3-4 cloves garlic, diced
  • 1-2 T lemon juice
  • 1/2 t dijon mustard
  • 1 1/2 to 2 C cooked chicken, shredded
  • 2 T all purpose flour (or 1 T cornstarch for gluten free)
  • 1 1/2 C cold water (or stock)
  • 1/2 C milk
  • 1 pie crust
  • 1 egg white, beaten with a fork
Instructions
  1. Pre-heat oven to 375F.
  2. Heat ovenproof skillet. Add olive oil. Add carrots through pepper. Cook for 10-15 minutes, or until veggies are tender, over medium-low heat, stirring occasionally.
  3. Add garlic, chicken, peas, dijon, and lemon juice. Cook for 2-3 minutes.
  4. Whisk flour (or cornstarch) and water. Add to pan. Bring to a boil and let it thicken for a few minutes. Add milk and cook a few minutes more, but do not boil.
  5. Taste and adjust seasoning if needed.
  6. Top with crust (be careful, the pan is hot) and crimp edges with fingers or a fork. Brush with egg white. Make three or four slits in the center of the crust.
  7. Place ovenproof skillet on a baking sheet and bake for 30-40 minutes, or until the crust is golden and flaky.

Wednesday

6

November 2013

4

COMMENTS

Vegetarian Enchiladas – In the Kitchen with Rachel O – Video

Written by , Posted in Baking, Beans, Cheese, Dinner, Fruit, In the Kitchen with Rachel O, Leftovers, Legumes, Main Dishes, Rice, Vegetables, Vegetarian

VegetarianEnchiladas_3

Sometimes I feel like I can’t quite get ahead. Like I’m stuck in a downward spiral. Overwhelmed by a never ending list of things to do. Sometimes. Or right now.

I understand why people resort to take out and pre-made meals. My go-to meals have been random leftovers, grilled cheese, and pancakes. I feel like I don’t have time to cook. I feel like I don’t have time for anything… except work. Isn’t it funny that my job is food, but I don’t have time for it?!

I’m realizing that part of the fault lays in my time management. I can make list after list after list, but if I spend all my time on figuring out when to do it all, I’ll never have time to get it done. So I’ve put away the day planner… for a while. I’m focusing on getting things done. I’m trying to do my best at what I love. I’m working on more than just feeding us so we have the calories we need, but instead finding a balance between working hard and having time to spend on the rest of life. I don’t know that I’m finding much success. Yet. I’m working on it.

VegetarianEnchiladas_2

VegetarianEnchiladas_4

VegetarianEnchiladas_1

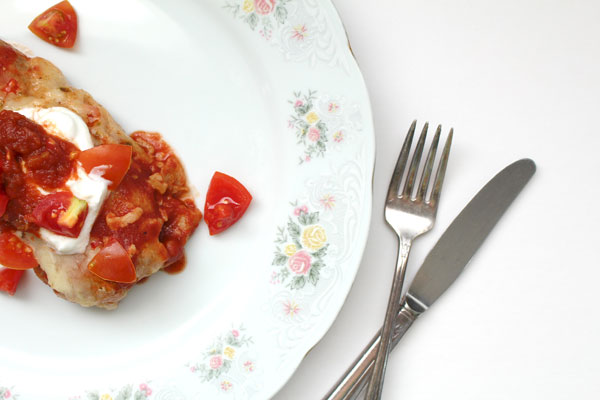
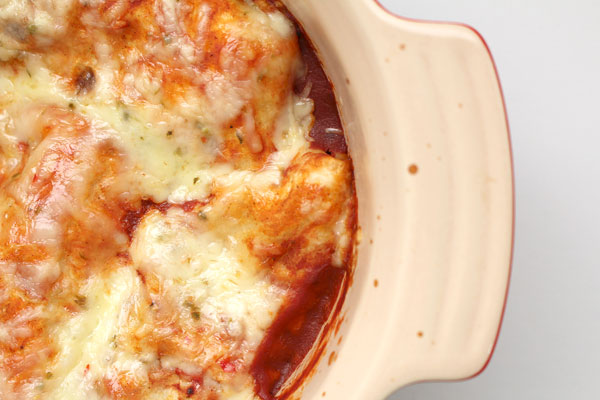
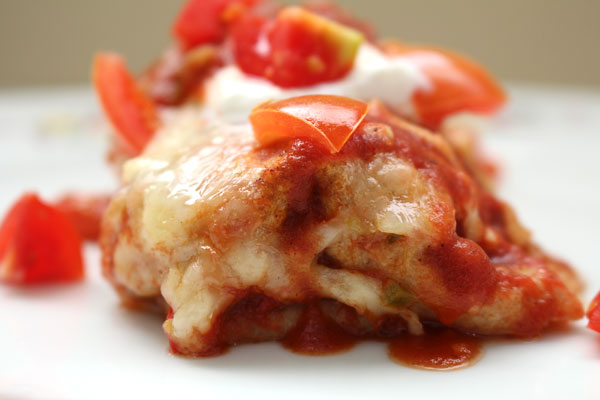
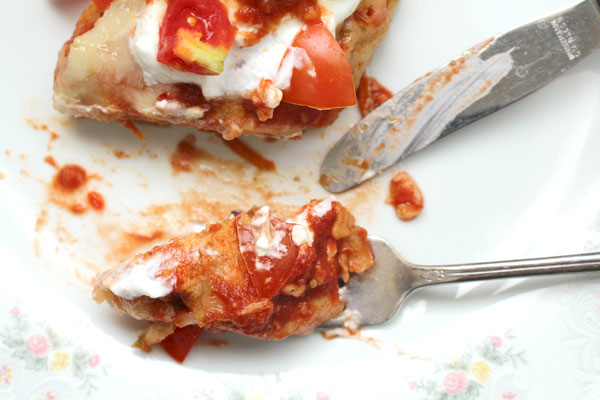
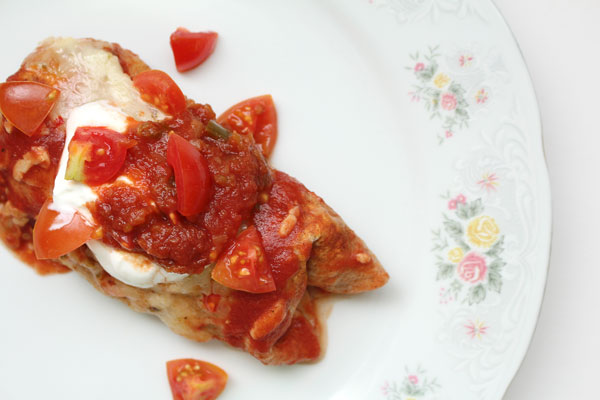
For days like these, there are meals like this one. It can be made ahead of time and frozen. It can be whipped up the night of in no time at all. It’s yummy enough to serve to guests, simple enough to eat on a weeknight. And the leftovers, if there are any, are perfect for the next day’s lunch.

VegetarianEnchiladas_5

Enchiladas to the rescue!

Vegetarian Enchiladas
Recipe Type: Main Dish, Easy, Dinner, Vegetarian, Vegetables, Legumes, Beans, Rice, Stove Top, Oven, Leftovers
Cuisine: Mexican
Author: Rachel Oberg – De Ma Cuisine
Prep time:
Cook time:
Total time:
Serves: 4-6
A veggie filled twist on enchiladas.
Ingredients
  • Filling: 1 t olive oil
  • 1 zucchini, chopped
  • 1 carrot, grated
  • 1/2 serrano pepper, ribs and seeds removed, minced
  • 1/2 t salt
  • 1/4 t pepper
  • 1/4 t cumin
  • 1/4 t ginger
  • 1 t chili powder
  • 3 cloves garlic, minced
  • 1 C black beans
  • 1 C mixture of cranberry and kidney beans
  • 1 1/2 C cooked brown rice
  • 1/2 C corn (frozen is fine)
  • Sauce: 2 C tomato sauce
  • 1 C vegetable stock (optional)
  • 1 t chili powder
  • 1/4 t cumin
  • to taste, salt
  • to taste, pepper
  • 1/2 serrano pepper, ribs and seeds removed, minced
  • For assembling: 6-8 tortillas
  • 1 to 1 1/2 C pepper jack cheese, grated
  • salsa, for serving
  • Greek yogurt, for serving
  • tomato, chopped, for serving
Instructions
  1. Pre-heat the oven to 350F.
  2. Heat a skillet and add olive oil. When oil is hot, add zucchini through chili powder (in filling section). Cook for 5 minutes, stirring occasionally, over medium-low heat.
  3. Add rice, beans, garlic, and corn. Cook for 5-10 minutes, stirring occasionally. Taste and adjust seasoning if needed.
  4. Whisk sauce ingredients together. Taste and adjust seasoning if needed. Pour about 1/2 into the bottom of a large greased ovenproof dish.
  5. Divide filling between tortillas. Tuck ends in and roll up. Place seam side down in sauce.
  6. Top with remaining sauce (or enough sauce to partially cover), and sprinkle with cheese.
  7. Bake uncovered for 20-30 minutes, or until cheese and sauce are bubbly.
  8. Serve topped with yogurt, salsa, and tomatoes.


Wednesday

22

May 2013

0

COMMENTS

Zoo Boats (Roasted Stuffed Squash) – Episode 68

Written by , Posted in A Cooking Show with Rachel O, Abundant Harvest Organics, Baking, Cheese, Dinner, Fruit, Gluten Free, Herbs, Kid-Friendly, Lunch, Main Dishes, Rice, Sides, This Week's Feast, Vegetables, Vegetarian

RoastedStuffedSquash2

As a kid, I remember my mom making Zucchini Bread. She called it “Zoo Bread”. I wonder if she thought that if we didn’t hear the word “zucchini” we might eat it. We did. However, I don’t remember feeling fooled… I think we might have known what was in it. We liked it because it was good.

RoastedStuffedSquash6

RoastedStuffedSquash3

RoastedStuffedSquash

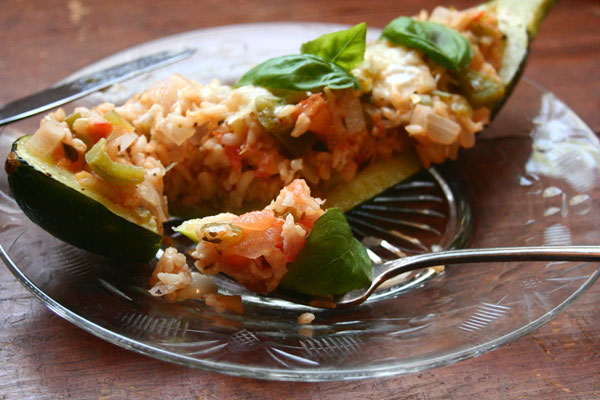
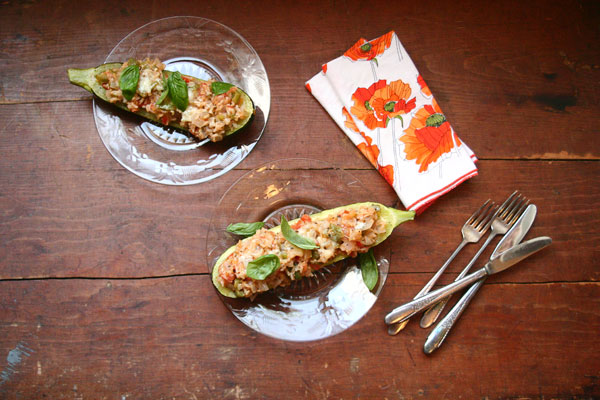
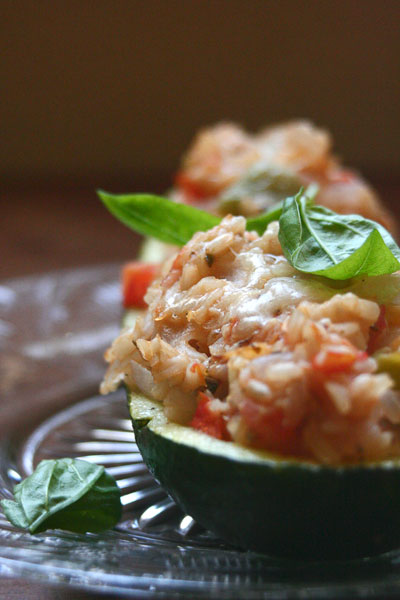
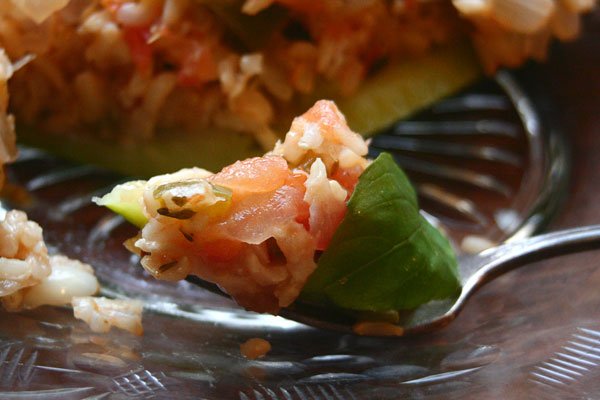
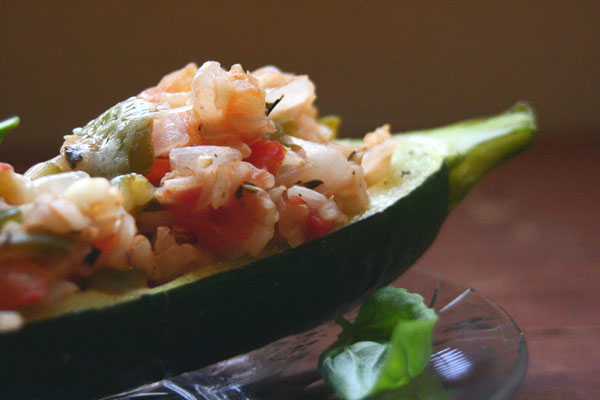
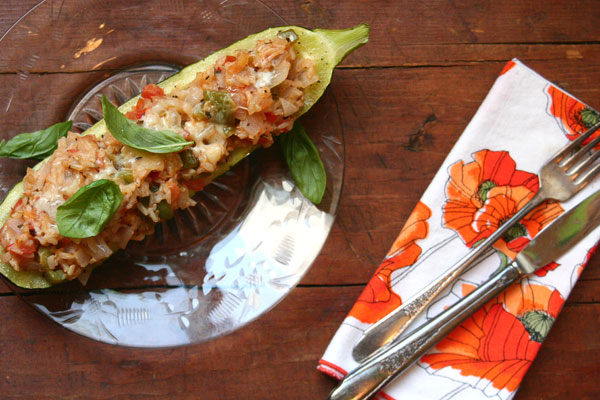
Today I’m making Roasted Stuffed Squash. But, if it helps anyone in your home to eat them without a fuss, you are welcome to call them “Zoo Boats”.

Or maybe if someone thinks they don’t like squash, but gets to help scoop out the middle, they will be so proud of themselves that they will insist on eating some. Insist.

I used leftover rice. Quinoa would also be delicious (and would add more protein). Adding Italian sausage or ground beef would be great too.

This is kinda like a switcheroo on the classic Stuffed Pepper or Stuffed Tomato. Hey! Why not get creative and make a few different kinds of stuffed items – Peppers, Tomatoes, and Squash! Everyone could have their favorite.

RoastedStuffedSquash4

RoastedStuffedSquash5

Unfortunately, now I’m craving Zoo Bread. Guess that’s what I’ll be making later on today.

Happy Eating!


Roasted Stuffed Squash
Recipe Type: Main, Side, Vegetable, Vegetarian
Cuisine: Italian
Author: Rachel Oberg – De Ma Cuisine
Prep time:
Cook time:
Total time:
Serves: 2-4
Roasted squash is stuffed with rice, peppers, and onions, then it’s topped with basil. It tastes like summer.
Ingredients
  • 1 medium or large summer squash, sliced lengthwise, center scooped out
  • 1 T olive oil, divided
  • to taste salt
  • to taste pepper
  • 1 onion, chopped
  • 1 bell pepper, chopped
  • 2 cloves garlic, diced
  • 1 C (heaping) cooked rice
  • 1 large tomato (about 1 C), chopped
  • pinch red pepper flakes
  • 1 t fresh oregano, chopped
  • 1 t fresh basil, chopped
  • 1 t fresh thyme, chopped
  • 1 t fresh sage, chopped
  • 1 T lemon juice
  • 1/4 parmesan cheese, grated
  • 1/3 C gruyère, grated
  • fresh basil, chopped (for topping)
Instructions
  1. Pre-heat oven to 350F.
  2. Scoop out center of squash. Rub with olive oil and sprinkle with salt and pepper. Place cut side down on a baking sheet. Roast for 15 minutes (or until tender).
  3. Heat a pan, when it’s hot, add remaining oil. When oil is hot, add onion and pepper. Cook over medium heat for 5 minutes, stirring occasionally. Add garlic and cook for 1 minute. Add rice, herbs, seasonings, and tomato. Cook over medium to medium-low heat for 5-8 minutes, stirring occasionally.
  4. Remove from heat. Add lemon juice and parmesan to rice mixture. Stir and taste. Adjust seasoning if desired. Spoon rice mixture into squash. Top with gruyère and return to oven for about 5 minutes, or until cheese is melted.
  5. Serve topped with fresh basil. (Could serve whole, or cut in pieces to serve more.)
Notes
Cooking time is actually about 15 minutes because rice mixture cooks while squash roasts. You could save the scooped out portion and add it to the rice mixture, or save it to add to some soup or a pasta sauce! Recipe has since been adapted to include fresh herbs rather than dried. If using dried oregano, basil, thyme, and sage, reduce to 1/4 t of each.

Sponsored by: Abundant Harvest Organics, Bari Olive Oil Company, Waterfall Creative, Molly Jenson.

Wednesday

24

April 2013

1

COMMENTS

Strawberry-Balsamic Tart – Episode 64

Written by , Posted in A Cooking Show with Rachel O, Abundant Harvest Organics, Appetizers, Baking, Breakfast, Brunch, Dessert, Fruit, Nuts, Roasting, Snacks, This Week's Feast, Vegetarian

StrawberryBalsamicTart4

I love to cook. That’s not a secret. I’m better at it than some, much worse than others. I fail and I succeed.

StrawberryBalsamicTart3

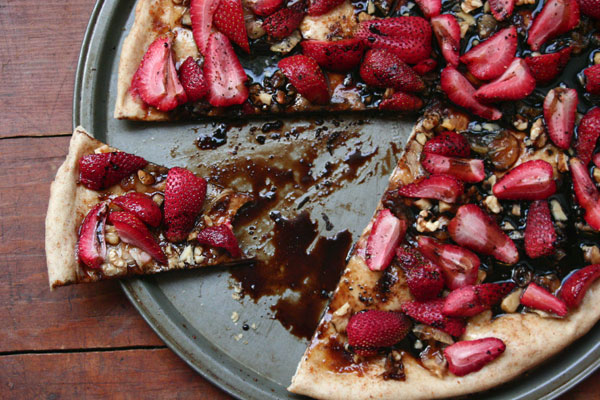
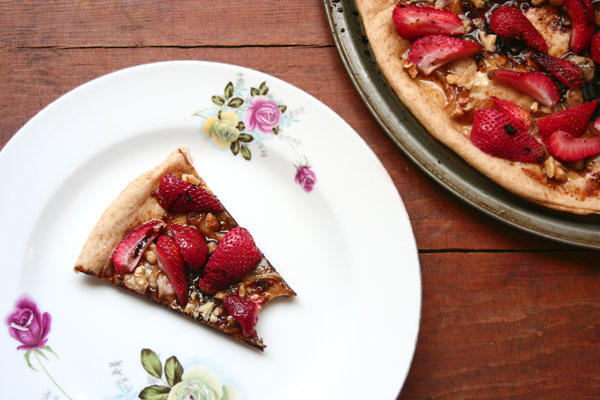
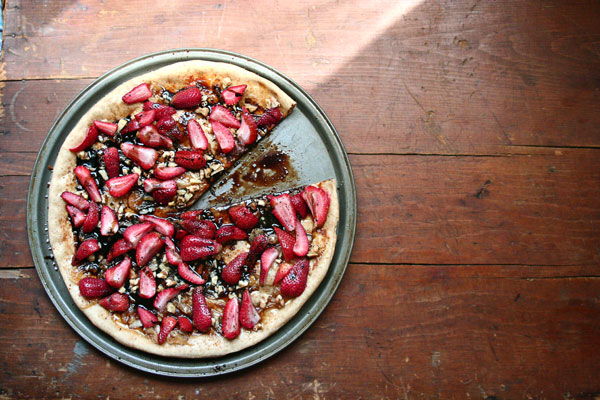
I made some Fish Tacos the other week. They were a definite fail. But, today, my friends, was a good cooking day because of a little thing called Tart (it might actually be more of a dessert pizza, but I like the word tart, so that’s what I’m calling it).

It surprised me with it’s deliciousness. I love surprises. But, usually culinary ones are more along the lines of “Wow! That’s really gross,” or “Darn, the pan with the sauce for today’s main dish fell on the floor”… You know what I mean?

But this tart, this little Strawberry-Balsamic Tart, is the good kind of surprise.

StrawberryBalsamicTart6

StrawberryBalsamicTart2

StrawberryBalsamicTart5

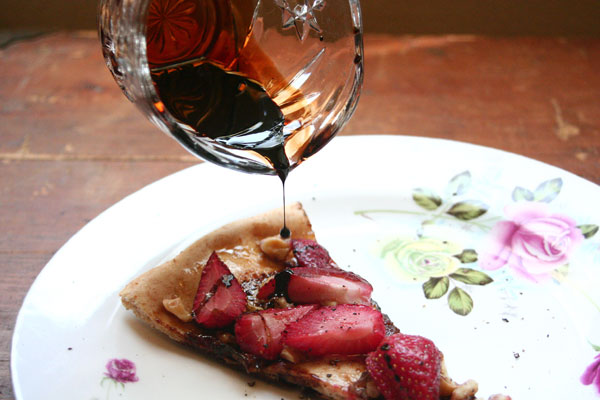
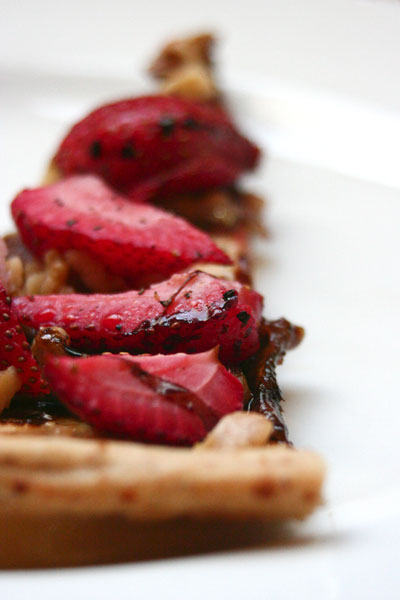
Strawberries get all melty and soft when they’re roasted. Reduced balsamic vinegar is syrupy and thick. Pizza crust is thin and crispy. Walnuts are slightly toasted and crunchy. Onions are caramely and sweet. And, maybe the most surprising ingredient, black pepper, adds just the right tiny kick of spice.

Be still my heart.

I can’t stop thinking about this tart.

It was love at first bite.

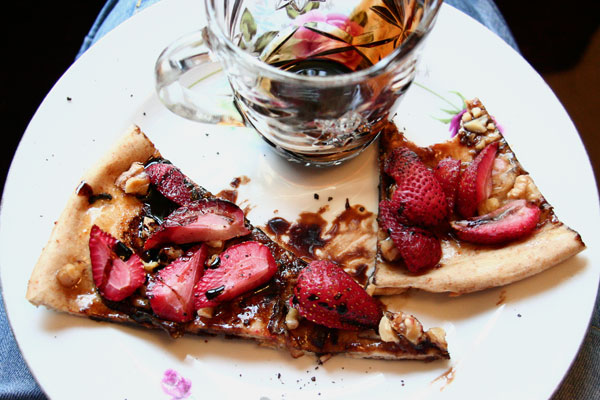
I ate this on its own for lunch… and had a hard time not eating the entire thing by myself. However, should you want to share, I think it would be great alongside a Spinach Salad topped with Shredded Chicken (use leftover Roasted Chicken), Walnuts, and Strawberries. It could be a brunch food – how about with the Spring Frittata I made a few weeks ago?! Or maybe serve it as an appetizer? Why not?! You could also also also serve it with a dollop of vanilla ice cream and call it dessert.

Ready? Set. Go!

StrawberryBalsamicTart

Strawberry-Balsamic Tart

Prep Time: 10 minutes

Cook Time: 29 minutes

Total Time: 39 minutes

Yield: 4

Strawberry-Balsamic Tart

Ingredients

  • 1 T butter, divided, melted
  • 1 pint strawberries, hulled, and quartered lengthwise
  • pinch nutmeg
  • 1-2 medium onions, sliced
  • 2 T honey
  • pinch salt
  • 1/2 C balsamic vinegar
  • 1 pizza crust
  • 1/4 C coconut palm sugar (or brown sugar)
  • 1/4 C raw walnuts, coarsely chopped
  • pinch freshly ground black pepper

Instructions

  1. Pre-heat oven to 425F. Melt butter.
  2. In a hot, dry skillet, add onions, honey, and salt. Cook over medium-low for about 15-20 minutes, or until they are caramelized, stirring occasionally.
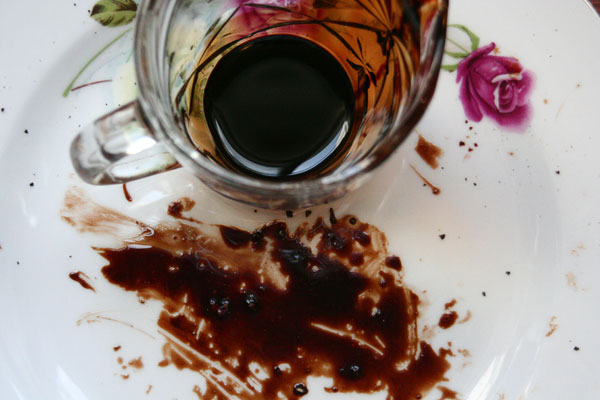
  3. While onions cook, in a small saucepan, bring vinegar to a boil, then reduce to a simmer. Cook until thickened and syrupy, about 12-18 minutes (being careful not to let it burn).
  4. Meanwhile, roll out pizza crust. Par bake for 5 minutes.
  5. Toss strawberries with 1/2 T melted butter and nutmeg.
  6. Brush crust with 1/2 T melted butter. Sprinkle with sugar and press into crust slightly (with a spatula or fingers). Top with onions, walnuts, strawberries, and black pepper. Bake for 7-9 minutes (or according to your pizza dough's recipe instructions), or until crust is done.
  7. Let stand for a few minutes.
  8. Drizzle with balsamic vinegar. If you can wait that long, serve at room temperature. If not, I totally understand. 😉
http://www.de-ma-cuisine.com/it-might-be-love-ep64/

Happy Eating!

This episode is sponsored by: Abundant Harvest Organics, Waterfall Creative, Molly Jenson.