De Ma Cuisine

How To Archive

Thursday

10

July 2014

0

COMMENTS

How To: Fun Drinks with Summer Herbs

Written by , Posted in Cocktails, Drinks, Fruit, Gluten Free, Herbs, How To, Quick and Easy, Vegetarian

SummerDrinksWithHerbs-15

Oh summer herbs.

Right?!

I mean, I can’t get enough of basil and mint right now. So much so that I’ve planted some in my home garden, since I always seem to run out.

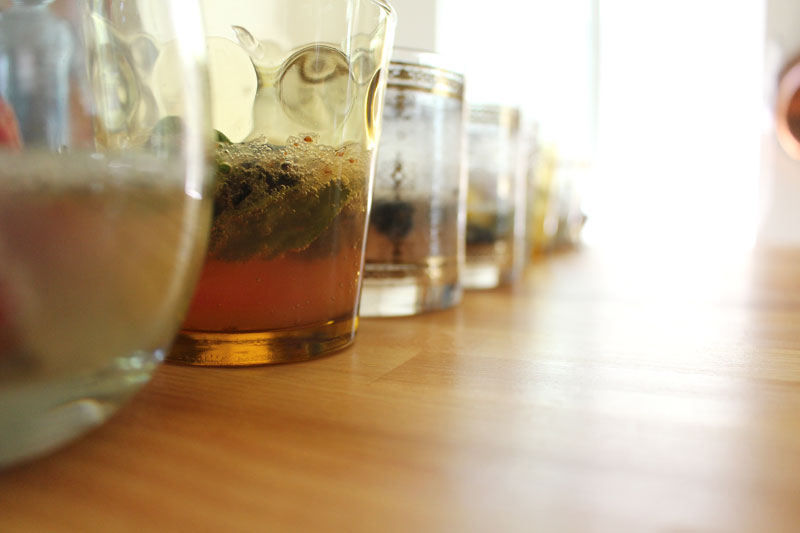
And then there’s lavender. I love the smell, have heard that people enjoy it in food and drinks, so I gave it a try too. (Admittedly, it’s not my very favorite thing to eat. But, I think it adds a nice hint in a drink, when strained… I left things in the drinks for the sake of the photos.)

SummerDrinksWithHerbs-1

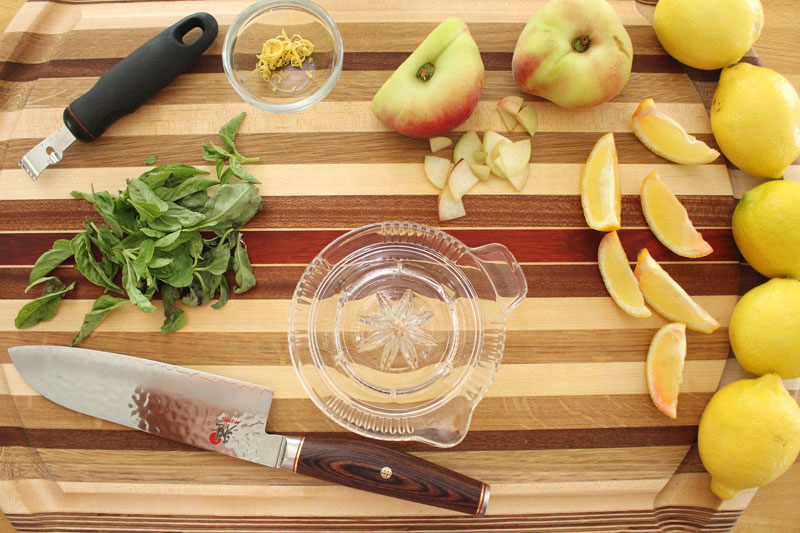
Not only do these drinks use some of my favorite summer herbs, but some of my favorite summer fruits.

SummerDrinksWithHerbs-2

Herbs, honey, and fruit are muddled together. You know, when you smuush it and bruise the herbs and smash the lemon.

Muddle muddle muddle. Kinda fun to say.

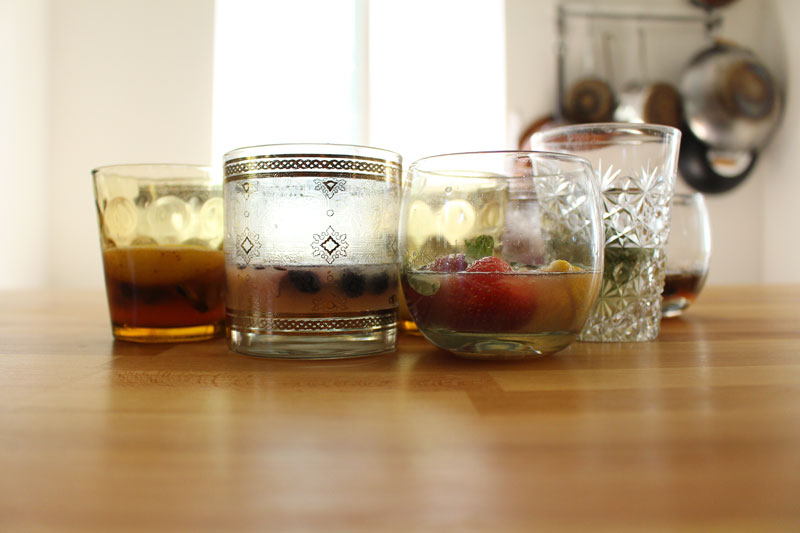
Now for the parade of drinks.

SummerDrinksWithHerbs-4

Lemon Basil (or Mint) Spritzer

1 slice lemon + 4 leaves basil or mint + 1 t honey + 1 t lemon juice + soda water

Muddle lemon, basil or mint, honey, and juice. Add soda water. Strain through a sieve (if desired) and serve over ice with a slice of lemon..

SummerDrinksWithHerbs-5

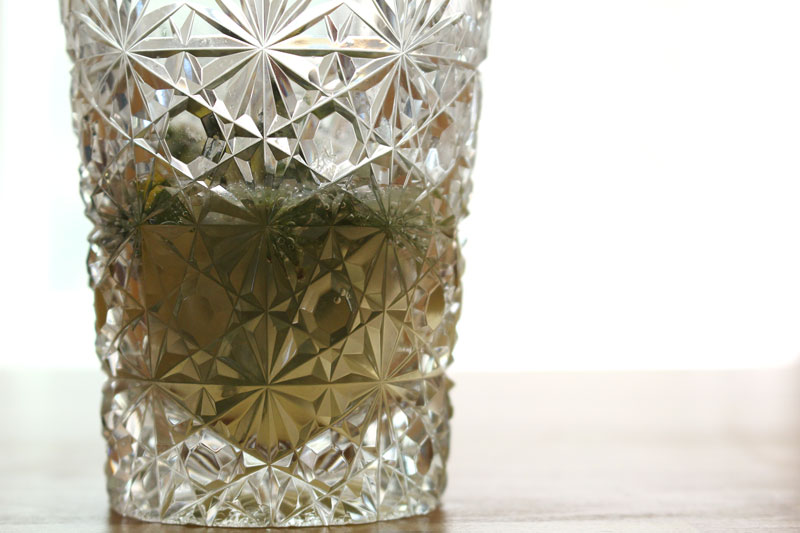
Lavender Lemon Spritzer

1 slice lemon + pinch lavender + 1 t honey + 1 t lemon juice + soda water

Muddle lemon, lavender, honey, and juice. Add soda water. Strain through a sieve and serve over ice with a slice of lemon.

SummerDrinksWithHerbs-6

Strawberry Ginger Lemonade

1 slice lemon + 4-5 basil leaves + pinch dried ginger + 2 t honey + 2 frozen strawberries +  juice from 1 lemon + soda water

Muddle lemon, basil, ginger, and honey. Strain through a sieve (if desired). Add strawberries, lemon juice, and soda water.

SummerDrinksWithHerbs-7

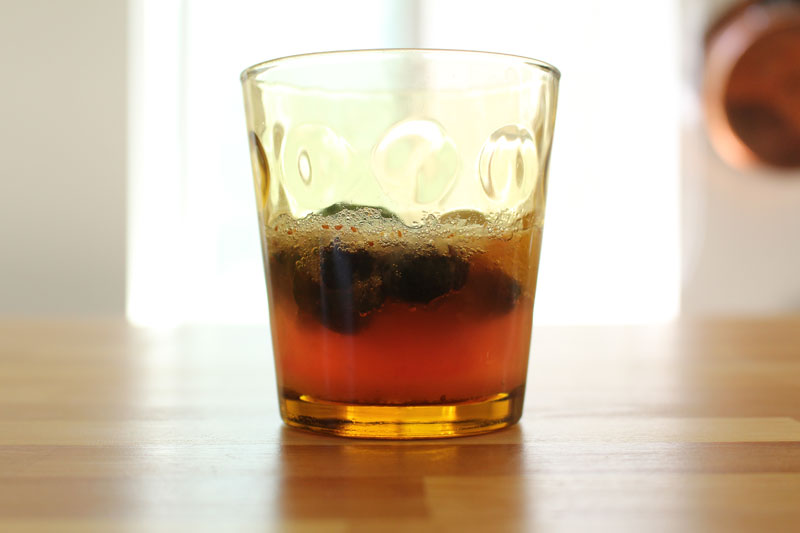
Blueberry Ginger Lemonade

1 slice lemon + 4-5 basil leaves + pinch dried ginger + 2 t honey + 10 frozen blueberries +  juice from 1 lemon + soda water

Muddle lemon, basil, ginger, and honey. Strain through a sieve (if desired). Add blueberries, lemon juice, and soda water.
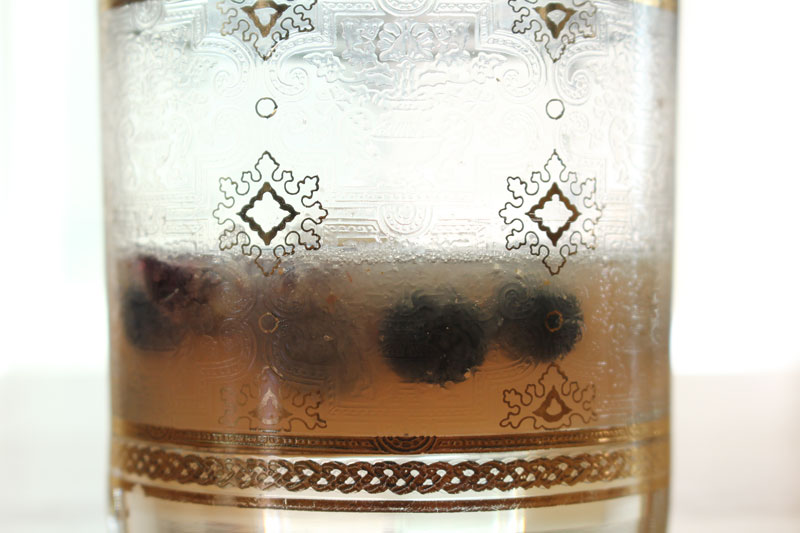
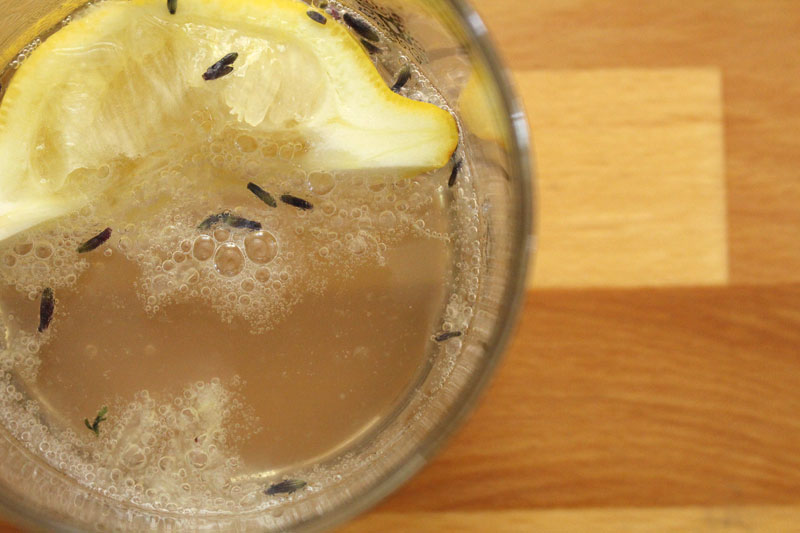
SummerDrinksWithHerbs-8

Lavender Lemonade

1 slice lemon + pinch lavender + 2 t honey + 10 frozen blueberries +  juice from 1 lemon + soda water

Muddle lemon, lavender, and honey. Strain through a sieve. Add blueberries, lemon juice, and soda water.

SummerDrinksWithHerbs-9

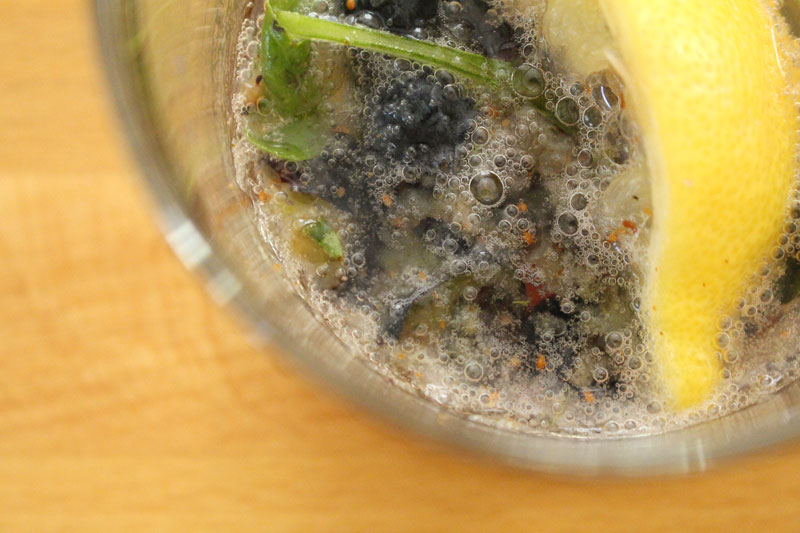
Blueberry Basil (or Mint) Mojito

1 slice lemon + 4-5 basil or mint leaves + 1 t honey + 10 frozen blueberries +  splash of rum (optional) + soda water

Muddle lemon, basil/mint, and honey. Strain through a sieve (if desired). Add blueberries, rum, and soda water. Serve over ice with a slice of lemon.

SummerDrinksWithHerbs-10

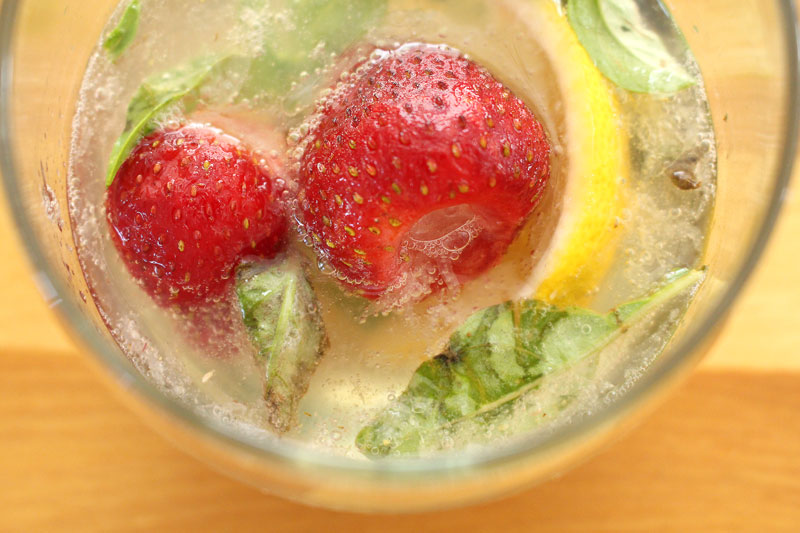
Strawberry Basil (or Mint) Mojito

1 slice lemon + 4-5 basil or mint leaves + 1 t honey + 2 frozen strawberries +  splash of rum (optional) + soda water

Muddle lemon, basil/mint, and honey. Strain through a sieve (if desired). Add strawberries, rum, and soda water. Serve over ice with a slice of lemon.
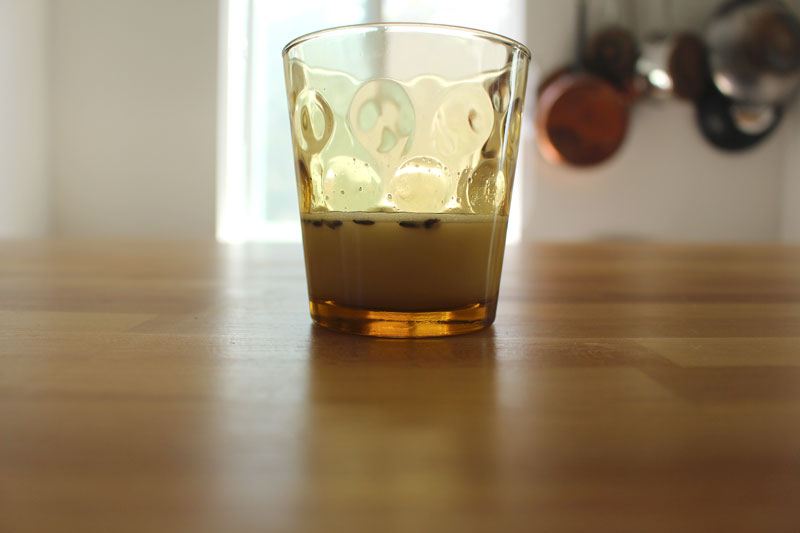
SummerDrinksWithHerbs-11

Lavender Cream

pinch lavender + dash vanilla extract + 1 t honey + splash milk or cream + soda water

Muddle lavender, vanilla, and honey. Strain through a sieve. Add milk/cream and soda water. Serve over ice.

SummerDrinksWithHerbs-12

Peaches and Cream

4-5 basil or mint leaves + few slices of peach + 1 t honey + splash milk or cream + soda water

Muddle basil/mint, peach, and honey. Strain through a sieve. Add milk/cream and soda water. Serve over ice.

SummerDrinksWithHerbs-13

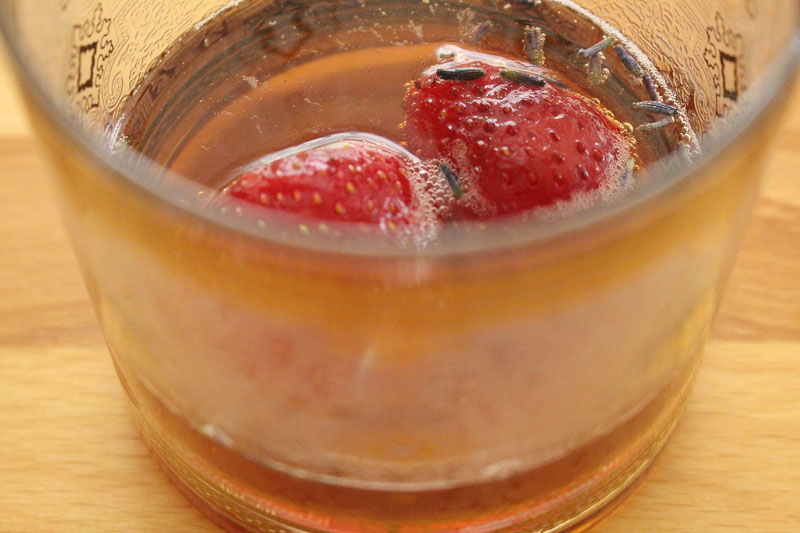
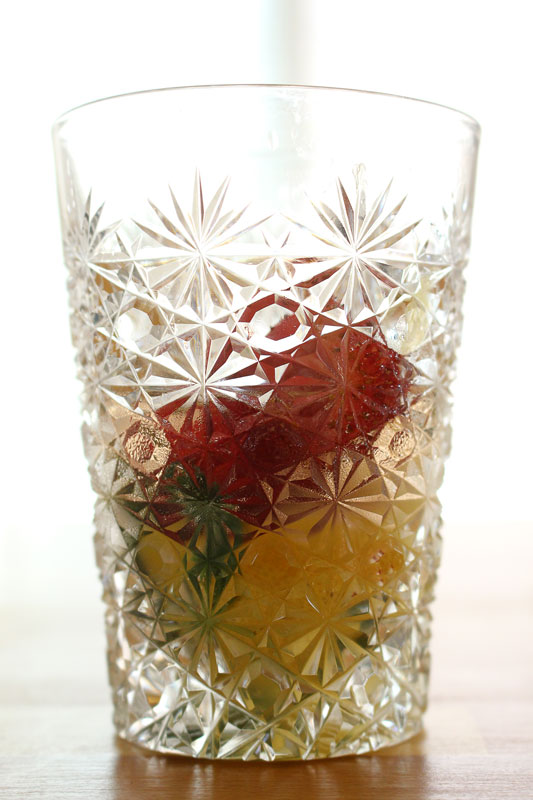
Lavender Strawberry Vin

pinch lavender + 1 t balsamic vinegar + 1 t honey + 2 frozen strawberries + soda water

Muddle lavender, vinegar, and honey. Strain through a sieve. Add strawberries and soda water.

SummerDrinksWithHerbs-14

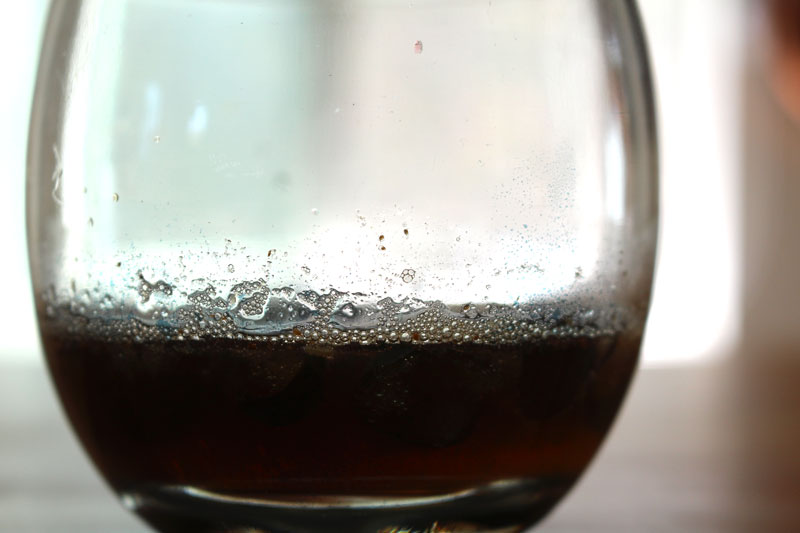
Lavender Blueberry Vin

pinch lavender + 1 t balsamic vinegar + 1 t honey + 10 frozen blueberries + soda water

Muddle lavender, vinegar, and honey. Strain through a sieve. Add blueberries and soda water.

SummerDrinksWithHerbs-16

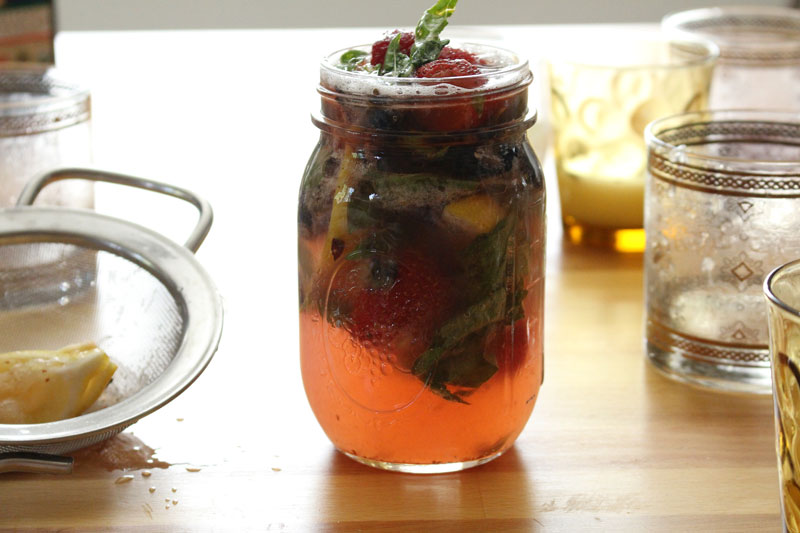
I didn’t really need to drink all eleven drinks, so I mixed some (the first seven) of them into one drink and saved it for later.

Note: making eleven different drinks, in eleven different cups, without a dishwasher, means washing and drying eleven different cups. Riiiight. Now I know. 😉

Happy Drinking!

SummerDrinksWithHerbs-3

Thursday

15

May 2014

0

COMMENTS

How To Use Leftovers

Written by , Posted in How To, Leftovers, Thoughts

CrispyPotatoesWithChiliAndCheese4

We’ve all been there. I know I have. I seem to have a problem cooking for two (or, let’s be honest, however many I’m cooking for) and we always end up with leftovers.

Good. I don’t mind.

There’s something so satisfying about making yesterday’s dinner into a totally new creation.

Are you with me? Or are you squinching up your nose in disgust?

Let me convince you with a few ideas for what to do with some of the meals you might be preparing right now, with our in season produce.

AsparagusWithCrispyBacon-8

Did you make the Roasted Asparagus with Almonds and Crispy Bacon‚ that I posted not too long ago? (If you didn’t, please take a quick break and do that, so you can enjoy it as much as I did. You back? Ok, good.) You’ve probably also made some Roasted Radishes‚ and Crispy Potatoes?

So now dinner’s over and they’re sitting in your freezer, turning into a solid brick of unrecognizable something, waiting for inspiration to hit.

Right?

Well, do you have eggs? Milk? Cheese maybe? Salt and pepper? Of course you have salt and pepper…. This is gon’ be easy. We’re making a frittata.

MassagedKaleSaladWithRadishes9

You could add more veggies. You could chop up some fresh veggies too, saute them for a few minutes first, then the softness will be on par with the already cooked ones. Same deal with the Massaged Kale Salad that you have leftover (you’ve tried this, right?!). Basically, we’re making a Spring Frittata. Don’t forget the spring herbs are bursting with flavor right now, so add them liberally to the frittata, before you pop it into the oven and when you’re serving.

SpringFrittata7

If you’re not in the mood for a frittata, that’s cool. You could take all of the same containers of leftovers and toss them with some vegetable stock and make a soup. Add the herbs too. Done. There’s dinner. (Or toss the asparagus and radishes with some pasta or rice, chop up some leftover chicken and you’ve got a great one dish dinner.)

RadishFetaToasts3

RadishFetaToasts5

Next, let’s talk about those Radish and Feta Toasts that I made a while ago. I hope that you took my advice and served the leftovers wrapped up in a tortilla (or a pita, hello!). I think I ate this two days in a row. I couldn’t get enough.

CrispyPotatoesWithChiliAndCheese6

SummerChili

Maybe you made some Summer Chili, but don’t want to eat it the exact same way a second or third time. I mean, I’m almost always in the mood for chili, especially if there’s cornbread. Buuuut then one day I plomped the chili onto some Crispy Potatoes (also leftovers – re-heat in the toaster oven in tin foil until hot) and magic happened (uh, not for real, but it seemed like magic). It became Crispy Potatoes with Chili and Cheese.

CrispyPotatoesWithChiliAndCheese3

Also, this Summer Chili, one of my all-time favorites. So good so good soooo gooooood.

Twice-Baked-Potatoes1

You could also use the leftover chili on some of these Twice Baked Potatoes – mix it in, or just add it after they’re baked. You could also chop up the leftover potatoes and add some veggie stock and make soup.

My answer to leftovers is almost always to make soup. But, I’ve branched out for your sake. Do you like soup as much as I do? You don’t have to answer that.

There are enough meals here to feed you for a week.

You might have leftovers of your reinvented meals… it happens.

Happy Eating!

Thursday

24

April 2014

0

COMMENTS

How To: Asparagus

Written by , Posted in Breakfast, Dinner, How To, Lunch, Storage/Prep, Vegetables

Asparagus-3

It’s asparagus time, friends. I hope you’re as excited about this as I am! Things like asparagus, snap peas, and green beans signify spring to me.

Oh spring.

Here in L.A. it just means a slight shift from cool-warm to warm-hot weather. But, after the winter many on the East Coast have had, I am glad that it’s spring for their sake.

Asparagus-2

Enough about the weather though. Let’s talk about this bright green vegetable.

Every week when we get our delivery of organic produce from Abundant Harvest Organics there’s an information packed newsletter tucked into the box. I love what Vernon has to say on the front, plus there are great recipe ideas, and such great storage tips.

Like, for example, asparagus: I learned to cut off about an inch from the bottom, wrap them in a damp paper towel, and then store them in a plastic bag. Can I share a secret with you? The asparagus photographed were a week old. Yeah. This storage tip worked well.

Asparagus-1

Before using asparagus in any dish, I like to trim the ends (because they can get a little tough, so they are better saved for vegetable stock). To do this, take one stalk and hold it with one hand at each end. Bend it so that it snaps naturally, usually an inch or two from the bottom. That will give you a good idea of how much to remove and you can line up the remaining asparagus and cut them all off at the same time, rather than snapping each individually.

Easy. Now they’re ready to be cooked.

Asparagus-4

My favorite way to eat almost any vegetable is roasted. Asparagus is no different. They get a little sweeter, crispier outside, and tender inside.

Just perfect, in my opinion.

AsparagusWithCrispyBacon-8

The other week I shared a recipe for Roasted Asparagus with Almonds and Crispy Bacon. It’s like my favorite way to eat veggies taken to a whole new level when bacon, almonds, and a squeeze of lemon juice are added.

SpringFrittata7

If you’re up for something other than roasting, another favorite is to add asparagus to a Spring Frittata. Seriously good. Invite some friends over for this one. Serve the frittata alongside a Savory Baked French Toast and a Simple Orange Salad. Dark, rich coffee, fresh squeezed orange juice, or mimosas would be very acceptable beverage choices for this meal.

There you go. I’ve planned your next brunch for you.

AsparagusWithCrispyBacon-1

I would totally throw these friendly green stalks into a spring soup with some potatoes, cream/milk, thyme, cayenne, salt, pepper, and onions.

What if you made a cold sauce by mixing a little bit of heavy cream with some dijon mustard, salt, and pepper, then drizzled it over some hot, roasted asparagus?!

You could blanch them (cook in boiling water for about 2 minutes, then submerge into an ice bath to stop the cooking), top them with some of your favorite olive oil, fresh thyme, a squeeze of lemon juice, salt, pepper, and shaved parmesan cheese. Serve them alongside a perfectly cooked fried egg.

You might try either roasting or cooking in a little bit of oil, over high heat for just a few minutes. Then toss with some lemon juice and fresh tarragon.

I think I would like to eat any of these right now… but, we had some friends visiting from Germany, and they brought us an incredible assortment of chocolates. So that’s what I’ve been snacking as I’ve been writing about crispy, crunchy, green asparagus.

Happy Eating!

Wednesday

9

April 2014

0

COMMENTS

How To: Take the Bite Out of Radishes

Written by , Posted in Dairy-Free, Dinner, Fruit, Gluten Free, Herbs, How To, Lunch, Quick and Easy, Roasting, Sides, Vegan, Vegetables, Vegetarian

RoastedRadishes1

Radishes they have a bit of a bite.

They’re peppery.

I get it.

They can be great raw, when mixed with the right flavors (ahem, two recent posts: Radish and Feta Toasts, and Radish Slaw).

They’re super in soups (yep, did that on purpose), tasty in frittatas, impossibly good (and impossible to detect) in Shepherd’s Pie.

Buuuut, let’s try one more way. Let’s roast them.

Let’s tame the heck out of them.

Oh, and this is gonna be really simple.

You ready?!

RoastedRadishes2

When I was working on this recipe I tried a few different things. I was going to make a sauce for the radishes, or maybe add a little more to them when roasting. But I realized that they didn’t need it.

They have a fun and interesting flavor. Why mask it?

I thought they’d be good quartered. They could be halved, or left whole. Just adjust the roasting time.

Then they’re tossed with just a few things: thyme, olive oil, salt, and pepper.

RoastedRadishes3

On to a baking sheet and they’re ready for the oven.

I told you it was going to be easy.

RoastedRadishes4

Just like their flavor, the colors become muted.

The remind me a bit of Easter eggs.

RoastedRadishes5

They’re served with a squeeze of lemon.

Simple as that. They’ve been tamed.

RoastedRadishes6

In my experience, cooking is generally a good way to tame a bold food. Whether it’s braised, roasted, sautéed, grilled… the heat usually mellows things out. However, if you’d like to try keeping things raw, mixing with complimentary flavors will also do the trick.

For radishes, think things like:

Lemon + dill + crab cucumber + cream cheese.

Lemon juice + olive oil + parsley + onions.

Shrimp soy sauce + scallions.

I like to chop or grate loud veggies when they’re going to be eaten raw (hello garlic, red onion, and radish!). It lets them continue to sing, just a little bit quieter, in harmony with the other ingredients.

RoastedRadishes7

There’s no need shy away from radishes any more. Whether they’re raw or cooked, I’ve got you covered.

Happy Eating!

Roasted Radishes
Recipe Type: Side, Roasting, Vegetarian, Vegan, Vegetables, Radishes
Author: Rachel Oberg – De Ma Cuisine
Prep time: 5 mins
Cook time: 25 mins
Total time: 30 mins
Serves: 2
Taming radish’s peppery bite by roasting them.
Ingredients
  • 1 bunch (about 8) radishes, tips and tails removed, quartered
  • 1 t olive oil
  • to taste salt
  • to taste pepper
  • 1/4 t dried thyme, crushed
  • lemon wedges, for serving
Instructions
  1. Pre-heat the oven to 375F.
  2. Toss radishes with olive oil, salt, pepper, and thyme. Place cut side down on a baking sheet and roast for 15-20 minutes. Flip and roast for 5 minutes more.
  3. Serve with a squeeze of lemon.
3.2.1269

Wednesday

5

March 2014

4

COMMENTS

How to Take the Bitterness out of Greens

Written by , Posted in Dinner, Gluten Free, How To, Sides, Storage/Prep, Vegetables, Vegetarian

Bitter-Greens-8

Can I tell you something that I might not admit to my 12-year old self? I really like vegetables. I’m totally crazy about lots of other foods that she would enjoy too (hello bacon), but you know how people say that the more you eat healthy things the more you crave them? It’s actually been true for me.

We started subscribing to Abundant Harvest Organics in December of 2007. We’ve been on this journey for a while now. I’ve learned a lot. There are so many vegetables that I’d never heard of 7 years ago. Thankfully, now I know what a rutabaga is, that beets are enjoyable, and most recently, how to cook some really good greens.

Bitter-Greens-2

I’ve always been a “use what I have”, practical, efficient cooker. Don’t have an ingredient? I’ll substitute for it. If I don’t think a step is needed, I eliminate it. But, sometimes there are steps that I didn’t know were a good idea, like blanching when cooking things like collard greens. I’d never done it, because I didn’t know I should.

Blanching is when you partially cook a food in boiling water then submerge it in an ice bath to stop the cooking.

I learned my lesson today.

I’ve never really been bothered too much by the bitterness in greens. I think because I’ve got the basics down: add fat and salt (not like a waaaay too much amount, a good amount, to make them taste great). Sometimes I add sugar and spice. These are things that I read about doing to reduce bitterness in greens. Cool. Checkmark. Done did.

But but but wait. I needed to see if I was missing out on something. So I did a little test: collard greens three ways.

Here’s what happened.

One bunch of collard greens was divided up into three groups (each had 3-4 medium sized leaves – a small test, but it worked out just fine).

Group 1

Bitter-Greens-1

Bitter-Greens-4

Washed with water, stems removed, sliced into ribbons.

Skillet heated, 1/2 t butter added, let it melt a bit, added honey, then added the greens. Added salt, pepper, red pepper flakes and cooked over medium-low for 2 minutes. 1 t lemon juice is added and they cook for 1-2 minutes more. They’re removed from the heat and 1/2 t olive oil is added, along with a splash of lemon juice.

Group 2

Bitter-Greens-5

Soaked in water and 1-2 t baking soda for a minute, then rinsed three times.

Skillet heated, 1/2 t butter added, let it melt a bit, added honey, then added the greens. Added salt, pepper, red pepper flakes and cooked over medium-low for 2 minutes. 1 t lemon juice is added and they cook for 1-2 minutes more. They’re removed from the heat and 1/2 t olive oil is added, along with a splash of lemon juice.

Group 3

Bitter-Greens-3

Bitter-Greens-6

Washed with water.

Stems removed.

Blanched: Salted water came to a boil, leaves were added, they cooked for about 2 minutes, then took a bath in some ice water for a few.

Sliced into ribbons.

Skillet heated, 1/2 t butter added, let it melt a bit, added honey, then added the greens. Added salt, pepper, red pepper flakes and cooked over medium-low for 2 minutes. 1 t lemon juice is added and they cook for 1-2 minutes more. They’re removed from the heat and 1/2 t olive oil is added, along with a splash of lemon juice.

Group three was way for sure 100% the winner. I guess I’m gonna blanch from now on.

Bitter-Greens-7

They were tender, they kept their color, and most importantly, they were the least bitter.

I stood at the stove and ate the entire pan.

I used the leftover greens from groups 1 and 2 and tossed them with some leftover Mac and Cheese, topped it with crushed up homemade croutons and a bit of Parmesan cheese, and baked it until it was hot. Made for an easy, delicious dinner. Groups 1 and 2 weren’t bad. I’d even say they’re good. But, when you compare good with great, you gotta go with great (hello life lesson).

I don’t know if the baking soda soak really did much for group two. They may have been a little more tender and a little less bitter than group 1. Just a little. I probably wouldn’t bother with this step again. But, it was fun to try.

In general, to reduce the bitterness of leafy greens like turnip greens, collards, mustard greens, kale, spinach, chard, broccoli rabe, and beet greens, there are a few tricks:

Cooking the greens (sautéeing, simmering, braising, blanching) mellows them out (some ways more than others, some better when combined, like I learned today). Tougher greens, like the collards that I used today, will do better when blanched, than say a daintier baby spinach.

Adding salt “takes the edge off”. (1)

Adding fat softens the bitterness and adds flavor. (1) (3)

Adding spice masks the bitterness.

You can add lemon juice or salt to help reduce bitterness. (3)

Add baking soda to water when washing then rinse three times. (2)

Some recipes that I like (or would like to try) with these greens:

Wilt ‘Em Greens

Browned Butter Pasta with Italian Sausage and Basil

Orzo Pasta with Kale and Italian Sausage

Braised Collard Greens

Happy Eating!

Blanched and Sautéed Collard Greens
Recipe Type: Vegetables, Vegetarian, Sautéed, Side Dishes, Dinner, Greens, Quick and Easy, Blanching
Author: Rachel Oberg – De Ma Cuisine
Prep time:
Cook time:
Total time:
Serves: 2-3
Ingredients
  • 16 collard green leaves, washed, stems removed
  • water (for boiling)
  • salt (for boiling)
  • 2 t butter
  • 2-4 t honey
  • to taste salt
  • to taste pepper
  • to taste red pepper flakes
  • 3-4 t lemon juice
  • 2 t olive oil
  • lemon juice, for topping
Instructions
  1. Bring salted water to a boil. Add leaves and cook for about 2 minutes. Remove from water and place in a bowl of ice water for a few minutes.
  2. Slice into ribbons.
  3. Heat skillet and add butter, let it melt a bit, add honey, then add the greens. Add salt, pepper, red pepper flakes and cook over medium-low heat for 2 minutes, stirring often.
  4. Add lemon juice and cook for 1-2 minutes more.
  5. Remove from the heat and add olive oil.
  6. Serve topped with a splash of lemon juice.

(1) LA Times

(2) Yahoo Answers

(3) ehow