De Ma Cuisine

Baking Archive

Thursday

30

January 2014

8

COMMENTS

#TimAndRachGoToParis2013 – What I Cooked

Written by , Posted in Baking, Bread, Thoughts, Travel

CookingClass-10

While we were in Paris we ate out a lot. We had Boeuf Bourguignon, Roast Beef and Potatoes, and Chicken and Rice. We ate baguettes, croissants, and pain au chocolate. It was pretty much the best ever. Ever ever ever.

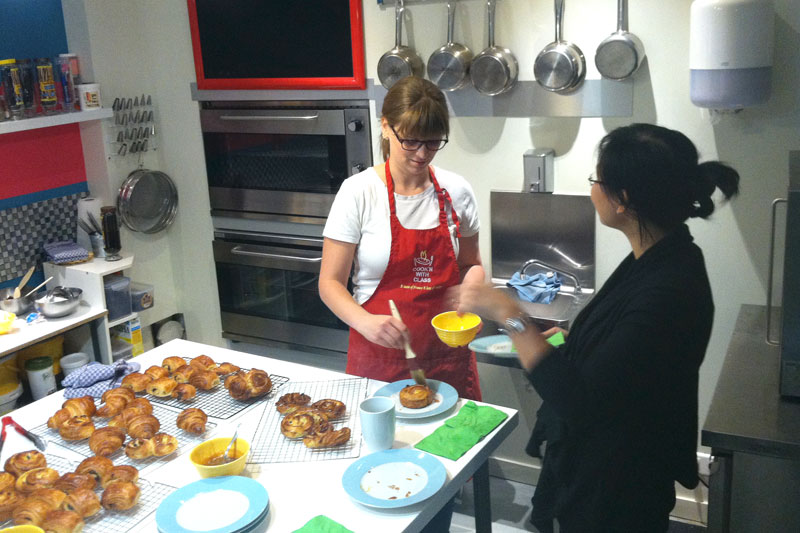
Tim really wanted me to take some cooking classes while we were there. We found a little school about a 15 minute walk from our Montmartre flat called Cook’n With Class. Know what makes the best vacation even better? When you can (somewhat) duplicate the foods when you return home.

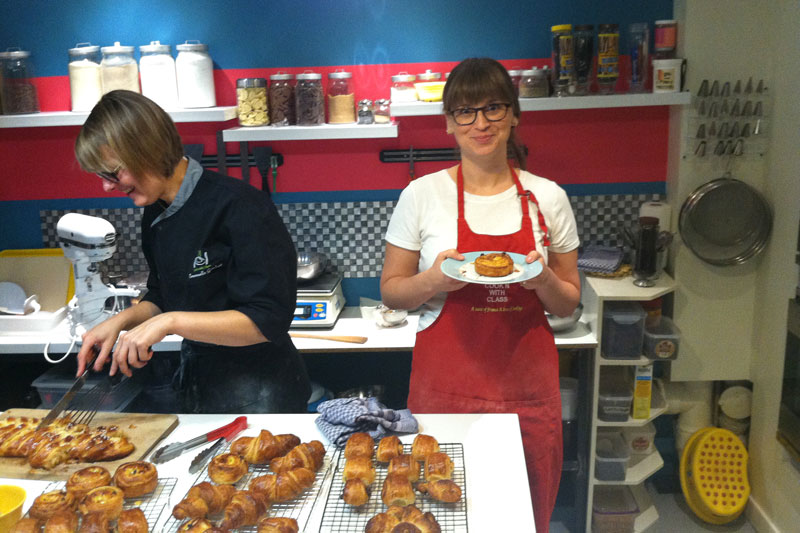
The first class that I took was a baking class with Chef Emmanuelle. She’s a great teacher. She made the class fun and comfortable, and made the recipes seem possible (I had had the impression that French baking was impossible – I now know that I was wrong).

CookingClass-2

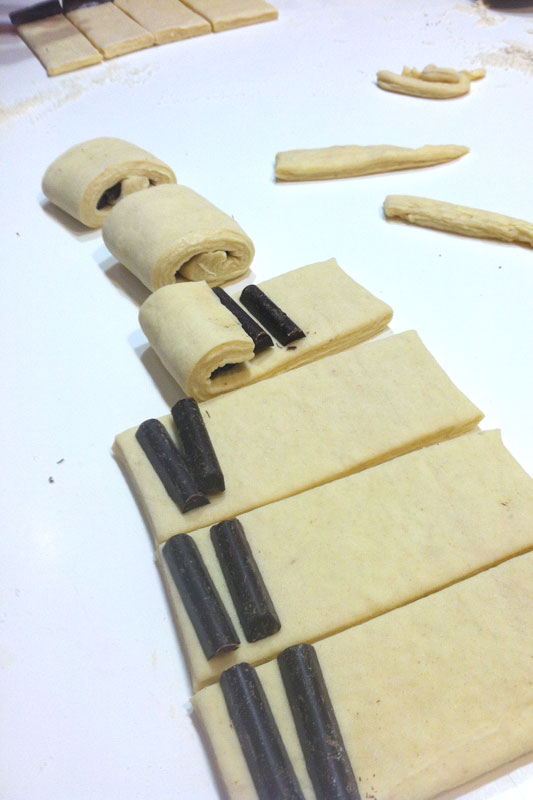
She taught us how to make pain au chocolate (which I’ve decided was better than any that we bought at the patisseries or boulangeries in Paris). They were incredible and surprisingly easy to make (easy being relative though – we’re still baking).

CookingClass-14

CookingClass-13

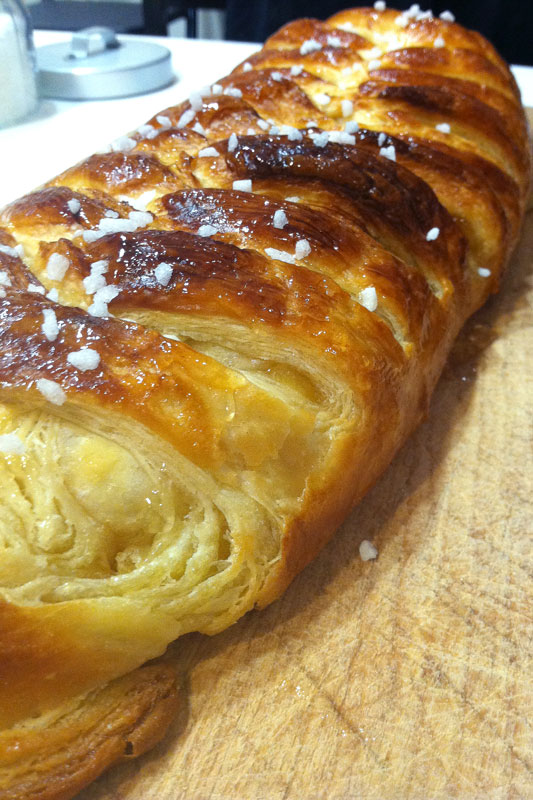
We made a strudel avec des pommes (apple strudel). Oh so divine. I got to braid it. Yeah, I know. I felt pretty cool doing it.

CookingClass-11

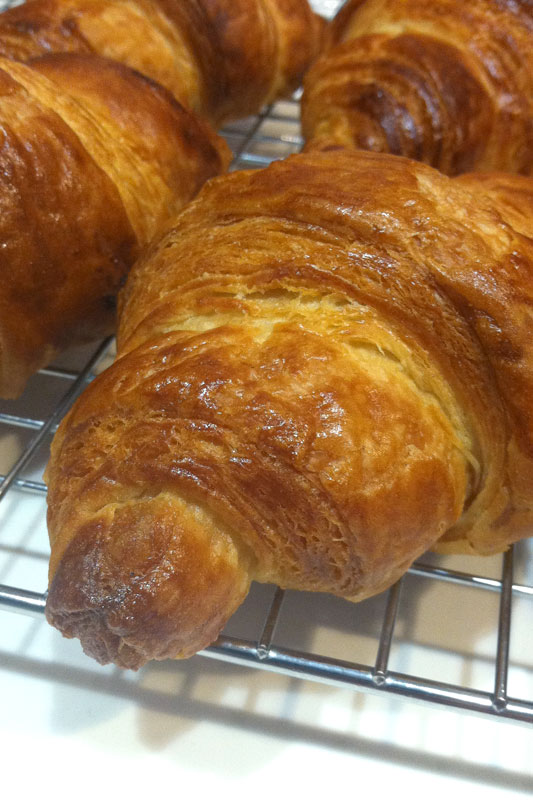
And then… the croissants. Once again, not as difficult as I’d imagined they’d be. They’re next on my list of Paris foods to make. I have pounds and pounds of butter in the fridge just waiting. I’m not sure how many croissants I ate in Paris. Too many to count. I’ve had one since we returned. It was meh. I’m sure that even the ones I make won’t be quite the same.

CookingClass-12

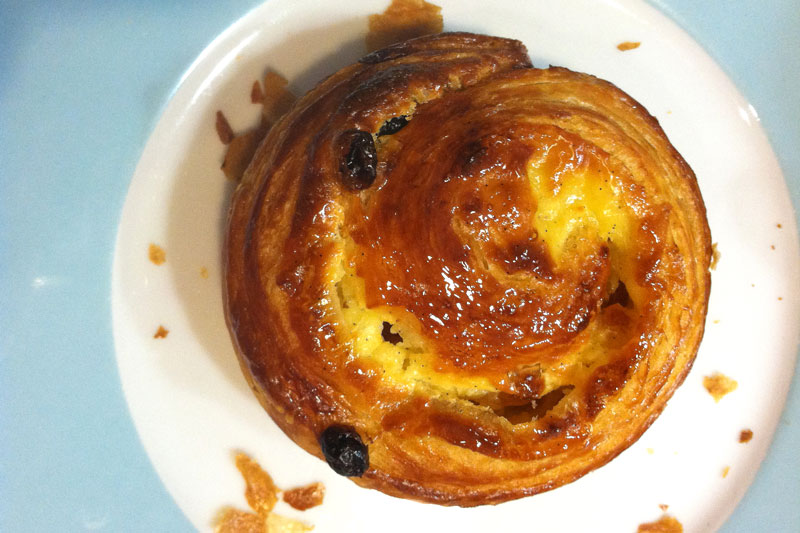
We also made pain aux raisins, which is like a raisin bread with a custardy filling and an apricot glaze.

I’ll take two, please.

CookingClass-15

At Cook’n With Class they were happy to have Tim come by to taste the food we’d made. And they even let our German friends (who came to visit us) try some. Since Tim didn’t take the classes with me, it was special to be able to share what I’d made with him.

We got to take home the leftovers too.

I really want one many pain au chocolate right now.

CookingClass-16

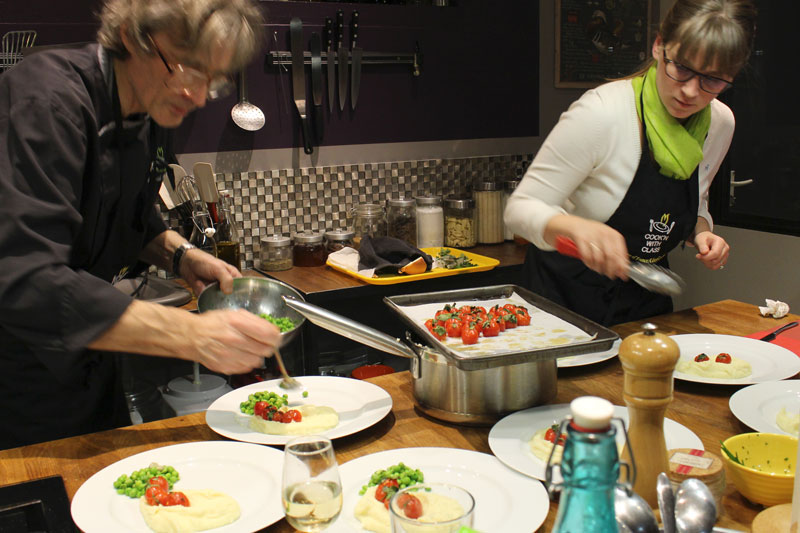
The second class that I took was the Evening Market Class with Chef Patrick. He is a world class chef. Wow. So talented. We put vanilla beans in mashed potatoes (mind blown), we crushed coriander by hand, and we stuffed cherry tomatoes with spices and torn basil leaves.

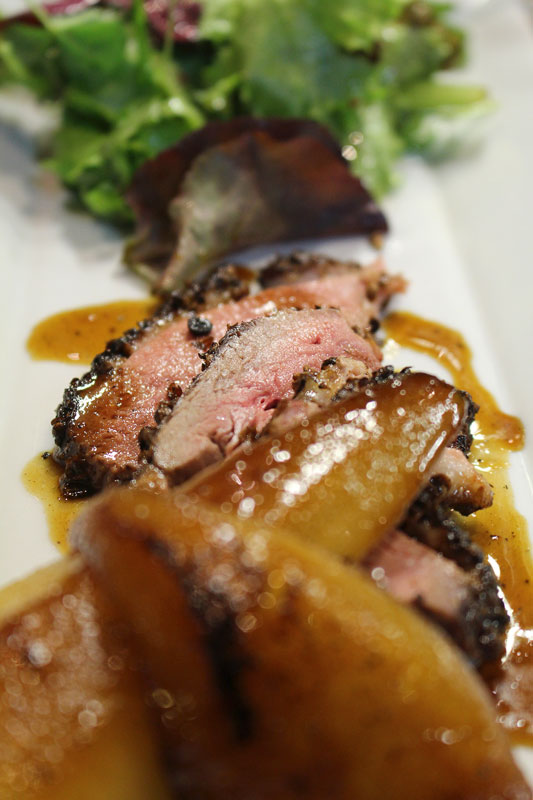
This class was really cool. We met at a nearby metro stop and then walked over to some of the market streets. We bought most of the ingredients for our four course dinner. The first course was (I’m totally sighing as I write this because I can’t stand that I’m not eating this right NOW!) Duck Magret with Sweet Wine “Jus” with Sautéed and Caramelized Pears with a salad that had a delicious vinaigrette.

CookingClass-3

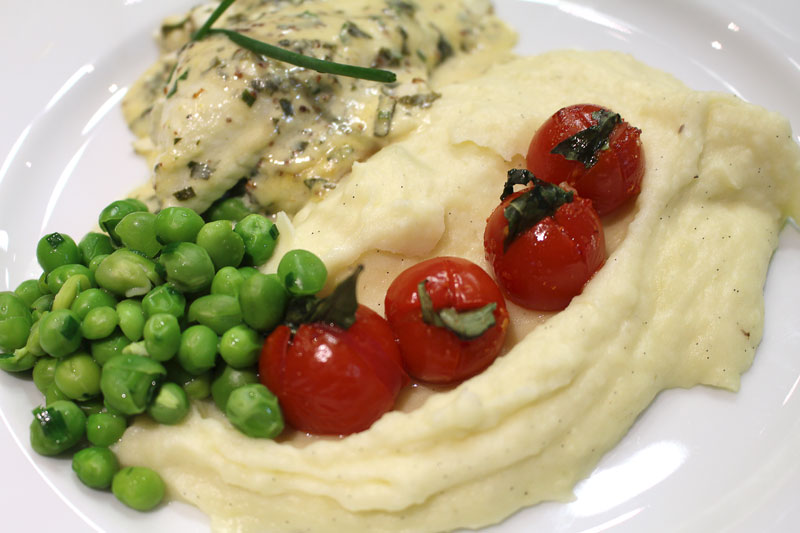
The second course was Fish Fillets with Dijon Mustard Sauce with Herbs, Sweet Red Chili and Basil Slow-Baked Tomatoes, Vanilla Mashed Potatoes, and Peas.

Chef Patrick asked if anyone wanted to learn how to skin the fish. Fish that he’d just chosen from the fishmonger an hour earlier. I tried. You guys, it’s way harder than it looked!

Since people in the class knew that I had some experience with cooking, I got volunteered to help a few times. I didn’t mind. I pretended that I knew what I was doing. My jobs were to plate the tomatoes (that we all seasoned and stuffed), to watch the potatoes, and when they were done, to add the cream and butter. (Um, I added a lot – I was kinda expecting him to tell me when to stop. He didn’t. Cool. I like butter and cream. I think I added just the right amount.)

CookingClass-9

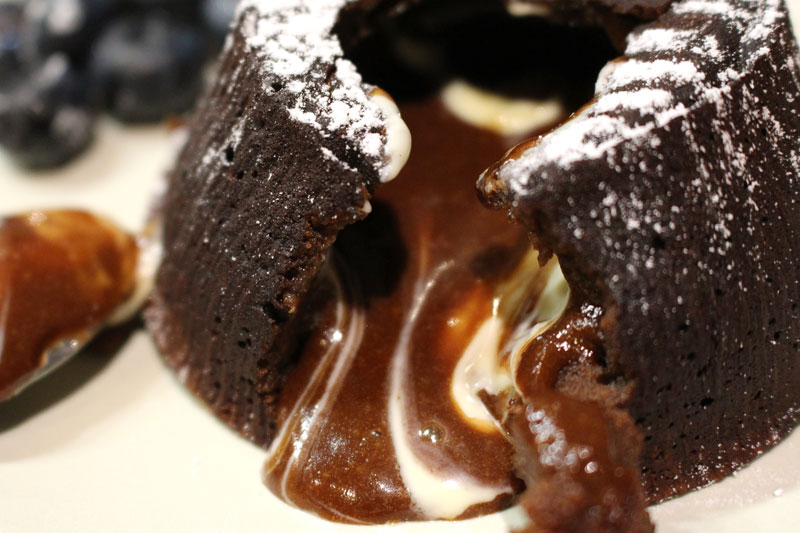
And then there was dessert. I’m so not a sweets person. This Lava Cake was insane. There’s some serious gooey goodness going on there. Another on my ever lengthening list of things I must make from Paris.

CookingClass-8

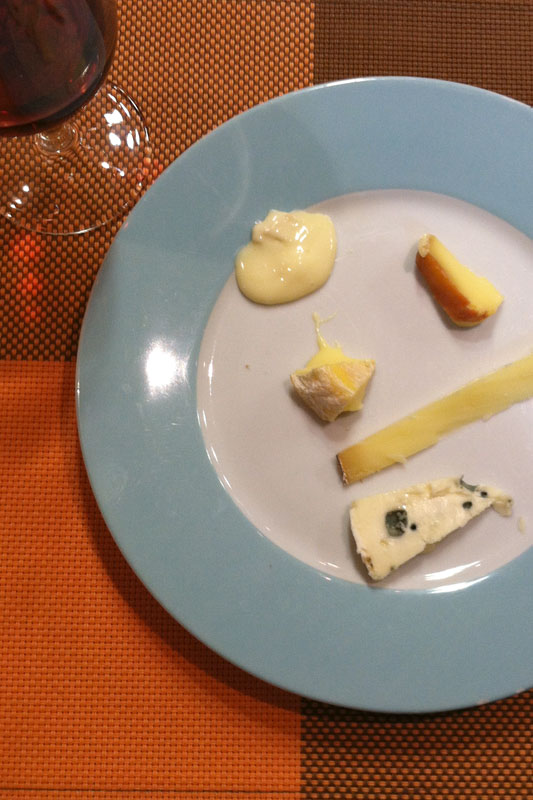
In Paris you get to eat cheese after dessert. No matter that we were incredibly full after the first three courses (I didn’t just try things, I ate everything). It was time for cheese and more wine. (We drank a lot of wine in Paris. It was often the cheapest beverage on the menu.)

I can’t remember the names of the cheeses. I do know that one was a brie, there was a goat cheese, a super aged something or other, a roquefort (I think), and a something else. They were arranged in order of stinkiness.

CookingClass-6

The class lasted for about 6 hours. Tim had bought a dinner ticket, so he joined us right before we started eating. We walked home late that night, hoping that we’d be hungry in the morning, since I had my French Bread Making Class coming up.

CookingClass-5

Chef Alex taught this, my last class. It was just a few days before we were to leave. I’d had probably a baguette a day, maybe more. I was ready to make my own.

They were much more difficult than I’d imagined they’d be. I figured that I’d made bread before and I’d be pretty good at it.

Nope.

No expert here.

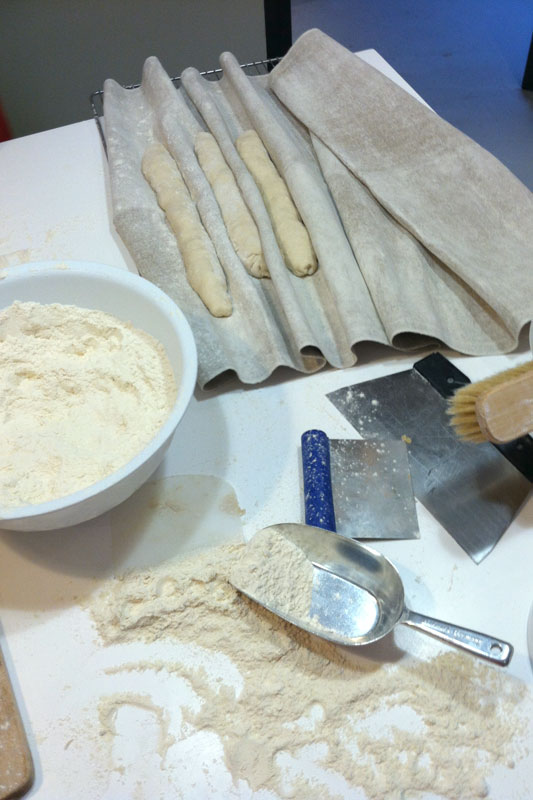
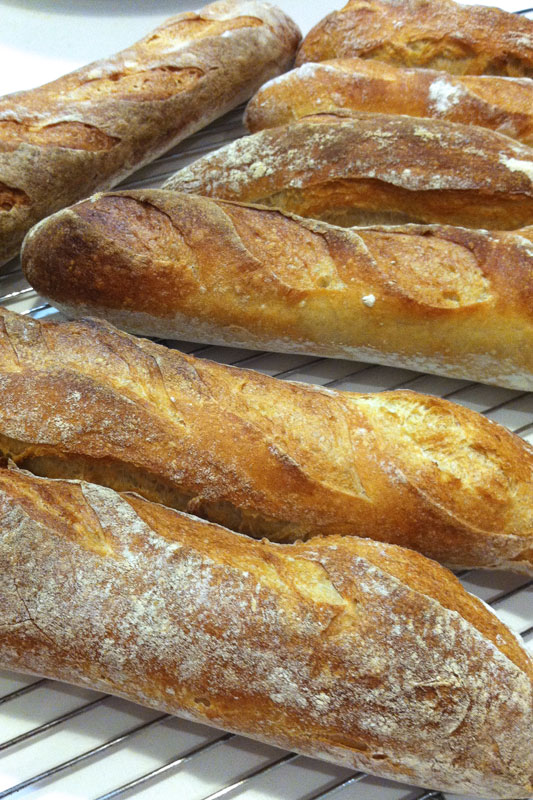
I mean, they turned out great. But, that was because Alex would come over and ask what I was doing and then tell me what I was actually supposed to be doing. I got it, eventually, and we successfully made real French baguettes. Best food ever.

CookingClass-4

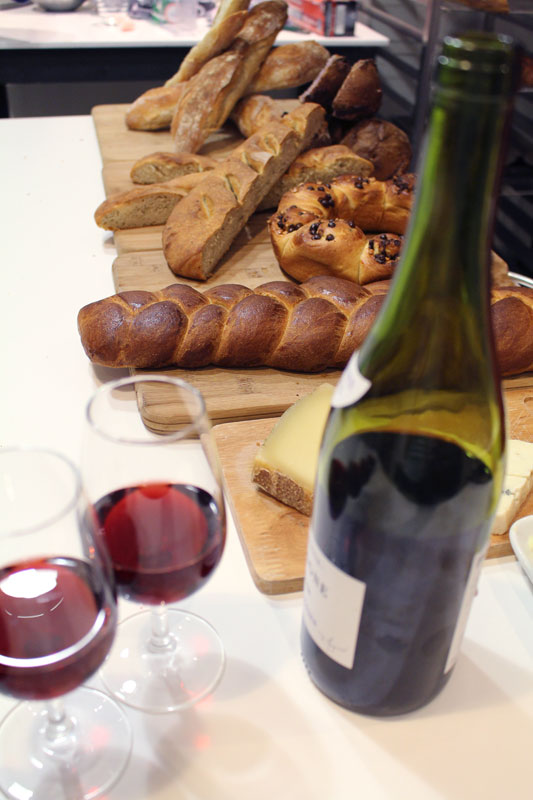
Tim was once again invited to taste the treats we’d prepared. In addition to the baguettes, we made two kinds of brioche (rolls and a braided loaf)‚ fougasse (focaccia), and these rolls that were made with a Beaujolais wine (the worst wine to drink, but it made for a yummy bread), sausage, and nuts. And of course there was wine and cheese to go with it. Even though we’d eaten a huge meal the night before we had room for plenty of bread.

CookingClass-7

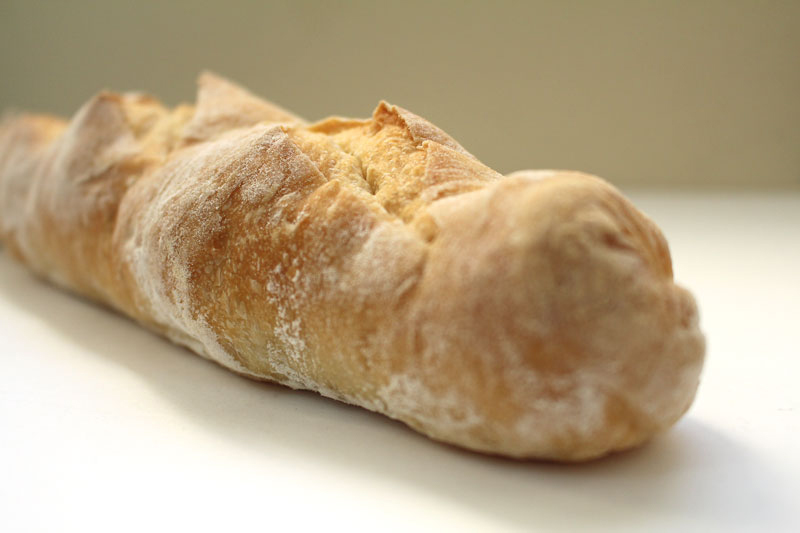
One of the things that I miss the most about Paris: the baguettes. Big surprise. For Christmas Tim gave me a kitchen scale (it was suggested that I have one before trying to bake on my own). A few weeks ago I was finally able to make real French baguettes at home. Ok, kinda real. They weren’t the same, but they were pretty good.

CookingClasses1

So, friends, if you’re ever in Paris (and I really hope you are), I’d definitely recommend taking a cooking class from my friends at Cook’n With Class. What a fun and delicious experience it was.

They were kind enough to allow me to share their baguette recipe with you. Some of the instructions make more sense after you’ve taken a class. If that’s the case, um, they’re located at 6 rue Baudelique 75018 Paris, France. 😉

The final installment of our Paris adventures will continue next week.

Au revoir!

Baguette
Recipe Type: Bread, Baking
Cuisine: French
Author: Cook’n With Class
Ingredients
  • 2 1/4 pounds / 1 kg all purpose flour or bread flour
  • 1 1/2 pounds /650 to 700 g of water, cold from tap (distilled is better)
  • 1/2 oz /16 g of dry yeast OR 1oz/ 32 grams of fresh yeast
  • 2/3 oz or 22 g fine sea salt
Instructions
  1. In a stand-up mixer fitted with the paddle attachment add flour, then water. Mix 30 seconds just to combine the ingredients. (You can also by hand use the dough hook to stir the flour and water together until all of the flour is wet). Cover and let rest for 30 minutes (autolysis). In these 30 minutes the flour will slowly absorb the water.
  2. Now using the dough hook. Start on medium speed and add slowly the yeast, then the salt. Keep mixing for about 5 minutes on medium low speed, let rest 10 minutes and then mix again on high for 5 minutes to develop the gluten. The dough is done when a small piece can be stretched so thin you can see your fingers through it. (This is called the windowpane test). The dough should be very smooth and should not be any warmer than 27C /80F.
  3. Let the dough rest, covered, for about 1 hour at room temperature. If the room is too hot place the dough in the fridge, always covered.
  4. Optional but well worth the effort: Turn the dough over onto itself every 15 minutes during the hour that it rests or just until it becomes to elastic to stretch, this technique will help develop fantastic air pockets in the dough. Slap the dough onto the table a few times, then place in large plastic container 30cm x 40cm lightly greased with vegetable oil. Cover with lightly oiled film, place in the fridge for 14 to 16 hours.
  5. Take the dough out of the fridge and gently place it on a floured table. Divide into 6 rectangular pieces. Keep the sticky side facing up and gently fold the dough a third of the way down your rectangle, do this by pulling the dough over your thumb as to not push all the air out of the dough. Then by using the piano fingers technique spread the dough laterally while also pushing forward you are trying to form a tighter skin around the dough to trap the air. Repeat this a couple of times, then using your thumbs, seal the dough to itself, forming a seam. Place these pre-formed baguettes on a tray covered by a tea towel until they are about 50% larger, This will take roughly 1/2 hour for this rising.) During this next phase you will try to save as much air pockets as possible. If you’re too rough the dough will deflate and the crumb will be more dense and even. Shape each piece into a baguette by placing each pre-formed baguette onto a lightly floured surface the sticky side up and repeating the folding steps noted above create the seal by pinching the seal onto the bench with your thumbs. Gently roll the baguette with your hands to achieve the final baguette shape. Place each baguette on a baking sheet lined with parchment and then lightly floured. Gently roll the formed baguettes onto the baguette baking trays seam side down, then cover again until about 50% larger than they were… maybe doubled.
  6. Place a shallow pan in the bottom of the oven and preheat to 475F (250C) degrees.
  7. Using a razor or sharp knife make 1/4 inch deep, diagonal slashes, 3 to 4 times down the length of the loaf. (for a half baguette) 6 to 7 for a full baguette) do this by holding the end of the baguette with one hand, and with the other hand, make quick slashes along the length of the baguette. Pour about 1/4 of a cup of water in the pan in the bottom of the oven, and place baguettes in the oven, working quickly vaporize the oven and generously vaporize the baguettes with a spray bottle. Quickly close the as not to lose too much heat. Keep making steam for the first 10 minutes to help developing a nice thick crust. Bake the bread for about 20 minutes until browned.
  8. You can use an instant read thermometer to test for doneness. The bread should have an internal temperature of 200F/93C degrees when done. When the bread is cooked it sounds hollow when you tap it.

Monday

25

November 2013

3

COMMENTS

Apple Bourbon Galette and Non-Traditional Thanksgiving Ideas

Written by , Posted in Baking, Dessert, Fruit, Holiday, Menu Planning, Vegetarian

AppleBourbonGalette_4If you’re like me, Thanksgiving might just be one of your favorite meals of the year. My perfect bite is one that includes EVERYTHING: mashed potatoes, turkey, stuffing, gravy, sweet potatoes, green beans, and cranberry sauce. And, yes, I am a traditionalist when it comes to the Thanksgiving meal food. I don’t want roast beef, I’d rather not have creamed corn, and I definitely don’t need a salad. I love all these things, buuuut, not at Thanksgiving. To be honest, I can even do without the rolls (but that’s only because they kinda just take up extra stomach space that could be used for more of everything else). However… I know that not everyone feels the same way. And that’s great. We don’t all need to think like I do.

Some may think it would be fun to eat something other than turkey for Thanksgiving. Awesome. Some may not love mashed potatoes and gravy. Cool. Some may detest sweet potatoes and green beans. I think you’re missing out, but then there’s more for me. Whatever your reason, I do love to plan a fun themed menu, so I have some ideas for you.

To start, you could enjoy a delicious Roasted Butternut Squash Soup. I made this soup a few weeks ago and I just loved it (um, I will note that Tim, who is not a super fan of squash, said it was good, for a squash dish ;)).

For the main dish, Herbed Roasted Chicken Thighs with Cherry Tomatoes would be awesome. I made this for an episode of the show. I looks great, and tastes even better! Along with the chicken some Crispy Potatoes would be amazing and I always love roasted broccoli… can’t go wrong with roasted veggies.

If you need some sort of bread to go with a special meal, Garlic Bread would be fun. (When we eat garlic bread, sometimes I don’t want to eat whatever else we’re having because I love bread so much.)

Pomegranates are in season. How about making some homemade Pomegranate Juice to drink? Confession: I’ve never done this. I need to.

AppleBourbonGalette_6

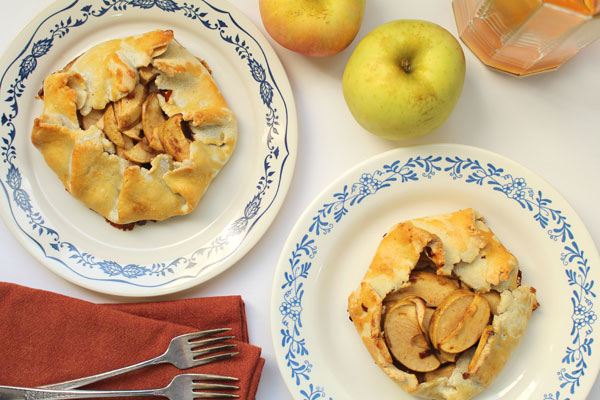
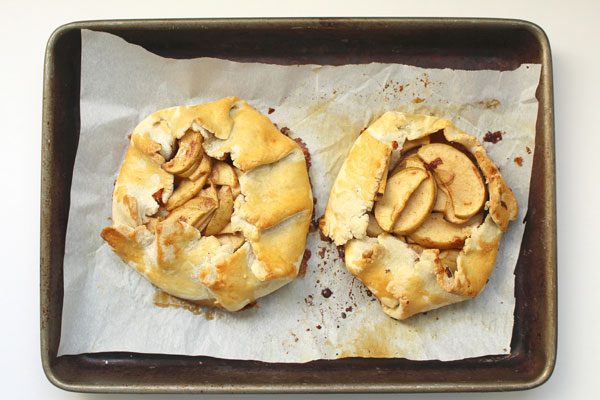
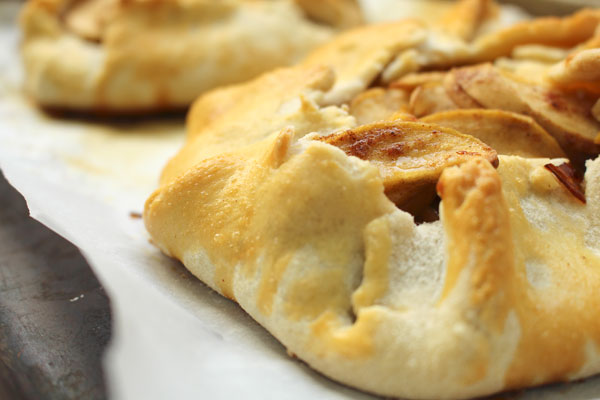
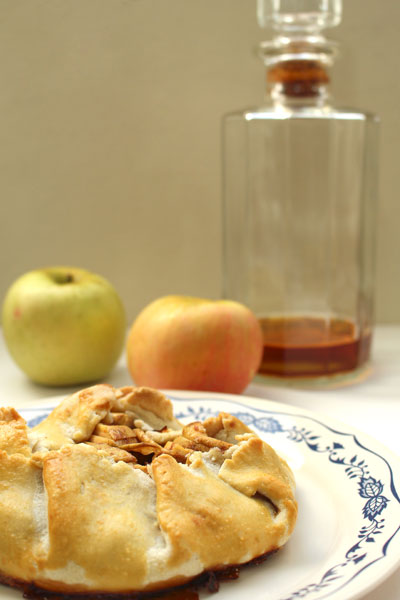
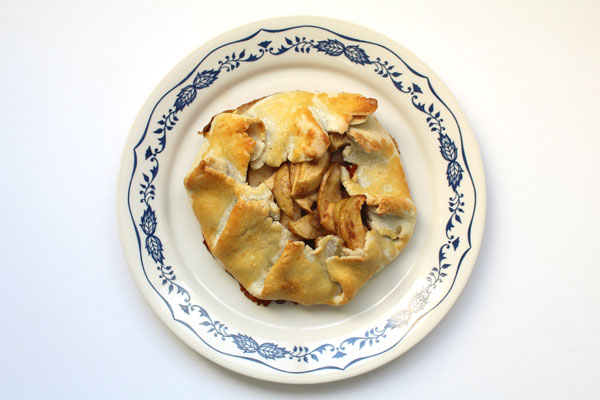
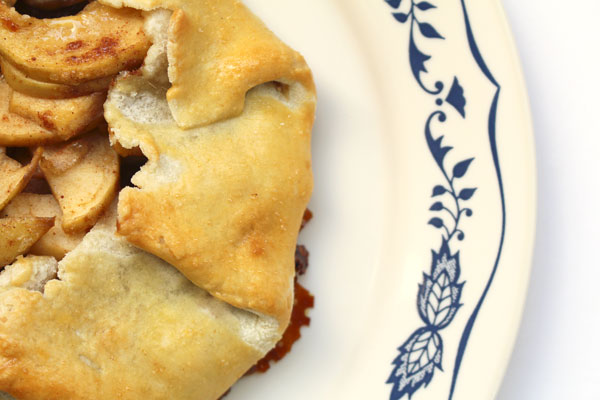
Ok, now we need something to replace the traditional Pumpkin Pie. I made these Apple Bourbon Galettes a few weeks ago and they were phenomenal. They’re great for a special occasion, but also perfect for a weeknight dinner… yes!

AppleBourbonGalette_5

AppleBourbonGalette_3

AppleBourbonGalette_1

On Wednesday I will have some ideas for what to do with your Thanksgiving leftovers. I wonder if anyone in the history of Thanksgiving has ever not had leftovers. I doubt it. Actually, I don’t think I like that idea. Thanksgiving leftovers are so yummy!!

AppleBourbonGalette_2

Happy Eating!

Apple Bourbon Galette
Recipe Type: Dessert, Baking, Apples, Fruit, Sweet
Author: Rachel Oberg – De Ma Cuisine
Prep time:
Cook time:
Total time:
Serves: 4
Ingredients
  • 2 T honey
  • 2 T butter, cut into small chunks
  • 1/4 C coconut palm sugar (or brown sugar or raw sugar)
  • 1/4 C maple syrup
  • 2 t bourbon (optional)
  • 2 t vanilla extract
  • 1 T apple cider vinegar
  • pinch salt
  • 1/2 t cinnamon
  • 1/4 t nutmeg
  • 1-2 pinches ginger
  • 1-2 pinches allspice
  • 4-5 (about 4-5 C) apples, thinly sliced
  • 1 pie crust, divided in 4
  • 1 egg, whisked
  • butter, for greasing
Instructions
  1. Pre-heat the oven to 375F. Place a piece of parchment paper on a baking sheet. Butter the parchment paper.
  2. Whisk together honey through allspice (it’s ok if there are still small chunks of butter).
  3. Toss sweet mixture with apples, making sure all apples are coated.
  4. Roll out individual pieces of crust in a circle. Place on parchment paper. Place a few scoops of filling on one crust. Fold crust up and around filling, leaving the center open. Make sure there are no cracks in the crust or the liquid will run. Repeat with remaining pieces of crust.
  5. Brush each crust with egg.
  6. Bake for 25-30 minutes, or until crust is golden and flaky.


Monday

18

November 2013

4

COMMENTS

Christy’s Homemade Granola Bars

Written by , Posted in Baking, Breakfast, Fruit, Grains, Guest Posts, Kid-Friendly, Quick and Easy, Snacks, Vegetarian

My friend, Christy, is an inspiration to me. She’s a great cook. A really great cook. She makes healthy foods taste great! She’s a homemade savvy, down to earth, super awesome friend.

She and her husband, Rick, are instilling great eating habits in their four kids. They don’t do much in the way of processed foods. I applaud and admire this. They don’t tell their kids they can’t have anything processed, or occasional treats. But, the majority of their food is made by Christy.

I admire this!

Christy gladly shared her favorite recipe for Granola Bars. They are a staple in their home. I’m going to make them as soon as I finish typing this post, to eat the rest of this week, and to take with us to Paris (I’m writing this way in advance… no working for me while we’re away!!).

Happy Eating!

Christy’s Homemade Granola Bars
 
Author: Christy Durrance (adapted from Kitchen Stewardship)
Cook time:
Total time:
Ingredients
  • ½ c. (1 stick) unsalted butter, softened
  • ½ c. peanut butter (or other nut butter)
  • 1 c. honey
  • 1 t. vanilla
  • 4 ½ cups old-fashioned oats
  • 1 c. oat flour (or whole wheat flour)
  • 1 t. baking soda
  • ¼ c. wheat germ, optional
  • ¼ c. flax seed meal, optional
  • 2 cups total of any combination of the following extra goodies (or anything else that sounds good to your family in a granola bar): Chopped nuts (walnuts, almonds, pecans, etc.)
  • Seeds (sunflower, sesame, pumpkin, etc.)
  • Chocolate chips
  • Chopped, dried fruit (cranberries, raisins, cherries, apricots, etc.)
  • Unsweetened coconut flakes
  • Cocoa powder (up to ¼ cup)
Instructions
  1. Place butter through vanilla in bowl of stand mixer. Using a mixer with paddle attachment, beat on medium speed until smooth.
  2. Add old-fashioned oats, flour, baking soda, wheat germ (optional), and flax seed meal (optional), and continue to beat with mixer until oats are broken up into smaller bits.
  3. At this point, add 2 cups total of any combination of the extra goodies.
  4. Press firmly into a 9×13 pan. Bake at 325 degrees F for 15-18 minutes until lightly golden. Let cool completely before cutting into bars (I often cover and put in the fridge for a few hours which makes cutting a bit easier). Best stored in the refrigerator or freezer, though they travel just fine.


Friday

15

November 2013

6

COMMENTS

Chicken Pot Pie – In the Kitchen with Rachel O – Video

Written by , Posted in Baking, Dinner, Herbs, In the Kitchen with Rachel O, Leftovers, Main Dishes, Meat, One Dish Dinners, Potatoes, Poultry, Vegetables

Chicken-Pot-Pie-2_6

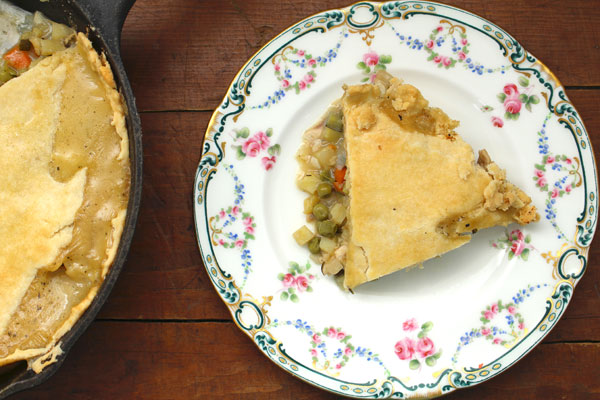
It’s cold. It’s fall. It’s the perfect weather for Chicken Pot Pie.

I would, I could, I will eat it any time of year. But, I especially love to eat cozy foods when the weather co-operates.

Chicken-Pot-Pie-2_5

Chicken Pot Pie is one of my favorites. That might be why I have made it twice, once on each show. 😉 You can see the original here.

I don’t know if I’ve ever not liked it. I mean, can you really go wrong with a flaky crust (I used Aimée’s recipe this time, yum!), sautéed veggies, and a creamy sauce?! You are shaking your head no too, right?

Chicken-Pot-Pie-2_2

Chicken-Pot-Pie-2_3

Chicken-Pot-Pie-2_1

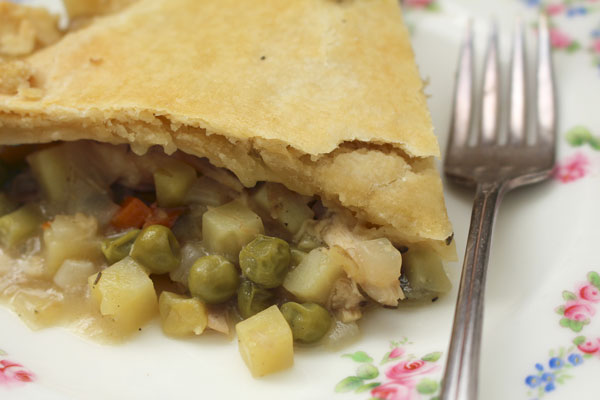
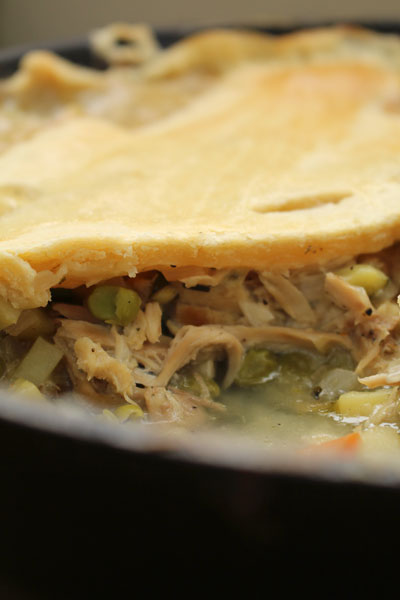
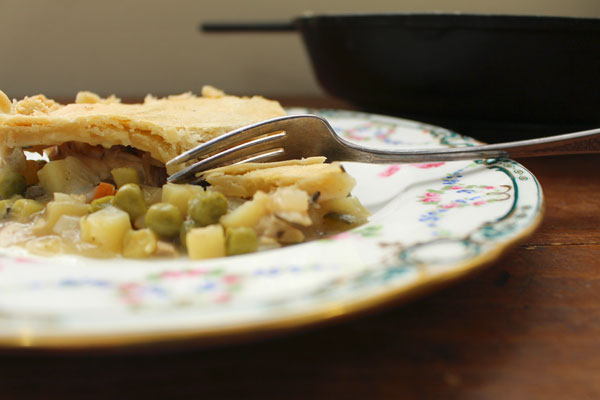
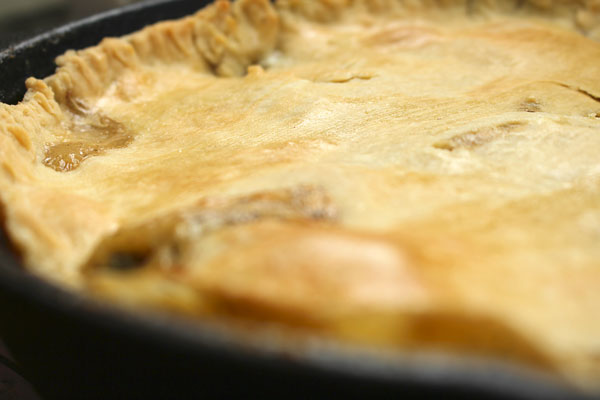
I would almost be happy just to look at it. Even the one I made for the most recent show, as ugly as I made it (I had some trouble crimping the crust… I think I need more practice), still looked amazing. But, then you cut into it… Steam pours out and you get a whiff. Oh that filling… And you know that you have to eat it right away. Something this good just can’t be made to wait.

Chicken-Pot-Pie-2_4

Happy Eating!

Chicken Pot Pie
Recipe Type: Main Dish, Dinner, Meat, Chicken, Poultry, Vegetables, Stove Top, Oven, Baking
Cuisine: American
Author: Rachel Oberg – De Ma Cuisine
Prep time:
Cook time:
Total time:
Serves: 4-6
A classic comfort food, this Chicken Pot Pie is perfect for a cool fall evening.
Ingredients
  • 1 T olive oil
  • 1/2 C carrots, chopped or diced
  • 1 onion, chopped or diced
  • 1 C potatoes, chopped or diced
  • 1 C zucchini, chopped or diced
  • 1 t fresh savory, chopped
  • 1/4 t dried rosemary
  • 1/4 t dried thyme
  • 1/4 t dried oregano
  • 1/4 t dried parsley
  • to taste, salt
  • to taste, pepper
  • 3/4 C peas (frozen are fine)
  • 3-4 cloves garlic, diced
  • 1-2 T lemon juice
  • 1/2 t dijon mustard
  • 1 1/2 to 2 C cooked chicken, shredded
  • 2 T all purpose flour (or 1 T cornstarch for gluten free)
  • 1 1/2 C cold water (or stock)
  • 1/2 C milk
  • 1 pie crust
  • 1 egg white, beaten with a fork
Instructions
  1. Pre-heat oven to 375F.
  2. Heat ovenproof skillet. Add olive oil. Add carrots through pepper. Cook for 10-15 minutes, or until veggies are tender, over medium-low heat, stirring occasionally.
  3. Add garlic, chicken, peas, dijon, and lemon juice. Cook for 2-3 minutes.
  4. Whisk flour (or cornstarch) and water. Add to pan. Bring to a boil and let it thicken for a few minutes. Add milk and cook a few minutes more, but do not boil.
  5. Taste and adjust seasoning if needed.
  6. Top with crust (be careful, the pan is hot) and crimp edges with fingers or a fork. Brush with egg white. Make three or four slits in the center of the crust.
  7. Place ovenproof skillet on a baking sheet and bake for 30-40 minutes, or until the crust is golden and flaky.

Wednesday

6

November 2013

4

COMMENTS

Vegetarian Enchiladas – In the Kitchen with Rachel O – Video

Written by , Posted in Baking, Beans, Cheese, Dinner, Fruit, In the Kitchen with Rachel O, Leftovers, Legumes, Main Dishes, Rice, Vegetables, Vegetarian

VegetarianEnchiladas_3

Sometimes I feel like I can’t quite get ahead. Like I’m stuck in a downward spiral. Overwhelmed by a never ending list of things to do. Sometimes. Or right now.

I understand why people resort to take out and pre-made meals. My go-to meals have been random leftovers, grilled cheese, and pancakes. I feel like I don’t have time to cook. I feel like I don’t have time for anything… except work. Isn’t it funny that my job is food, but I don’t have time for it?!

I’m realizing that part of the fault lays in my time management. I can make list after list after list, but if I spend all my time on figuring out when to do it all, I’ll never have time to get it done. So I’ve put away the day planner… for a while. I’m focusing on getting things done. I’m trying to do my best at what I love. I’m working on more than just feeding us so we have the calories we need, but instead finding a balance between working hard and having time to spend on the rest of life. I don’t know that I’m finding much success. Yet. I’m working on it.

VegetarianEnchiladas_2

VegetarianEnchiladas_4

VegetarianEnchiladas_1

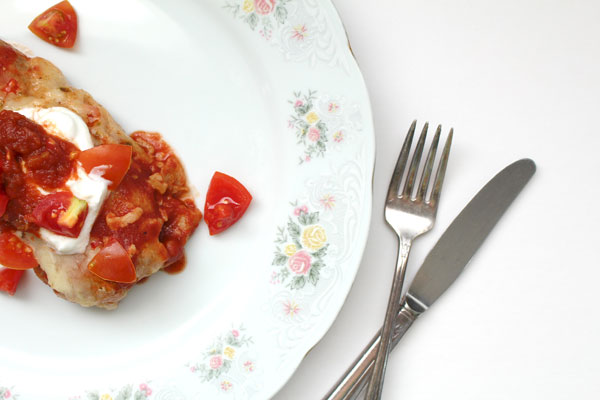
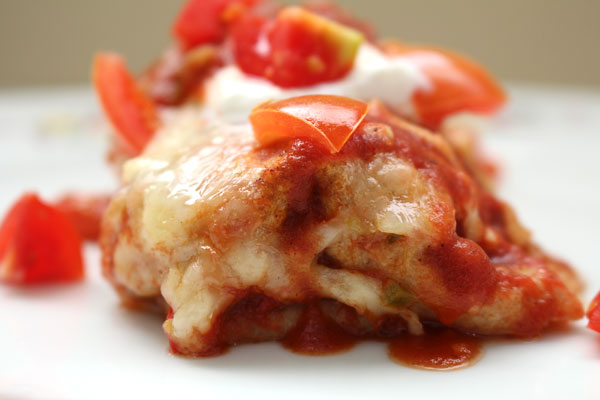
For days like these, there are meals like this one. It can be made ahead of time and frozen. It can be whipped up the night of in no time at all. It’s yummy enough to serve to guests, simple enough to eat on a weeknight. And the leftovers, if there are any, are perfect for the next day’s lunch.

VegetarianEnchiladas_5

Enchiladas to the rescue!

Vegetarian Enchiladas
Recipe Type: Main Dish, Easy, Dinner, Vegetarian, Vegetables, Legumes, Beans, Rice, Stove Top, Oven, Leftovers
Cuisine: Mexican
Author: Rachel Oberg – De Ma Cuisine
Prep time:
Cook time:
Total time:
Serves: 4-6
A veggie filled twist on enchiladas.
Ingredients
  • Filling: 1 t olive oil
  • 1 zucchini, chopped
  • 1 carrot, grated
  • 1/2 serrano pepper, ribs and seeds removed, minced
  • 1/2 t salt
  • 1/4 t pepper
  • 1/4 t cumin
  • 1/4 t ginger
  • 1 t chili powder
  • 3 cloves garlic, minced
  • 1 C black beans
  • 1 C mixture of cranberry and kidney beans
  • 1 1/2 C cooked brown rice
  • 1/2 C corn (frozen is fine)
  • Sauce: 2 C tomato sauce
  • 1 C vegetable stock (optional)
  • 1 t chili powder
  • 1/4 t cumin
  • to taste, salt
  • to taste, pepper
  • 1/2 serrano pepper, ribs and seeds removed, minced
  • For assembling: 6-8 tortillas
  • 1 to 1 1/2 C pepper jack cheese, grated
  • salsa, for serving
  • Greek yogurt, for serving
  • tomato, chopped, for serving
Instructions
  1. Pre-heat the oven to 350F.
  2. Heat a skillet and add olive oil. When oil is hot, add zucchini through chili powder (in filling section). Cook for 5 minutes, stirring occasionally, over medium-low heat.
  3. Add rice, beans, garlic, and corn. Cook for 5-10 minutes, stirring occasionally. Taste and adjust seasoning if needed.
  4. Whisk sauce ingredients together. Taste and adjust seasoning if needed. Pour about 1/2 into the bottom of a large greased ovenproof dish.
  5. Divide filling between tortillas. Tuck ends in and roll up. Place seam side down in sauce.
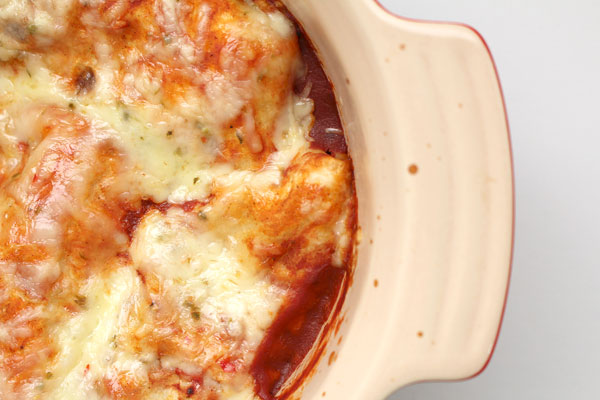
  6. Top with remaining sauce (or enough sauce to partially cover), and sprinkle with cheese.
  7. Bake uncovered for 20-30 minutes, or until cheese and sauce are bubbly.
  8. Serve topped with yogurt, salsa, and tomatoes.