De Ma Cuisine

Kid-Friendly Archive

Monday

5

January 2015

0

COMMENTS

Spaghetti Squash au Gratin

Written by , Posted in Breakfast, Brunch, Cheese, Dinner, Kid-Friendly, Lunch, Main Dishes, Meat, Pork, Potlucks, Roasting, Sauces, Sides, Vegetables

SpaghettiSquashauGratin-9

Haaaaappy New Year!

We’re right smack in the middle of winter squash season. I find that in the middle of a season, I have to get a bit more creative with how to use things. As much as I love Spaghetti Soup or Vegan Roasted Butternut Squash Soup, we don’t want to eat it every week. Someone posted on social media that they were enjoying some Spaghetti Squash au Gratin. I knew I needed to come up with a recipe for that. It sounded amazing.

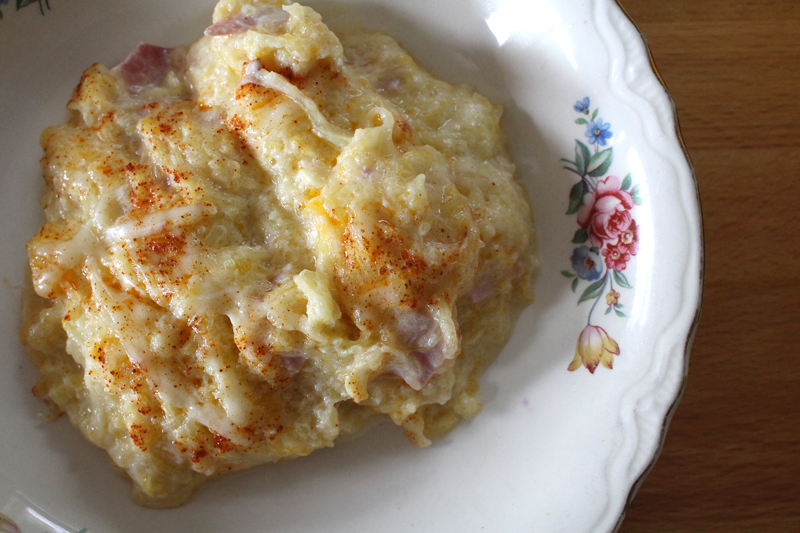
It ended up tasting a little bit like what I think it would taste like if you took grated hash browns and smothered them with cheese sauce.

SpaghettiSquashauGratin-1

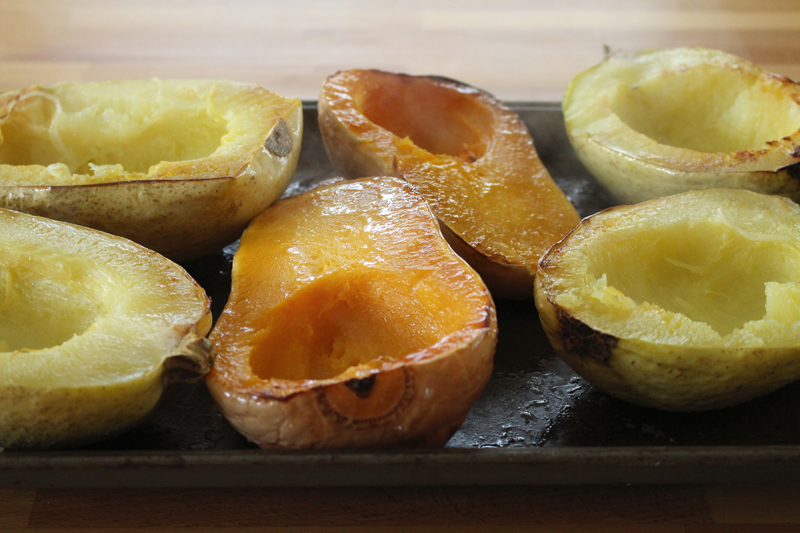
It all starts with some squash roasting in the oven for about an hour. I had three squash sitting on my kitchen island. Since I knew we’d be getting another in this week’s Abundant Harvest Organics box, I figured that I should just roast them. That way, even if I didn’t use it all in this dish, I could just freeze what was leftover. Then I remembered that some friends of ours, who just had a baby, might enjoy this too. So all the squash was perfect.

SpaghettiSquashauGratin-2

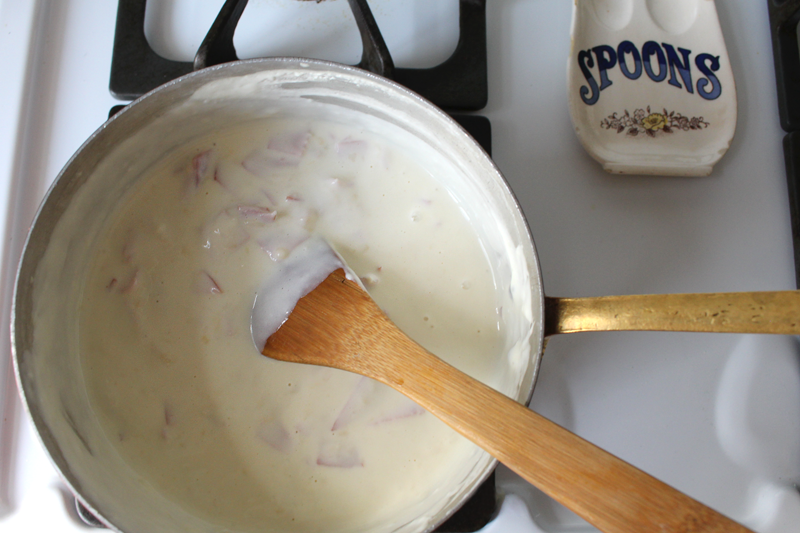
While the squash roasts, a quick roux is made up. I used butter and olive oil and then added the same amount of all purpose flour (if you’re making a gluten-free version, skip the flour, and whisk 1 T cornstarch with 1/4 C cold water, and whisk it in later on when the milk mixture is really hot).

SpaghettiSquashauGratin-3

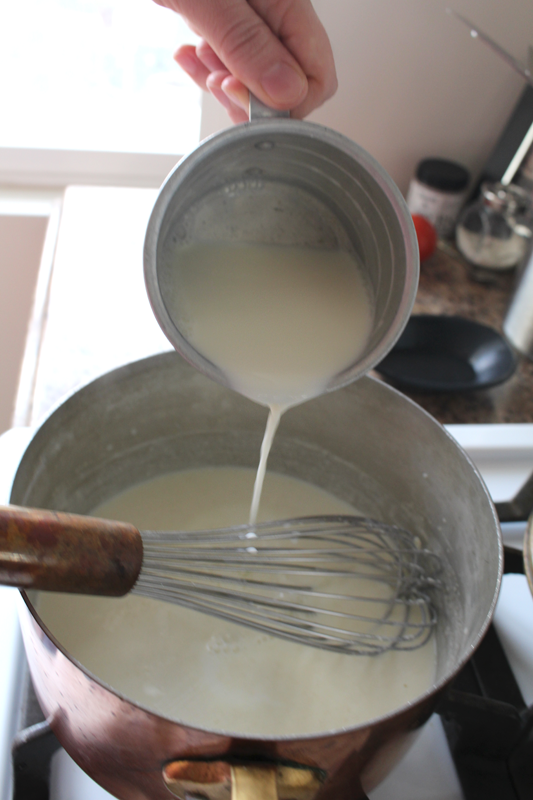
To the roux I whisked in some whole milk. A little bit at a time.

SpaghettiSquashauGratin-4

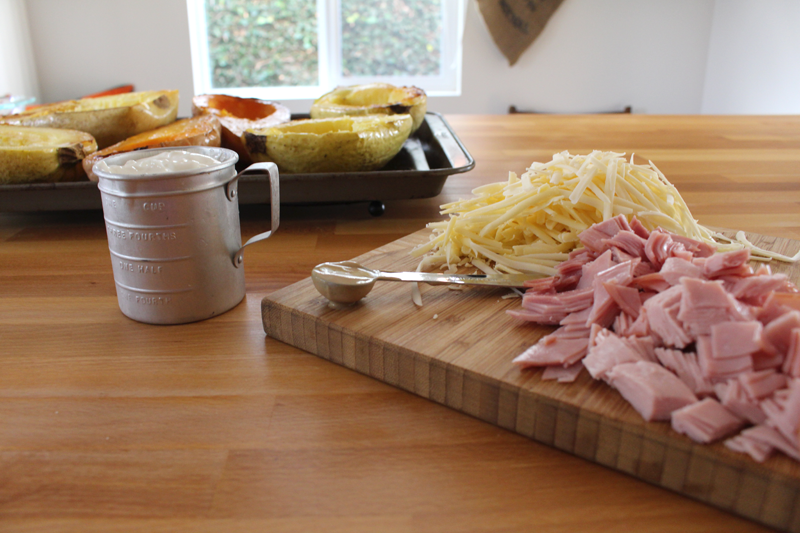
Once the milk mixture thickens, add ons go in. I chose chopped ham (but you could use chicken, beef, turkey… or omit the meat all-together), some dijon mustard, Greek yogurt, and cheese. If you had some leftover cooked veggies (like broccoli, carrots, cauliflower etc…) you could add those now too.

SpaghettiSquashauGratin-5

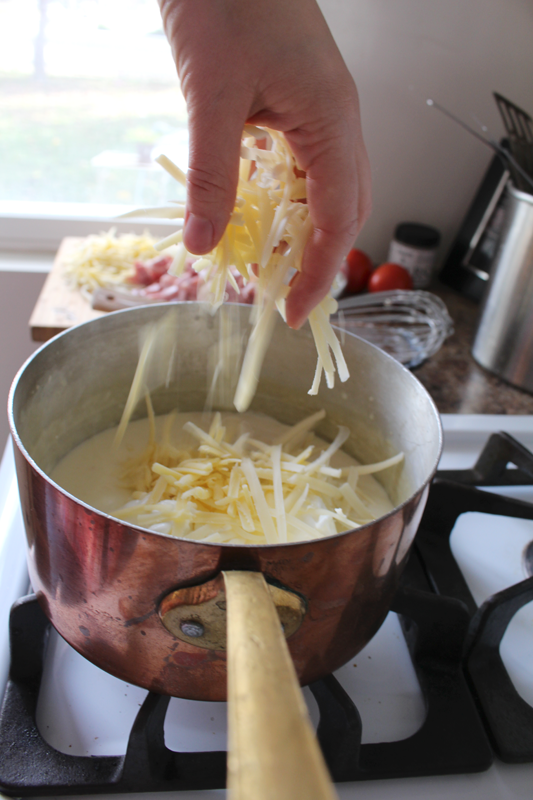
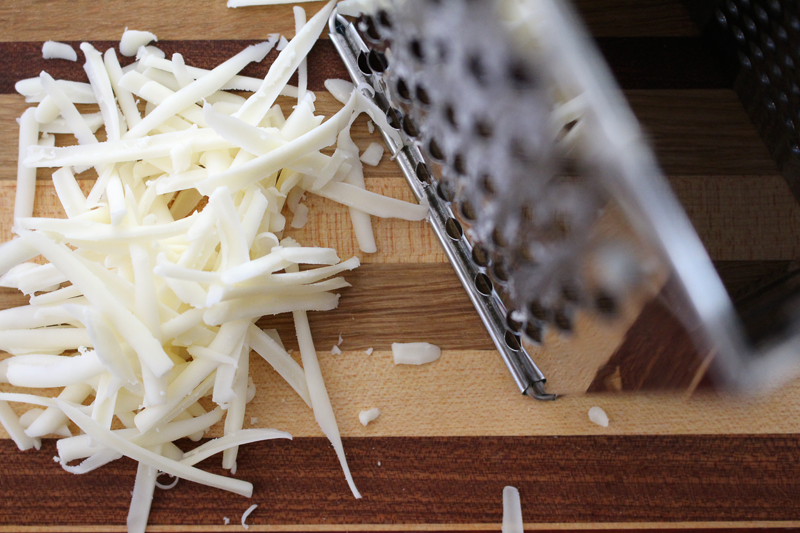
I added the cheese a little bit at a time, whisking until smooth-ish between additions. Then everything else hops in.

SpaghettiSquashauGratin-6

You know, if you wanted to double the recipe, you could use half for mac and cheese, pour some over roasted broccoli or cauliflower, or dip some crusty bread in it (it’s practically fondue).

SpaghettiSquashauGratin-7

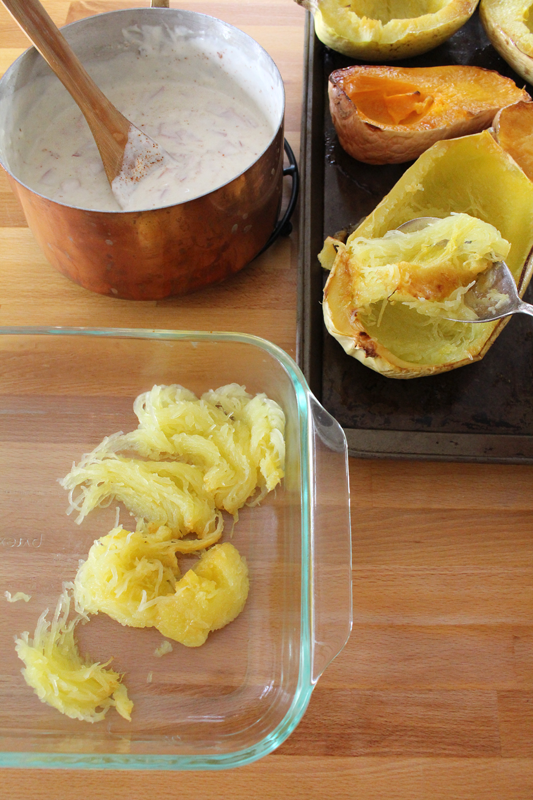
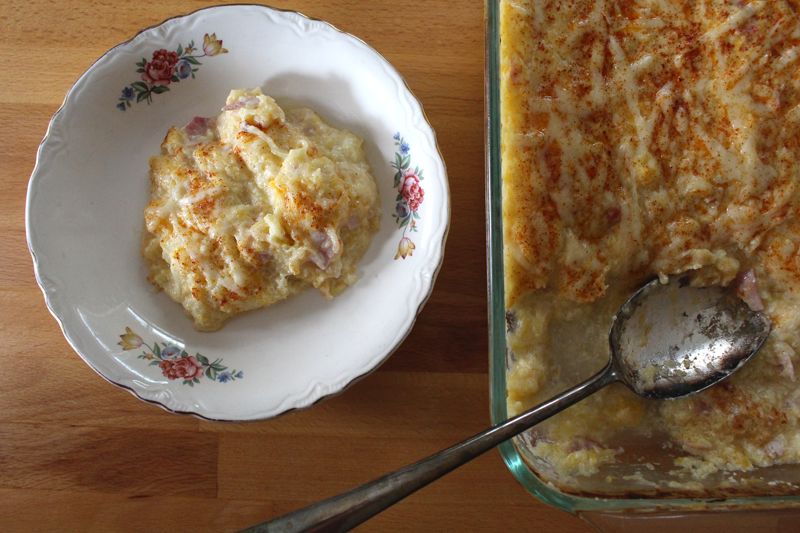
The squash is scraped out of it’s skin and placed in an oven-proof baking dish. The ham and cheese sauce is stirred in.

SpaghettiSquashauGratin-8

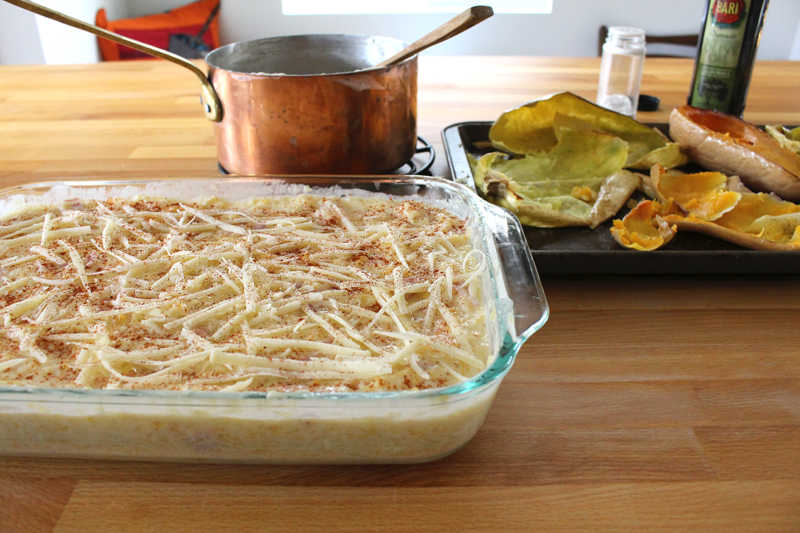
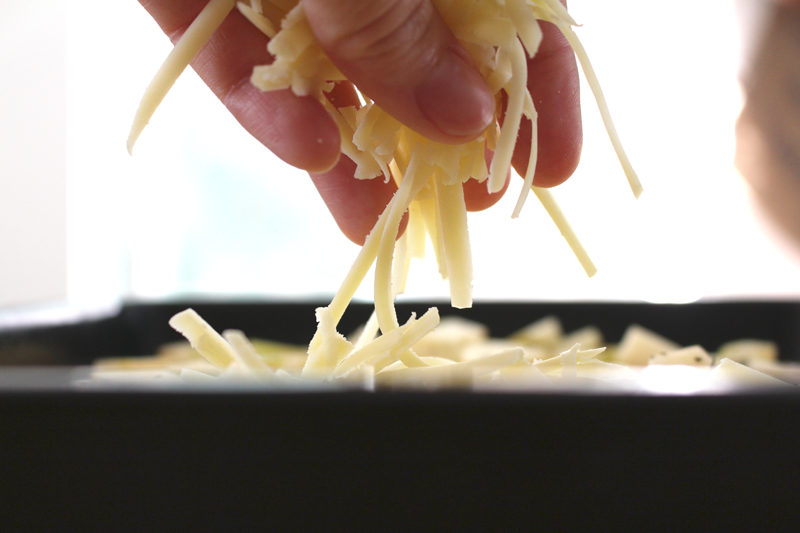
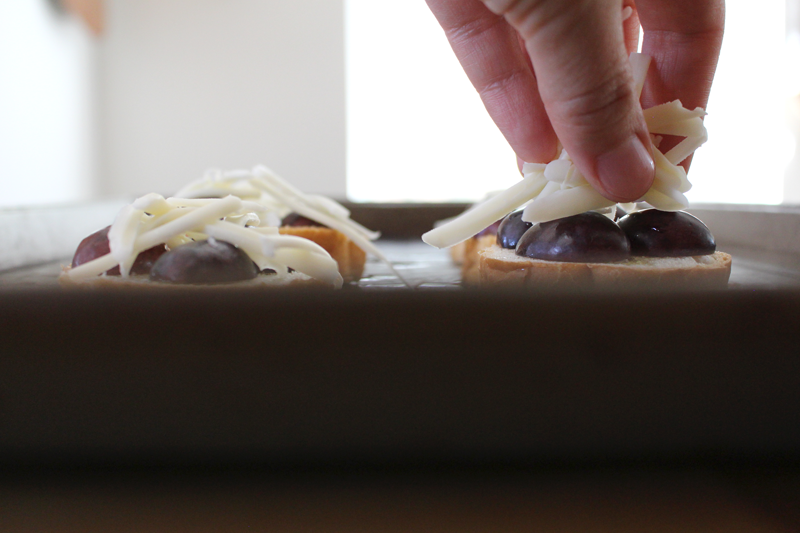
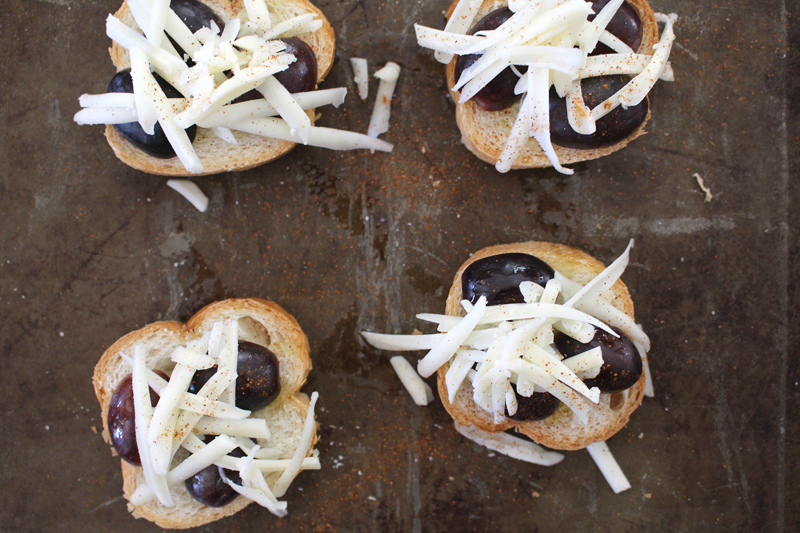
Then it’s all topped with a bit more cheeeeeeese!

SpaghettiSquashauGratin-10

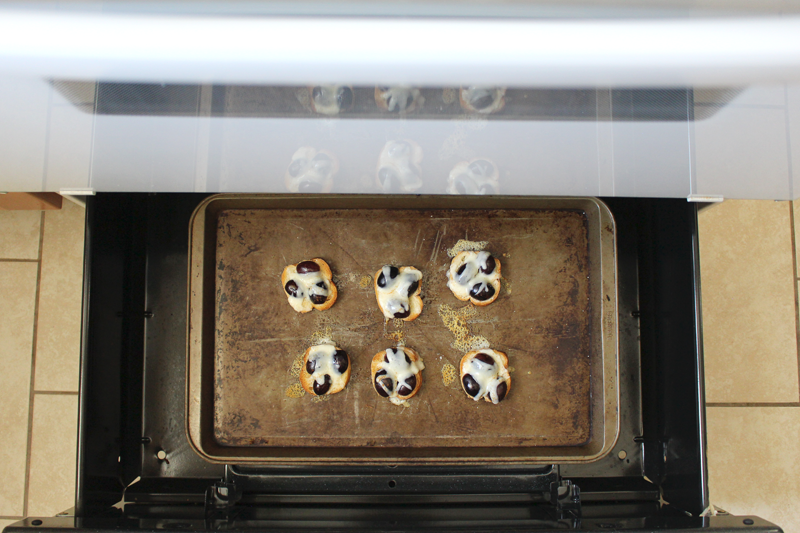
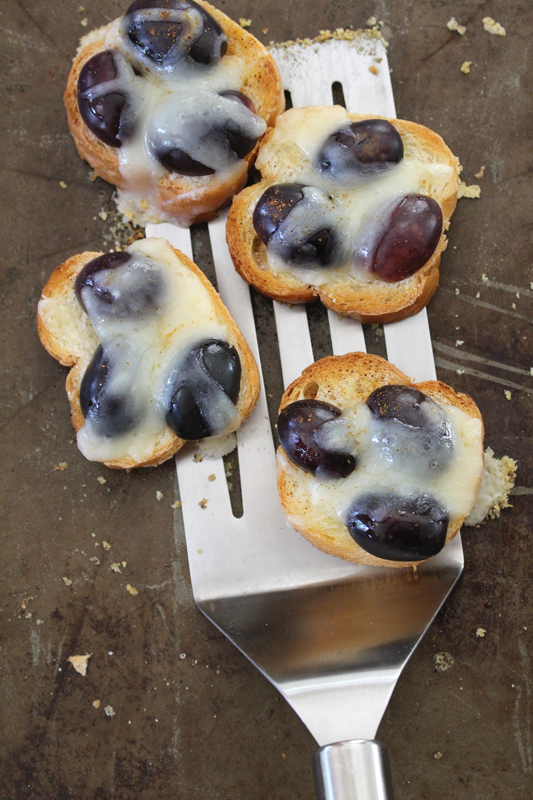
It will bake for a little while (which is really optional – you could just top your squash and go!), then stand for a few minutes, if you can handle waiting to dig in!

Happy Eating!

Spaghetti Squash au Gratin

Prep Time: 10 minutes

Cook Time: 1 hour, 45 minutes

Total Time: 1 hour, 55 minutes

Yield: Serves 6-8 as a side, 4-5 as a main dish.

Spaghetti Squash au Gratin

Ingredients

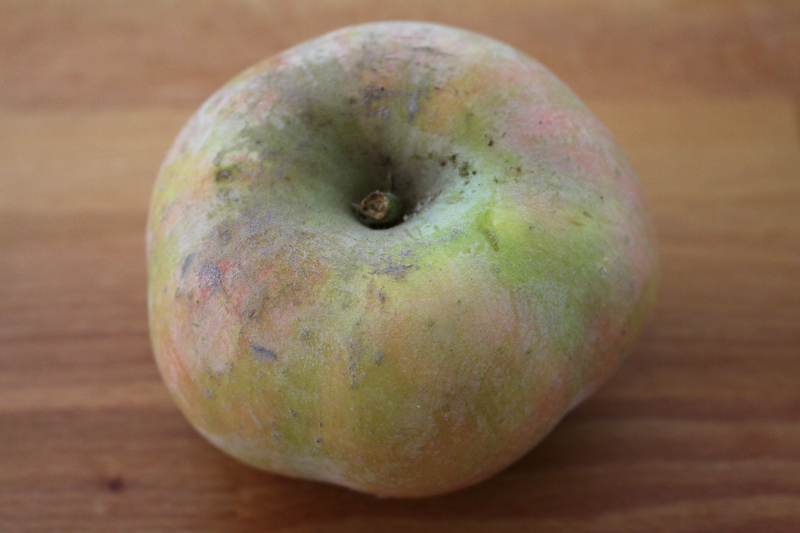
  • 2 medium-sized spaghetti squash, halved and seeds removed
  • 1 medium-sized butternut squash, halved and seeds removed
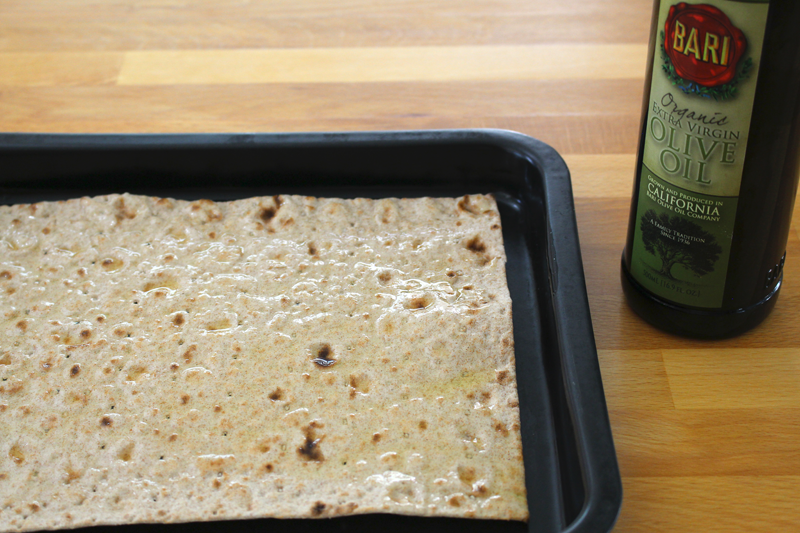
  • 1 t olive oil
  • 1 T olive oil
  • 1 T unsalted butter
  • 2 T all purpose flour
  • 2 C whole milk
  • 1 t dijon mustard
  • 1 C greek yogurt
  • to taste salt
  • 6 oz. chopped ham (or chicken, beef, or turkey… or omit the meat all-together)
  • 2 C cheese (combo of any of these: cheddar, gruyere, monterey jack, or mozzarella), grated, 1/2 C reserved
  • pinch cayenne
  • 1 t paprika

Instructions

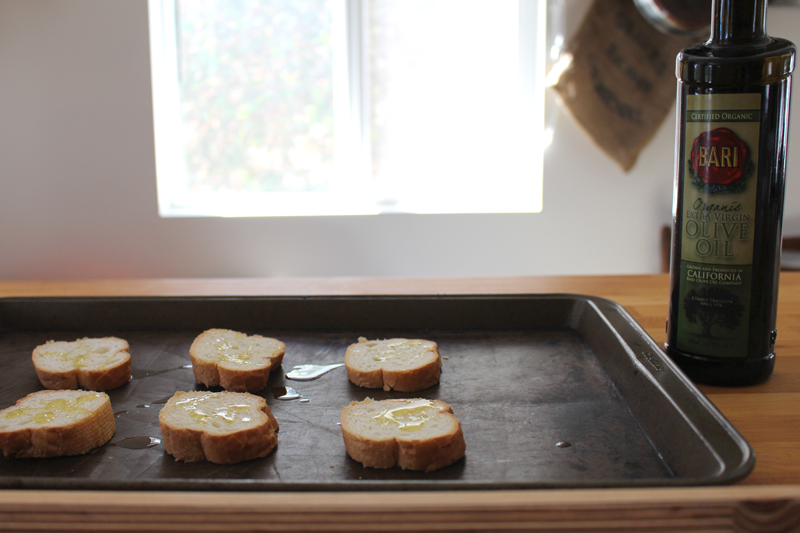
  1. Pre-heat the oven to 350F. Drizzle squash with 1 t olive oil and place cut side down on a baking sheet. Roast for about 1 hour, or until flesh is tender.
  2. Heat a pan and add 1 T olive oil and butter. When it's hot, whisk in the flour. Cook for about 30 seconds. Whisk in milk, a little bit at a time, whisking until mostly smooth between additions. Bring to a simmer (but do not boil). Reduce heat to low and cook until thickened, about 10 minutes, stirring occasionally.
  3. Remove from heat, stir in dijon, yogurt, and salt. Back on low heat, slowly add cheese, a bit at at time, whisking between additions until fairly smooth. Stir in ham. Continue to stir over low heat for about 2 minutes. Stir in cayenne and 3/4 t paprika. Taste and adjust seasoning if desired.
  4. Scrape squash from skin. Mash together in a greased 9x13 oven-proof baking dish. Stir in sauce. Taste and adjust seasoning if needed. Sprinkle with reserved cheese and 1/4 t paprika.
  5. Place baking dish on a baking sheet (in case it bubbles over). Bake on a rack in the upper portion of the oven for 15 minutes. Increase heat to 375F and bake for 15 minutes more. Let stand for 10 minutes before serving.
http://www.de-ma-cuisine.com/spaghetti-squash-au-gratin/

Monday

10

November 2014

0

COMMENTS

Apple Rosemary Flatbread

Written by , Posted in Appetizers, Baking, Bread, Breakfast, Cheese, Fruit, Herbs, Kid-Friendly, Lunch, Pizza, Quick and Easy, Sides, Snacks, Vegetarian

AppleRosemaryFlatbread-1

I love when it’s apple season. I think I say that every season about something. I love the changing of the seasons and the promise of something new that comes with it.

I especially love fall.

There are things to love and things to be ready to be done with no matter what season we’re in. But, after a long summer, today’s cool breeze and cloudy sky is a literal breath of fresh air. Combine that with an apple or pear, eaten out of hand, while at my desk editing photos, and that makes for quite a nice fall day.

AppleRosemaryFlatbread-6

The day I made this flatbread it was still hot and sunny. Today I want to eat all the soup.

This flatbread would go nicely with soup. Apples pair nicely with winter squash, so this might be delicious alongside a Vegan Roasted Butternut Squash Soup, a Browned Butter and Four Cheese Broccoli Soup, or a Leek and Potato Soup. I always want bread with my soup. Often it’s some sliced homemade baguettes with salted butter. But, sometimes I want bread with a little bit more. This flatbread meets that requirement.

AppleRosemaryFlatbread-2

Apples are usually just eaten raw at our house. We love them as a snack. They’re full of fiber and are a great way to tide me over when I’m already starving and it’s not nearly time for the next meal.

In this case though, they’re thinly sliced and then chopped.

AppleRosemaryFlatbread-3

They’re going to top this lavash (you could also use whole wheat or regular tortillas, or a par-baked pizza crust). But first, some olive oil.

AppleRosemaryFlatbread-4

Then a good handful of cheddar. Cheddar is probably my favorite cheese to pair with apples. And to eat with some crackers after a good workout… or any time of the day or night.

AppleRosemaryFlatbread-5

The cheese is topped with rosemary, salt, and pepper, then baked for a little bit, just to get things started.

AppleRosemaryFlatbread-7

Raisins are added about two minutes before the end of the baking time. They get just a bit soft and warm.

AppleRosemaryFlatbread-8

And that’s it. Easy, peasy, apple peel… I dunno.

Happy Eating!

Apple Rosemary Flatbread
Recipe Type: Appetizer, Side, Bread, Snack
Author: Rachel Oberg – De Ma Cuisine
Prep time: 5 mins
Cook time: 7 mins
Total time: 12 mins
Serves: 2-4
Ingredients
  • 1 flatbread or large whole wheat tortilla (I used lavash, you could also use a par-baked pizza crust)
  • 1 t olive oil
  • to taste salt
  • 1 small apple, thinly sliced and chopped
  • to taste pepper
  • 1/4 to 1/2 t dried (or 1 t fresh) rosemary, chopped
  • 1/4 C cheddar cheese, grated
  • 1-2 T raisins
Instructions
  1. Pre-heat oven to 350F.
  2. Top lavash with olive oil and brush over surface. Sprinkle with salt. Top with apple, rosemary, pepper, and cheese. Bake for about 5 minutes, or until the cheese has mostly melted.
  3. Remove from the oven and sprinkle with raisins. Return to the oven and bake for 2 minutes more.
3.2.2802

Sunday

19

October 2014

0

COMMENTS

Vegetarian Soft Tacos

Written by , Posted in Beans, Cheese, Dinner, Fruit, Kid-Friendly, Legumes, Lunch, Main Dishes, Quick and Easy, Vegetables, Vegetarian

VegetarianSoftTacos-7

Even though I’m tired of the heat we’re still experiencing, I’m hanging on as long as I can to the summer veggies. Specifically summer squash.

I’m fine that the apples are here. I’m glad that we’ve got grapes. But, I don’t want the cute little squash to go bye bye.

VegetarianSoftTacos-1

So I’m using them as often as I can. Savoring each squashy bite.

VegetarianSoftTacos-2

I feel like squash kinda goes with everything. I like to add it to eggs, wrap it with pie crust, and slice it thin for pizza.

Oh my squash it’s good.

See what I did there?

Sorrynotsorry.

VegetarianSoftTacos-3

Squash, shallots, radishes, and a chile pepper are added to some hot oil.

This isn’t going to take long.

VegetarianSoftTacos-4

Next come the beans and seasonings.

I love beans in tacos and enchiladas. Meat is great too, but we eat a lot of vegetarian meals, just because we do, so often things like beans, quinoa, and eggs are our forms of protein. That being said, this would taste great with some ground beef. The main reason I didn’t use any: I didn’t have any.

I used pinto beans. They’re my favorite for tacos and enchiladas. But, kidney, black, or garbonzos would also work. They will change the taste of the dish a bit, but no big deal.

VegetarianSoftTacos-5

Almost before the lettuce is washed, tomatoes are chopped, and cheese is grated, the bean and veggie mixture is done. This is a seriously quick meal.

VegetarianSoftTacos-6

Everything gets piled onto half of the tortilla (whole grain for me, white for Tim), then the unadorned half gets folded over.

You could totally fry up some tortillas and make hard shell tacos. Corn tortillas work great for this. But, for a super quick meal, I like ’em soft.

VegetarianSoftTacos-8

I usually bring the salsa and yogurt with me so I can add more while I eat. I like my tacos messy.

Happy Eating!

Vegetarian Soft Tacos

Prep Time: 5 minutes

Cook Time: 9 minutes

Total Time: 14 minutes

Vegetarian Soft Tacos

Ingredients

  • 1 T olive oil
  • 1 radish (or carrot, or both), grated
  • 1 small summer squash, grated (or bell pepper, chopped, or both)
  • 1 hot chile pepper, ribs and seeds removed (unless you'd like more spice), diced
  • 1 shallot, chopped
  • 1 clove garlic, diced
  • 1/4 C corn
  • 1 t chili powder
  • 1 t paprika
  • to taste salt
  • to taste pepper
  • 1 to 1 1/2 C pinto beans
  • 2 tortillas
  • cheese, grated
  • lettuce, shredded
  • tomato, chopped
  • Greek yogurt
  • salsa

Instructions

  1. Heat a skillet and add oil. When oil is hot, add radish through shallot. Cook over medium-low heat for about 3-5 minutes, stirring occasionally.
  2. Add garlic through beans. Cook for about 3-4 minutes, stirring occasionally. Taste and adjust seasoning if needed.
  3. Divide the bean mixture between the tortillas and place on half of each one. Top it with cheese through salsa. Fold the un-topped half of the tortilla over the toppings.
http://www.de-ma-cuisine.com/vegetarian-soft-tacos/

Monday

6

October 2014

0

COMMENTS

Grape Toasts

Written by , Posted in Appetizers, Baking, Bread, Cheese, Fruit, Kid-Friendly, Lunch, Quick and Easy, Sandwiches, Sides, Snacks, Toasting, Vegetables, Vegetarian

GrapeToasts-4
One of my all time favorite snacks is crackers and cheese with grapes. When I used to teach aerobics many years ago, I’d come home starving, and would eat like it had been a really long time since I’d last eaten (when in fact it had probably just been a few hours).

Back then, I wasn’t eating seasonally. I didn’t realize that grapes were a late summer/early fall fruit. I didn’t know, guys. I mean, the grocery stores have almost everything available year round. I didn’t really question where things were coming from or if it was beneficial to be eating things that were coming from so far away. I didn’t realize that they were often so flavorless because they were picked green and transported to us, so we could have oranges in June and peaches in December.

That’s just the way it was.

No longer.

At least, not for us, if we can help it.

I love that we’re eating with the seasons. Some say it’s better for your health, some say it doesn’t matter. Whatever. I’m not going to argue with them. Potential health benefits aside, I love that by buying things that are in season, we’re supporting our local/California farmers. We’re also doing the environment a favor by not buying foods that are shipped from ridiculously far away, whenever possible. We’re just two of us here in our little home, but we’re trying to do our part.

This means we wait all year for things like grapes.

It’s worth it.

GrapeToasts-11

These sweet fall treats are sliced in half, seeds removed.

GrapeToasts-10

A baguette is sliced about 1/2″ thick.

I would always prefer homemade. But, I don’t have any right now. They’re a bit of a process, so I don’t make them as often as I wish I would. Every time I do I decide that I’m never going to buy a baguette again (unless we’re back in Paris, obviously). Then we run out and the cycle starts over.

I digress.

GrapeToasts-8

Bari’s olive oil is second to none. This goodness gets drizzled on the baguette.

GrapeToasts-9

So many good things come from a sentence that begins with, “cheese is grated”. Cheddar or monterey jack would be great. Gruyère would be awesome. Havarti would be divine. Use whatever cheese is your favorite, even if it’s not one of my suggestions.

GrapeToasts-7

GrapeToasts-6

A generous plomp of the cheese is placed on the grapes. And then it’s sprinkled with a bit of cayenne.

GrapeToasts-5

I’ve used the broiler at our new house now twice. I’m a little bit scared of it. No one knows why. I think it’s that it gets so very hot and can burn things when they’re forgotten about for just a minute. Thankfully, the stove has one of those broiler drawers that pulls out, so I don’t have to lay on the floor to check on the foods. Makes it much less scary.

GrapeToasts-1

I love the little crispy cheese crumbles that get stuck to the pan. I don’t usually share those.

GrapeToasts-3

Last step is to drizzle each toast with a bit of honey.

GrapeToasts-2

A little sweet, savory, kick of spicy treat. Perfect for right now.

Happy Eating!

Grape Toasts
Recipe Type: Appetizer, Snack, Fruit, Cheese
Author: Rachel Oberg – De Ma Cuisine
Prep time: 5 mins
Cook time: 3 mins
Total time: 8 mins
Serves: 2
Ingredients
  • 6 slices baguette, about 1/2″ thick
  • 1 t olive oil
  • 9-12 grapes, halved lengthwise and seeded
  • to taste salt
  • 1/4 C cheddar or monterey jack cheese
  • pinch cayenne
  • 1 t honey
Instructions
  1. Drizzle bread with oil. Top with grapes, a sprinkle of salt, cheese, and a sprinkle of cayenne.
  2. Broil for about 2-3 minutes, or until cheese is melted.
  3. Serve drizzled with honey.
3.2.1311

Thursday

18

September 2014

0

COMMENTS

How to Make Tomato Sauce

Written by , Posted in Dairy-Free, Dinner, Fruit, Gluten Free, Herbs, How To, Kid-Friendly, Sauces, Storage/Prep, Vegan, Vegetables, Vegetarian

Tomato-Sauce-7

Tomatoes are one of the best things about summer.

Actually, all the fruits and veggies that we’ve been getting are the best.

They’re all favorites.

I want them to last all year long. I know that in a month or two, when it finally starts to cool down, I will be thankful for the heartier root veggies, apples, and pears that will be coming. But, for now, let’s keep talking about summer. ‘Cause I’m not quite ready to be done with it yet.

Tomato-Sauce-1

One of the ways to prolong summer is by preserving its fruits and veggies. So, like I’ve done a few times before, let’s talk about saving summer. In the form of a special tomato sauce.

It starts with a bunch of Roma tomatoes. They’re my favorite for sauce. They have less seeds and goopy bits, and I find them a little less watery… Hooooowever, use what you have! Use what you have! Use what you have!!!

I quartered mine, sliced off the hard bit at the end, and then roughly chopped them. They’re going to be blended later, so precision isn’t necessary. You may have noticed that I didn’t peel them. Later you will notice that I don’t strain them. You can if you want, but a little tomato peel and seeds don’t bother me.

Tomato-Sauce-2

They cook up for a few minutes, then are mashed up with a potato masher. This just speeds things along a bit, breaking down-wise.

Tomato-Sauce-3

If you want to have just a plan tomato sauce, blend it up here and cook for an hour and a half or two.

I know how I like my tomato sauce, so I thought I’d get ahead of the game a little, and add some onions, garlic, herbs, and a few other things to the mix before blending.

It’s up to you.

Choose your own adventure.

My adventure has a whole head of garlic in it. Just the way I like it.

Oh mah goodness the smell in our kitchen was just fantastic. A whole head of garlic is just like heaven to me.

Tomato-Sauce-4

I have basil, parsley, and oregano growing in my garden right now. I added those summer favorites, along with some dried thyme and rosemary. Plus a glug of balsamic vinegar and a drizzle of honey.

Tomato-Sauce-5

Then I cooked it all up until the water had mostly evaporated and the sauce was thick.

Tomato-Sauce-6

Quick blend with the hand blender (or the regular blender).

Taste. Add more salt if you want, but remember that you will probably be using this along with other things, so under-salting is ok here.

And only here.

Tomato-Sauce-8

I had some jars sterilized and ready. I will store these in the freezer, since I don’t want to process them in a water bath for 35 minutes. Is it just me, or does anyone else get nervous about the jars breaking and losing their precious sauce? I don’t have a canning set, and I’m definitely not risking jars in a large pot of boiling water bumping in to each other.

Tomato-Sauce-9

The next thing to do is to figure out how to use this amazing sauce. 

Easy.

You can pair it with things like pasta, meats, and breads. It will go great with veggies too.

Specifically, you could make Eggplant or Squash Parmesan, Spaghetti and Meatballs, Deconstructed Lasagne, Meat and Cheese Lasagna, and Summer Pizza.

And oh my gosh you totally should use it to make Meatball Subs. Like right now. I’m serious.

Or, if you just can’t wait, grab some crusty bread and dip it in to the sauce. Good idea right?!

Happy Eating!

Tomato Sauce
Recipe Type: Condiment, Fruit, Vegetable, Vegan, Vegetarian, Gluten-Free, Dairy-Free
Cuisine: Italian
Author: Rachel Oberg – De Ma Cuisine
Prep time: 20 mins
Cook time: 140 mins
Total time: 2 hours 40 mins
Ingredients
  • 5 pounds Roma tomatoes, roughly chopped
  • 1 t salt
  • Extras: 2 T olive oil
  • 2 onions, roughly chopped
  • 1 head (about 12 cloves) garlic, roughly chopped
  • pinch pepper
  • 1/4 fresh basil, roughly chopped
  • 2 T fresh parsley, roughly chopped
  • 2 T fresh oregano, roughly chopped
  • 1 t dried rosemary, crushed
  • 1 t dried thyme
  • 2 T balsamic vinegar
  • 1 T honey
Instructions
  1. Combine tomatoes and salt in a large pot. Cook over medium heat, stirring occasionally, for about 10 minutes. Mash with a potato masher and cook for 10 minutes more.
  2. (If you don’t want to add anything else, skip to step 5.)
  3. Add olive oil to a hot pan. Add onions (bell pepper, zucchini) and cook over medium heat with a pinch of salt for about 10 minutes, stirring occasionally. Add garlic and cook, stirring constantly, for 3 minutes more.
  4. Add onion mixture, herbs, vinegar, and honey to the tomatoes. Use a spatula to get all the garlic infused oil from the pan. Stir once to combine.
  5. Blend with a hand blender, or in batches in a regular blender – removing the plug from the lid and covering with a clean towel.
  6. Bring back to a boil, then reduce to a simmer and cook for 1.5 – 2 hours, or until sauce has thickened, stirring occasionally.
  7. Sterilize your canning jars, bands, and lids in a pot of boiling water for at least 10 minutes at a rolling boil (or in the dishwasher).
  8. Pour sauce in to jars, leaving an inch or so (or a bit less) at the top for expansion.
  9. Store in the freezer once they have cooled completely.*
3.2.1311

(Yields about 2.5 pints or 5 C sauce.)

*To process jars in a water bath Ball suggests that you add 1 T lemon juice to each jar before filling and process in a water bath for 35 minutes. Do this if you want to store at room temperature – only store at room temperature if they have sealed properly).