De Ma Cuisine

gluten-free Archive

Friday

26

February 2016

0

COMMENTS

Baked Onion Rings with Herb Dip

Written by , Posted in Baking, Condiments, Dairy-Free, Eggs, Gluten Free, Herbs, Quick and Easy, Roasting, Sides, Snacks, Vegan, Vegetables, Vegetarian

OnionRings-3

I’m not a sweets person. I don’t often crave chocolate, I can go without candy, and if given the option, I’d take potato chips over a donut. I do really love ice cream, but I think that’s because Tim is so good at making it. But, even then, I might take onion rings over ice cream. Because I really really love crunchy deep fried foods. French fries, tempura, onion rings… They’re so tasty.

We don’t need to talk about the dangers of fried foods. I’m well aware. You’re well aware. We’ve got that covered. It’s a treat, not an everyday thing.

OnionRings-1

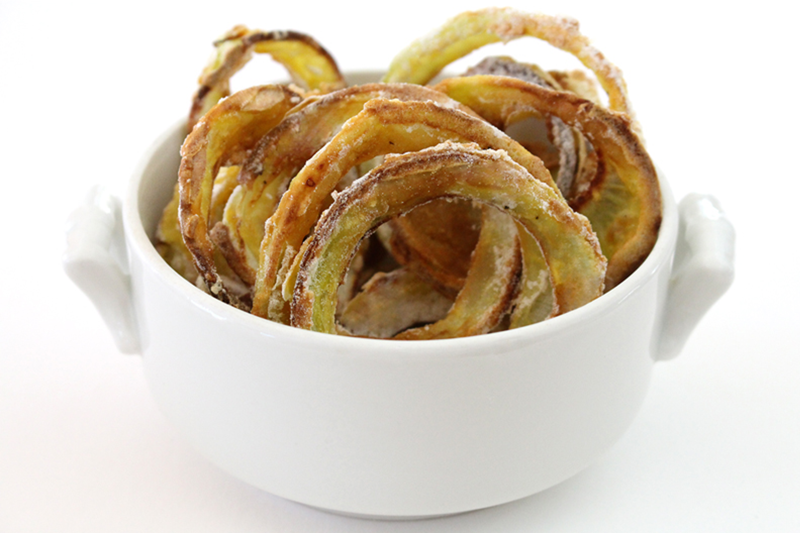
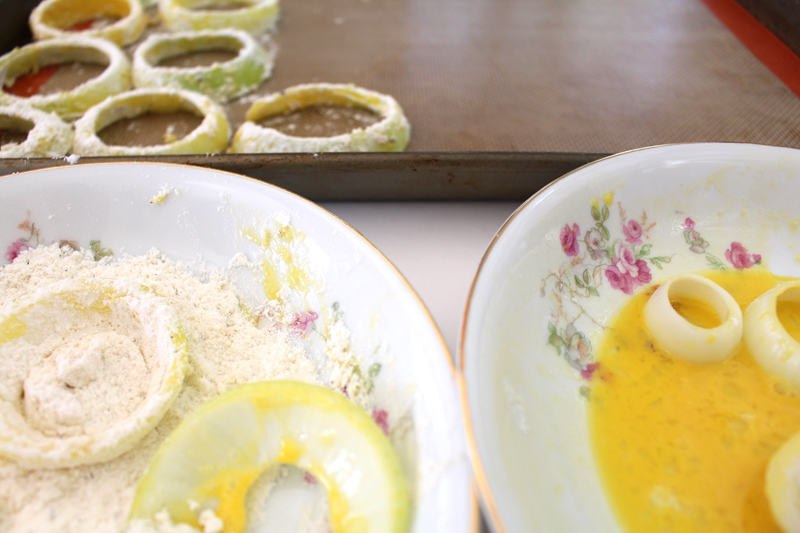
When it comes to guilty pleasures, these onion rings seem like they’d fit in. But, they’re actually pretty innocent. They’re dipped in eggs (you could use coconut or almond milk if you want to keep them vegan), then coated in flour. I double dipped some (you know, egg, flour, egg, flour). I’m not sure which turned out better. They all tasted great.

All.

I ate them all.

OnionRings-2

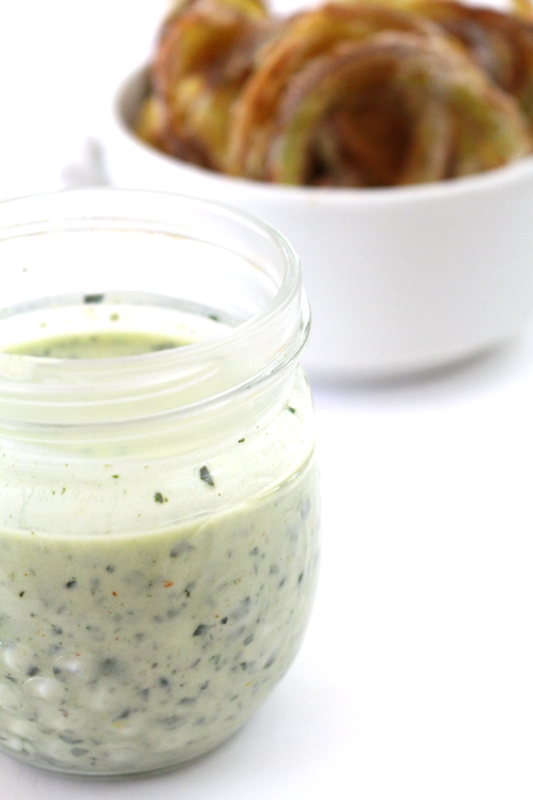
The first secret to this delicious treat is baking them at a high temperature for a short amount of time. We’re talking 425°F for 18-20 minutes total. The second secret is the dip. It’s made up of things like yogurt or silken tofu or mayo or avocado (or ALL!) blended up with some blanched greens, herbs, garlic, and olive oil. I fully submerged each onion ring in the dip before devouring.

If you wanted to make a huge platter and call this dinner, you might also do some green beans, par-cooked potatoes or root veggies (and in a few months summer squash), and add the beans to the dip. Serve it with a big salad and some other fun finger foods (like nachos with refried bean dip) and you’ve got a winner. In fact you’ll most likely find us eating this for dinner sometime this weekend.

Happy Eating!


Baked Onion Rings with Herb Dip

Prep Time: 15 minutes

Cook Time: 25 minutes

Total Time: 40 minutes

Yield: 2-4

Baked Onion Rings with Herb Dip

Ingredients

  • 2 C any of your favorite greens
  • 2.5 C any combo of: yogurt/crème fraîche/mayo/sour cream/avocado
  • 1 T dijon
  • 1 T olive oil
  • 1 t lemon zest, chopped
  • 1 t lemon juice
  • to taste salt
  • to taste pepper
  • 1-2 cloves garlic, minced
  • pinch cayenne (optional)
  • handful chopped herbs like: parsley, basil, thyme, rosemary, oregano
  • 1-2 onions, sliced
  • 2 (or more) eggs, whisked (or coconut, almond, or cow's milk)
  • 2 C flour (AP or GF)
  • to taste salt*
  • to taste pepper

Instructions

  1. Pre-heat the oven to 425°F.
  2. Blanch greens in boiling water for 1 minute. Transfer to an ice bath to cool. (Or, use leftover sautéed greens.)
  3. Whisk yogurt through cayenne. Add herbs and blanched or leftover greens. Blend. Taste for seasoning. Refrigerate until ready to serve.
  4. Mix flour with salt and pepper. Taste (for real). Separate onion into rings. Dip veggies in egg/milk then flour. Repeat if desired. Tap off excess flour. Place on a parchment or Silpat lined baking sheet. Do not let the veggies touch. Bake for about 10 minutes, flip, bake about 8-10 minutes more (or until crispy and browned).
  5. Serve with dip.
http://www.de-ma-cuisine.com/baked-onion-rings-with-herb-dip/

Wednesday

17

February 2016

0

COMMENTS

Creamy Dreamy Scrambled Eggs

Written by , Posted in Breakfast, Brunch, Dairy-Free, Eggs, Gluten Free, Kid-Friendly, Low Carb, Lunch, Main Dishes, Quick and Easy, Sides, Vegetarian

ScrambledEggs-3

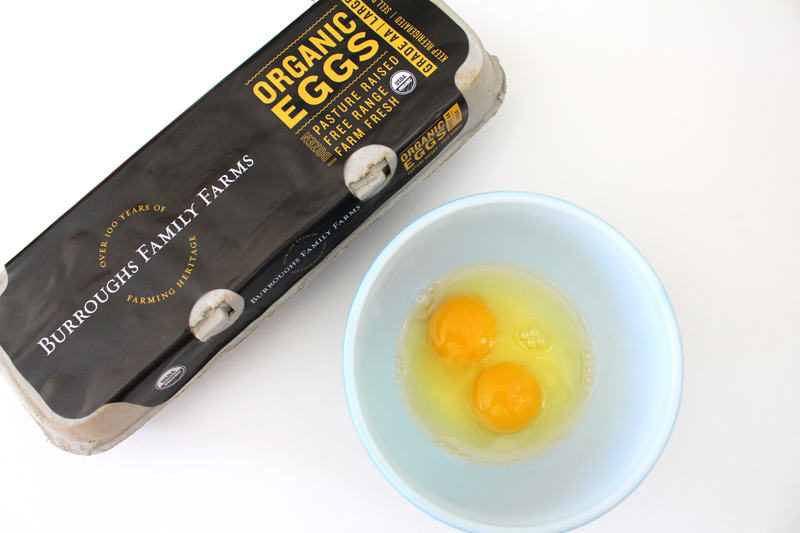
Eggs are a staple in our home. We can easily go through a dozen eggs in a week, just at mealtimes. My favorite way to enjoy them is fried in olive oil. They’re amazing atop an Egg and Cheese Sandwich, with an over-medium yolk dripping onto some lentils, or just on their own with a side of toasted and buttered homemade sourdough.

But sometimes, I just want them scrambled.

ScrambledEggs-1

I learned a while ago that the best way to cook perfect scrambled eggs is over low heat. Low and slow. That being said, it’s still a quick and easy meal that always satisfies.

These aren’t the scrambled eggs that you’ll see at a buffet. Cold, coagulated, overcooked, tough, and tinged with grey.

No.

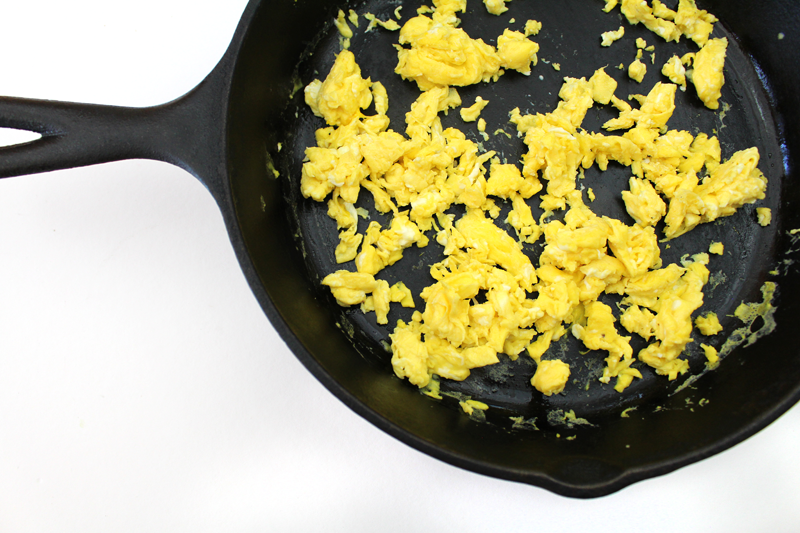
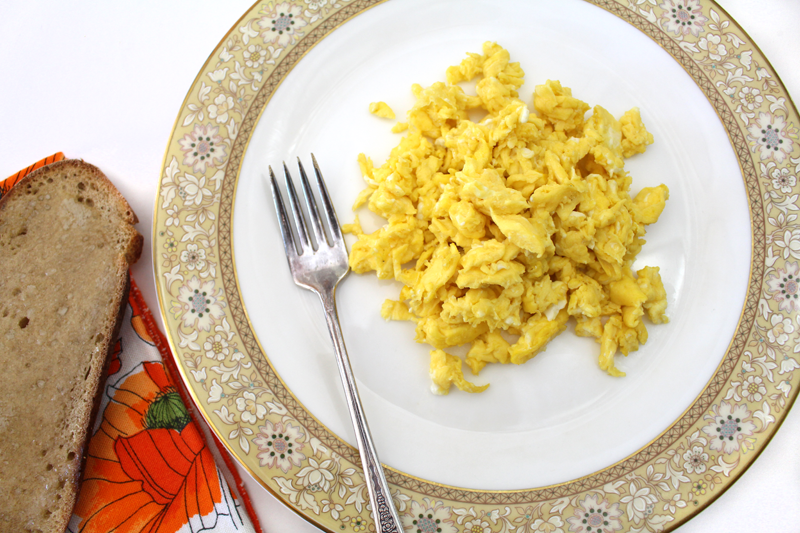
I’m talking about velvety, creamy, warm deliciousness. I like to cook the eggs until they’re just barely set. You can cook them longer if you want. (Obviously.) Since I use a cast iron pan for my eggs the residual heat will keep cooking them for a while after I turn the burner off. I don’t want overcooked tough eggs, so this is key. I’m going for just a step beyond custard on a fork.

ScrambledEggs-2

It’s simple. A good skillet, a glug of oil, and low heat. I like to whisk the eggs up with a splash of water. Some prefer milk or cream. That’s cool too. Mom used water, so that’s what I do. After that all it takes is a little bit of standing by the stove, daydreaming, sliding the spatula across the pan from time to time.

ScrambledEggs-5

Toast some good bread that you can slather with butter and jam, and figure out if it’s a just eggs day, or if you want something else. Grated cheese melting overtop is always a good idea, a side of crispy bacon always wins, fresh herbs are divine. Usually though, all I need is a little bit of salt.

Happy Eating!

Creamy Scrambled Eggs

Creamy Scrambled Eggs

Ingredients

  • 4 eggs
  • splash water
  • 1 t olive oil
  • to taste salt

Instructions

  1. Whisk the eggs and water together.
  2. Heat a skillet over low. Add olive oil. Pour in the eggs. Gently stir eggs with a metal spatula as they begin to set, pushing out from the middle, pulling in from the outside. Cook low and slow, stirring often. When they're almost set remove from heat and let them stand in the skillet for 1 minute. Season with salt.
http://www.de-ma-cuisine.com/creamy-dreamy-scrambled-eggs/

Friday

12

February 2016

1

COMMENTS

Chunky Vegetable Soup

Written by , Posted in Beans, Dairy-Free, Dinner, Fruit, Gluten Free, Herbs, Lunch, Main Dishes, Potatoes, Soups, Vegan, Vegetables, Vegetarian

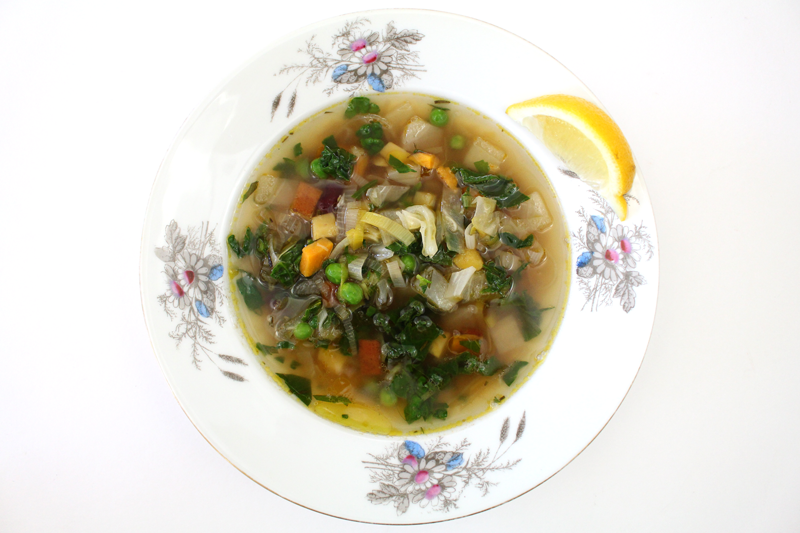
ChunkySoup-2

When in doubt, soup! I almost always want to eat soup. In hot weather and cold weather, on weeknights or at dinner parties… give me soup and I’ll be happy with my meal.

ChunkySoup-1

Soup is a great way to use up whatever you’ve got hanging around in the crisper drawers of the fridge too. Sometimes there are forgotten turnips and beets in there that are given a new chance at life in soup. Way yummier than tossing them in the compost or using them for stock.

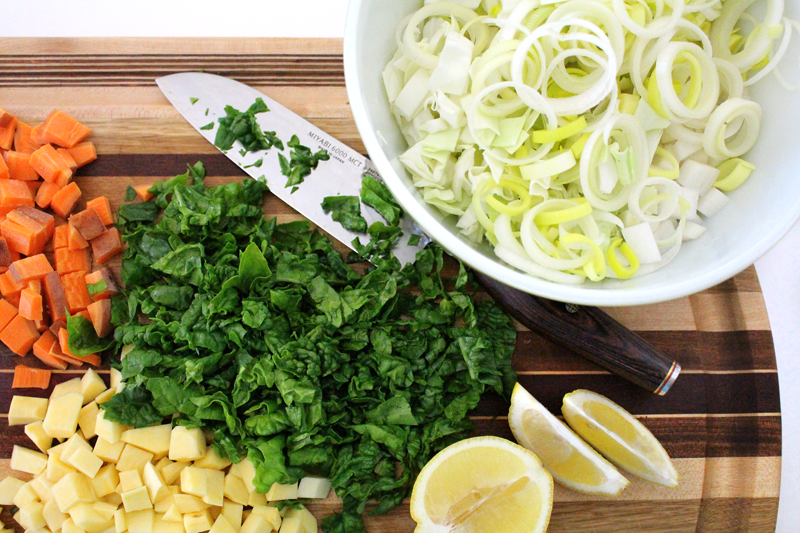
This week I had things like leeks, spinach, sweet potatoes, peas, and rutabagas on hand. But, you could add or substitute with onions, shallots, kohlrabi, carrots, turnips, radishes, brussels sprouts, broccoli, cauliflower, potatoes, or winter squash.

So many options!

I wanted to add a little more protein and even more texture to this soup, so I also added beans. I was in the mood for kidney, but black, white, or cannellini would also be fab. And when we get into spring, fava beans would be amazing! I love beans in soup.

ChunkySoup-3

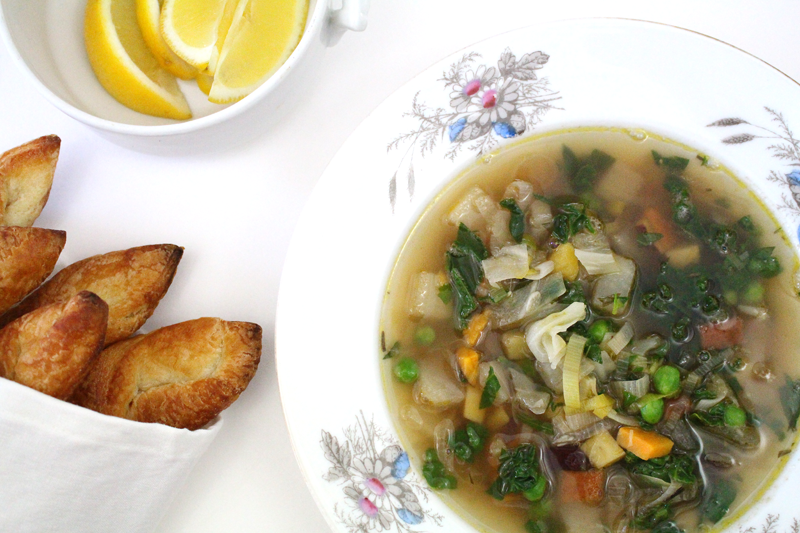
This soup makes for a great lunch or dinner. It’s wonderful with homemade croissants, apple-cheese toasts, or just on its own with a squeeze of lemon and a good book.

Happy Eating!

Chunky Vegetable Soup

Prep Time: 15 minutes

Cook Time: 52 minutes

Total Time: 1 hour, 7 minutes

Yield: 8

Chunky Vegetable Soup

Ingredients

  • 1 T olive oil
  • 2 C leek/onion/shallot, chopped
  • 5 C any: kohlrabi, carrot, rutabaga, turnip, winter squash, brussels sprouts, cabbage, collards, broccoli, cauliflower, sweet potatoes, potatoes, radish; peeled, if warranted, chopped
  • to taste salt
  • dash cayenne (or may use 1/2 to 1 small hot pepper, ribs and seeds removed, minced)
  • 2 cloves garlic, minced
  • 1 T rice vinegar
  • 7 C veggie stock
  • 1 t fresh thyme (or 1/4 t dried)
  • 1/2 t dried rosemary (or 1/2 T fresh)
  • 2 T fresh basil (or 2 t dried)
  • to taste pepper
  • 2 C greens (kale, spinach, chard, mustard greens, mizuna, bok choy... anything that you have on hand will work), chopped
  • 1 1/2 C beans (black, kidney, white, cannellini)
  • 1 C peas (frozen, or shelled fresh peas or fava beans)
  • lemon wedges, for serving
  • good olive oil, for serving

Instructions

  1. Heat a soup pot over medium-low. Add olive oil. Add leek-cayenne (if you're using dried herbs you may add them now too). Cook, stirring occasionally, for about 10-15 minutes, or until the veggies are getting tender. Add garlic and vinegar and cook for 1 minute more. Add the stock through pepper and bring to a boil. Reduce to a simmer and cook for about 10 minutes. Add the greens, beans, and peas and cook for 3 minutes more. Taste and adjust seasoning if desired.
  2. Ladle into bowls and serve with a squeeze of lemon and a drizzle of olive oil.
http://www.de-ma-cuisine.com/chunky-vegetable-soup/

Friday

29

January 2016

2

COMMENTS

Pickled Beets and Cabbage

Written by , Posted in Canning, Condiments, Dairy-Free, Gluten Free, Pickling, Quick and Easy, Vegan, Vegetables, Vegetarian

PickledVeggies-3

Pickles are one of life’s great mysteries. I don’t quite understand why or how they are so awesome. They just are. They can add so much to a dish. They’re fun to eat. And, they’re a lot simpler to make than I would have thought. I’ve tried to make pickles a few times before. I’ve followed recipes and made up my own. Nothing worked. I tried with raw veggies and lots of apple cider vinegar. Nothing tasted good. So I was a little apprehensive when I was thinking about pickling for a post… But, I have to say, I was pleasantly surprised.

PickledVeggies-2

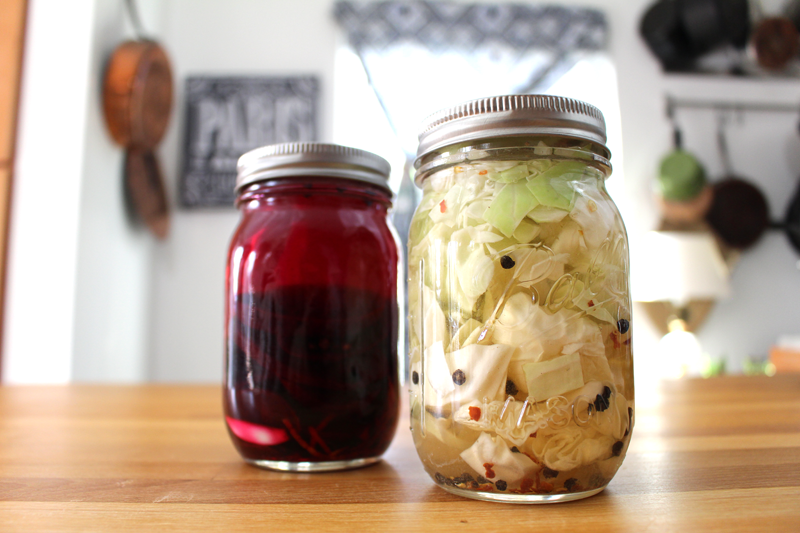
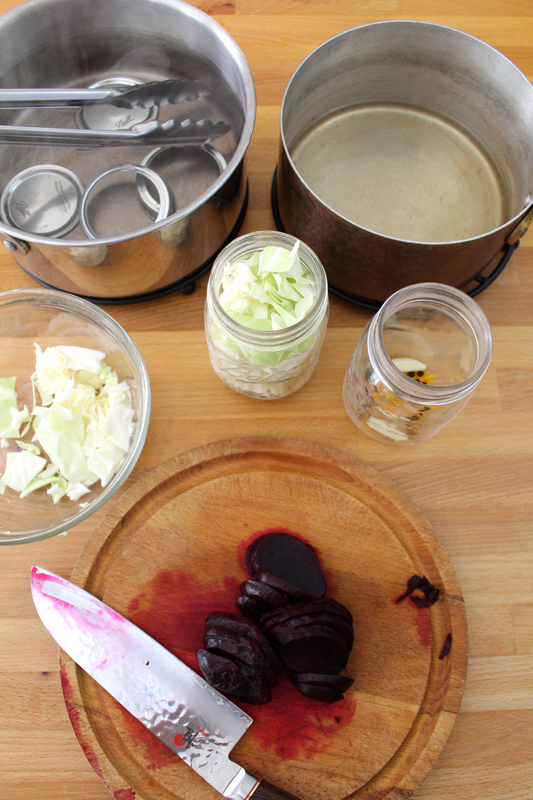
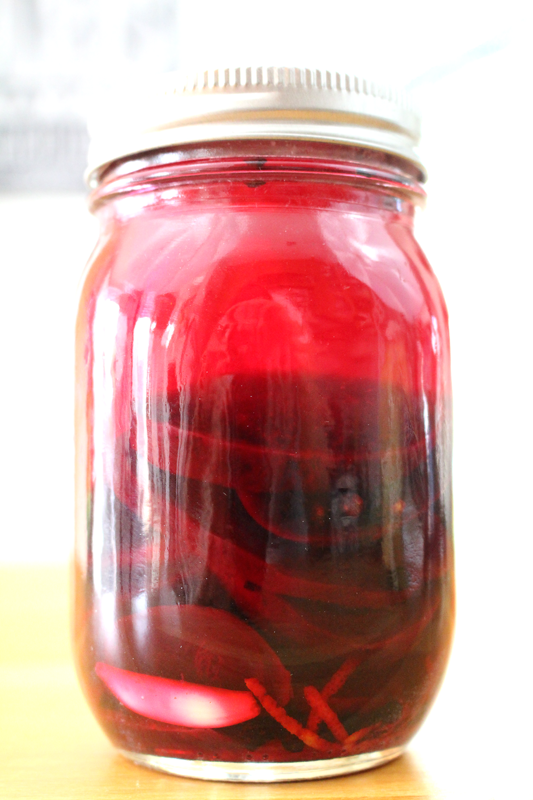
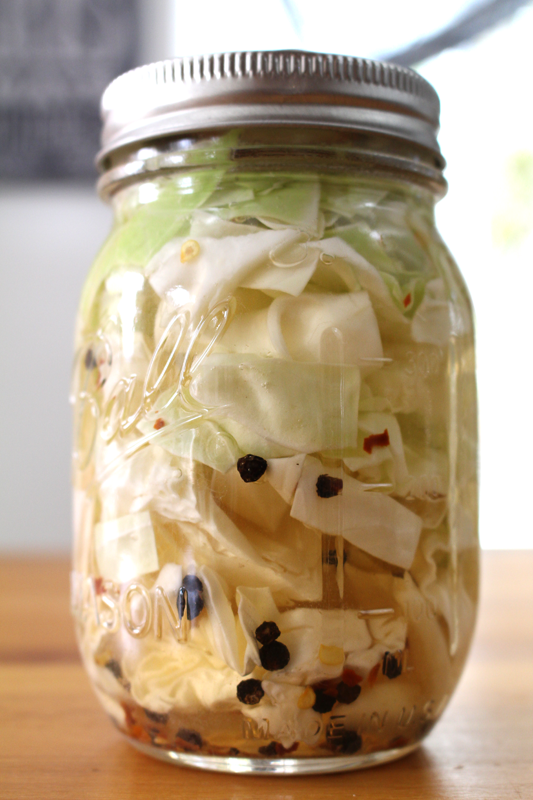
It all starts with some veggies. I chose steamed beets (because I’d tried to pickle raw beets once… nope, not a good idea) and raw cabbage. I used them because that’s what I had on hand. But, I think that with this particular brine, I might also try carrots, cauliflower, radish, green beans, greens, leeks, cucumber, or onions. I’d steam any root veggies and cauliflower, but I’d probably leave the rest raw.

For the brine, I went with white vinegar and rice vinegar. I like their mild flavors. I also added some water, salt, and honey. Water to dilute a bit, honey to counter the sharp vinegar, and salt, well, because I like salt (and I think you’re supposed to use salt when pickling, although this was just plain table salt, not pickling salt).

PickledVeggies-1

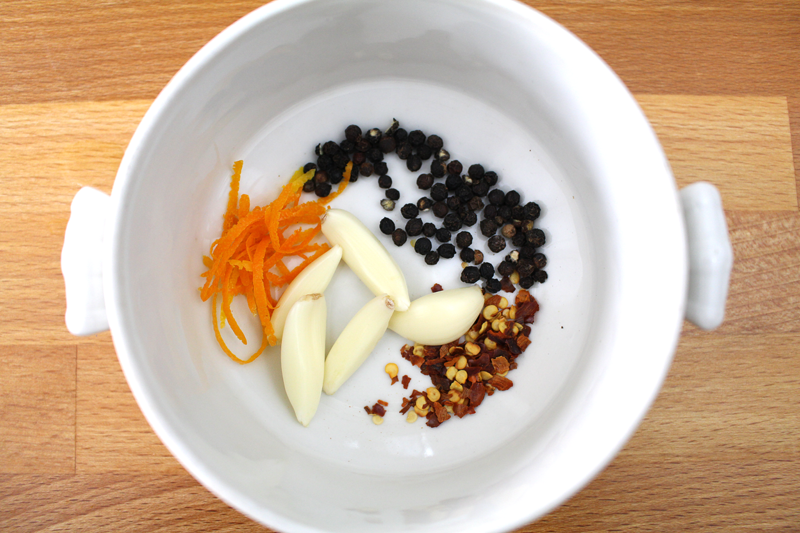
I added a few extras, based on the veggies I was using. To go with the beets I used: garlic, orange zest, and peppercorns. With the cabbage I used garlic, red pepper flakes, and peppercorns. You could also add dill, chives, fresh ginger, or lemon zest, depending on the veggie to be pickled.

PickledVeggies-5

I let them sit for about a week and a half in the fridge before trying them. I don’t know if I needed to, but I did.

PickledVeggies-4

Now that they’re open, I’ve eaten the pickled beets 3 days in a row. I just can’t get enough. Tim even tried one the other day and didn’t hate it. He wasn’t crazy about the texture of the beets (they’re soft, like they are when steamed), but he really liked the flavor of the brine. For me, the beets are exactly the texture I was hoping for. They’re tender and vinegary with just a hint of sweet. And the cabbage, it’s gone. I ate it. All. By. Myself. I tried it raw, I added it to a stir fry, and I added it (and the pickled garlic) to some lentils and topped it with a fried egg, paprika, cayenne, and chili powder. I can’t wait until the next time cabbage comes in our Abundant Harvest Organics box. I know exactly how I want to use it.

Happy Eating!

Pickled Beets and Cabbage

Prep Time: 15 minutes

Cook Time: 35 minutes

Total Time: 50 minutes

Yield: 2 pints

Pickled Beets and Cabbage

Ingredients

  • 3-4 C any: beets, cabbage, carrots, cauliflower, radish, green beans, greens, leeks, cucumber, onions; chopped, shredded, sliced, quartered (depending on type of veggie)
  • 1 1/2 C vinegar (white vinegar and rice vinegar)
  • 1 1/2 C water
  • 1 T + 1 t salt
  • 1 T + 1 t honey
  • 1/4 C any extras (choose based on veggies using): peppercorns, garlic, dill, chives, fresh ginger, lemon zest, orange zest, red pepper flakes

Instructions

  1. Sterilize jars and lids.
  2. Steam any root veggies or cauliflower until tender (about 20-30 minutes, depending on the veggie) and then cut as desired. Leave things like cabbage, green beans, greens, leeks, and onions raw.
  3. Bring brining liquid (vinegar through honey) to a boil, then reduce to a simmer and cook for 5 minutes.
  4. Place extras in the bottom of the jars, place veggies in the jars, packing fairly tightly but leaving about an inch of space at the top. Pour brining liquid over, filling to cover veggies. Wipe the rims and cover with the lid. Cool to room temperature then refrigerate.
http://www.de-ma-cuisine.com/pickled-beets-and-cabbage/

Friday

22

January 2016

0

COMMENTS

Hearty Kale and White Bean Quesadillas

Written by , Posted in Beans, Breakfast, Cheese, Dinner, Gluten Free, Herbs, Legumes, Lunch, Main Dishes, Quick and Easy, Sandwiches, Sides, Snacks, Vegan, Vegetables, Vegetarian

KaleBeanQuesadillas-5

When I plan our menu I try to include a good variety of foods, so we don’t get bored. Sometimes they’re a little more complex, have multiple steps, and more ingredients. Other times they’re simple, basic, super easy. Scrambled eggs and toast makes a great dinner. So do quesadillas.

Quesadillas are probably our go-to, in a pinch, anyone can make it meal. If I’ve planned ahead, I will try to add some beans so it’s not just tortillas and cheese. If I’ve really planned ahead, we may even have homemade tortillas. But, sometimes, just the basics will do. We just need to eat something, and we need to eat that something right now.

KaleBeanQuesadillas-1

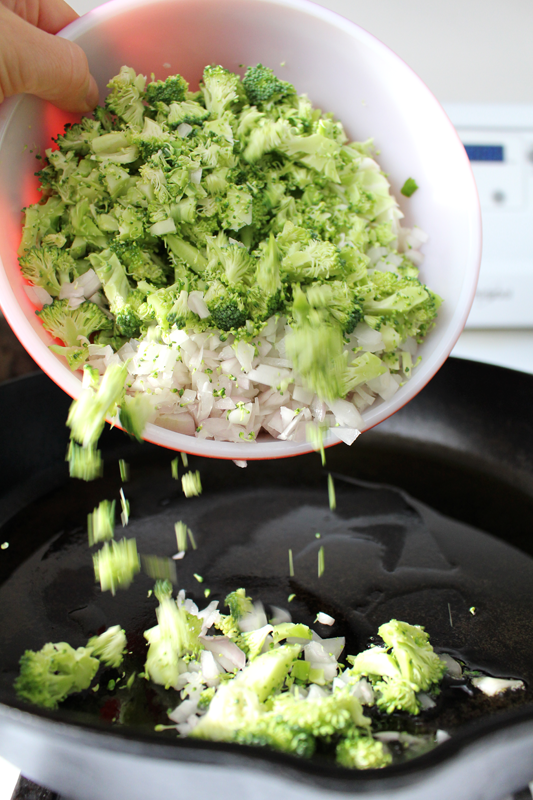
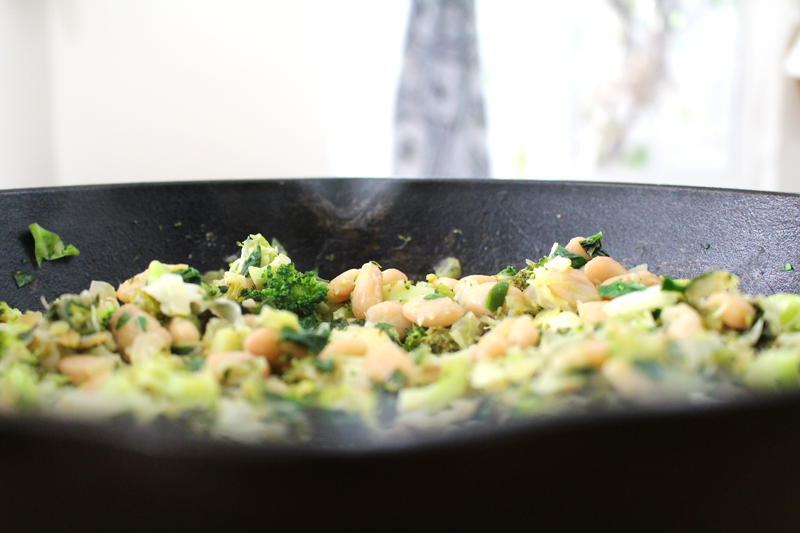
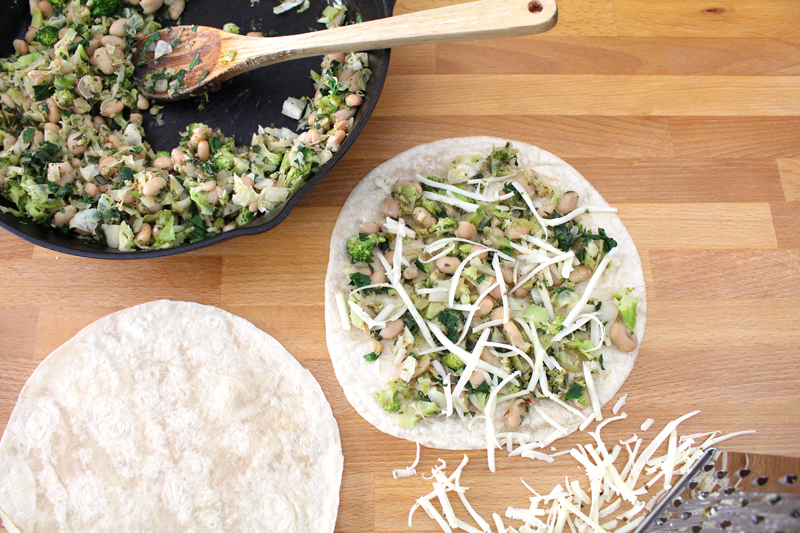
This recipe is a happy medium. I had time to prep and plan, so there are both veggies and beans. I also made a lot and froze the leftovers, so next time we want quesadillas, the filling can be pulled out and reheated. These are pretty versatile. I just took what I had on hand that I thought would go with beans and cheese, finely chopped it, and threw it into a pan.

KaleBeanQuesadillas-2

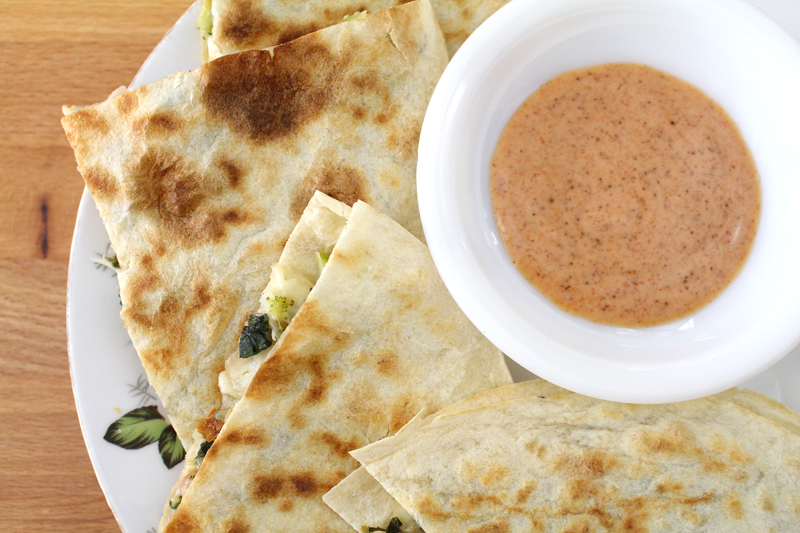
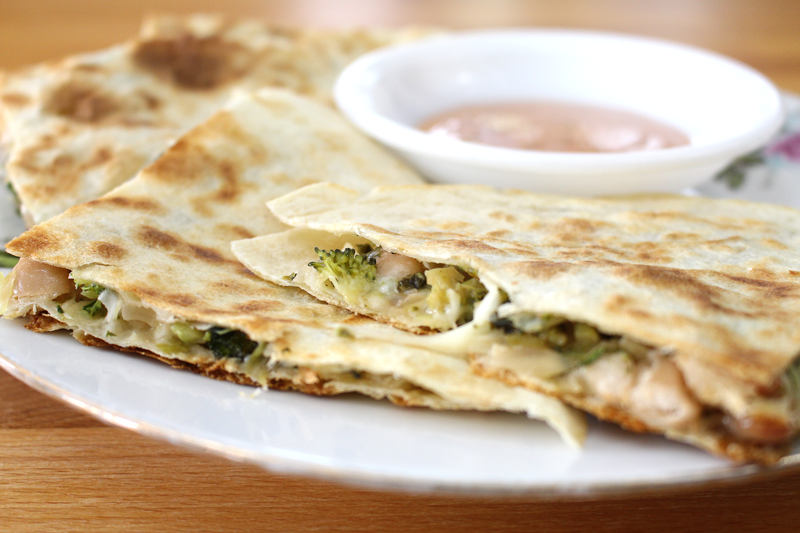
While the veggies and beans cooked, I whisked together a quick dip. But, if there’s no time for dip, or you’re out of yogurt or silken tofu, salsa will be just fine.

KaleBeanQuesadillas-3

I added pepper jack this time. It’s a great melting cheese and I love the spice that it adds. If you don’t do dairy, I’ve heard that nutritional yeast is great.

KaleBeanQuesadillas-4

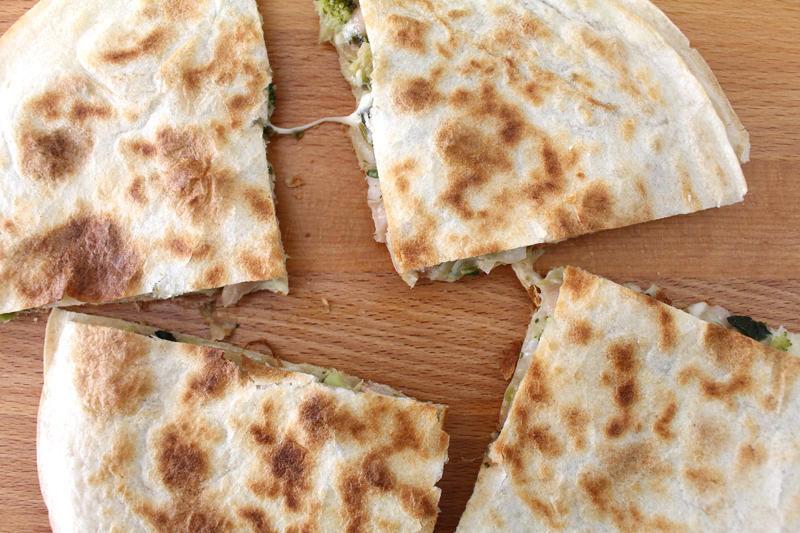
I like my quesadillas super crispy outside and gooey inside. Tim prefers his a little less crispy. I used flour tortillas this time, but corn would be fabulous too. I had been working on another recipe on the same day and I wasn’t hungry when these were done. So I cooled them and saved them for dinner. When I reheated them they had an awesome crisp to them that I totally wasn’t expecting. Almost like the cooling and reheating had done something awesome to the layers in the tortilla. I’m totally down for cold leftovers (mostly because I’m too lazy to heat them up). This time I’m glad I took the time.

KaleBeanQuesadillas-6

I’m sure we will be enjoying these again soon. I’ve almost always got quesadillas on the menu and ingredients for them in the fridge.

Happy Eating!

Hearty Kale and White Bean Quesadillas

Prep Time: 10 minutes

Cook Time: 15 minutes

Total Time: 25 minutes

Yield: 4

Hearty Kale and White Bean Quesadillas

Ingredients

  • 1 T olive oil
  • 2 C (combination of any) broccoli, cabbage, shallots, bell pepper, cauliflower, chile pepper, radish (any type), summer squash, leek, onion; finely chopped
  • to taste salt
  • 1 clove garlic, diced
  • 2 C any type of greens (kale, chard, spinach, mustard greens, mizuna, etc..), ribs removed, chopped
  • 2 C white beans, drained if canned
  • 2 t lime or lemon juice
  • 1 C yogurt or silken tofu
  • sprinkle cayenne
  • 1/2 t chili powder
  • 1/2 t paprika
  • splash maple syrup (optional)
  • 1 T chives (optional), chopped
  • 1-2 t lime or lemon juice
  • to taste salt
  • 8 tortillas (any type)
  • 1 C cheese (pepper jack, cheddar, or feta), grated or crumbled (could also use a sprinkle of nutritional yeast)

Instructions

  1. Heat a skillet. Add oil. Add the 2 C of veggies and salt and cook for 5 minutes, or until tender, over medium-low heat, stirring occasionally. Add garlic, greens, beans, and lime juice. Cook for 5 minutes more. Taste for seasoning.
  2. While the veggies cook, whisk together dip: yogurt/silken tofu through salt. Taste for seasoning and set aside.
  3. Top a tortilla with 1/4 of the bean and veggie mixture. Top with cheese (or nutritional yeast) and then another tortilla. Repeat with remaining tortillas and bean mixture.
  4. Heat a clean skillet. Cook each quesadilla, flipping once, until to desired crispness and cheese is melted (I like about 2-3 minutes/side). Slice into wedges and serve with dip.
http://www.de-ma-cuisine.com/kale-white-bean-quesadillas/