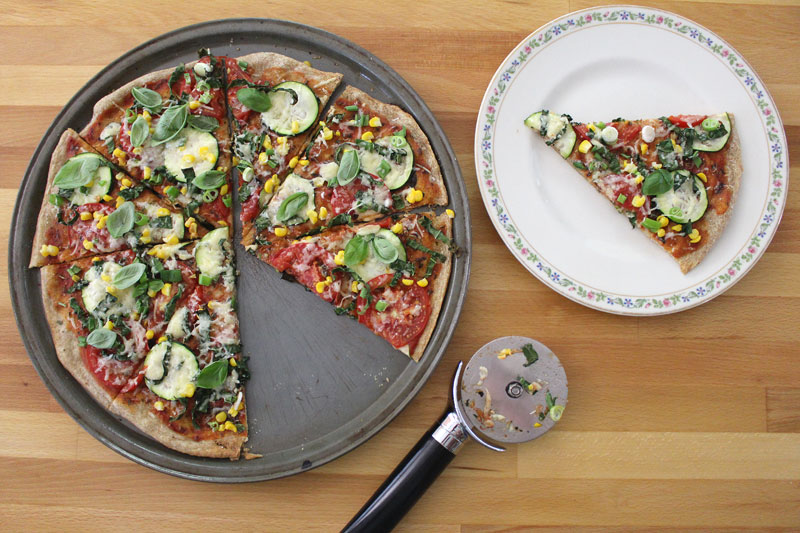
Apple Rosemary Flatbread
Written by Rachel, Posted in Appetizers, Baking, Bread, Breakfast, Cheese, Fruit, Herbs, Kid-Friendly, Lunch, Pizza, Quick and Easy, Sides, Snacks, Vegetarian
I love when it’s apple season. I think I say that every season about something. I love the changing of the seasons and the promise of something new that comes with it.
I especially love fall.
There are things to love and things to be ready to be done with no matter what season we’re in. But, after a long summer, today’s cool breeze and cloudy sky is a literal breath of fresh air. Combine that with an apple or pear, eaten out of hand, while at my desk editing photos, and that makes for quite a nice fall day.
The day I made this flatbread it was still hot and sunny. Today I want to eat all the soup.
This flatbread would go nicely with soup. Apples pair nicely with winter squash, so this might be delicious alongside a Vegan Roasted Butternut Squash Soup, a Browned Butter and Four Cheese Broccoli Soup, or a Leek and Potato Soup. I always want bread with my soup. Often it’s some sliced homemade baguettes with salted butter. But, sometimes I want bread with a little bit more. This flatbread meets that requirement.
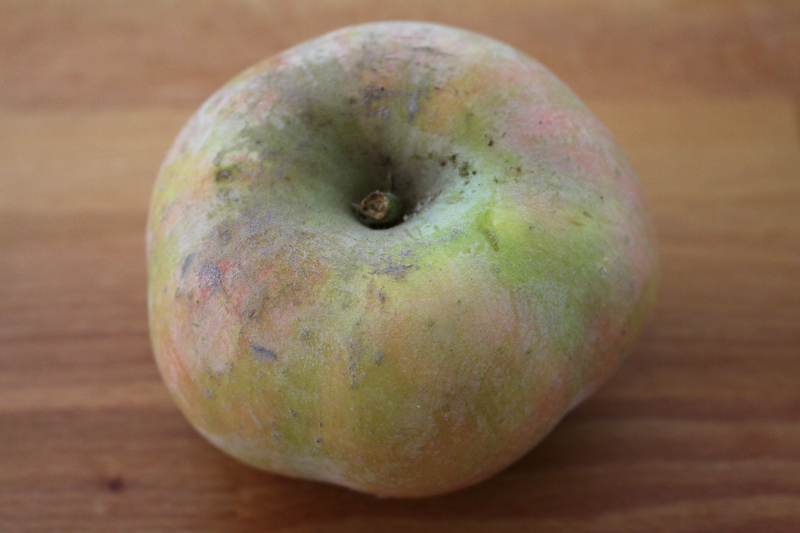
Apples are usually just eaten raw at our house. We love them as a snack. They’re full of fiber and are a great way to tide me over when I’m already starving and it’s not nearly time for the next meal.
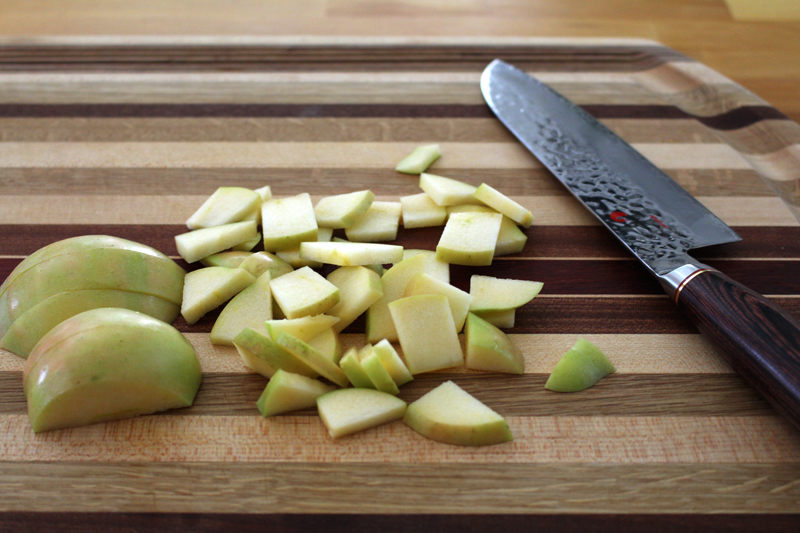
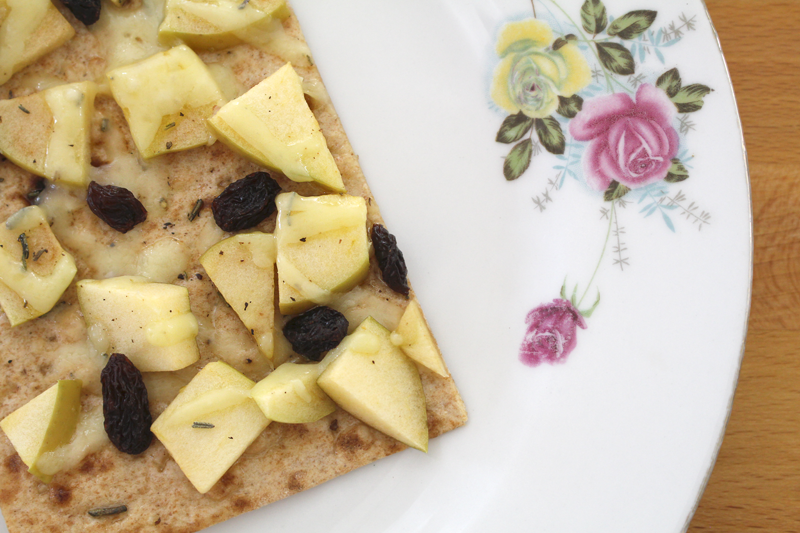
In this case though, they’re thinly sliced and then chopped.
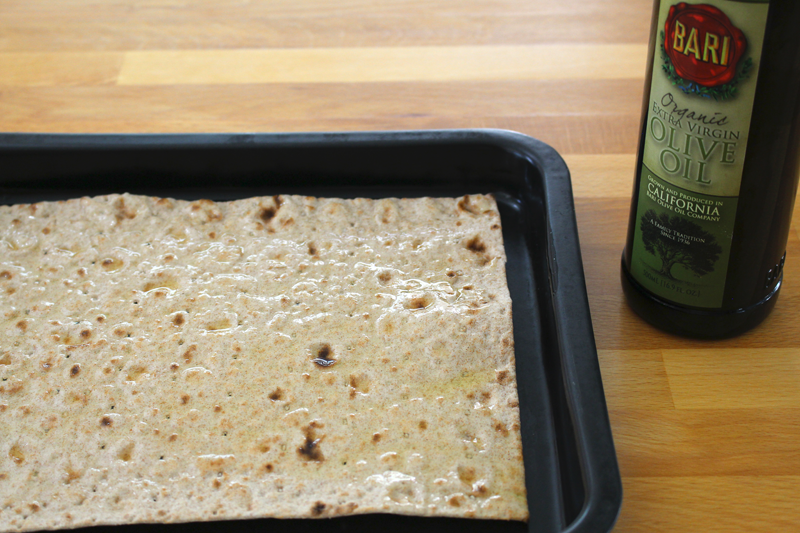
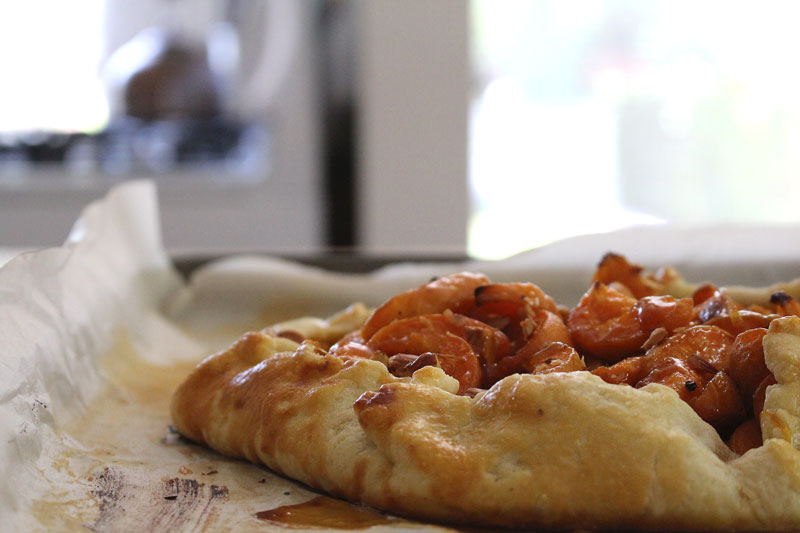
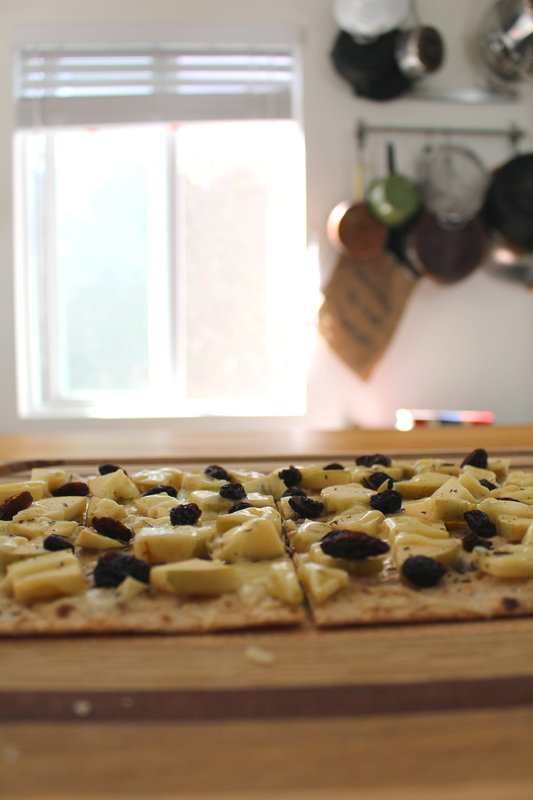
They’re going to top this lavash (you could also use whole wheat or regular tortillas, or a par-baked pizza crust). But first, some olive oil.
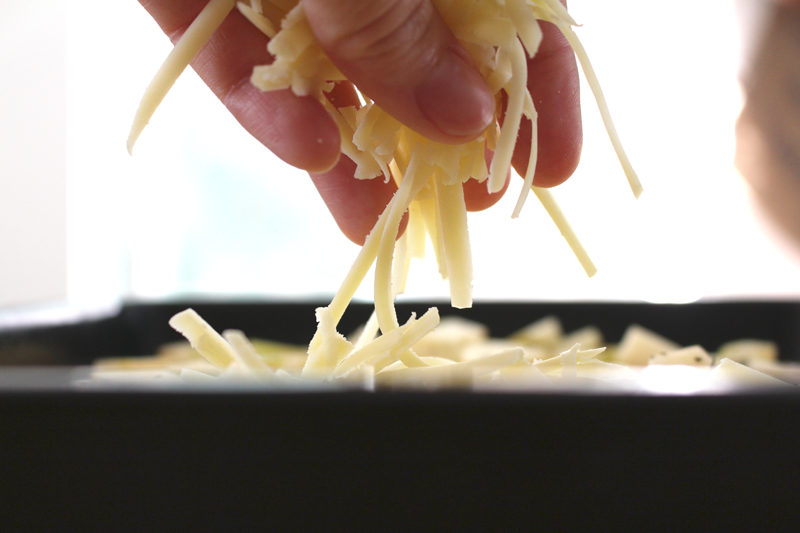
Then a good handful of cheddar. Cheddar is probably my favorite cheese to pair with apples. And to eat with some crackers after a good workout… or any time of the day or night.
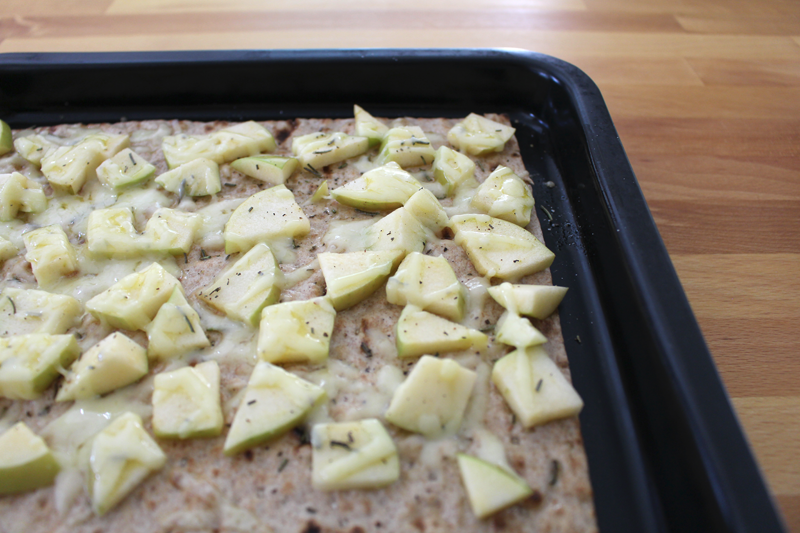
The cheese is topped with rosemary, salt, and pepper, then baked for a little bit, just to get things started.
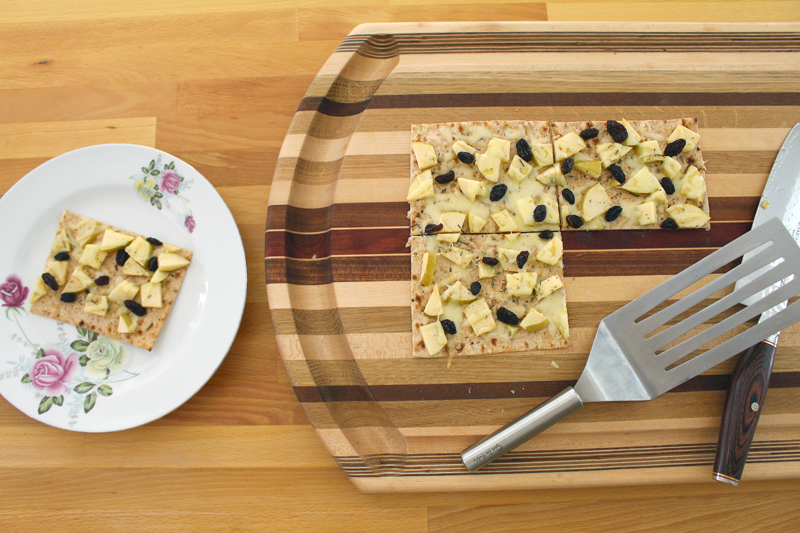
Raisins are added about two minutes before the end of the baking time. They get just a bit soft and warm.
And that’s it. Easy, peasy, apple peel… I dunno.
Happy Eating!
- 1 flatbread or large whole wheat tortilla (I used lavash, you could also use a par-baked pizza crust)
- 1 t olive oil
- to taste salt
- 1 small apple, thinly sliced and chopped
- to taste pepper
- 1/4 to 1/2 t dried (or 1 t fresh) rosemary, chopped
- 1/4 C cheddar cheese, grated
- 1-2 T raisins
- Pre-heat oven to 350F.
- Top lavash with olive oil and brush over surface. Sprinkle with salt. Top with apple, rosemary, pepper, and cheese. Bake for about 5 minutes, or until the cheese has mostly melted.
- Remove from the oven and sprinkle with raisins. Return to the oven and bake for 2 minutes more.