Bread Pudding with Seasonal Fruit
Written by Rachel, Posted in Baking, Bread, Breakfast, Brunch, Dairy-Free, Dessert, Eggs, Fruit, Gluten Free, Lunch, Main Dishes, Nuts, Vegetarian
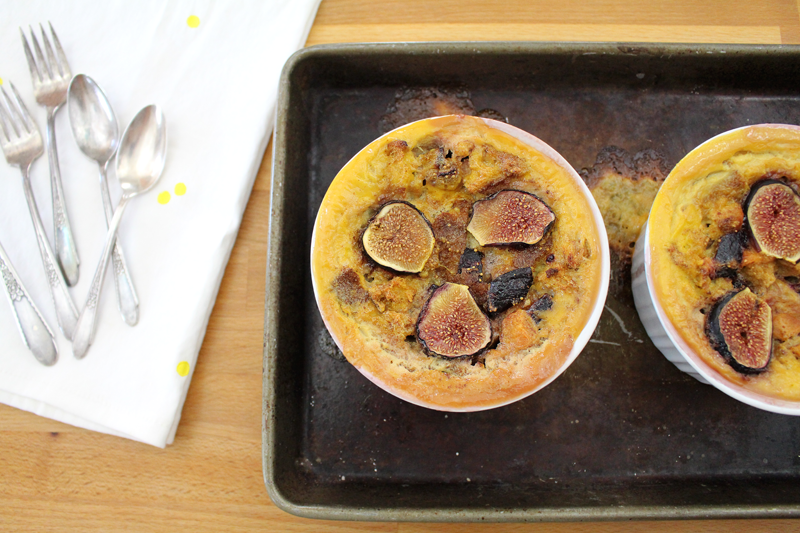
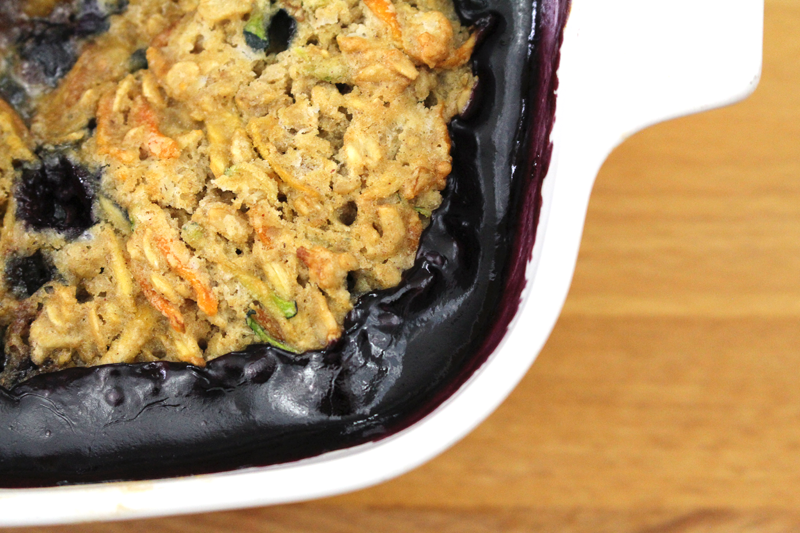
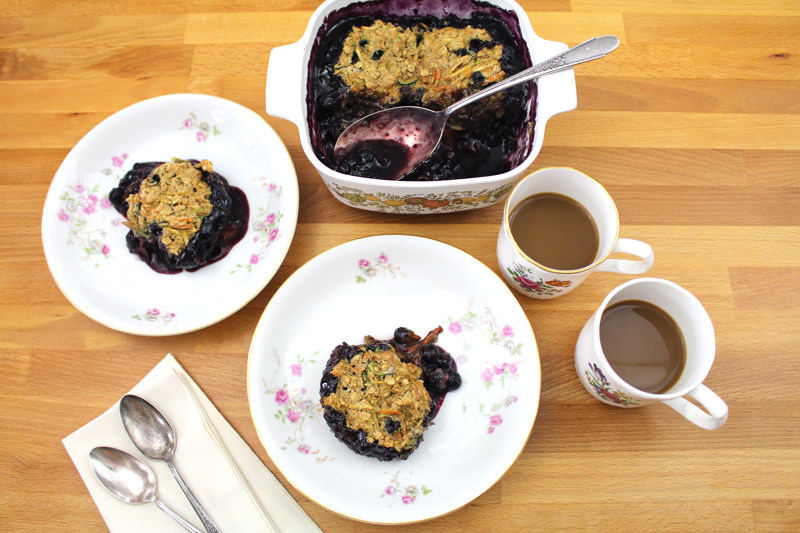
Today I’ve come up with a treat for the sweet tooth that’s both dessert and main dish. It’s a variation on a bread pudding, but we ate it for lunch.
It’s sweet, but not too, thanks to the maple syrup. It’s filling enough to be the star, thanks to the eggs and bread. It’s a great way to get some fruit into a dish, thanks to whatever fruit is in season. We’ve got figs and peaches on hand, so that’s what I used.
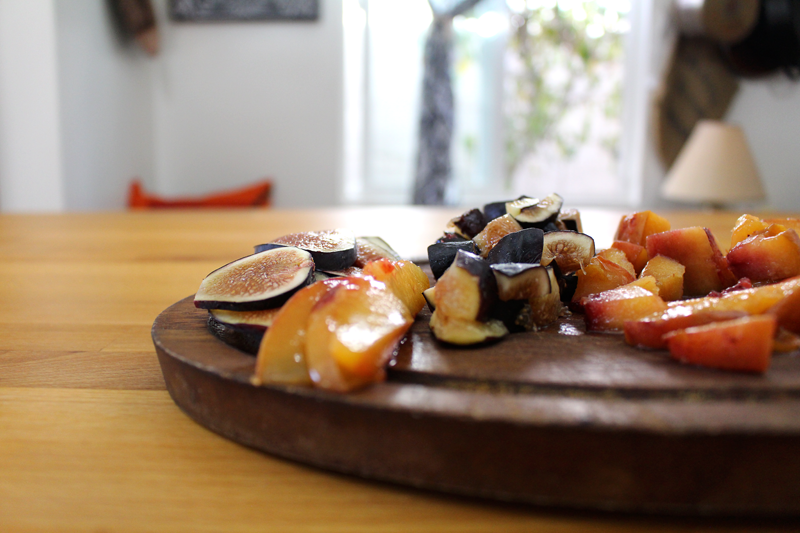
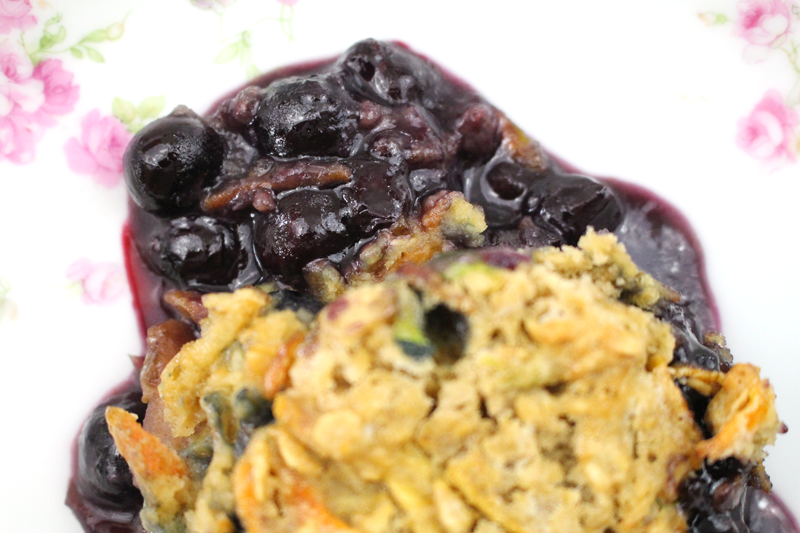
During the spring and summer the figs and peaches could be swapped out for blueberries, strawberries, or plums. In the cooler months, pears, apples, and persimmons would be perfect. Perfect for any time of the year. If you don’t have fresh fruit, frozen works (just drain it a bit first). You could even add some jam. I used softer figs and frozen peaches, that way they kinda became one with the eggy-bread mixture.
I was thinking that this would be yummy if it was chocolatey. You could add cocoa powder to the egg mixture (hello chocolate and cinnamon!). You could add chocolate chips too. I think figs or berries would be fabulous with chocolate.
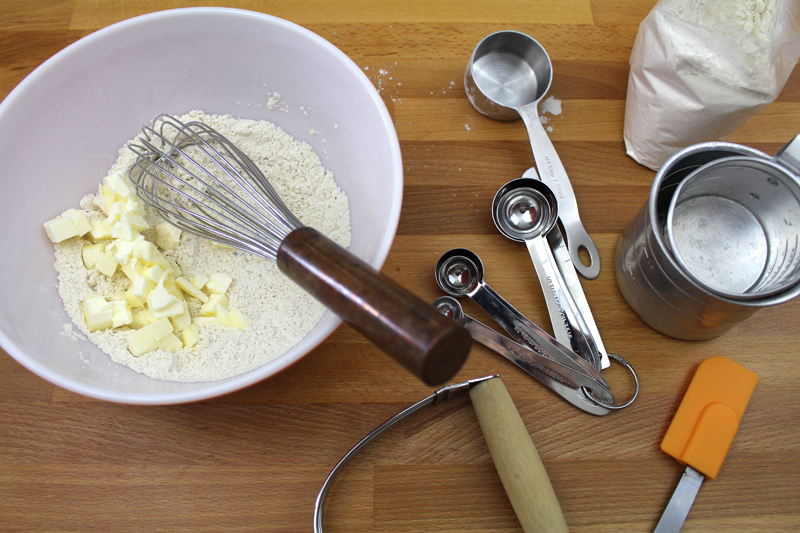
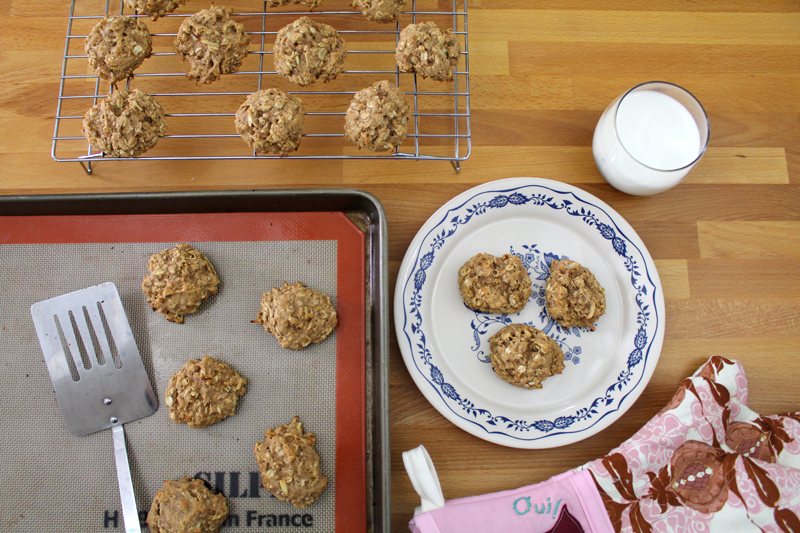
Whatever bread you have on hand will be great. Gluten-free, whole wheat, croissants, baguettes… I like to use stale bread, but mostly because I feel bad using fresh bread for something like this.
I filled two 6″ ramekins to make two main dish sized portions. But, you could use smaller ramekins or one larger dish. Adjust the baking time accordingly.
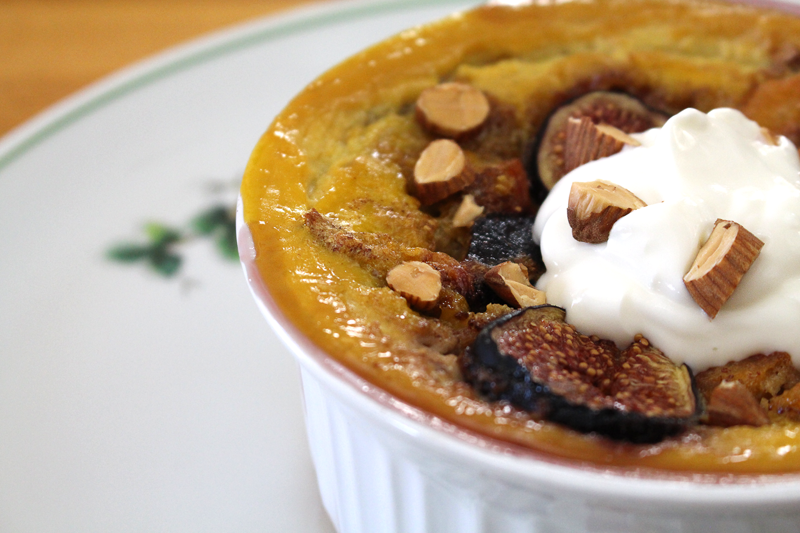
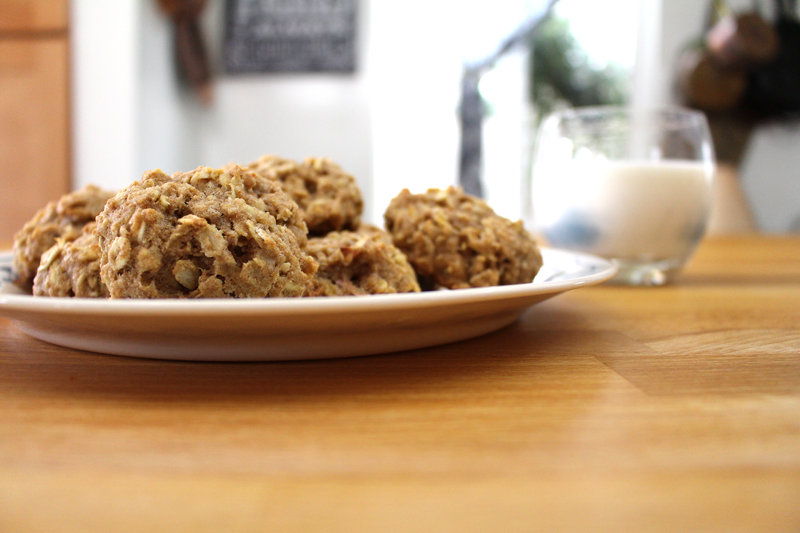
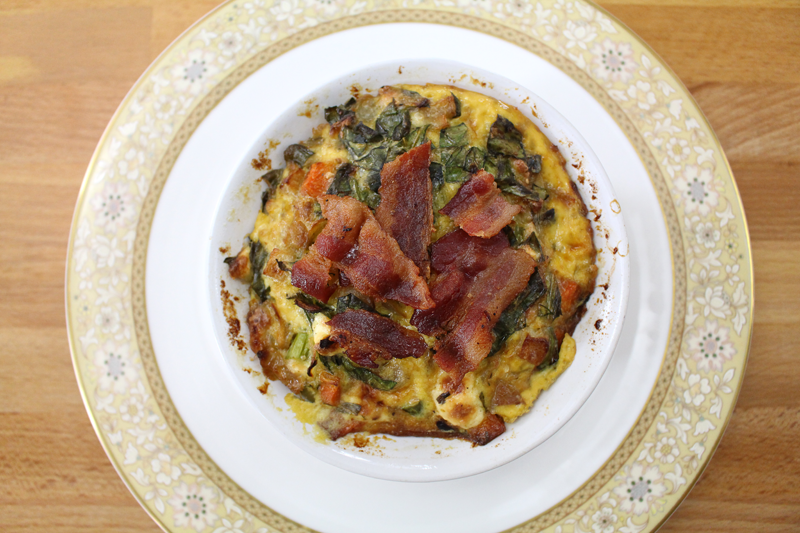
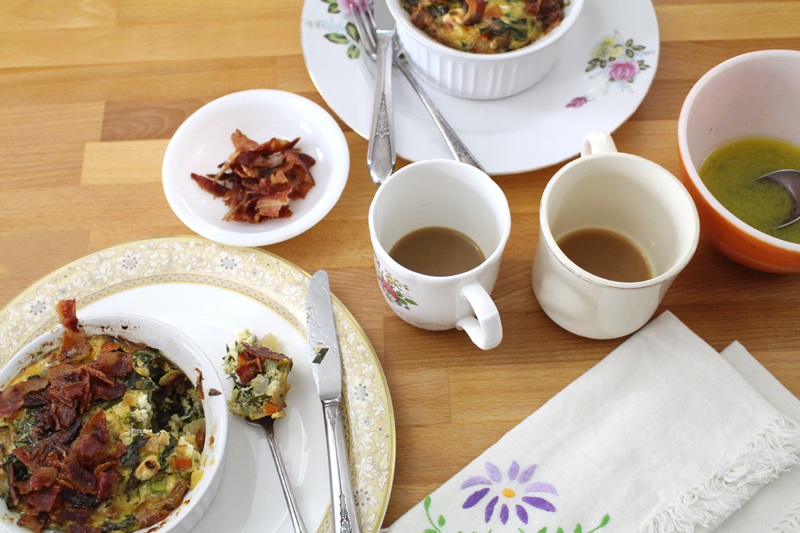
To serve, I topped with some Greek yogurt and chopped almonds. You could also add some fresh fruit, walnuts, pecans, cream or crème fraîche, or if you’ve got an extra sweet sweet tooth, a drizzle of maple syrup.
Happy Eating!

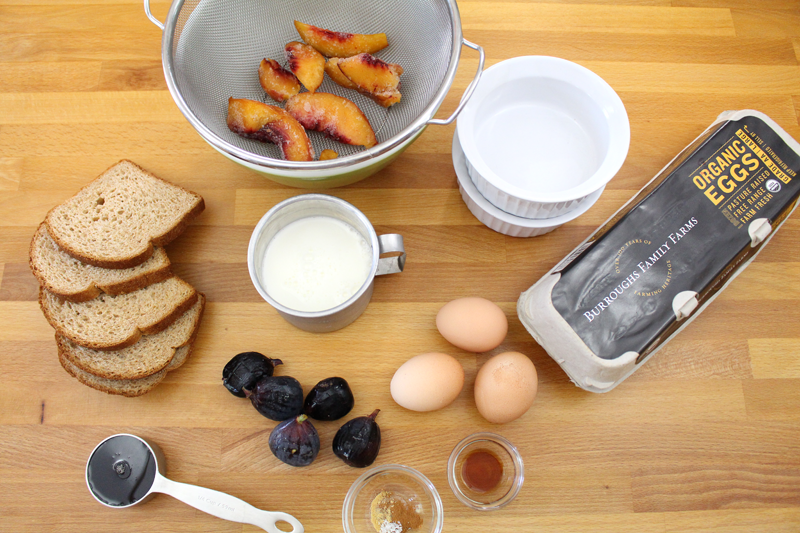
Ingredients
- 1 t coconut oil (or canola)
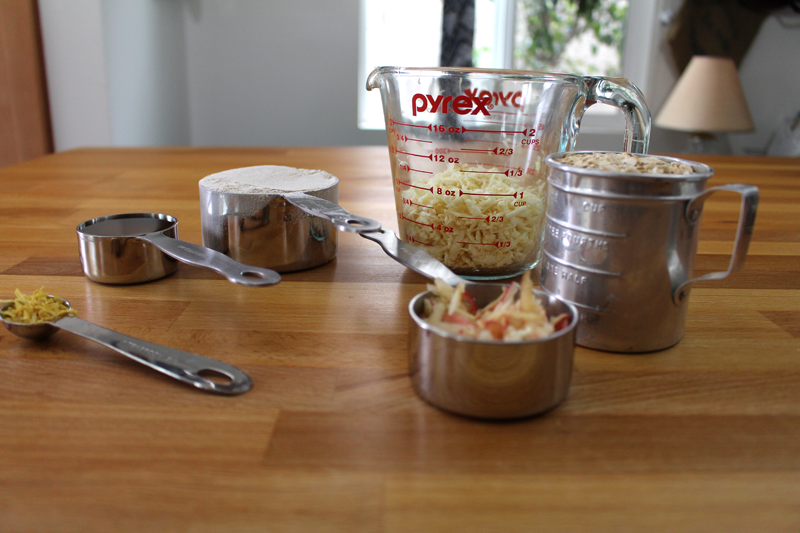
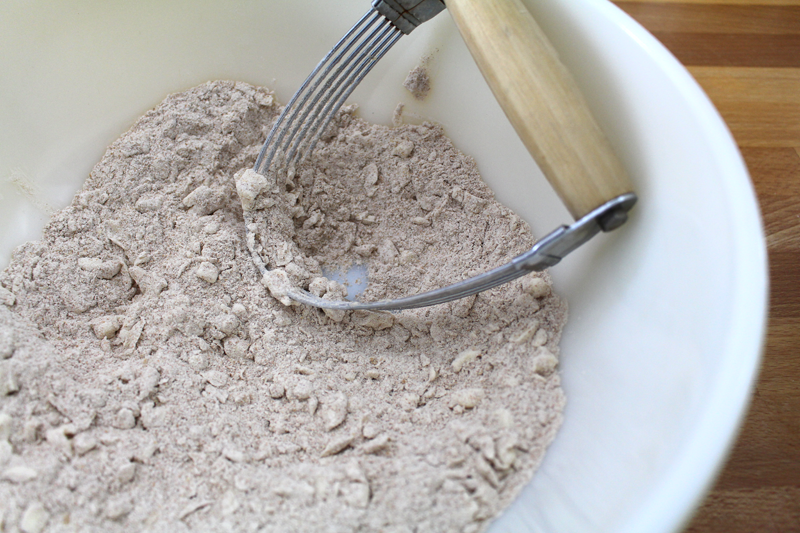
- 2 C stale bread (any kind), torn in small(ish) pieces
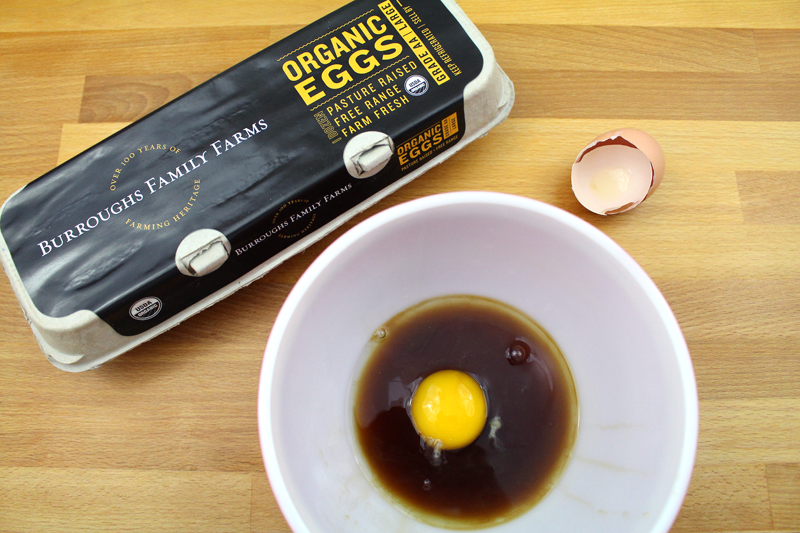
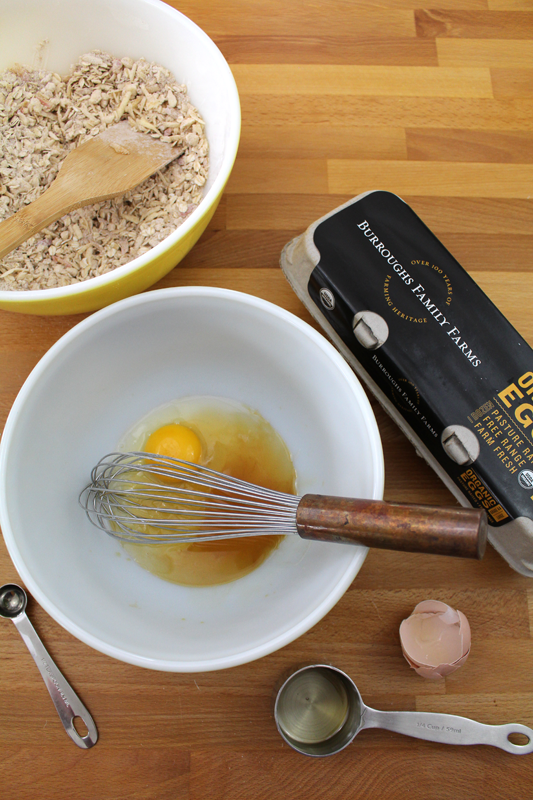
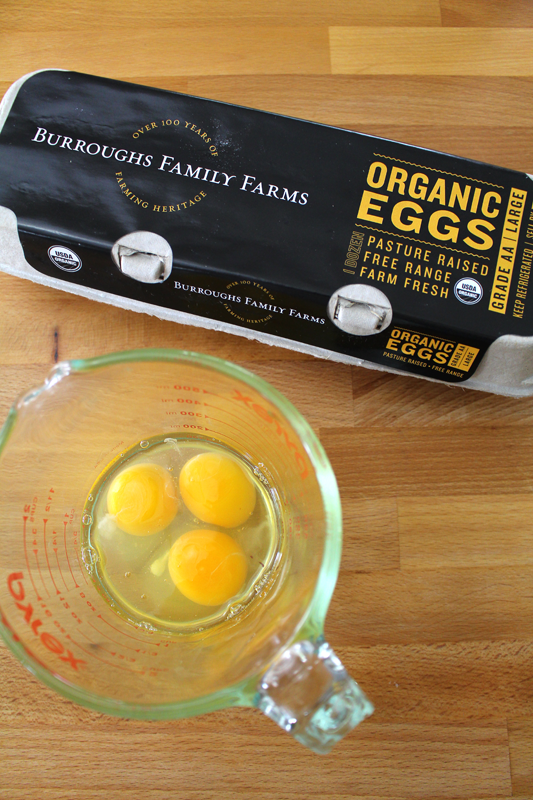
- 3 eggs
- 1 T white vinegar
- 1 C whole milk (any kind)
- 1/4 t cinnamon
- pinch ginger
- pinch salt
- 1/4 C maple syrup
- 1 t vanilla
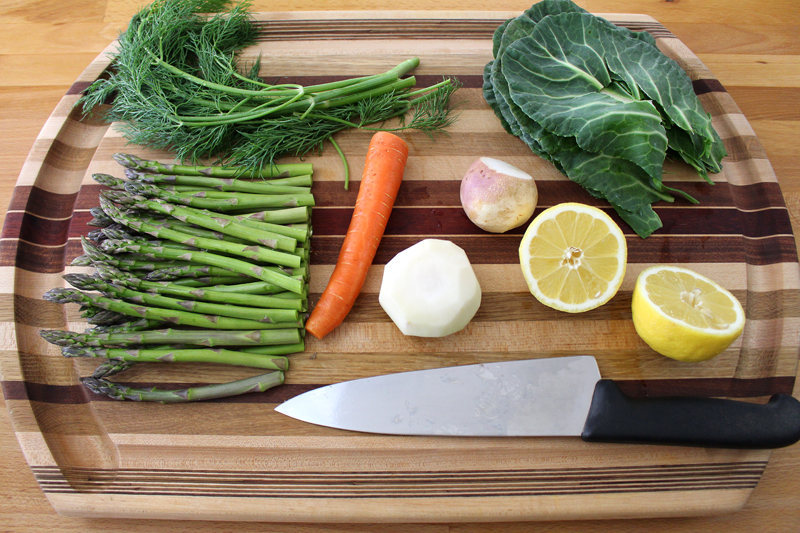
- 2 C fairly ripe seasonal fruit (berries, figs, stone fruit, apples, persimmons, pears), most chopped, a few sliced for topping
- toppings (optional): chopped nuts, fresh fruit, plain yogurt, crème fraîche, maple syrup, cream
Instructions
- Pre-heat the oven to 350F.
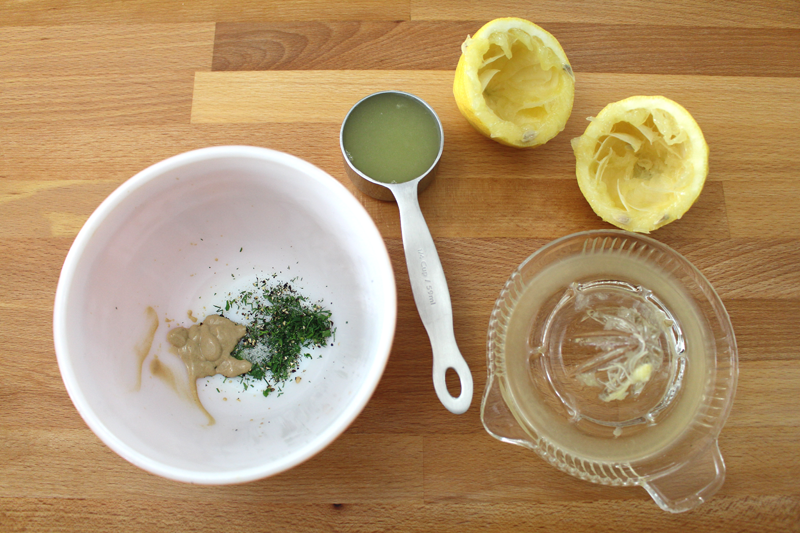
- Pour vinegar into a measuring cup. Add milk to the 1 C line. Stir and let stand for about 5 minutes (it will thicken slightly and become buttermilk).
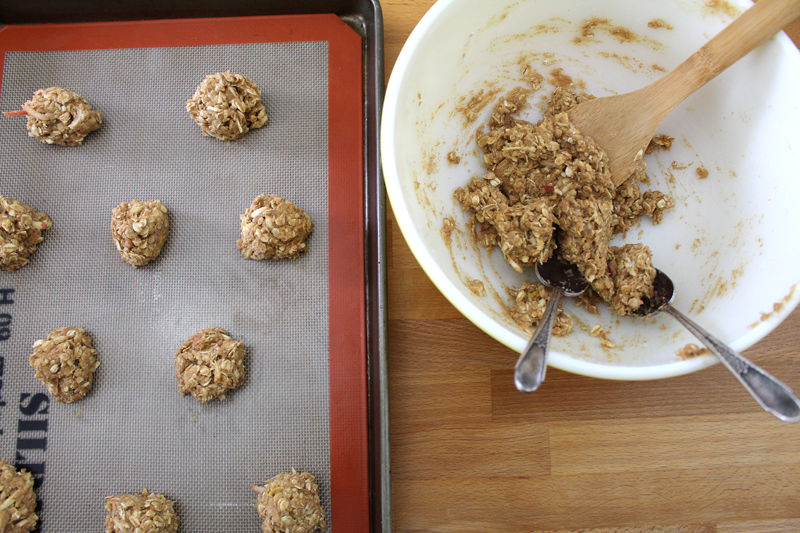
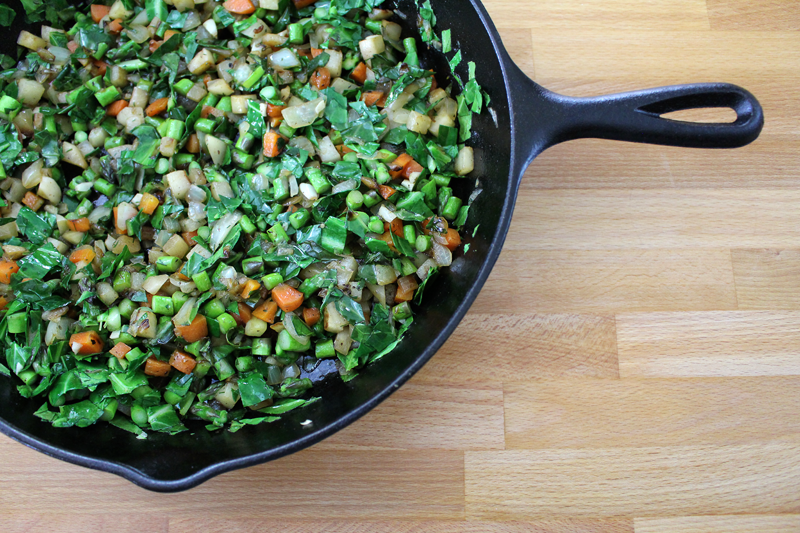
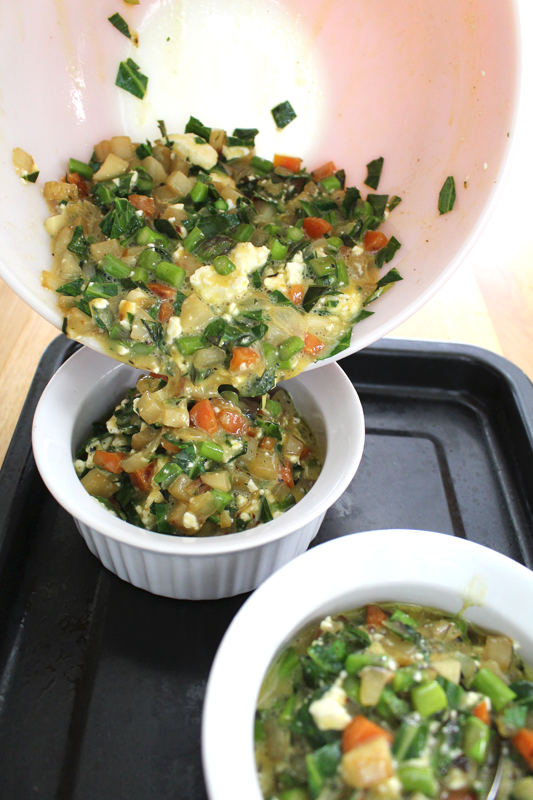
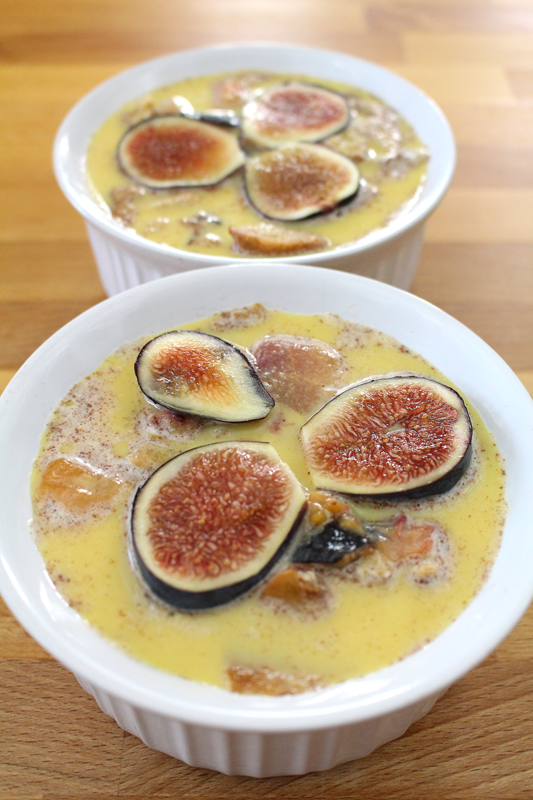
- Grease two 6" ramekins with coconut oil. Add bread and fruit. Toss.
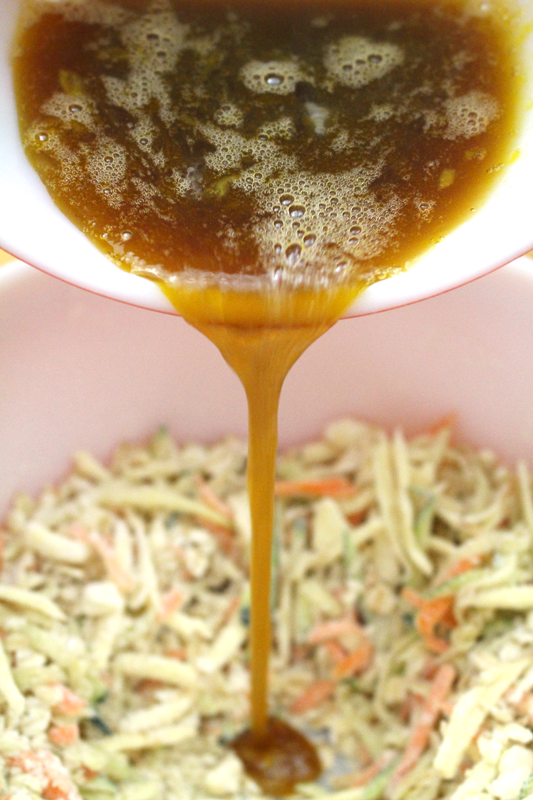
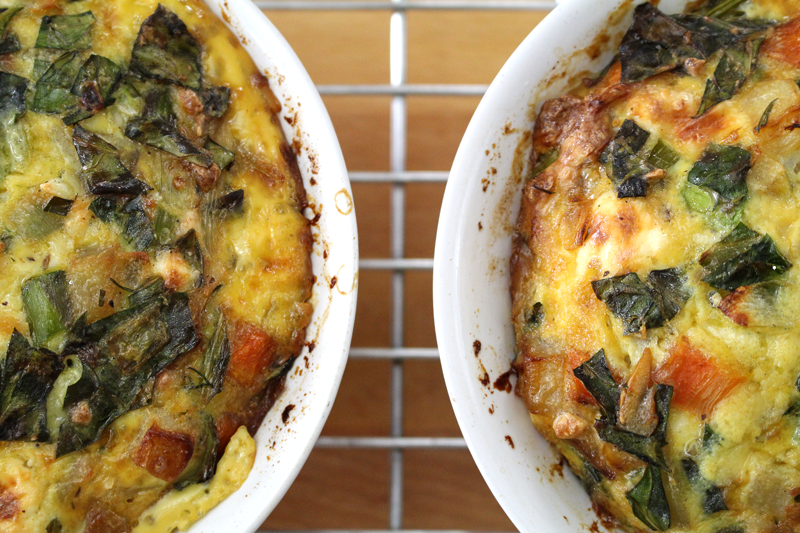
- Whisk together eggs through vanilla. Pour over bread and fruit. Top with sliced fruit. Place ramekins on a baking sheet. Bake for 40-50 minutes, or until eggs are mostly set and have come to at least 160F. Remove from the oven and let them stand on a cooling rack for 10-20 minutes.
- Top with desired toppings.