De Ma Cuisine

Baking Archive

Monday

30

March 2020

0

COMMENTS

Peanut Butter Bacon and Cheddar Dog Cookies

Written by , Posted in Baking, Cheese, Cookies, Dog, Dog Treat, Gluten Free, Grains, Pets

In my life, I haven’t experienced another relationship like the one between a dog and their humans. Can you imagine what life would be like if we got as excited as they do when our favorite person came home from work, or asked us if we wanted to take a walk with them? They forgive our bad attitudes and forget the grumpy mornings. They just want to be around us. Their tails flap excitedly when we walk into the room. They love us so much.

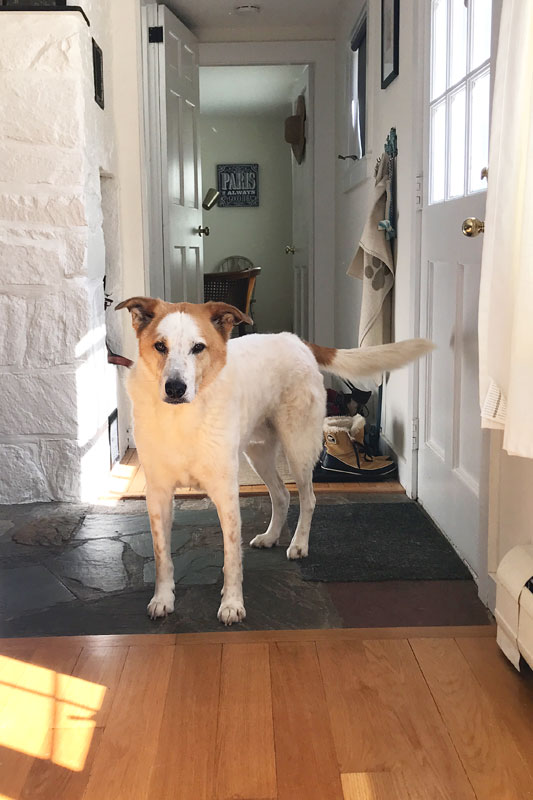
It was our best dog’s birthday the other day. He turned twelve. We tried to return some of the love he has shown us for all these years with treats and homemade cookies. And we let him dictate the plan for the day, which meant everyone lounged around until like 6pm then got hyper and went for a walk.

I winged it with the cookies. I’m not a baker, but sometimes I try. I’ve baked enough that I’ve got a general idea of what to do to make a cookie. Still, it’s a bit of a guessing game.

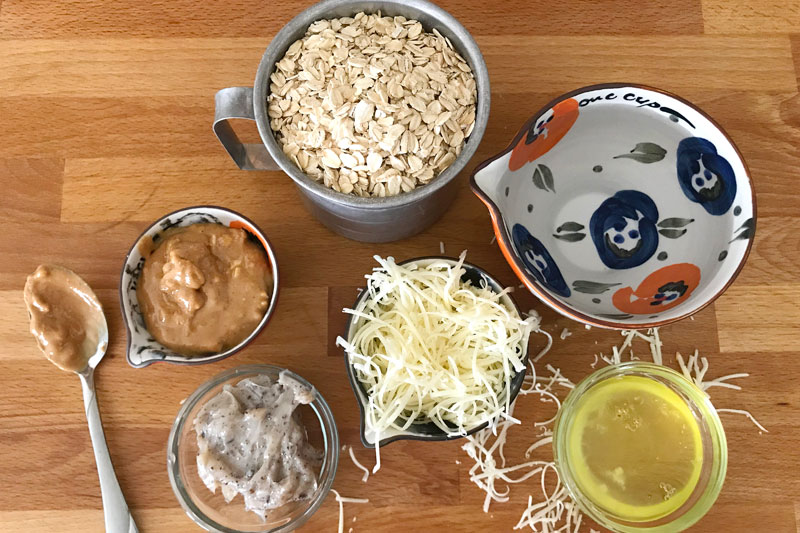
I wanted to incorporate some of Brando’s favorite things: bacon, cheese, and peanut butter. We don’t have a lot of flour left, so I did without. I made oats into oatmeal. And I used egg whites to bind it all together.

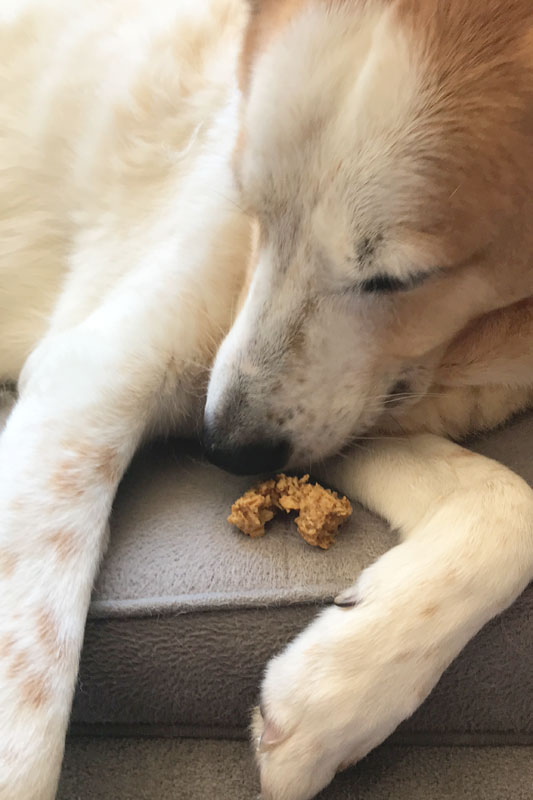
Brando ate his cookies while we watched the tiger show. Are you watching it? I can’t decide if I’m glad that we did. I guess it’s given us something to think about besides the Coronavirus. ¯\_(ツ)_/¯

(Singing and clapping) “THIS IS YOUR BIRTHDAY SONG. IT ISN’T VERY LONG.” Happy birthday Brando. We love you a lot!!

Peanut Butter Bacon and Cheddar Dog Cookies

Yield: 40 small cookies

Ingredients

  • 2 cups rolled oats
  • 2 cups water
  • 1/4 cup crunchy peanut butter
  • 3-4 tablespoons egg whites
  • 2 1/2 tablespoons bacon grease (or olive oil)
  • 1/3 cup grated cheddar cheese

Directions

  1. Pre-heat the oven to 300°F with an oven rack in the middle position.
  2. Cook the oats and the water in a medium-sized saucepan until the oats have softened, about 10 minutes.
  3. In a medium-sized bowl, whisk together the peanut butter, egg whites, and bacon grease. Then add the cheese. Fold in the cooked oats and mix until combined.
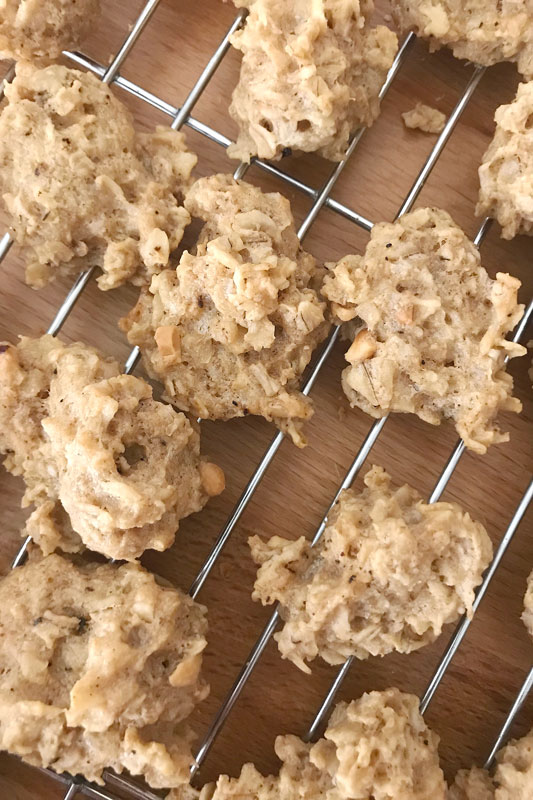
  4. Using a spoon, drop the dough onto un-greased baking sheets, about 1 1/2 tablespoons per cookie. Leave a bit of space between cookies, but they don’t need too much. Bake until the cookies are set and a bit browned, about 35-45 minutes, rotating the pans every 15 minutes. Cool for 5-10 minutes on the baking sheet, then transfer to a cooling rack to cool completely, about an hour.

Tuesday

17

September 2019

2

COMMENTS

Red and Green Enchiladas

Written by , Posted in Baking, Beans, Cheese, Dinner, Main Dishes, Meat, Poultry, Vegetables

Today didn’t go as I’d planned. I had some work that I was supposed to do. It didn’t happen. Not by choice. But then, I got to choose to not be frustrated. Do you hate the expression “It is what it is”? I know some people do. But, sometimes, it’s really the only thing that works. I could be mad that things didn’t go as I’d planned. I’d organized my week accordingly. Instead, I got to have a low key day. I watered the garden and gave the dog a long drink from the hose without hurry. I listened to the sound of food cooking in the skillet. I had a glass of wine at 4pm while I washed the dishes. It was a good day.

I had intended to make these enchiladas for dinner tomorrow. But, they looked too good to wait. I have our meals planned for the rest of the month. For tomorrow, now I have no idea. It might be tater tots dipped in chipotle mayo. Or sushi from the grocery store (our chef is amazing). Maybe cereal. I’ll worry about that tomorrow. For now, I’m here, and this is exactly what I’m supposed to be doing.

I always want to hurry into the future, only to get there and want to move on to the next thing. Ever since I was a kid… I don’t know that I’ve enjoyed as much of the present as I could have. Until this summer. For the first time, maybe ever, I’ve been here, in the now.

I don’t like summer. I hate hate hate being hot. Sweaty is for workouts, but not for regular living. Humidity could leave forever and I’d be glad. I’m sure it’s great for my skin. Whatev. I don’t like that so many tourists come to here. I mean, I get it, it’s important for the economy blah blah blah… Many of them are quite lovely yada yada yada. But, it’s busy, it’s loud, it’s claustrophobic. I like quiet and cold. I like the hibernating times more than the big, busy, social events. I like a small, but meaningful life… And, I don’t like summer.

Everyone likes summer. Especially around here. But, every once in a while I’ll come across a kindred spirit who can’t wait for the chill of autumn.

This year, I’ve embraced it. Summer and I became friends-ish. It could be that it’s easier now that we live somewhere with seasons. I know it’s not going to be hot forever. So I can enjoy it while it lasts. There’s something to be said for weekends spent in the garden, glass of rosé in hand, nose in a book. For watering the garden, and then pointing the hose heavenward and gasping as the freezing water hits my skin. I found joy in summer this year. I’m glad it’s feeling more like fall, but summer was more than ok.

When we lived in Burbank, I missed things like soup in the summer. Because summer lasted for like ten months. This year, I didn’t think about it at all. I was too busy eating green beans in the garden. This summer we discovered pizza on the grill. We don’t want to turn the oven on, but who can go three months without pizza?! Solved that one. But, then I made an amazing potato chowder the other day. And I was ruined. Summer can be over. I’ve made soup again.

Today, I wanted enchiladas. I had a jar of salsa verde in the pantry that needed to not be in there anymore and a frozen plomp of ground turkey taking up the bacon’s space in the freezer. Seemed like it was time. The oven, alas, was ready to turn back on.

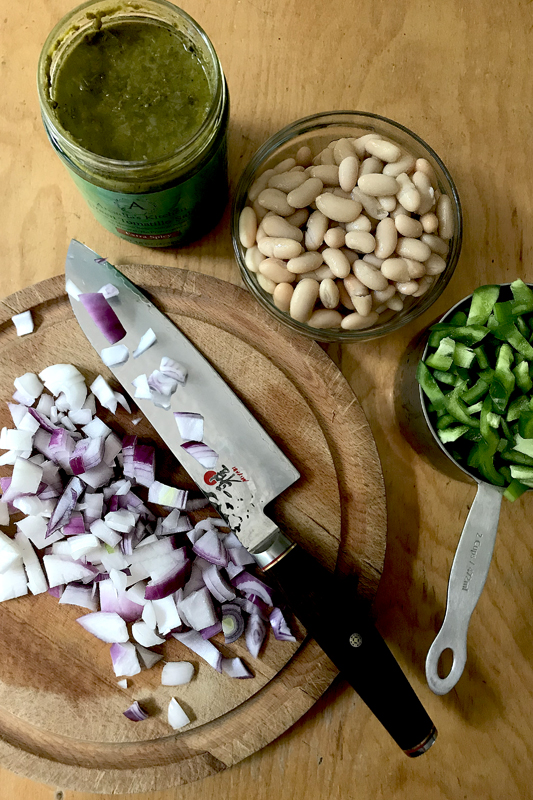
Enchiladas start with humble ingredients: onion, bell pepper that has seen better days, white beans, and salsa verde from Arcadia’s Kitchen.

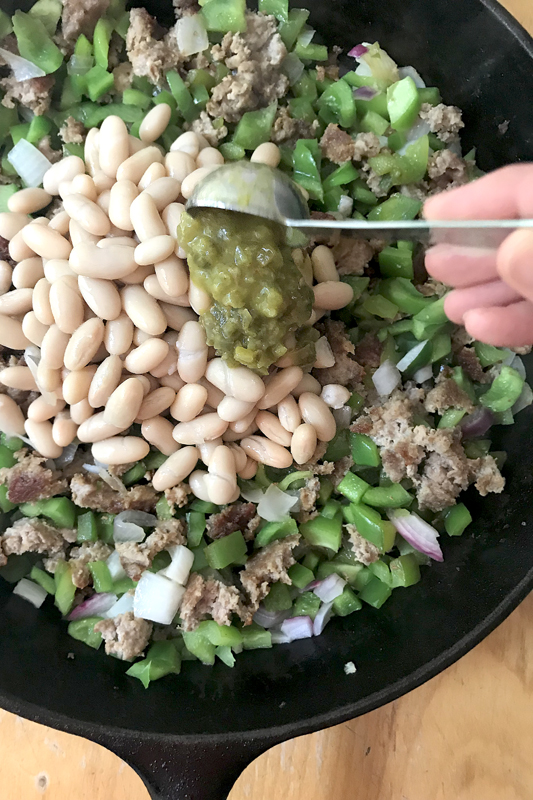
The salsa is delicious. And sooooo spicy. I used only two tablespoons in the filling and I could feel the heat. I was originally going to make just salsa verde enchiladas. But, I wasn’t sure if our faces would burn off if I added enough to make a sauce. So I added some tomato sauce to balance it out. It was perfect. Spicy, but not too.

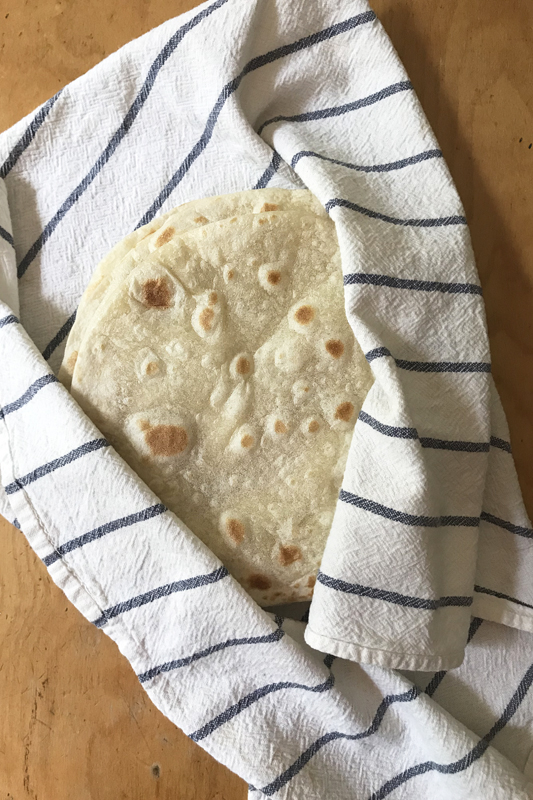
We’ve discovered a company called TortillaLand that makes fresh tortillas. They contain five ingredients and are ready to cook. We haven’t bought regular tortillas since we found these.

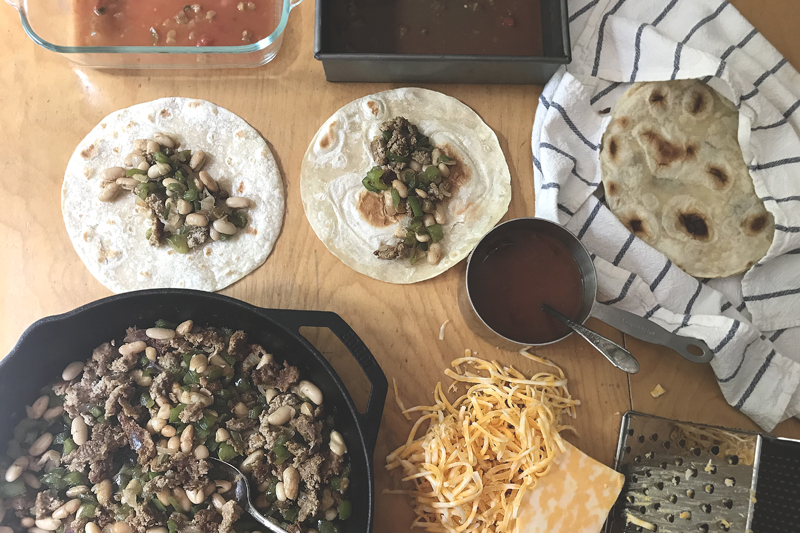
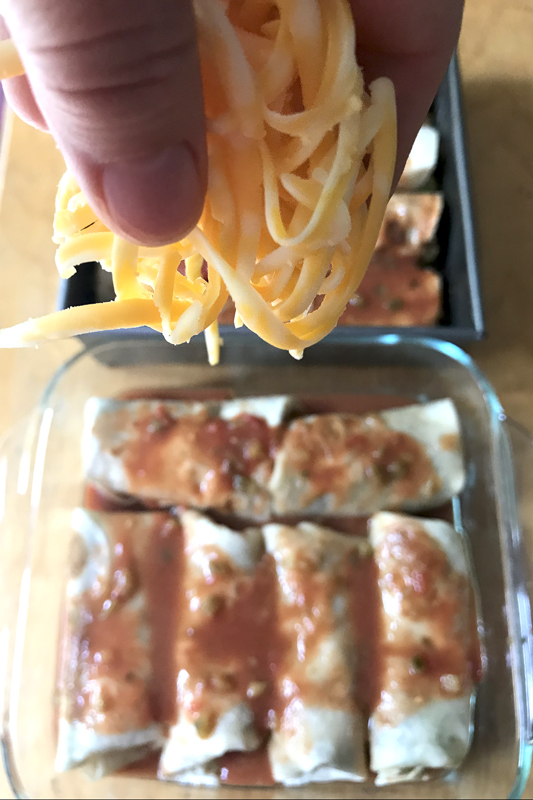
Enchilada assembly isn’t difficult. Scoop some filling on a tortilla. Fold in the ends and then roll it up. Or don’t fold in the ends and just roll it. I did a pan of each. I poured some of the tomato-salsa verde mixture into the bottom of the pan, added the rolled enchiladas, then poured the rest of the sauce overtop.

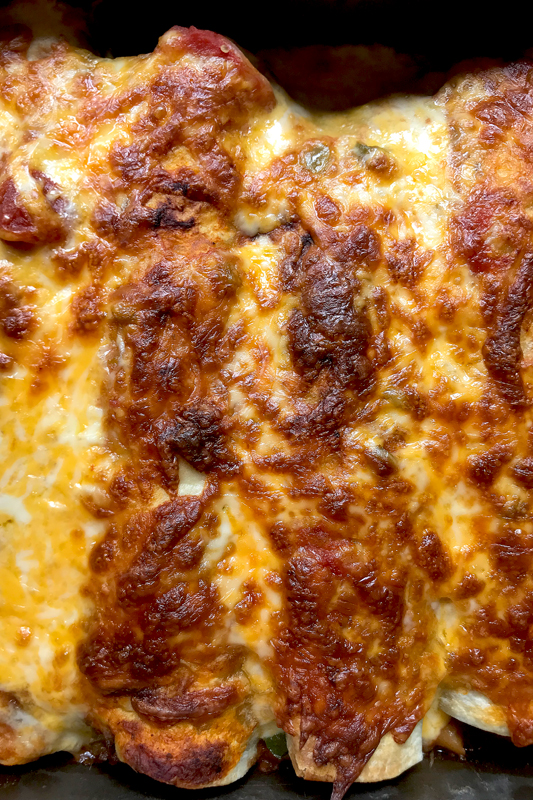
Once I topped everything with cheese, they went into the oven. It’s just the cheese that needs to melt and the sauce that needs to bubble. The filling is already hot, so twenty minutes was perfect.

I had two problems with this dinner. I finished cooking at like 3:30pm, because I wanted to photograph with the natural light. So I took a bite, cooled them down, then reheated them for later dinner. Second problem, I’d eaten all the sour cream a few days ago. I’d def add some to this. It would help with the heat from the salsa verde, and it just tastes good. Tim thinks I use a weird amount of sour cream on tacos and enchiladas. But, I like it. So I use what I use, and sometimes then I don’t have enough for my spontaneous blog post. But, it is what it is. Right?

Happy Eating!

Red and Green Enchiladas

Serves 4

Ingredients

  • 2 T oil
  • 1 pound ground meat (I used turkey)
  • salt
  • 2 1/2 C bell peppers (about 2), chopped
  • 1 C onion, chopped
  • 1-15 oz. can white beans
  • 2 T salsa verde
  • 8 fresh tortillas
  • 1/4 C salsa verde
  • 1 C tomato sauce
  • 1/2 t cumin
  • 1/2 t salt
  • stock or water
  • 1-2 C grated colby jack cheese
  • toppings: avocado and sour cream

Directions

  1. Pre-heat the oven to 350°F. Heat a skillet over medium heat. Add the oil. Add the meat and cook until it’s cooked through, about 5-7 minutes. Add the salt, bell pepper, and onion. Cook until the veggies are tender, about 5-7 minutes. Add the beans and 2 tablespoons of salsa verde. Cook until the beans are hot, about 2-3 minutes more.
  2. While the filling is cooking, cook the tortillas in a separate skillet, keeping them warm once they’re done in a clean tea towel. In a 2 cup measuring cup, stir together 1/4 cup salsa verde, 1 cup tomato sauce, 1/2 teaspoon cumin, and 1/2 teaspoon salt. Then fill with stock or water up to the 2 cup line.
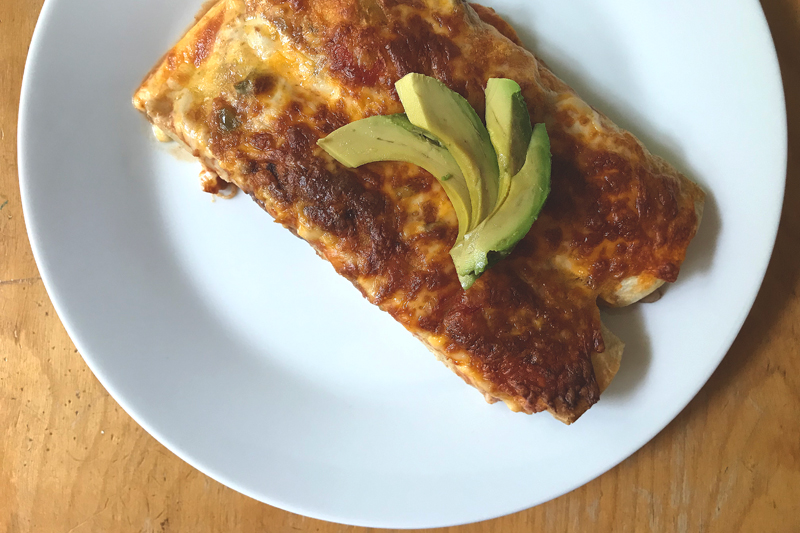
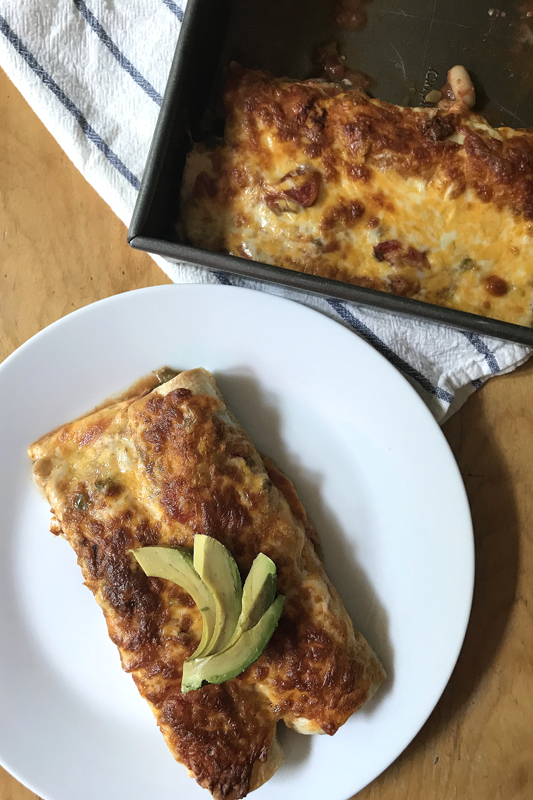
  3. Taste the filling and add more salt if needed. Pour a few scoops of the salsa verde-tomato mixture into the bottom of a 9×13 (or around that size) pan. Divide the filling between 8 tortillas. Roll them up and place them into the pan. Top with the remaining filling and sprinkle with cheese.* Bake until sauce is hot and cheese is bubbly and browned, about 20 minutes. Let them cool and set for a few minutes, then serve topped with avocado and sour cream.
  4. *(The enchiladas can be cooled, covered, and frozen at this point. I prefer to use a metal pan if freezing. It can go right into the oven from the freezer – take plastic wrap off and cover the pan with tinfoil. From frozen will obviously take longer to bake than the original. Give it an hour-ish and check it on your instant read thermometer to make sure it’s come to a safe temp. If not, bake it some more.)

Friday

11

December 2015

1

COMMENTS

Persimmon Apple Bread

Written by , Posted in Baking, Bread, Breakfast, Brunch, Dairy-Free, Dessert, Eggs, Fruit, Grains, Kid-Friendly, Nuts, Snacks, Vegetables, Vegetarian

PersimmonAppleBread-5

I don’t know if the old adage, “An apple a day keeps the doctor away” is true. But, apples have always been a favorite of mine, so if I can eat an apple every day that makes me happy. My favorite way to enjoy them is raw. Sliced, whole, chopped… it doesn’t matter. Since we go through apples pretty quickly, they don’t often get cooked. We either don’t feel the need, or there just aren’t any left. But, sometimes, I need to bake bread, and the bread needs to be studded with apples.

PersimmonAppleBread-1

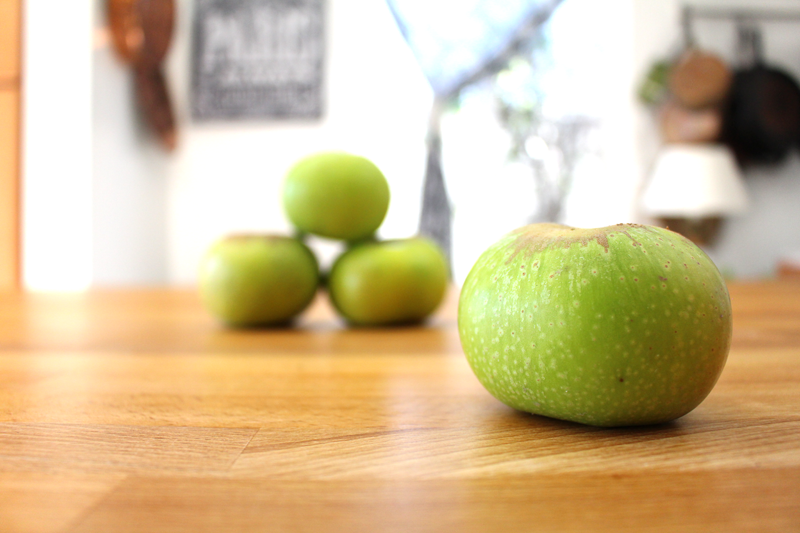
For this recipe I used Pippins. But, in my kitchen, I’d use whatever I have on hand. I’m sure the experts would disagree. There are some apples that are better for baking (Granny Smiths), and some that are best eaten out of hand (Fujis and Galas). But, as I’ve mentioned before, I’m a frugal cook, so I prefer to make do and adapt to what I’ve got, if at all possible.

PersimmonAppleBread-2

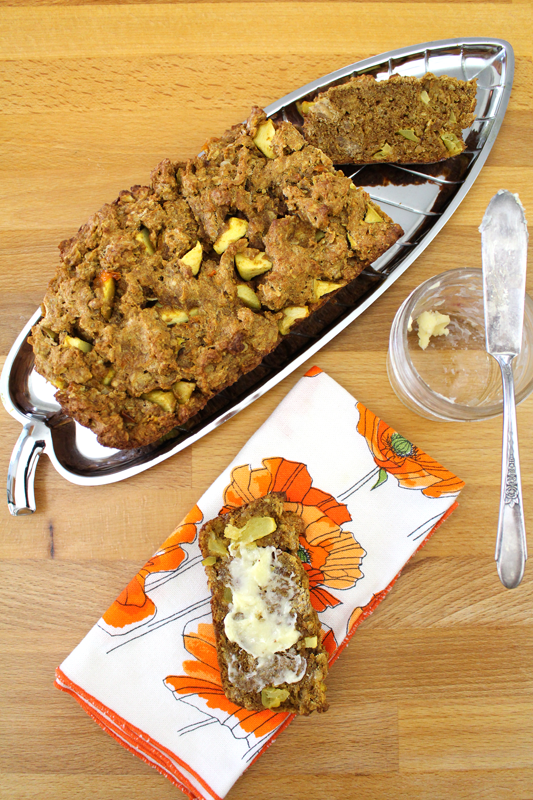
This bread is a dense, muffin-like bread. You could call it an Apple Snack Cake if that’s more appealing to someone that you’re trying to convince to try it. You could bake it in muffin tins if that’s easier or more manageable.

When persimmons are no longer in season you could add a super ripe (or frozen then thawed) banana. When apples are no longer in season, you could sub pears, Asian pears, persimmons, figs, cherries, or stone fruit. If you wanted to add some grated veggies, carrots, parsnips, or summer squash could be easily hidden (ok, maybe not the carrots, but you wouldn’t taste them too much). You could add nuts and seeds, raisins, dried cherries or cranberries (why don’t we call raisins “dried grapes”?), or maybe even chocolate chips.

What I’m trying to say is, it’s pretty versatile.

PersimmonAppleBread-3

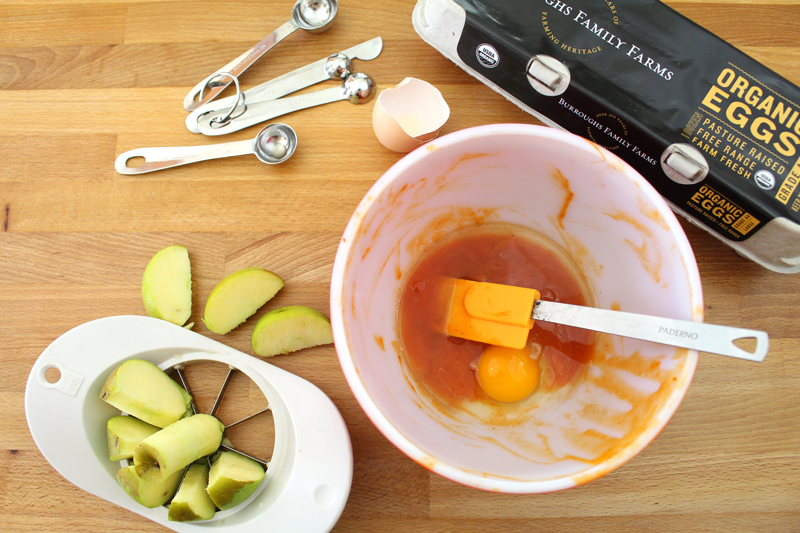
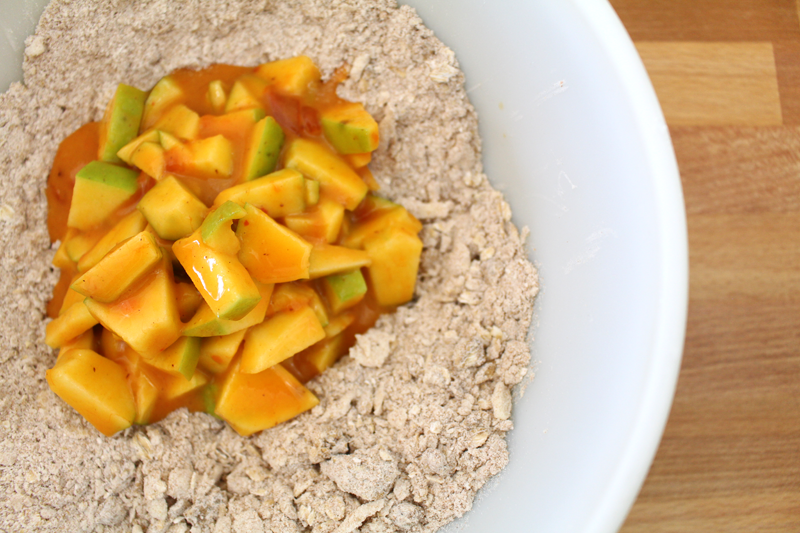
Like many baked goods, the dry ingredients are combined first, then set aside. The wet ingredients come together next. Everyone jumps into the bowl, then into a greased loaf pan. Easy. Quick. Snack attack time is near.

PersimmonAppleBread-4

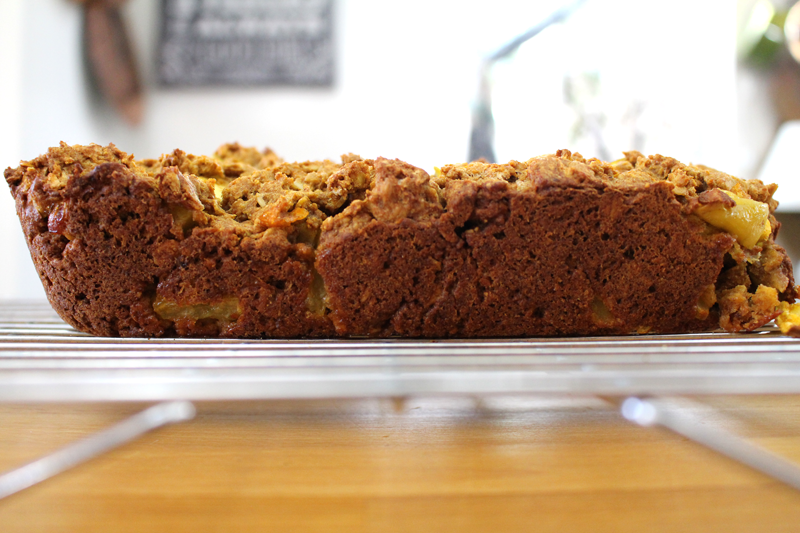
I would suggest letting the bread cool completely before slicing. If it’s still warm it may be a little too crumbly (although still yummy).

PersimmonAppleBread-6

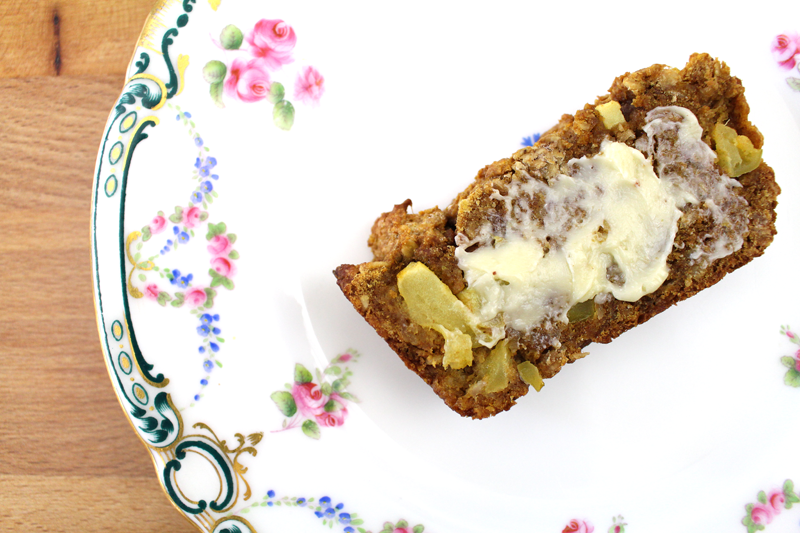
I opted for simple, and topped it with some homemade butter. But, you could also top it with caramel and serve it for dessert. You might spread some cream cheese on a slice, or top the whole thing with cream cheese frosting. Or, as an ode to one of my favorite snacks, eat it for breakfast topped with some crunchy peanut butter.

Peanut butter and apples. Apples and cheese. Apples and almonds… apples and almost anything.

Happy Eating!

Persimmon Apple Bread

Prep Time: 15 minutes

Cook Time: 40 minutes

Total Time: 55 minutes

Yield: 6-8

Serving Size: 1 to 1.5 slices

Persimmon Apple Bread

Ingredients

  • 1 C whole wheat flour
  • 1/4 t salt
  • 1/2 t baking powder
  • 1/2 t baking soda
  • 1/4 t cinnamon
  • 1 t fresh ginger, minced (or 1/4 t ground)
  • 1/2 C cold unsalted butter (could sub cold coconut oil), cut into small chunks
  • 1 C oats (can also use granola)
  • 1 1/4 C apples (or chopped pears, Asian pears, persimmons, figs, cherries, stone fruit, or grated carrots, parsnips, or summer squash), chopped
  • 1/2 C persimmon pulp
  • 1 egg
  • 1 t apple cider vinegar
  • 1 t vanilla extract
  • 1 T maple syrup
  • optional, for topping: seeds or chopped nuts

Instructions

  1. Pre-heat the oven to 350F.
  2. Whisk the flour through ginger. Mix in butter or oil with a pastry blender or hands (until it resembles a coarse meal or pea sized chunks). Stir in oats and fruit. Set in the freezer while you assemble wet ingredients.
  3. In a separate bowl, whisk together the persimmon pulp through maple syrup. Add dry ingredients and stir to combine.
  4. Scoop into a greased loaf pan (or into greased muffin tins). Top with nuts and seeds if using. Bake for 35-40 minutes (20-22 for muffins), or until a toothpick inserted in the center comes out clean.
  5. Remove from the oven and cool in the pan for 5 minutes. Remove from the pan and cool completely on a cooling rack.

http://www.de-ma-cuisine.com/persimmon-apple-bread/

Friday

16

October 2015

0

COMMENTS

Fig and Goat Cheese Spread – Oh What a Trip

Written by , Posted in Appetizers, Baking, Cheese, Condiments, Dairy-Free, Fruit, Gluten Free, Quick and Easy, Roasting, Snacks, Thoughts, Travel, Vegan, Vegetarian

JKWeddingTrip-16

My youngest brother, Josh, got married to Karensa in Ontario, Canada last month. So Tim and I, thankful to get some real fall weather, made the journey to my homeland. It was blissfully cool. The leaves were changing color. And, we had two and a half weeks to spend with my family.

It was the best.

JKWeddingTrip-2

My parents live on a few acres. Since the weather was so nice, we spent plenty of time outdoors.

Notice that I’m wearing a hoodie?! In September?! I miss that.

Notice the wacko trying to sneak up on me? He forgot that taking a selfie with the front camera means you can also see the person sneaking up behind you (ahem, I didn’t notice him until like the third picture).
JKWeddingTrip-3

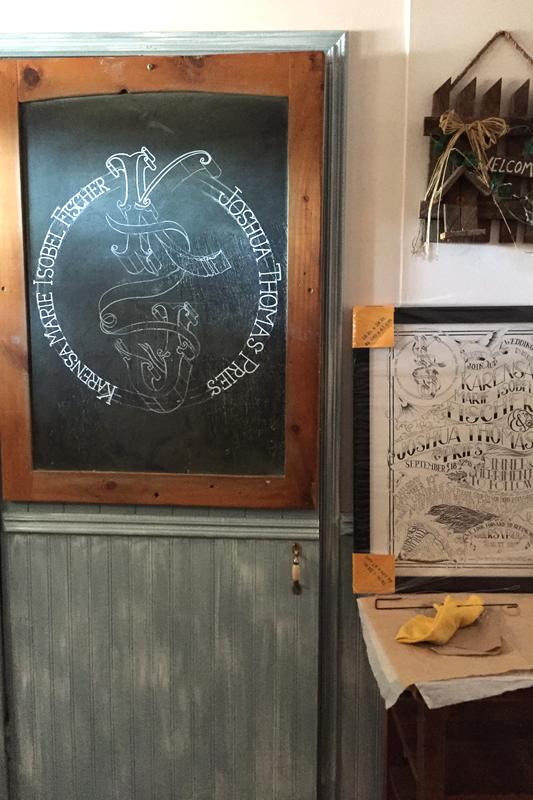
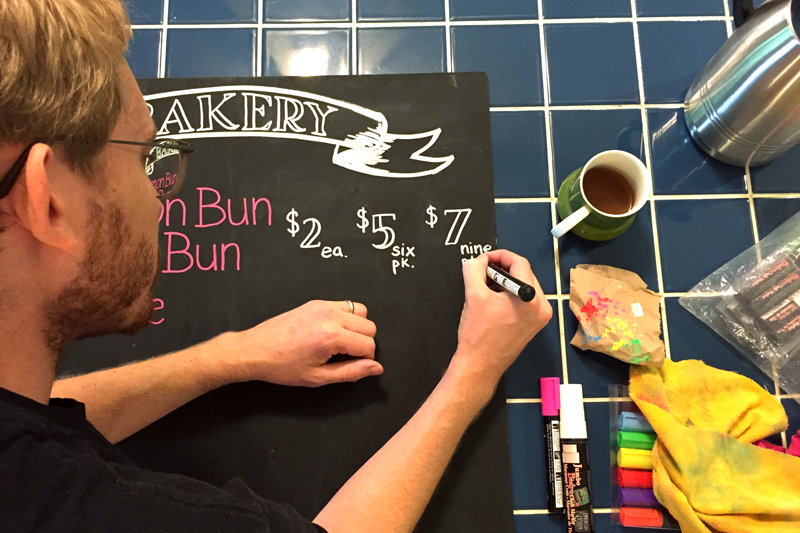
Tim spent hours and hours working on Josh and Karensa’s wedding invitation (that’s the original in the frame on the right). He drew their seal on the chalkboard by the entrance to the banquet hall. Flippin’ talented. I can’t believe the things he comes up with. (If you want an invitation or just some hand lettering drawn by Tim, he’s got an Etsy store open now.)

JKWeddingTrip-4

Josh and Karensa had a private ceremony at my parents’ place. It was sweet and intimate. They did something kinda neat where they asked people to share during the ceremony (instead of speeches at dinner). I cried and high talked though mine.

JKWeddingTrip-6

I told them that I remembered my dad telling me that I had a baby brother. I’d wanted a sister. But, I’m so glad that I got Josh instead. He’s a sweet, kind, caring, super smart man. And I’m so glad that now as grownups we’re not just siblings, but friends. He’s found a wonderful woman to share his life with, and now I have her (and my other sisters-in-law), many sisters instead of the one I was hoping for so many years ago.

JKWeddingTrip-7

Since there was plenty of family in from out of town, we had lots of extended family time. It was super fun. Two of my mom’s siblings still live on the West Coast (mom’s a California girl), so they’re not all together often. But when they are… what a hoot!!

JKWeddingTrip-8

I’m a huge baseball fan, and growing up it was all about the Blue Jays. We drove into Toronto a few times. Once to see a Jays game. I was thrilled to watch them crush the Yankees. My brother Jake and I were talking the other day about how our 10 and 12 year old selves (respectively) are just thrilled that the Jays are in the post season again for the first time since 1993.

If you need me over the next three weeks, I’ll be on the edge of my seat, hoping the Jays can win again.

JKWeddingTrip-9

Toronto (pron. Tronno). One of my favorite skylines.

JKWeddingTrip-10

We had a little extra time before meeting some family for dinner, so we hung out on the shores of Lake Ontario.

JKWeddingTrip-11

Tim and I read books, enjoyed the cool weather, and listened to the waves lap gently at the shore.

JKWeddingTrip-13

There was a lot going on during our trip. It was busy, but it was so good. In the midst of it, we still had plenty of time to hang out with my immediate family though, and that made it great.
JKWeddingTrip-17

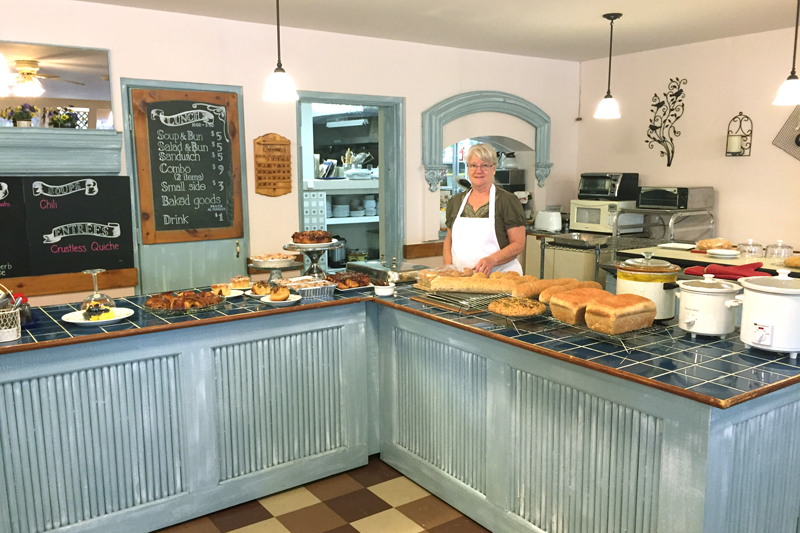
My parents moved from the house I grew up in right after Tim and I got married. There are things that I still miss about it. Those memories that have been permanently etched in my mind. That squeaky step, the creaky wood floors, the sound of the back door closing in the winter. But, this place makes me smile. I love that there’s a river to sit by, trees to walk through, and an awesome commercial kitchen to play in.

One of the reasons they moved was to have a kitchen that mom could work out of. They worked hard and fixed this place up, and now they have a banquet hall for groups, and a bakery & café where mom showcases her baked goods, and sells soups and lunch items a few days a week. What fun it was to cook with mom in her kitchen!
JKWeddingTrip-15

Tim got to help out too. He re-did all of their interior signs (and made a couple new ones for along the road), and he made some out of this world strawberry cheesecake ice cream.

JKWeddingTrip-14

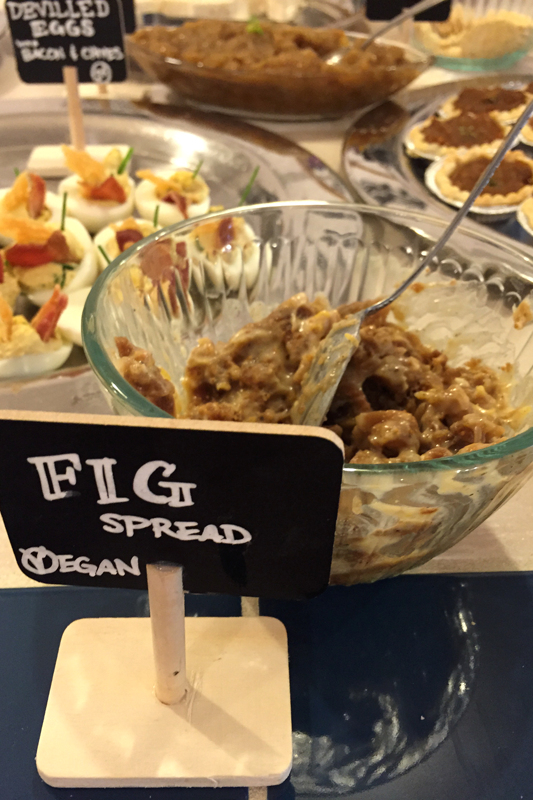
I’ve been making pain au chocolat at home from the recipe I learned when Tim and I were in Paris. So Mom let me play a bit and I made both a regular and a vegan version for the bakery. They both turned out great! Karensa is a vegan, so I was hoping that there’d be some left for her for when they returned from their honeymoon. There were.
JKWeddingTrip-5

In addition to helping with the bakery & café, I got to spend a fair amount of time in the kitchen because Josh and Karensa asked my brother Jake and I to make the appetizers for the wedding dinner. Over the next month or so I’ll share the remaining recipes, along with a few more photos from the trip.

Some of the appetizers were passed on trays. But, we also had a station set up with toasted bread and crackers, with a few different spreads. The first (and probably my favorite) was a warm fig and goat cheese spread. There were two versions, one with goat cheese, one with coconut yogurt (for the vegans). They were quick and easy to make. It wasn’t fig season in Ontario, so we used dried figs. I’d been planning to roast them, which would have been awesome too. But, to save a bit of time, the dried figs worked great. This was a great appetizer, but I think I could probably just eat it for dinner. Give me a baguette and some honey to drizzle over and I’d be set.

Happy Eating!

Fig and Goat Cheese Spread

Prep Time: 15 minutes

Yield: 2 C

Ingredients

  • 1 1/2 - 2 C dried figs* (about 20) (8 oz., 227g), chopped
  • 1 pkg (300g) goat cheese, chopped (or 1 C vegan yogurt - Yoso brand was great)
  • 1 T lemon zest, chopped
  • 1-2 T honey
  • 1/4 t black pepper
  • to taste salt
  • 1 t lemon juice

Instructions

  1. Pre-heat the oven to 350F.
  2. Mix all ingredients together. Taste and adjust seasoning if desired. Scoop into a shallow oven safe dish and warm through (about 20-30 minutes should do) (if making the vegan version, you may want to just serve it at room temperature rather than heating).
  3. Serve with toasted bread, crusty baguettes, or crackers.

Notes

*If using fresh figs, halve and roast (350F for 10-15 minutes or so), then chop.

http://www.de-ma-cuisine.com/fig-and-goat-cheese-spread-oh-what-a-trip/

Every time I say “on trays” I hear Basil Fawlty say “On those trays” to Manuel in Fawlty Towers…
Monday

21

September 2015

0

COMMENTS

Whole Wheat Pear Muffins

Written by , Posted in Baking, Bread, Breakfast, Brunch, Dairy-Free, Dessert, Eggs, Fruit, Gluten Free, Grains, Kid-Friendly, Lunch, Nuts, Quick and Easy, Snacks, Vegan, Vegetables, Vegetarian

PearMuffins-7

I’ve never been the best baker. I like to think that it’s because of my lack of skill when it comes to all things science. I got a D in chemistry in high school. Sometimes I wonder, if they’d told me how much I would care about science when I grew up, or if someone had shown me science in action, in the form of different baked goods, if it would have clicked. Maybe not, but I wonder.

So I’m slowly learning about baking. I’m a kinesthetic learner – I learn by doing, so it’s taking some trial and error to figure things out. What comes the most naturally to me when cooking is figuring things out as I go; recipes used for inspiration more than direction. That doesn’t really work with baking. But, I guess I’m learning, because these muffins did.

It helps that I know what the batter should look and feel like. The more I bake the more I know about doughs and batters and the like.

PearMuffins-1

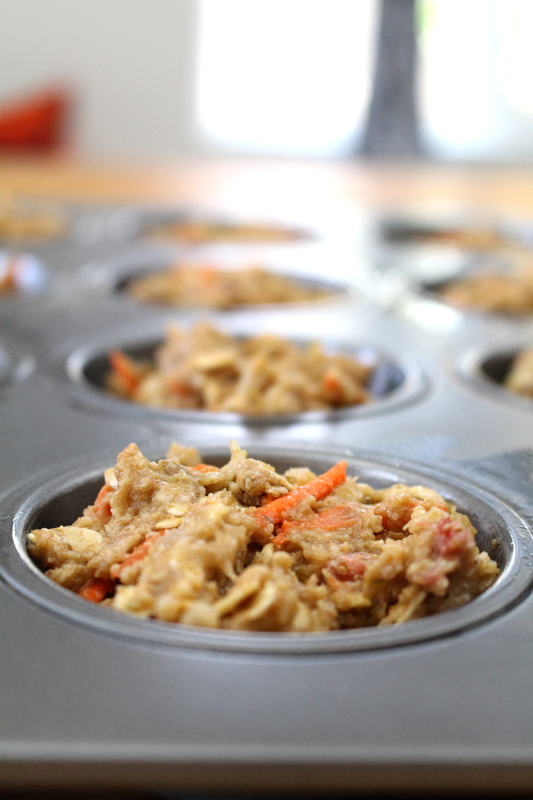
The stars of this recipe are Asian pears and figs, but any seasonal fruit will do: apples, berries, cherries, persimmons… Use what you love and what you have on hand.

PearMuffins-2

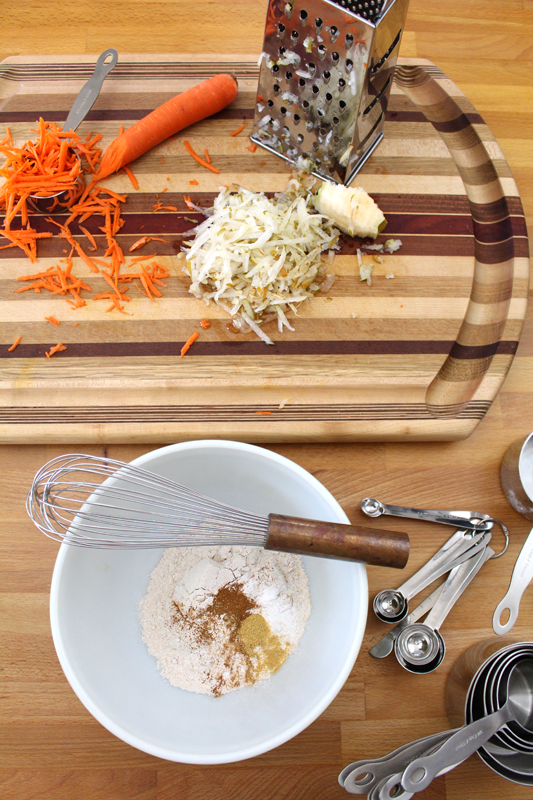
There are also carrots, but you could use parsnips or summer squash in their place.

PearMuffins-3

I used whole wheat flour and butter. But, of course, adapt it to suit your family’s needs. You could try a gluten-free flour blend if you’d like, or to make it vegan, use cold coconut oil and substitute flax seeds and water for the egg.

PearMuffins-4

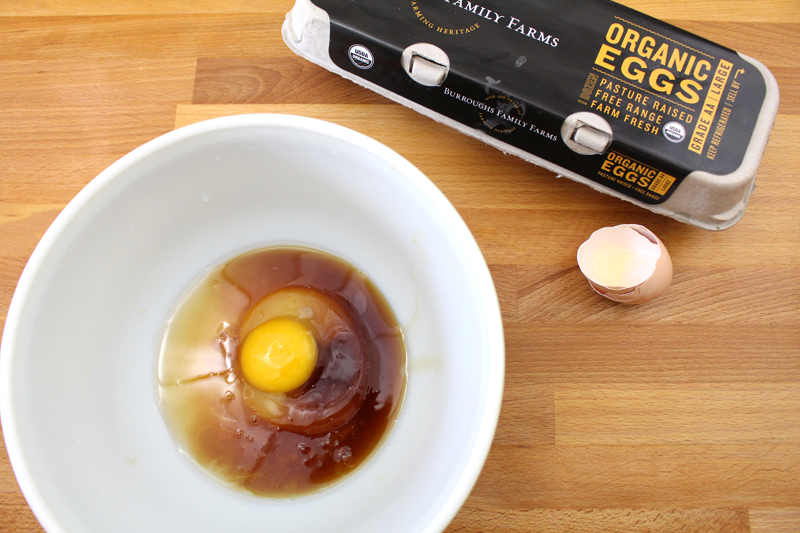
I love Burroughs Family Farms’ eggs, so that’s what I used today. The yolks are always the most brilliant golden yellow. I just can’t get enough!

PearMuffins-5

I’m pretty picky about what I eat when it comes to sugar. I’m ok with the occasional treat, but in general, I avoid refined white sugar like the plague. Instead I like to use honey and maple syrup. Combine that with the oats, whole wheat flour, vegetable, and fruit that these muffins contain, and I feel great about them for breakfast, lunch, or a satisfying snack.

I was totally going to add chocolate chips. I even had them out on the counter. Then I forgot. Add ’em if you’d like. You could also add nuts. I’m not crazy about them in baked goods. But, to bump up the protein, or just because you like them, you could add some almonds or walnuts either to the batter, or gently press them into the top before baking.

PearMuffins-6

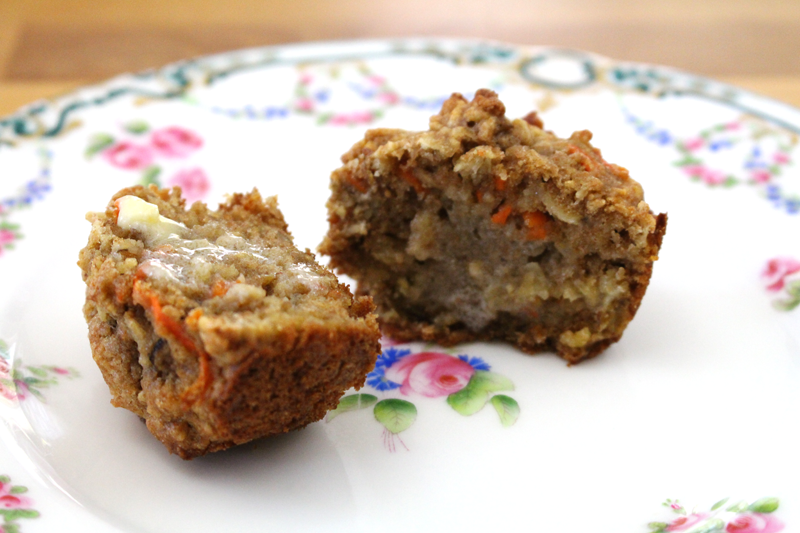
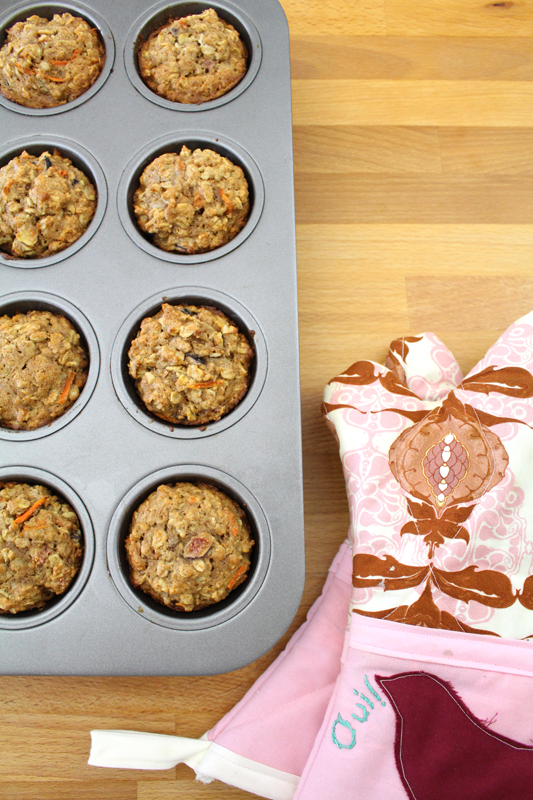
I enjoyed these with some homemade butter. They’d been cooling for a little while when I finally got a taste, but were still warm enough to melt the butter just slightly. But even without butter (which is how I ate my second one), they’re absolutely delicious.

Happy Eating!

Whole Wheat Pear Muffins

Prep Time: 15 minutes

Cook Time: 22 minutes

Total Time: 37 minutes

Yield: 1 dozen

Whole Wheat Pear Muffins

Ingredients

  • 1 C whole wheat flour
  • 1/4 t salt
  • 1/2 t baking powder
  • 1/2 t baking soda
  • 1/4 t cinnamon
  • 1/4 t ginger
  • 1/2 C cold butter (or coconut oil), cut into small chunks
  • 1 C oats
  • 3/4 C any of the following: Asian pears, pears, apples, parsnips, carrots, squash, persimmons, (grated)
  • 1/2 C any of the following: figs, berries, cherries (pits removed), chopped
  • 1/4 C honey (or maple syrup)
  • 1/4 C maple syrup
  • 1 egg (or use ground up flaxseeds and water)
  • 1 t apple cider vinegar
  • 1 t vanilla extract
  • (optional: almonds or walnuts, chopped, for topping)

Instructions

  1. Position the rack in the center of the oven and pre-heat to 350F.
  2. Whisk flour through ginger. Mix in butter with a pastry blender or hands until coarse meal or small (pea sized) chunks remain. Stir in oats through fruit. Set in the freezer while you assemble the wet ingredients.
  3. In a separate bowl whisk honey through vanilla. Add to dry ingredients and stir to combine.
  4. Scoop about 3T of batter into each compartment of a greased muffin pan (should yield 1 dozen). Top with nuts if desired, pressing them gently into the batter. Bake for about 20-22 minutes, or until a toothpick comes out clean and the center of the muffin springs back when touched.
  5. Remove from the oven and cool for about 5 minutes in the pan. Transfer to a cooling rack and cool completely.

http://www.de-ma-cuisine.com/whole-wheat-pear-muffins/