De Ma Cuisine

Grains Archive

Wednesday

3

July 2013

0

COMMENTS

Tomato Corn and Quinoa Salad

Written by , Posted in Dinner, Fruit, Gluten Free, Grains, Leftovers, Lunch, Main Dishes, Meat, Potlucks, Poultry, Quinoa, Salads, Sides, Vegetables


Tomato Corn and Quinoa Salad
Recipe Type: Salad, Main, Side, Vegetable, Meat, Chicken
Author: Rachel Oberg – De Ma Cuisine
Prep time:
Cook time:
Total time:
Serves: 6-8
Perfect for a picnic or a BBQ, this is a light yet hearty salad, with plenty of delicious summer veggies.
Ingredients
  • 2 C uncooked quinoa, rinsed and drained
  • 4 C stock or water
  • 4 ears of corn, kernels sliced off the cob
  • 2 small summer squash, diced
  • 1 C green beans, diced
  • 1/4 to 1/2 C red onion, diced or minced
  • 5 small tomatoes, diced
  • 1 C chicken, cooked and chopped
  • Dressing: 1 T lemon juice
  • 1/2 to 1 T apple cider vinegar
  • 2 T balsamic vinegar
  • 1/2 T maple syrup
  • 1 t dijon mustard
  • salt, to taste
  • pepper, to taste
  • pinch cayenne
  • 2 T fresh basil, chopped
  • 1 T fresh parsley, chopped
  • 1 t fresh oregano, chopped
  • 1 t fresh chives, chopped
  • 3/4 C olive oil
Instructions
  1. In a medium pot combine quinoa and stock/water. Stir. Cover and bring to a boil. Reduce heat to low and simmer, uncovered, for 15-20 minutes, or until liquid is absorbed and quinoa is cooked.
  2. Whisk together all dressing ingredients except olive oil. Whisk and slowly stream in olive oil. Taste and adjust seasoning if needed.
  3. Combine half the dressing with the quinoa. Refrigerate while you prepare the veggies.
  4. Combine quinoa with remaining dressing, chicken, and veggies. Stir well. Taste and adjust seasoning if needed. Cool completely.
  5. Serve as larger portions for a main dish, or smaller portions along with something grilled and delicious as a side.

 

Monday

8

April 2013

2

COMMENTS

Joanna – An Ambassador for De Ma Cuisine

Written by , Posted in Dairy-Free, Dinner, Fruit, Gluten Free, Grains, Herbs, Main Dishes, One Dish Dinners, Rice, Vegan, Vegetables, Vegetarian

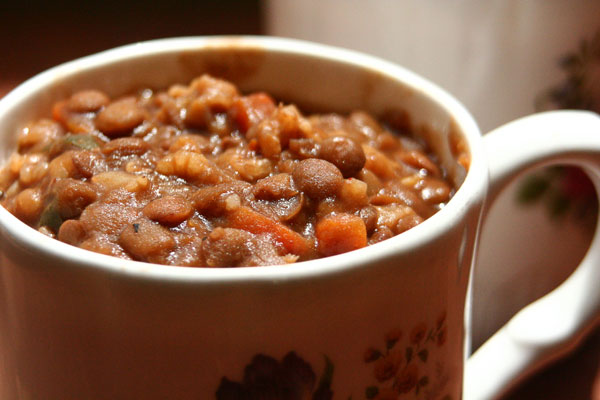
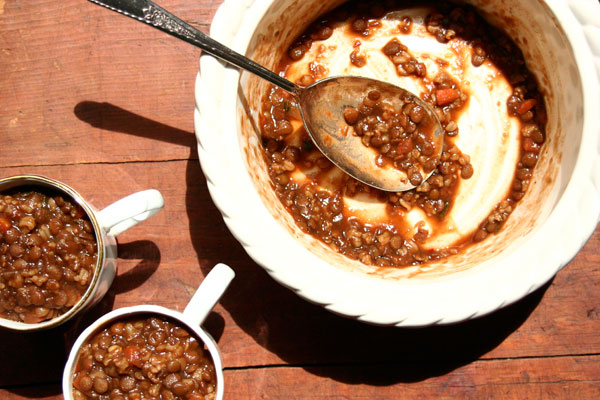
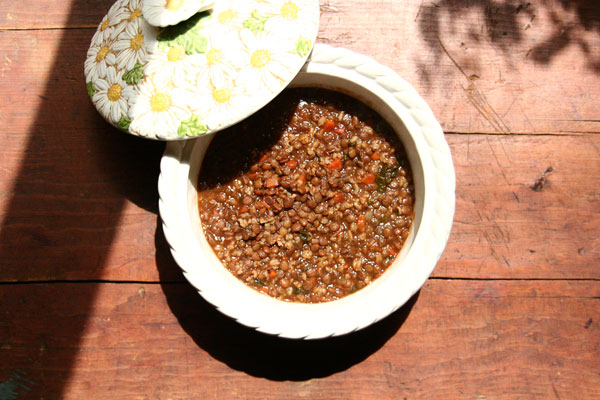
LentilStewForJo4A long long time ago (or about a year and a half ago), when I first started my blog, I asked a few people if they would be ambassadors. I told them that if they would tell people about my blog, I’d create a dish for and named after them.

Today, it’s Joanna’s turn.

Joanna is a dear friend of mine.

She is one of the most talented graphic designers I know.

She came up with my logo.

She designed business cards for me.

She loves food.

LentilStewForJo

Jo prefers a vegetarian diet. A while ago she asked for suggestions for getting enough protein and iron.

When I was creating a dish for her, lentils and protein were my inspiration.

Lentils are a good source of lean protein. They have lots of folic acid and fiber and are a good source of iron. (1)

LentilStewForJo3

LentilStewForJo2

LentilStewForJo5

I’m thankful for this amazing, beautiful, sweet woman. Jo, I hope you enjoy this dish!!

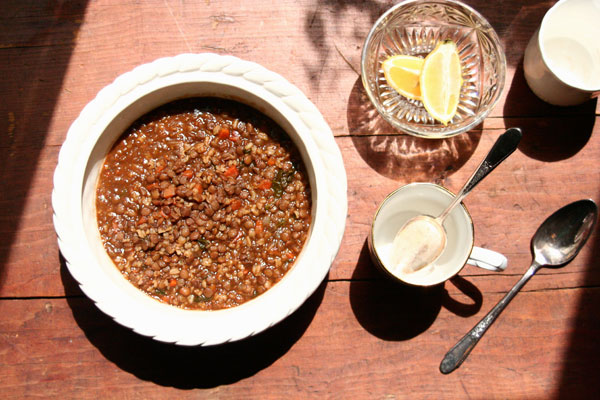
Lentil and Rice Stew

Lentil and Rice Stew

Ingredients

  • 1 T garlic infused olive oil
  • 1 carrot, diced
  • 1 shallot, diced
  • 2 T tomato paste
  • 1 t dried parsley
  • 1/2 t dijon mustard
  • pepper
  • 1 1/2 t salt
  • 1/2 to 1 t red pepper flakes
  • pinch cumin
  • pinch smoked paprika
  • 1/4 C balsamic vinegar
  • 1 t maple syrup
  • 1 C lentils, sorted and rinsed
  • 1/2 C uncooked brown rice
  • 6 1/2 to 7 C vegetable stock (warmed - opt.)
  • 2-4 C water
  • 2 C spinach, roughly chopped
  • 1 t good olive oil
  • 1 lemon wedge/serving

Instructions

  1. Heat soup pot. Add oil. When oil is hot, add carrot and a pinch of salt. Cook for 5 minutes over medium heat, stirring occasionally. Add shallot and another pinch of salt. Cook 2 minutes more.
  2. Add tomato paste, parsley, dijon, pepper, remaining salt, red pepper flakes, cumin, paprika, balsamic vinegar, and maple syrup. Stir and cook 2 minutes.
  3. Add lentils and rice to pan. Cook 2 minutes, stirring often.
  4. Add stock. Cover and bring to a boil. Uncover, reduce heat to medium and cook for 55-65 minutes, adding more stock if needed, until veggies are tender and lentils and rice are cooked.
  5. In last 5 minutes of cooking time turn heat to low and add spinach.
  6. Remove from heat and stir in olive oil.
  7. Serve with a squeeze of lemon.
http://www.de-ma-cuisine.com/joanna-an-ambassador-for-de-ma-cuisine/

(1) Nutrition Almanac, Fifth Edition, Lavon J. Dunne 2002

Wednesday

3

October 2012

0

COMMENTS

Tacos

Written by , Posted in Cheese, Dinner, Gluten Free, Grains, Main Dishes, Vegetables, Vegetarian

Tacos

Recipe Type: Main, Dinner
Author: Rachel Oberg – De Ma Cuisine
Prep time:
Cook time:
Total time:
Serves: 4
Tempeh is substituted for ground meat in this twist on a traditional taco.
Ingredients
  • 4-8 tortillas (flour or corn – number of servings depends on size of tortilla)
  • 1 (8 oz.) package Tempeh (could substitute ground meat if desired)
  • 1 large tomato, diced
  • 1 C lettuce, shredded
  • 1/2 C corn
  • 1 sweet pepper, diced
  • 1 onion, diced
  • 1 t salt
  • 1/2 t pepper
  • pinch cayenne
  • 1 t garlic powder
  • 1 t smoked paprika
  • 1 t sweet paprika
  • 1 t chili powder
  • pinch cumin
  • 1 t apple cider vinegar
  • 2-3 T olive oil
  • Greek yogurt (for topping)
  • salsa (for topping)
  • 1 C cheese, grated (for topping)
  • avocado (opt.) (for topping)
  • cilantro (opt.) (for topping)
Instructions
  1. Heat oven for a few minutes. Turn off and place tortillas (wrapped in tinfoil) to warm.
  2. Heat pan. Add oil. Add crumbled tempeh, onion, corn, peppers, and seasonings. Cook about 10 minutes over medium heat (or until veggies are tender and tempeh is heated through), stirring occasionally. (Note: If using meat, add meat in place of tempeh, cook completely.)
  3. In center of tortilla add a bit of the tempeh mixture and top with cheese, tomatoes, lettuce, salsa, yogurt, and any other toppings.
  4. Either fold at one end and roll sides in, or fold in half (works well for a larger taco).
Notes

This meal is vegetarian (unless you substitute for the tempeh with meat), and can be gluten free by using corn tortillas.


Wednesday

29

August 2012

0

COMMENTS

Grilled Cheese

Written by , Posted in Bread, Cheese, Dinner, Grains, Lunch, Main Dishes, Sandwiches, Sides, Vegetarian

Grilled Cheese
Recipe Type: Sandwich, Main or Side
Author: Rachel Oberg – De Ma Cuisine
Prep time: 5 mins
Cook time: 8 mins
Total time: 13 mins
Serves: 1
A perfect compliment to tomato soup.
Ingredients
  • 2 pieces of bread (frozen, opt.)
  • 1 T olive oil (or unsalted butter)
  • salt
  • 4-5 slices Gruyère cheese (or your favorite kind of cheese)
  • 1 clove garlic (opt.) (or garlic salt, if you don’t want to use frozen bread)
Instructions
  1. If you’re using garlic: Rub the garlic onto one side of each slice of the frozen bread. It should use almost a whole clove. (Or for non-frozen: sprinkle with garlic powder.)
  2. Drizzle with olive oil, sprinkle with salt, and spread the oil out evenly across the bread. Repeat on second slice of bread.
  3. Top un-oiled side of one slice of bread with cheese. Close the sandwich and place in a pre-heated pan (over medium or medium-low heat). Cook until bread is slightly browned, flip, cook until cheese is melted and bread is browned, about 3-4 minutes on each side.

Friday

24

August 2012

0

COMMENTS

Slightly Sweet Granola with Quinoa

Written by , Posted in Baking, Breakfast, Brunch, Dairy-Free, Grains, Kid-Friendly, Quinoa, Snacks, Vegetarian


We all know that breakfast is said to be the most important meal of the day. OK with me. I eat it, I like it. I don’t always like to prepare it though. I’m a cereal girl. I go for things with not too many ingredients, that will keep me feeling full for longer. I mean, I love things like bacon and eggs, pancakes, french toast, but I’m just a little too lazy to make them on a regular old weekday morning.

I like to have homemade granola on hand. I like homemade things because I control what’s in them. The amount of sugar, salt, preservatives…

My friend, Sheila, makes great granola. About 6 years ago when I started making granola on my own, I used her recipe. Over the years, I’ve adapted it slightly. Today’s recipe was inspired in part by hers, part by my friend, Genevieve, who added quinoa‚ to her granola a while ago. It’s fun to be inspired by friends who love to cook like I do!

I have a fun idea for something a little different to do with the granola. I mean, I’m going to eat it with milk, or with Greek yogurt sweetened with maple syrup… the usual ways. But, I’m going to try mixing some crunchy peanut butter with it, to make a granola bar-ish treat. Perfect for a snack, or to send along with Tim to eat at work.

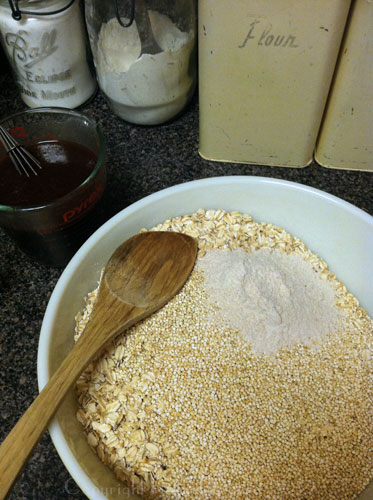
Dry ingredients are stirred together.

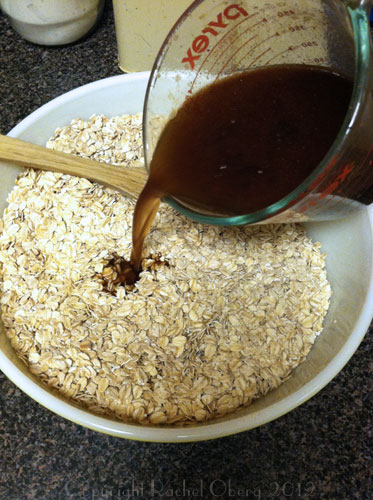
Sweet liquids are added to the oat mixture.

It’s baked up on two cookie sheets.

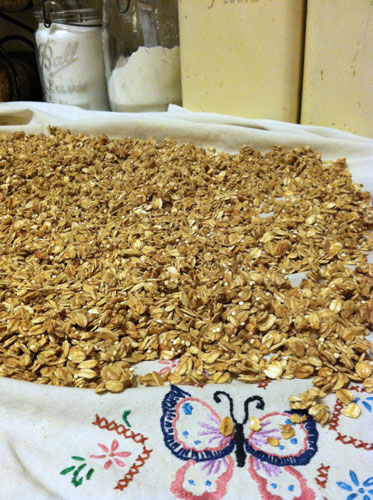
Cooled on a tea towel (that was a wedding gift).

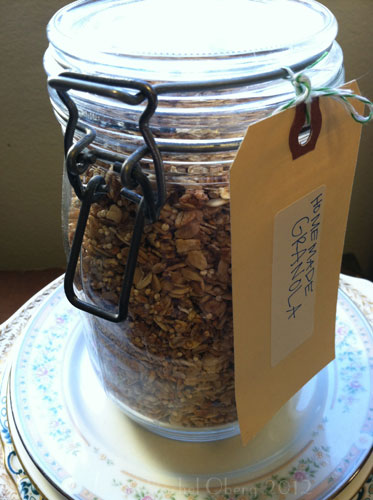
granola6

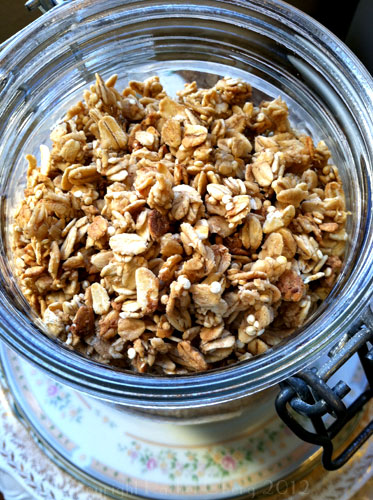
Stored in a jar with a handmade label.

This granola isn’t super sweet. It’s the way I like it, but I know Tim might ask for it to be sweeter. If you want it like he does, just add more of the sweeties! You could also add roasted and chopped almonds, raisins, other nuts, seeds, and dried fruits (I would add them after the granola has baked).

Happy Eating!

Slightly Sweet Granola with Quinoa

Slightly Sweet Granola with Quinoa

Ingredients

  • 8 C oats
  • 1/2 C quinoa, rinsed
  • 2 T coconut oil, melted
  • pinch salt
  • 1 t cinnamon
  • 1/8 to 1/4 t nutmeg (opt.)
  • 1 t vanilla extract
  • 1/4 C whole wheat flour
  • 1/4 C honey
  • 1/4 C raw sugar
  • 3 to 4 T maple syrup
  • 1/4 C brown sugar
  • 1 C hot water

Instructions

  1. Preheat oven to 350F.
  2. Stir together oats, flour, cinnamon, nutmeg, and quinoa.
  3. Whisk together water, maple syrup, honey, sugars, salt, vanilla, and oil.
  4. Add liquid to oat mixture and stir to combine.
  5. Spread over two cookie sheets and bake at 350 F for 15 minutes. Remove from oven, stir, reduce temp to 200F and bake 2 hours more (stirring every 30 minutes and rotating which rack each pan is on).
  6. Cool completely (I use a clean tea towel on the counter).
  7. Store in an airtight container.
http://www.de-ma-cuisine.com/the-most-important-meal-deserves-to-be-yummy/