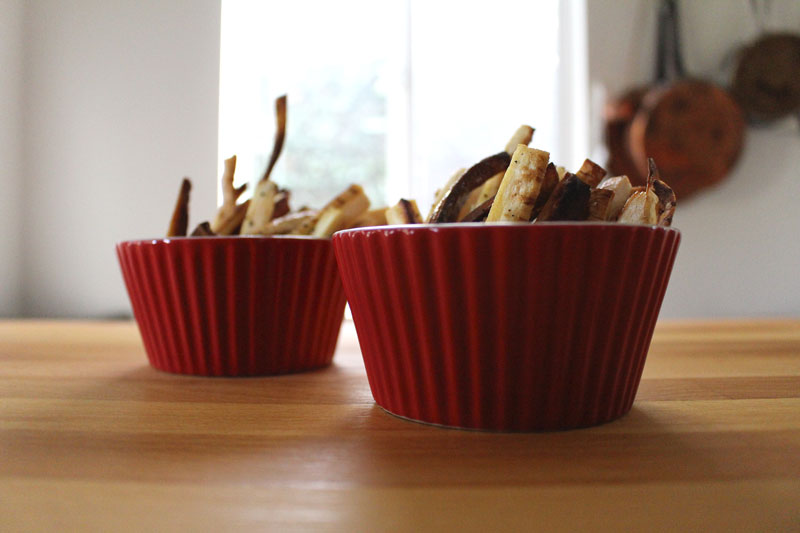
Parsnip Fries with Dip
Written by Rachel, Posted in Appetizers, Cheese, Condiments, Dinner, Gluten Free, Herbs, Kid-Friendly, Leftovers, Lunch, Quick and Easy, Roasting, Sides, Snacks, Vegetables, Vegetarian
I have something to confess. Other than roasting parsnips, or using them in soups, I don’t have many other ways that I use them.
Maybe because I know how good they are roasted. Think fried plantains meets roasted carrots.
I figured that it was time to try something a little bit different. I mean, I’m still roasting them, but this time there’s dip.
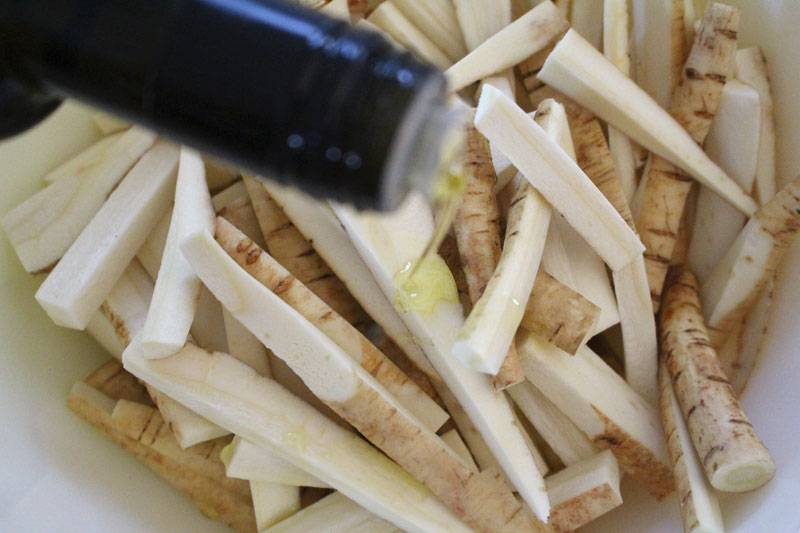
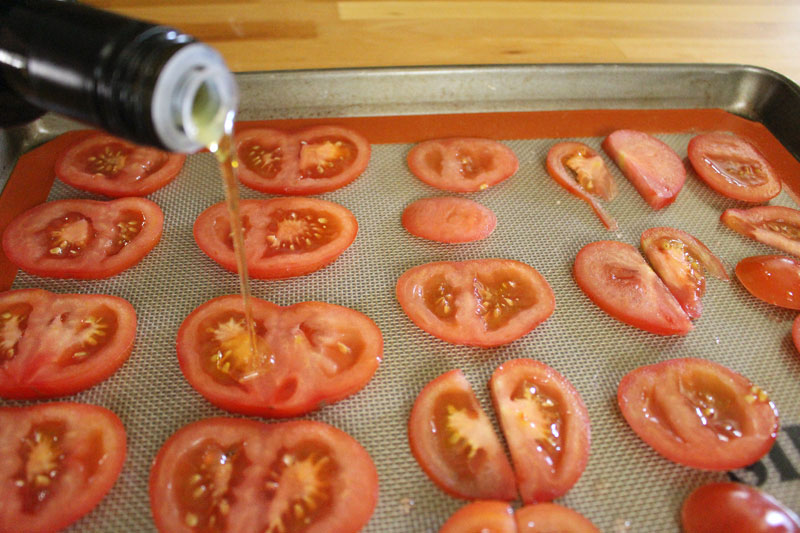
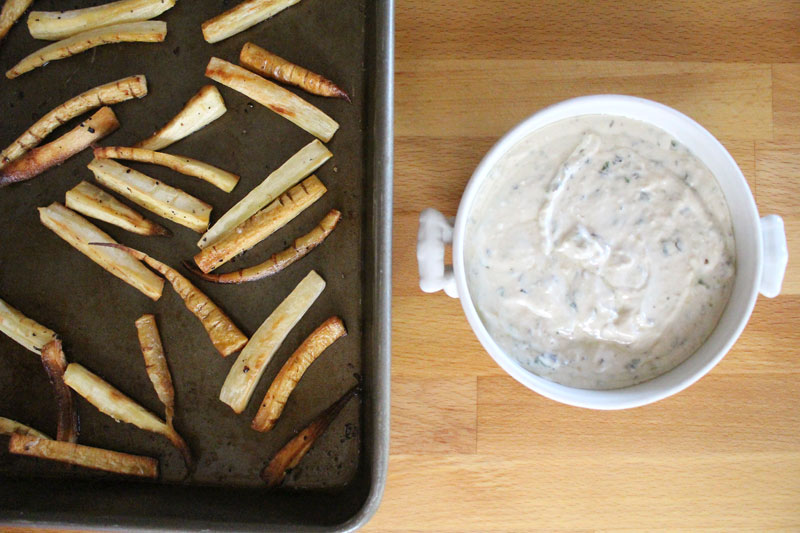
As with most of the veggies that I roast, they are tossed with Bari’s Organic Olive Oil, salt, and pepper. Simple.
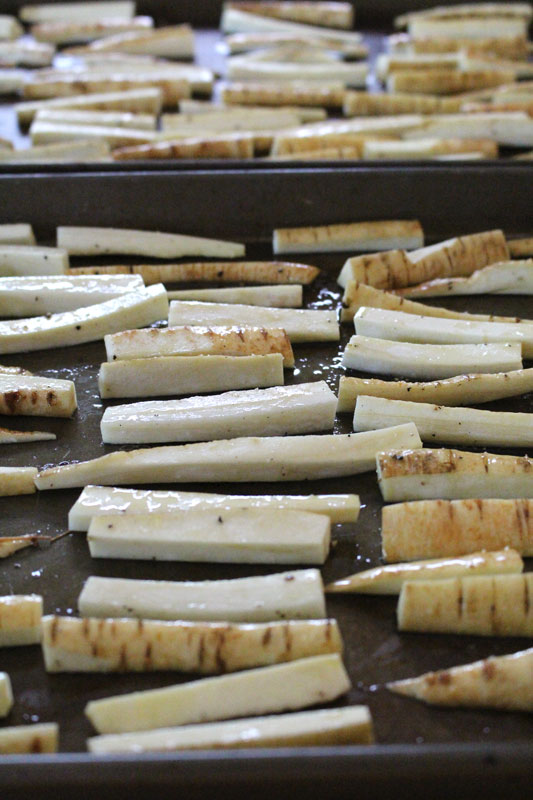
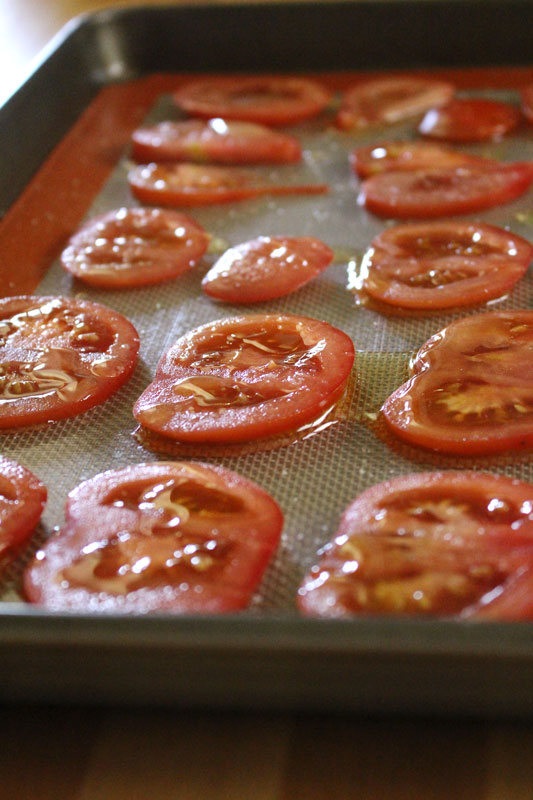
Then they go onto a baking sheet with a bit of room around each one. They’ll roast a bit better that way. I used two baking sheets for the seven parsnips, flipping the parsnips and rotating the sheets in the oven partway through.
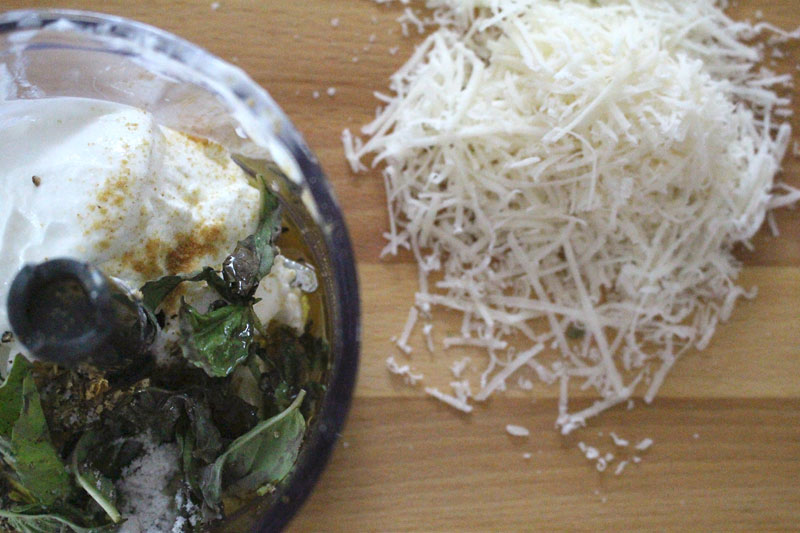
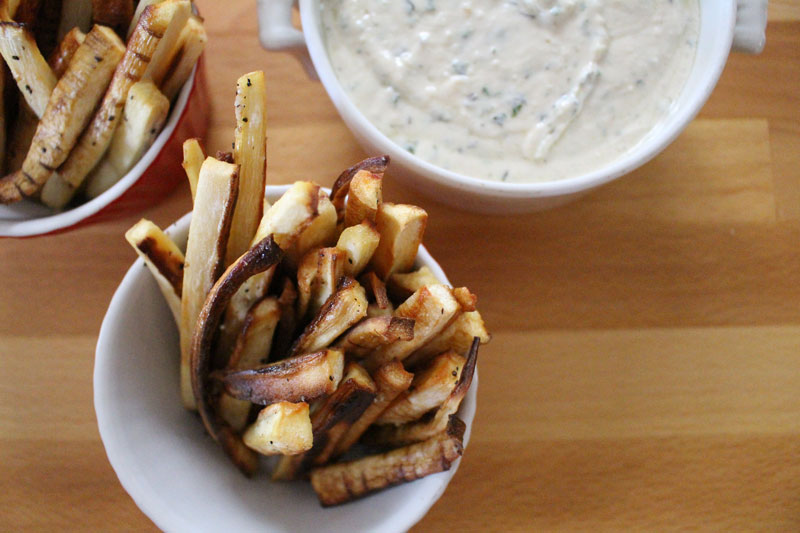
And then there is dip.
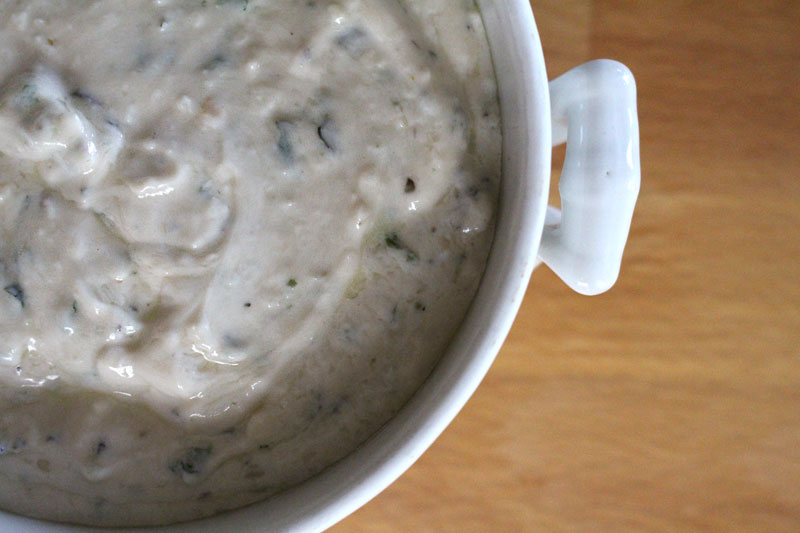
A creamy, herby, garlicky dip.
You could dip so many things in this. Roasted veggies, obviously. Fresh veggies, yum. Or you could thin it out a little with some buttermilk and make it into a salad dressing.
The taste is a bit like caesar dressing meets ranch dressing.
Or, goodness in a bowl.
Confession number two: I couldn’t stop dipping.
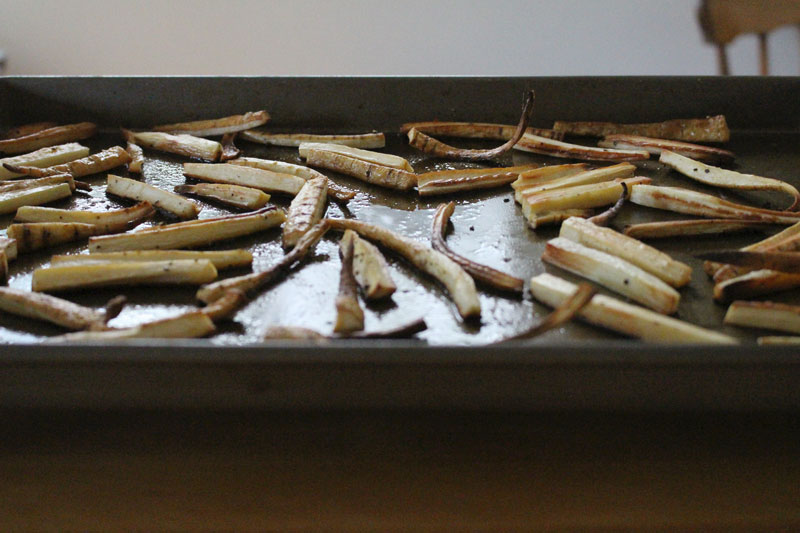
I can’t get enough of roasted veggies. They get all crispy on the outside, and tender on the inside.
I made these to eat while we watched the All-Star Game the other week.
They’re best hot out of the oven, but room temperature is perfectly acceptable too.
If you don’t eat them all in one sitting (it was difficult for me to not eat them all before Tim even got home from work) and there are leftovers here are some yummy ways you could use them:
- Re-heated in some tinfoil (closed to start with, then once they’re warm, open to let them crisp up).
- Chopped up and sautéed with some greens.
- Re-heated and pulsed a couple times in the food processor (regular blender/hand blender) with some of the dip to serve alongside a roasted chicken.
- Chopped and added to soup (near the end of the cooking time).
If you do eat them all in one sitting, I understand.
Happy Eating!
- 7-8 parsnips, cut into 3/8″ x 3/8″ x 3″ sticks (or French fry shape)
- 1-2 T olive oil
- to taste salt
- to taste pepper
- dip: 3/4 C yogurt
- 1/4 C parmesan cheese, grated
- 1-2 cloves garlic
- pinch ginger
- 1/2 T honey
- 1 T balsamic vinegar
- 1/4 to 1/2 t dried thyme
- 1/4 to 1/2 t dried parsley
- 1/4 C fresh basil
- to taste salt
- to taste pepper
- 1/4 C olive oil
- Pre-heat the oven to 400F.
- Toss parsnips with olive oil, salt, and pepper. Place on two baking sheets, without overcrowding. Bake for 10-15 minutes, flip, rotate position in the oven, and bake for about 10 minutes more (or until parsnips are crispy outside, tender inside).
- Blend dressing ingredients together (in food processor or blender). Adjust seasoning if needed.
- Serve immediately.