De Ma Cuisine

Snacks Archive

Monday

24

August 2015

0

COMMENTS

Cantaloupe Smoothie

Written by , Posted in Breakfast, Brunch, Dairy-Free, Drinks, Fruit, Gluten Free, Kid-Friendly, Lunch, Quick and Easy, Snacks, Vegan, Vegetables, Vegetarian

CantaloupeSmoothie-5

There’s nothing like a chilled melon on a hot summer day. Seriously. Nothing. Give me all of the watermelons, honeydews, and cantaloupes and I’m a happy gal. I can’t grow them for anything, so thankfully they know what they’re doing at JND Farms.

CantaloupeSmoothie-1

I’ve mentioned before that I prefer melon just plain. Super cold, cut into chunks or sliced, that’s my favorite. But, as I’ve also admitted, I’m loving these new ways to eat them too. Melon and Feta Salad? Yep! Watermelon Gazpacho? Absolutely! And now, a smoothie.

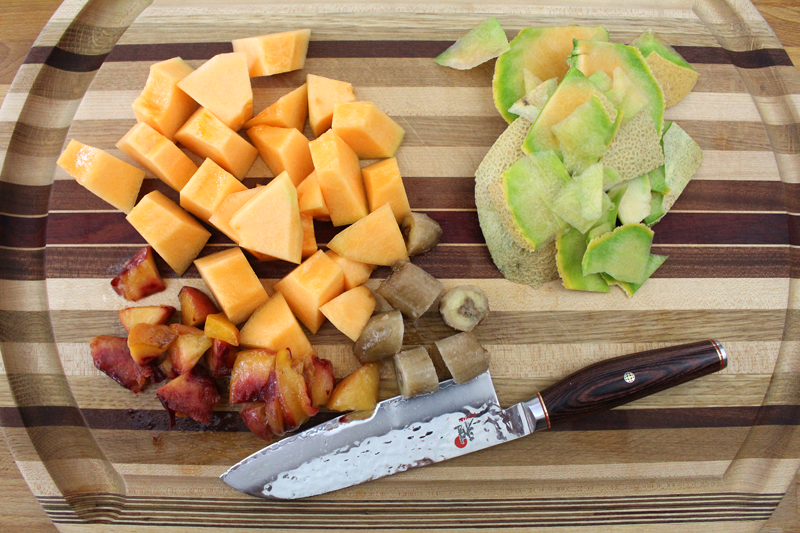
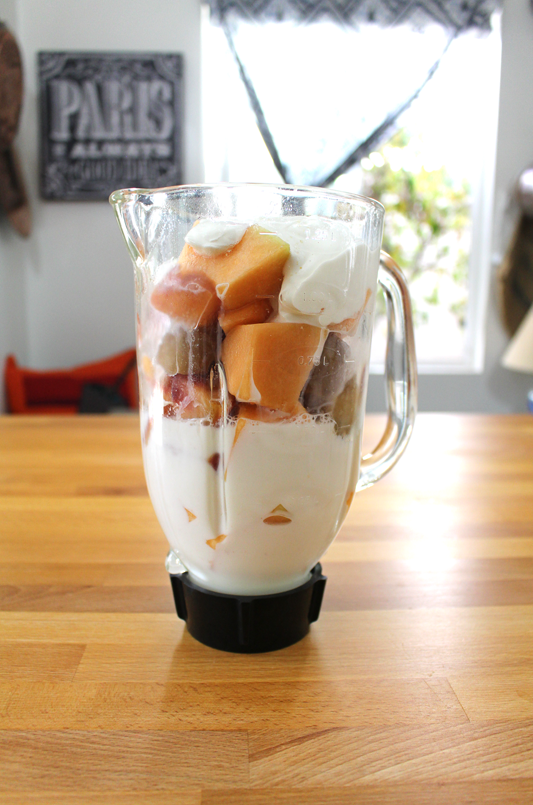
For this smoothie I added some frozen peaches and bananas. Fresh would be great too. I just had some in the freezer to use up. Whatever type of fruit, I’d suggest using as ripe as you can find ’em. Super sweet and juicy. Best way to go. If you wanted to switch things up you could also add some greens (like kale, spinach, or chard), berries, other types of stone fruit, pears, apples, or honeydew melon. Use what you have on hand.

CantaloupeSmoothie-2

I used cow’s milk, because it’s what we drink. But any kind of milk will do. Coconut, soy, almond, hemp… use what you prefer. Same goes for the yogurt. Any kind will work. Or, to keep it vegan, try some silken tofu.

CantaloupeSmoothie-3

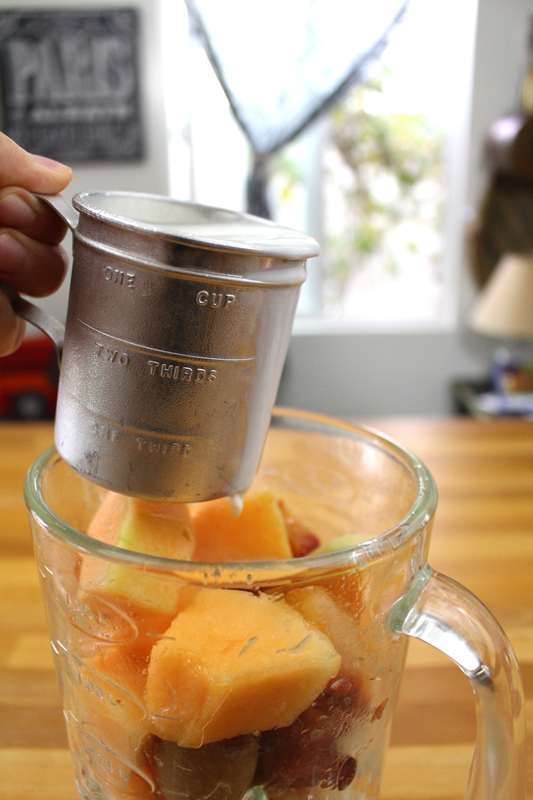
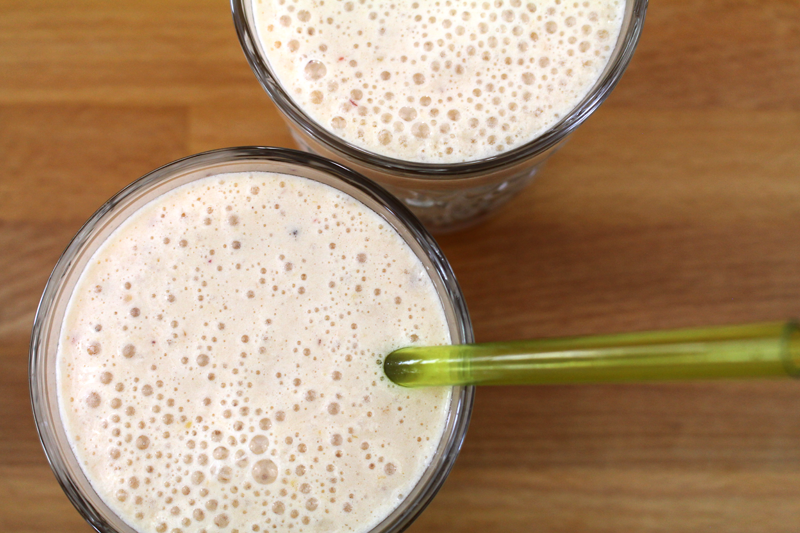
Then grab your favorite blender and blend away. I like my smoothies super smooooooth, so I blended long enough that the guy working at the house next door looked over to see what the noise was (during the break he took from whatever noisy machine he was using 😉 ). I also overfilled the blender just a tad. I got a little cantaloupe happy. If I hadn’t had my hand on the lid we may have had cantaloupe colored walls. Whoops. The good thing about making so much is that I made enough for four, so tomorrow’s breakfast is already done.

CantaloupeSmoothie-4

Smoothies are a perfect breakfast, full of protein and nutrients. But, they’re also a great snack, or an accompaniment to a meal. I’m thinking that a Dandy Sandi paired with a smoothie sounds yummy. Maybe the extra servings will become lunch.

Happy Eating!

Cantaloupe Smoothie

Prep Time: 10 minutes

Total Time: 10 minutes

Yield: 4

Cantaloupe Smoothie

Ingredients

  • 3 C cantaloupe, cut into chunks
  • 1 frozen banana, cut into chunks
  • 1 C frozen peaches (or fresh), cut into chunks
  • 1 C plain yogurt or silken tofu
  • 1 C milk (any kind)
  • pinch ginger
  • pinch salt
  • 1 T maple syrup
  • Could also add: greens (kale, spinach, chard), berries, stone fruit, pears, apples, honeydew melon

Instructions

  1. Put all ingredients in a blender and blend well.
http://www.de-ma-cuisine.com/cantaloupe-smoothie/

Monday

27

July 2015

0

COMMENTS

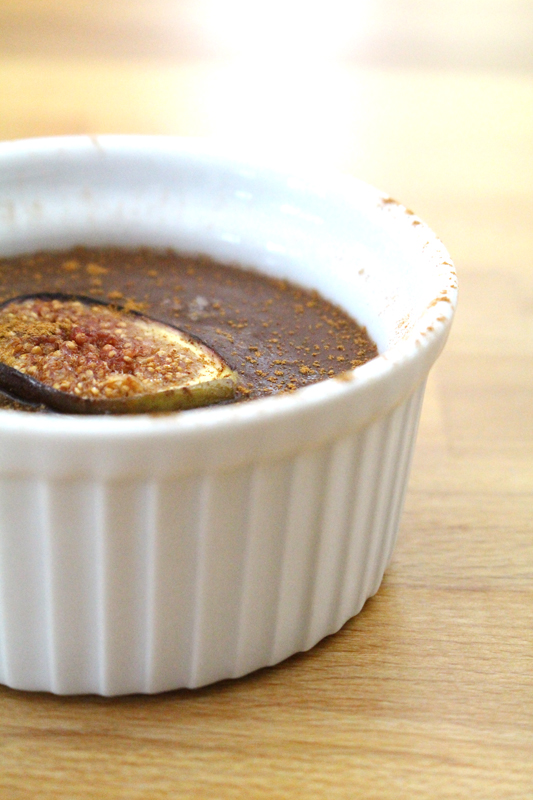
Salted Chocolate and Roasted Fig Pudding

Written by , Posted in Dessert, Fruit, Gluten Free, Kid-Friendly, Roasting, Snacks, Vegetarian

SaltedChocolateRoastedFigPudding-10

A few years ago I tried to make chocolate sauce for ice cream. As one who rarely makes desserts and who doesn’t bake a lot, the science behind these types of things can baffle me. I ended up with pudding instead of chocolate sauce.

But, it was one of those happy mistakes. Because I ended up with a delicious dessert (which, if you’re wondering, tasted just fine over ice cream).
SaltedChocolateRoastedFigPudding-1

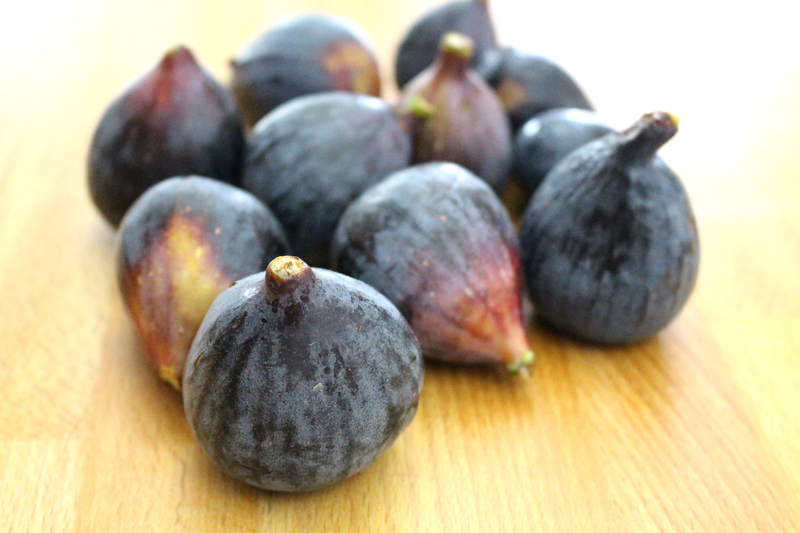
Since figs are way early this year, kinda like a lot of our produce, I figured it was time to recreate that pudding, with a figgy twist.

This is one of those times where it’s important to have read through the recipe and have all ingredients prepped in advance. It’s not complicated and the timing doesn’t have to be exact. But, for example, you don’t want to take the time to melt the chocolate, only to have it cool down too much, or for the milk to boil over, or the figs to burn while you get the rest of the ingredients ready. You want to be able to give each step the attention it deserves.
SaltedChocolateRoastedFigPudding-2

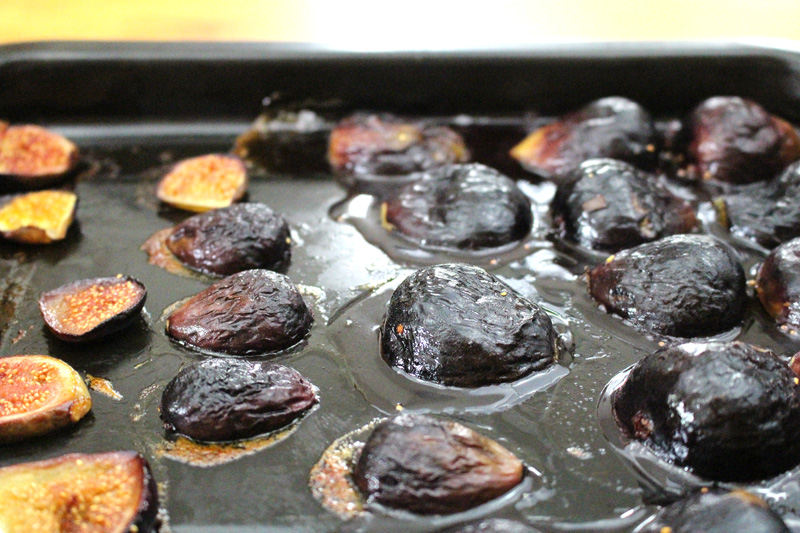
I took some fresh figs and roasted them. It’s my favorite way to enjoy them. They were tossed with some coconut oil before heading in to the oven.
SaltedChocolateRoastedFigPudding-3

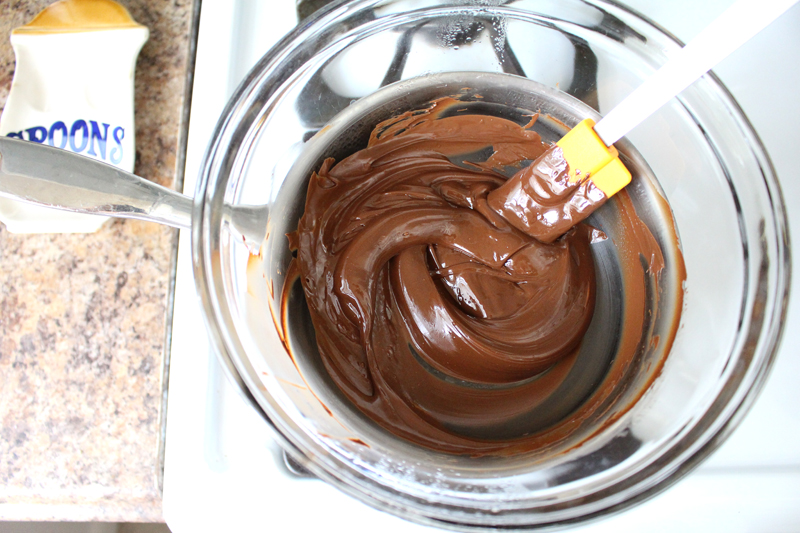
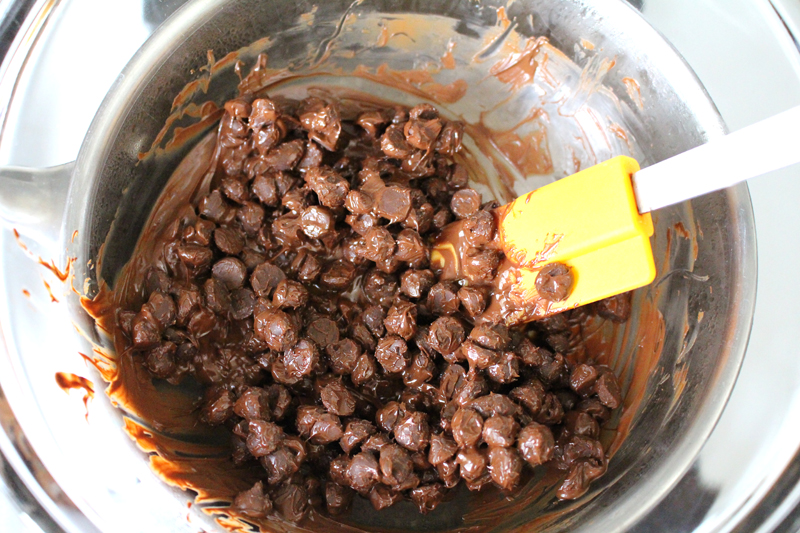
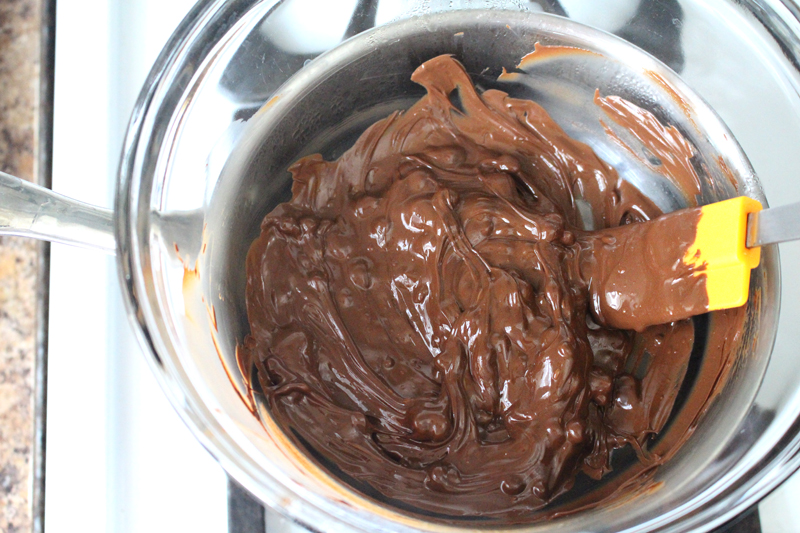
While the figs roasted, I melted some chocolate. We aren’t a microwaving house, so I made a double boiler from a medium-sized pot with about an inch of boiling water in the bottom, and a bowl that fit snugly over top and kinda in (without touching the water). This is gentler on the chocolate than cooking it right in the pan over the heat. It just took a few minutes, with a bit of stirring, to go from solid chips to…
SaltedChocolateRoastedFigPudding-4

Melty but lumpy goodness, to…

SaltedChocolateRoastedFigPudding-5

Smooth and creamy melted chocolate.

SaltedChocolateRoastedFigPudding-6

I scraped the flesh from the fig skins. Which sounds like pig skins. Which makes me think of bacon. But we’re not adding bacon. Really. No bacon… Although now I wonder if that would be good.

I digress.

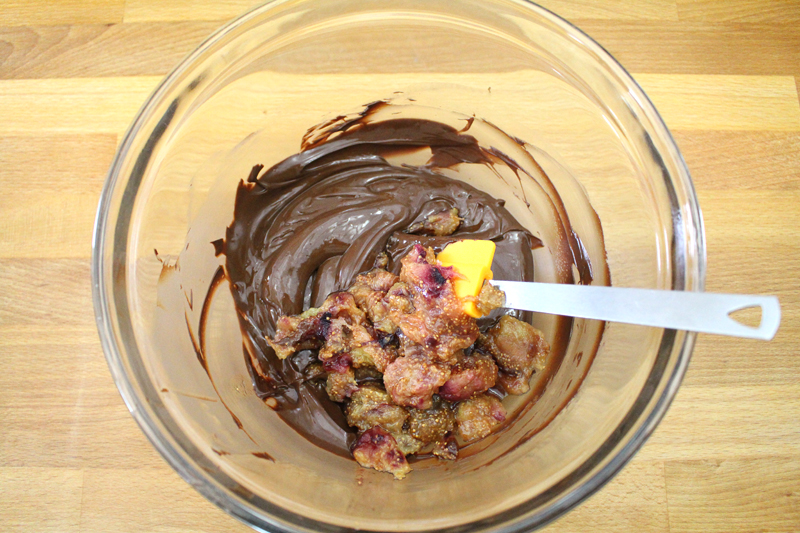
I mashed the figgy goodness and mixed it in with the chocolate. It’s ok if it’s not perfectly smooth. A few chunks of fig are a good surprise when eating this pudding.

P.S. Don’t toss the fig skins. Chop them up and use them to make a fabulous treat: Toast a thinly sliced baguette. Top with cheese (like parmesan, cream cheese, feta, goat cheese, ricotta, or gorgonzola… to name just a few), figs, black pepper, and a drizzle of honey… you could even top it with some bacon if you wanted to.
SaltedChocolateRoastedFigPudding-7

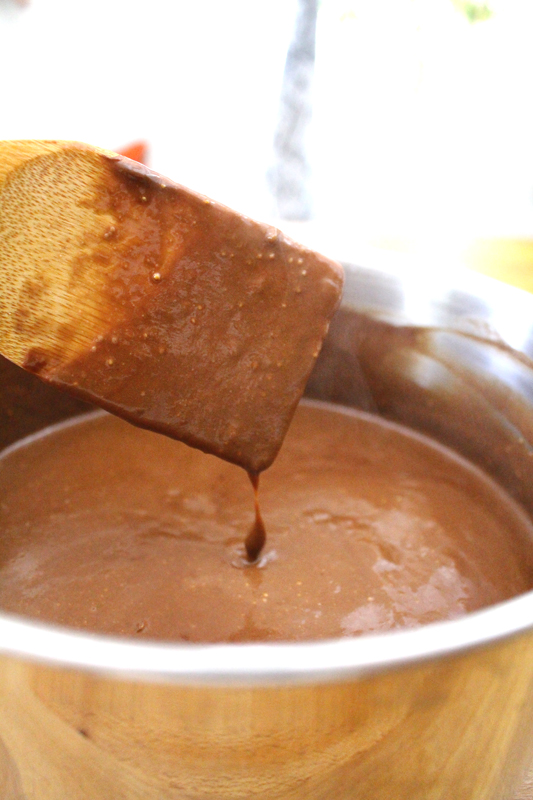
I added the chocolate and fig mixture to a milk and honey mixture that had been warming for a few minutes (with it was a pinch of salt and some cornstarch that had been whisked into a bit of water).

Yes, this is getting good.

The cornstarch acts as a thickener. You’ll see it working as things get hotter and hotter. Gone will be the thin and runny chocolate soup. It will be thick and creamy.
SaltedChocolateRoastedFigPudding-8

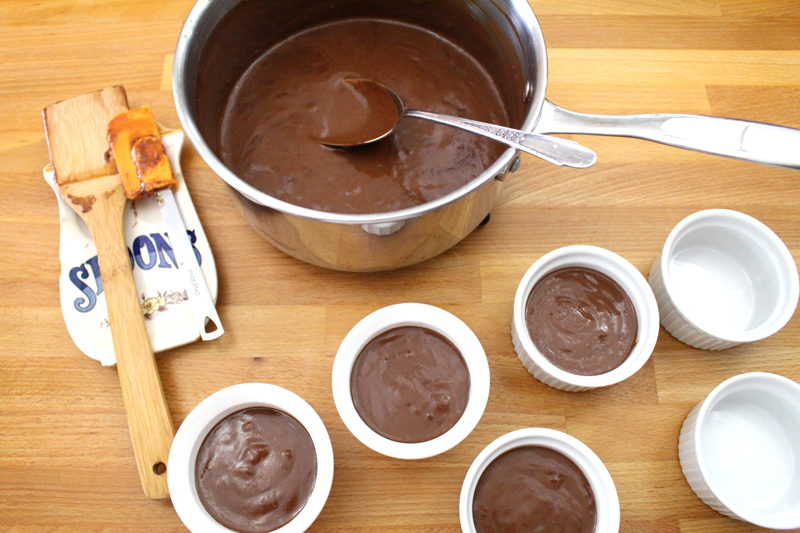
I divided the mixture between 8 ramekins. They’re small portions, but it’s a rich dessert, and I think that small portions are best for desserts. I also don’t have much of a sweet tooth. If you want bigger portions, just use larger ramekins, and less of them. Simple math.
SaltedChocolateRoastedFigPudding-9

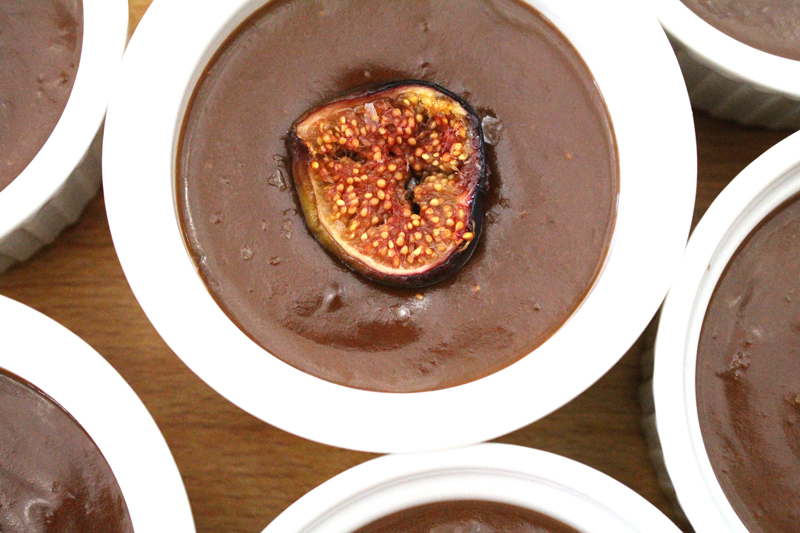
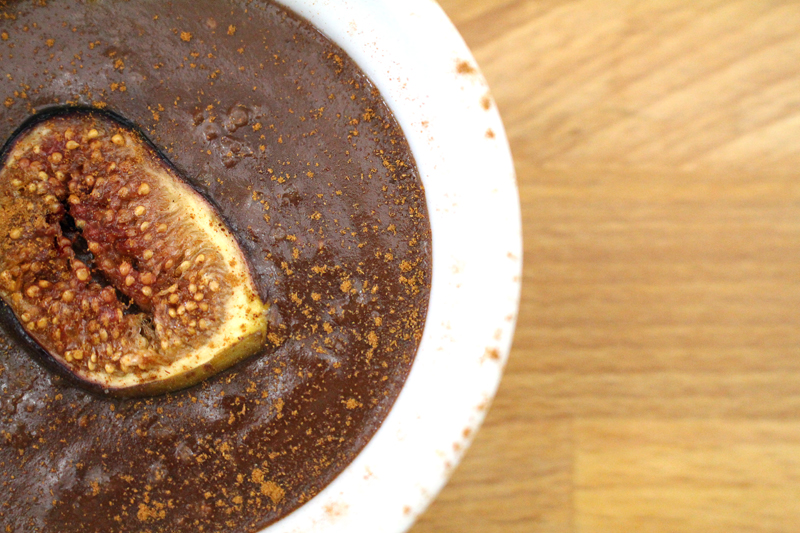
Those reserved sliced and roasted figs, one went in the center of each ramekin. And then, some flakes of sea salt were sprinkled over it all. This is a situation where a fancier “finishing salt” is great – table salt, not so much, as you want a few medium-sized flakes. For my birthday, Tim got me some Maldon Sea Salt Flakes, which is available at some grocery stores and online. I use them when I want to feel fancy.

If you’re skeptical, I understand. I have been slow to jump on the salted dessert bandwagon. But, after watching an episode of Good Eats, I was convinced to give it a try. The salt brings out the flavor of the chocolate. And it’s not like it’s salty salty, it’s just enhancing the flavor. If you’re unsure, do a little taste test. Take a spoonful of pudding and top it with one or two flakes of salt. Give it a taste. Then try a spoonful of pudding without. Do you notice a difference? I don’t think I’ll be salting my watermelon or apples anytime soon, but chocolate and salt have finally convinced my tastebuds that they’re good friends (Tim, I know, I know, you were right).
SaltedChocolateRoastedFigPudding-11

The last step before setting them in the fridge for an hour or so (to not only cool, but thicken and set) was to add a sprinkle of cinnamon. Once again I’ll ask you to trust me and do this. You can leave off the salt and cinnamon and your dessert will be fine, it will even be good. But, let’s elevate it to great. And then we’ve got a pudding that can be served at a dinner party, as a fancy birthday dessert, or a sweet way to end a holiday dinner.

I may have eaten most of a bowlful before it even got into the fridge. And remember, I don’t have a sweet tooth.

Happy Eating!

Salted Chocolate and Roasted Fig Pudding

Prep Time: 20 minutes

Cook Time: 28 minutes

Total Time: 48 minutes

Yield: 8

Serving Size: 3-4 oz.

Salted Chocolate and Roasted Fig Pudding

Ingredients

  • 8-10 figs, halved
  • 2 figs, sliced in four
  • 1 t coconut oil, melted
  • 6 oz (about 1 C) good quality chocolate (around 46% cacao)
  • 1 T cornstarch
  • 1/4 C cool water
  • pinch salt
  • 3 T honey
  • 2 C milk (any kind, full fat)
  • cinnamon, for topping (optional)
  • flakes of sea salt, for topping (optional)

Instructions

  1. Pre-heat the oven to 375F.
  2. Toss figs with coconut oil. Place cut side down on a baking sheet. Roast for 10 minutes, flip sliced figs (leave halved ones cut side down), and roast for about 5-10 minutes more. Remove from pan and cool. Scrape fig flesh from skin and set aside.
  3. Make a double boiler (or use a real one) by heating a pot with about 1" water. When it boils, turn it down to a simmer and place a glass bowl that just fits over the top and into the pot, but doesn't touch the water. Add chocolate to the bowl and stir occasionally until chocolate is melted. Remove from heat. Add figs and mash into chocolate.
  4. Whisk cornstarch with water.
  5. Let an ice cube melt in the bottom of a clean pot (this keeps the milk from scalding). Add the cornstarch mixture, salt, honey, and milk and warm slowly, over medium heat, stirring occasionally. When it's warm (after about 2-4 minutes), whisk in the chocolate and fig mixture. Slowly bring the mixture to a boil over medium heat, gently whisking or stirring with a wooden spoon almost constantly until it has thickened (about 3-5 minutes).
  6. Remove from heat and pour into 8-4 oz. ramekins. Gingerly set one fig slice on top of the pudding, and sprinkle with cinnamon and a few flakes of sea salt. Cool for about 10 minutes on the counter, then cool completely in the refrigerator (about 1 hour). Serve when they're completely cooled and set.
http://www.de-ma-cuisine.com/salted-chocolate-and-roasted-fig-pudding/

Monday

13

July 2015

0

COMMENTS

Watermelon and Mint Gazpacho

Written by , Posted in Breakfast, Brunch, Dairy-Free, Dessert, Drinks, Fruit, Gluten Free, Herbs, Kid-Friendly, Quick and Easy, Snacks, Soups, Vegan, Vegetarian

WatermelonMintGazpacho-6

When I get a watermelon that’s as perfectly ripe and sweet as the one that came in our Abundant Harvest Organics box today, I have a really hard time not eating the entire thing in one sitting. I like to slice the melon in half and just eat with a spoon. If I can stop myself, I like to save the center for last, because it’s the best.

But, if you can resist, here’s a fun way to eat watermelon… in soup!

WatermelonMintGazpacho-1

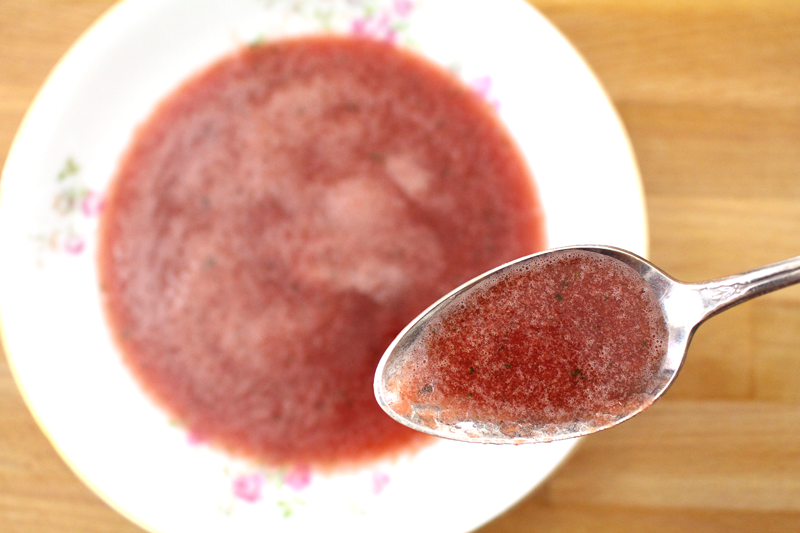
It’s a cold soup though, don’t worry. It’s called a Gazpacho. Traditional gazpachos often consist of raw veggies and have a tomato base. But, there are many variations, including this simple watermelon one.

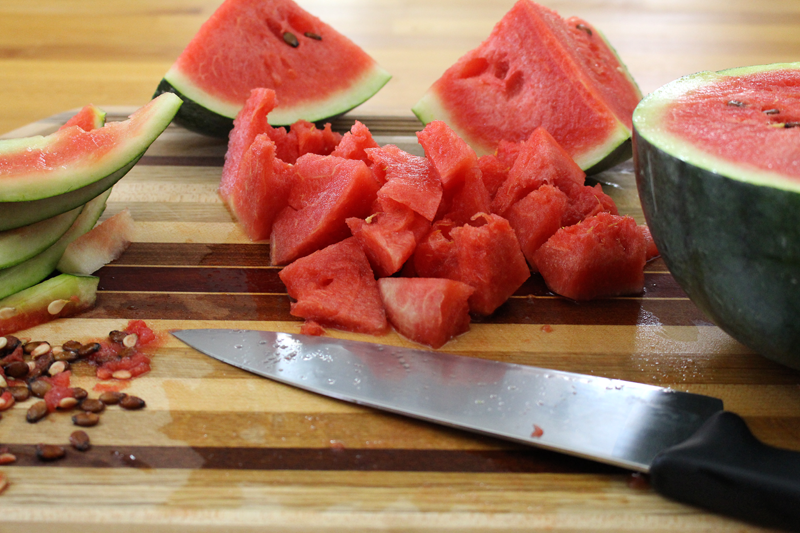
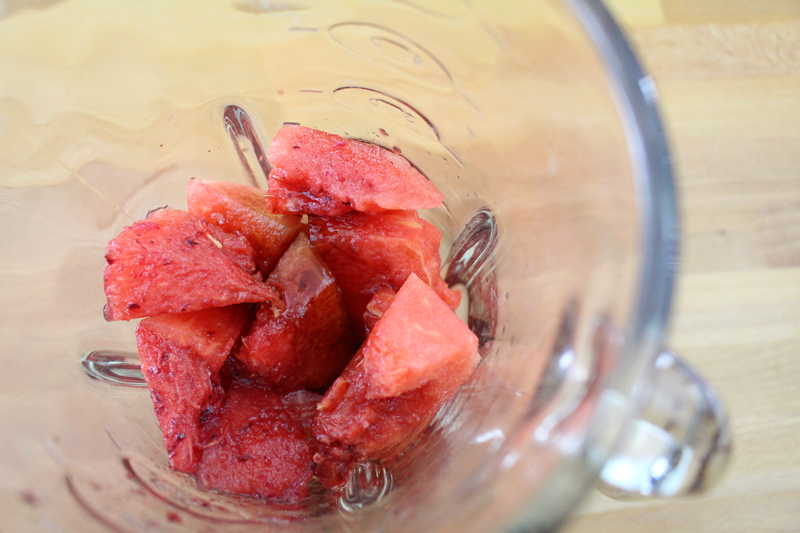
Since everything will be blended up, you don’t have to be too careful about how the watermelon is cut. I figured large chunks would work just fine. The seeds of a watermelon are edible (and some say they’re even good for you), but I don’t like to eat them. They ruin the texture for me. I don’t even like chunks in my ice cream. Tim says that’s weird, but I’m fine with my choices. If you want to leave the seeds in and blend them up, that’s fine with me.

WatermelonMintGazpacho-2

Watermelon pairs well with things like orange juice, maple syrup, and balsamic vinegar, so I added a little bit of each.

WatermelonMintGazpacho-3

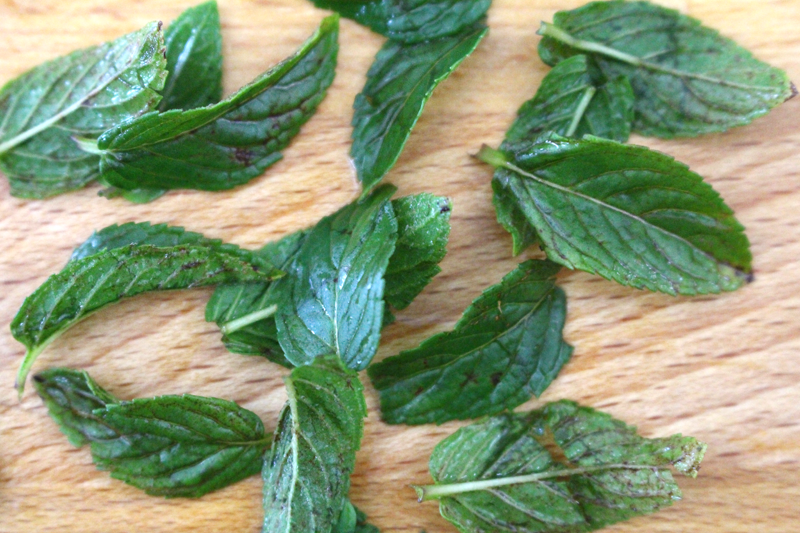
It also tastes great with some refreshing mint. I added about 15 smallish leaves. You could add way more or way less, depending on how minty you want it. Basil would be another great addition (along with or in place of the mint). If you don’t want to add the herbs that’s fine. But, they add a cool, fresh burst of flavor.

WatermelonMintGazpacho-5

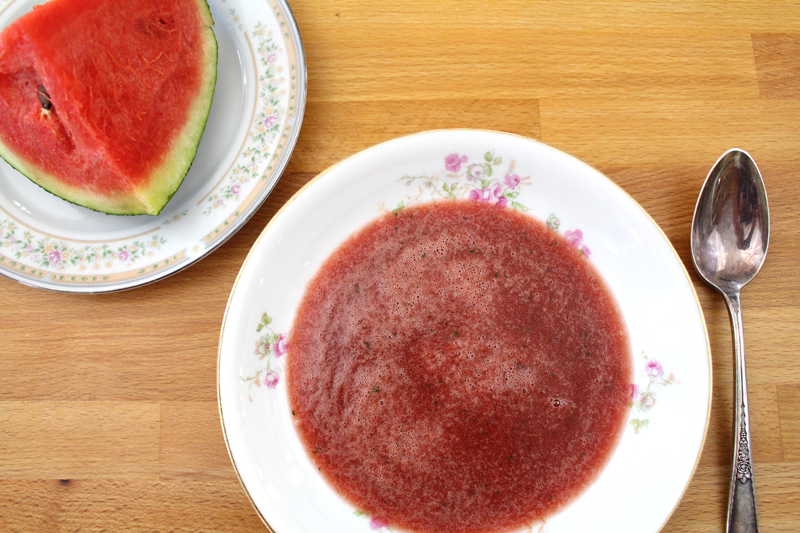
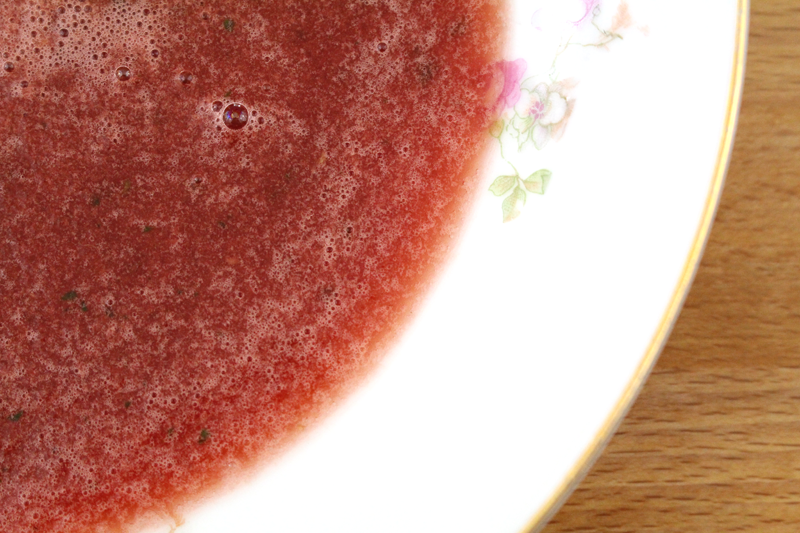
If the melon is already chilled, you can consume immediately. If not, pop it into the fridge for an hour or so before serving. You could serve it as a gazpacho, just on its own. You could add a dollop of yogurt or whipped cream. You could freeze it in an ice cube tray and use it in place of ice or frozen fruit in smoothies or summer drinks, or just pour it into a glass and drink it.

If you have cantaloup or honeydew melon on hand, they’d be a great addition, or could be used in place of the watermelon.

WatermelonMintGazpacho-4

I don’t really like change, especially when it comes to my favorites. That’s why I prefer a traditional Thanksgiving dinner, I love to re-watch Gilmore Girls, and I think watermelon is best served super freezing cold, halved and eaten with a spoon. But, with change comes learning new things and growth, so I’m ok with it (ahem, in moderation). I will bravely taste a new dish at Thanksgiving, try watching a new show, and I will, for the first time ever, branch out and do something different with watermelon. And I will enjoy it.

Happy Eating!

Watermelon and Mint Gazpacho

Prep Time: 10 minutes

Total Time: 10 minutes

Yield: 2-4

Watermelon and Mint Gazpacho

Ingredients

  • 2 1/2 - 3 C watermelon (or cantaloupe or honeydew or mixture of all 3), seeds removed, cut into large chunks
  • 2 t balsamic vinegar
  • 1-2 t maple syrup
  • 1/4 to 1/2 C orange juice
  • 10 to 12 large or 15-20 small mint leaves

Instructions

  1. Blend all ingredients until smooth.
  2. Then either: Chill and serve as a gazpacho.
  3. Freeze in an ice cube tray for summer drinks and smoothies (use in place of ice cubes or frozen fruit).
  4. Make into a sorbet in an ice cream canister (freeze according to manufacturer's directions).
http://www.de-ma-cuisine.com/watermelon-and-mint-gazpacho/

Thursday

25

June 2015

0

COMMENTS

Green Bean Fries

Written by , Posted in Appetizers, Dairy-Free, Dinner, Fruit, Gluten Free, Herbs, Inspired By, Kid-Friendly, Lunch, Quick and Easy, Roasting, Sauces, Sides, Snacks, Vegan, Vegetables, Vegetarian

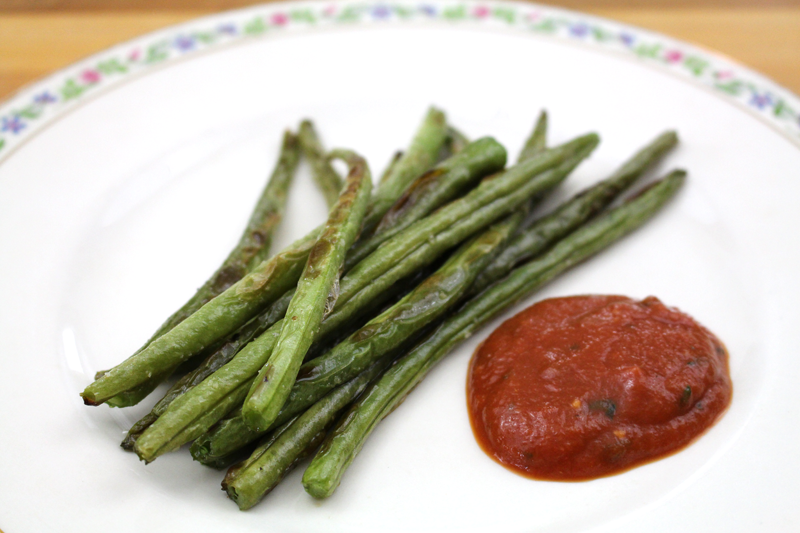
GreenBeanFries-5

I’m crazy about French fries. With a burger they’re fabulous, topped with gravy and cheese curds they’re comforting, with a hearty dip they’re a meal. Of course they don’t have to be made with potatoes. Parsnips, carrots, and summer squash all work perfectly. And while we’re at it, why not try sweet potatoes, beets, or rutabagas?

GreenBeanFries-1

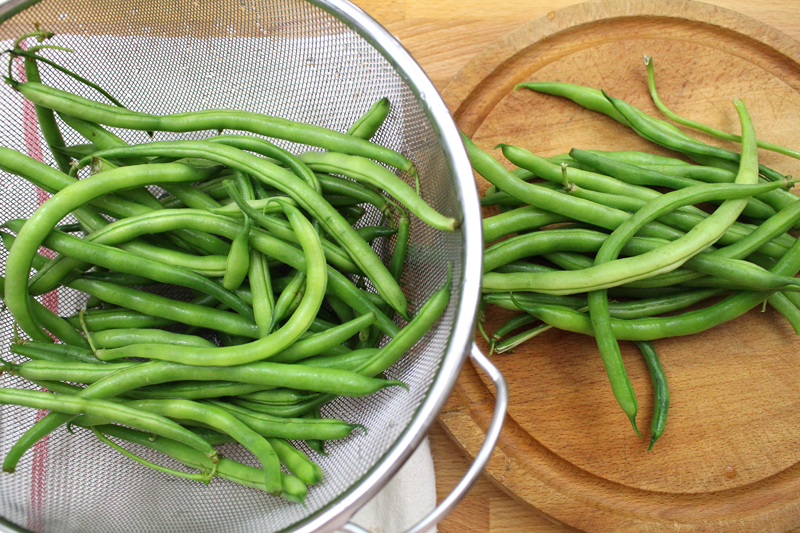
And when I’m feeling lazy and don’t want to take the time to cut up some veggies for roasting, or when I’ve got so many green beans just waiting to be used, I figure I might as well turn them into fries.

Never mind the fact that roasting green beans is one of my favorite ways to eat them. Ever.

GreenBeanFries-3

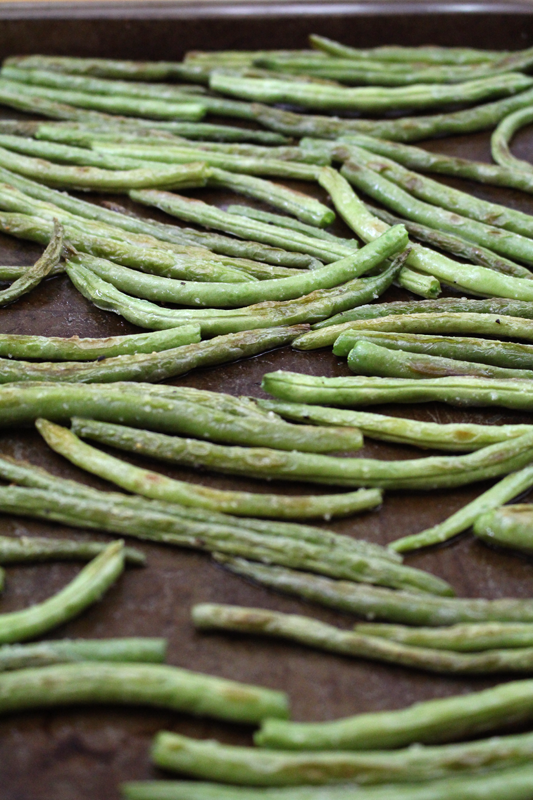
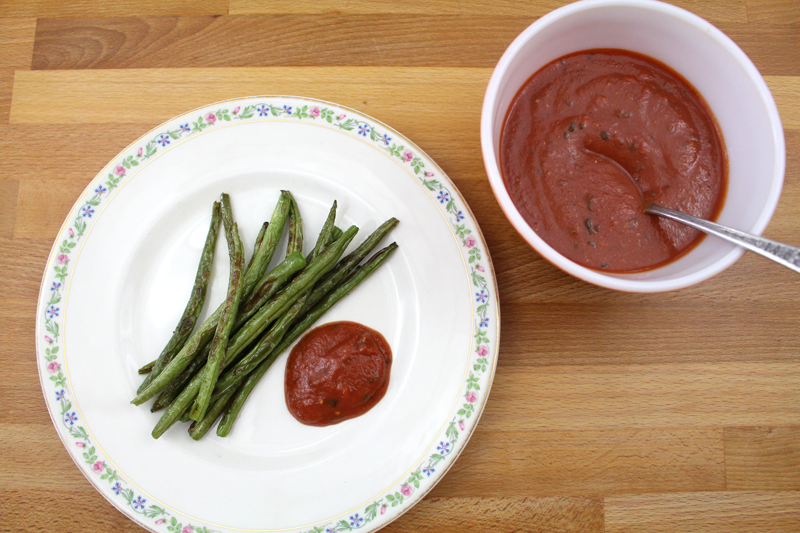
So it’s pretty simple. The beans are tossed with olive oil, salt, and pepper and head into a hot oven. High heat and not a lot of time will work well here.

GreenBeanFries-2

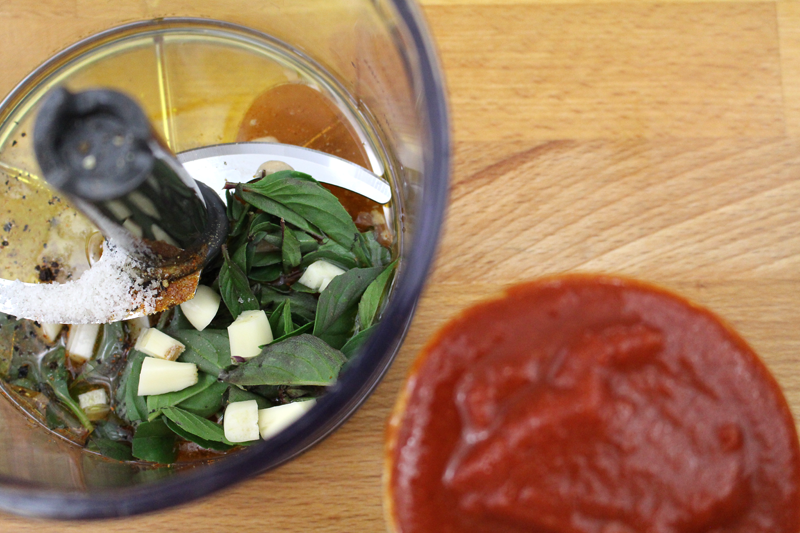
While the beans roast, a quick “ketchup” is blended together. Garlic, basil, a few spices, a little this (maple syrup), a little that (dijon mustard)… a minute or two in the mini food processor and we have some sort of tomatoey, herby, ketchup-like dipping sauce.

GreenBeanFries-4

This could be used for any of the above French fry options. If there are leftovers, it’d be great heated up and served over pasta, or used as a pizza sauce. Oh and it’d be fabulous atop a burger.

I have some suggestions in the recipe for three different herb combinations. I was also thinking that if you wanted to go a completely different direction and opt for a creamy dip, crème fraîche would be an awesome option. I might try that next time. (P.S. Crème fraîche is actually pretty easy to make from scratch! Who knew?!)

GreenBeanFries-6

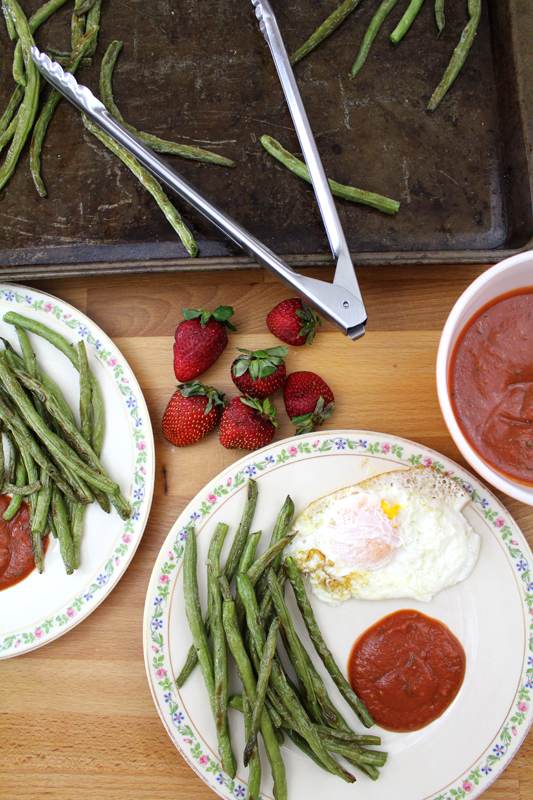
The meals that I make and photograph for these posts usually end up being lunch. So, I fried up some eggs, washed some strawberries, and we were set. Of course Green Bean Fries would be a great compliment to a meal; a wonderful side, But, more often than not of late, I’ve been enjoying veggies as the star.

Happy Eating!

Green Bean Fries

Prep Time: 10 minutes

Cook Time: 17 minutes

Total Time: 27 minutes

Yield: 2-4

Green Bean Fries

Ingredients

  • 1-2 pounds green beans, stems removed
  • 1 t olive oil
  • to taste salt
  • to taste pepper
  • 2 T total (fresh if possible, if dried, crumble and reduce amounts): dill + parsley + basil OR basil + parsley + savory + thyme OR tarragon + parsley + dill + fennel pollen
  • 1 clove garlic, roughly chopped
  • pinch cayenne
  • pinch ginger
  • 1 t maple syrup
  • 1 t dijon
  • 2 T olive oil
  • 1 T chives or shallots (optional)
  • 1 C tomato puree
  • 1 T vinegar
  • to taste salt
  • to taste pepper

Instructions

  1. Pre-heat the oven to 425F.
  2. Toss beans with 1 t olive oil, salt, and pepper. Pour beans onto two baking sheets (so they're not over-crowded). Roast for 10 minutes, flip and rotate their position in the oven, and roast for 6-7 minutes more.
  3. While beans roast, blend herbs through pepper. Taste and adjust seasoning if needed.
  4. Serve green beans dipped in "ketchup".
http://www.de-ma-cuisine.com/green-bean-fries/

Monday

15

June 2015

0

COMMENTS

Bean and Veggie Mélange

Written by , Posted in Appetizers, Beans, Breakfast, Brunch, Dairy-Free, Dinner, Fruit, Gluten Free, Herbs, Legumes, Lunch, Potlucks, Quick and Easy, Salads, Sides, Snacks, Vegan, Vegetables, Vegetarian

BeanVeggieSaladDip-7

I called this a “mélange”, which is French for “mixture”. It seems so versatile that I don’t want to limit it by calling it a dip or a salad. A dip implies the need for some sort of scooper. Corn chips would work well. I’m planning to try this tonight. A salad or a side implies that it’s a dish meant to compliment something else. Served alongside some grilled chicken or pan seared tofu would be fabulous. It could be a topping for brown rice/quinoa/bulgur wheat, breakfast burritos, fried eggs, or crispy potatoes. It could be a part of a taco salad. It could become an appetizer and top a garlic rubbed crostini.

This makes enough for about 4-5 servings, so I’m looking forward to trying as many of these as possible.

BeanVeggieSaladDip-1

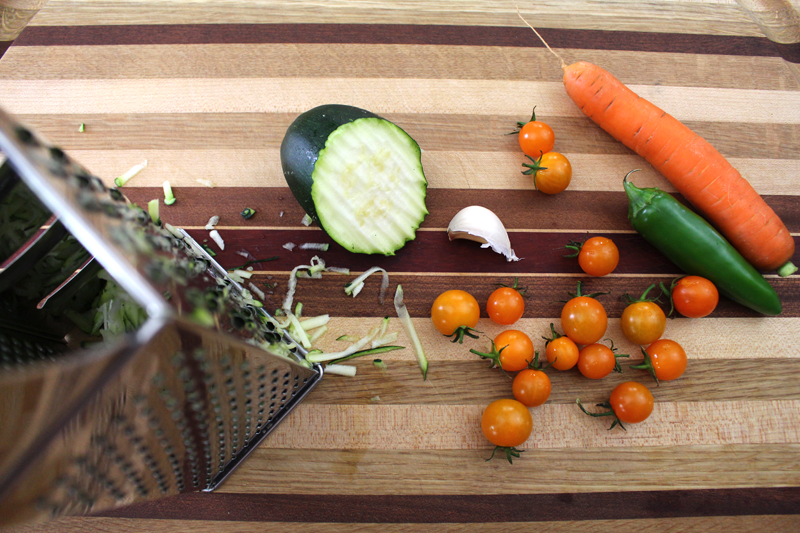
The magic all starts with the fruits and veggies. I chose summer squash, carrot, garlic, jalapeño, and these fabulous Kingsburg Gold cherry tomatoes that I’ve been waiting a year for.

Seriously.

Cherry tomatoes are one of my favorite things about summer. They bring back memories of eating tomatoes, still warm from the sun, from our garden when I was growing up. No matter how large or small my garden is, I always try to grow tomatoes. I plan to save some seeds from these Kingsburg Golds to plant next year.

If you want to swap out any of the veggies, I have a few suggestions: eggplant (finely chopped), corn (fresh off the cob), bell pepper (in place of or in addition to the jalapeño), red onion (I don’t have any on hand, or I would have added it), radish (finely grated – don’t use too much so it doesn’t overpower), and avocado (ripe, but not too).

BeanVeggieSaladDip-2

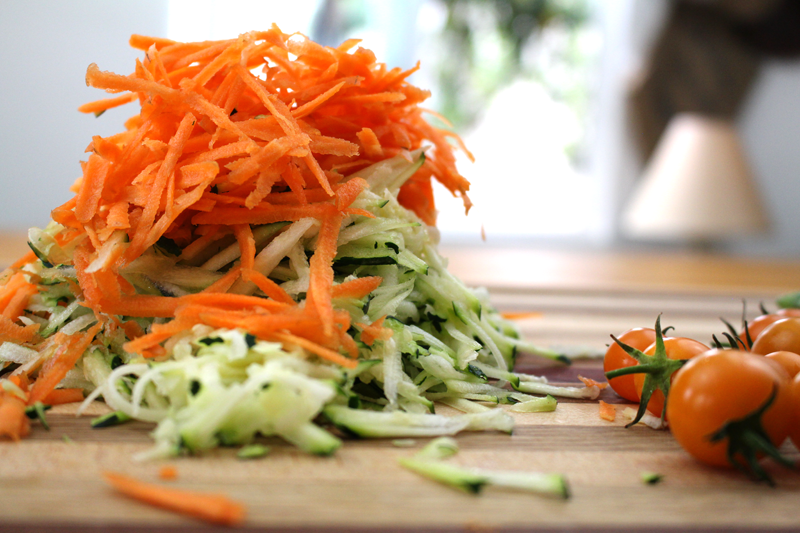
I like to grate carrots when they’re in a salad or a dip. I thought they’d be easier to scoop up than chunks. Plus they’re a little less in your face with the crunch. Grating tames them a bit. If you like chunks, chop away.

BeanVeggieSaladDip-3

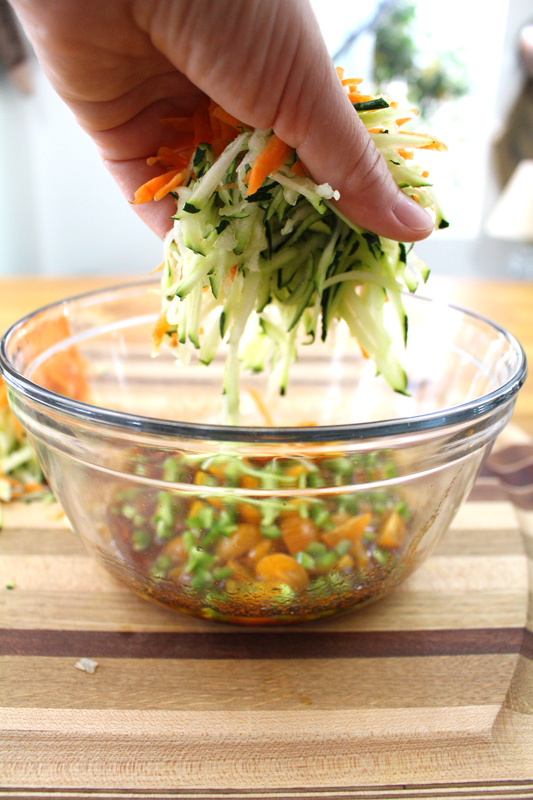
It’s all so super simple. A quick oil and vinegar dressing with some paprika for fun flavor. It’s one of my favorite spices. If you don’t love it, chili powder would be great, cumin could be good, or you could just stick to salt and pepper and add a few fresh herbs (like basil and parsley, and maybe even cilantro).

BeanVeggieSaladDip-4

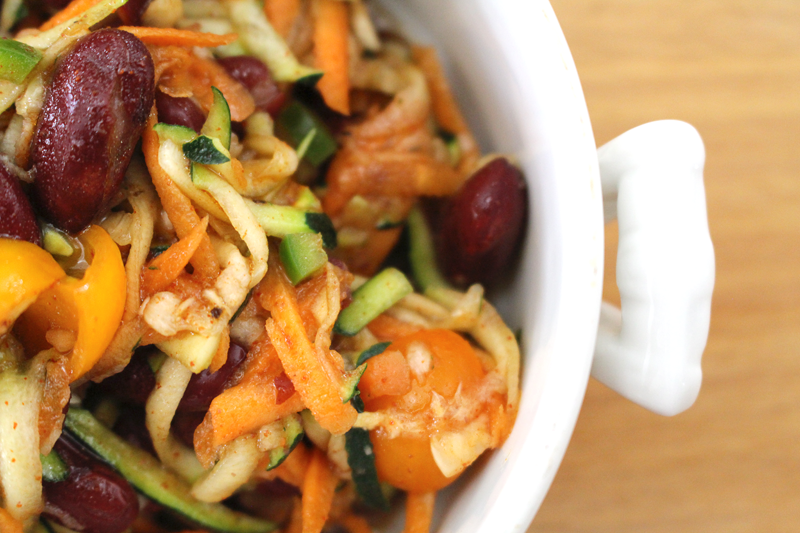
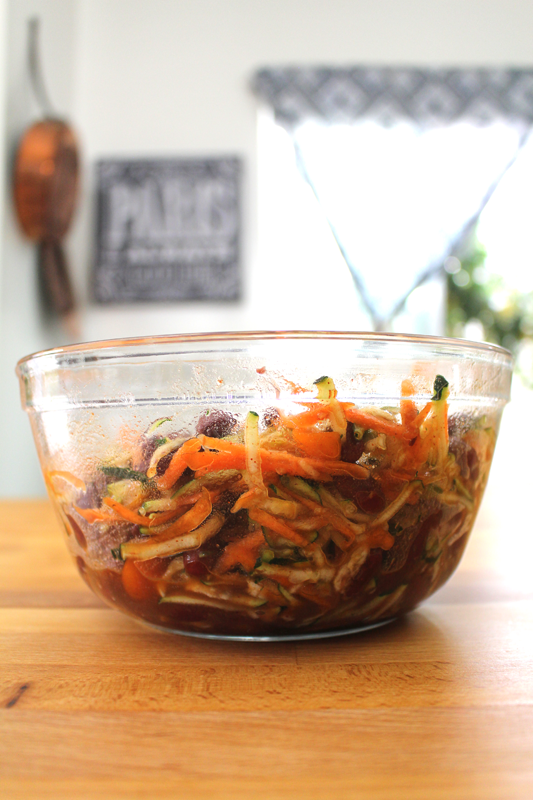
Everyone gets tossed around, then they get to stand for a few minutes to marinate a bit.

BeanVeggieSaladDip-5

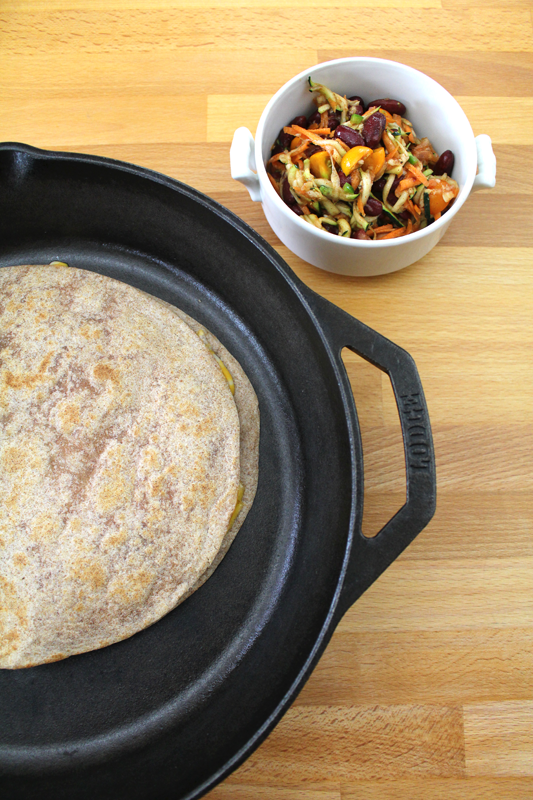
We ate this for lunch with plain old cheese quesadillas. The fridge is a little bare right now, so we’re all out of the usual quesadilla toppings (salsa and Greek yogurt). But, let me tell you, I may just skip them from now on. I liked this better.

BeanVeggieSaladDip-6

I think dinner tonight will be corn chips with this little mélange. That counts as dinner, right? And then breakfast burritos tomorrow… I wonder if I’ll ever get sick of it. 😉

Happy Eating

Bean and Veggie Mélange

Prep Time: 10 minutes

Total Time: 10 minutes

Yield: 4

Bean and Veggie Mélange

Ingredients

  • 2-3 T balsamic vinegar
  • 1 clove garlic, minced
  • 2 T chives, minced
  • 1 t paprika
  • to taste salt
  • to taste pepper
  • 2-3 T olive oil
  • 1 1/2 - 2 C beans (black, kidney, white, garbonzo), drained and rinsed if canned, cooked and cooled if dried
  • 2 C zucchini, grated
  • 1 C carrot, grated
  • 1/2 to 1 C tomatoes, chopped
  • 1/2 jalapeño (about 1-2 T - use more for more heat), ribs and seeds removed if desired, minced
  • could also add: bell pepper, red onion, radish, corn, avocado, or eggplant

Instructions

  1. Whisk together balsamic through pepper. Stream in olive oil as you whisk some more.
  2. Toss beans and veggies with dressing. Taste and adjust seasoning if needed.
  3. Let stand about 10 minutes before serving.

Notes

Wash hands after cutting jalapeño and be careful not to touch eyes while cutting. Serve this dish on its own, as a side, or with corn chips for dipping. Use it to top rice/quinoa/bulgur wheat, breakfast burritos, fried eggs, crispy potatoes, taco salad, or crostini.

http://www.de-ma-cuisine.com/bean-and-veggie-melange/