De Ma Cuisine

Sauces Archive

Tuesday

5

November 2019

0

COMMENTS

Sheet Pan Chicken Dinner – A Cooking Show with Rachel O – Ep. 3

Written by , Posted in A Cooking Show with Rachel O, Contests, Dinner, Gluten Free, Main Dishes, Meat, One Dish Dinners, Poultry, Roasting, Sauces, Vegetables

This is going to be easy. Like, not as easy as making toast from store bought, pre-sliced bread. But, not as difficult as making toast from homemade bread. More like making toast from store bought not sliced bread.

The only difficult thing is waiting for the oven to heat up (ours takes twelve years) and making sure the chicken isn’t still frozen (ugh, mine is).
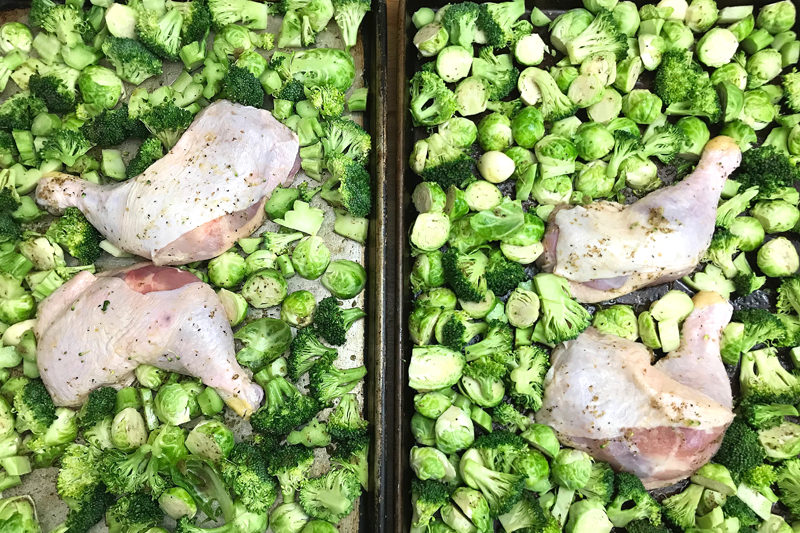
So while I wait for both of those things to correct themselves, I’m gonna halve some brussels sprouts and think about whether or not I could write a cookbook.

It’s something I’ve wanted to do for a while now. Just recently it’s been on my mind a little more. I was talking to Maggie Green about it last week and she asked “Why not you?” Yeah, why not me?!

So I’m putting this out there. Not for any reason but to tell you, so you can know first. “I’m gonna do the thing that scares me. Let my dreams be big enough to scare me.” –Arielle Estoria (paraphrase)
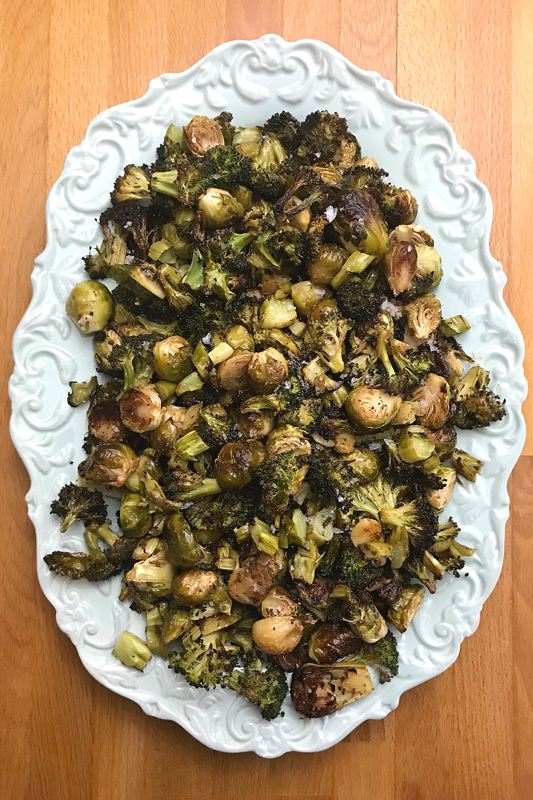
Ok, I think the oven’s ready. Remember, this is easy. You can swap out the veggies if you want to. I’m using brussels sprouts and broccoli, because it’s what I have on hand. I’d also like to make it with cauliflower, carrots, or even just a simple chicken and potatoes dinner. You could try rutabagas or parsnips, beets (chioggia beets would be super pretty), maybe even some cabbage wedges?? You’re the boss of your dinner, so make it how you want, use what you have on hand, and use this recipe as a guide, not something you have to follow exactly.
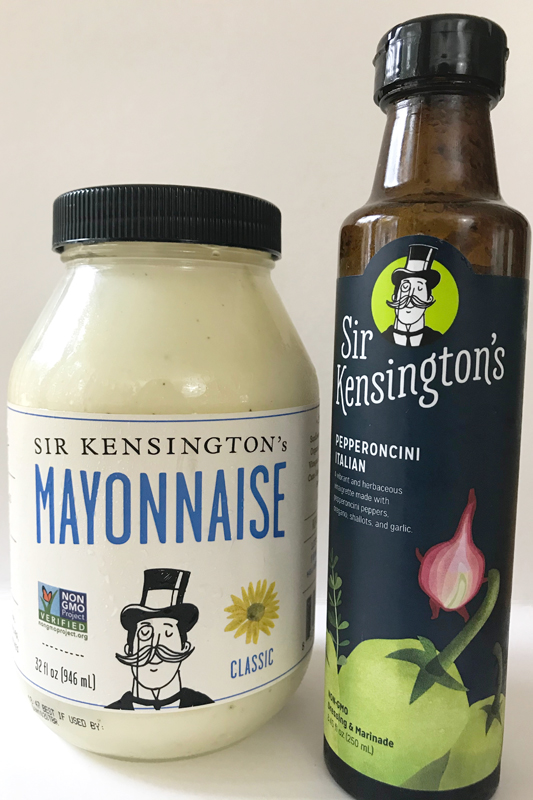
Since I’m the boss of my dinner, I’m using one of my favorite things: Sir Kensington’s Pepperoncini Italian Vinaigrette AND giving it away!! Winner winner chicken dinner!

The giveaway has now closed. Congratulations to the winner: @brambleberrybear!

To Enter:

  1. Follow both @De_Ma_Cuisine and @sirkensingtons on Instagram.
  2. Leave a comment on the @De_Ma_Cuisine Instagram post announcing the giveaway or on this blog post. You can comment about sheet pan dinners, whether or not you’d buy my cookbook, what Sir Kensington’s products you love the most, or anything else you find interesting.

Rules:

  1. Giveaway is open to residents of the United States.
  2. Winner will get to select any two Sir Kensington’s vinaigrettes.
  3. Giveaway will close Wednesday November 13, 2019 at 3pmEST.
  4. Winner will be chosen through random drawing.
  5. Winner will be contacted to get their shipping address.

Thanks for sponsoring the giveaway, Sir Kensington’s!

Happy eating and bonne chance!
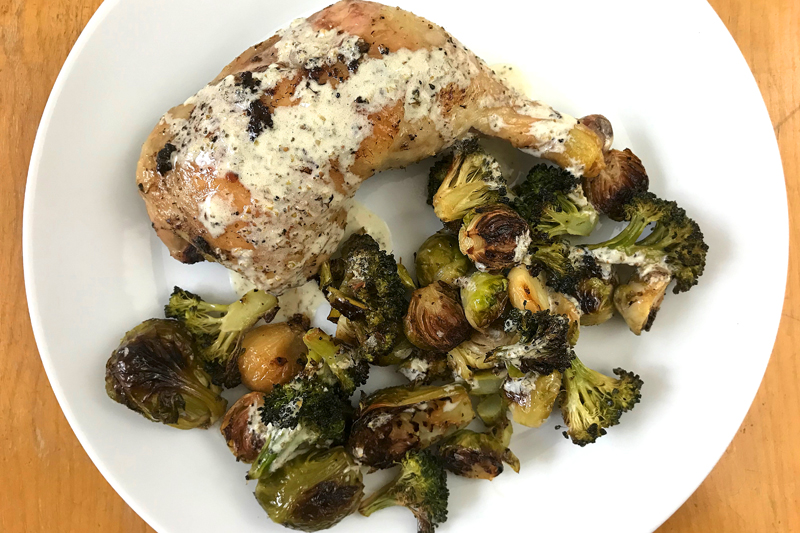
Sheet Pan Chicken Dinner

Serves 4-6 (with leftovers)

Ingredients

Directions

  1. Pre-heat the oven to 350°F.
  2. Using two baking sheets, toss the chicken and all veggies in 1 cup of Sir Kensington’s dressing. Spread everything out evenly. It’s good if it touches. I like to keep the chicken skin side up, keeping the bottom in contact with the baking sheet. Bake, turning sheets once and stirring the veggies, until the chicken is fully cooked and the veggies are tender inside and browned and crispy outside, about 50-60 minutes (depending on your oven).
  3. While everything roasts, whisk together the remaining vinaigrette and the mayo to make a sauce.
  4. Top veggies with Maldon salt. Serve the veggies and chicken with the sauce poured overtop or on the side for dipping.

Thursday

12

November 2015

0

COMMENTS

Roasted Broccoli and Squash with a Basil and Tahini Sauce

Written by , Posted in Condiments, Dairy-Free, Dinner, Gluten Free, Herbs, Main Dishes, Pasta, Quick and Easy, Rice, Roasting, Sauces, Sides, Vegan, Vegetables, Vegetarian

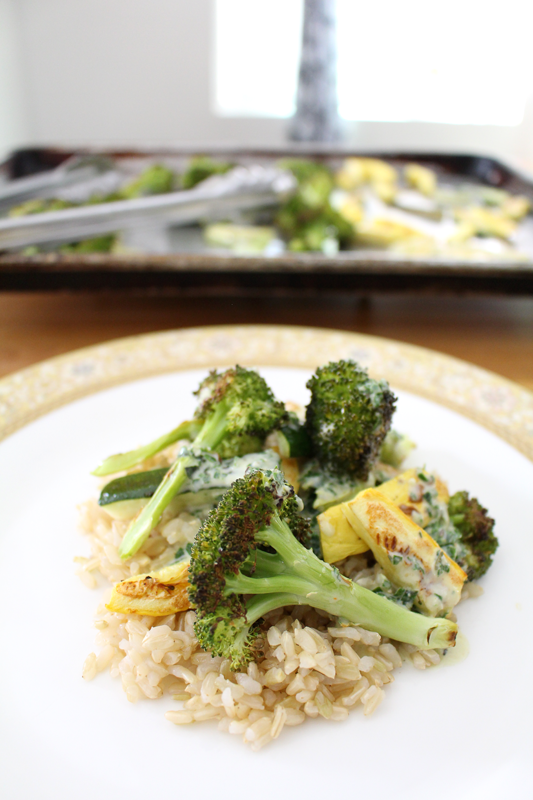
RoastedBroccoliSquashBasilTahiniSauce-6

As I type this, I’m practicing my songs for the Christmas concert in December. This seems wrong because the weather doesn’t match the feel of the songs. I don’t know if it will ever not be weird to me to have 90 degree weather in October, but I’m coping. I try to avoid using the oven too much when it’s hot. But, today I made an exception. It just has to be done earlier in the day when it’s still cool out. And, even though it warms up the house a lot, it’s worth it to be rewarded with roasted veggies.

RoastedBroccoliSquashBasilTahiniSauce-1

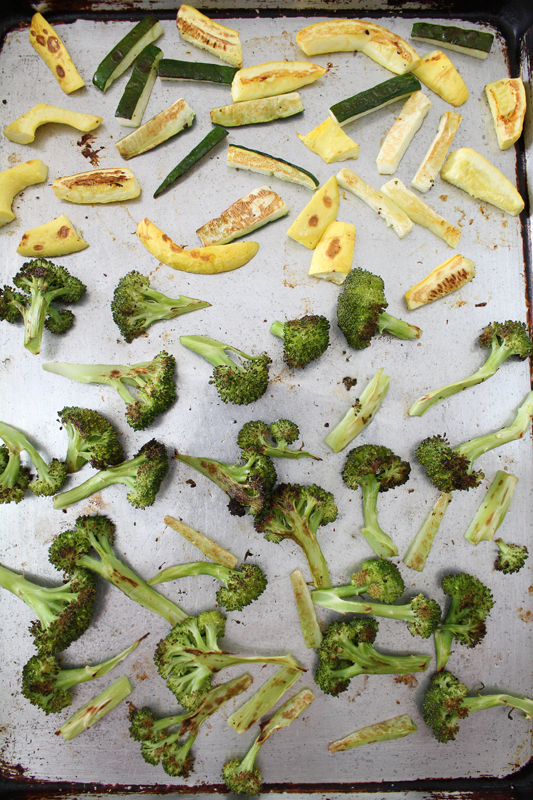
Roasted broccoli is one of my favorite things. Sure, it can make the house smell like toots, but it tastes so good that it doesn’t really bother me. And roasted summer squash, I can eat the entire pan by myself. Easy.

RoastedBroccoliSquashBasilTahiniSauce-4

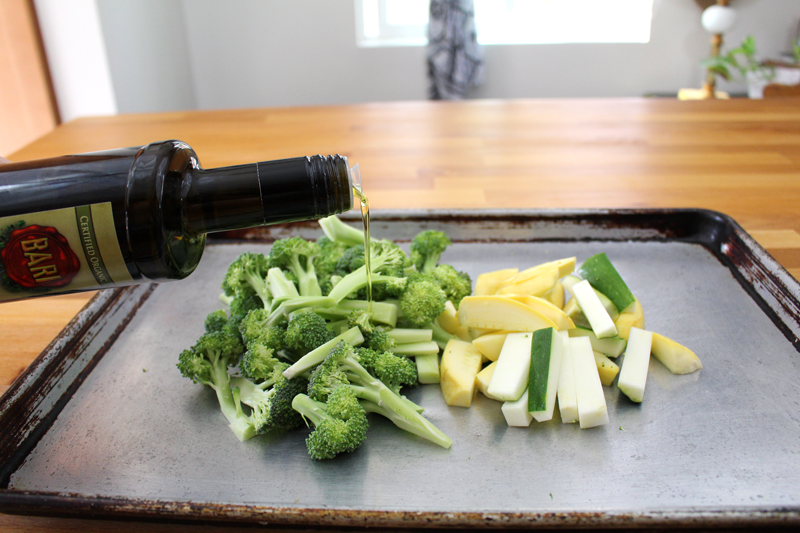
I tossed them with some olive oil, salt, pepper, and cayenne. Simple.

RoastedBroccoliSquashBasilTahiniSauce-2

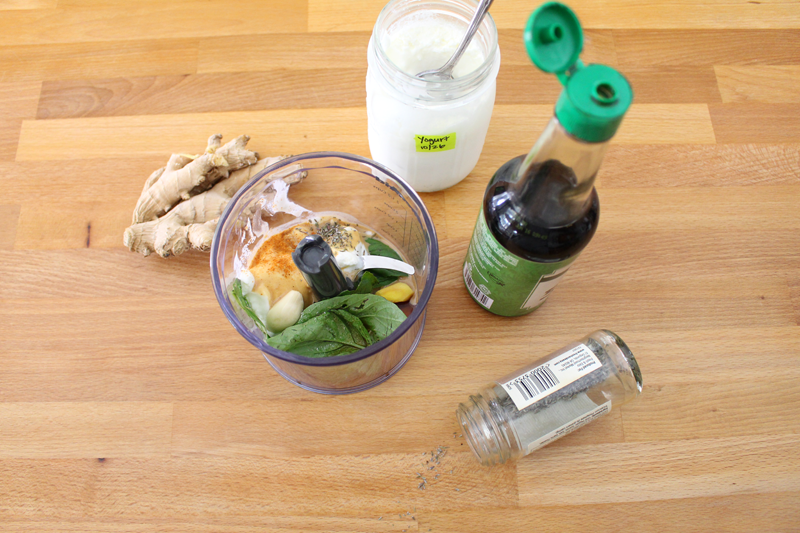
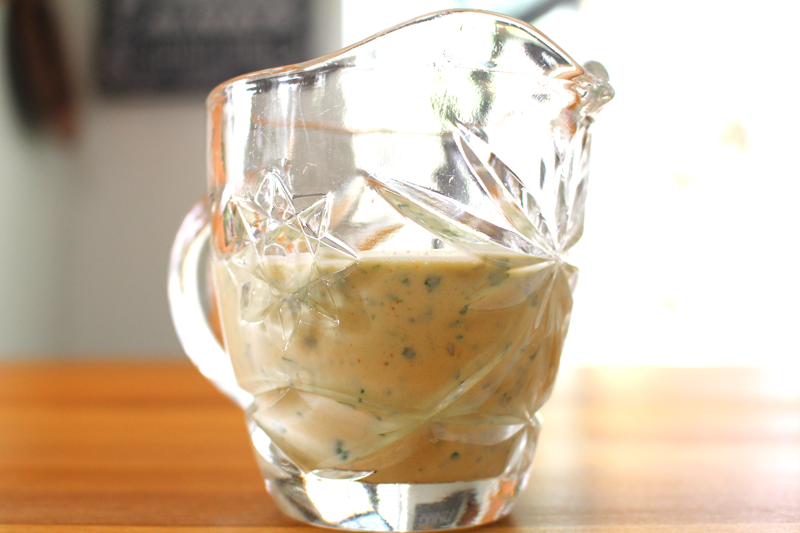
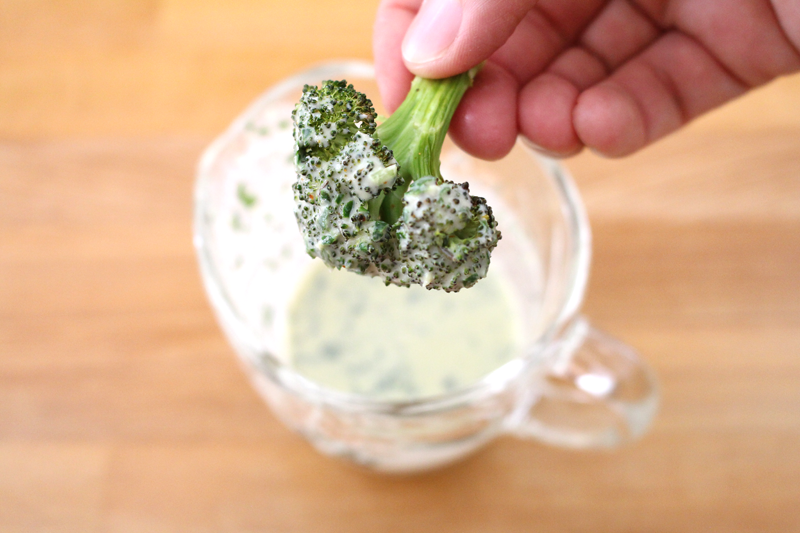
While they roasted I blended together some sauce (which could be a dip, just make it a little thicker). It contained things like garlic, ginger, basil, tahini paste, and homemade yogurt. I’m totally on a homemade yogurt kick right now. It’s the best, and it’s not too difficult to make. When I make it, I feel like I’m winning at life. Same with homemade bread. I guess we all have our things that make us feel like we’ve accomplished something great. Those are two of mine.

RoastedBroccoliSquashBasilTahiniSauce-3

This sauce might be another. It’s a bit Asian-inspired, with the soy sauce (liquid aminos if you’re gluten-free) and the tahini. If you have leftovers, you might use it on an Asian Chicken Salad or a Napa Cabbage Slaw. If you don’t have tahini paste (which is ground up sesame seeds), you could use almond or peanut butter.

RoastedBroccoliSquashBasilTahiniSauce-5

RoastedBroccoliSquashBasilTahiniSauce-7

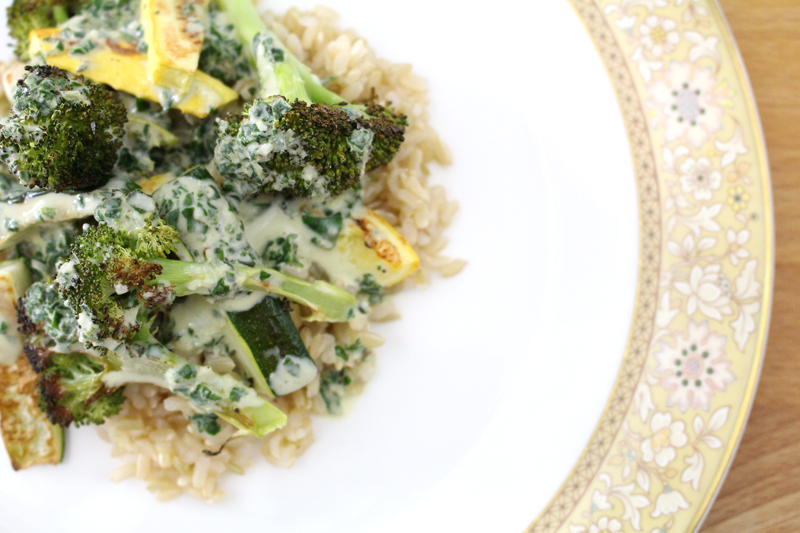
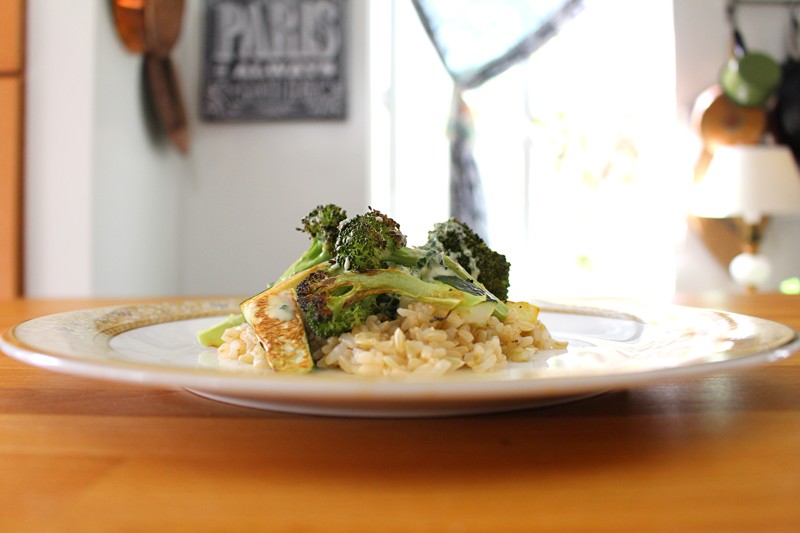
I served the veggies drizzled with the sauce, over some brown rice. Other options would be to serve it over pasta, spaghetti squash, chicken, tofu, or just dip the veggies in the sauce. They’re great that way too.

RoastedBroccoliSquashBasilTahiniSauce-8

I see cooler weather in the forecast. It’s almost the season for all the roasted veggies, soups, and stews.

Happy Eating!

Roasted Broccoli and Squash with a Basil and Tahini Sauce

Prep Time: 15 minutes

Cook Time: 20 minutes

Total Time: 35 minutes

Yield: 2

Roasted Broccoli and Squash with a Basil and Tahini Sauce

Ingredients

  • 1 head broccoli, cut into bite sized pieces (stems too, just peel the tough outer skin)
  • 1 medium or 2 small summer squash, cut into sticks
  • 1 t olive oil
  • to taste salt
  • to taste pepper
  • pinch cayenne
  • sauce: 1 T tahini paste
  • 1 t soy sauce or liquid aminos
  • 1 clove garlic
  • 1/2" cube fresh ginger (or good pinch dried)
  • pinch cayenne
  • 2-3 T plain yogurt (Greek or coconut) or silken tofu
  • 1/4 t dried thyme or 1 t fresh
  • 2-3 T fresh basil
  • to taste olive oil
  • cooked rice, rice noodles, spaghetti squash, chicken, tofu, for serving (optional)

Instructions

  1. Pre-heat the oven to 400F.
  2. Toss broccoli and squash with oil, salt, pepper, and cayenne. Roast for 10 minutes, flip, and roast for 10 minutes more (or until a bit crispy outside).
  3. Blend tahini through olive oil. Taste and adjust seasoning if desired.
  4. Serve veggies drizzled with sauce (over rice, rice noodles, spaghetti squash, chicken, or tofu, if desired).

http://www.de-ma-cuisine.com/roasted-broccoli-tahini-sauce/

Thursday

25

June 2015

0

COMMENTS

Green Bean Fries

Written by , Posted in Appetizers, Dairy-Free, Dinner, Fruit, Gluten Free, Herbs, Inspired By, Kid-Friendly, Lunch, Quick and Easy, Roasting, Sauces, Sides, Snacks, Vegan, Vegetables, Vegetarian

GreenBeanFries-5

I’m crazy about French fries. With a burger they’re fabulous, topped with gravy and cheese curds they’re comforting, with a hearty dip they’re a meal. Of course they don’t have to be made with potatoes. Parsnips, carrots, and summer squash all work perfectly. And while we’re at it, why not try sweet potatoes, beets, or rutabagas?

GreenBeanFries-1

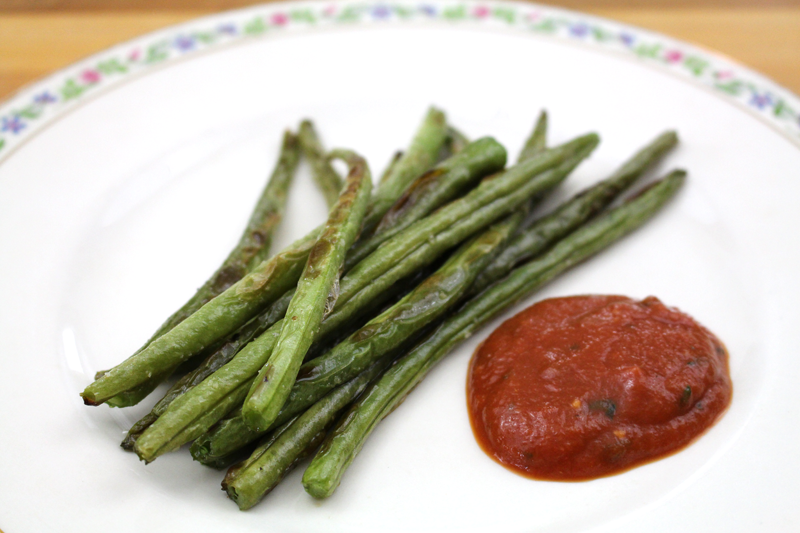
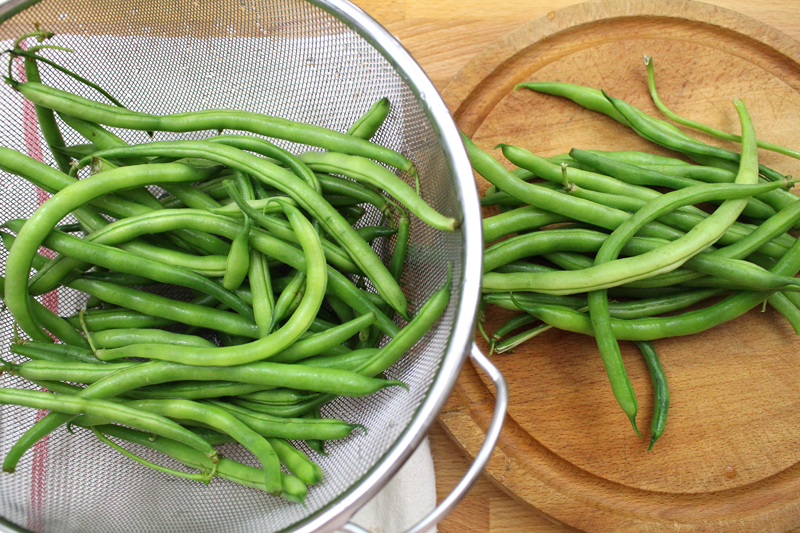
And when I’m feeling lazy and don’t want to take the time to cut up some veggies for roasting, or when I’ve got so many green beans just waiting to be used, I figure I might as well turn them into fries.

Never mind the fact that roasting green beans is one of my favorite ways to eat them. Ever.

GreenBeanFries-3

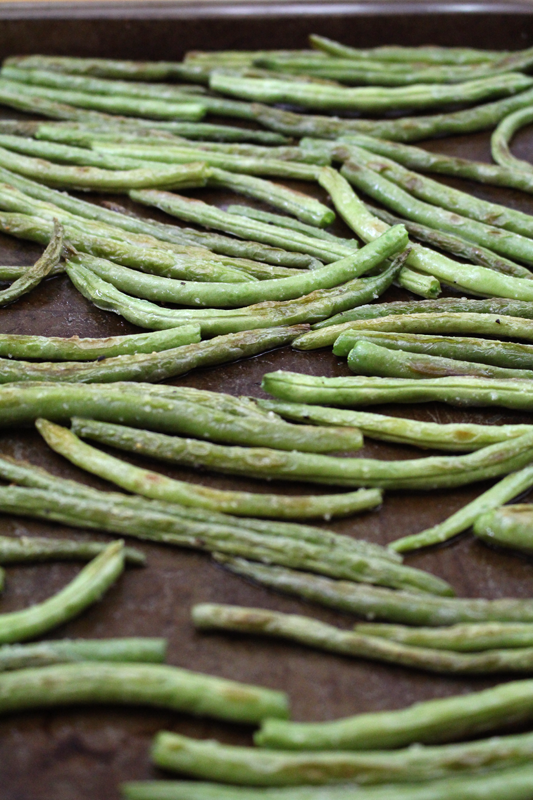
So it’s pretty simple. The beans are tossed with olive oil, salt, and pepper and head into a hot oven. High heat and not a lot of time will work well here.

GreenBeanFries-2

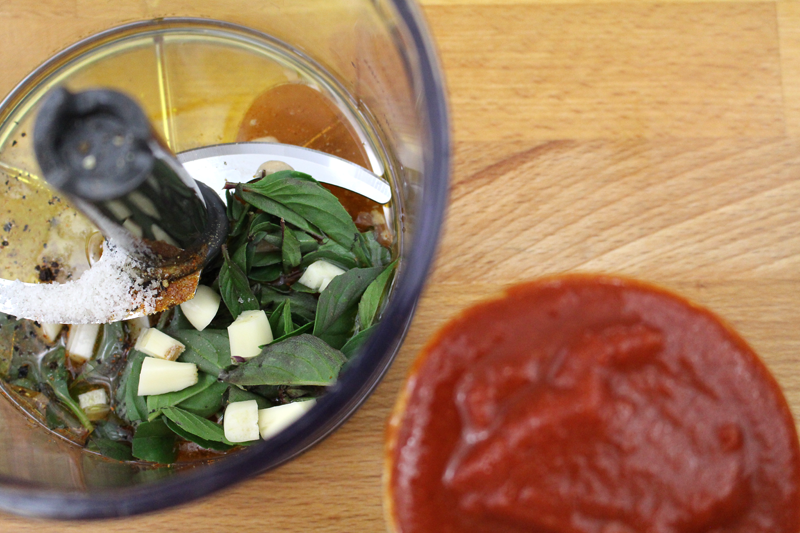
While the beans roast, a quick “ketchup” is blended together. Garlic, basil, a few spices, a little this (maple syrup), a little that (dijon mustard)… a minute or two in the mini food processor and we have some sort of tomatoey, herby, ketchup-like dipping sauce.

GreenBeanFries-4

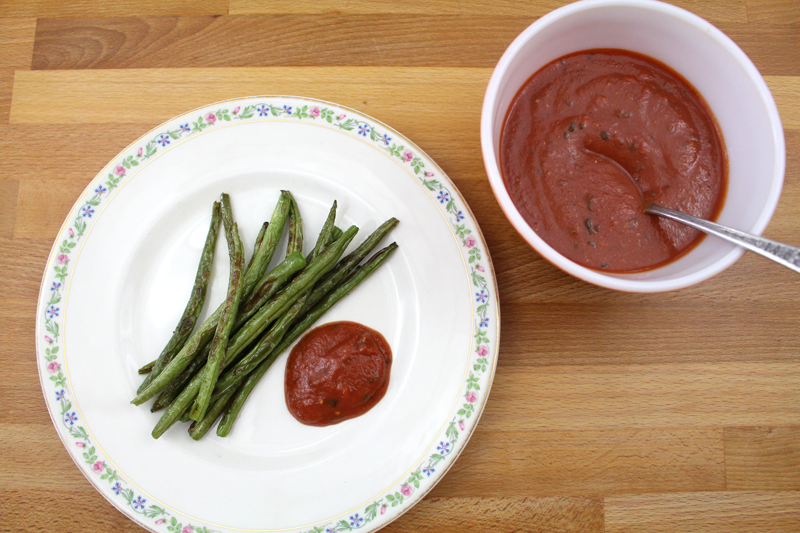
This could be used for any of the above French fry options. If there are leftovers, it’d be great heated up and served over pasta, or used as a pizza sauce. Oh and it’d be fabulous atop a burger.

I have some suggestions in the recipe for three different herb combinations. I was also thinking that if you wanted to go a completely different direction and opt for a creamy dip, crème fraîche would be an awesome option. I might try that next time. (P.S. Crème fraîche is actually pretty easy to make from scratch! Who knew?!)

GreenBeanFries-6

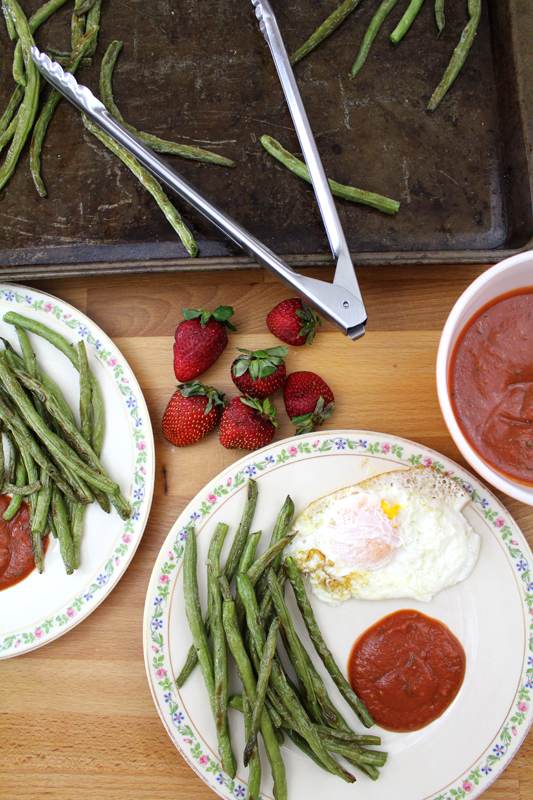
The meals that I make and photograph for these posts usually end up being lunch. So, I fried up some eggs, washed some strawberries, and we were set. Of course Green Bean Fries would be a great compliment to a meal; a wonderful side, But, more often than not of late, I’ve been enjoying veggies as the star.

Happy Eating!

Green Bean Fries

Prep Time: 10 minutes

Cook Time: 17 minutes

Total Time: 27 minutes

Yield: 2-4

Green Bean Fries

Ingredients

  • 1-2 pounds green beans, stems removed
  • 1 t olive oil
  • to taste salt
  • to taste pepper
  • 2 T total (fresh if possible, if dried, crumble and reduce amounts): dill + parsley + basil OR basil + parsley + savory + thyme OR tarragon + parsley + dill + fennel pollen
  • 1 clove garlic, roughly chopped
  • pinch cayenne
  • pinch ginger
  • 1 t maple syrup
  • 1 t dijon
  • 2 T olive oil
  • 1 T chives or shallots (optional)
  • 1 C tomato puree
  • 1 T vinegar
  • to taste salt
  • to taste pepper

Instructions

  1. Pre-heat the oven to 425F.
  2. Toss beans with 1 t olive oil, salt, and pepper. Pour beans onto two baking sheets (so they're not over-crowded). Roast for 10 minutes, flip and rotate their position in the oven, and roast for 6-7 minutes more.
  3. While beans roast, blend herbs through pepper. Taste and adjust seasoning if needed.
  4. Serve green beans dipped in "ketchup".

http://www.de-ma-cuisine.com/green-bean-fries/

Monday

5

January 2015

0

COMMENTS

Spaghetti Squash au Gratin

Written by , Posted in Breakfast, Brunch, Cheese, Dinner, Kid-Friendly, Lunch, Main Dishes, Meat, Pork, Potlucks, Roasting, Sauces, Sides, Vegetables

SpaghettiSquashauGratin-9

Haaaaappy New Year!

We’re right smack in the middle of winter squash season. I find that in the middle of a season, I have to get a bit more creative with how to use things. As much as I love Spaghetti Soup or Vegan Roasted Butternut Squash Soup, we don’t want to eat it every week. Someone posted on social media that they were enjoying some Spaghetti Squash au Gratin. I knew I needed to come up with a recipe for that. It sounded amazing.

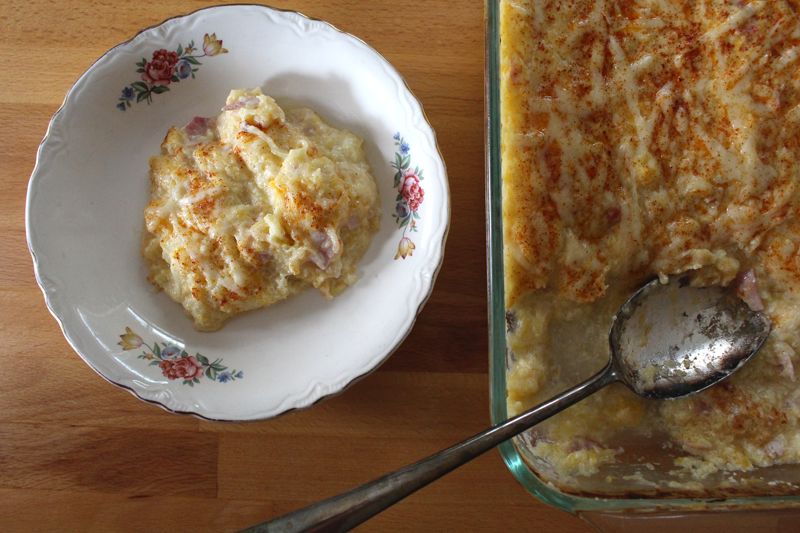
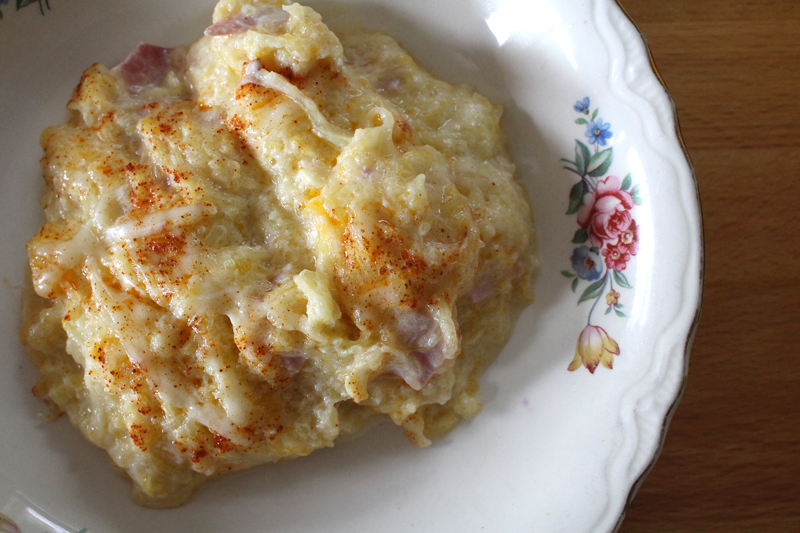
It ended up tasting a little bit like what I think it would taste like if you took grated hash browns and smothered them with cheese sauce.

SpaghettiSquashauGratin-1

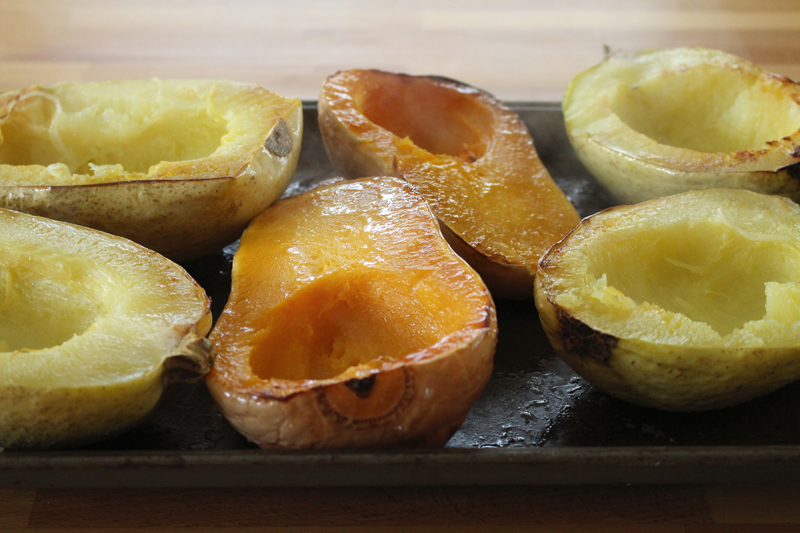
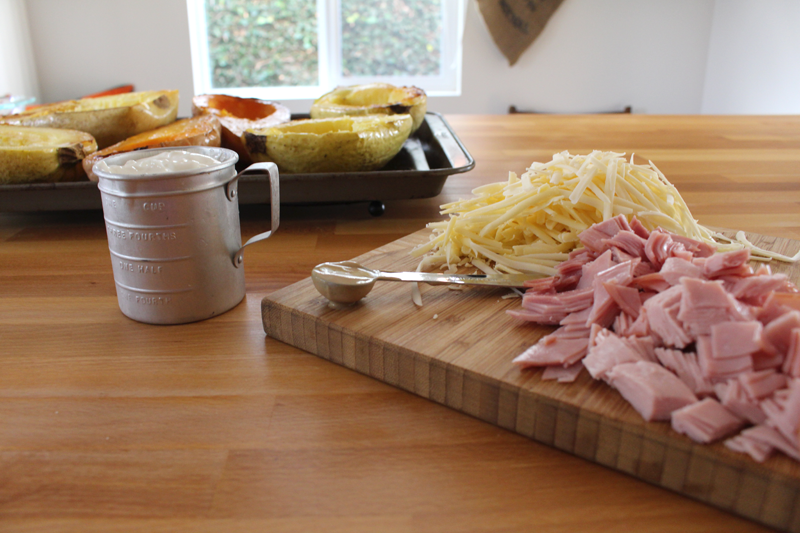
It all starts with some squash roasting in the oven for about an hour. I had three squash sitting on my kitchen island. Since I knew we’d be getting another in this week’s Abundant Harvest Organics box, I figured that I should just roast them. That way, even if I didn’t use it all in this dish, I could just freeze what was leftover. Then I remembered that some friends of ours, who just had a baby, might enjoy this too. So all the squash was perfect.

SpaghettiSquashauGratin-2

While the squash roasts, a quick roux is made up. I used butter and olive oil and then added the same amount of all purpose flour (if you’re making a gluten-free version, skip the flour, and whisk 1 T cornstarch with 1/4 C cold water, and whisk it in later on when the milk mixture is really hot).

SpaghettiSquashauGratin-3

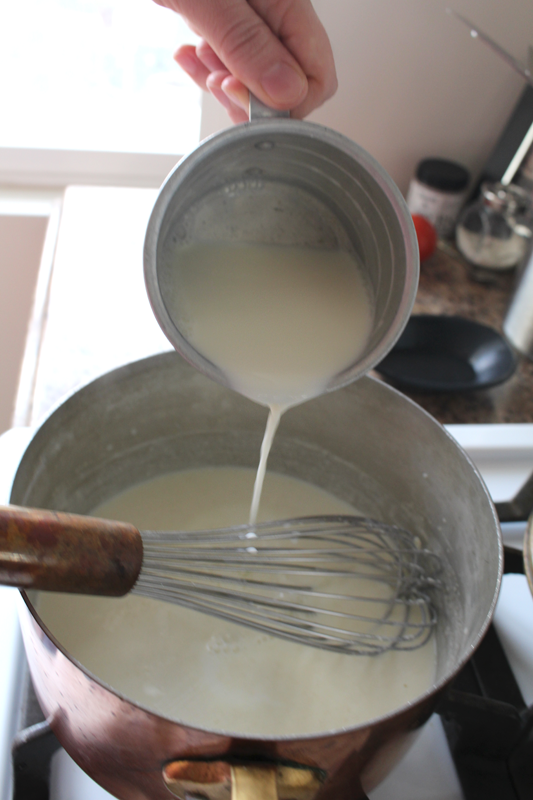
To the roux I whisked in some whole milk. A little bit at a time.

SpaghettiSquashauGratin-4

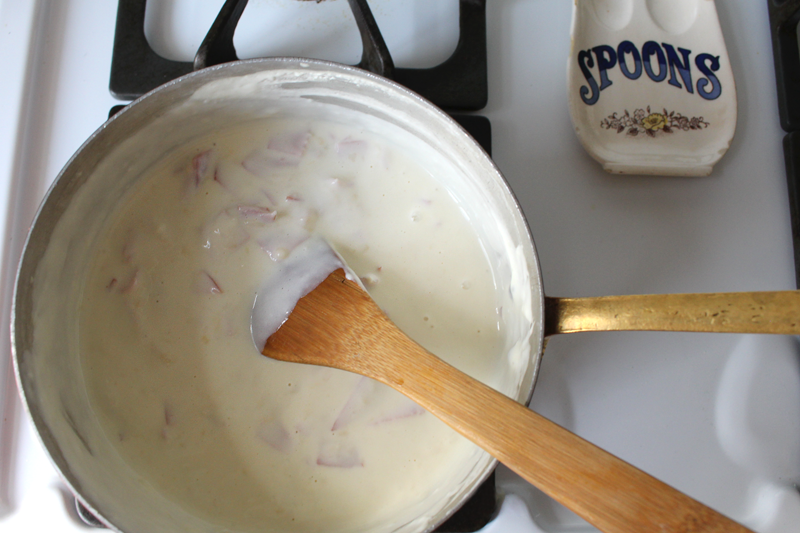
Once the milk mixture thickens, add ons go in. I chose chopped ham (but you could use chicken, beef, turkey… or omit the meat all-together), some dijon mustard, Greek yogurt, and cheese. If you had some leftover cooked veggies (like broccoli, carrots, cauliflower etc…) you could add those now too.

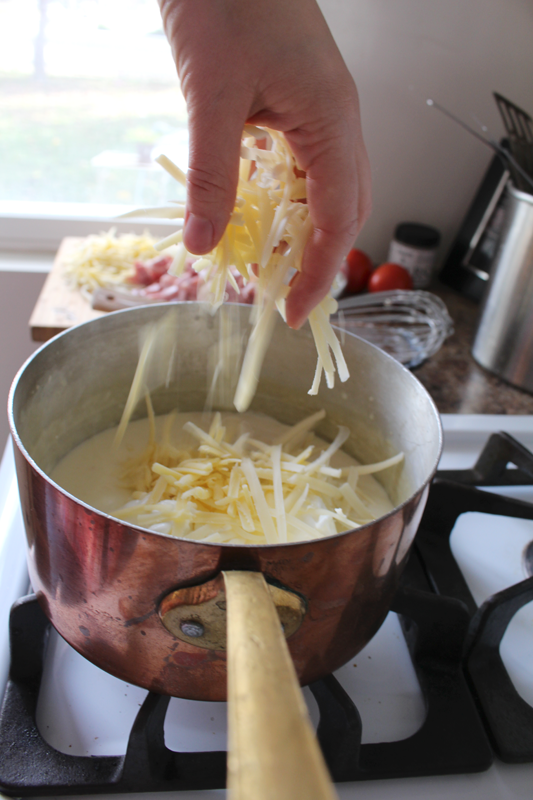
SpaghettiSquashauGratin-5

I added the cheese a little bit at a time, whisking until smooth-ish between additions. Then everything else hops in.

SpaghettiSquashauGratin-6

You know, if you wanted to double the recipe, you could use half for mac and cheese, pour some over roasted broccoli or cauliflower, or dip some crusty bread in it (it’s practically fondue).

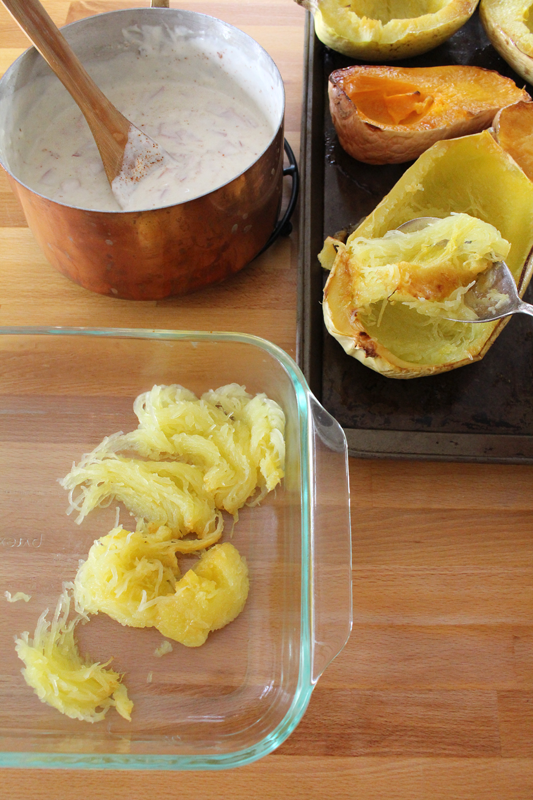
SpaghettiSquashauGratin-7

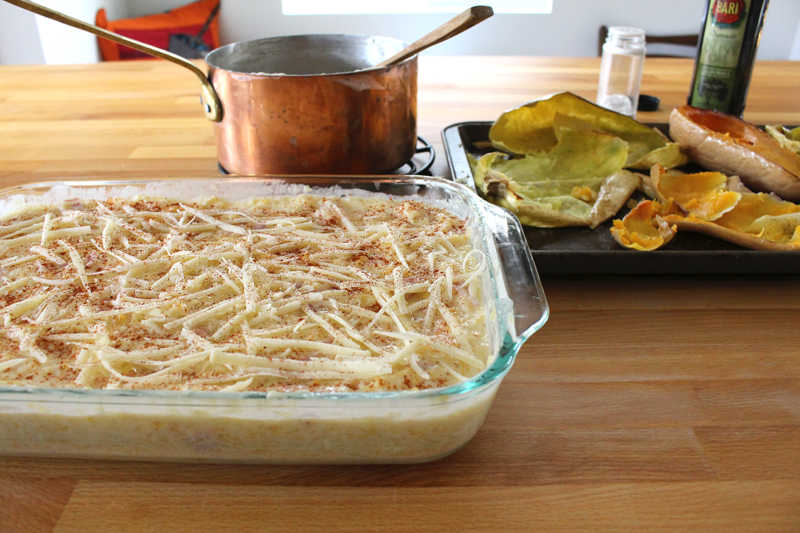
The squash is scraped out of it’s skin and placed in an oven-proof baking dish. The ham and cheese sauce is stirred in.

SpaghettiSquashauGratin-8

Then it’s all topped with a bit more cheeeeeeese!

SpaghettiSquashauGratin-10

It will bake for a little while (which is really optional – you could just top your squash and go!), then stand for a few minutes, if you can handle waiting to dig in!

Happy Eating!

Spaghetti Squash au Gratin

Prep Time: 10 minutes

Cook Time: 1 hour, 45 minutes

Total Time: 1 hour, 55 minutes

Yield: Serves 6-8 as a side, 4-5 as a main dish.

Spaghetti Squash au Gratin

Ingredients

  • 2 medium-sized spaghetti squash, halved and seeds removed
  • 1 medium-sized butternut squash, halved and seeds removed
  • 1 t olive oil
  • 1 T olive oil
  • 1 T unsalted butter
  • 2 T all purpose flour
  • 2 C whole milk
  • 1 t dijon mustard
  • 1 C greek yogurt
  • to taste salt
  • 6 oz. chopped ham (or chicken, beef, or turkey… or omit the meat all-together)
  • 2 C cheese (combo of any of these: cheddar, gruyere, monterey jack, or mozzarella), grated, 1/2 C reserved
  • pinch cayenne
  • 1 t paprika

Instructions

  1. Pre-heat the oven to 350F. Drizzle squash with 1 t olive oil and place cut side down on a baking sheet. Roast for about 1 hour, or until flesh is tender.
  2. Heat a pan and add 1 T olive oil and butter. When it's hot, whisk in the flour. Cook for about 30 seconds. Whisk in milk, a little bit at a time, whisking until mostly smooth between additions. Bring to a simmer (but do not boil). Reduce heat to low and cook until thickened, about 10 minutes, stirring occasionally.
  3. Remove from heat, stir in dijon, yogurt, and salt. Back on low heat, slowly add cheese, a bit at at time, whisking between additions until fairly smooth. Stir in ham. Continue to stir over low heat for about 2 minutes. Stir in cayenne and 3/4 t paprika. Taste and adjust seasoning if desired.
  4. Scrape squash from skin. Mash together in a greased 9x13 oven-proof baking dish. Stir in sauce. Taste and adjust seasoning if needed. Sprinkle with reserved cheese and 1/4 t paprika.
  5. Place baking dish on a baking sheet (in case it bubbles over). Bake on a rack in the upper portion of the oven for 15 minutes. Increase heat to 375F and bake for 15 minutes more. Let stand for 10 minutes before serving.

http://www.de-ma-cuisine.com/spaghetti-squash-au-gratin/

Thursday

4

December 2014

0

COMMENTS

How to Make Pesto – Part 3 – Mint Pesto

Written by , Posted in Condiments, Dairy-Free, Fruit, Gluten Free, Herbs, How To, Quick and Easy, Sauces, Vegan, Vegetables, Vegetarian

MintPesto-1

It’s time for another pesto installment. I still can’t believe that I hadn’t made pesto before I tried my hand at Basil Pesto, the more traditional pesto. Then came the Kale Pesto, a bright, green tasting treasure.

But, recently, I’ve been loving mint. I love mint so much that I stuck a few sprigs in some dirt to see if they’d grow.

They did!

I have more mint growing outside than I know what to do with. And I’m fine with that.

MintPesto-2

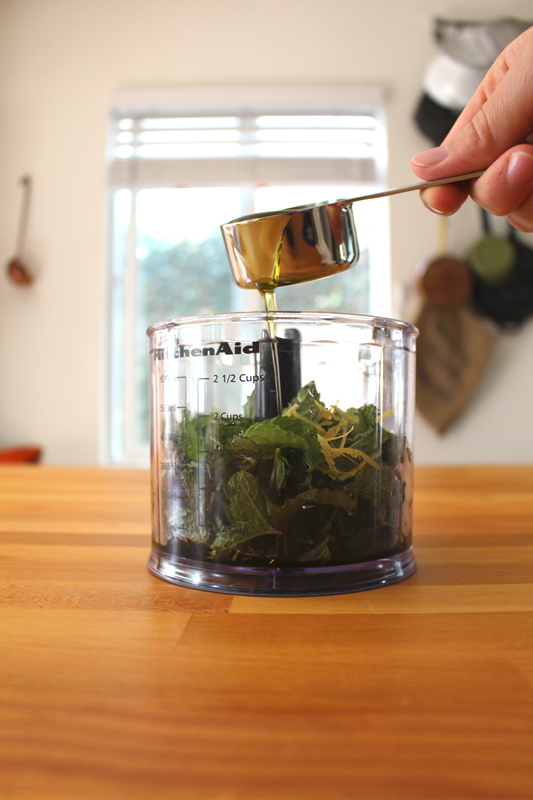
I thought I’d highlight the cool mint flavor with just a few ingredients. No nuts or cheese this time. Just some lemon, garlic, balsamic vinegar, salt, and olive oil. (But, if you wanted to add nuts, almonds, pine nuts, pistachios, or cashews would be a great choice.)

Simple.

MintPesto-3

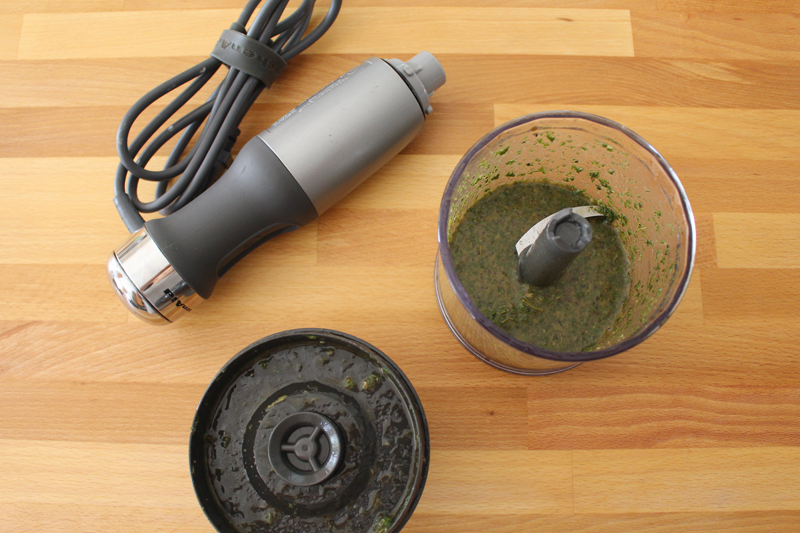
Since I have a tiny food processor-like attachment to my hand blender, I just put everything in at the same time and blend. You could also stream the olive oil in as you blend, if you have a blender or regular food processor. I think it worked just fine the way I did it though.

You could adjust the amount of liquid (or add more mint) if this isn’t thick enough for you. But, I liked the way it turned out.

MintPesto-4

I have so much pesto in my freezer that I’m going to have to start including it in my weekly menu, every week.

What a problem to have, right?!

I’m going to eat it with a baguette that’s topped with feta. Yes. I’m gonna do that. I’m going to drizzle it over roasted green beans and peas. I might toss it with pasta or rice (hello risotto!), with grilled eggplant, steamed carrots, or fresh tomatoes. I might make it into a salad dressing, add it to hummus, or use it to top soup. Or, like I did today, I may add it to a Greek Pasta Salad that’s got chickpeas, veggies, and feta.

MintPesto-5

Happy Eating!

Mint Pesto

Prep Time: 5 minutes

Mint Pesto

Ingredients

  • 1 - 1 1/2 C packed mint (about 1 bunch)
  • 1/4 C olive oil
  • 1-2 cloves garlic
  • 1 T lemon juice
  • 1/2 to 1 t lemon zest
  • 1 T balsamic vinegar
  • to taste salt

Instructions

  1. Blend all ingredients for about 60 seconds. Scrape down the sides of the blender, taste and adjust seasoning if desired, and blend for about 30 seconds more.

http://www.de-ma-cuisine.com/how-to-make-pesto-part-3-mint-pesto/