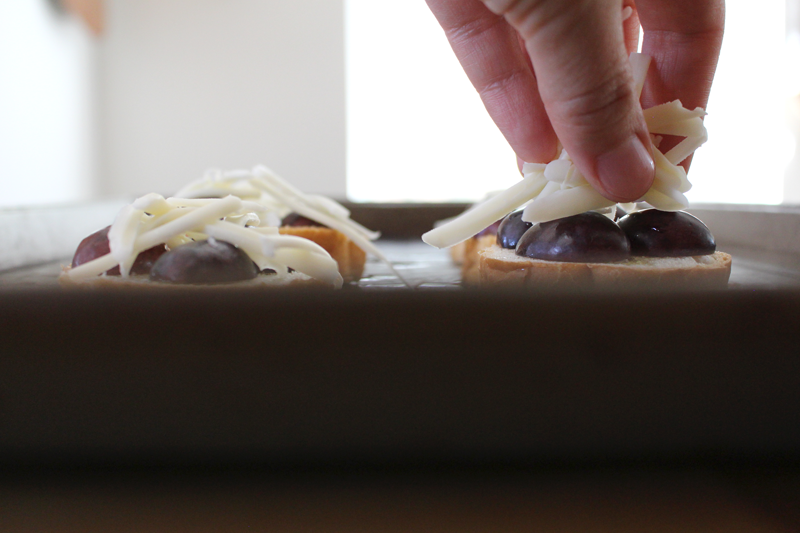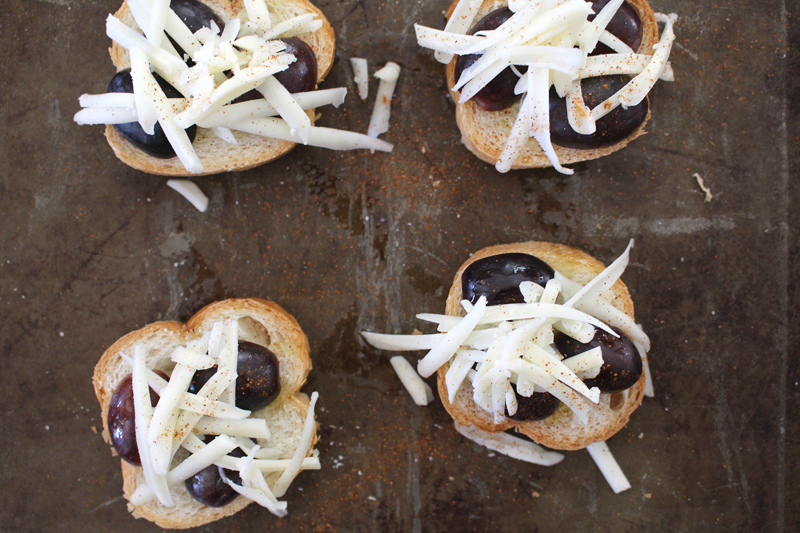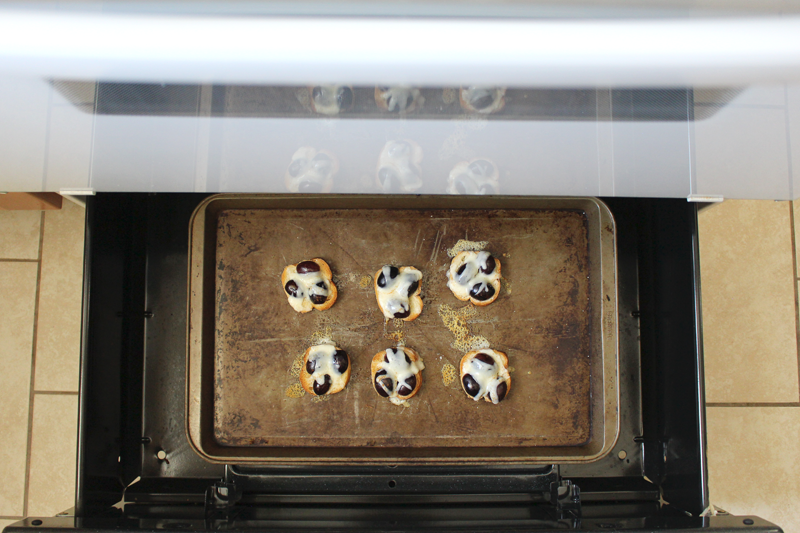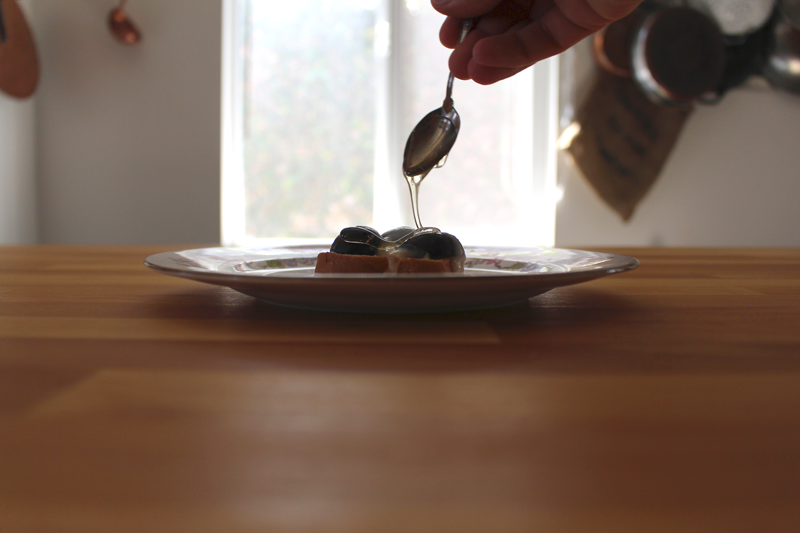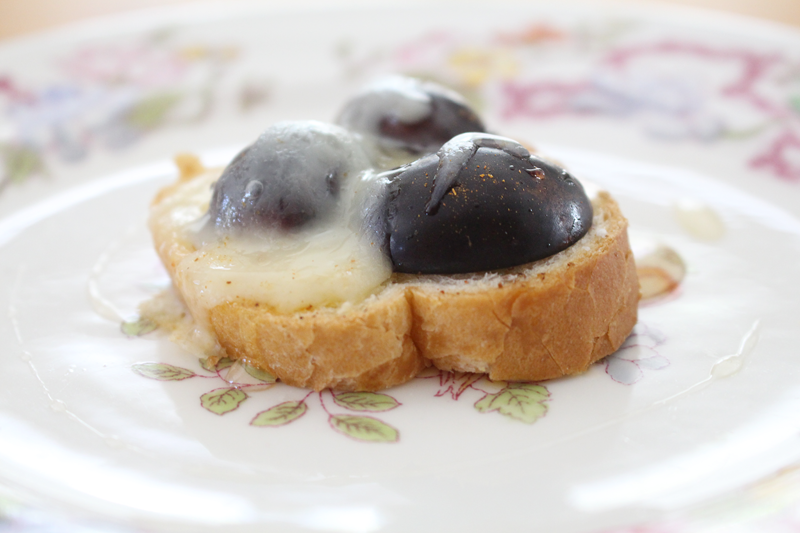
It’s no secret that I love to roast veggies. I’ve been known to roast anything from beets, to peas, to cabbage. But, not all veggies are alike. And not all veggies act the same when they’re thrown into a pot of boiling water, sautéed in a skillet, or roasted in the oven.
Here’s some of what I’ve found to work (and sometimes not work), in my experience as a home cook.
In Soups
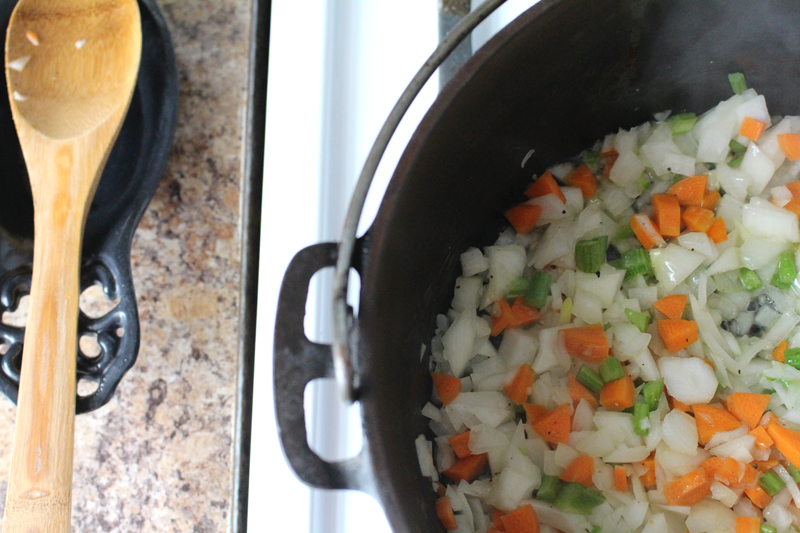
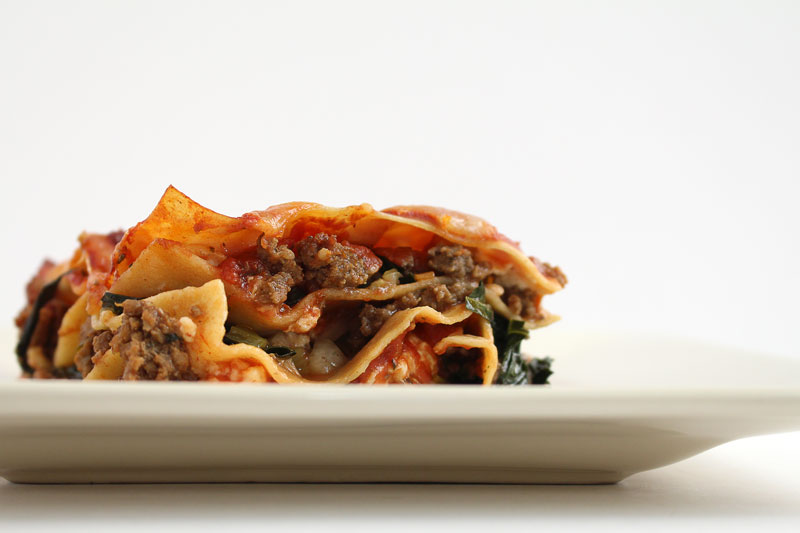
I use potatoes, sweet potatoes, butternut squash, acorn squash, and rutabagas interchangeably in soups. They respond similarly, and, unless I know that one or the other might not pair well with another of the soup’s components, if I have one, but not the other, I’m going to use what I have. Same thing with broccoli and cauliflower – I find them similar enough. And when it comes to soups, I’ll usually add as many veggies as I can. Starting with the harder veggies (think roots like carrots and beets), then adding slightly softer guys (hello broccoli and cauliflower, maybe even cabbage, and herbs like rosemary and thyme), and adding more delicate greens and herbs at the end (kale, chard, dill, parsley).
Cooking 101 – One of the keys to adding things at the same time is to make sure they’re chopped/diced/cubed the same size as all the other components. This will ensure that someone doesn’t burn, while someone else is still raw. This goes for any method of cooking.
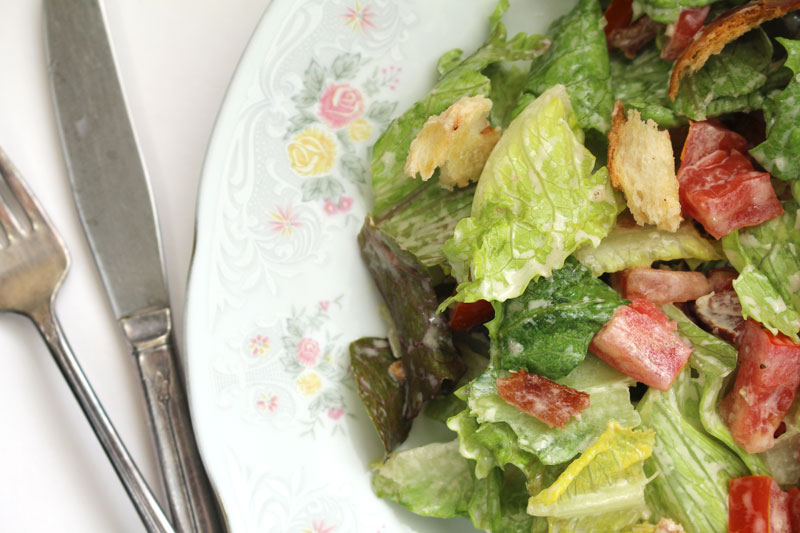
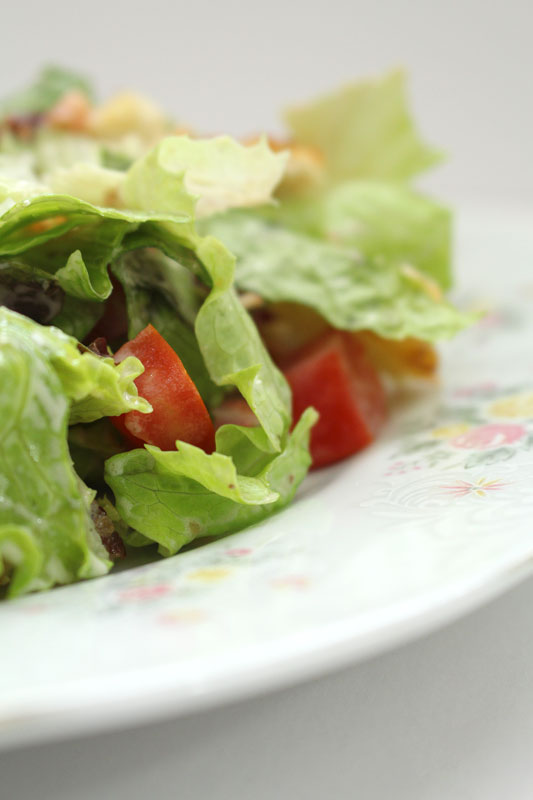
In Salads

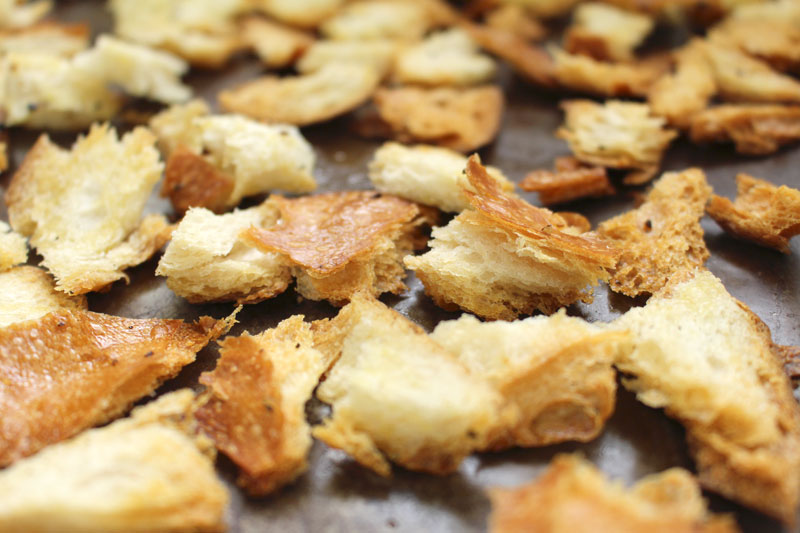
I love lots of different textures in a salad. I will often combine a nice butter lettuce with tuna, a hard boiled egg, some chopped nuts, croutons, dried fruit, and grated or chopped veggies.
I prefer to grate hard root veggies like carrots and radishes. If you’re ok with raw beets, grate them too. But, you can also roast for salads. Roasted beet chips and crispy potatoes are some of my favorite salad toppers.
Cooking 101 – If you want to tame a spicy radish a bit, grate it. You won’t bite into a big chunk of burning, if that’s not what you were hoping to get from your salad.
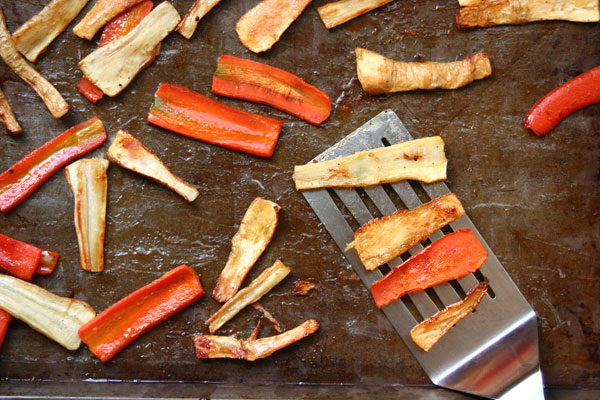
In the Oven
As Fries
I love to cut potatoes, sweet potatoes, parsnips, and winter squash into sticks to make fries. Mostly, because I want to dip them in yummy sauce.
In Smaller Pieces
A head of broccoli or cauliflower cut into bite sized chunks, some cubes of potato, winter squash, or sweet potato; wheels of carrot, one inch pieces of beet all make a great side when roasted. Just toss them with some olive oil, salt, and pepper before they head into the oven, and you’re good to go.
Cooking 101 – The stem of the broccoli doesn’t need to be discarded. Simply peel the tough outer layer, then slice the inner portion and use as you would the florets.
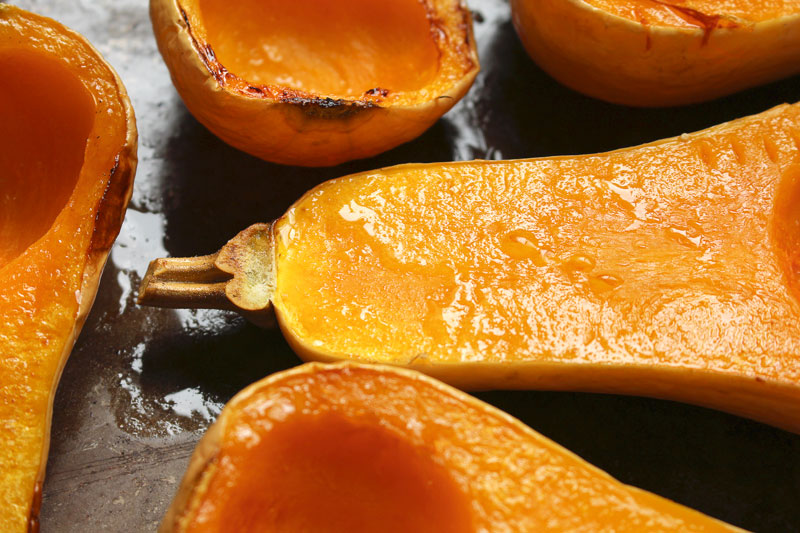
Roasting Whole
Beets are my favorite to roast whole. Recently, I’ve discovered that it’s best to put them in a pan, with about a cup of water, then tightly cover with foil. They will take about an hour (for small-ish beets) at around 425F, and maybe 10 to 20 minutes more if they’re larger.
Obviously, potatoes are kinda famous for being roasted whole. Sweet potatoes are the same story. You can leave them as they are, or wrap them in foil if you want. If you’re gonna do the foil method, before you wrap them up, drizzle them with some olive oil, and sprinkle with salt, so the skin is extra tasty. I like things extra tasty, so I’m all over the oliveoilsaltextrayummyskin.
And there’s the winter squash, which technically I don’t roast whole, I cut them in half, but they’re so huge that I think they count. Sometimes, when I have a whole bunch on the counter I will roast them all, then scrape the roasted flesh out of the skin and freeze it. It makes soup prep incredibly easy. (And, save this tip for summer: I do the same thing when I have loads and loads of eggplant.)
Cooking 101 – You don’t have to peel beets before you roast them. Once they’re soft, leave them to cool slightly (covered or uncovered, I haven’t noticed much of a difference either way), then using gloves, a paper towel, a paring knife, or your fingers, peel the skin off – it should be pretty easy (and oddly satisfying).
On the Stove Top
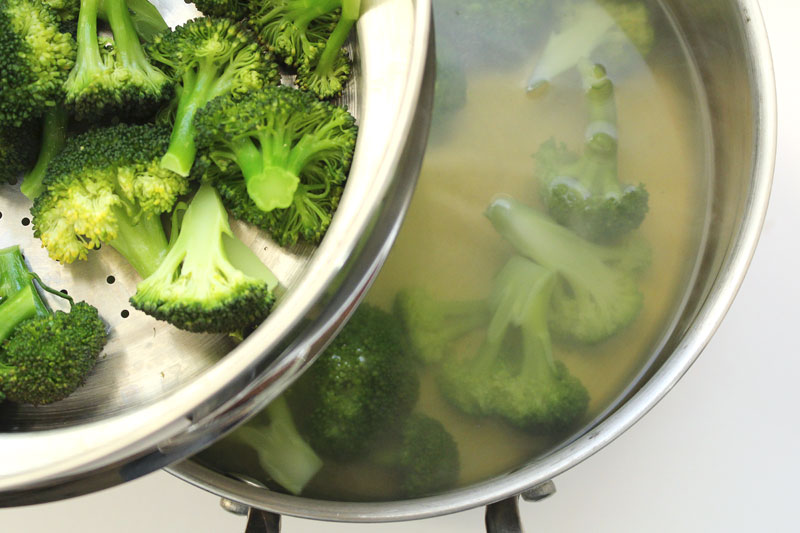
Steaming
I find that most veggies respond pretty well to steam. By this, of course, I mean veggies that are meant to be eaten cooked. I probably wouldn’t steam lettuce… although at the moment, that’s the only one coming to mind that I wouldn’t… But, you know, use your judgement on this one.
Some of my favorites to steam are: carrots, potatoes, broccoli, cauliflower, and green beans.
I prefer steaming over boiling, because I think the veggies retain more of their nutrients.
Cooking 101 – Save leftover steaming or boiling water to cook pasta, or to make veggie stock with the scraps that would have gone in the compost.
Boiling
My Oma always boiled the potatoes for special dinners. They tasted great. I know that boiling is the way people often cook potatoes when they’re going to be mashed. When I took that cooking class in Paris, that’s how we boiled the potatoes. It’s a tried and true method. And you can really pop quite a few veggies in a bunch of really hot water and get good results. Just beware that if you leave them too long, they can become water-logged and mushy, and may just fall apart in the pot (and then you adapt and pretend that you’d always planned to make soup).
Cooking 101 – So that you can save the boiling water for pasta cooking or stock, use a slotted spoon to pull out the veggies, rather than just dumping the water out. Or, if you don’t have anything else to cook, let the water cool completely, then take it outside to water your plants.
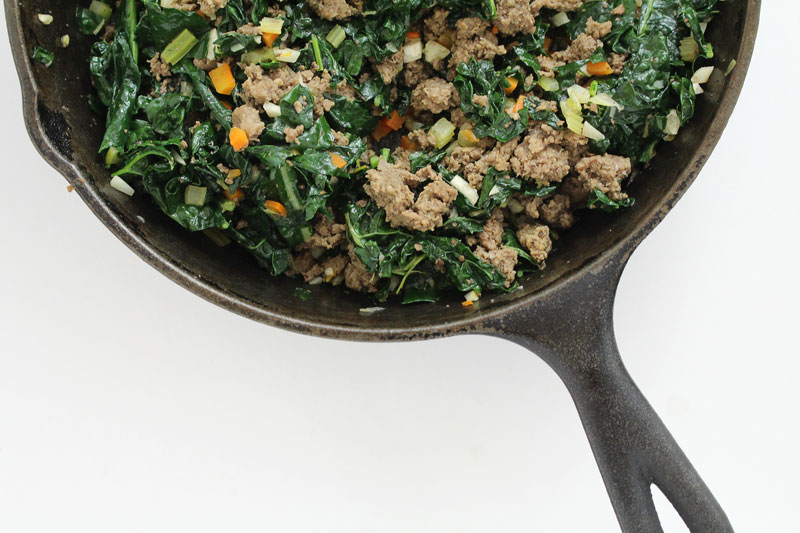
Sautéeing
Aren’t veggies just so versatile?! I mean, we’ve gone from roasting, to steaming, and now sautéeing, and there are some veggie-friends that are good with any option. So, I’d say, that things like broccoli, brussels sprouts, cauliflower, are an easy yes. If you want to do potatoes, carrots, parsnips… you know, the harder roots, that’s awesome too, just smaller pieces, and plenty of time. And then, if you want to go with the more delicate greens, like kale, chard, mizuna, mustard greens, and spinach, you’ll start with what feels like way too much, and end up with the perfect amount. If you’re starting with some harder veggies, once they’re a few minutes from being done, add the greens. They won’t take long and add a lot to a dish.
Cooking 101 – Don’t throw away those beet greens! They’re delicious sautéed, in salads, and in soups.
However you prepare them, have fun with your veggies!