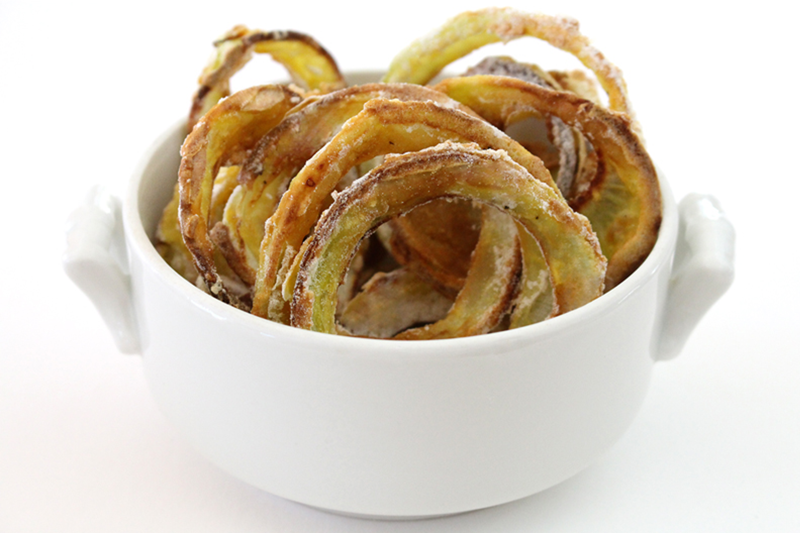
Baked Onion Rings with Herb Dip
Written by Rachel, Posted in Baking, Condiments, Dairy-Free, Eggs, Gluten Free, Herbs, Quick and Easy, Roasting, Sides, Snacks, Vegan, Vegetables, Vegetarian
I’m not a sweets person. I don’t often crave chocolate, I can go without candy, and if given the option, I’d take potato chips over a donut. I do really love ice cream, but I think that’s because Tim is so good at making it. But, even then, I might take onion rings over ice cream. Because I really really love crunchy deep fried foods. French fries, tempura, onion rings… They’re so tasty.
We don’t need to talk about the dangers of fried foods. I’m well aware. You’re well aware. We’ve got that covered. It’s a treat, not an everyday thing.
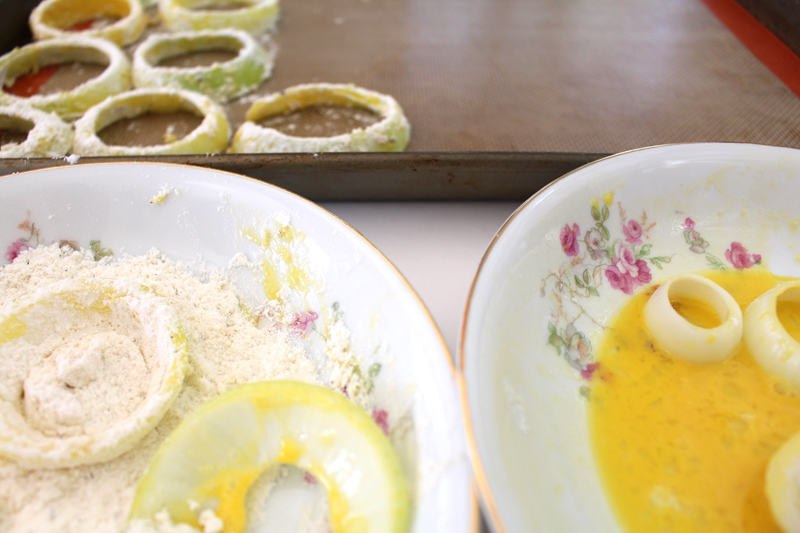
When it comes to guilty pleasures, these onion rings seem like they’d fit in. But, they’re actually pretty innocent. They’re dipped in eggs (you could use coconut or almond milk if you want to keep them vegan), then coated in flour. I double dipped some (you know, egg, flour, egg, flour). I’m not sure which turned out better. They all tasted great.
All.
I ate them all.
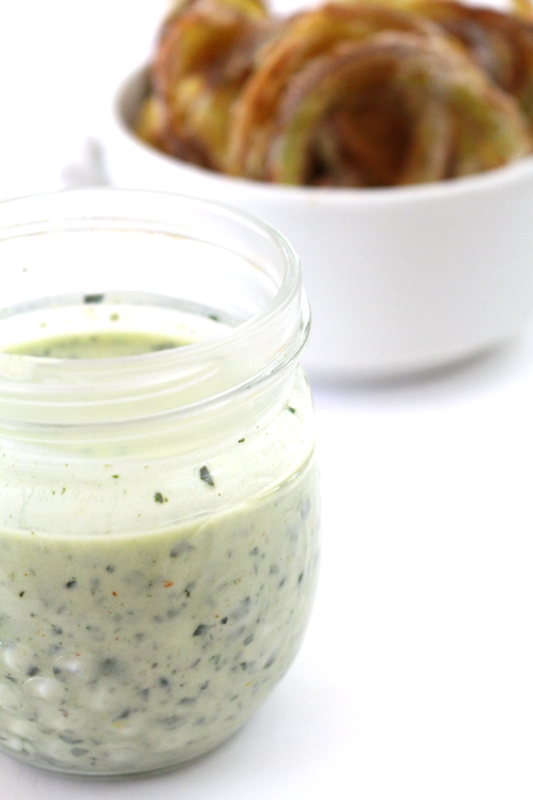
The first secret to this delicious treat is baking them at a high temperature for a short amount of time. We’re talking 425°F for 18-20 minutes total. The second secret is the dip. It’s made up of things like yogurt or silken tofu or mayo or avocado (or ALL!) blended up with some blanched greens, herbs, garlic, and olive oil. I fully submerged each onion ring in the dip before devouring.
If you wanted to make a huge platter and call this dinner, you might also do some green beans, par-cooked potatoes or root veggies (and in a few months summer squash), and add the beans to the dip. Serve it with a big salad and some other fun finger foods (like nachos with refried bean dip) and you’ve got a winner. In fact you’ll most likely find us eating this for dinner sometime this weekend.
Happy Eating!
Ingredients
- 2 C any of your favorite greens
- 2.5 C any combo of: yogurt/crème fraîche/mayo/sour cream/avocado
- 1 T dijon
- 1 T olive oil
- 1 t lemon zest, chopped
- 1 t lemon juice
- to taste salt
- to taste pepper
- 1-2 cloves garlic, minced
- pinch cayenne (optional)
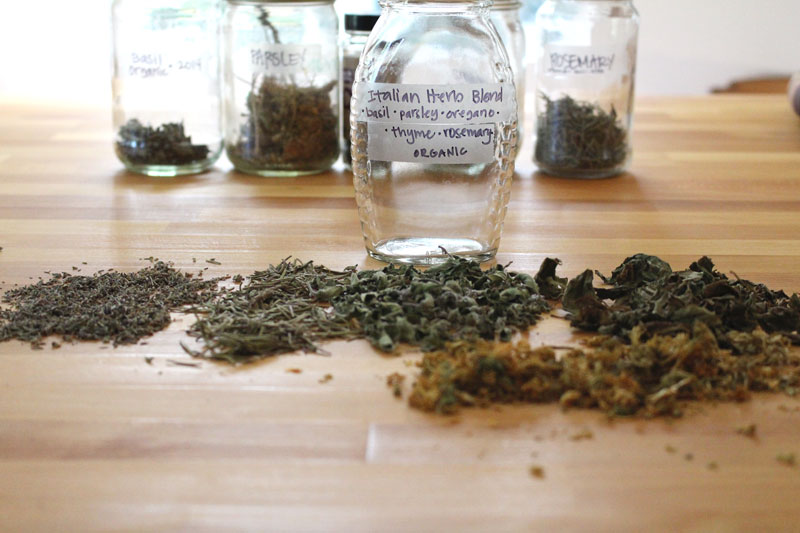
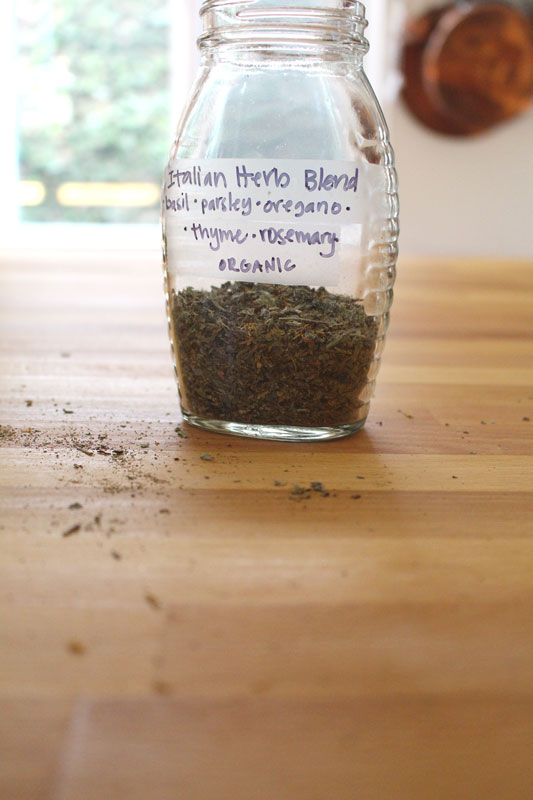
- handful chopped herbs like: parsley, basil, thyme, rosemary, oregano
- 1-2 onions, sliced
- 2 (or more) eggs, whisked (or coconut, almond, or cow's milk)
- 2 C flour (AP or GF)
- to taste salt*
- to taste pepper
Instructions
- Pre-heat the oven to 425°F.
- Blanch greens in boiling water for 1 minute. Transfer to an ice bath to cool. (Or, use leftover sautéed greens.)
- Whisk yogurt through cayenne. Add herbs and blanched or leftover greens. Blend. Taste for seasoning. Refrigerate until ready to serve.
- Mix flour with salt and pepper. Taste (for real). Separate onion into rings. Dip veggies in egg/milk then flour. Repeat if desired. Tap off excess flour. Place on a parchment or Silpat lined baking sheet. Do not let the veggies touch. Bake for about 10 minutes, flip, bake about 8-10 minutes more (or until crispy and browned).
- Serve with dip.