You guys, did you know that dandelions aren’t just for making your arm turn yellow, or blowing the seeds all over the yard to plant new flowers? (I’m not the only one who did this as a child… right? My parents were thrilled, I’m sure.)
We can eat them!!?
Yes. Yes, we can.
I learned in this week’s Abundant Harvest Organicsnewsletter that dandelions are part of the sunflower family. I had no idea. I also learned that this plant that I’ve never eaten can be a substitute for: arugula, broccoli raab, beet greens, choys, kale, collards, chicory, or baby spinach. How fun!
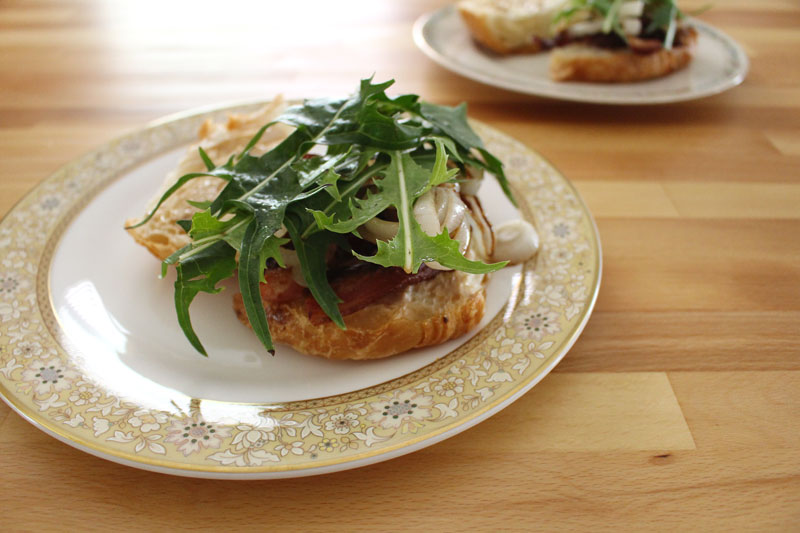
So I did a little bit of research to see what might go well with these new (to me) greens. At first I thought of sautéeing them. That would be fabulous. They’re a little bit bitter, so if you want to tame them, as with any bitter green, you might want to cook them first. And you could totally cook them for this recipe. But, I thought that raw would work nicely too, because it was going on a bacon sandwich, with a savory garlicky mayo.
And now I. Can’t. Stop. Thinking. About. This. Sandwich. Ugh and I’m all out of bacon.
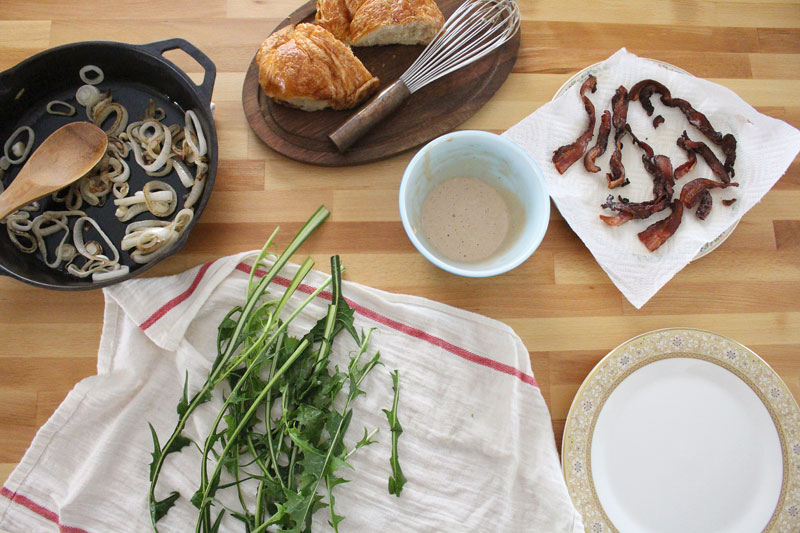
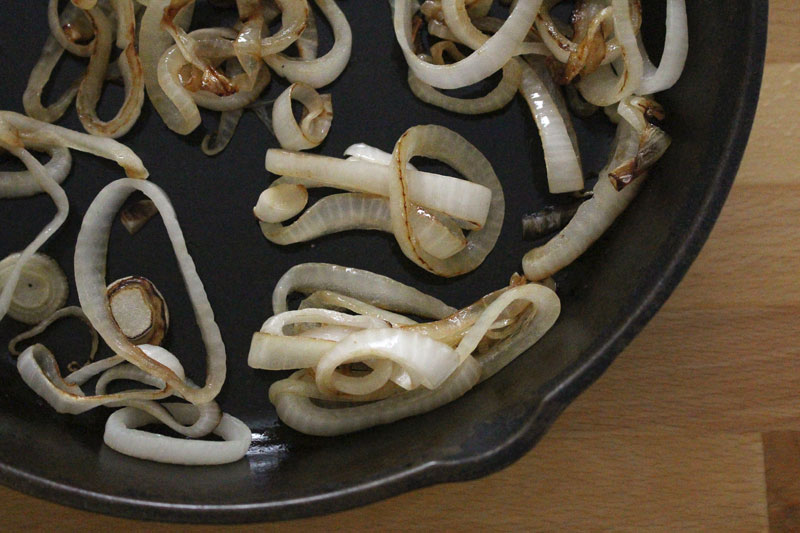
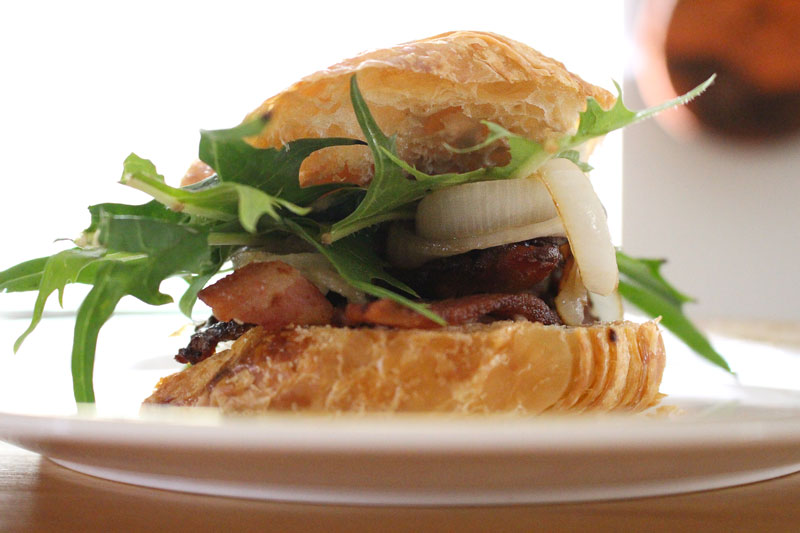
It’s simple really. Bacon, cook it. Onions, quick sauté. Easy enough even for lunchtime.
The sauce is a simple mayo-ish spread that has garlic, balsamic vinegar, dijon, and mayo. It’s deeeeelicious.
I can never have enough garlic.
Ever.
Suggestions: 1. Don’t skimp on the sauce. 2. Use a good quality mayo. 3. Don’t skimp on the sauce.
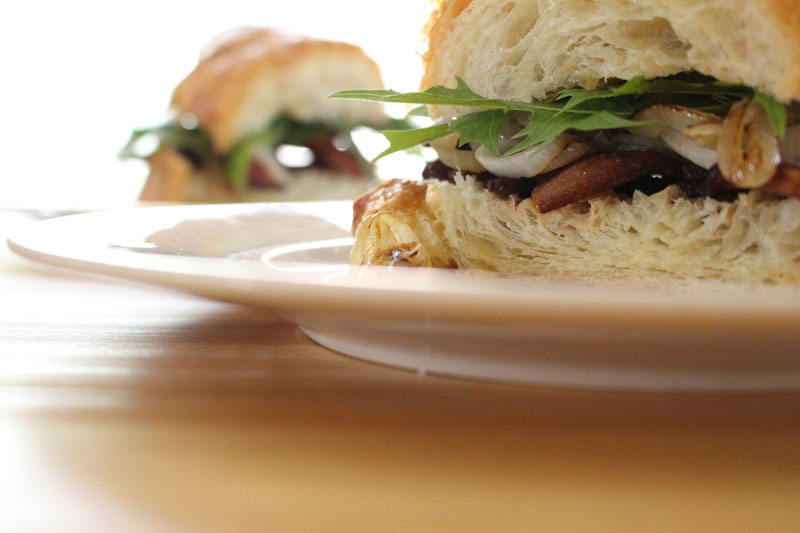
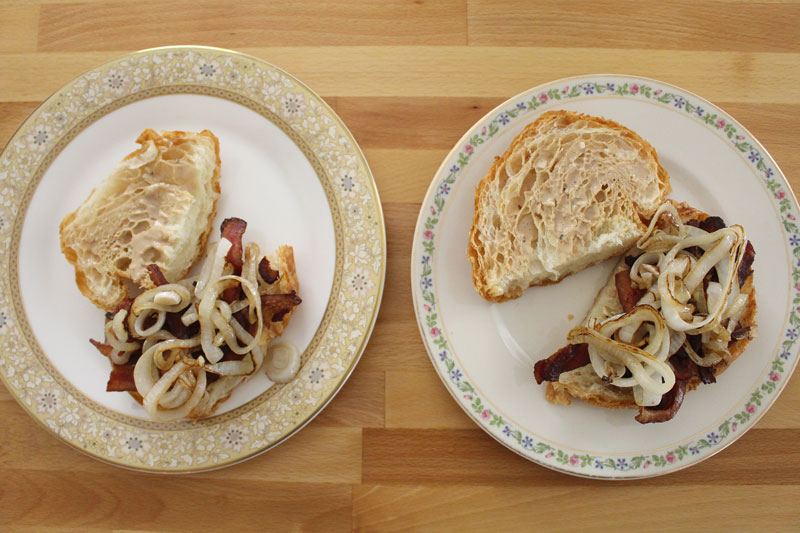
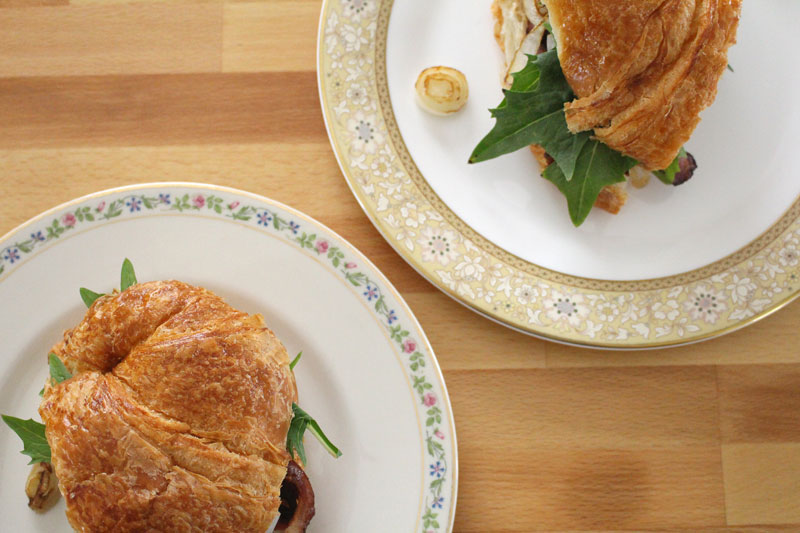
Everything gets all piled up on the bread.
We’re really into French baking and breads at home right now. I made baguettes the other week. And, since it was my birthday last Thursday, Tim bought us some great croissants to enjoy with friends the other night, and there was one left, perfect for us to split for this sandwich.
Dandy Sandi – Bacon Sandwich with Dandelion Greens
Recipe Type: Sandwich, Lunch, Pork, Bacon, Greens
Author: Rachel Oberg – De Ma Cuisine
Prep time:
Cook time:
Total time:
Serves: 2
Ingredients
6-8 slices bacon
1 T olive oil
1 onion, sliced
pinch salt
1/2 bunch dandelion greens (or any other greens), stem ends removed
2 regular sized (or 1 huge) croissants, sliced (or your favorite sandwich bread or baguette)
sauce: 1/2 T dijon mustard
1 T balsamic vinegar
2 T mayonnaise
to taste salt
to taste pepper
1 clove garlic, minced
Instructions
Cook bacon. Drain on a paper towel lined plate.
Heat skillet. Add oil. When oil is hot add onion and a pinch of salt. Cook over medium or medium-low heat for 7-10 minutes, or until onions are slightly browned, stirring occasionally.
Whisk together sauce ingredients. Spread on croissant/bread.
(Sung as I’m writing to the tune of Beethoven’s Symphony No. 5. Yes.)
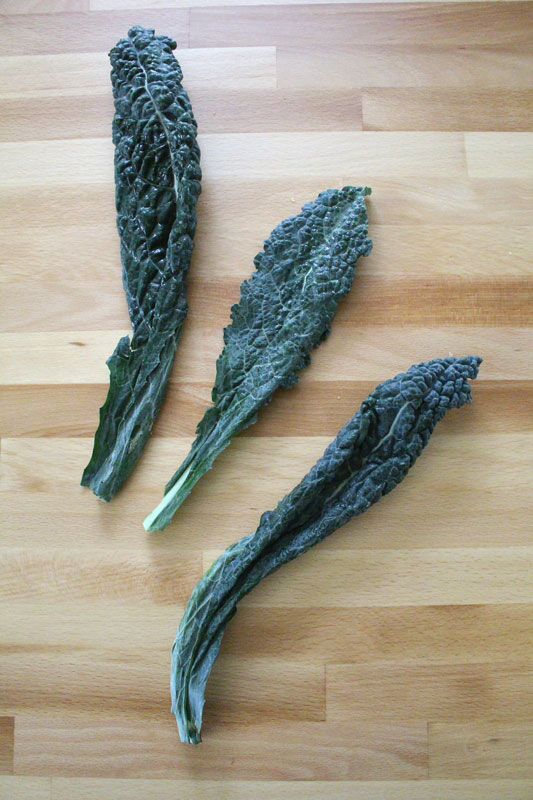
Things I’ve been really into lately (besides singing regular words in non-fitting songs): Massaged Kale Salads.
What a wonderful phenomenon. Massaging the kale makes it easier to digest because it is broken down a bit before you eat it (I learned this from my friend, Genevieve’s blog).
Good digestion is important, so why not!?
(Now I’m listening to Symphony No. 5 instead of just singing it to myself… it’s making me type fast because it’s super intense!)
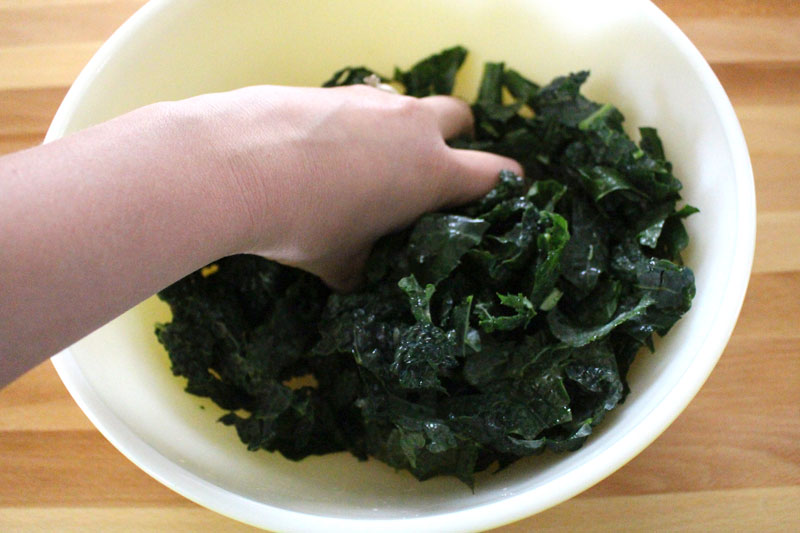
Then add two hands (after you’ve taken a photo… don’t try grabbing your camera or phone with your after massaging hands… they will be all green and oily).
Massaged kale will make the room smell all springy, grassy, and fresh.
I like this.
It will become dark, limp, and will decrease in volume.
It’s like science in a bowl.
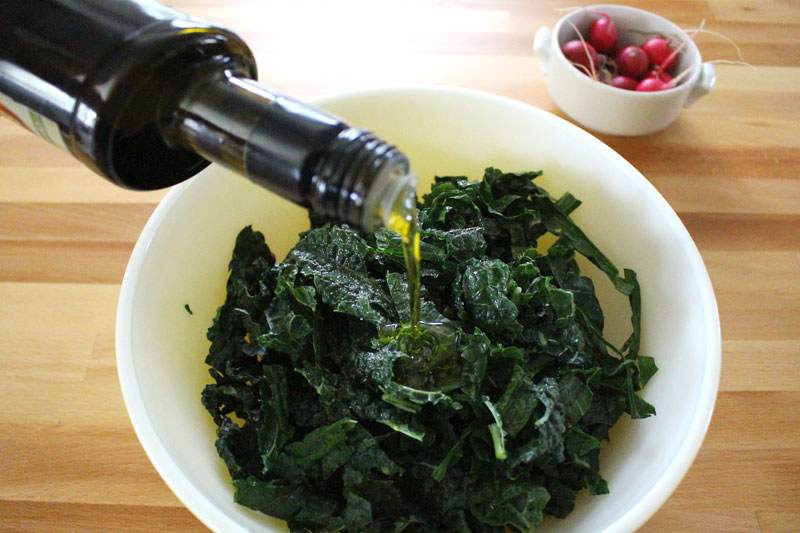
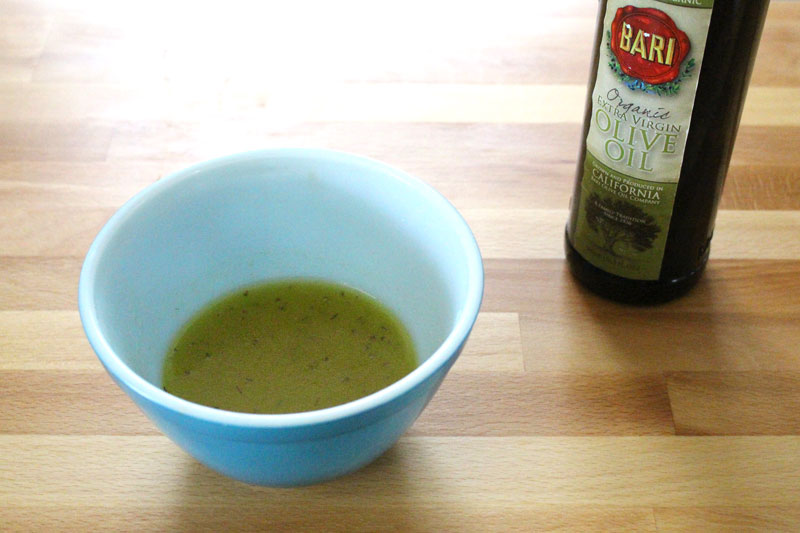
More science, if you want, while making the dressing. By adding the olive oil last, and whisking it in, an emulsion is created.
If you want simpler, just toss some lemon juice, salt, and oil on to the salad. That’ll work too.
Buuuut, I think dressings are pretty easy to make. Plus my dad-in-law gave me a cool old whisk with a copper handle, so it makes whisking super fun.
This one has a little more than just lemon and olive oil, but not by much. There’s a bit of thyme, a pinch of cayenne, and a smidge of honey.
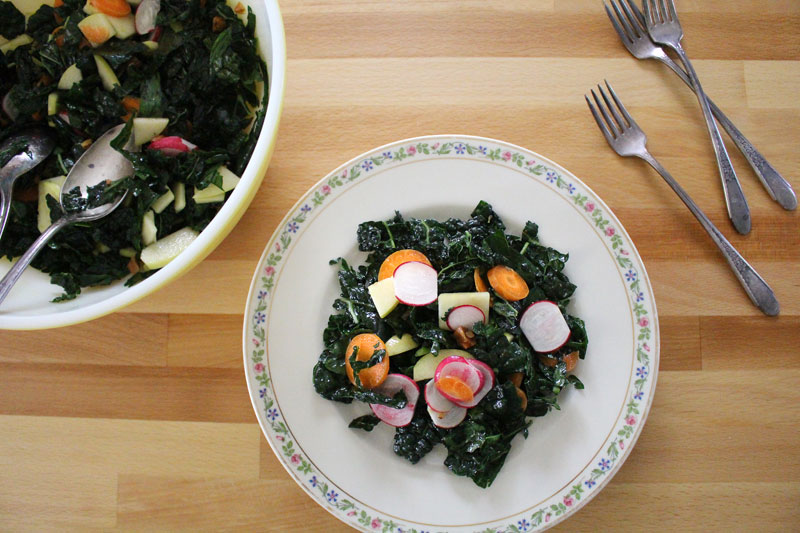
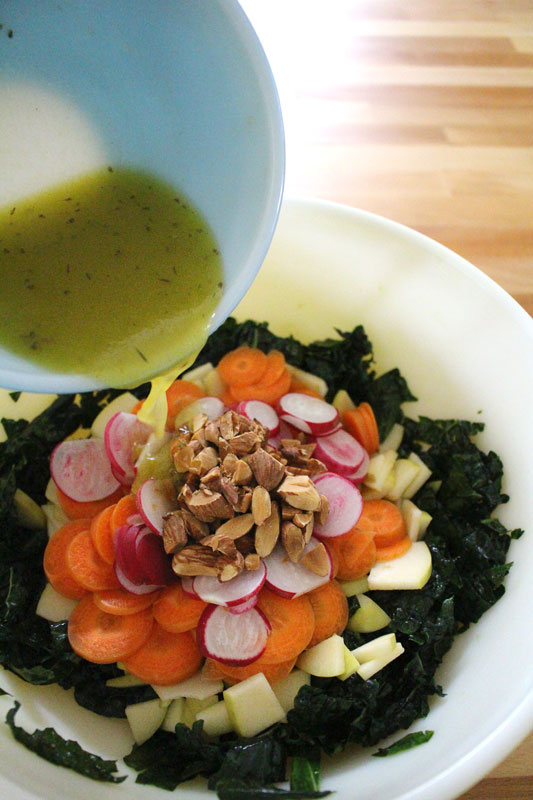
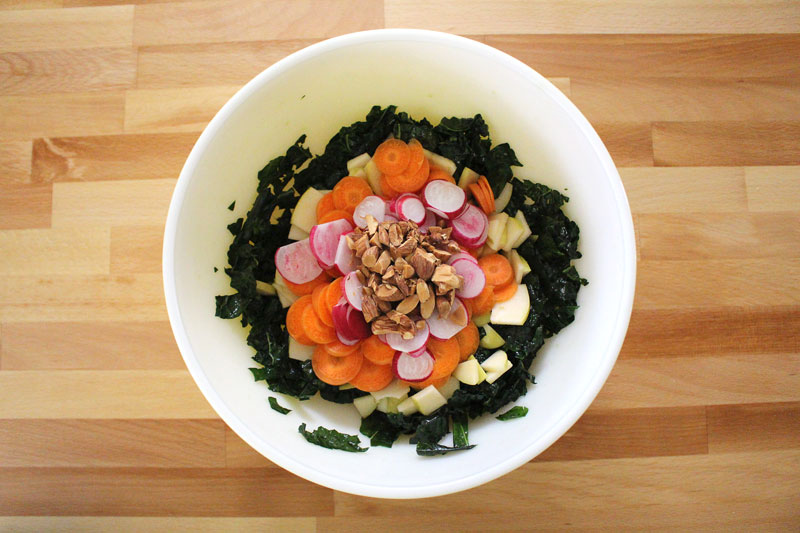
I wanted the salad to look pretty, even if I was just going to mess it up in a minute. I think it kinda looks like a flower.
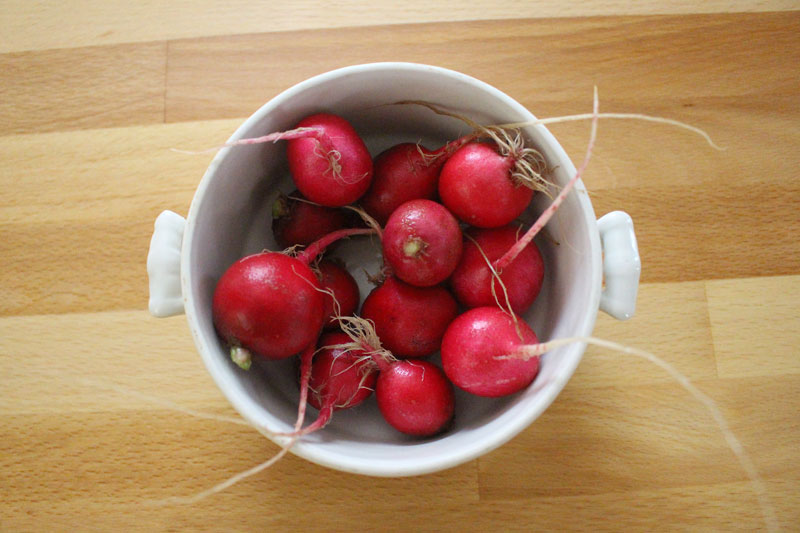
I used some of the veggies that I’d gotten in this week’s Abundant Harvest Organics box: kale (obviously), radishes, and a carrot. Apple is added for a bit of sweetness, to counter the a little bit tart lemony dressing.
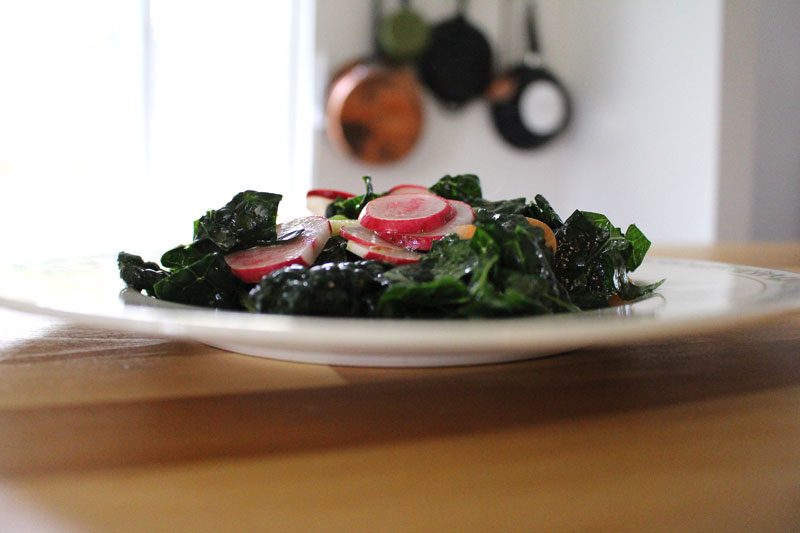
If you have any leftovers, you could toss them into a skillet for lunch tomorrow and scramble some eggs once the veggies are tender.
To make this into a main dish, you might add some grilled chicken or beef.
Quick and easy, massaged kale peasy… I don’t know…
Tim informed me the other day that he would like more lasagna, meatloaf, and tacos in his life. Cool. I can do that. I had lasagna on the menu before he even asked.
Winner. (Um, both of us.)
I woke up really early this morning to get started, since I had two meals to cook and photograph. Boy was it fun. No really, it was. I’m totally not being sarcastic. I enjoyed a full day of cooking and picture making.
It’s a lot of fun to cook and photograph for you guys to see on here. But, let’s be honest, when I know that Tim is going to love something as much as he loves lasagna, well, not much can beat that.
We just moved and have some friends coming to visit from Germany next week (yippee!). So I made two, and put one in the freezer. That means that if my kitchen isn’t completely unpacked, or if I don’t have the energy after unpacking and working all day, I can pop a lasagna in the oven, and dinner is taken care of… except for the caesar salad and garlic bread that will definitely need to accompany the meal. Other than that, all I have to do is open the wine.
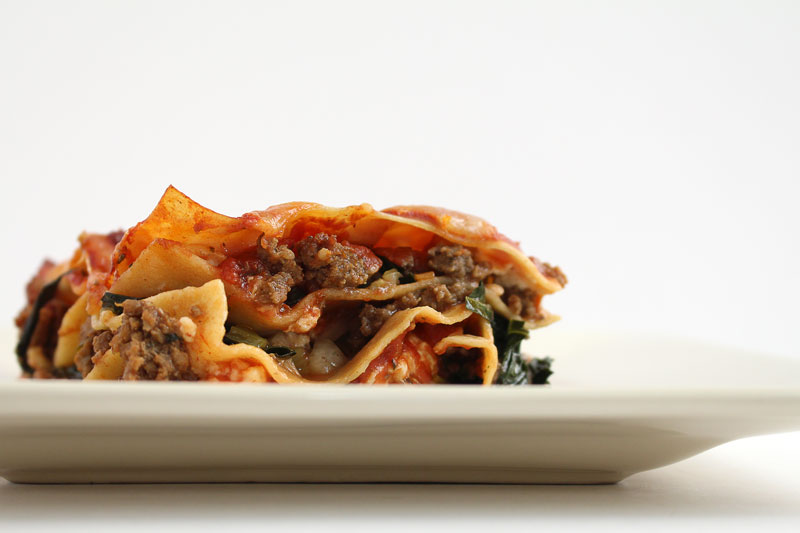
This is my version of a classic meat and cheese lasagna, with lots of veggies. I threw in some radish, kale, celery, and carrot. I’m not really afraid of veggie-ing up a dish. If you don’t heart vegetables, you are not alone (sorrynotsorry). Yesterday, Tim told me that something we had for dinner was “really good, for vegetables”. We may not share the same opinion about the deliciousness of greens. 😉
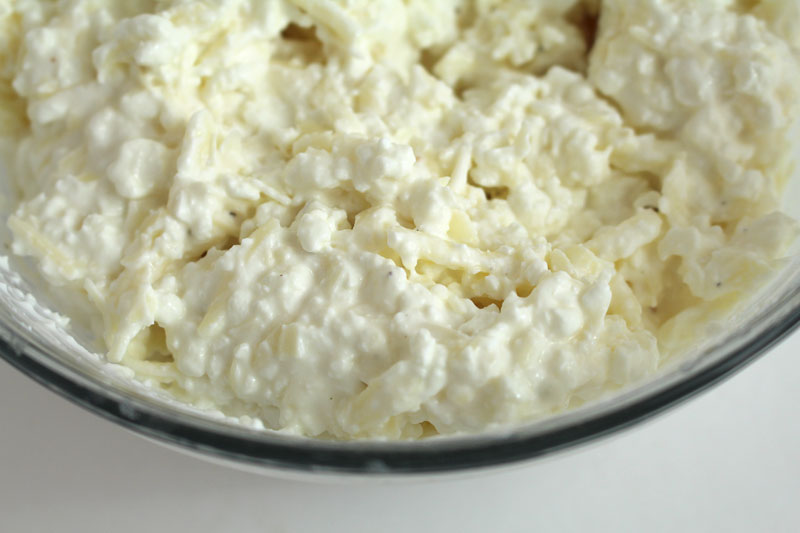
Thankfully, we do both really enjoy cheese. I know you can use ricotta for lasagna, but I couldn’t find it at the store, so I used cottage cheese. It’s mixed together with Greek yogurt, mozzarella, and parmesan. I’m not sure that you could have too much of this cheesy mixture.
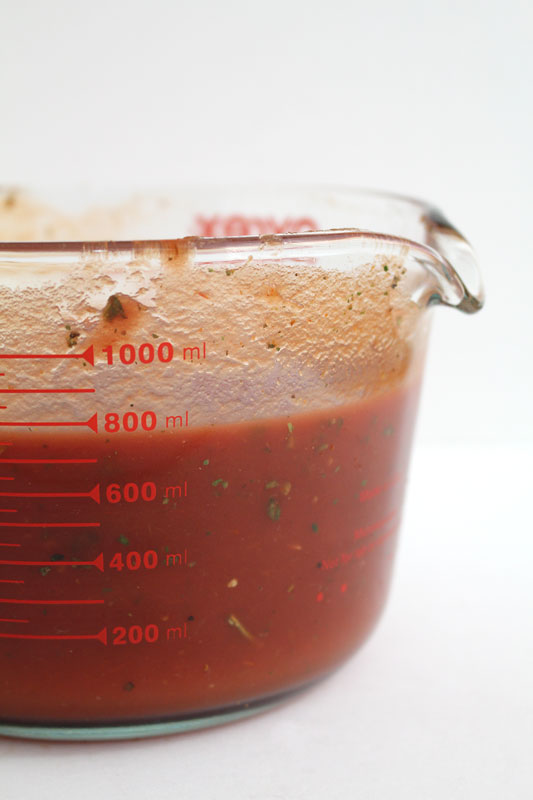
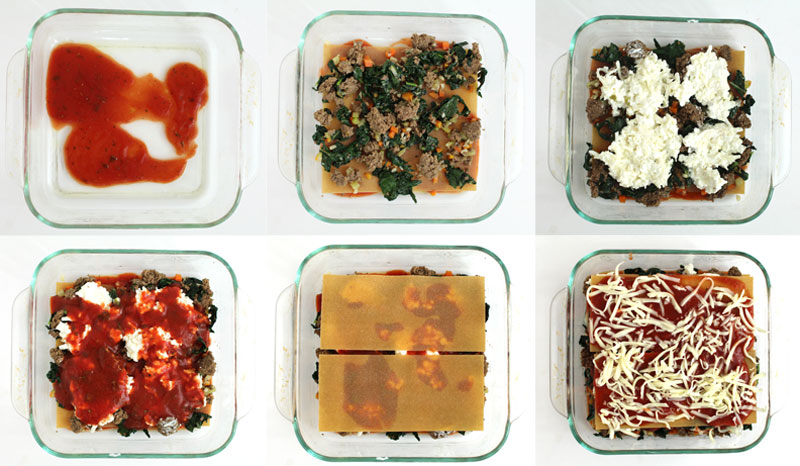
The sauce is simple, it’s almost just tomato sauce and herbs. Like the cheese mixture, too much is a good thing.
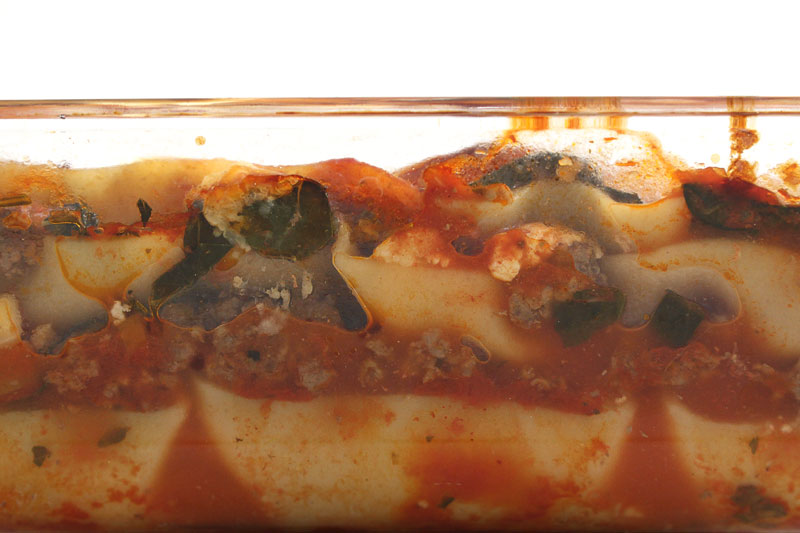
The anatomy of the lasagna and the way it all comes together.
Also, the sunlight changes more than I’d noticed in real life.
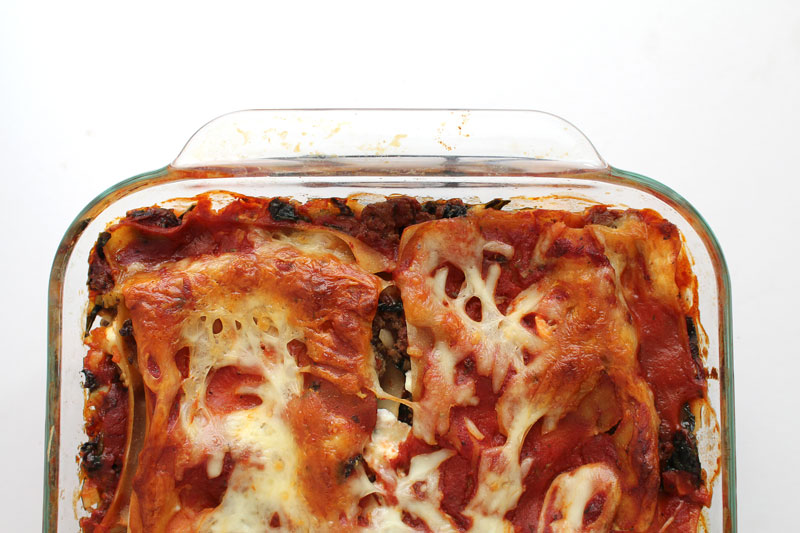
It bakes up and bubbles and melts and mmmm tastes so good. You should’a seen the huge helping Tim got. And then I looked over and it was gone. So I gave him a bite of mine. He can’t get enough lasagna.
I served this lasagna with some crazy good garlic bread. Done and done.
1 – 9 oz. box (about 12 noodles) lasagna noodles (the kind that don’t need to be cooked first*)
Instructions
Pre-heat the oven to 350F.
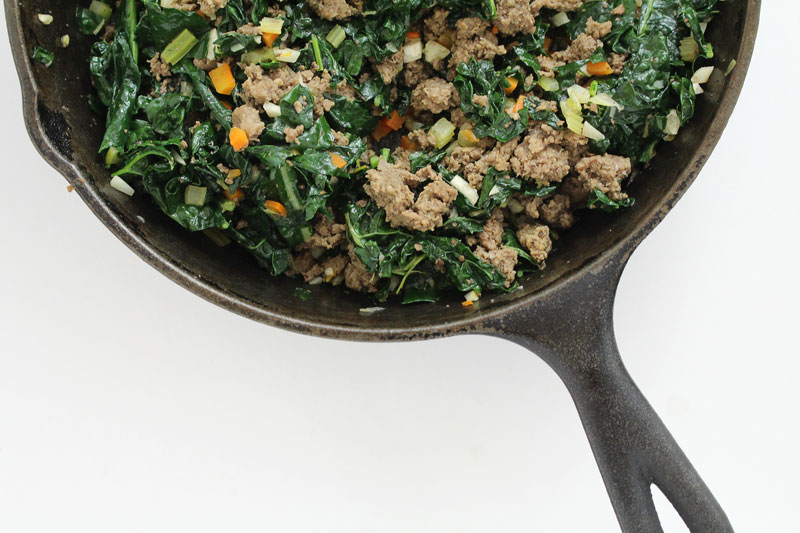
Cook beef until partially done, then add garlic through celery, and cook for 5-10 minutes. Add kale and wilt down, about 5 minutes. Add salt, pepper, and nutmeg. Taste and adjust seasoning. Remove from heat and cover to keep warm.
Mix together cheese filling ingredients. Taste and adjust seasoning.
Mix together tomato sauce ingredients. Taste and adjust seasoning.
Grease two 8×8 pans (or one 9×13). Spoon a bit of sauce into the bottom of the pan and top with two noodles. Top noodles with meat and vegetable filling, then with cheese mixture, and more sauce. Repeat three more times, topping last set of noodles with lots of sauce and reserved mozzarella.
Bake covered for 30 minutes, then uncovered for 30-40 more.
For a second, forget about what I know you must be anticipating as amazingness in the crostini. Ok. Done? Just for a moment… Because we need to talk about greens.
Not too long ago I talked about bitter greens and offered a few suggestions for their unbittering. I mentioned, but didn’t go into detail about braising. But, now that I’ve tried it, I may never go back to any other way of cooking greens. (Ok, that maaaaay be a bit dramatic…)
Braised greens are simply amazing.
Seriously.
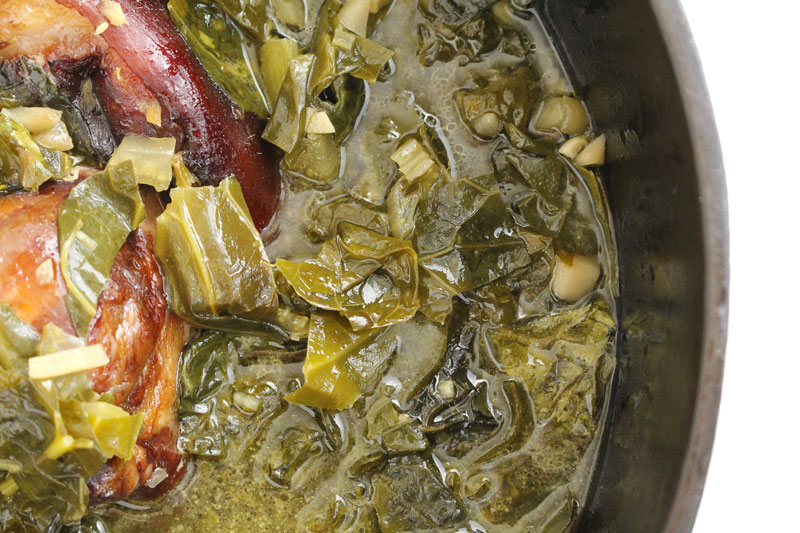
Llano Seco sent me a ham hock. I just had to try braising the greens with it. Oooooh boy! What a fun treat. If you can find one, I’d totally recommend it. It will be worth it. If you can’t, vegetarian is wonderful as well. I’ve made braised greens both ways. I’ve enjoyed them all immensely.
The greens braised for about two hours. I’ve tried them after shorter amounts of time and they’re great too. So if you don’t have a lot of time, don’t worry about it. But, if you’ve got a few hours to spare, try it. (And by a few hours I mean a tiny bit of time to get the ingredients into a pot, then just one eyeball on the pot every so often.) The result is tender, flavorful, AWESOME greens.
They’re not only perfect to top our little crostini, but this big batch can be frozen and later added to soups, rice dishes, or used to top some Paris Potatoes.
Now we can talk about the crostini.
Sorry. Wait. I need to interrupt myself again to tell you that I made these, then I stood beside the photography table and devoured them. I just couldn’t stop.
Interruption over.
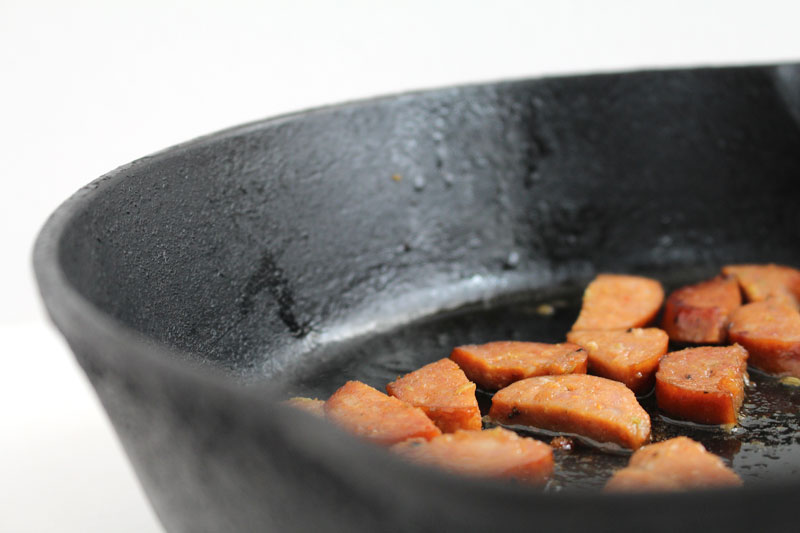
So there was a ham hock in the greens. Then there’s some Llano Seco Italian Sausage that’s chopped up and heated in a few tablespoons of the braising liquid. You could really just end there with the greens and sausage. Pile it all on some rice or potatoes and call it dinner.
But, I didn’t do that.
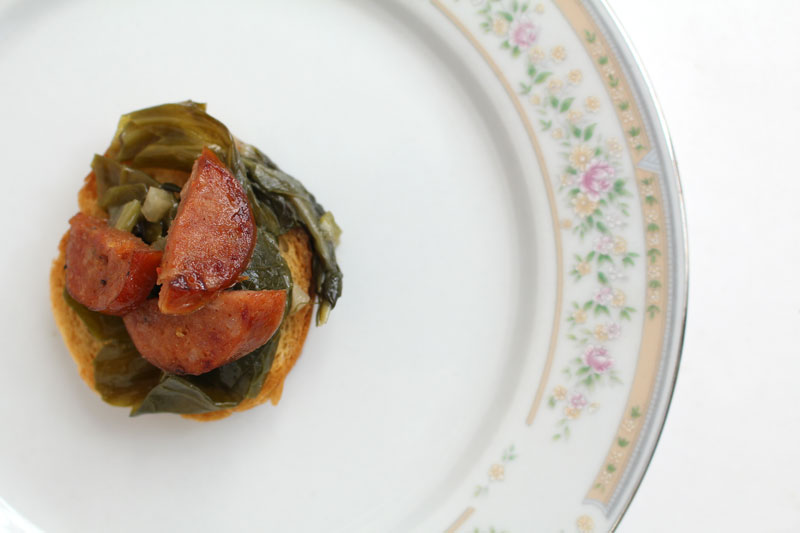
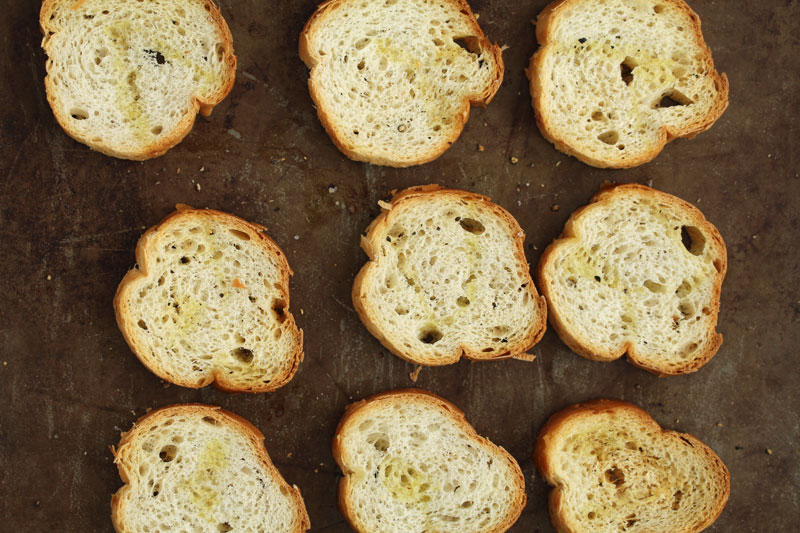
I wanted some little toasts. So I sliced up a baguette, drizzled it with olive oil, and sprinkled with salt and pepper. They toasted up in the oven for a few minutes.
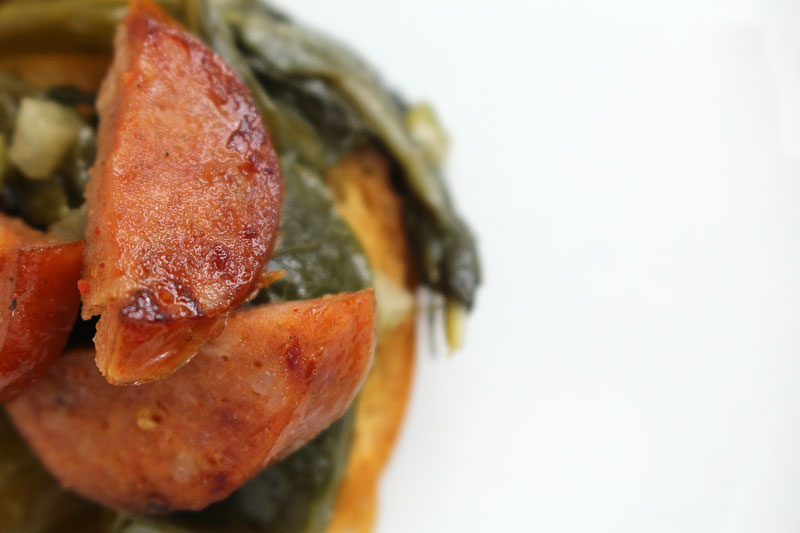
They were topped with some of the greens, and a few pieces of sausage. And then… a squeeze of lemon. One of my favorite ways to finish a dish.
If you can, share with friends. They will be glad you did.
8-9 C greens (mixture of any: chard, kale, collards, spinach…), roughly chopped
salt
pepper
2 T white vinegar
Crostini: 10-20 slices of baguette
olive oil
salt
pepper
1 clove garlic (optional)
3-4 T braising liquid
2-3 Italian sausages, halved and chopped
lemon wedges, for serving
Instructions
Heat a soup pot. Add oil. Add celery, radish, garlic, salt, and pepper, and cook over medium-low heat for 5-10 minutes, stirring occasionally.
Add ham hock and cook for 2 minutes. Add greens and vinegar and cook for 2 minutes more.
Add stock and bring to a boil. Reduce to a simmer and cook for 1-2 hours, stirring every once in a while.
Pre-heat oven to 350F.
Drizzle baguette slices with olive oil, and sprinkle with salt and pepper. Bake for 5-10 minutes, or until crispy. Rub with a clove of garlic if desired.
Add 3-4 T of the braising liquid to a skillet and add the sausage. Cook for about 5 minutes, or until heated through.
Top each slice of toasted baguette with some greens (try to avoid too much braising liquid so they don’t get soggy), a few pieces of sausage, and a squeeze of lemon.
Can I tell you something that I might not admit to my 12-year old self? I really like vegetables. I’m totally crazy about lots of other foods that she would enjoy too (hello bacon), but you know how people say that the more you eat healthy things the more you crave them? It’s actually been true for me.
We started subscribing to Abundant Harvest Organics in December of 2007. We’ve been on this journey for a while now. I’ve learned a lot. There are so many vegetables that I’d never heard of 7 years ago. Thankfully, now I know what a rutabaga is, that beets are enjoyable, and most recently, how to cook some really good greens.
I’ve always been a “use what I have”, practical, efficient cooker. Don’t have an ingredient? I’ll substitute for it. If I don’t think a step is needed, I eliminate it. But, sometimes there are steps that I didn’t know were a good idea, like blanching when cooking things like collard greens. I’d never done it, because I didn’t know I should.
Blanching is when you partially cook a food in boiling water then submerge it in an ice bath to stop the cooking.
I learned my lesson today.
I’ve never really been bothered too much by the bitterness in greens. I think because I’ve got the basics down: add fat and salt (not like a waaaay too much amount, a good amount, to make them taste great). Sometimes I add sugar and spice. These are things that I read about doing to reduce bitterness in greens. Cool. Checkmark. Done did.
But but but wait. I needed to see if I was missing out on something. So I did a little test: collard greens three ways.
Here’s what happened.
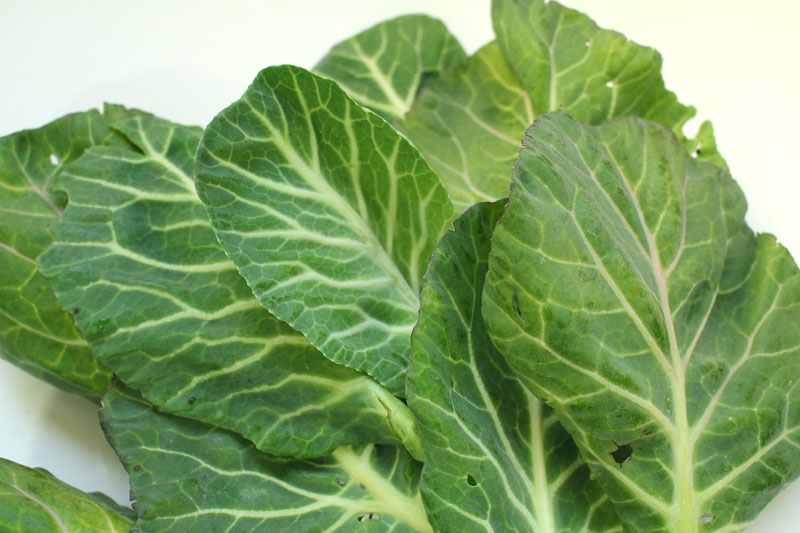
One bunch of collard greens was divided up into three groups (each had 3-4 medium sized leaves – a small test, but it worked out just fine).
Group 1
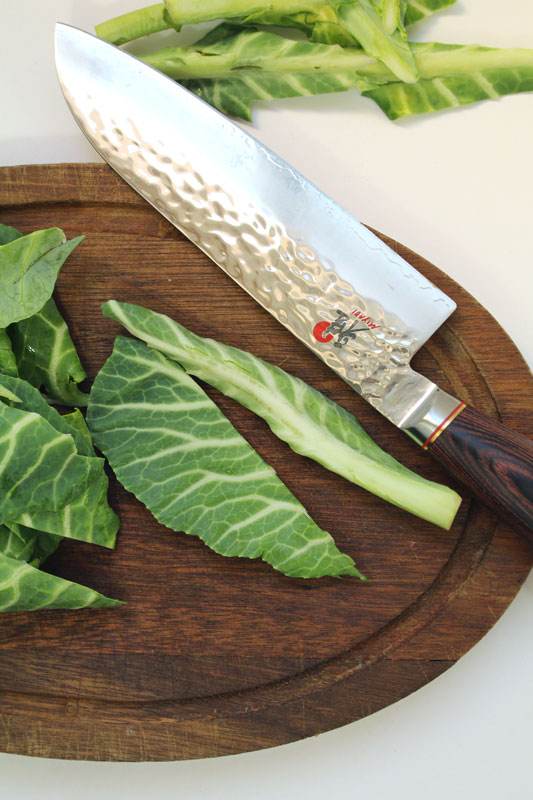
Washed with water, stems removed, sliced into ribbons.
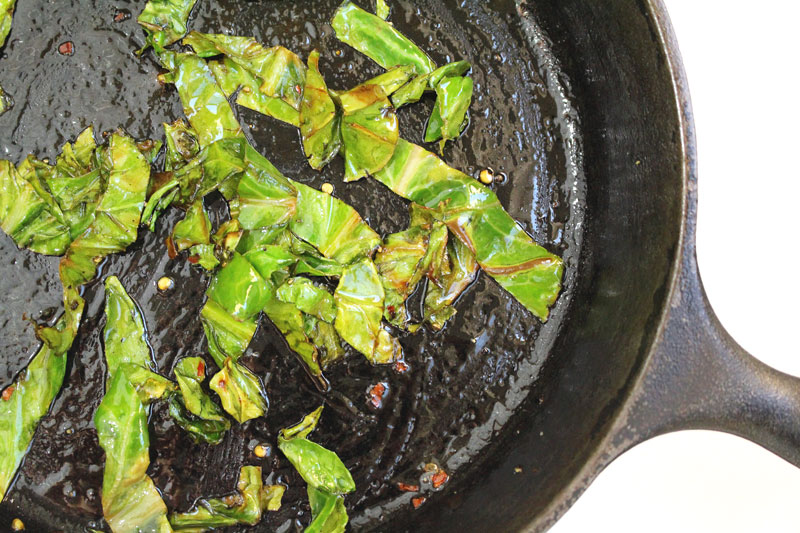
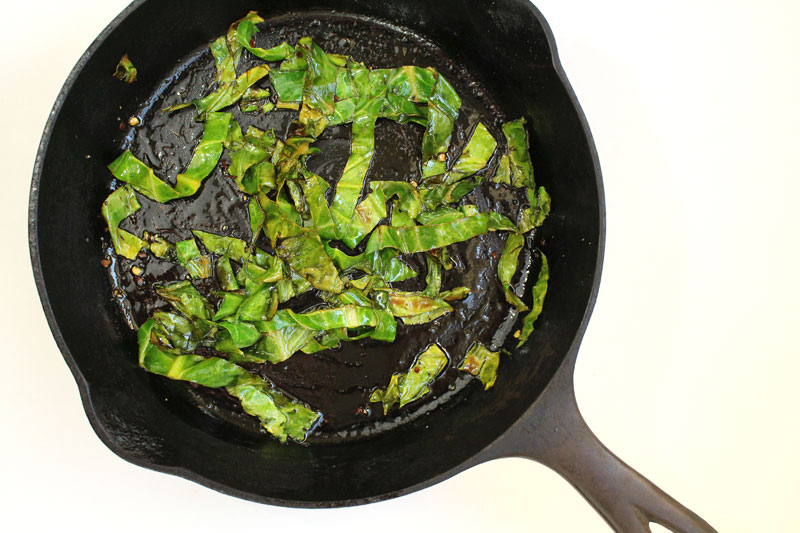
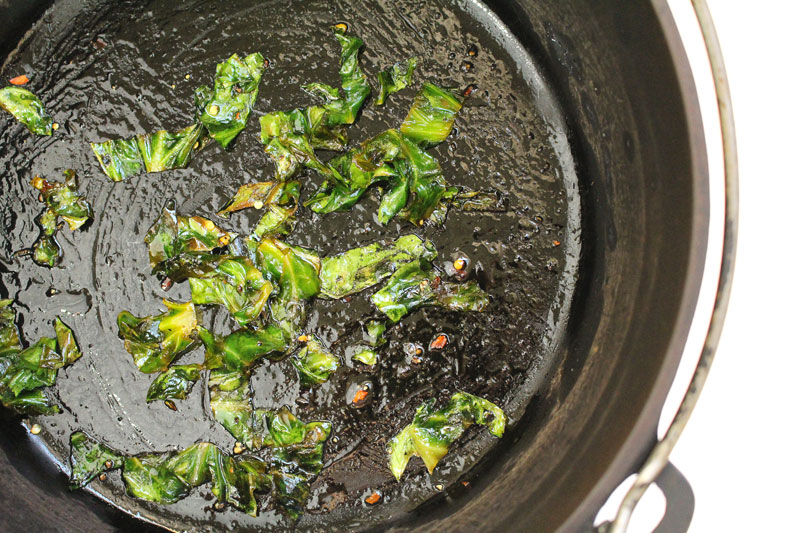
Skillet heated, 1/2 t butter added, let it melt a bit, added honey, then added the greens. Added salt, pepper, red pepper flakes and cooked over medium-low for 2 minutes. 1 t lemon juice is added and they cook for 1-2 minutes more. They’re removed from the heat and 1/2 t olive oil is added, along with a splash of lemon juice.
Group 2
Soaked in water and 1-2 t baking soda for a minute, then rinsed three times.
Skillet heated, 1/2 t butter added, let it melt a bit, added honey, then added the greens. Added salt, pepper, red pepper flakes and cooked over medium-low for 2 minutes. 1 t lemon juice is added and they cook for 1-2 minutes more. They’re removed from the heat and 1/2 t olive oil is added, along with a splash of lemon juice.
Group 3
Washed with water.
Stems removed.
Blanched: Salted water came to a boil, leaves were added, they cooked for about 2 minutes, then took a bath in some ice water for a few.
Sliced into ribbons.
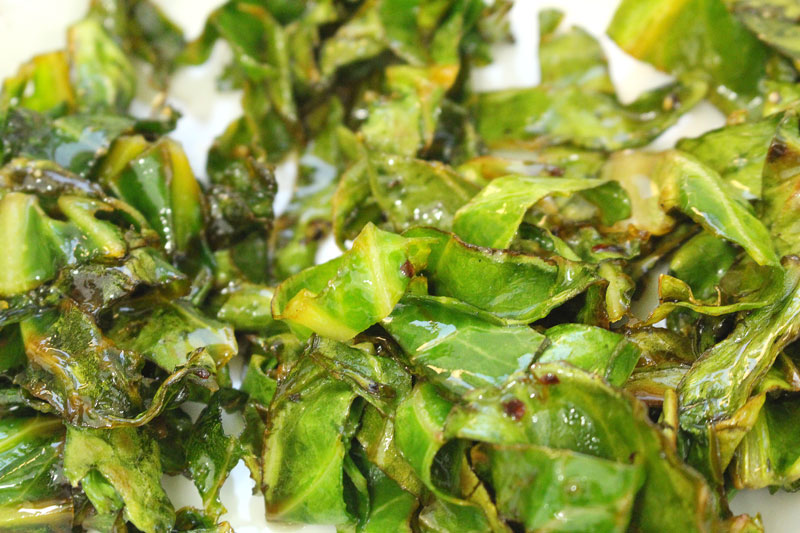
Skillet heated, 1/2 t butter added, let it melt a bit, added honey, then added the greens. Added salt, pepper, red pepper flakes and cooked over medium-low for 2 minutes. 1 t lemon juice is added and they cook for 1-2 minutes more. They’re removed from the heat and 1/2 t olive oil is added, along with a splash of lemon juice.
Group three was way for sure 100% the winner. I guess I’m gonna blanch from now on.
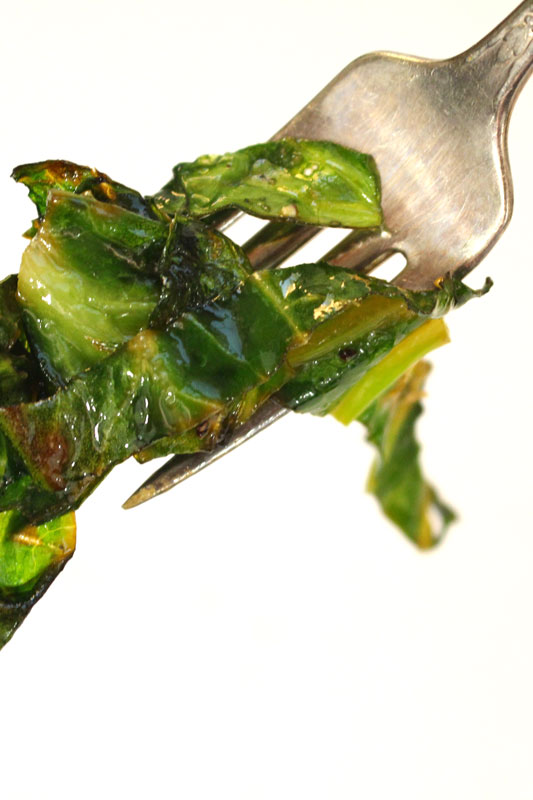
They were tender, they kept their color, and most importantly, they were the least bitter.
I stood at the stove and ate the entire pan.
I used the leftover greens from groups 1 and 2 and tossed them with some leftover Mac and Cheese, topped it with crushed up homemade croutons and a bit of Parmesan cheese, and baked it until it was hot. Made for an easy, delicious dinner. Groups 1 and 2 weren’t bad. I’d even say they’re good. But, when you compare good with great, you gotta go with great (hello life lesson).
I don’t know if the baking soda soak really did much for group two. They may have been a little more tender and a little less bitter than group 1. Just a little. I probably wouldn’t bother with this step again. But, it was fun to try.
In general, to reduce the bitterness of leafy greens like turnip greens, collards, mustard greens, kale, spinach, chard, broccoli rabe, and beet greens, there are a few tricks:
Cooking the greens (sautéeing, simmering, braising, blanching) mellows them out (some ways more than others, some better when combined, like I learned today). Tougher greens, like the collards that I used today, will do better when blanched, than say a daintier baby spinach.
Adding salt “takes the edge off”. (1)
Adding fat softens the bitterness and adds flavor. (1) (3)
Adding spice masks the bitterness.
You can add lemon juice or salt to help reduce bitterness. (3)
Add baking soda to water when washing then rinse three times. (2)
Some recipes that I like (or would like to try) with these greens:
Recipe Type: Vegetables, Vegetarian, Sautéed, Side Dishes, Dinner, Greens, Quick and Easy, Blanching
Author: Rachel Oberg – De Ma Cuisine
Prep time:
Cook time:
Total time:
Serves: 2-3
Ingredients
16 collard green leaves, washed, stems removed
water (for boiling)
salt (for boiling)
2 t butter
2-4 t honey
to taste salt
to taste pepper
to taste red pepper flakes
3-4 t lemon juice
2 t olive oil
lemon juice, for topping
Instructions
Bring salted water to a boil. Add leaves and cook for about 2 minutes. Remove from water and place in a bowl of ice water for a few minutes.
Slice into ribbons.
Heat skillet and add butter, let it melt a bit, add honey, then add the greens. Add salt, pepper, red pepper flakes and cook over medium-low heat for 2 minutes, stirring often.