De Ma Cuisine

celery Archive

Monday

18

August 2014

0

COMMENTS

Beef and Bean Enchiladas

Written by , Posted in Baking, Beans, Beef, Cheese, Dinner, Fruit, Gluten Free, Kid-Friendly, Legumes, Lunch, Main Dishes, Meat, Potlucks, Vegetables

BeefBeanEnchiladas-11

Enchiladas are one of my go-to meals when I want to bring dinner to friends. It’s pretty quick and easy to make, it’s hearty, and it can be pretty healthy.

They’re also one of Tim’s favorites.

I try to have some in the freezer at all times.

BeefBeanEnchiladas-2

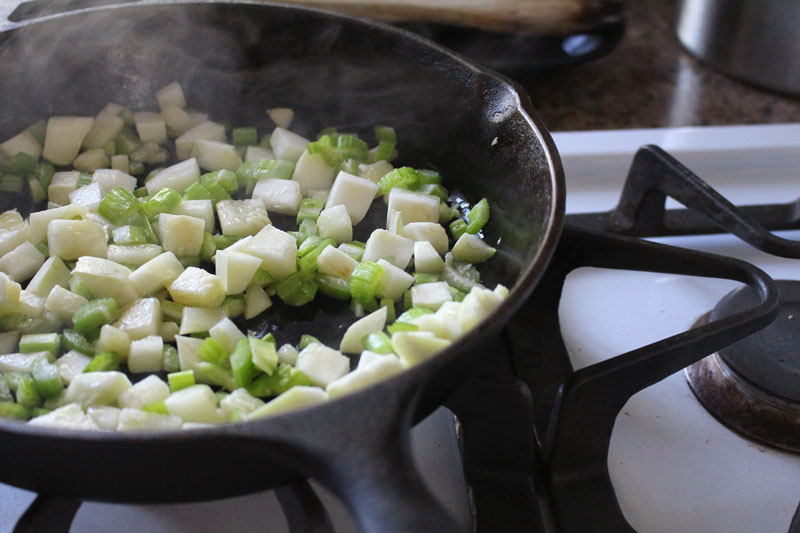
I mean, take a look at all of the veggies I’ve piled in here. I had celery on hand, but normally I’d use bell peppers (note: if you’re using celery, make sure it’s really cooked down and soft). I also have been putting summer squash in everything, so why not these too?!

BeefBeanEnchiladas-1

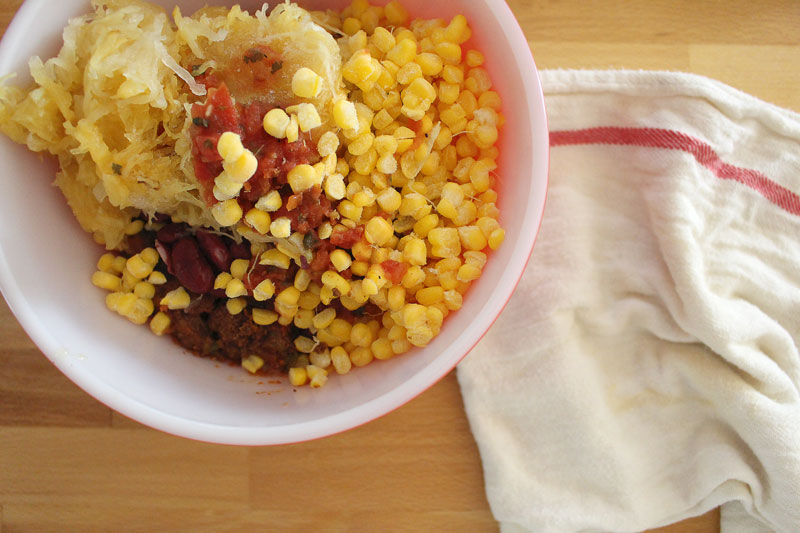
Also corn. In everything. I am addicted.

This winter when we had a million spaghetti squash I cooked a bunch of ’em and froze the flesh. I’ve been slowly using it. If you don’t have any cooked spaghetti squash you could just add more beans and summer squash.

Tim doesn’t mind when I sneak spaghetti squash into things like this. But, he did note that he got a pretty squashy bite, so stir it in pretty well if that might bother someone in your family. 😉

BeefBeanEnchiladas-4

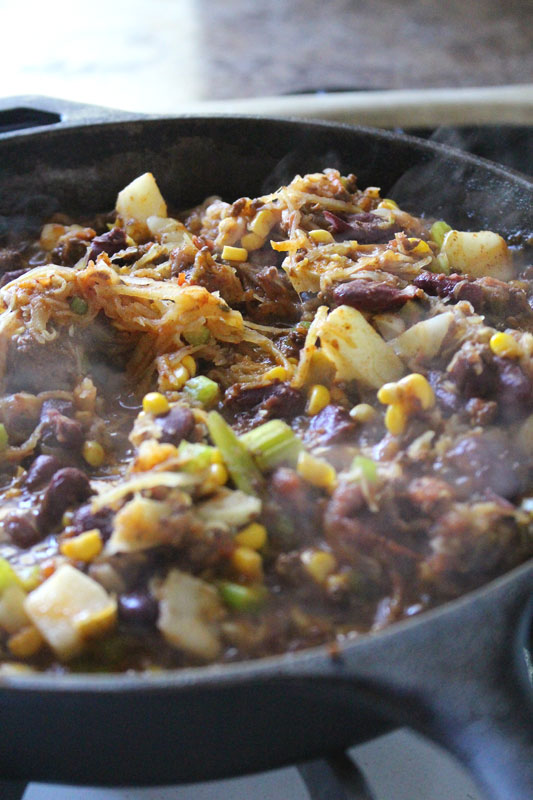
I like to cook up the filling first. That way they take less time in the oven. Plus then I can make sure that all the veggies are soft. No one wants a crunchy this or that, unless it’s supposed to be there.

BeefBeanEnchiladas-5

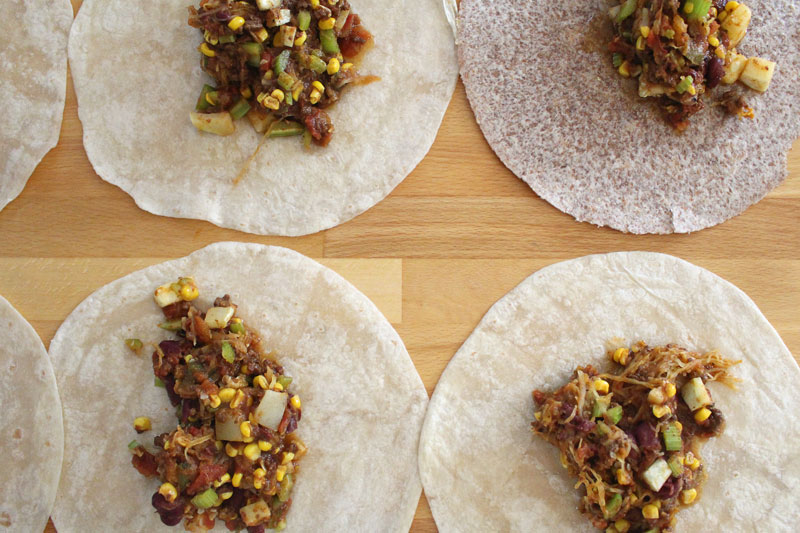
Tim built me a beautiful, huge kitchen island when we moved. So I have tons of space to lay out all the tortillas I could ever need.

I’m thankful for this workspace.

The sauce gets divided evenly between the tortillas.

BeefBeanEnchiladas-6

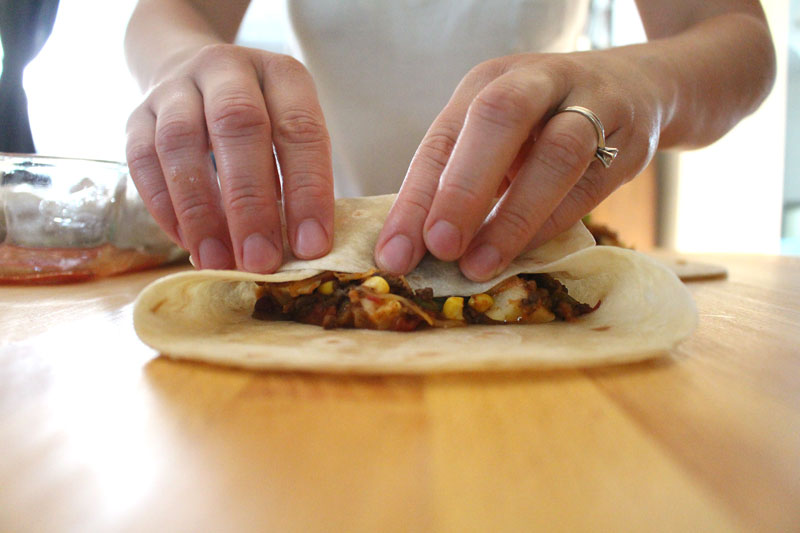
The ends get folded in and then it’s rolled up. My whole wheat tortillas cracked a bit. No big deal.

BeefBeanEnchiladas-3

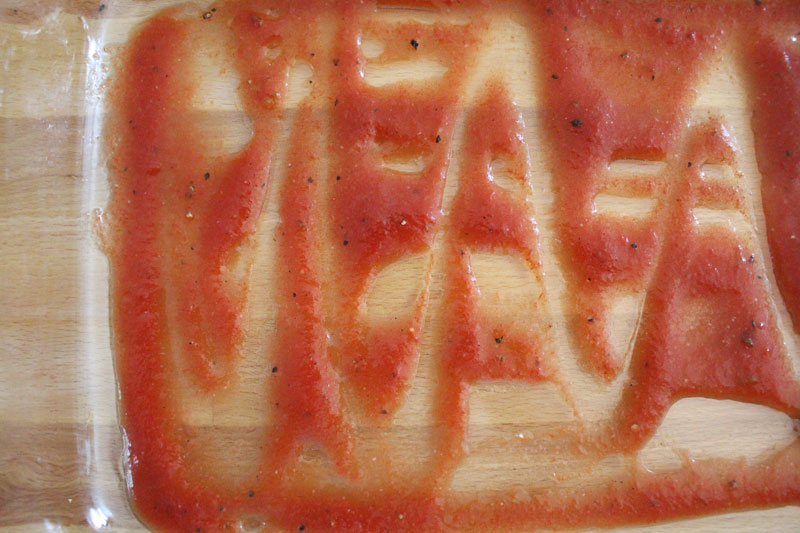
I like a bit of sauce in the bottom of the pan. If you like it extra saucy, add more! I used what I had in the freezer, so normally I’d make it a bit juicier than this looks (the recipe is adapted to be saucier).

BeefBeanEnchiladas-7

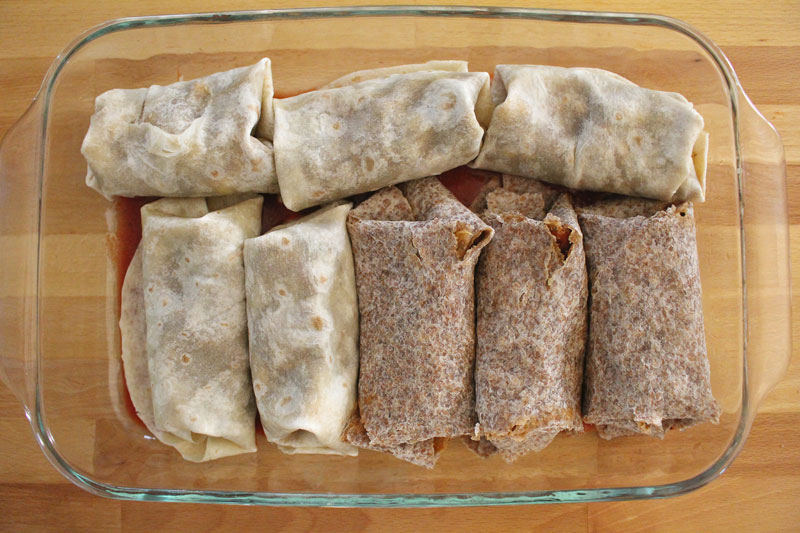
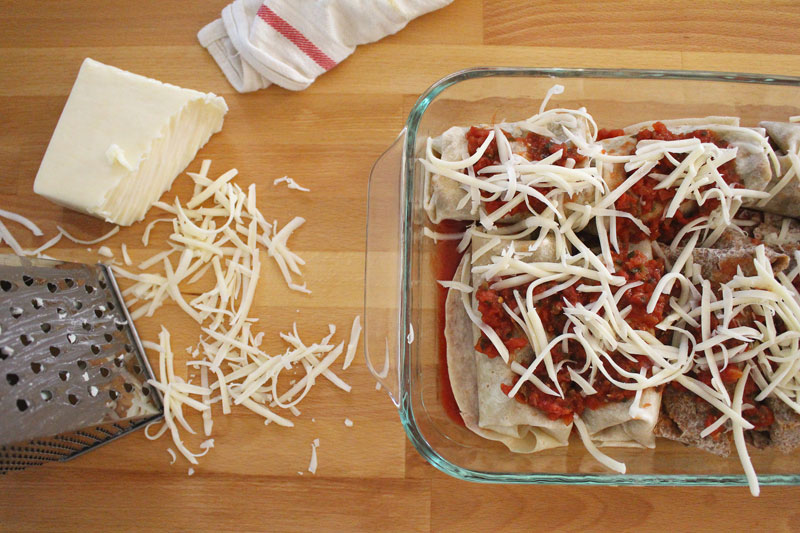
Rolled up and ready for cheeeeeeeeese.

BeefBeanEnchiladas-8

You could add way more cheese if you’d like, but I didn’t want to go overboard. Moderation, right?!

BeefBeanEnchiladas-10

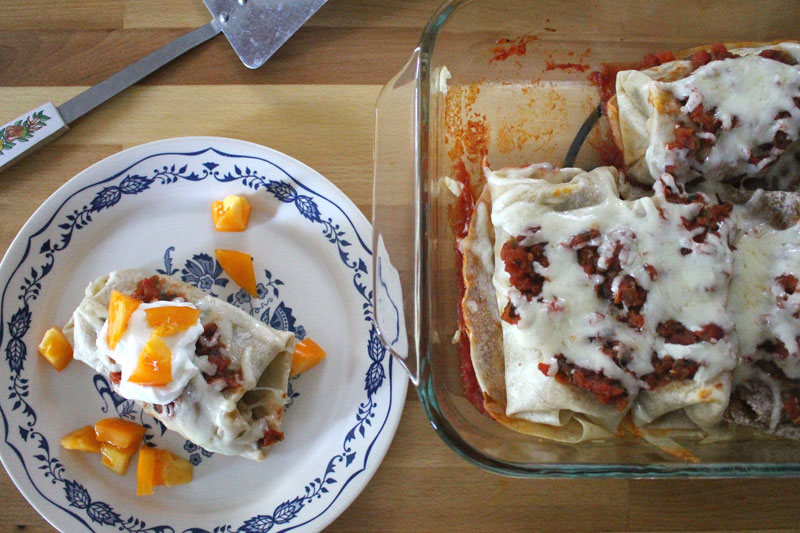
After these came out of the oven, I put half of them into freezer safe containers so they will be ready for lunches. The rest we devoured.

BeefBeanEnchiladas-9

If you’re gonna bring these to some friends, send along a container of Greek yogurt (or sour cream), salsa, corn chips, and guacamole (if you’re feeling extra generous). Make them a simple green salad with some chopped fresh tomatoes and a container of homemade Ranch dressing (whisk together a bit of yogurt, mayo, fresh herbs, garlic, salt, and pepper). And for dessert, how about some Fruit Crisp that can be added to the leftover Greek yogurt for breakfast the next morning?

If you’re serving it tonight for your family, serve it exactly the same way.

Happy Eating!

Beef and Bean Enchiladas
Recipe Type: Main, Easy, Beans, Beef, Vegetables, Dinner, Main Dishes
Author: Rachel Oberg – De Ma Cuisine
Prep time:
Cook time:
Total time:
Serves: 4-6
Perfect for a hearty dinner tonight, or to make to take to a friend in need.
Ingredients
  • 1 t olive oil
  • 1/4 to 1/2 C bell peppers (or celery), chopped
  • 1/2 to 1 C summer squash, chopped
  • pinch salt
  • 1-2 C Chili (I used Beef Chili), or 1 lb. ground beef
  • 8-15 oz. kidney beans
  • 1 1/2 C cooked spaghetti squash (or add more beans and summer squash)
  • 1/4 C salsa
  • 1 C corn
  • 1/2 t chili powder (or more if using ground beef)
  • pinch ginger
  • to taste salt
  • to taste pepper
  • 1/2 to 1 C tomato sauce (add an extra 1/4 C if using ground beef)
  • to taste salt
  • to taste pepper
  • 8-10 tortillas
  • 1 C cheese, grated (Monterey/Pepper Jack or Cheddar)
  • Greek yogurt, for topping
  • 1-2 fresh tomatoes, chopped, for topping
  • jalapeño, chopped, for topping (optional – if you like it extra spicy)
Instructions
  1. Pre-heat oven to 350F.
  2. Heat a skillet, add olive oil. When oil is hot, add bell peppers/celery, summer squash, and a pinch of salt. Cook for about 5 minutes, or until veggies are tender, over medium heat, stirring occasionally. (Note: if using raw ground beef, cook first, then add veggies when beef is almost done. Add the extra 1/4 C tomato sauce with the beans in the next step.)
  3. Mix together chili, beans, spaghetti squash, salsa, corn, chili powder, ginger, salt, and pepper. Add to skillet. Bring to a boil, reduce to a simmer, and cook for about 5 minutes. Taste and adjust seasoning if needed.
  4. Mix tomato sauce with salt and pepper. Pour into the bottom of a greased 9×13 baking dish.
  5. Divide the beef and bean filling between the tortillas. Fold ends in and roll up. Place seam side down in tomato sauced pan. Top with salsa and cheese. Bake for 20 minutes, uncovered, or until cheese is melted.
  6. Serve topped with yogurt and fresh tomatoes (and jalapeño if desired).
Notes
Gluten-free if you use corn tortillas.

Monday

31

March 2014

0

COMMENTS

Crostini with Sausage and Braised Greens

Written by , Posted in Appetizers, Braising, Bread, Dairy-Free, Dinner, Lunch, Meat, Pork, Sandwiches, Sausage, Sides, Snacks, Toasting, Vegetables

CrostiniWithSausageAndBraisedGreens6

I may have a new favorite way to eat greens.

For a second, forget about what I know you must be anticipating as amazingness in the crostini. Ok. Done? Just for a moment… Because we need to talk about greens.

Not too long ago I talked about bitter greens and offered a few suggestions for their unbittering. I mentioned, but didn’t go into detail about braising. But, now that I’ve tried it, I may never go back to any other way of cooking greens. (Ok, that maaaaay be a bit dramatic…)

Braised greens are simply amazing.

Seriously.

CrostiniWithSausageAndBraisedGreens1

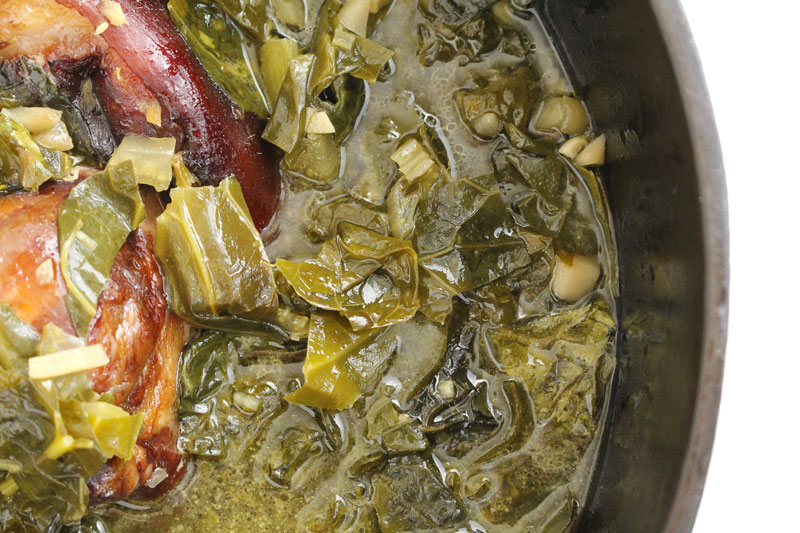
Llano Seco sent me a ham hock. I just had to try braising the greens with it. Oooooh boy! What a fun treat. If you can find one, I’d totally recommend it. It will be worth it. If you can’t, vegetarian is wonderful as well. I’ve made braised greens both ways. I’ve enjoyed them all immensely.

The greens braised for about two hours. I’ve tried them after shorter amounts of time and they’re great too. So if you don’t have a lot of time, don’t worry about it. But, if you’ve got a few hours to spare, try it. (And by a few hours I mean a tiny bit of time to get the ingredients into a pot, then just one eyeball on the pot every so often.) The result is tender, flavorful, AWESOME greens.

They’re not only perfect to top our little crostini, but this big batch can be frozen and later added to soups, rice dishes, or used to top some Paris Potatoes.

CrostiniWithSausageAndBraisedGreens5

Now we can talk about the crostini.

Sorry. Wait. I need to interrupt myself again to tell you that I made these, then I stood beside the photography table and devoured them. I just couldn’t stop.

Interruption over.

So there was a ham hock in the greens. Then there’s some Llano Seco Italian Sausage that’s chopped up and heated in a few tablespoons of the braising liquid. You could really just end there with the greens and sausage. Pile it all on some rice or potatoes and call it dinner.

But, I didn’t do that.

CrostiniWithSausageAndBraisedGreens2

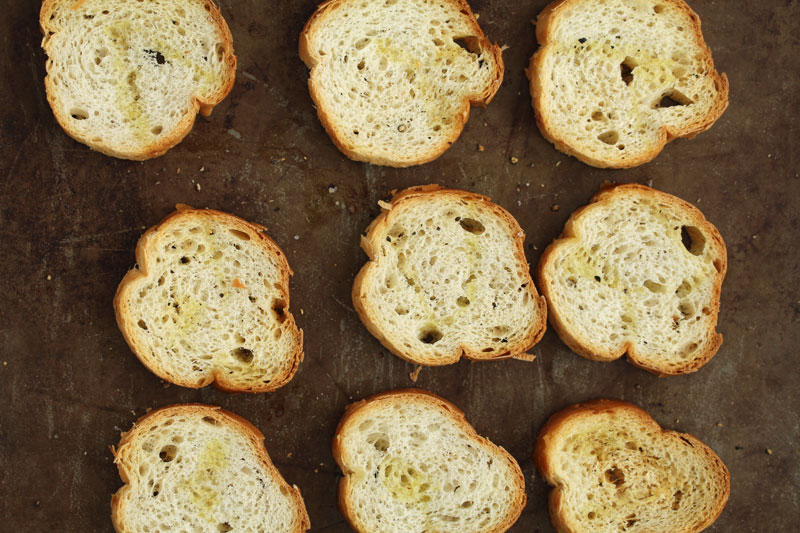
I wanted some little toasts. So I sliced up a baguette, drizzled it with olive oil, and sprinkled with salt and pepper. They toasted up in the oven for a few minutes.

CrostiniWithSausageAndBraisedGreens3

They were topped with some of the greens, and a few pieces of sausage. And then… a squeeze of lemon. One of my favorite ways to finish a dish.

CrostiniWithSausageAndBraisedGreens4

If you can, share with friends. They will be glad you did.

CrostiniWithSausageAndBraisedGreens7

Happy Eating!

Crostini with Sausage and Braised Greens
Recipe Type: Side, Snack, Sandwich, Toast, Meat, Sausage, Greens, Vegetables, Pork, Braising
Author: Rachel Oberg – De Ma Cuisine
Serves: 4-5
Ingredients
  • Braised Greens: 2 T olive oil
  • 2 C celery, chopped
  • 1 radish, diced
  • 2 cloves garlic, diced
  • 7 C vegetable stock
  • 1 ham hock
  • 8-9 C greens (mixture of any: chard, kale, collards, spinach…), roughly chopped
  • salt
  • pepper
  • 2 T white vinegar
  • Crostini: 10-20 slices of baguette
  • olive oil
  • salt
  • pepper
  • 1 clove garlic (optional)
  • 3-4 T braising liquid
  • 2-3 Italian sausages, halved and chopped
  • lemon wedges, for serving
Instructions
  1. Heat a soup pot. Add oil. Add celery, radish, garlic, salt, and pepper, and cook over medium-low heat for 5-10 minutes, stirring occasionally.
  2. Add ham hock and cook for 2 minutes. Add greens and vinegar and cook for 2 minutes more.
  3. Add stock and bring to a boil. Reduce to a simmer and cook for 1-2 hours, stirring every once in a while.
  4. Pre-heat oven to 350F.
  5. Drizzle baguette slices with olive oil, and sprinkle with salt and pepper. Bake for 5-10 minutes, or until crispy. Rub with a clove of garlic if desired.
  6. Add 3-4 T of the braising liquid to a skillet and add the sausage. Cook for about 5 minutes, or until heated through.
  7. Top each slice of toasted baguette with some greens (try to avoid too much braising liquid so they don’t get soggy), a few pieces of sausage, and a squeeze of lemon.
  8. Serve immediately.
3.2.1269


Monday

24

March 2014

0

COMMENTS

Radish Slaw

Written by , Posted in Dinner, Gluten Free, Herbs, Lunch, Quick and Easy, Salads, Sides, Vegetables, Vegetarian

RadishSlaw3

Anyone else find themselves in need of some good coleslaw when spring comes along? The days are longer, people enjoy more meals outdoors, and my nose starts to anticipate the smell of barbecues grilling through the open windows. 

What I’d really like right now is some grilled fish, crispy potatoes, and this coleslaw on the side. Are you sitting outside, imagining how delicious this would taste?

Hello, spring. We welcome you.

Um, so these are not necessarily spring veggies per se. But, when combined with bright, fresh flavors like dill, parsley, and lemon, spring is ushered right in.

RadishSlaw1

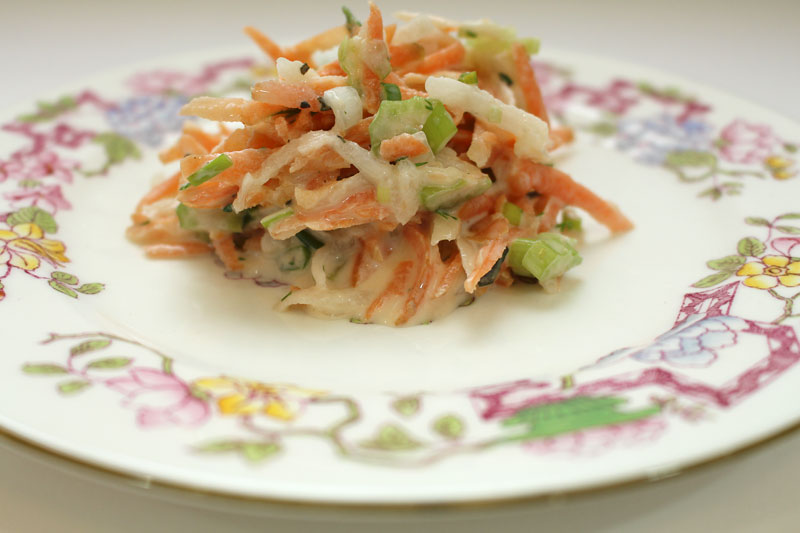
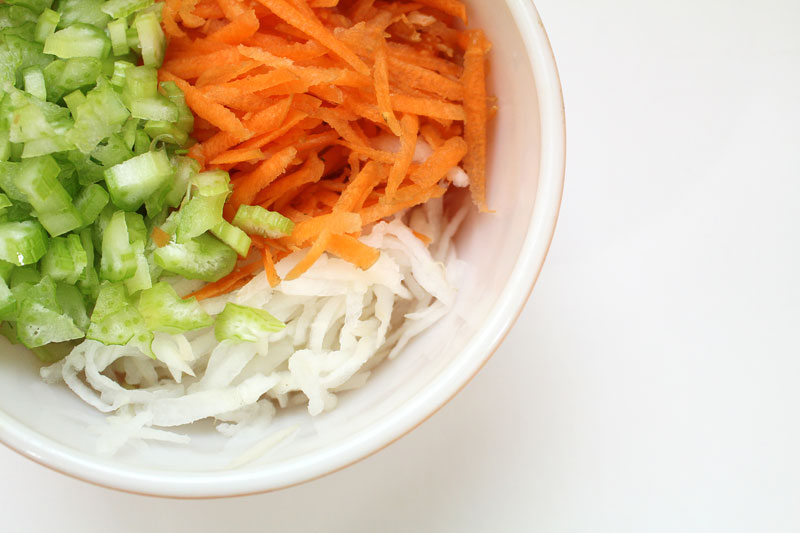
I like to grate veggies when I’m using them in salads and coleslaws. I feel like it helps them to mellow out a little. Instead of a big chunk of carrot or radish, it’s a light, flaky morsel.

If you’re not a big fan of the spiciness of radishes, this might be a way that you can handle them raw.

It’s how raw radish rolls in our house.

(I was going to ask you to try saying “raw radish rolls” a bunch of times fast, but then I tried it and it’s not so difficult…)

RadishSlaw2

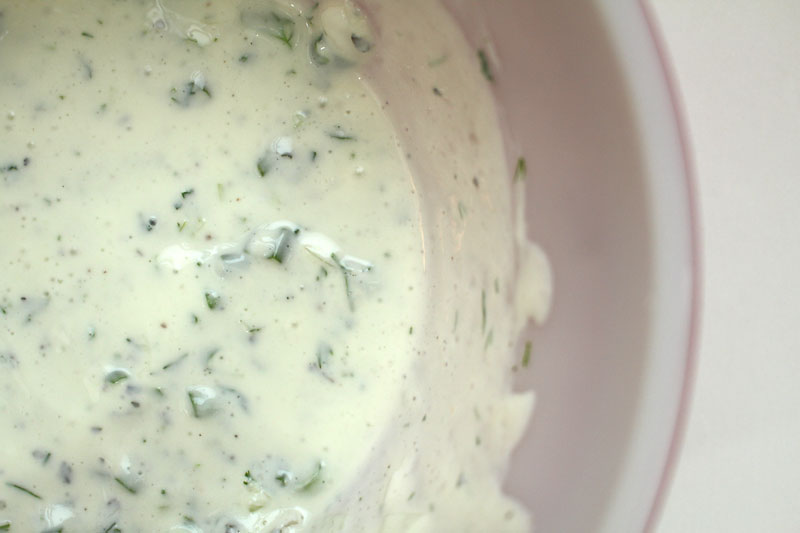
Can we talk about homemade salad dressing for a second?

I’m a big fan. That’s all I really wanted to say…

Ok, we can also talk about the dill in there and how its flavor pops, how the honey adds just a barely there hint of sweetness, and the yogurt adds a creamy dreaminess.

RadishSlaw5

This coleslaw would be great alongside some grilled fish (again, my craving), or with some crispy fish tacos. It could also be fabulous with a Reuben, a chicken sandwich, or an ooey gooey cheddar grilled cheese sandwich.

Don’t miss this one!

RadishSlaw4

Happy Eating!

Radish Slaw
Recipe Type: Side, Salad, Vegetable, Vegetarian
Author: Rachel Oberg – De Ma Cuisine
Prep time: 15 mins
Total time: 15 mins
Serves: 2-3
Ingredients
  • Dressing: 1/2 to 1 t fresh dill, chopped
  • 1/4 T fresh (or 1/4 t dried) basil, chopped
  • 1/2 T fresh (or 1/2 t dried) parsley, chopped
  • 1/2 C spring onion, diced
  • to taste salt
  • to taste pepper
  • 2 t lemon juice
  • 1/2 t apple cider vinegar
  • 1/2 T olive oil
  • 2 T milk (or cream)
  • 1/4 C Greek (or plain) yogurt
  • 1/2 t honey
  • Slaw: 1/2 C radish (any kind), grated (or minced)
  • 1/2 C celery, diced (or minced)
  • 1 C carrot, grated (or minced)
Instructions
  1. Whisk together dressing ingredients.
  2. Combine dressing with veggies. Refrigerate for about an hour before serving.
  3. Serve with your favorite seafood!
3.2.1269