De Ma Cuisine

Fruit Archive

Monday

17

August 2015

2

COMMENTS

Bread Pudding with Seasonal Fruit

Written by , Posted in Baking, Bread, Breakfast, Brunch, Dairy-Free, Dessert, Eggs, Fruit, Gluten Free, Lunch, Main Dishes, Nuts, Vegetarian

BreadPudding-4

Today I’ve come up with a treat for the sweet tooth that’s both dessert and main dish. It’s a variation on a bread pudding, but we ate it for lunch.

BreadPudding-1

It’s sweet, but not too, thanks to the maple syrup. It’s filling enough to be the star, thanks to the eggs and bread. It’s a great way to get some fruit into a dish, thanks to whatever fruit is in season. We’ve got figs and peaches on hand, so that’s what I used.

BreadPudding-2

During the spring and summer the figs and peaches could be swapped out for blueberries, strawberries, or plums. In the cooler months, pears, apples, and persimmons would be perfect. Perfect for any time of the year. If you don’t have fresh fruit, frozen works (just drain it a bit first). You could even add some jam. I used softer figs and frozen peaches, that way they kinda became one with the eggy-bread mixture.

I was thinking that this would be yummy if it was chocolatey. You could add cocoa powder to the egg mixture (hello chocolate and cinnamon!). You could add chocolate chips too. I think figs or berries would be fabulous with chocolate.

Whatever bread you have on hand will be great. Gluten-free, whole wheat, croissants, baguettes… I like to use stale bread, but mostly because I feel bad using fresh bread for something like this.

BreadPudding-3

I filled two 6″ ramekins to make two main dish sized portions. But, you could use smaller ramekins or one larger dish. Adjust the baking time accordingly.

BreadPudding-5

To serve, I topped with some Greek yogurt and chopped almonds. You could also add some fresh fruit, walnuts, pecans, cream or crème fraîche, or if you’ve got an extra sweet sweet tooth, a drizzle of maple syrup.

Happy Eating!

Bread Pudding with Seasonal Fruit

Prep Time: 10 minutes

Cook Time: 50 minutes

Total Time: 1 hour

Yield: 2-4

Bread Pudding with Seasonal Fruit

Ingredients

  • 1 t coconut oil (or canola)
  • 2 C stale bread (any kind), torn in small(ish) pieces
  • 3 eggs
  • 1 T white vinegar
  • 1 C whole milk (any kind)
  • 1/4 t cinnamon
  • pinch ginger
  • pinch salt
  • 1/4 C maple syrup
  • 1 t vanilla
  • 2 C fairly ripe seasonal fruit (berries, figs, stone fruit, apples, persimmons, pears), most chopped, a few sliced for topping
  • toppings (optional): chopped nuts, fresh fruit, plain yogurt, crème fraîche, maple syrup, cream

Instructions

  1. Pre-heat the oven to 350F.
  2. Pour vinegar into a measuring cup. Add milk to the 1 C line. Stir and let stand for about 5 minutes (it will thicken slightly and become buttermilk).
  3. Grease two 6" ramekins with coconut oil. Add bread and fruit. Toss.
  4. Whisk together eggs through vanilla. Pour over bread and fruit. Top with sliced fruit. Place ramekins on a baking sheet. Bake for 40-50 minutes, or until eggs are mostly set and have come to at least 160F. Remove from the oven and let them stand on a cooling rack for 10-20 minutes.
  5. Top with desired toppings.
http://www.de-ma-cuisine.com/bread-pudding-with-seasonal-fruit/

Monday

27

July 2015

0

COMMENTS

Salted Chocolate and Roasted Fig Pudding

Written by , Posted in Dessert, Fruit, Gluten Free, Kid-Friendly, Roasting, Snacks, Vegetarian

SaltedChocolateRoastedFigPudding-10

A few years ago I tried to make chocolate sauce for ice cream. As one who rarely makes desserts and who doesn’t bake a lot, the science behind these types of things can baffle me. I ended up with pudding instead of chocolate sauce.

But, it was one of those happy mistakes. Because I ended up with a delicious dessert (which, if you’re wondering, tasted just fine over ice cream).
SaltedChocolateRoastedFigPudding-1

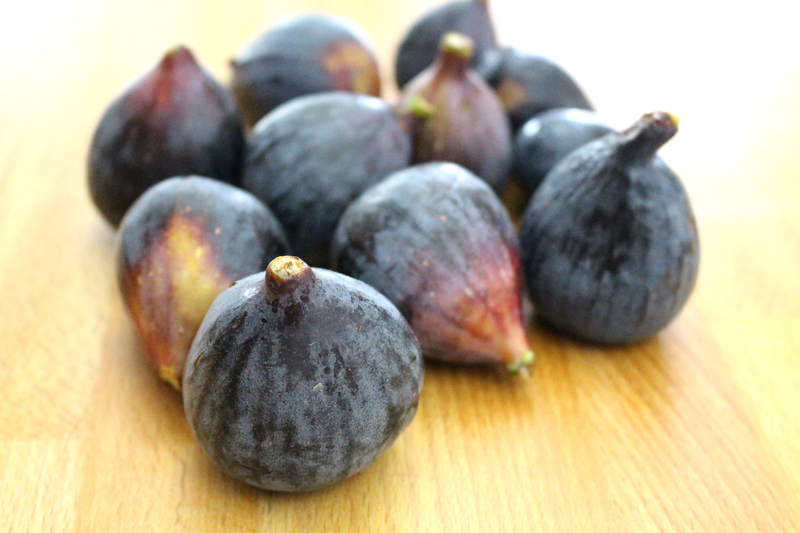
Since figs are way early this year, kinda like a lot of our produce, I figured it was time to recreate that pudding, with a figgy twist.

This is one of those times where it’s important to have read through the recipe and have all ingredients prepped in advance. It’s not complicated and the timing doesn’t have to be exact. But, for example, you don’t want to take the time to melt the chocolate, only to have it cool down too much, or for the milk to boil over, or the figs to burn while you get the rest of the ingredients ready. You want to be able to give each step the attention it deserves.
SaltedChocolateRoastedFigPudding-2

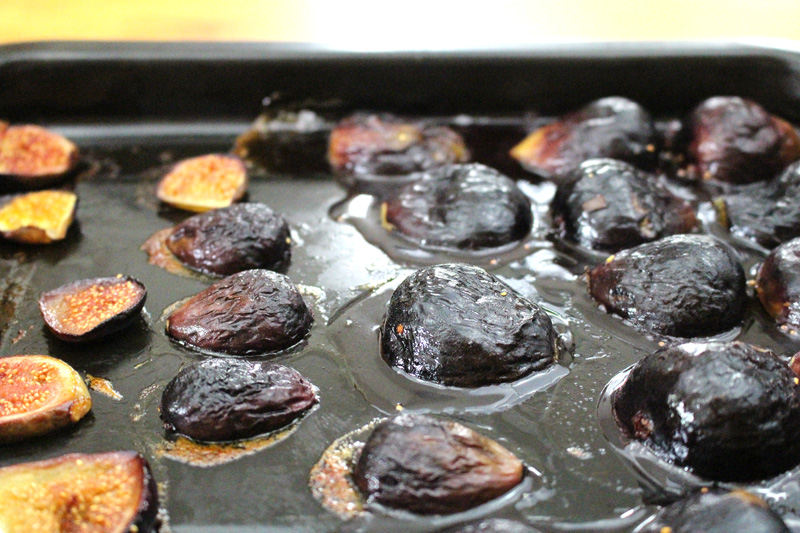
I took some fresh figs and roasted them. It’s my favorite way to enjoy them. They were tossed with some coconut oil before heading in to the oven.
SaltedChocolateRoastedFigPudding-3

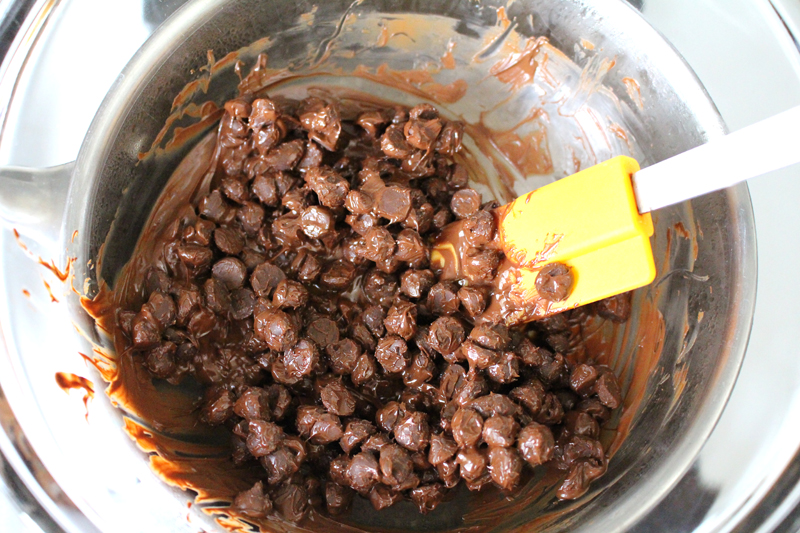
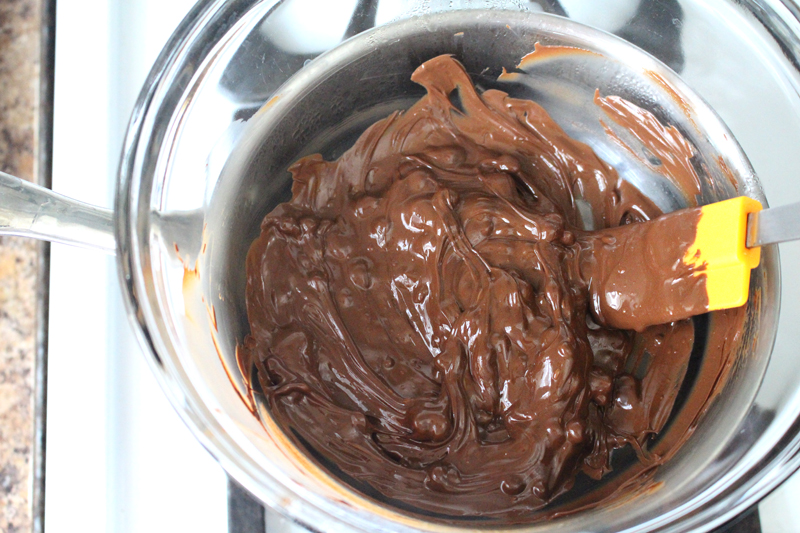
While the figs roasted, I melted some chocolate. We aren’t a microwaving house, so I made a double boiler from a medium-sized pot with about an inch of boiling water in the bottom, and a bowl that fit snugly over top and kinda in (without touching the water). This is gentler on the chocolate than cooking it right in the pan over the heat. It just took a few minutes, with a bit of stirring, to go from solid chips to…
SaltedChocolateRoastedFigPudding-4

Melty but lumpy goodness, to…

SaltedChocolateRoastedFigPudding-5

Smooth and creamy melted chocolate.

SaltedChocolateRoastedFigPudding-6

I scraped the flesh from the fig skins. Which sounds like pig skins. Which makes me think of bacon. But we’re not adding bacon. Really. No bacon… Although now I wonder if that would be good.

I digress.

I mashed the figgy goodness and mixed it in with the chocolate. It’s ok if it’s not perfectly smooth. A few chunks of fig are a good surprise when eating this pudding.

P.S. Don’t toss the fig skins. Chop them up and use them to make a fabulous treat: Toast a thinly sliced baguette. Top with cheese (like parmesan, cream cheese, feta, goat cheese, ricotta, or gorgonzola… to name just a few), figs, black pepper, and a drizzle of honey… you could even top it with some bacon if you wanted to.
SaltedChocolateRoastedFigPudding-7

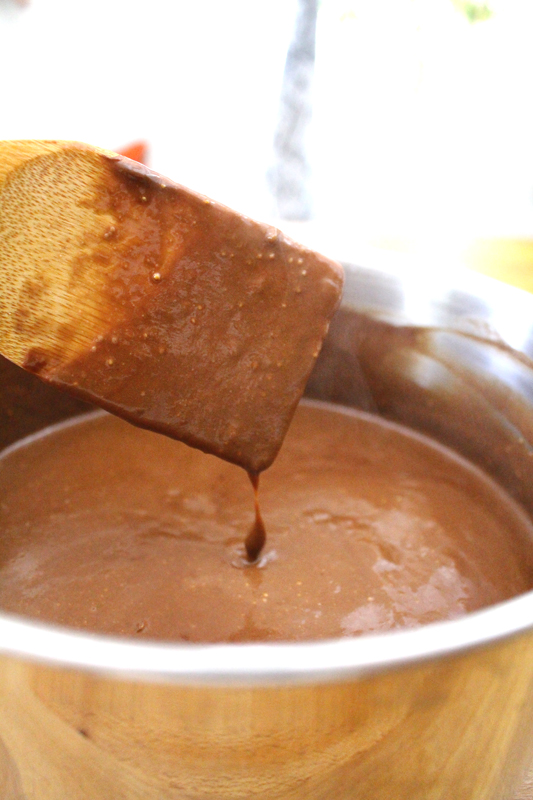
I added the chocolate and fig mixture to a milk and honey mixture that had been warming for a few minutes (with it was a pinch of salt and some cornstarch that had been whisked into a bit of water).

Yes, this is getting good.

The cornstarch acts as a thickener. You’ll see it working as things get hotter and hotter. Gone will be the thin and runny chocolate soup. It will be thick and creamy.
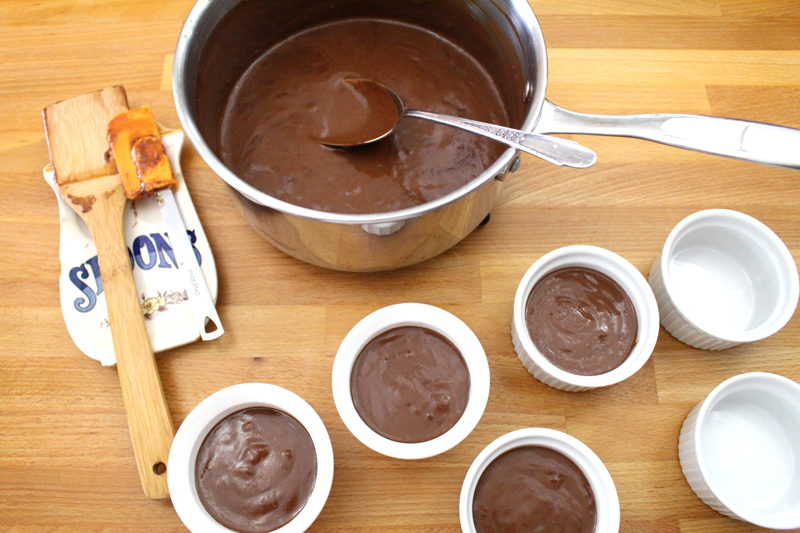
SaltedChocolateRoastedFigPudding-8

I divided the mixture between 8 ramekins. They’re small portions, but it’s a rich dessert, and I think that small portions are best for desserts. I also don’t have much of a sweet tooth. If you want bigger portions, just use larger ramekins, and less of them. Simple math.
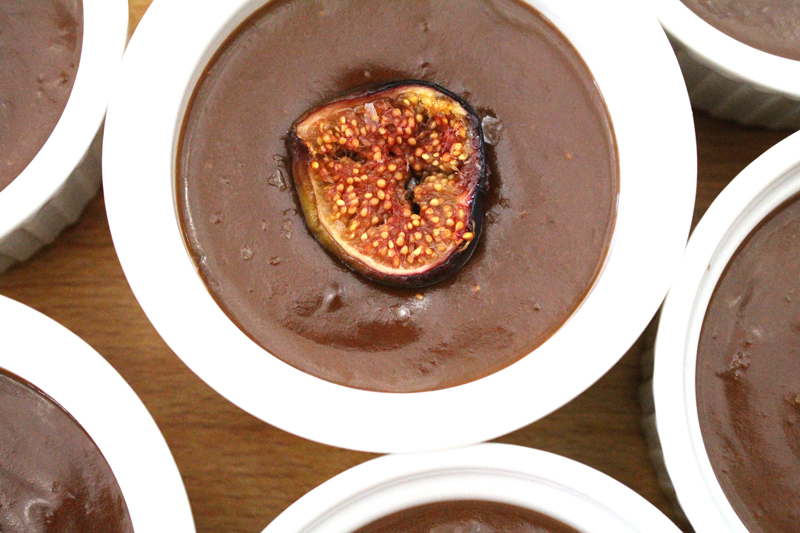
SaltedChocolateRoastedFigPudding-9

Those reserved sliced and roasted figs, one went in the center of each ramekin. And then, some flakes of sea salt were sprinkled over it all. This is a situation where a fancier “finishing salt” is great – table salt, not so much, as you want a few medium-sized flakes. For my birthday, Tim got me some Maldon Sea Salt Flakes, which is available at some grocery stores and online. I use them when I want to feel fancy.

If you’re skeptical, I understand. I have been slow to jump on the salted dessert bandwagon. But, after watching an episode of Good Eats, I was convinced to give it a try. The salt brings out the flavor of the chocolate. And it’s not like it’s salty salty, it’s just enhancing the flavor. If you’re unsure, do a little taste test. Take a spoonful of pudding and top it with one or two flakes of salt. Give it a taste. Then try a spoonful of pudding without. Do you notice a difference? I don’t think I’ll be salting my watermelon or apples anytime soon, but chocolate and salt have finally convinced my tastebuds that they’re good friends (Tim, I know, I know, you were right).
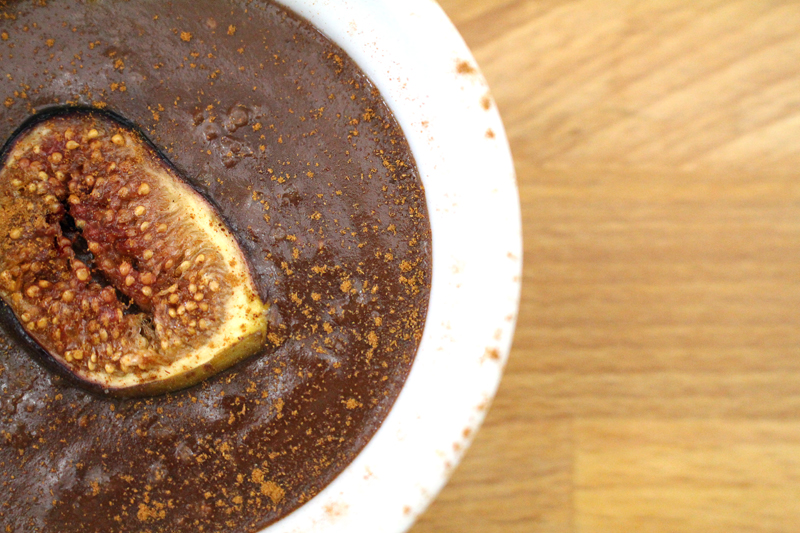
SaltedChocolateRoastedFigPudding-11

The last step before setting them in the fridge for an hour or so (to not only cool, but thicken and set) was to add a sprinkle of cinnamon. Once again I’ll ask you to trust me and do this. You can leave off the salt and cinnamon and your dessert will be fine, it will even be good. But, let’s elevate it to great. And then we’ve got a pudding that can be served at a dinner party, as a fancy birthday dessert, or a sweet way to end a holiday dinner.

I may have eaten most of a bowlful before it even got into the fridge. And remember, I don’t have a sweet tooth.

Happy Eating!

Salted Chocolate and Roasted Fig Pudding

Prep Time: 20 minutes

Cook Time: 28 minutes

Total Time: 48 minutes

Yield: 8

Serving Size: 3-4 oz.

Salted Chocolate and Roasted Fig Pudding

Ingredients

  • 8-10 figs, halved
  • 2 figs, sliced in four
  • 1 t coconut oil, melted
  • 6 oz (about 1 C) good quality chocolate (around 46% cacao)
  • 1 T cornstarch
  • 1/4 C cool water
  • pinch salt
  • 3 T honey
  • 2 C milk (any kind, full fat)
  • cinnamon, for topping (optional)
  • flakes of sea salt, for topping (optional)

Instructions

  1. Pre-heat the oven to 375F.
  2. Toss figs with coconut oil. Place cut side down on a baking sheet. Roast for 10 minutes, flip sliced figs (leave halved ones cut side down), and roast for about 5-10 minutes more. Remove from pan and cool. Scrape fig flesh from skin and set aside.
  3. Make a double boiler (or use a real one) by heating a pot with about 1" water. When it boils, turn it down to a simmer and place a glass bowl that just fits over the top and into the pot, but doesn't touch the water. Add chocolate to the bowl and stir occasionally until chocolate is melted. Remove from heat. Add figs and mash into chocolate.
  4. Whisk cornstarch with water.
  5. Let an ice cube melt in the bottom of a clean pot (this keeps the milk from scalding). Add the cornstarch mixture, salt, honey, and milk and warm slowly, over medium heat, stirring occasionally. When it's warm (after about 2-4 minutes), whisk in the chocolate and fig mixture. Slowly bring the mixture to a boil over medium heat, gently whisking or stirring with a wooden spoon almost constantly until it has thickened (about 3-5 minutes).
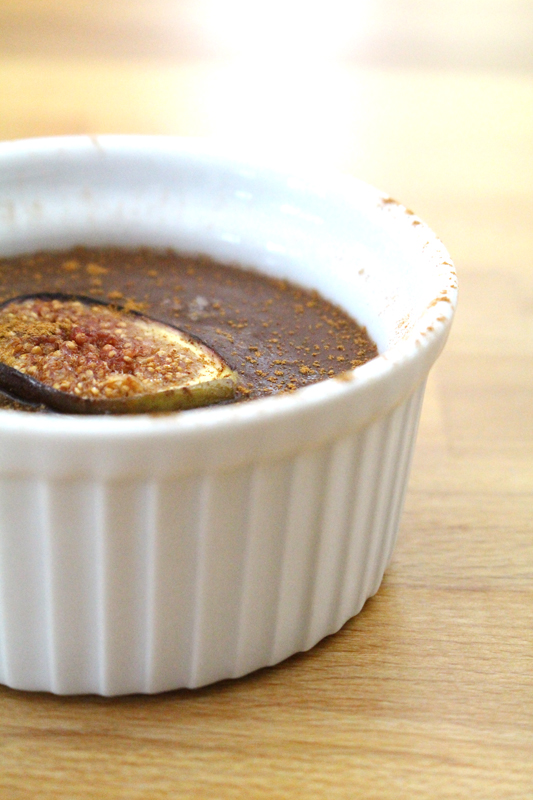
  6. Remove from heat and pour into 8-4 oz. ramekins. Gingerly set one fig slice on top of the pudding, and sprinkle with cinnamon and a few flakes of sea salt. Cool for about 10 minutes on the counter, then cool completely in the refrigerator (about 1 hour). Serve when they're completely cooled and set.
http://www.de-ma-cuisine.com/salted-chocolate-and-roasted-fig-pudding/

Monday

20

July 2015

0

COMMENTS

Melon and Feta Salad

Written by , Posted in Cheese, Dinner, Fruit, Gluten Free, Herbs, Lunch, Quick and Easy, Salads, Sides, Vegan, Vegetables, Vegetarian

MelonFetaSalad-3

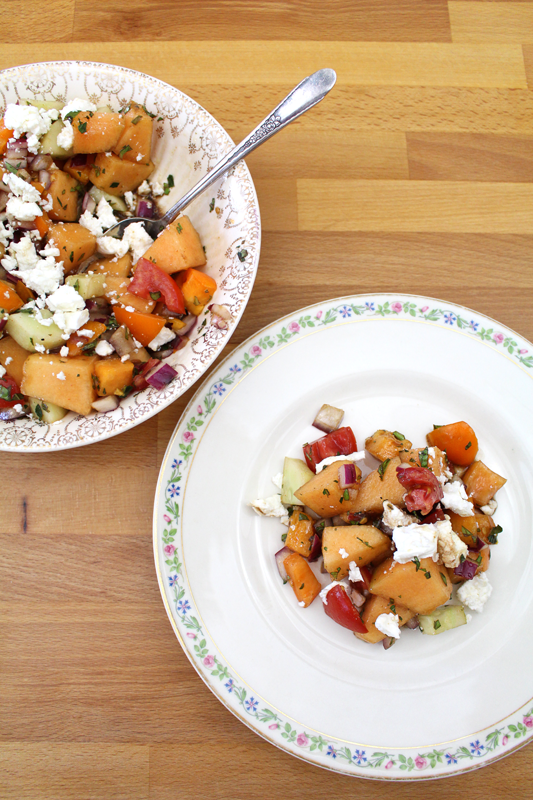
I mentioned last week that I have a hard time eating melon any way other than chilled, plain, nothing else to it. I’ve heard of people putting feta with their melon. So weird. So so weird. I was never gonna try it. Why ruin a perfectly good thing?

MelonFetaSalad-4

I was wrong.

I’ve been missing out.

I was the weird one.

MelonFetaSalad-1

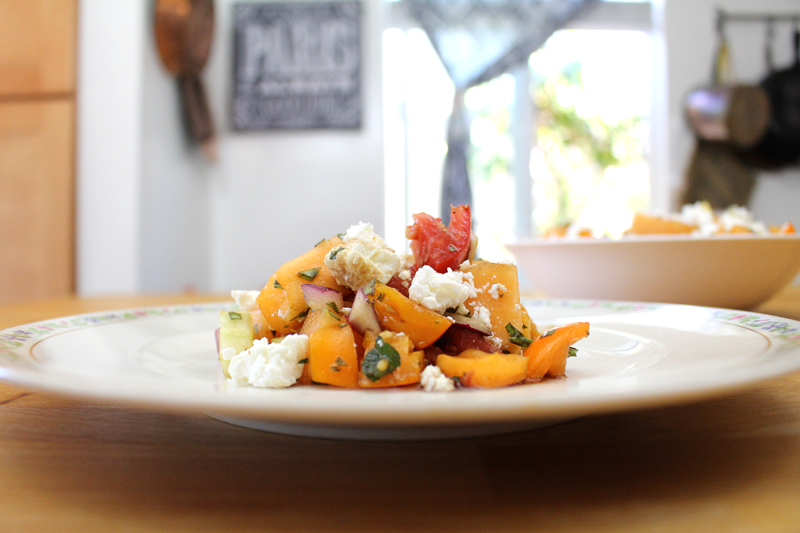
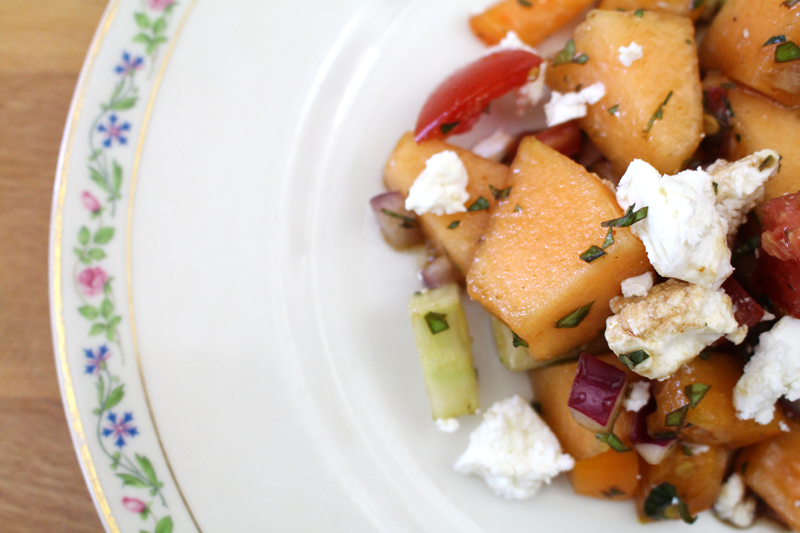
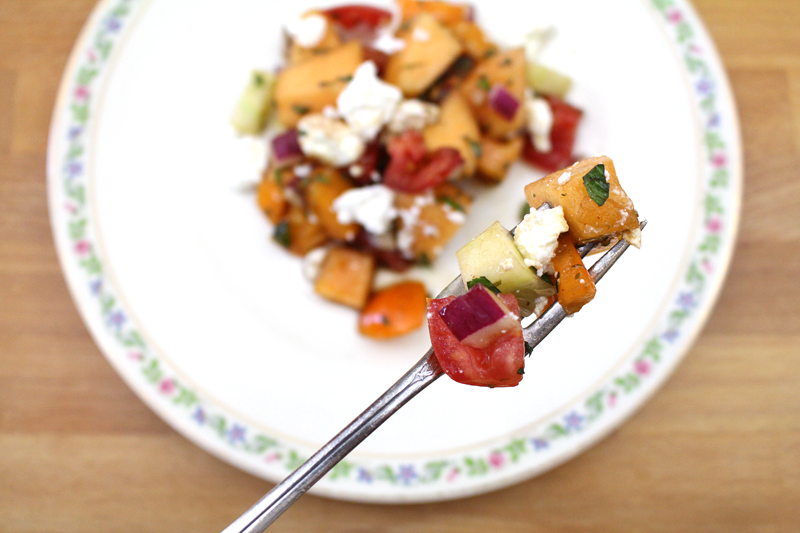
Creamy, cool, salty chunks of feta. Savory, crunchy, spicy red onions. Bright, summery, fresh herbs.

It’s like a summer poem on a plate. A mouthwatering piece of art.

Oh that I could eat this for every meal of every day.

MelonFetaSalad-2

Although I really reeeeally enjoyed this salad as is (and it’s seriously best with everything piled into the same bite), if you wanted to change things up, here are some suggestions: You could make this an all savory salad and substitute eggplant for the melon. Easy. If you’re going for a vegan dish you might swap the feta for some crumbled extra firm tofu (you might want to add a little extra salt). If feta isn’t your favorite, but you love blue cheese, ricotta, or goat cheese, give ’em a try. Like most things that I make, it’s best made to suit the cook’s tastes, with what they have on hand.

I ate this for lunch today, standing at the kitchen island, watching a Red Sox game, all the while trying to hurry so I could clean up and get back to work. But, here’s how I really want to enjoy it: outside, with some of my favorite people, alongside some grilled sausage and a creamy potato salad, with some of Tim’s homemade ice cream for dessert. Maybe not today, but soon. It needs to happen soon.

MelonFetaSalad-5

Sometimes there’s something to be said for, “if it ain’t broke, don’t fix it”. Not here. I will never tire of freezing cold melon on its own. But, this salad holds a special place in my heart. Because, if I dig a little deeper, it’s a great reminder that it’s always a good thing to venture out of my comfort zone to try something new, something scary, something that might seem a little bit weird.

Happy Eating! 

Melon and Feta Salad

Prep Time: 15 minutes

Yield: 4

Melon and Feta Salad

Ingredients

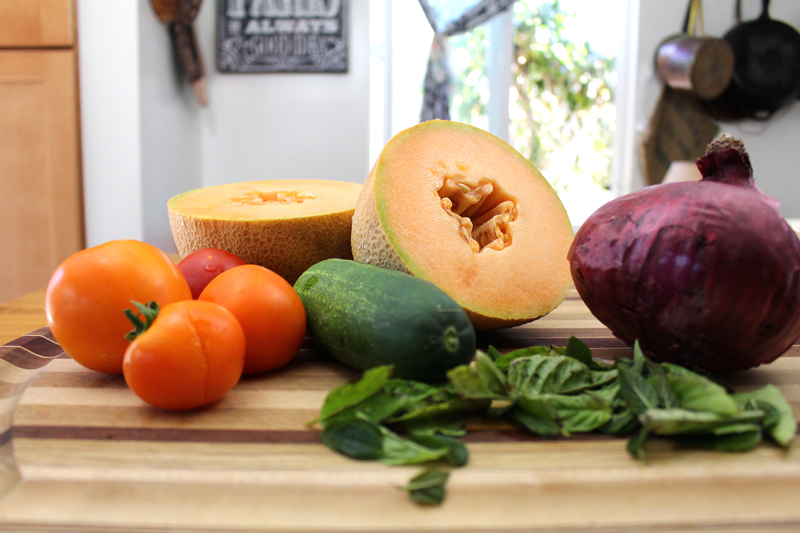
  • 2 C (heaping) melon (cantaloupe or watermelon), cubed
  • 1 C tomatoes, chopped
  • 1/2 C cucumber, chopped
  • 1/2 C red onion, diced
  • 1-2 sprinkles cayenne or 1 hot pepper, ribs and seeds removed, minced
  • to taste salt
  • to taste pepper
  • 2 T fresh mint, diced
  • 2 T fresh basil, diced
  • 3 T balsamic vinegar
  • 2 T olive oil
  • 4 oz. feta (or ricotta, blue cheese, goat cheese, or extra firm tofu), crumbled

Instructions

  1. Toss melon through hot pepper (if using) in a bowl.
  2. Whisk salt through vinegar (and cayenne, if using), stream in olive oil as you whisk.
  3. Toss melon mixture with dressing. Add feta. Taste and adjust seasoning if needed.
http://www.de-ma-cuisine.com/melon-and-feta-salad/

Monday

13

July 2015

0

COMMENTS

Watermelon and Mint Gazpacho

Written by , Posted in Breakfast, Brunch, Dairy-Free, Dessert, Drinks, Fruit, Gluten Free, Herbs, Kid-Friendly, Quick and Easy, Snacks, Soups, Vegan, Vegetarian

WatermelonMintGazpacho-6

When I get a watermelon that’s as perfectly ripe and sweet as the one that came in our Abundant Harvest Organics box today, I have a really hard time not eating the entire thing in one sitting. I like to slice the melon in half and just eat with a spoon. If I can stop myself, I like to save the center for last, because it’s the best.

But, if you can resist, here’s a fun way to eat watermelon… in soup!

WatermelonMintGazpacho-1

It’s a cold soup though, don’t worry. It’s called a Gazpacho. Traditional gazpachos often consist of raw veggies and have a tomato base. But, there are many variations, including this simple watermelon one.

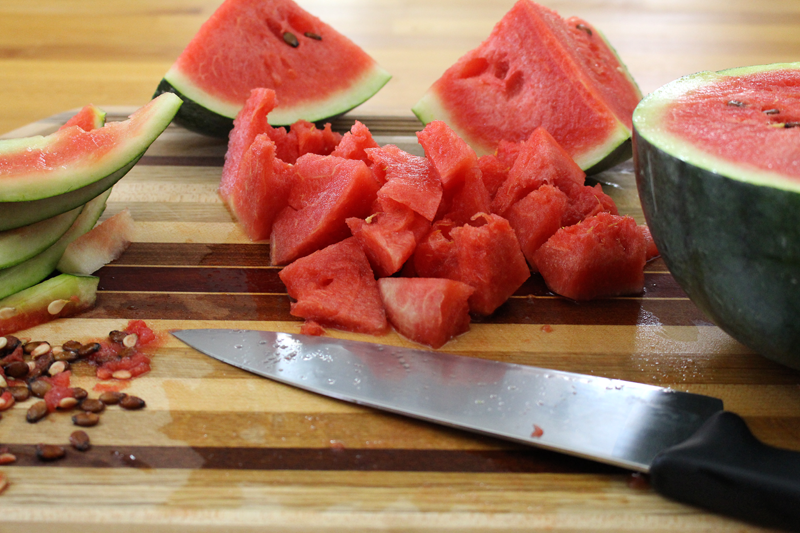
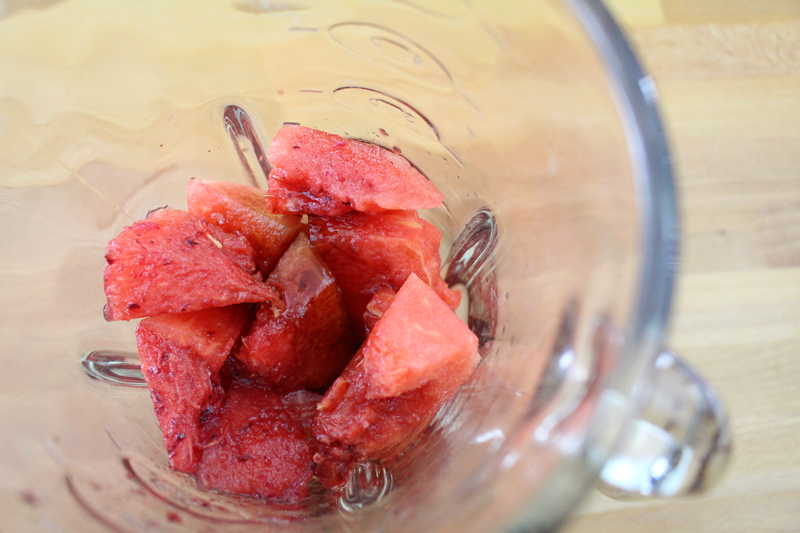
Since everything will be blended up, you don’t have to be too careful about how the watermelon is cut. I figured large chunks would work just fine. The seeds of a watermelon are edible (and some say they’re even good for you), but I don’t like to eat them. They ruin the texture for me. I don’t even like chunks in my ice cream. Tim says that’s weird, but I’m fine with my choices. If you want to leave the seeds in and blend them up, that’s fine with me.

WatermelonMintGazpacho-2

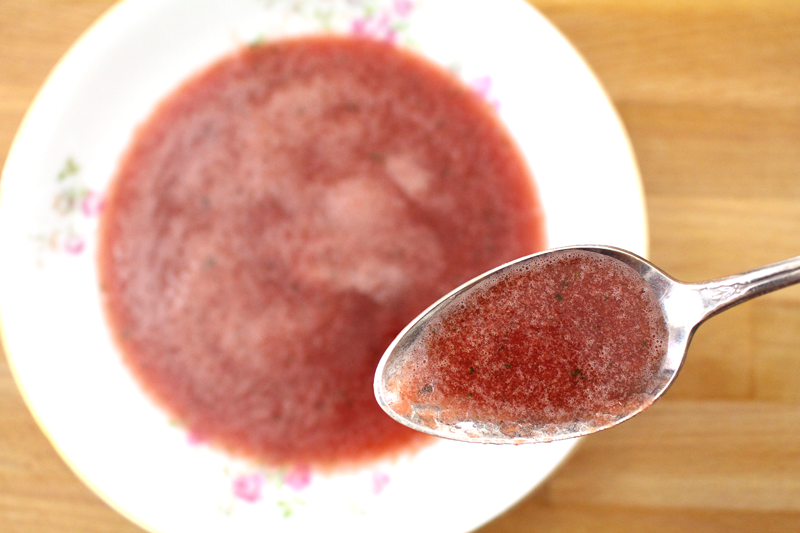
Watermelon pairs well with things like orange juice, maple syrup, and balsamic vinegar, so I added a little bit of each.

WatermelonMintGazpacho-3

It also tastes great with some refreshing mint. I added about 15 smallish leaves. You could add way more or way less, depending on how minty you want it. Basil would be another great addition (along with or in place of the mint). If you don’t want to add the herbs that’s fine. But, they add a cool, fresh burst of flavor.

WatermelonMintGazpacho-5

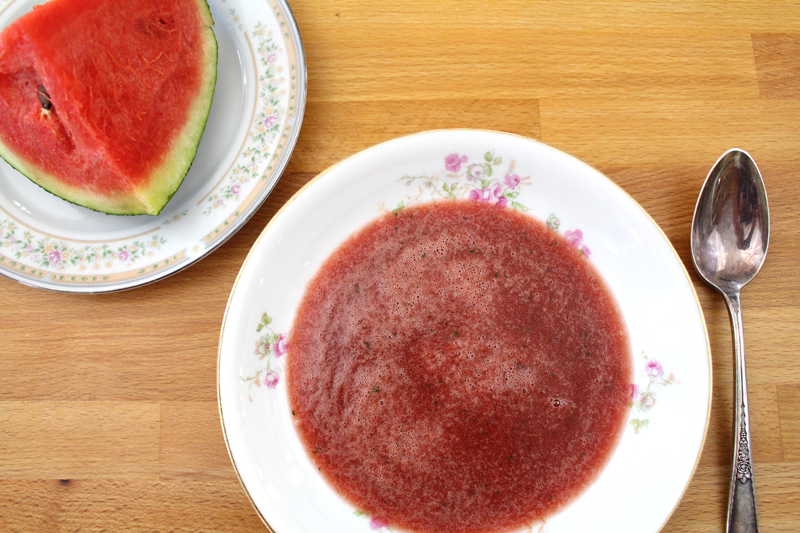
If the melon is already chilled, you can consume immediately. If not, pop it into the fridge for an hour or so before serving. You could serve it as a gazpacho, just on its own. You could add a dollop of yogurt or whipped cream. You could freeze it in an ice cube tray and use it in place of ice or frozen fruit in smoothies or summer drinks, or just pour it into a glass and drink it.

If you have cantaloup or honeydew melon on hand, they’d be a great addition, or could be used in place of the watermelon.

WatermelonMintGazpacho-4

I don’t really like change, especially when it comes to my favorites. That’s why I prefer a traditional Thanksgiving dinner, I love to re-watch Gilmore Girls, and I think watermelon is best served super freezing cold, halved and eaten with a spoon. But, with change comes learning new things and growth, so I’m ok with it (ahem, in moderation). I will bravely taste a new dish at Thanksgiving, try watching a new show, and I will, for the first time ever, branch out and do something different with watermelon. And I will enjoy it.

Happy Eating!

Watermelon and Mint Gazpacho

Prep Time: 10 minutes

Total Time: 10 minutes

Yield: 2-4

Watermelon and Mint Gazpacho

Ingredients

  • 2 1/2 - 3 C watermelon (or cantaloupe or honeydew or mixture of all 3), seeds removed, cut into large chunks
  • 2 t balsamic vinegar
  • 1-2 t maple syrup
  • 1/4 to 1/2 C orange juice
  • 10 to 12 large or 15-20 small mint leaves

Instructions

  1. Blend all ingredients until smooth.
  2. Then either: Chill and serve as a gazpacho.
  3. Freeze in an ice cube tray for summer drinks and smoothies (use in place of ice cubes or frozen fruit).
  4. Make into a sorbet in an ice cream canister (freeze according to manufacturer's directions).
http://www.de-ma-cuisine.com/watermelon-and-mint-gazpacho/

Monday

6

July 2015

0

COMMENTS

Spicy Summer Squash and Tomato Soup

Written by , Posted in Dairy-Free, Dinner, Fruit, Gluten Free, Herbs, Lunch, Quick and Easy, Sides, Soups, Vegan, Vegetables, Vegetarian

SummerSquashSoup-4

Summer isn’t usually the time of year that people are busting out the soup recipes. I realize that. But, it is the time of year for squash and tomatoes, so let’s make an exception.

Tomato Soup is one of my favorite comfort foods. I have memories of being at camp as a kid on a rainy summer day, eating grilled cheese and tomato soup in the dining hall. (That’s one of the few good memories I have of camp… I wasn’t much of a camper.) It wasn’t just camp, or even just during childhood. This has always been one of my favorite meals. It brings with it a wave of nostalgia, but it’s also a quick and easy meal that packs in fruits, veggies, grains, and protein (if you add the grilled cheese).

SummerSquashSoup-1

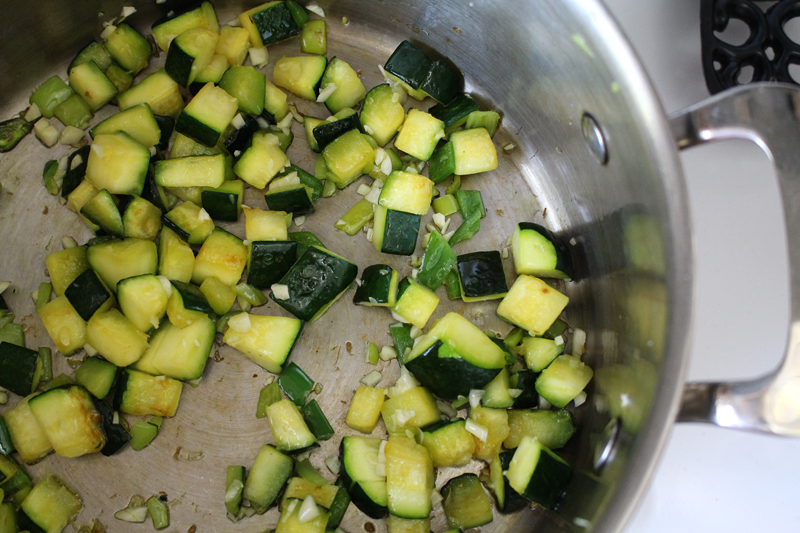
I started it off with some summer squash and salt. Simple and easy. I added some hot peppers (I used half a jalapeño and a whole Hungarian hot pepper, both without their ribs and seeds) and garlic. Everyone cooks away for a little while.

SummerSquashSoup-2

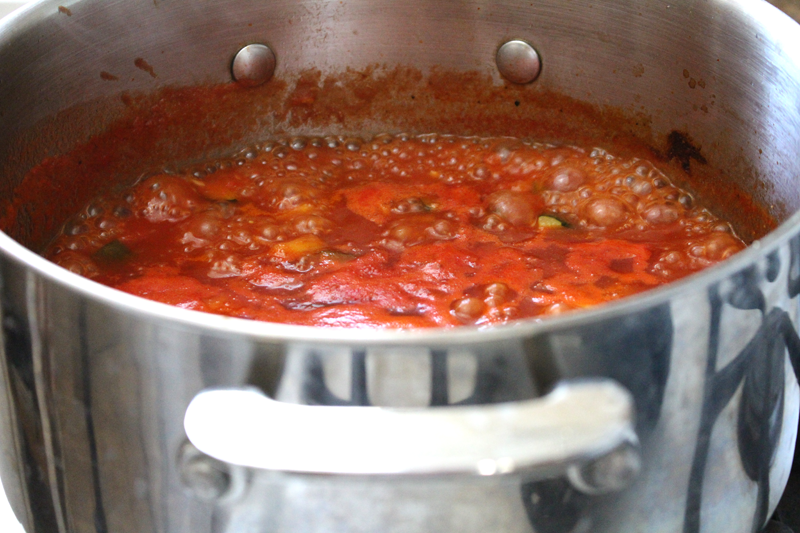
If you have tons of tomatoes on hand, this would be a great time to use them. You’d want to cook for longer, but, it’d be great. I don’t yet have an abundance of tomatoes. My garden holds the promise of things to come with plenty of green tomatoes. But, they’re not ready quite yet. The tomatoes that we’ve gotten in our Abundant Harvest Organics box are precious and I like to use them raw, on sandwiches, to top potato salad, or as a simple side. So this time I’ve used canned tomatoes. I think both ways would be great. You could also roast the tomatoes like I did on the show a few years ago. Lots of options here.

SummerSquashSoup-3

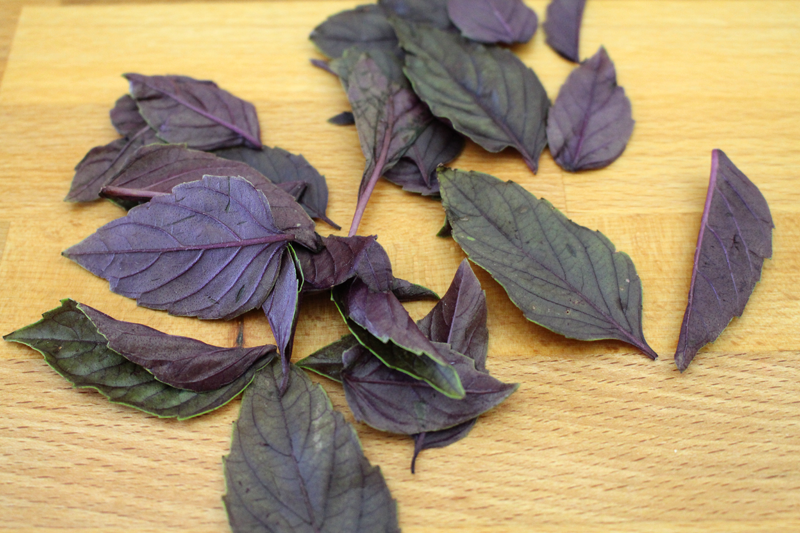
Since basil and tomatoes are pretty much best friends, I added a ton. Doesn’t matter what color – purple, green, lemon basil… just as long as it’s fresh.

SummerSquashSoup-5

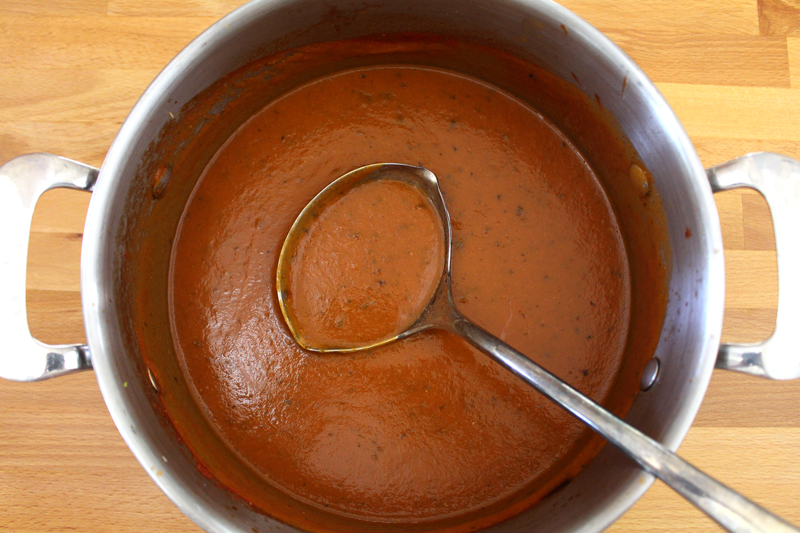
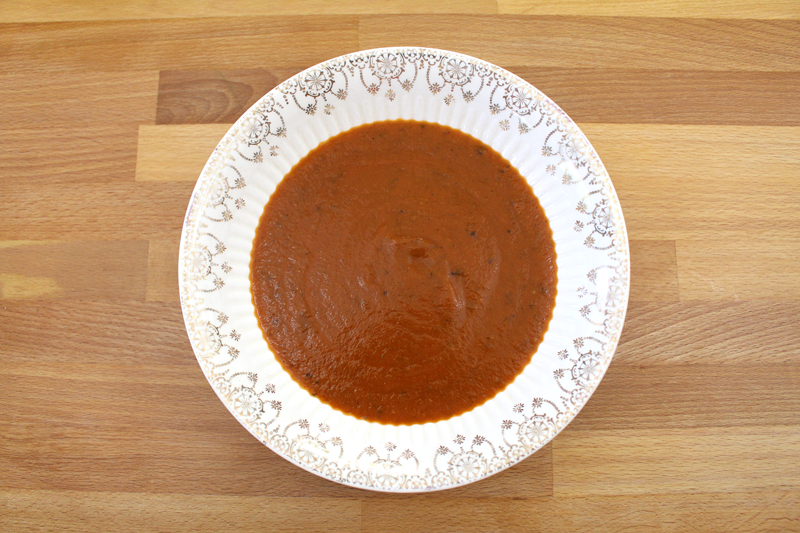
You could leave the soup chunky if you wish. But, I like my tomatoey soups to be smooth, so I blended it up. I learned the hard way that if you’re not using an immersion (or hand) blender (so a regular blender) that it’s imperative that you take the lid’s plug out and cover the hole with a clean tea towel. If you leave the plug in, it will most likely (at least in my experience) fall in and get blended up. This will mean not just ruined soup (sad), but a big mess (annoying), and soup splattering all over you (ouch). Learn from me, friends. Take out the plug. 😉

SummerSquashSoup-6

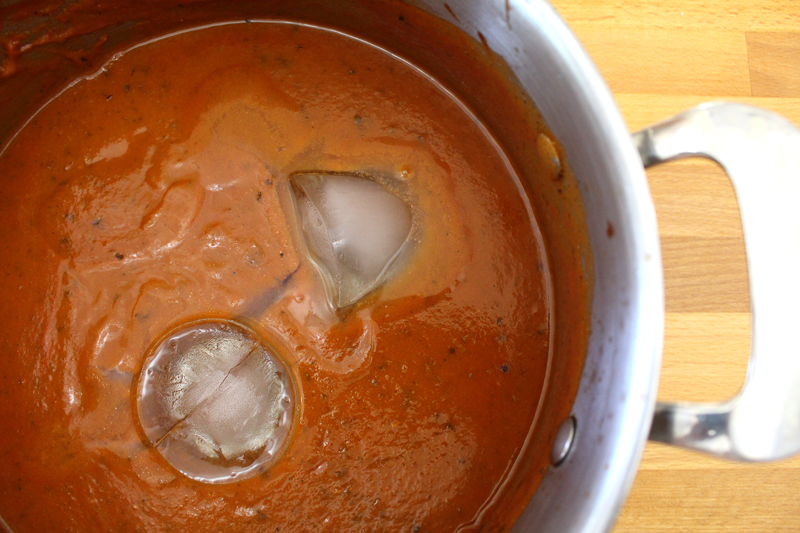
If you’re planning to enjoy the whole pot of soup the day of, you’re golden. If you end up with leftovers or just want to make it ahead of time and pop it in the freezer, you need to cool it down quickly before it goes into the fridge. So, here’s a trick: To cool the soup down quickly, add only 2 C stock when cooking. Then after it’s cooked, add 1 C frozen stock or ice and stir in to cool down. When it’s cooled down, put it in the fridge to cool completely before freezing.

SummerSquashSoup-7

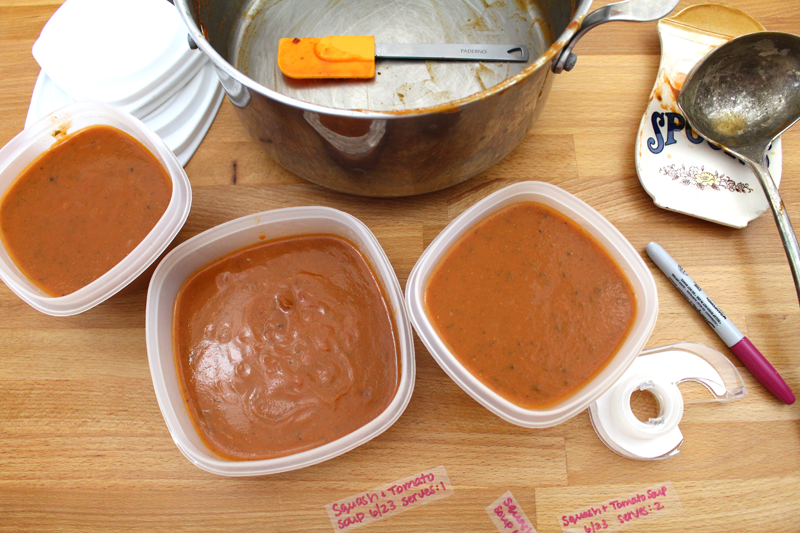
I like to store things in the freezer in smaller containers so that I’m not defrosting a large container for just one or two portions. Each container gets a label with the name, date, and number of people it will serve. To defrost, pop it into the fridge overnight. Or, just add it frozen to a soup pot with a bit of water or stock in the bottom and reheat.

Happy Eating!

Spicy Summer Squash and Tomato Soup

Prep Time: 10 minutes

Cook Time: 19 minutes

Total Time: 29 minutes

Yield: 4

Spicy Summer Squash and Tomato Soup

Ingredients

  • 1 T olive oil
  • 2 C summer squash, roughly chopped
  • to taste salt
  • 1/2 to 1 1/2 hot peppers (depending on what type), ribs and seeds removed, chopped
  • 3 cloves garlic, chopped
  • to taste salt
  • to taste pepper
  • pinch ginger
  • 2 C crushed tomatoes (or tomato puree)
  • 3 C stock or water
  • 1 T rice vinegar
  • 1 T maple syrup
  • 1/2 C fresh basil, chopped

Instructions

  1. Heat a soup pot over medium-low. Add oil. Add squash and salt. Cook for 5 minutes, stirring occasionally. Add hot pepper and cook for 2 minutes. add garlic and cook for 1 minute more. Add tomatoes through maple syrup. Bring to a boil, then reduce to a simmer and cook for about 10 minutes, or until veggies are tender.
  2. Remove from heat and add basil. Blend with a hand blender (or in batches in a regular blender, with the lid's plug removed and the hole covered with a clean tea towel) for 1 minute. Taste and adjust seasoning if needed.
http://www.de-ma-cuisine.com/spicy-summer-squash-and-tomato-soup/