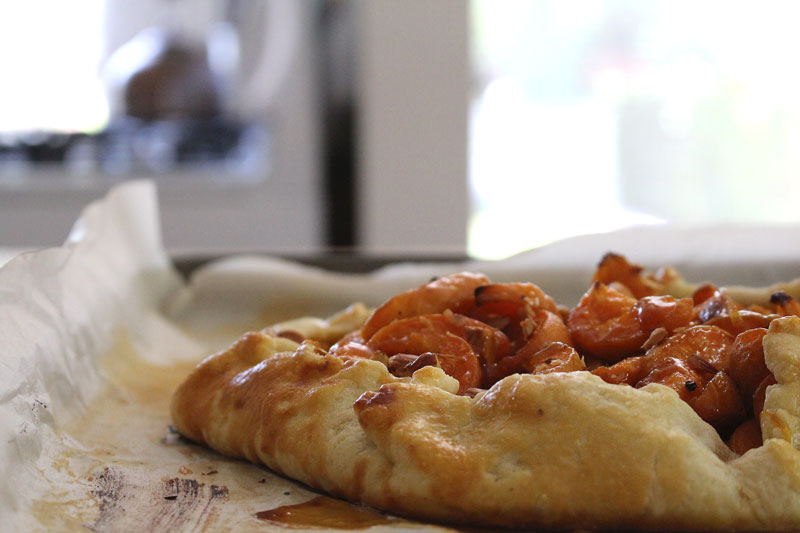
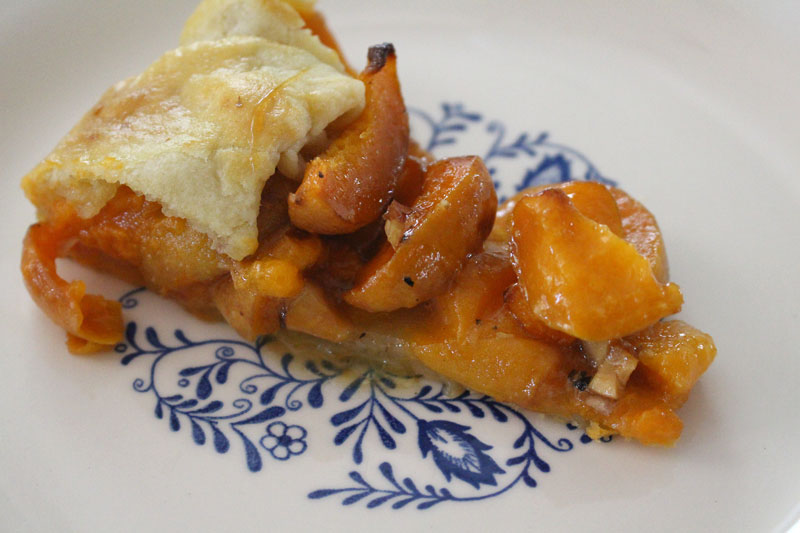
Apricot and Black Pepper Galette
Written by Rachel, Posted in Baking, Breakfast, Brunch, Dessert, Eggs, Fruit, Lunch, Vegetarian
Remember that time when my blog was broken… for like two months… and then Tim and some friends fixed it?
Yeah, they fixed it just because they’re nice people.
So I made them a galette.
Sometimes thank you needs to be said in the form of food.
David, Andy, Vic, and of course Tim, thank you. I can cook the food, take the pictures, and type some letters in here. But, when something breaks, it takes brains like yours to know how to make things better. I am grateful.
So grateful that I’m sharing our stone fruit. Sharing it and converting it into a thank you treat.
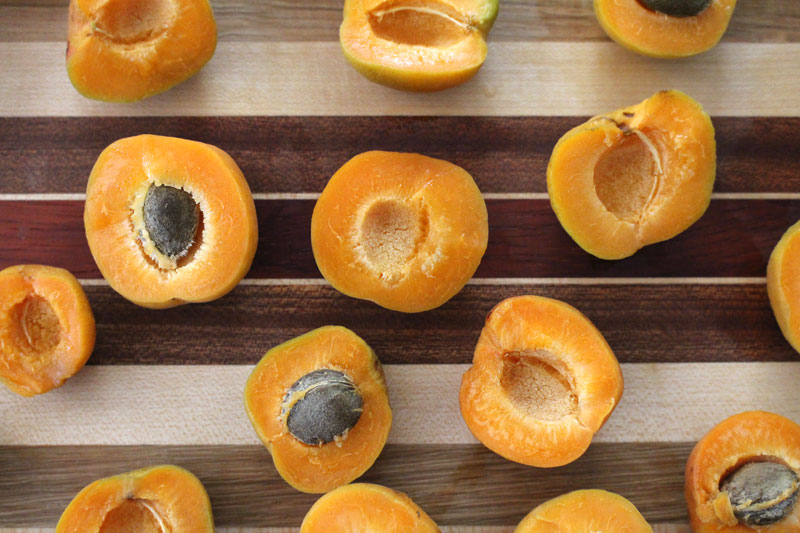
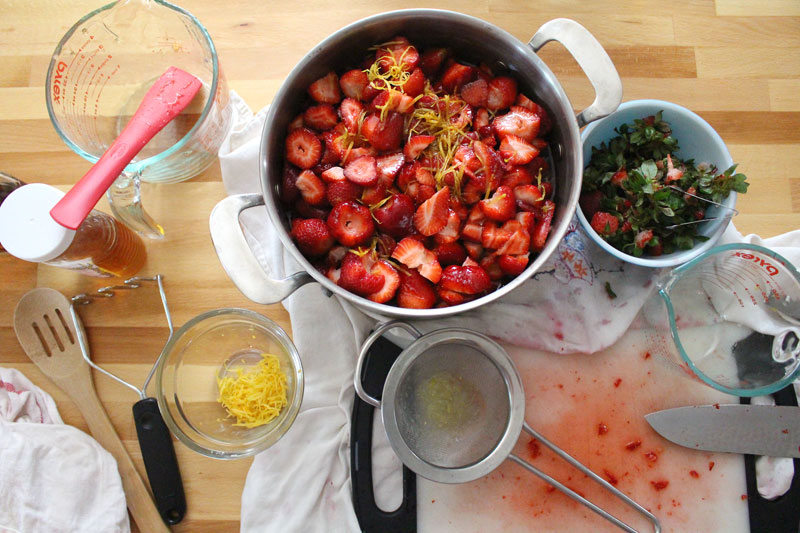
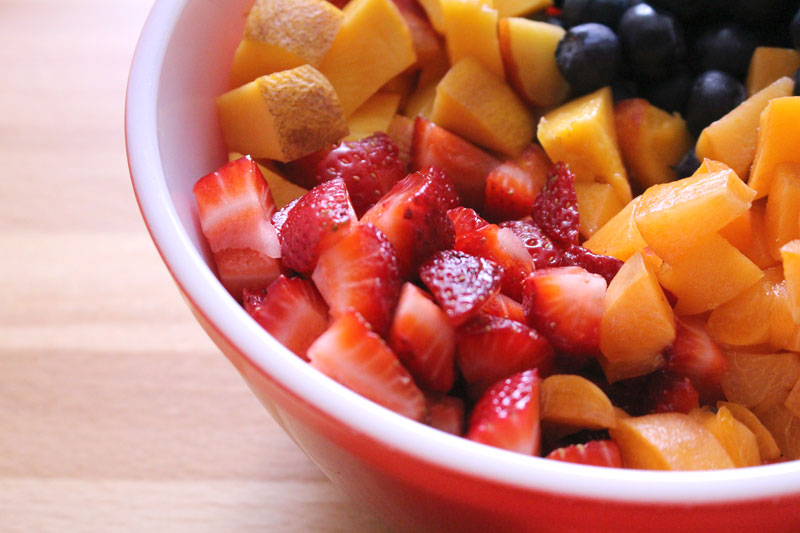
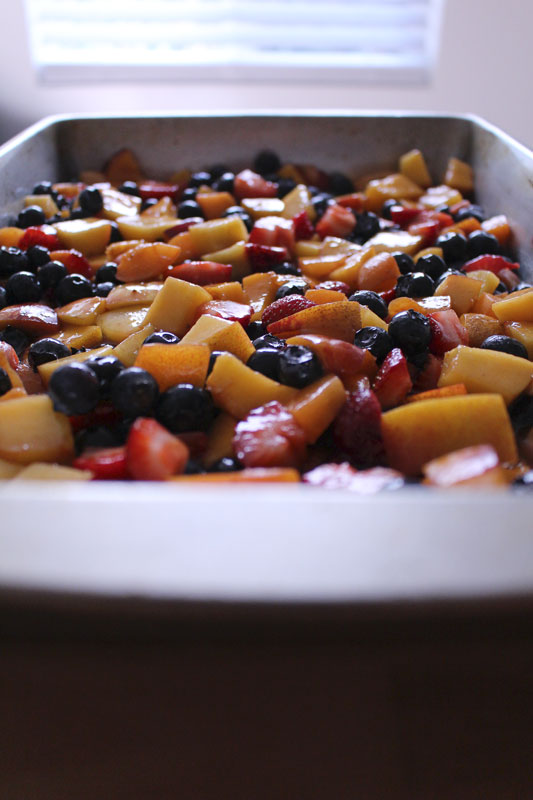
We had some over-ripe apricots in the fridge. You know, the ones that are kinda wrinkly and you think they might be good for nothing? Instead, you find that they’re super soft and sweet. Just perfect for a galette.
Nectarines, peaches, plums, apriums, and pluots could all be substituted. You know, use what you have on hand.
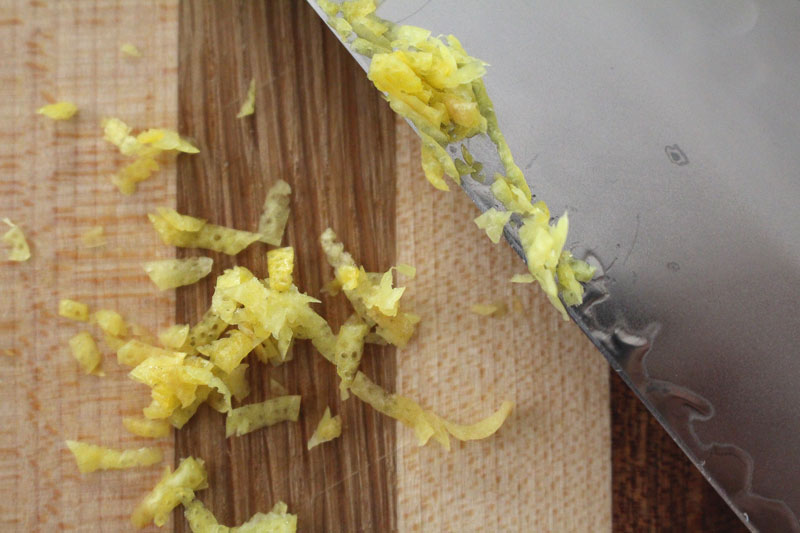
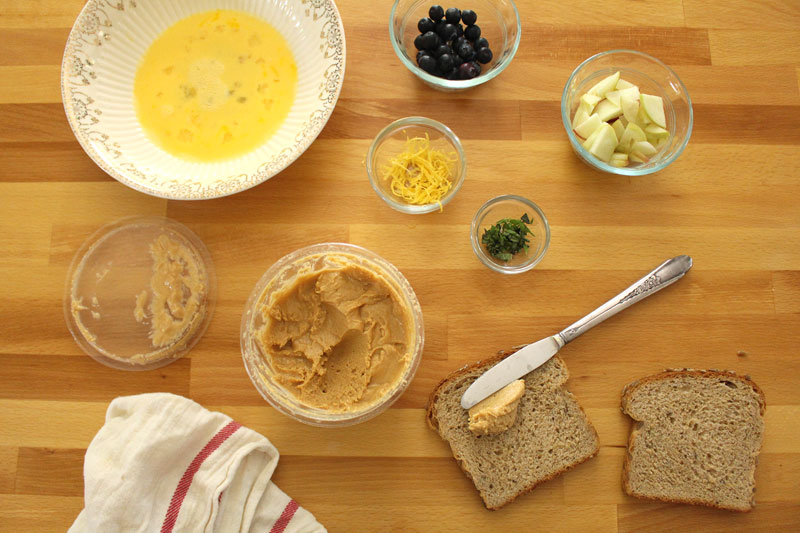
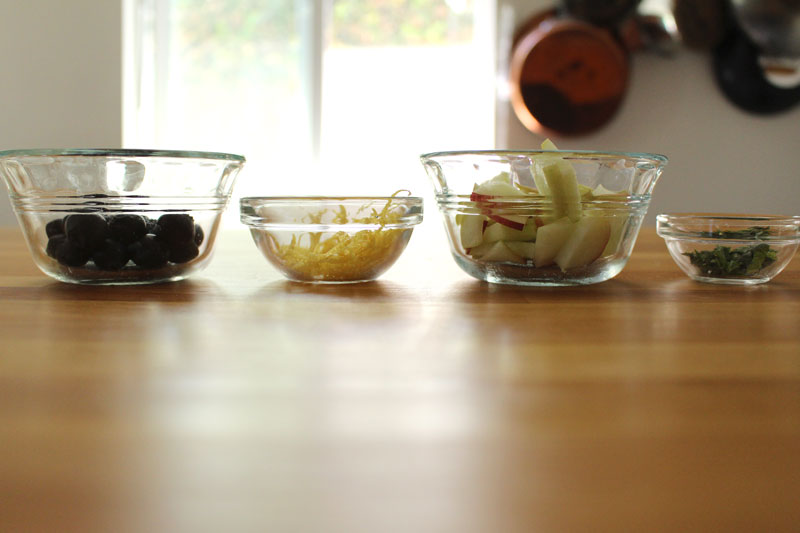
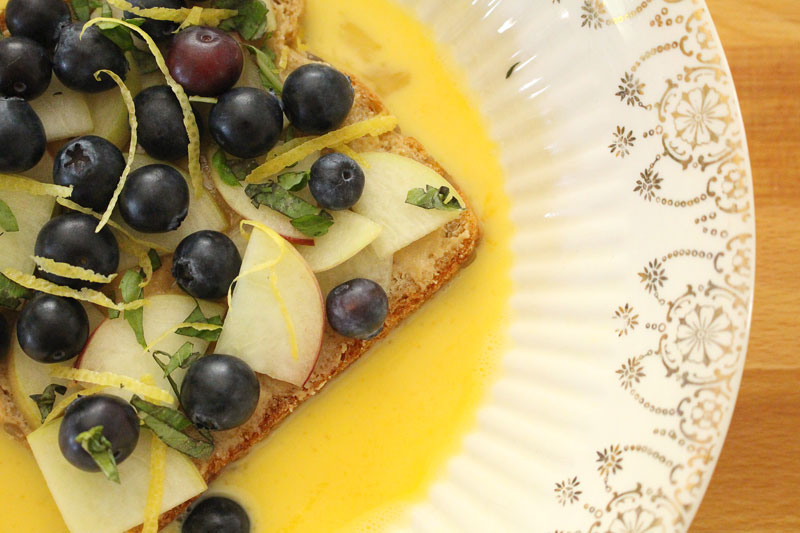
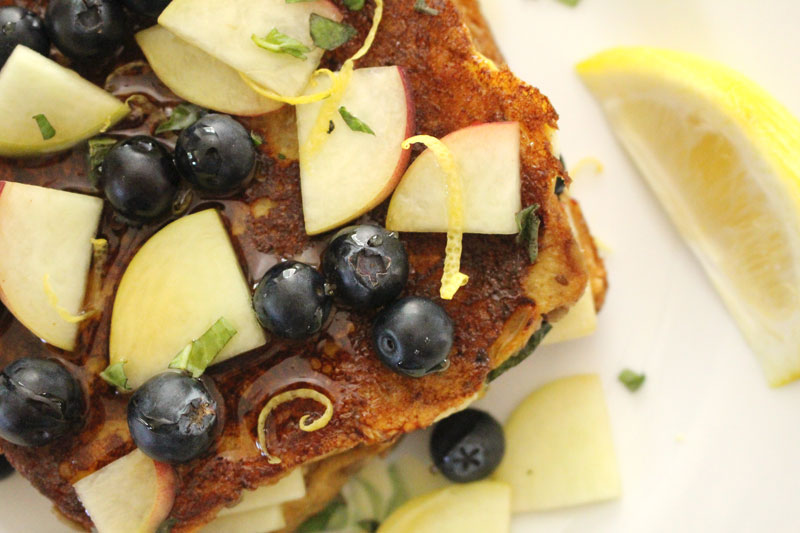
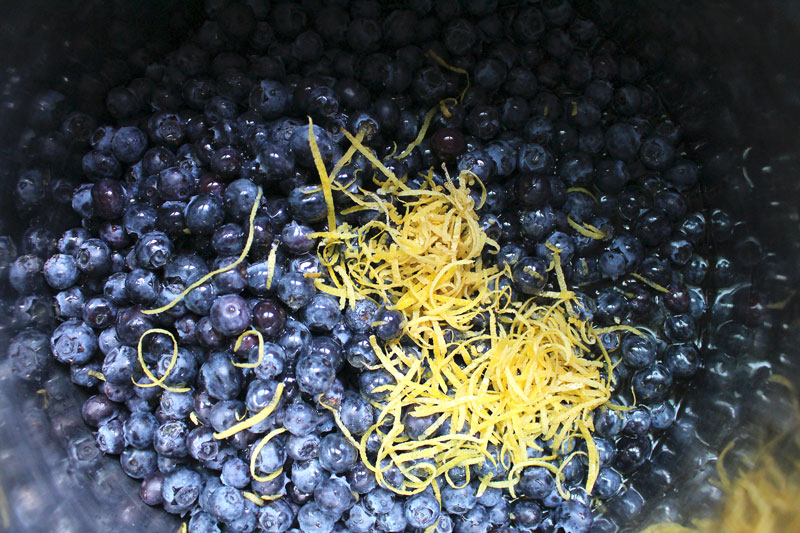
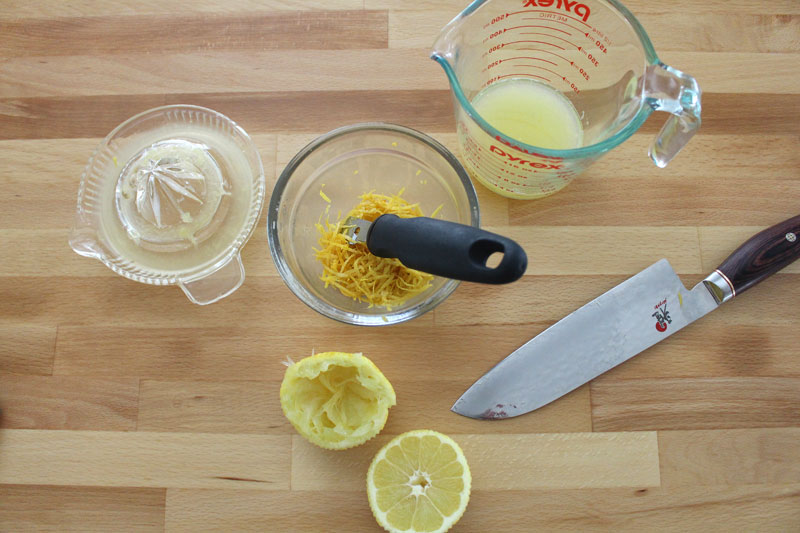
Lemon zest. It needed to be a part of this dish. I just can’t get enough. It’s an essential part of my pantry, so I try to have lemons on hand no matter what the season. They brighten almost any dish.
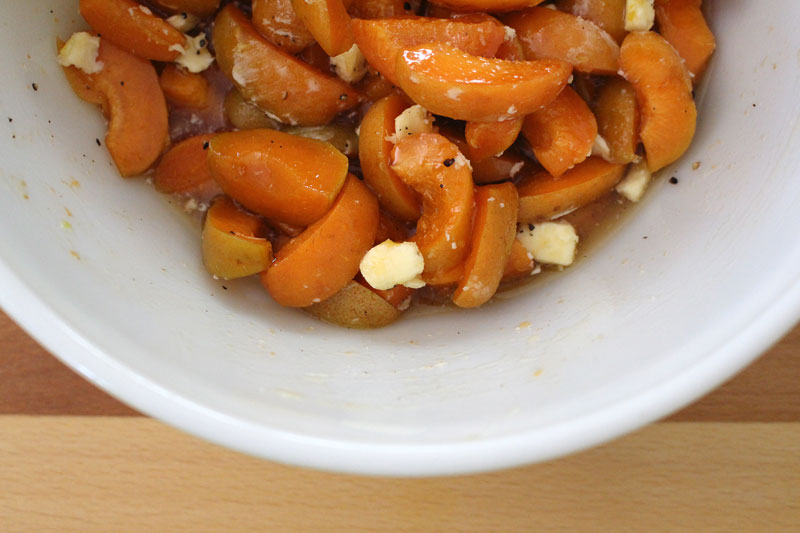
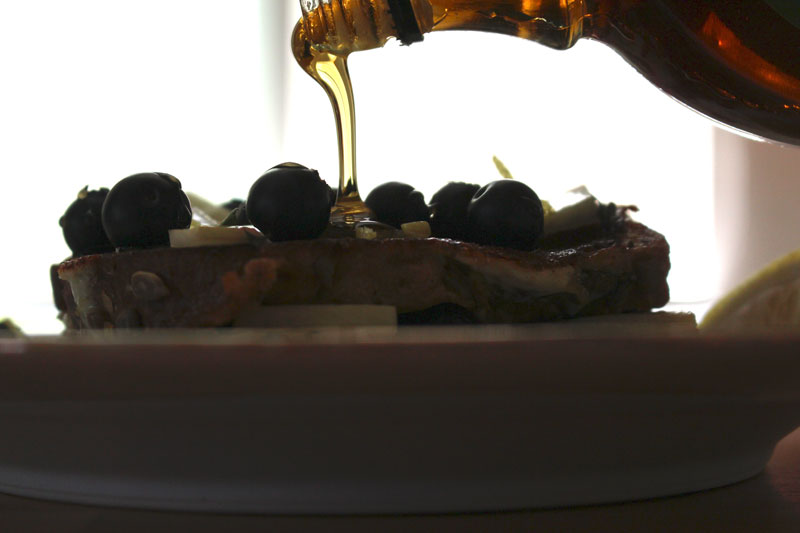
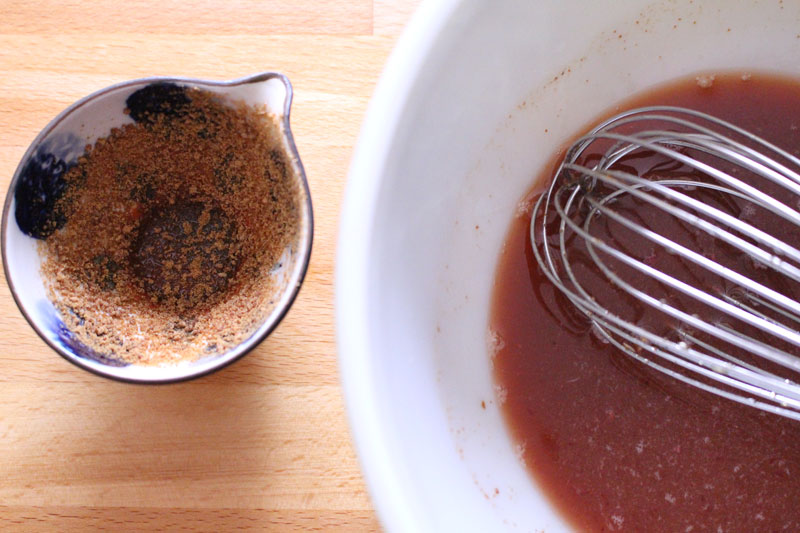
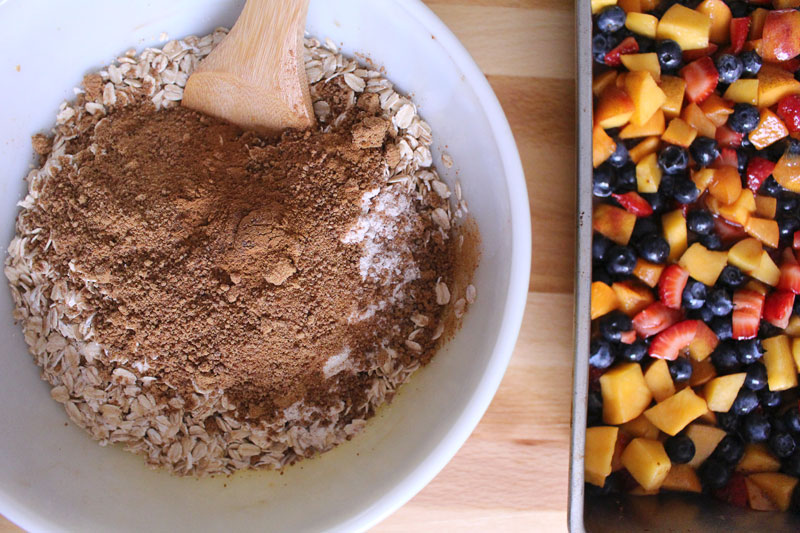
Apricots are combined with a bit of butter, some honey, and maple syrup.
Aaaand black pepper.
Don’t skip this. Black pepper goes really well with stone fruit.
Seriously!
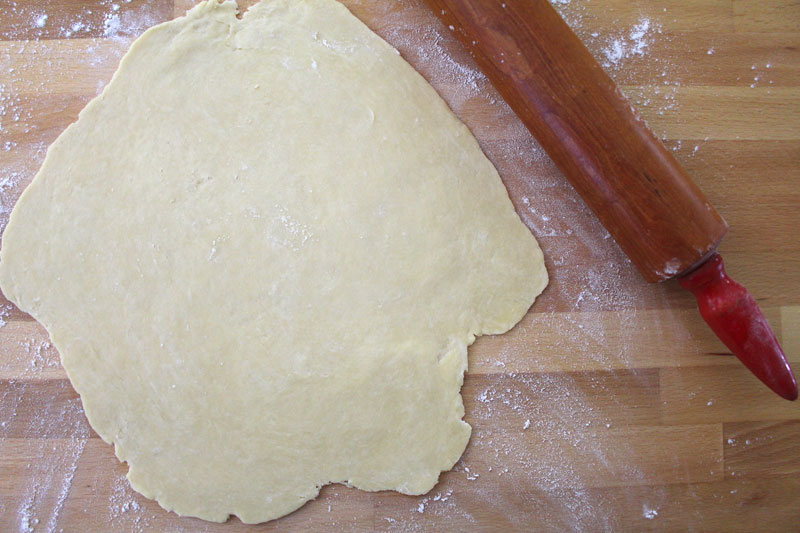
I made a pie crust. I used Alana’s recipe from her cookbook, which is one of my favorites, called The Homemade Pantry (it’s on page 150). It was super easy and I really liked how it turned out. Sooo yeah, I’ll be making that again (along with her Maple Popcorn which I’ve made twice and can’t stop stuffing into my face).
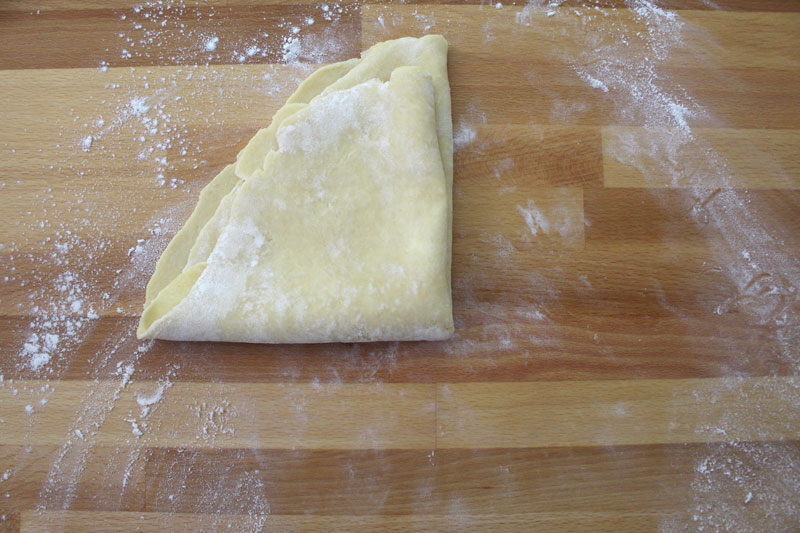
Alana suggests folding the crust in half and then in half again to move it from the counter to the pan. I did this. It worked well.
Winner.
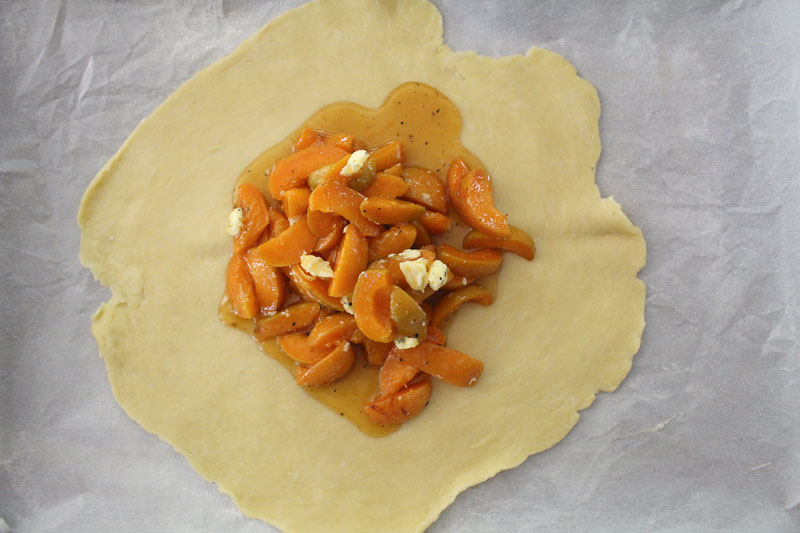
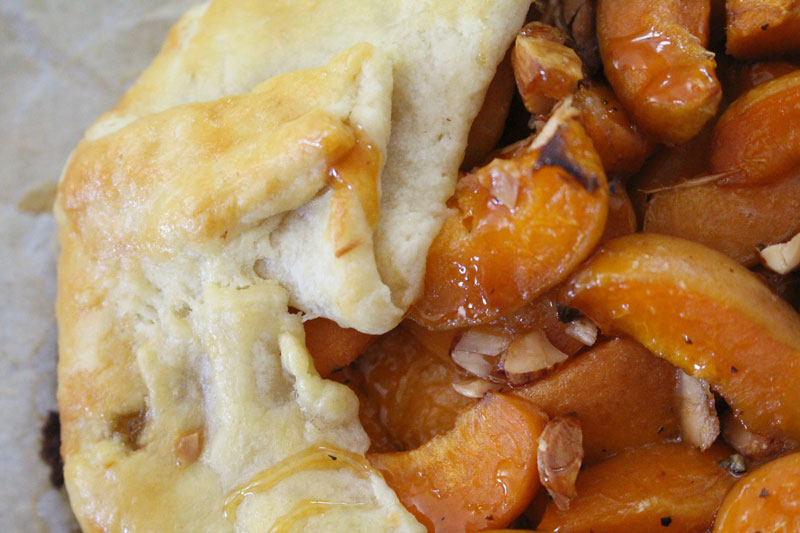
All that sweet filling is plomped in the center of the crust.
I think this is gonna be good.
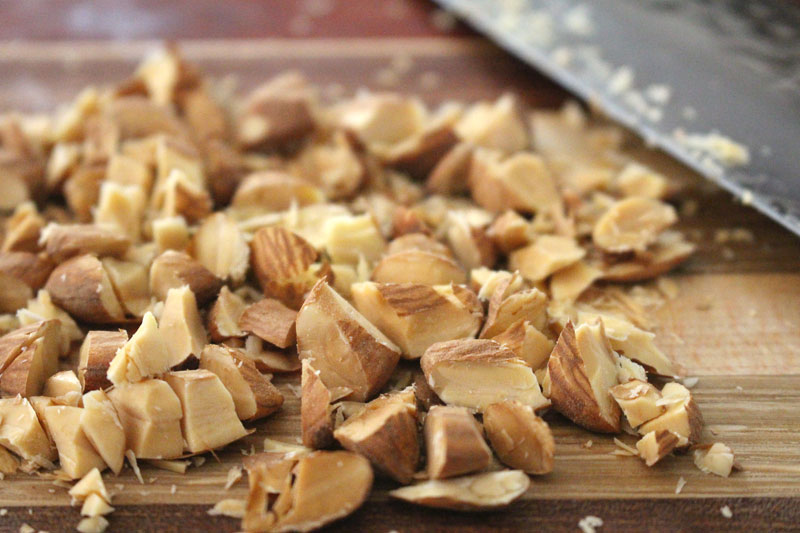
The filling is sprinkled with chopped almonds. For crunch. Walnuts would be great too. Or if you’re not nuts about nuts (sorry, I couldn’t resist), leave ’em out.
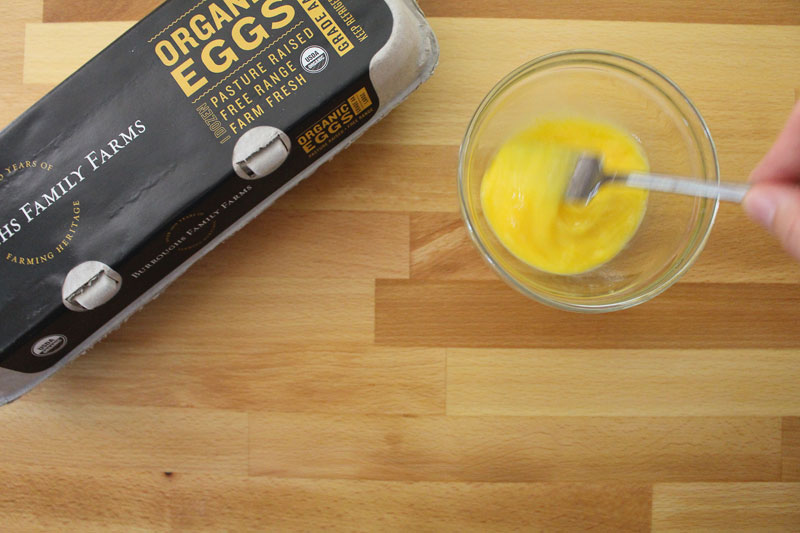
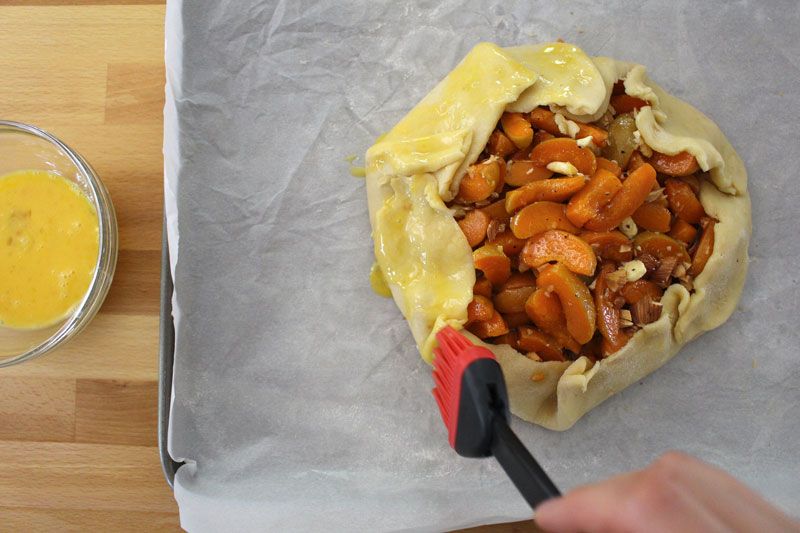
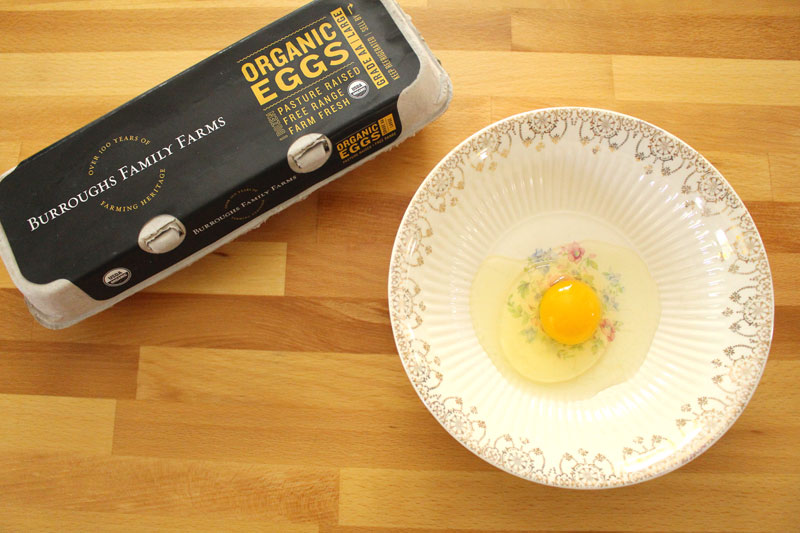
To make the crust all shiny and pretty I whisked an egg and brushed it onto the crust. You don’t have to do this, but it’s an easy way to make your galette go from pretty to spectacular.
I was all proud of myself for making a crust that held together and didn’t have any holes for the filling to leak out of.
Wrong.
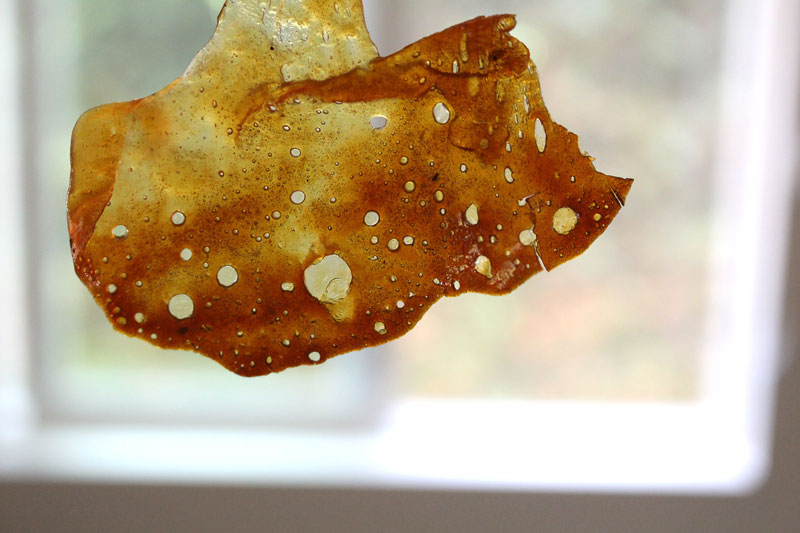
It leaked all over the place. (This happened the first time I made a galette too.)
The good thing is that it turns into candy.
Accidental candy.
I ate most of it.
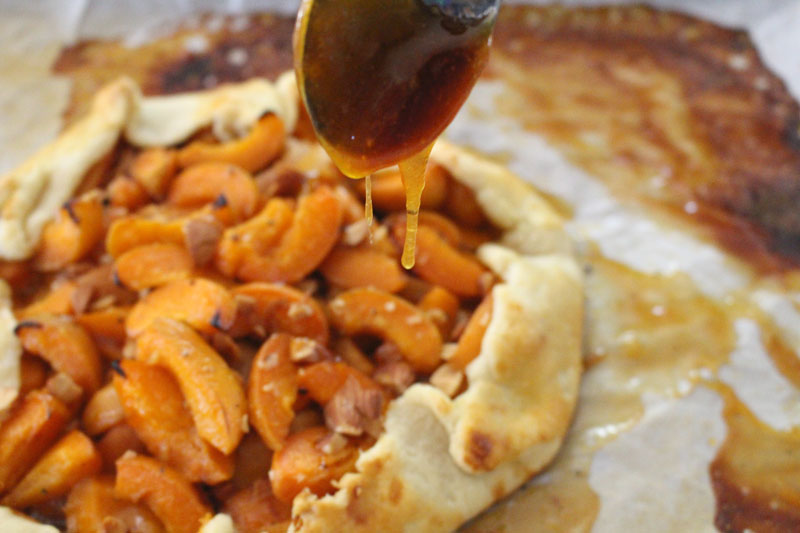
The rest I scraped off the pan and drizzled over the galette.
Yep, now the galette has caramel sauce on it.
Super fancy.
(If your galette doesn’t leak, pat yourself on the back and then email me to tell me how you did it. Ok? Ok.)
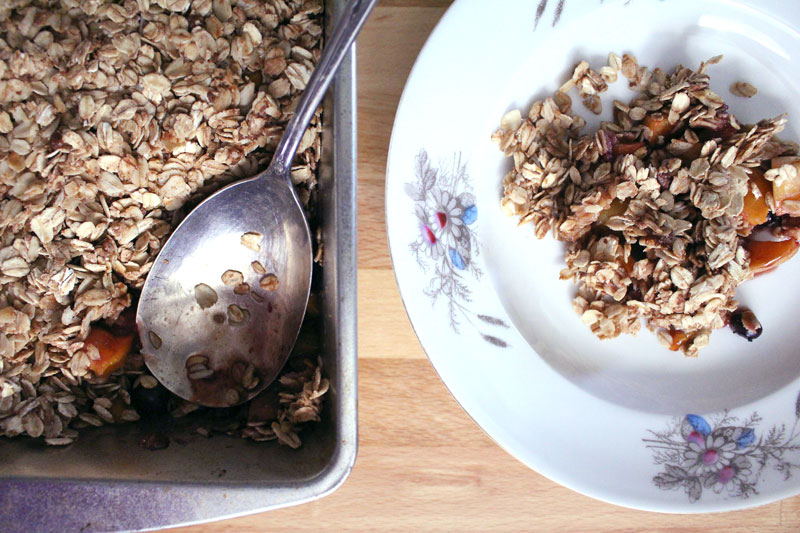
The whole process took me a while, from pie crust start to drizzling finish. But, it’s not all that complicated or difficult. And it’s so worth it.

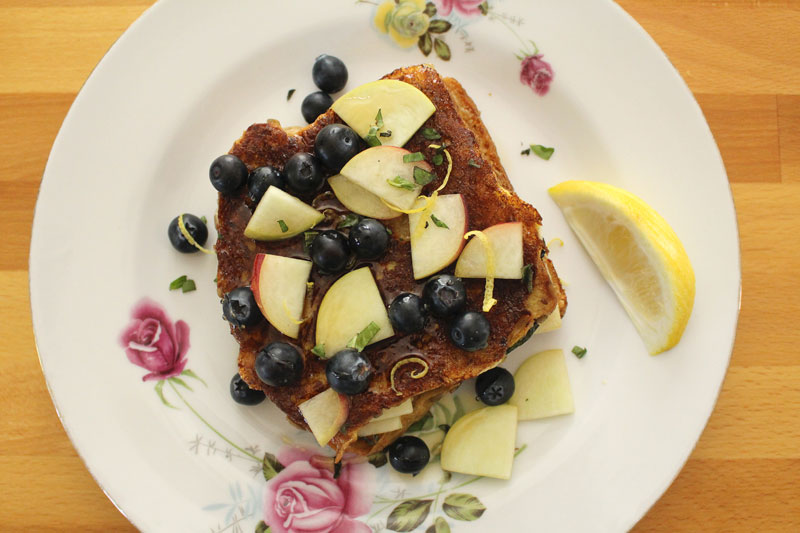
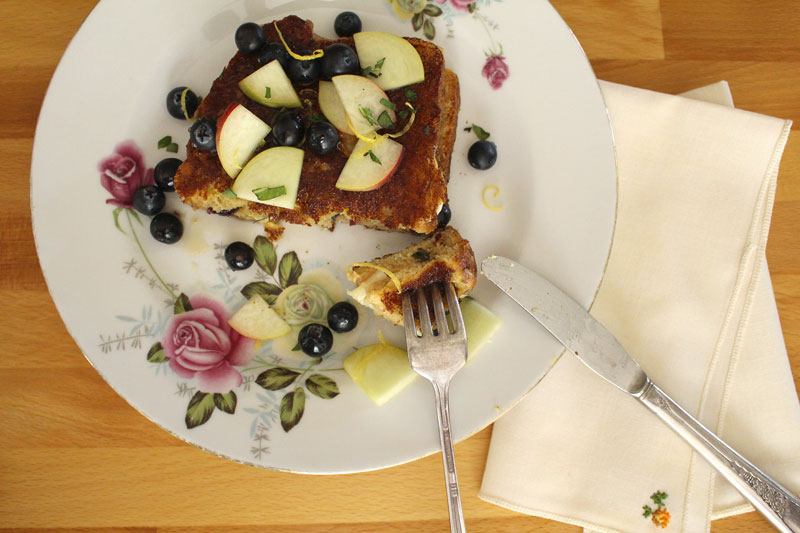
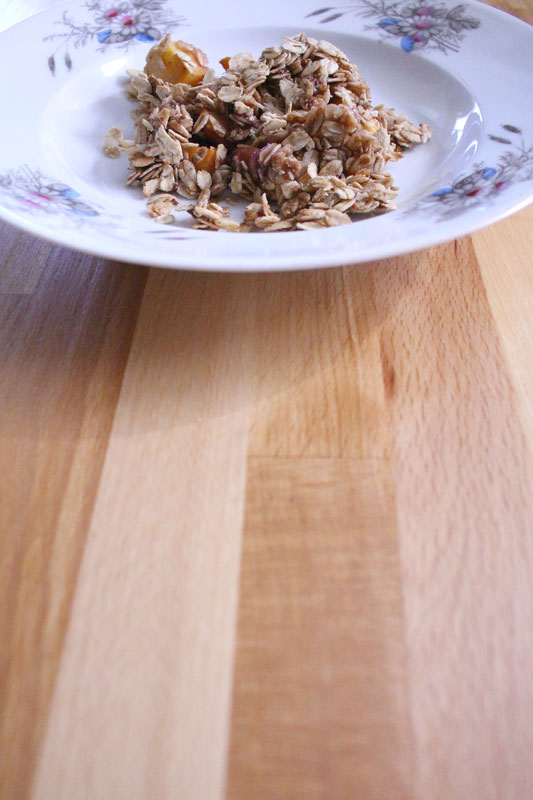
Make this ahead of time and then invite your favorite people to join you for dinner. I would like to eat this outside, under a nice shade tree, after some barbecue and potato salad. And the leftovers, if there are any, might get a dollop of Greek yogurt and turn into breakfast.
That’s how we roll at our house.
Happy Eating!
- 1 pie crust
- 1/8 to 1/4 C honey
- 1/8 to 1/4 C maple syrup
- 1 t lemon zest
- 1 T lemon juice
- pinch salt
- 1/4 t freshly ground black pepper
- 3 C super ripe apricots (plums, peaches, nectarines, pluots, apriums could be substituted or added)
- 1 T butter, cut into small pieces
- butter, for baking
- flour, for baking
- 2 T almonds, chopped
- 1 egg, whisked
- Prepare pie crust and chill for an hour. Remove from fridge 15 minutes before rolling out.
- Pre-heat the oven to 375F.
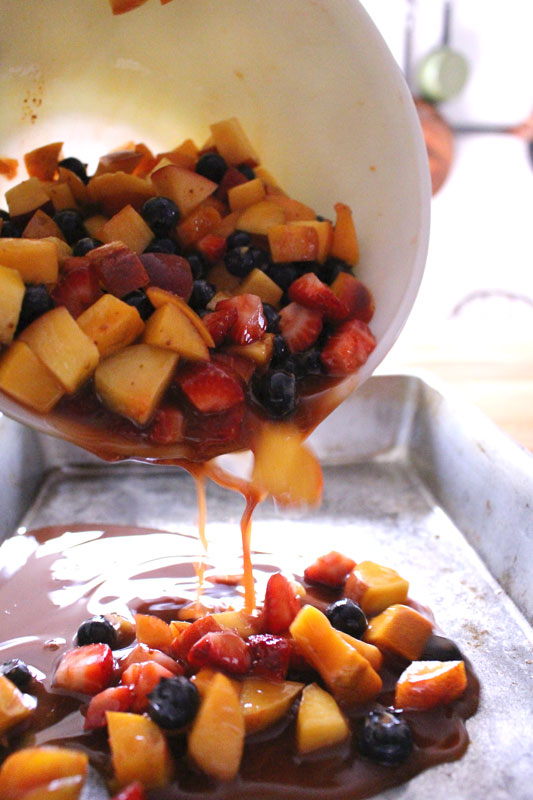
- Whisk together honey through pepper. Add apricots and butter, tossing gently to combine.
- Butter and lightly flour a piece of parchment paper, that’s on a baking sheet.
- Roll out pie crust to be about 12-14″ in diameter. Gently fold in half and in half again, and pick it up to place on the parchment paper. Unfold.
- Scoop the apricot mixture into the center of the crust. Sprinkle with almonds. Gently fold the crust up and around the filling, leaving the center open. Make sure there are no cracks, or the liquid will run. Brush crust with egg and bake for 25-30 minutes, or until the crust is golden and flaky.
- If any sauce leaks out, scrape off the pan with a spoon and drizzle over the galette (it will be like a caramel).
- Let cool completely before serving.