Fig and Goat Cheese Spread – Oh What a Trip
Written by Rachel, Posted in Appetizers, Baking, Cheese, Condiments, Dairy-Free, Fruit, Gluten Free, Quick and Easy, Roasting, Snacks, Thoughts, Travel, Vegan, Vegetarian

My youngest brother, Josh, got married to Karensa in Ontario, Canada last month. So Tim and I, thankful to get some real fall weather, made the journey to my homeland. It was blissfully cool. The leaves were changing color. And, we had two and a half weeks to spend with my family.
It was the best.
My parents live on a few acres. Since the weather was so nice, we spent plenty of time outdoors.
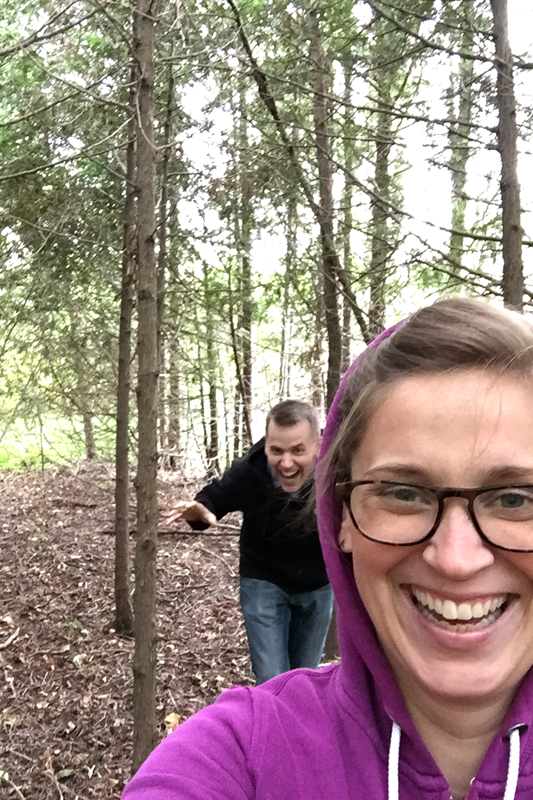
Notice that I’m wearing a hoodie?! In September?! I miss that.
Notice the wacko trying to sneak up on me? He forgot that taking a selfie with the front camera means you can also see the person sneaking up behind you (ahem, I didn’t notice him until like the third picture).
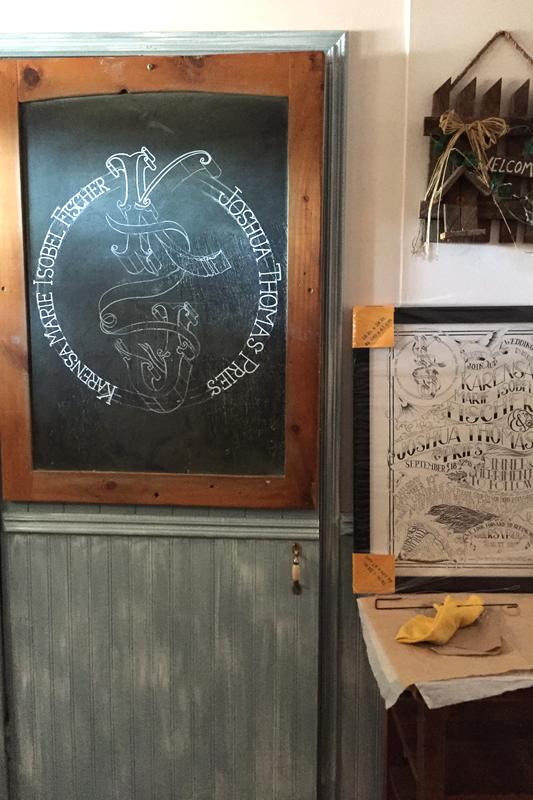
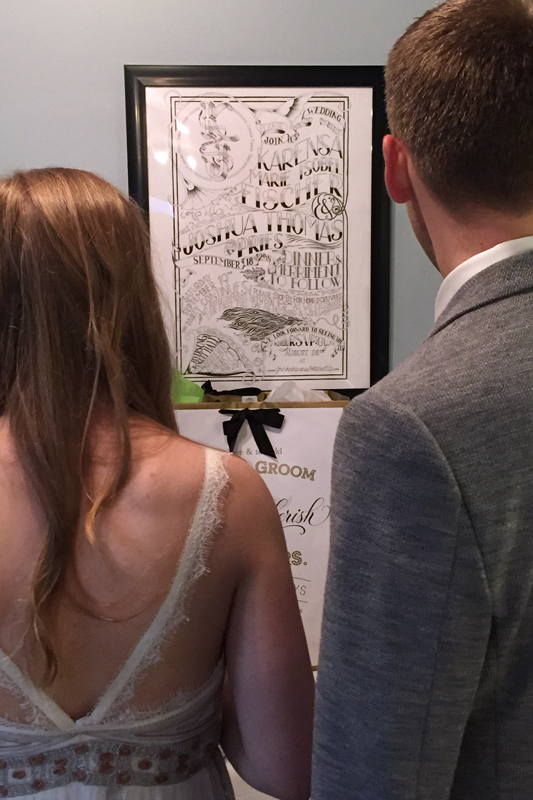
Tim spent hours and hours working on Josh and Karensa’s wedding invitation (that’s the original in the frame on the right). He drew their seal on the chalkboard by the entrance to the banquet hall. Flippin’ talented. I can’t believe the things he comes up with. (If you want an invitation or just some hand lettering drawn by Tim, he’s got an Etsy store open now.)
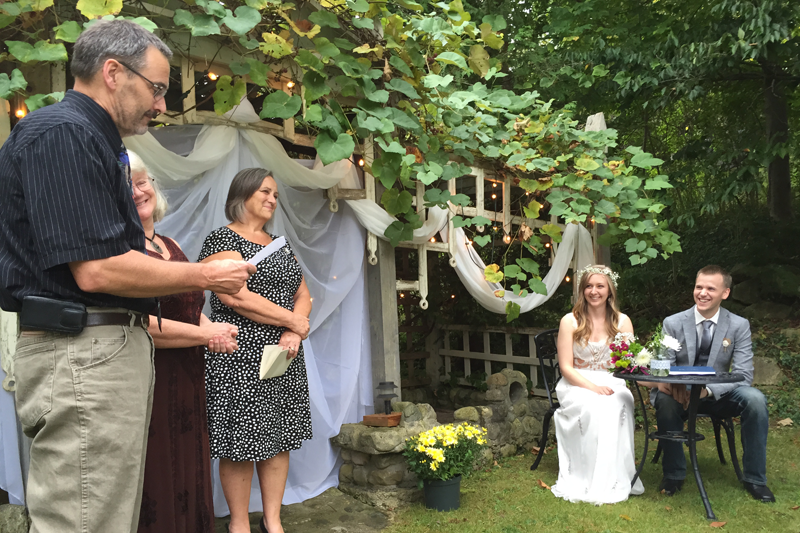
Josh and Karensa had a private ceremony at my parents’ place. It was sweet and intimate. They did something kinda neat where they asked people to share during the ceremony (instead of speeches at dinner). I cried and high talked though mine.
I told them that I remembered my dad telling me that I had a baby brother. I’d wanted a sister. But, I’m so glad that I got Josh instead. He’s a sweet, kind, caring, super smart man. And I’m so glad that now as grownups we’re not just siblings, but friends. He’s found a wonderful woman to share his life with, and now I have her (and my other sisters-in-law), many sisters instead of the one I was hoping for so many years ago.

Since there was plenty of family in from out of town, we had lots of extended family time. It was super fun. Two of my mom’s siblings still live on the West Coast (mom’s a California girl), so they’re not all together often. But when they are… what a hoot!!

I’m a huge baseball fan, and growing up it was all about the Blue Jays. We drove into Toronto a few times. Once to see a Jays game. I was thrilled to watch them crush the Yankees. My brother Jake and I were talking the other day about how our 10 and 12 year old selves (respectively) are just thrilled that the Jays are in the post season again for the first time since 1993.
If you need me over the next three weeks, I’ll be on the edge of my seat, hoping the Jays can win again.

Toronto (pron. Tronno). One of my favorite skylines.
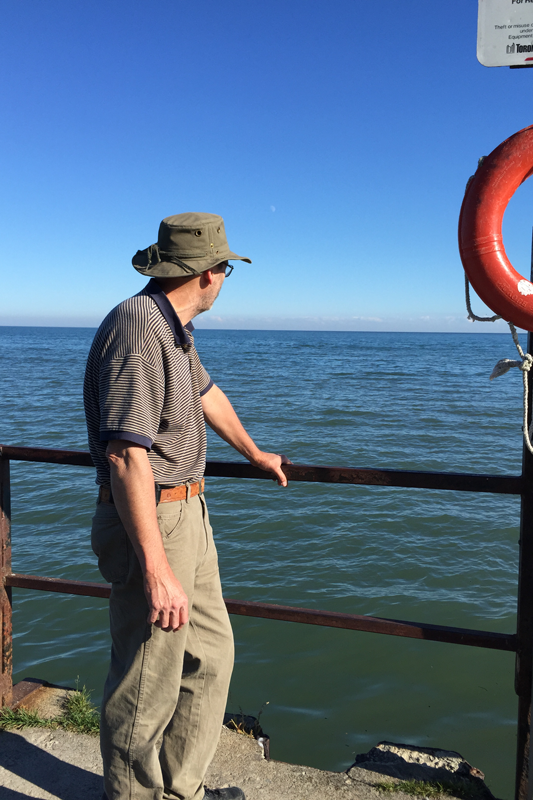
We had a little extra time before meeting some family for dinner, so we hung out on the shores of Lake Ontario.
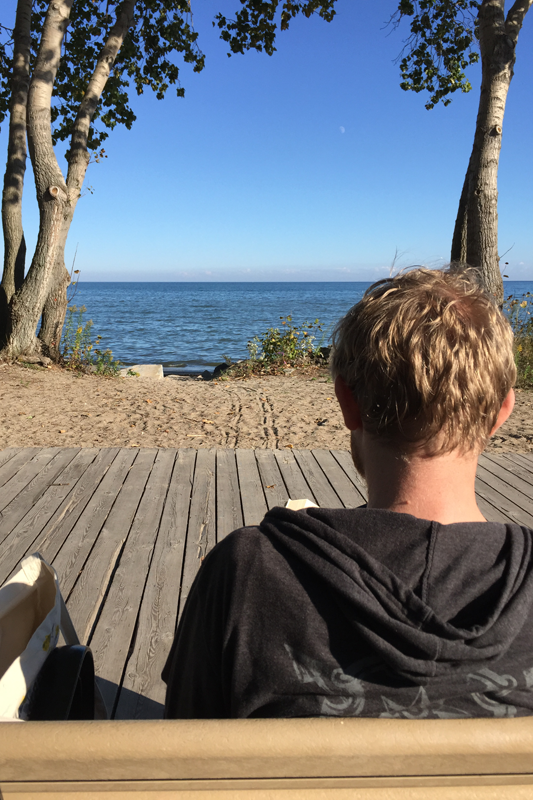
Tim and I read books, enjoyed the cool weather, and listened to the waves lap gently at the shore.
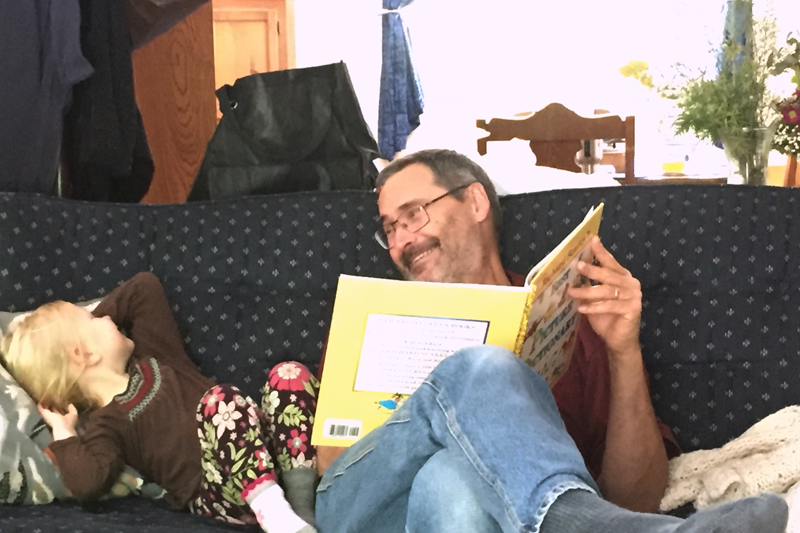
There was a lot going on during our trip. It was busy, but it was so good. In the midst of it, we still had plenty of time to hang out with my immediate family though, and that made it great.
My parents moved from the house I grew up in right after Tim and I got married. There are things that I still miss about it. Those memories that have been permanently etched in my mind. That squeaky step, the creaky wood floors, the sound of the back door closing in the winter. But, this place makes me smile. I love that there’s a river to sit by, trees to walk through, and an awesome commercial kitchen to play in.
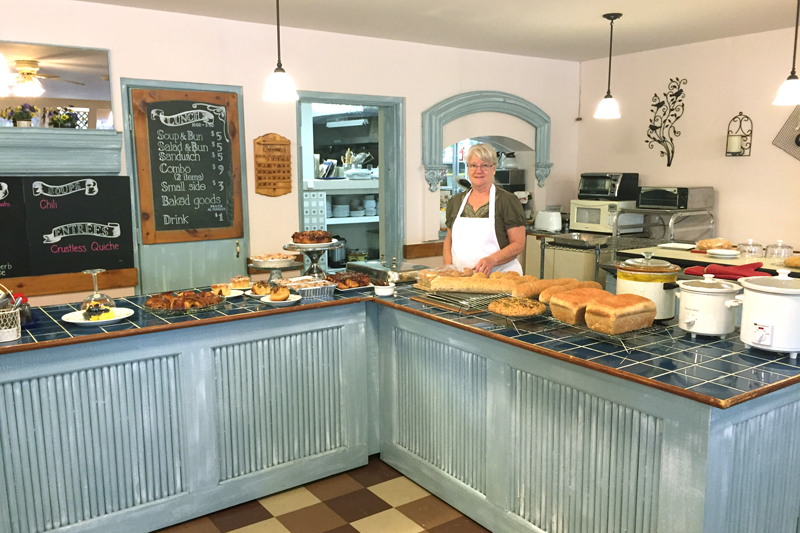
One of the reasons they moved was to have a kitchen that mom could work out of. They worked hard and fixed this place up, and now they have a banquet hall for groups, and a bakery & café where mom showcases her baked goods, and sells soups and lunch items a few days a week. What fun it was to cook with mom in her kitchen!
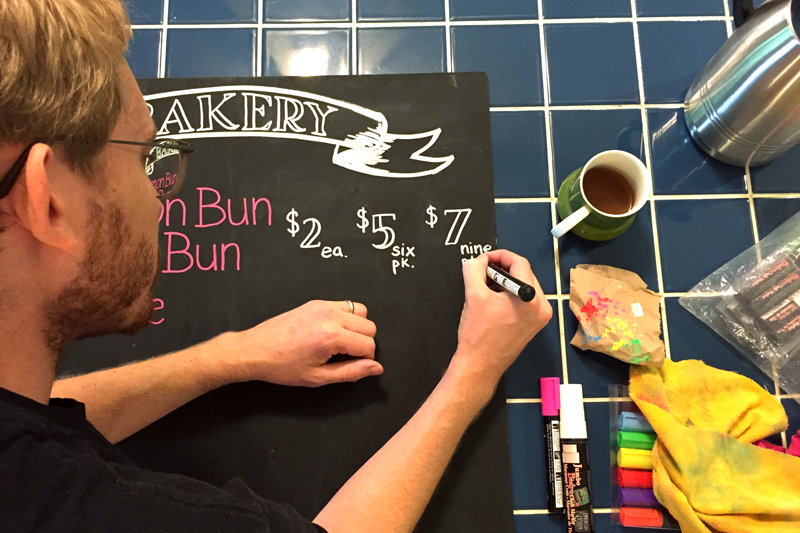
Tim got to help out too. He re-did all of their interior signs (and made a couple new ones for along the road), and he made some out of this world strawberry cheesecake ice cream.

I’ve been making pain au chocolat at home from the recipe I learned when Tim and I were in Paris. So Mom let me play a bit and I made both a regular and a vegan version for the bakery. They both turned out great! Karensa is a vegan, so I was hoping that there’d be some left for her for when they returned from their honeymoon. There were.
In addition to helping with the bakery & café, I got to spend a fair amount of time in the kitchen because Josh and Karensa asked my brother Jake and I to make the appetizers for the wedding dinner. Over the next month or so I’ll share the remaining recipes, along with a few more photos from the trip.
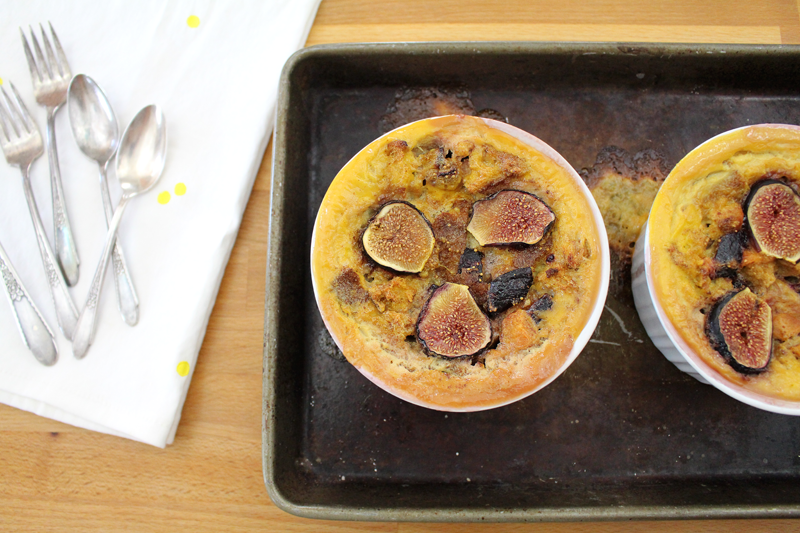
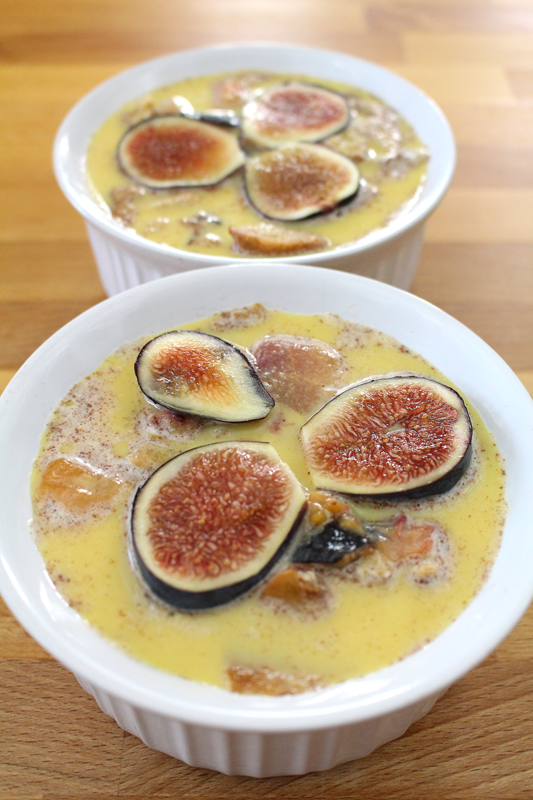
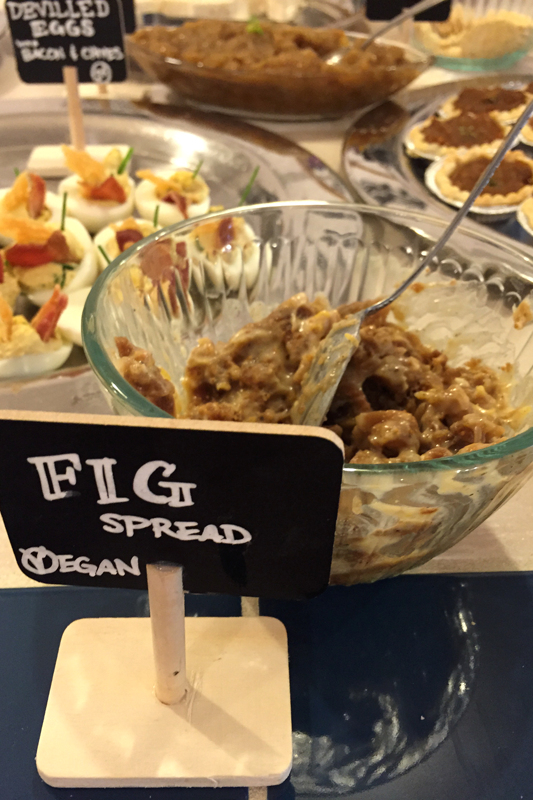
Some of the appetizers were passed on trays. But, we also had a station set up with toasted bread and crackers, with a few different spreads. The first (and probably my favorite) was a warm fig and goat cheese spread. There were two versions, one with goat cheese, one with coconut yogurt (for the vegans). They were quick and easy to make. It wasn’t fig season in Ontario, so we used dried figs. I’d been planning to roast them, which would have been awesome too. But, to save a bit of time, the dried figs worked great. This was a great appetizer, but I think I could probably just eat it for dinner. Give me a baguette and some honey to drizzle over and I’d be set.
Happy Eating!
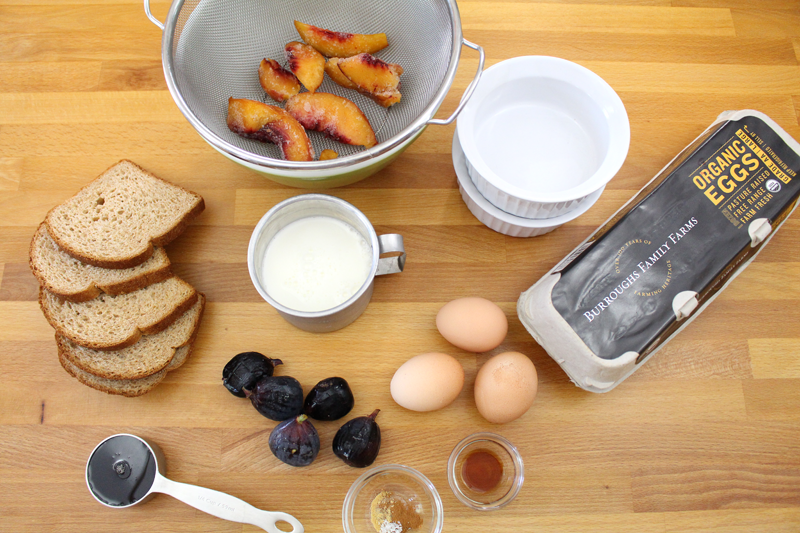
Ingredients
- 1 1/2 - 2 C dried figs* (about 20) (8 oz., 227g), chopped
- 1 pkg (300g) goat cheese, chopped (or 1 C vegan yogurt - Yoso brand was great)
- 1 T lemon zest, chopped
- 1-2 T honey
- 1/4 t black pepper
- to taste salt
- 1 t lemon juice
Instructions
- Pre-heat the oven to 350F.
- Mix all ingredients together. Taste and adjust seasoning if desired. Scoop into a shallow oven safe dish and warm through (about 20-30 minutes should do) (if making the vegan version, you may want to just serve it at room temperature rather than heating).
- Serve with toasted bread, crusty baguettes, or crackers.
Notes
*If using fresh figs, halve and roast (350F for 10-15 minutes or so), then chop.
Every time I say “on trays” I hear Basil Fawlty say “On those trays” to Manuel in Fawlty Towers…