De Ma Cuisine

Author Archive

Thursday

17

September 2015

1

COMMENTS

Maple and Vanilla Bean Crème Brûlée

Written by , Posted in Baking, Dessert, Eggs, Gluten Free, Vegetarian

CremeBrulee-8

Crème brûlée is by far my favorite dessert. Ever. When we were in Paris nearly two years ago, we ate as much of it as we could. I never tired of it. I’ve made it a few times at home. Different recipes, different results. Same as when we were in Paris. Each restaurant yielded something a little bit different. Some were more of a crème anglaise (which is more of a thick creamy sauce), some more like what I consider to be a traditional crème brûlée.

There’s just nothing like the subtle sweetness of the rich cream, the cracked sugar on top, the vanilla beans speckled throughout. I’m not much of a sweets person… unless there’s crème brûlée.

CremeBrulee-1

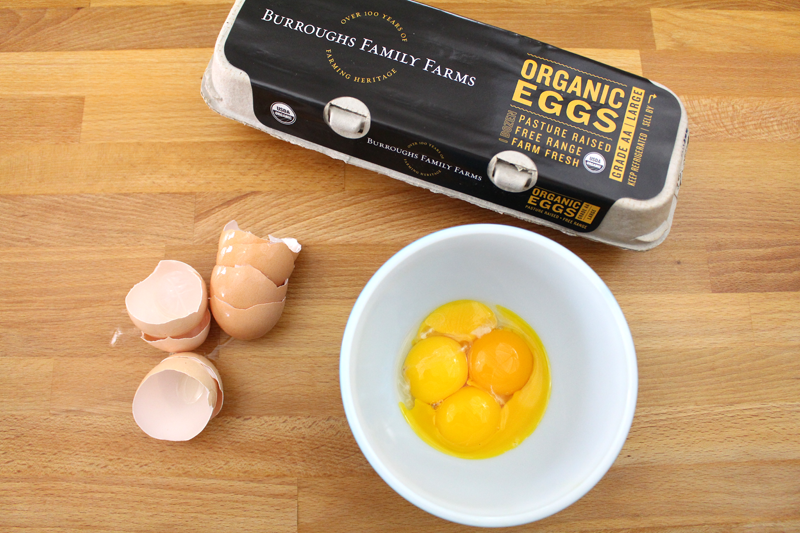
It’s a mixture of egg yolks, cream, and sugar. I separated the egg yolks from the whites (and saved them for dinner), and let them come to room temperature. That way when tempering, they will have less of a jump to warm to the temperature of the cream (more on that later). I used maple syrup and honey instead of sugar, and a mixture of cream and whole milk.

CremeBrulee-2

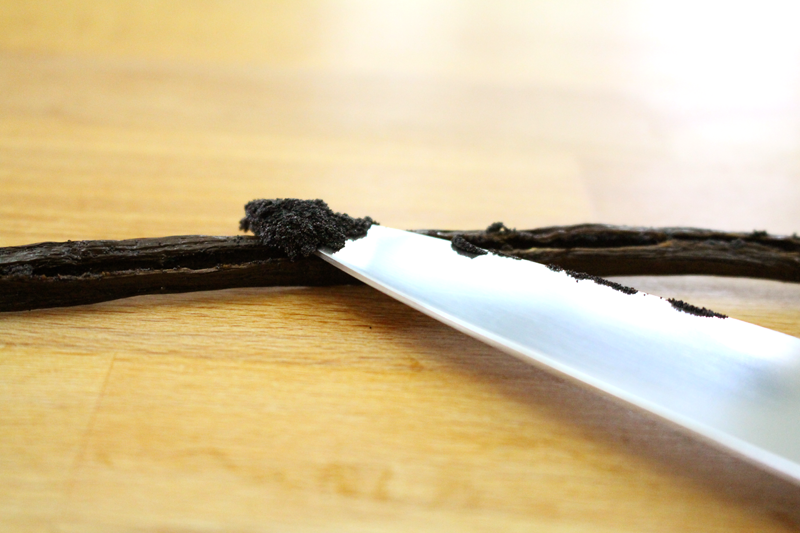
And then there’s the smell of the vanilla bean. It has to be one of my favorites. To remove the seeds from the pod, split it down the middle and scrape them out with a knife.

CremeBrulee-3

The next few steps are a little bit, not tricky, but particular about how they’re done. The cream, milk, vanilla, honey, maple syrup, and a pinch of salt are heated slowly in a saucepan. No boiling, just until steam rises. Not too difficult.

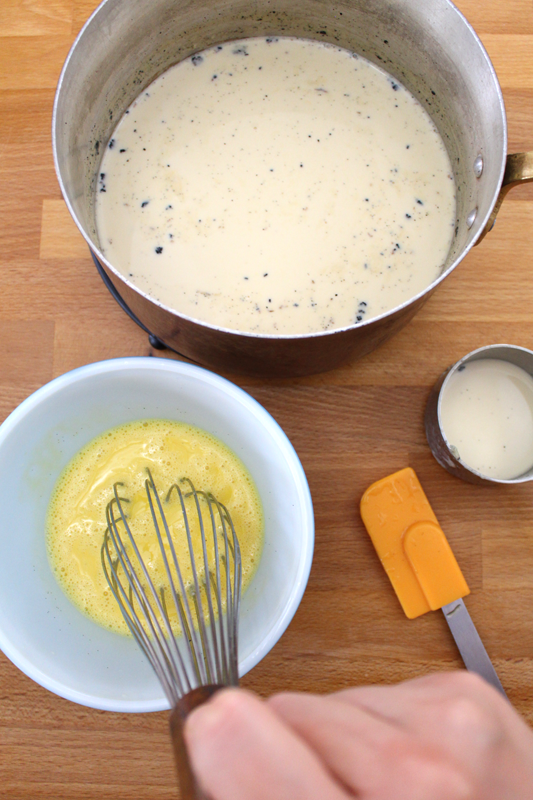
The next part is where you can get into trouble if you’re not careful… Egg tempering. A bit of the hot liquid is introduced to the cooler eggs, to bring them closer to the temperature of the hot mixture, before they’re added to it. We do this so that the eggs don’t scramble when added to the hot cream. Scrambled egg brûlée is a lot less appealing than crème brûlée.

If you do accidentally scramble them (you know, as long as it’s not all of them), you can strain the lumps out.

CremeBrulee-4

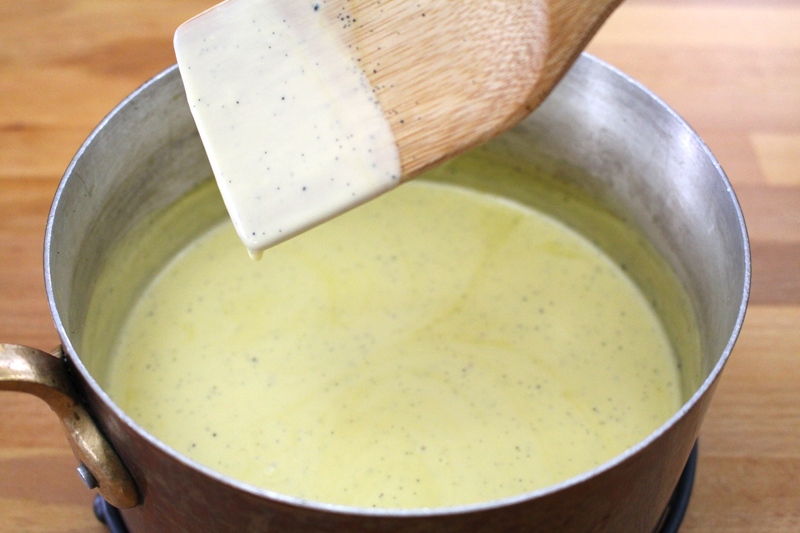
Once the eggs are warmed, they are whisked into the cream mixture. Then they all return to the stove to thicken. You don’t want to let them get too hot, because the eggs could still scramble. I like to stir constantly with a wooden spoon so I can keep an eye on things. After about 5 minutes it started to thicken, and at about 7 minutes, it was thick enough to coat the spoon without running right off. Perfect. Away from the heat it goes.

CremeBrulee-5

At this point, you could just whisk in some melted chocolate and drink it, straight from the saucepan. I didn’t, but I considered it.

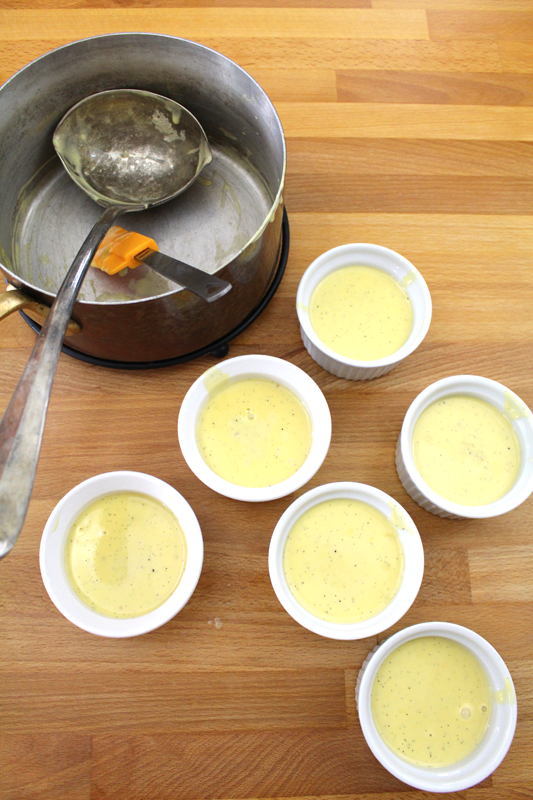
You have two other options. If you want to do a quicker, oven-less version, divide the custard mixture between six ramekins, then pop them into the fridge for 2-3 hours, or until thickened and set. This is more of a crème anglaise, but you can still top it with sugar and brûlée it. I made them both ways and they’re both delicious, but my preferred method is for a more traditional crème brûlée. This means putting the ramekins in an oven-proof dish with sides, adding some warm water, and baking until they’re just set.

CremeBrulee-6

After they come out of the oven, they need to cool completely… My one frustration with crème brûlée is how long I have to wait before I get to eat it. Whether they’re done in the oven or not, it’s best to give them 2-4 hours in the fridge to cool and set. I do not like this part.

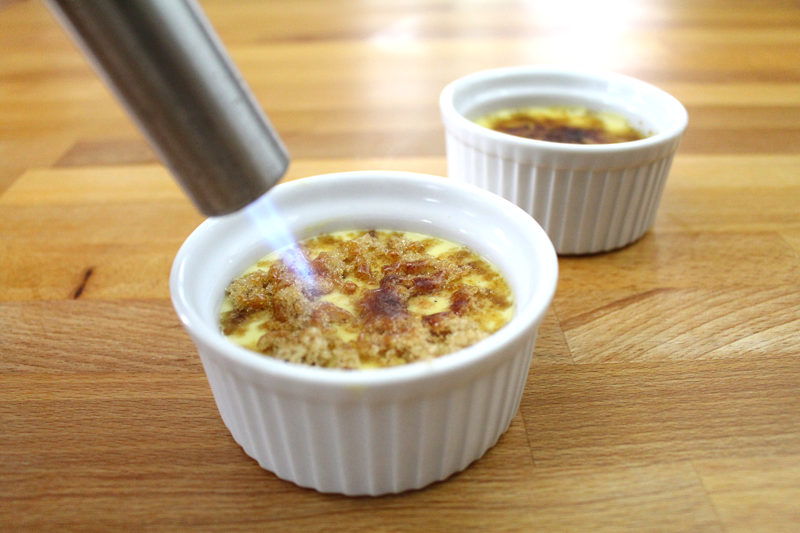
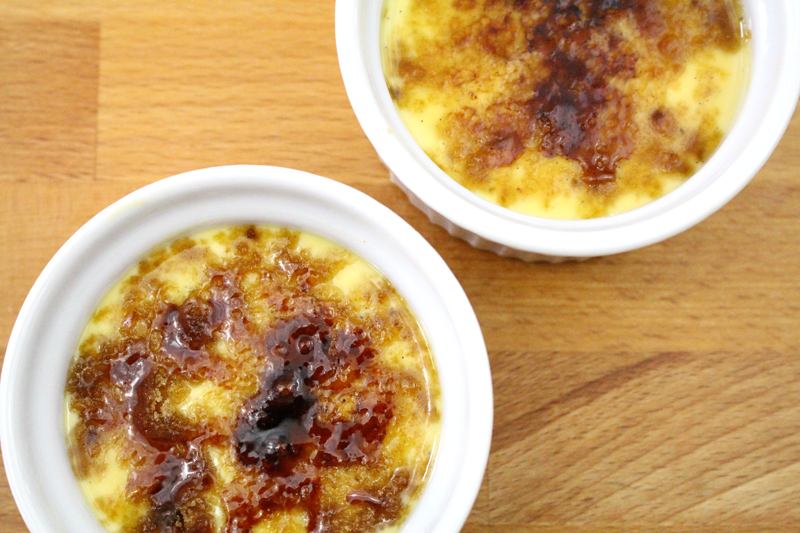
Whether you wait or not is up to you. I tried them at various stages of cooled doneness and they’re best really cold. But, suit yourself. Sprinkle with some brown sugar and torch ’em! If you don’t have a kitchen torch, you can use the broiler… But, leave the door open and watch them the whole time. They will burn quickly and you don’t want that.

CremeBrulee-7

CremeBrulee-9

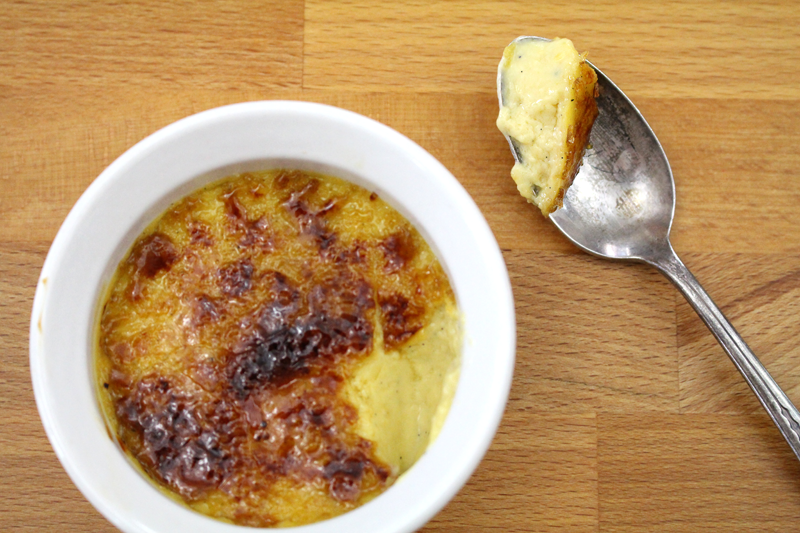
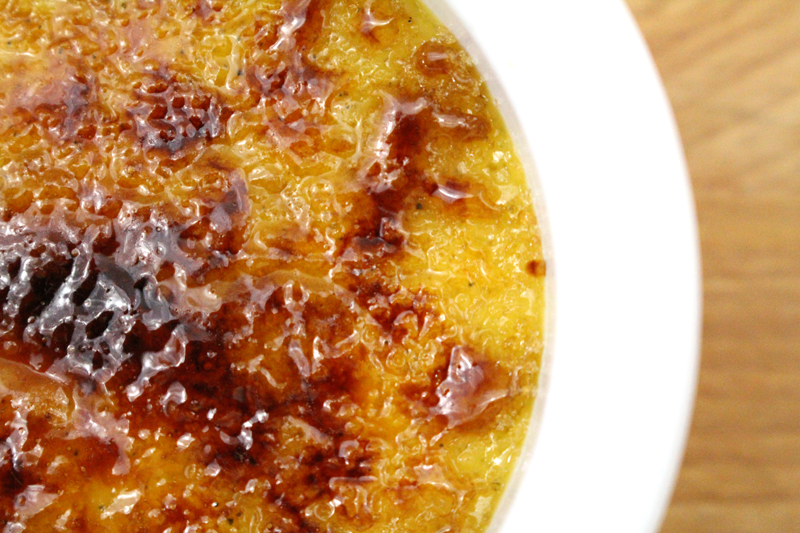
And now, it is time. Use the back of your spoon to tap the hard sugar and crack it. Rich, creamy, subtly hinted with vanilla.

If you eat two, I won’t judge.

I did.

Happy Eating!

Maple and Vanilla Bean Crème Brûlée

Prep Time: 5 minutes

Cook Time: 56 minutes

Total Time: 1 hour, 2 minutes

Yield: 6

Serving Size: 1 Ramekin

Maple and Vanilla Bean Crème Brûlée

Ingredients

  • 1 C cream
  • 1 C whole milk
  • 1 vanilla bean, seeds removed*
  • pinch salt
  • 1/4 C maple syrup
  • 1 T honey
  • 4 egg yolks, at room temperature
  • brown sugar, for serving

Instructions

  1. Rub an ice cube over the bottom of a medium-sized saucepan. Add the cream through honey and heat over low, stirring occasionally with a wooden spoon, until steaming (about 12 minutes) (do not boil). Remove from heat.
  2. Whisk eggs in a medium-sized bowl. As you whisk, slowly add about 1/2 C of the hot cream mixture. Add a bit more, until eggs are warm. Then add the egg mixture to the cream mixture. Whisk for 2 minutes off the heat. Return to the stove and cook over low heat, stirring constantly with a wooden spoon, about 6-7 minutes, or until the mixture has thickened slightly, enough to coat the back of a spoon without running right off.
  3. Pour the mixture into 6-3 inch ramekins (fill to about 1" deep). Set in a baking dish and pour warm water about halfway up the outside of the ramekins. Bake at 350F for 25-35 minutes, or until they're just set. Remove from water immediately and cool completely (cool to room temp and then refrigerate for 2-4 hours) before topping with brown sugar and brûléeing.
  4. (For more of a crème anglaise, pour the cream mixture into ramekins and refrigerate for 2-4 hours, or until completely cooled and thickened. Top with brown sugar and brûlée with a torch, or enjoy poured over berries, cakes, or other desserts.)

Notes

*To remove the vanilla seeds from the pod, split it lengthwise down the middle and scrape them out with a knife.

http://www.de-ma-cuisine.com/maple-and-vanilla-bean-creme-brulee/


Monday

14

September 2015

0

COMMENTS

How to Compost Reuse and Recycle

Written by , Posted in How To, Thoughts

RecycleReuseCompost-4

This summer I wrote about conserving water in the kitchen. Now, let’s take that conversation one step further, and let’s talk about composting, reusing, and recycling.

RecycleReuseCompost-1

Composting

We live in the city, but I have a small garden, so I have a composter in the yard. It’s a ball with a lid on either end that can be rolled around the yard to turn it. It looks like the Death Star (it gets some weird looks from people walking by). My parents have always composted, Tim’s parents do too, so it’s something that’s ingrained in me. It’s not something that I know a lot about, so I’m learning as I go. But, so far it’s been a great addition to my garden.

My rules for composting are as follows:

All fruit and veggie scraps go in, even those that aren’t organic. While I don’t want pesticides in the garden, I still feel like it’s better to have those scraps in the compost than in a plastic bag in a landfill. That’s just me. I’m not super picky. So we add egg and nut shells, fruit pits, and seeds.

Cardboard goes in if it hasn’t been printed on. Usually this is egg cartons and toilet paper rolls, torn into small pieces. I skip the cereal boxes, because I’m not sure about the shiny printed on side.

The butcher paper from the weekly box of produce from Abundant Harvest Organics gets torn into small pieces and added(usually the dog will help with this chore – you can see a video of him “helping” here).

Paper towels and tissues, as long as their not super gross.

Compostable packaging (some companies have made things like chip bags, forks, plates, cups etc out of biodegradable vegetable products).

Things that we don’t add: Animal products (meat, dairy – mostly because we don’t want to attract animals and because of the smell), large quantities of oil or leftovers. Leftovers will just depend on their makeup and amount. I think that a little bit once in a while isn’t too bad.

RecycleReuseCompost-3

Reusing

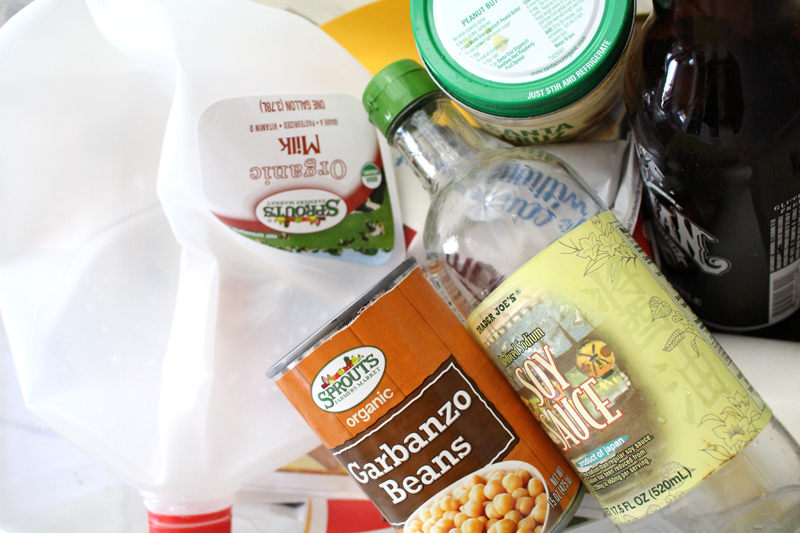
When I was a kid, I was the one whose sandwich was in the washed milk bag (I grew up in Canada – milk comes in sealed plastic bags). At the time, sooo embarrassing, amiright?! But now, I totally get it. Twist-tie plus milk bag is a perfectly acceptable sandwich holder. Since I don’t live in Canada anymore, we wash and reuse any ziptop bags instead of milk bags (unless they’re way grody).

I often save peanut butter jars, salsa jars, and sometimes even a wine bottle or two. The jars are washed and saved to store things like leftovers, homemade veggie stock, and homemade yogurt. We wash the wine bottles, and Tim has scraped the labels off them, and we keep them filled with water in the fridge (and we have a few more empties on hand in the cupboard for when we host dinner parties). These jars (especially super cute mason jars) can be washed and used if you’re short on drinking glasses. They can also be used to store fresh herbs and flowers. Once you’ve scraped the label off (a razor blade works great for this), a bit of burlap could be wrapped around a jar, or a ribbon or some string could make a nice bow, and they’d make a nice centerpiece for your dinner party table.

RecycleReuseCompost-2

Recycling

There’s a lot that can be recycled rather than thrown in the trash. Cans, glass bottles, plastic, and even some types of styrofoam (although some is now corn-based and can be composted). Many grocery stores will take your plastic bags and recycle them (they shouldn’t be added to curb-side recycling as they can get caught in the sorting equipment at the recycling center). Depending on your location there may be different regulations, so check into them so you know what’s acceptable and what’s not.

Another option is to collect containers for cash. It takes a while to collect enough to make any serious money. But, when every little bit counts, it can make a difference. My very first job, if you can call it that, was a “company” that my friend and I started. We’d pull our wagon around our neighborhood and ask the neighbors if we could have their cash refund applicable recyclables. Then we’d take them to the recycling center and get money for them. I don’t think the business lasted long, but the idea was a solid one. There are people who collect recyclables for charitable organizations too. You save ’em up and bring them on a designated day and they’ll do the rest.

We can all do more to lower the amount of waste that we’re producing. Recycling, reusing, and composting are three great ways to start. Even if you start small, it can lead to big changes. Our commitment to wasting less has led me to be more mindful about what I buy. I try to avoid products with excessive packaging, I prefer glass over plastic, and I bring reusable bags to the grocery store. There’s always going to be more that I can do, but it’s a great place to start.

Thursday

10

September 2015

0

COMMENTS

Veggie Pot Pie

Written by , Posted in Baking, Dairy-Free, Dinner, Eggs, Gluten Free, Herbs, Leftovers, Legumes, Lentils, Main Dishes, One Dish Dinners, Potatoes, Potlucks, Vegan, Vegetables, Vegetarian

VeggiePotPie-5

Pot pie is one of my favorite foods. I think I say that a lot though. So many foods are favorites that I’m starting to lose track. I guess it depends on the season. Pot pie is one of those dishes that I don’t make all that often during the hot summer months. But, when it finally cools down, it’s all that I want to eat (that and soup, always soup). But, this pot pie can be enjoyed any time of the year, because the veggies can be changed up to suit whatever you’ve got on hand.

VeggiePotPie-1

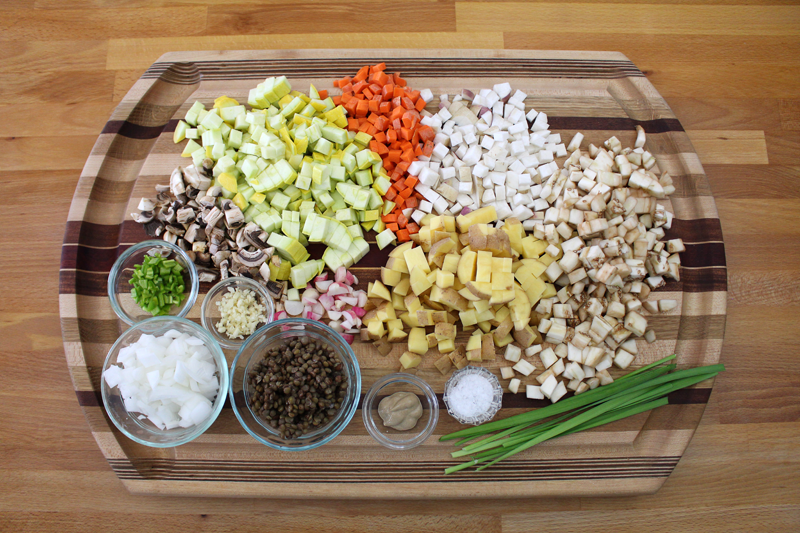
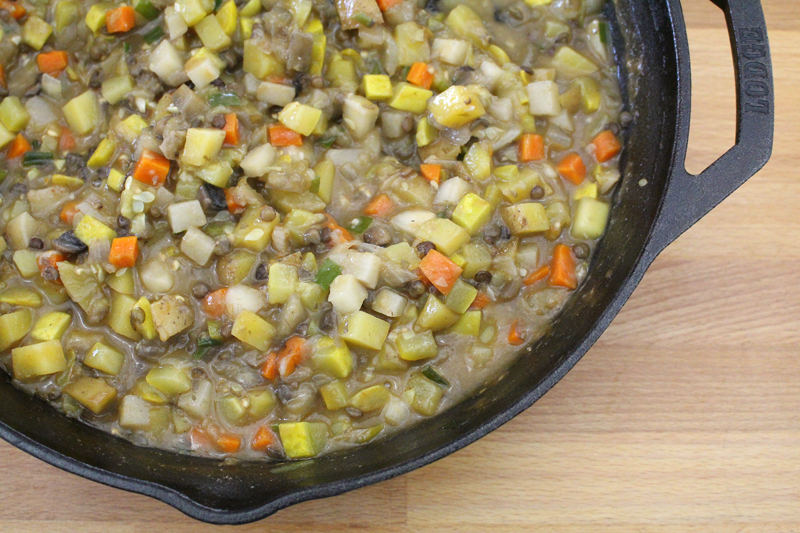
This is a great dish to clean out the produce drawers. That’s what it felt like today. I used mushrooms (great for adding a deep, rich flavor), summer squash (but winter squash would be great here too), carrots, turnips (don’t add too many, otherwise they may overwhelm), eggplant, potatoes, radishes (doesn’t matter what kind), onion, chile pepper, garlic chives, and garlic… It’s at least one of everything that I had on hand, minus the lettuce and tomatoes that I’ll save for another time.

I also added lentils, or you could add tofu if you’d like. They would take the place of the meat in a Chicken Pot Pie, Beef Pot Pie, or Lobster Pot Pie.

VeggiePotPie-2

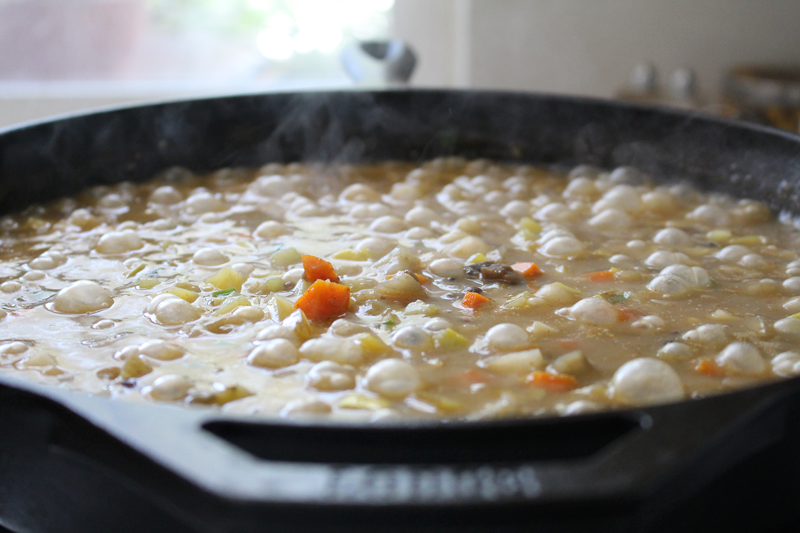
Since there were so many veggies, they took a while to cook. Once they were tender, I added some veggie stock whisked with some all purpose flour (or you could whisk the stock with some cornstarch for a gluten-free version). Once it came to a boil it began to reduce down and thicken, resulting in a nice rich gravy.

VeggiePotPie-3

At this point, you could just top the oven-proof skillet with pie crust and pop it into the oven. But, today I wanted to do some individual pot pies, so I greased some ramekins and filled them with the hot filling.

If you’re making this ahead of time, the filling can be cooled at this point and then refrigerated or frozen. To use it, defrost in the fridge for a day, then either heat it up first, or pour it into the baking dish and top with pie crust. If your filling is cold you may want to cover your crust with tinfoil partway through the baking time if it starts to get too brown.

Pot pies can also be covered, baked, and cooled completely, then reheated at a later date. To cool quickly, remove the crust to cool separately. Stir the filling often to get cool air into it. Refrigerate once it’s cooled down (if food is too hot when it goes into the fridge, the fridge temperature may raise to an unsafe temperature).

Of course you could also just stand at the stove and eat it out of the pan… 😉

VeggiePotPie-4

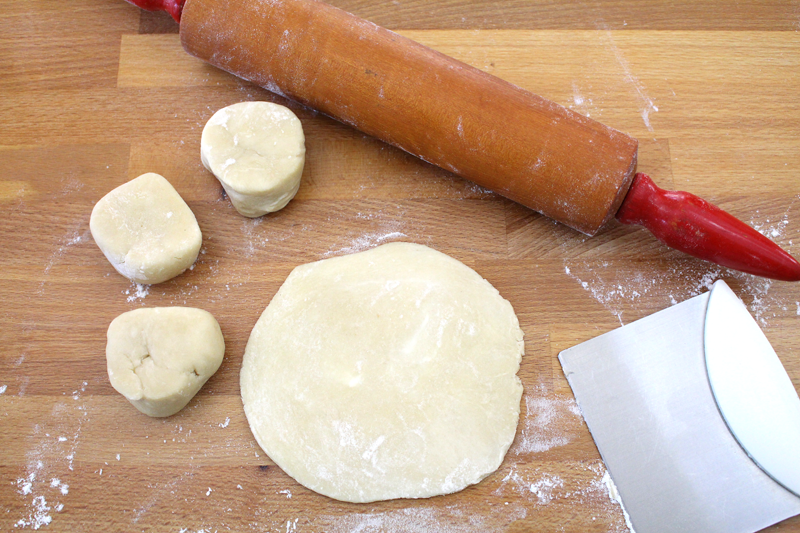
I have a favorite pie crust that I make, from Alana’s cookbook, The Homemade Pantry. One crust was perfect for four individual ramekins of pot pie. If you prefer gluten-free, there are flour blends available, or you can just buy a GF crust at your favorite market.

VeggiePotPie-6

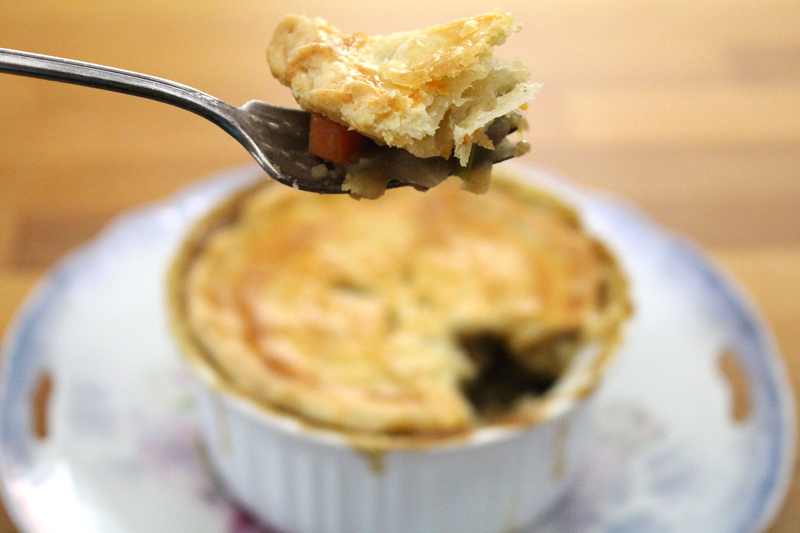
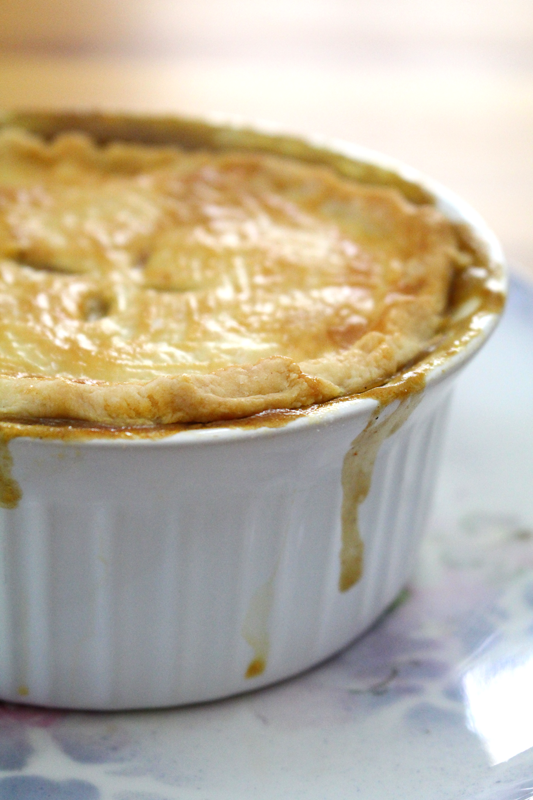
I can’t decide what’s more favorite, the beautifully browned crust or the savory gravy soaked veggies. Good thing I get to eat them together.

Happy Eating!

Veggie Pot Pie

Prep Time: 20 minutes

Cook Time: 1 hour, 1 minute

Total Time: 1 hour, 21 minutes

Yield: 4

Veggie Pot Pie

Ingredients

  • 2 T olive oil
  • 1 C any: potatoes, rutabagas, sweet potatoes, chopped
  • 6-7 C combination of any that you like together: carrots, parsnips, turnips, beets, radishes, eggplant, summer squash, winter squash, onion, shallot, leeks, fennel, celery, greens, cabbage, bell pepper, green beans, peas, broccoli, cauliflower, corn, asparagus
  • to taste salt
  • 2-3 cloves garlic, diced
  • 1/2 C lentils or tofu (optional), chopped, if tofu
  • 1/4 C any* (fresh): garlic chives, basil, parsley, oregano, thyme, or rosemary, chopped
  • 1/2 t paprika
  • 1 t dijon mustard
  • 2 T AP flour or 1 T cornstarch whisked with 2 1/4 C cold veggie stock
  • 1 T lemon juice or vinegar
  • 1 pie crust
  • 1 egg (optional), whisked, for brushing
  • salt

Instructions

  1. Pre-heat the oven to 350F.
  2. Heat an oven-proof skillet (unless using individual ramekins, in which case just use a skillet). Add oil. Add veggies and salt. Cook over medium-low for about 15-20 minutes, or until veggies are tender, stirring occasionally. Add garlic through dijon and cook for 1 minute. Add flour or cornstarch and veggie stock mixture and bring to a boil. Reduce to a simmer and cook for about 10 minutes, or until sauce has reduced and thickened and all veggies are tender. Remove from heat and stir in lemon juice or vinegar. Taste and adjust seasoning if desired.
  3. Roll out pie crust. Use it to top the oven-proof skillet, or divide the veggie mixture into 4 greased 6" ramekins and top with pie crust (1 crust should be enough for 4 ramekins). Brush with egg if desired, sprinkle with salt, and use a knife to cut some vent holes in the center.. Bake for 30 minutes, or until crust is browned and flaky.
http://www.de-ma-cuisine.com/veggie-pot-pie/

Monday

7

September 2015

0

COMMENTS

Tuna Boats

Written by , Posted in Appetizers, Dinner, Eggs, Fennel Pollen, Fish, Fruit, Gluten Free, Herbs, Kid-Friendly, Low Carb, Lunch, Main Dishes, Meat, Quick and Easy, Sides, Snacks, Vegetables

TunaBoats-6

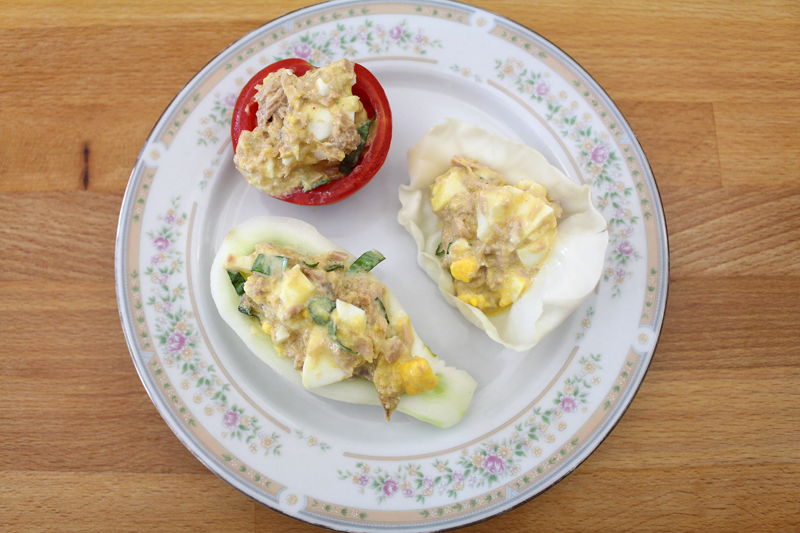
There are so many things that you can do with tuna. It makes a fabulous sandwich, one of my favorites. It’s a great addition to pasta, one of my comfort foods. And, it’s good in a boat. Specifically a boat made of veggies.

This is one of those awesome recipes that’s great no matter the season. So I will share one of my favorite ways to make it, and then some mix and match options.

TunaBoats-2

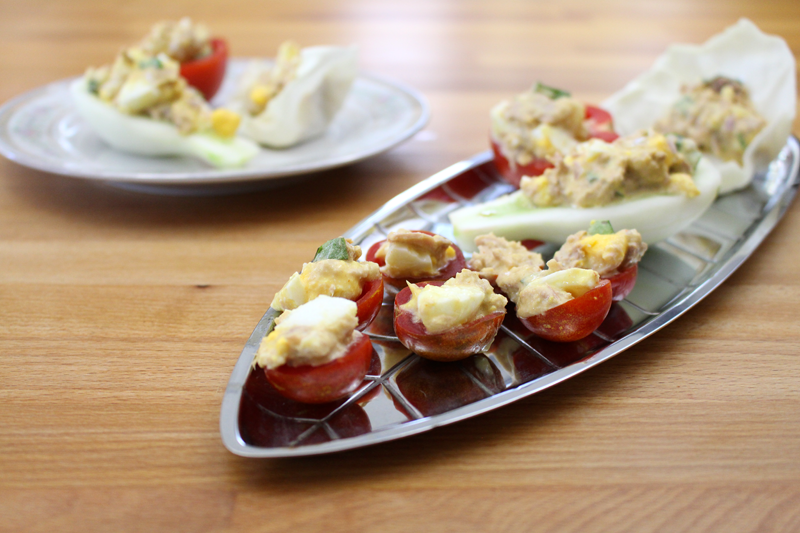
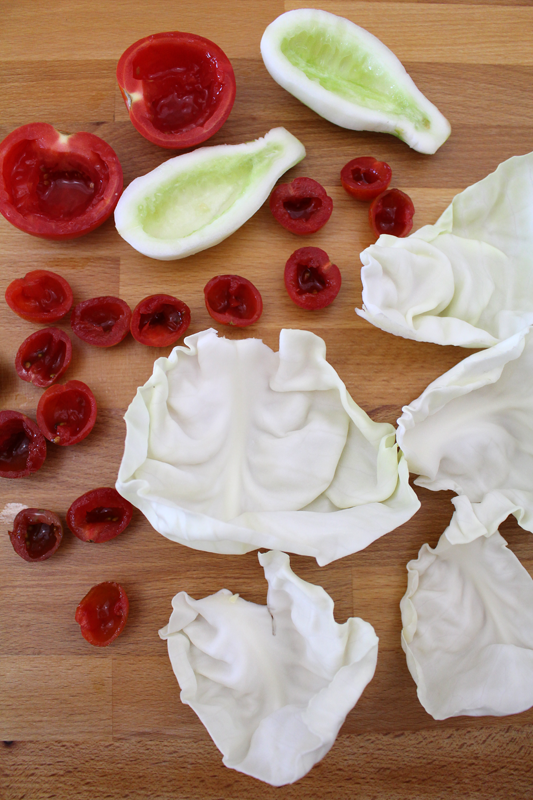
For this recipe, the stars were hard boiled eggs, shallots, and fresh tarragon. Plus the boats: cabbage, tomatoes, and cucumber. It was fabulous.

TunaBoats-1

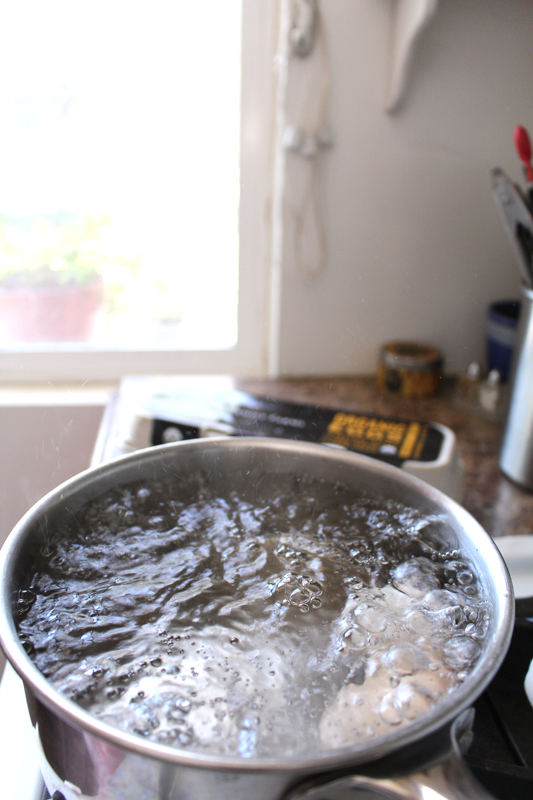
I started with the eggs. My method for hard boiling is what my mom taught me: boil water, add 1t white vinegar, add eggs, boil for 15 minutes, cool eggs under cold running water. I like to peel the eggs right away, while they’re still a bit warm. They’re easier to peel.

TunaBoats-3

TunaBoats-4

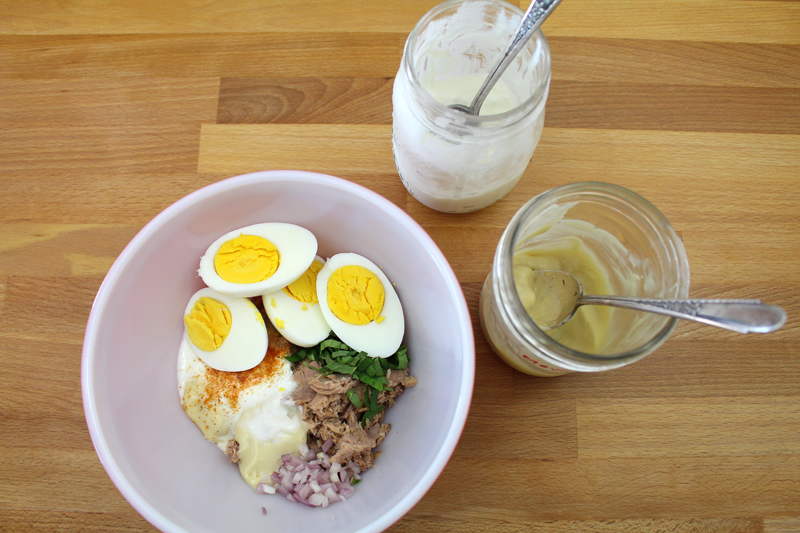
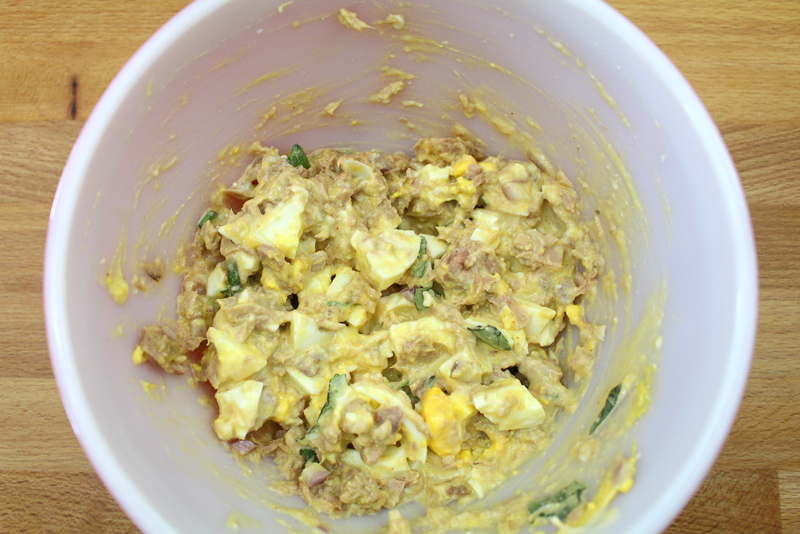
After the eggs, the rest came together in no time.

TunaBoats-5

We loved the cucumber boats, the tomato boats were yummy, but the cabbage boats were our favorite. There was something so perfect about the slightly sweet cabbage that went so well with the tuna and egg mixture.

Since tuna goes with so so many things, it didn’t seem fair to limit the recipe to just a these few ingredients. So here are some mix and match ideas. Mix a little something that you think would taste great together, from each of the five categories, for a quick and easy treat.

Creamy/Liquidy

Mayo, yogurt, rice vinegar, balsamic vinegar, aioli, Dijon mustard, soy sauce, silken tofu, olive oil, sesame oil.

Herbs

Basil, cilantro, dill, chives, fennel pollen, parsley, Rosemary, sage, thyme, tarragon.

Seasonings

Cayenne, paprika, pepper, salt.

Extras

Bacon, arugula, bell pepper, celery, back/white/fava/green beans, capers, chile peppers, hard boiled eggs, garlic, ginger, leeks, lemon zest, red onions, pancetta, scallions, shallots, radishes, tomatoes, salsa, olives.

Serve In

Avocado, cucumber, cabbage, carrots, celery, kale, chard, mixing, lettuce, radicchio, daikon radishes, radishes, fennel, beets, jicama, shiitakes.

Some may be best cooked and scooped out (beets and carrots). They could be served with the veggies at room temperature, or even chilled. Others will just need the seeds or some of the flesh scooped out (any good bits could be mixed with the tuna or saved for later). Those of the leafy variety need just be separated.

And now, here are some combos that I came up with, all of which I can’t wait to try.

French Inspired Tuna, tarragon or basil, hard boiled eggs, and mayo, served in a tomato or cucumber.

Asian Inspired Tuna, sesame oil, soy sauce, rice vinegar, onion, chile pepper, and cilantro, served in summer squash, tomato, or cabbage.

Mediterranean Inspired Tuna, olives, olive oil, paprika, lemon zest, parsley, basil, dill, white beans or garbanzo beans, and red onion, served in cucumber, bell pepper, or tomato.

Mexican Inspired Tuna, yogurt, salsa, black beans, cilantro, chile pepper, bell pepper, tomato, and red onion, served in avocado, tomato, or bell pepper.

Italian Inspired Tuna, garlic, rosemary, parsley, basil, thyme, tomato, lemon juice, olive oil, and balsamic vinegar, served in tomato, fennel, bell pepper, or summer squash.

Happy Eating!

Tuna Boats

Prep Time: 10 minutes

Cook Time: 15 minutes

Total Time: 25 minutes

Yield: 2-3

Tuna Boats

Ingredients

  • 2 hard boiled eggs
  • 1-2 T mayo
  • 1-2 T plain yogurt
  • 1 T olive oil
  • 1 T tarragon or basil, chopped or cut in a chiffonade
  • pinch cayenne
  • to taste salt
  • 1 T shallot or red onion, diced
  • 1-5oz. can tuna
  • cucumber, tomato, or cabbage (halved, center scooped out if applicable), for serving

Instructions

  1. Cook eggs (boil water, add 1t white vinegar, add eggs, boil for 15 minutes, drain, pour cool water over, peel right away).
  2. Combine eggs through tuna. Taste and adjust seasoning if desired.
  3. Scoop tuna mixture into cucumber, tomatoes, and cabbage.
http://www.de-ma-cuisine.com/tuna-boats/

Thursday

3

September 2015

0

COMMENTS

Rachel Reviews – Domestic Chíc

Written by , Posted in Reviews

DomesticChic-3

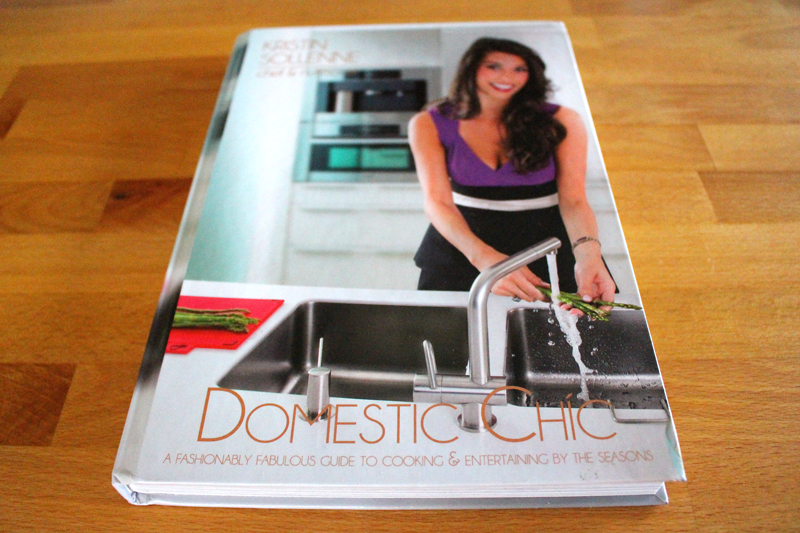
Kristin Sollenne’s first cookbook, Domestic Chíc: A Fashionably Fabulous Guide to Cooking & Entertaining by the Seasonsis a well laid out, beautifully photographed book. I made the mistake of flipping through it for the first time late at night when I was starving. I wanted to make everything!

What I Love About Domestic Chíc


It’s Laid Out Seasonally and It’s Heavy on the Fruits and Veggies

When I read that Kristin’s “main philosophy is farm-to-table with a focus on clean ingredients and keeping it simple”, it seemed like a book that was right up my alley. We eat seasonally, so I appreciate it when cookbooks are laid out that way (she’s even got a produce guide at the beginning of each season so we know what to expect at that time of year). It makes it a lot easier to figure out what to make with the fruits and veggies that we have on hand. We eat a lot of fresh produce, so it’s always great to have new ideas for how to use it. There are lots of creative options that aren’t just the same old same old dishes.

It’s Organized by Menu

We love to host dinner parties. So it’s great to have menu ideas right at my fingertips. They are listed by theme, but also by season. She’s got decor ideas and sometimes even a suggestion for the perfect type of music. I could totally identify with the California Dreamin’ menu – I grew up in Ontario, Canada and always wanted to live in California. I would have loved to have a dinner planned around this fabulous state.

The Photography

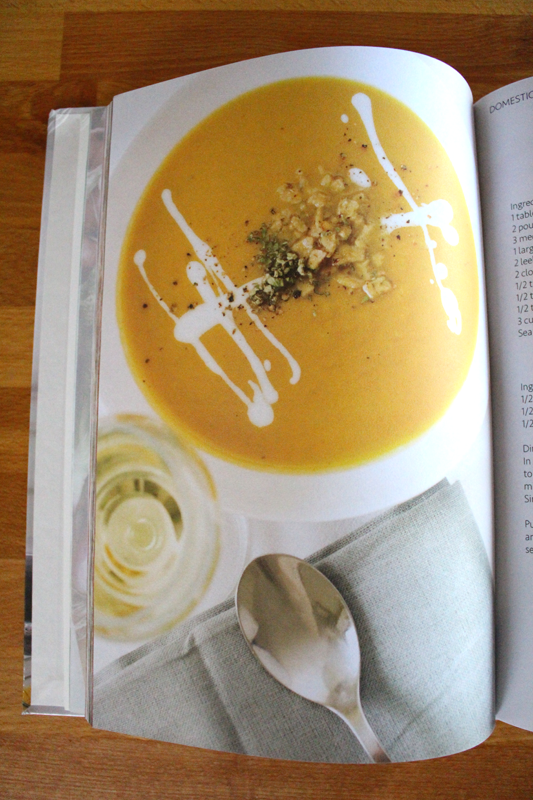
I’m a sucker for great photos of food. It’s inspiring to see food that’s styled well plus, I like to get a visual of what I’m making. I’m a lot less likely to try a recipe if there isn’t a photo. Thankfully, in Domestic Chíc there is a beautiful photo for each recipe.

DomesticChic-2

Some of the Recipes that I’ve Tried or Can’t Wait to Try

DomesticChic-1ParmesanOlives

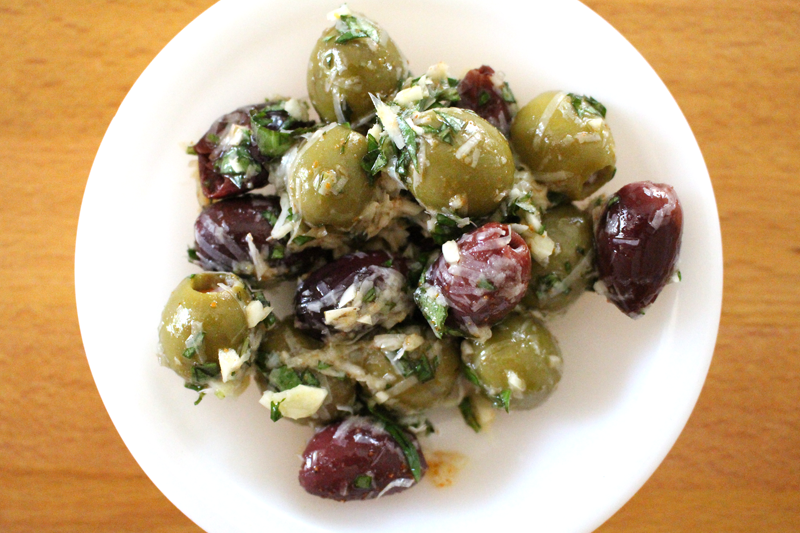
Garlic Parmesan Olives

This recipe reminds me of the olives we would eat with a glass of wine while we waited for our food at the café around the corner from our flat when we visited Paris. And even if it didn’t, you can’t really go wrong with garlic, basil, olives, and Parmesan cheese. 😉

Cucumber Bisque

I’m always looking for creative ways to use cucumber.

Melted Brie with Fruits

Kristin, you had me at “melted brie”.

Spinach Spaghetti with Sun-Dried Tomatoes

I love the simplicity of pasta, tomatoes, and garlic with a few extras like pine nuts, parsley, and good olive oil.

Prosciutto and Melon

I didn’t think I wanted to try melon with anything else, because it’s so good on its own. But this summer I’ve been convinced.

Chicken Piccata

Since we don’t eat a lot of meat, when we do I want it to taste incredible. This sounds like just the dish for our next chicken purchase.

Sollenne Family Rice Balls

I have a note in my phone to make these soon. They sound amazing!

Panelle

I love chickpeas, so the idea of using chickpea flour is intriguing. I can’t wait to see what this tastes like, and I especially like the suggestion to sandwich it between a baguette. I like almost nothing more than a good baguette with something delicious sandwiched inside.

Herb-Baked Cauliflower

Cauliflower is about to be in season. I can’t wait to try this.

French Onion Soup

Soups are my favorite food to make and eat. And French Onion Soup is one of my all-time favorites. When we visited Paris we made sure to try it as often as possible.

Warm Seasonal Vegetable Salad

Roasting veggies is my preferred way to eat them. They get a deep, rich flavor like nothing else. I could just eat roasted veggies for a meal and be perfectly content. I like that this recipe instructs you to boil the veggies first. Gives them a head start on the cooking (which is great for root veggies like beets).

Clam Chowder

We spent a week of our honeymoon on the coast. Ever since, Clam Chowder has been one of those nostalgic foods that I’ve always wanted to learn how to make. Now I can.

Festive Scones

I’m not much of a baker, but scones I can do. These sound like they will be perfect for a cold and cozy morning during the holidays. We’ll drink too much coffee and steam up the windows with the heat from the oven, and I’ll bet we won’t be able to resist a bite while they’re still hot from the oven.

French Toast Stuffed with Bananas and Blueberries

My first thought when I saw this was that Tim would love this. I just baked some bread and we have bananas. I have to try it.

Lemon Pancakes

Anything with lemon zest is a winner to me. And pancakes are one of my favorite breakfasts. I love to make a big batch on the weekend and then freeze them for the weekdays. They can be reheated in the toaster oven in no time.

Tenderloin with Peppercorn Butter

Steak and butter. The end.

And now I’m starving.

(A copy of Domestic Chíc: A Fashionably Fabulous Guide to Cooking & Entertaining by the Seasons was provided by the publisher for this review.)