De Ma Cuisine

Search Results for: preserve

Sunday

20

November 2016

0

COMMENTS

So, This Year Has Been Tough

Written by , Posted in Thoughts, Travel

mnmaple

A few weeks ago we watched the Cubs win the World Series. One thing that stuck in my mind was at the end of game two they showed some of the guys from the Cubs front office and I couldn’t help but be amazed that they looked to be about my age. I look at the writing staff on some of our favorite shows. They’re my age too. Many of the speakers at this year’s Yellow Conference were my age or younger.

And I have to admit that I feel like a bit like a failure.

I’ve never been super career driven. I always wanted my job to be mom. That didn’t happen. A career didn’t happen. Am I just wasting my time?

Is this a mid(ish) life crisis?

A successful career doesn’t define who I am. For that matter, neither does whether or not I’m ever a mom.

Doesn’t… Shouldn’t… Still kinda does.

One thing that Tim and I have figured out over the years is that we want more than a high paying job. We want life… we want to be together, we want to take a vacation without getting the stink eye from the employer, we want to breathe. Life’s not supposed to be just about work. Is it?

Is it?

Can watching Fixer Upper be a career?

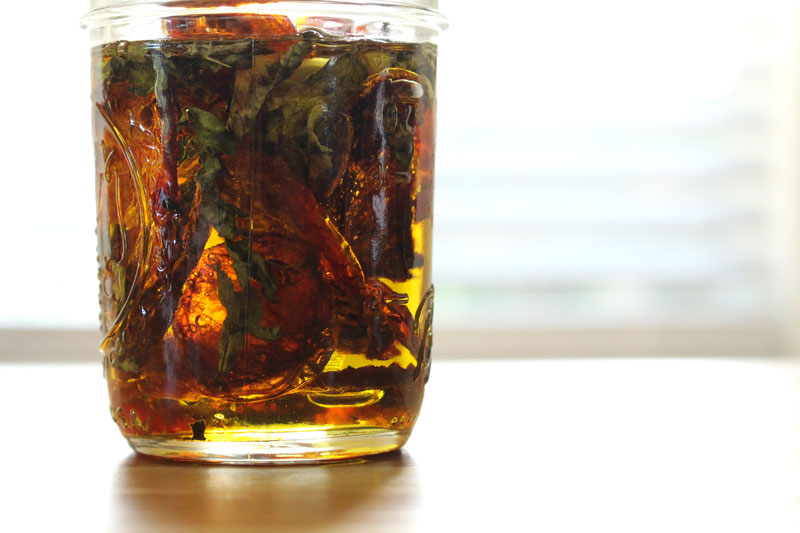
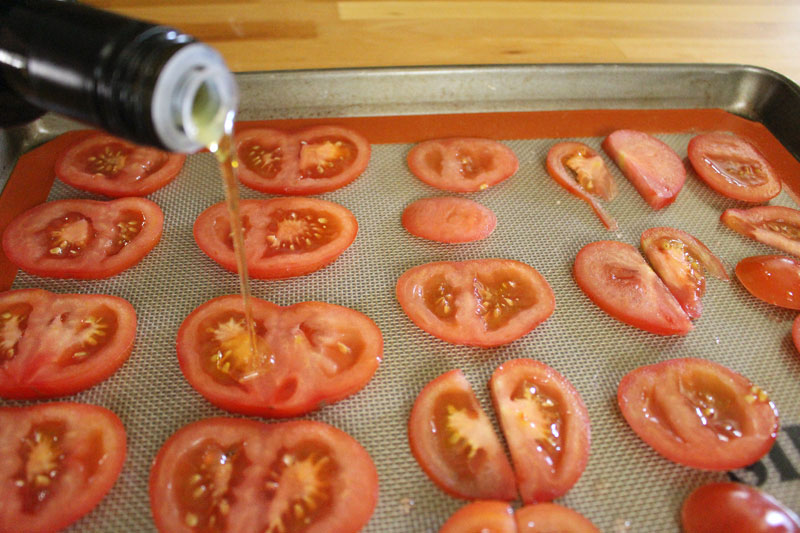
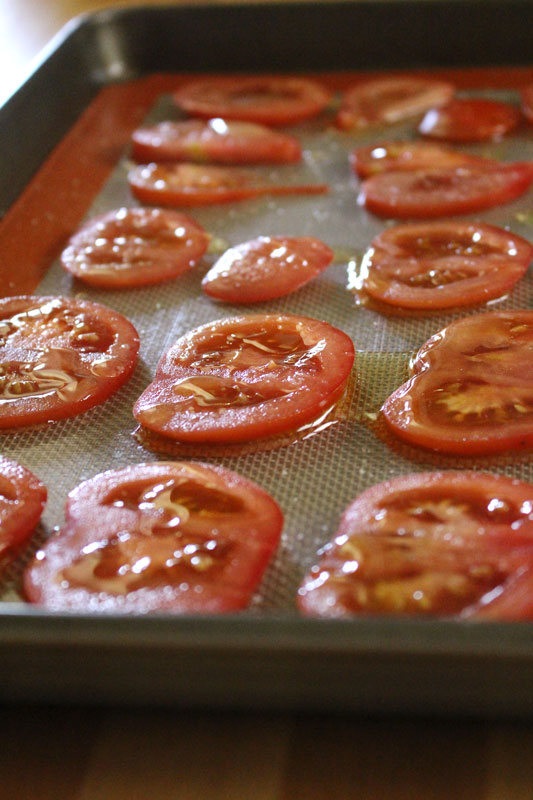
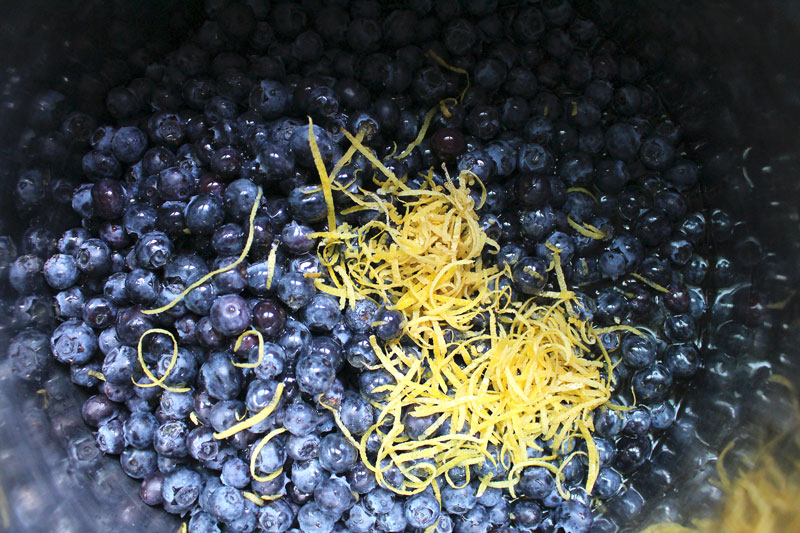
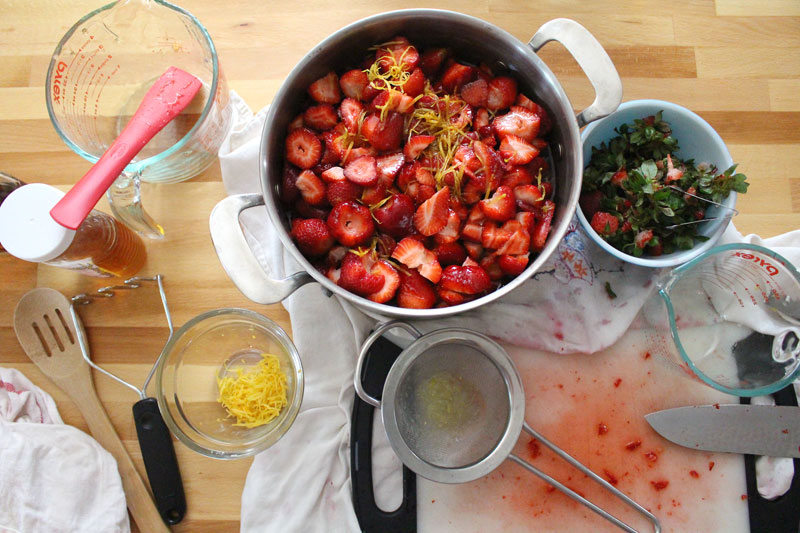
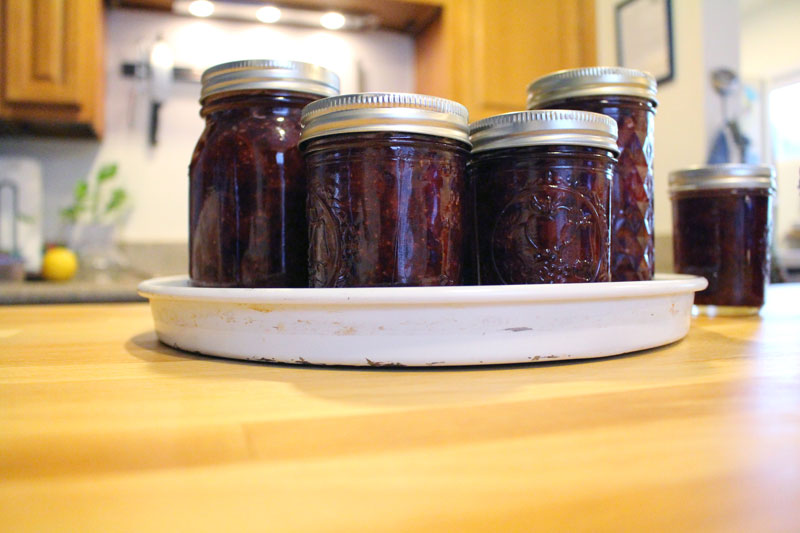
We’re dreaming of a farmhouse on a bazillion acres with a cow and chickens and a horse named Cowboy. Tim’s dreaming of writing a book. I want to preserve food from my huge garden and learn to make cheese. But that’s all we know.

I have a new addiction to the Land and Farm website.

We know that our identity isn’t in what we do. We don’t want to be slaves to a paycheck or what our culture says we should value. So we’re gonna keep searching, trying to figure out what this looks like for us.

Thursday

17

July 2014

0

COMMENTS

How To Dry Tomatoes

Written by , Posted in Canning, Condiments, Dairy-Free, Fruit, Gluten Free, Herbs, Roasting, Vegan, Vegetables, Vegetarian

Dried-Tomatoes-6

Tomatoes are such a great fruit. It’s weird that we use them like a vegetable when they’re not one.

I’m ok with that.

They go with so much, they can be used in so many different ways.

The possibilities are pretty endless.

Dried-Tomatoes-1

Around here, the growing season for local tomatoes is pretty long. We’ve been getting them in our Abundant Harvest Organics box for about two months now.

We’re very fortunate.

But, that doesn’t mean we don’t need to preserve them and make them last as long as possible.

Dried-Tomatoes-2

I opted to dry the tomatoes by slow roasting them in the oven at a low temperature.

I love the intense flavor that roasting brings.

I’ve always called this type of tomato a “sun-dried tomato”. But, since I did not dry them in the sun, I didn’t want to lie.

Also, if I’d tried to dry them in the sun I have a feeling that a curious dog might have enjoyed a snack. They are safer in the oven.

Dried-Tomatoes-3

It’s simple: tomatoes, olive oil, and salt.

Dried-Tomatoes-5

Tomatoes are sliced thin, but not too thin. No thinner than a quarter of an inch please.

Trust me.

They will burn.

But, the dog will be happy because he will get a treat.

Dried-Tomatoes-4

Dried tomatoes are just perfection. A fabulous way to make summer tomatoes last a little longer.

Or, in our case, a fun new way to enjoy them. As they will soon be eaten.

Dried-Tomatoes-7

Since the base recipe is simple, it leaves so many options for flavoring the oil they are stored in.

I opted to make a jar of simple Italian-style, with basil, oregano, and garlic.

Other yummy options would be:

Red pepper flakes, garlic, and rosemary.

Cilantro, oregano, and jalapeño (dry the jalapeños the same way as the tomatoes).

Rosemary and garlic.

Bay leaf, garlic, and rosemary.

Dill, lemon thyme, and garlic.

Fennel seeds, garlic, and basil.

Thyme, rosemary, and oregano.

Lemon zest, basil, and garlic.

I want to make them all!

Dried-Tomatoes-8

I’ve stored them in the fridge and plan to use them quickly, on bruschetta, in pasta, and on pizza.

The olive oil, which will become a delicious flavored oil, will be used as well.

We don’t waste food around here if we can help it. 😉

Happy Eating!

Kitchen Basics: Drying Tomatoes
Recipe Type: Condiment, Preserving, Roasting, Drying, Vegetarian, Fruit
Author: Rachel Oberg – De Ma Cuisine
Preserve summer’s beautiful tomatoes by drying them and storing them in olive oil.
Ingredients
  • 2 tomatoes, sliced 1/4″ thick (no thinner, or they will burn)
  • 1-2 T olive oil
  • to taste salt
  • 1 T dried basil
  • 1 T dried oregano
  • 1 clove garlic, thinly sliced
  • 1/2 to 3/4 C olive oil
Instructions
  1. Pre-heat the oven to 250F.
  2. Line a baking sheet with a silpat or parchment paper. Place tomatoes in a single layer on the silpat or parchment paper. Drizzle generously with olive oil, and sprinkle with salt.
  3. Bake for 3 hours, turning occasionally, until tomatoes are nicely dried.
  4. Cool completely and combine in a half pint jar with herbs, garlic, and olive oil. Store in the refrigerator.
Notes
Yields: one half pint, including the oil.
3.2.1303

Thursday

3

July 2014

0

COMMENTS

Honey and Maple Syrup Sweetened Berry Jam

Written by , Posted in Breakfast, Brunch, Canning, Condiments, Dairy-Free, Dessert, Fruit, Gluten Free, Kid-Friendly, Vegetarian

StrawberryJamSecondTime-5One of my favorite things about summer is the fruit. The nectarines are amazing, the plums are incredible, and the berries… they are the best!

We had raspberries in the garden growing up, so they are my emotional favorite. Tim’s family has blackberries, so they’re a favorite too. But there’s just something about blueberries and strawberries… I love ’em.

I’m always so sad when their season ends (as it is ending now). I’m thankful for the others, don’t get me wrong. But, I want berry season to last as long as possible.

BlueberryJam-2

There are plenty of ways to preserve these summer treasures. You can freeze washed berries, pitted cherries, and halved stone fruit on a baking sheet, and then pop them into a bag. You can make tons of crisps and cobblers and wrap them up really well and freeze them for November. You can make sauces and smoothies to be pulled out when the weather has turned cold.

And, you can make jam.

Last summer I decided that I would try. Surprisingly, it turned out. The catch was that I wanted to make it sans pectin and sugar. I didn’t know if you could, but I wanted to.

And I did.

I made three kinds: cherry, strawberry, and blueberry.

We ran out a few months ago. This year, I don’t intend to run out. So I made a ton. First strawberry (which follows the same recipe), then blueberry.

StrawberryJamSecondTime-4

Before you start, make sure you have clean jars and lids (the lid is the flat piece, and is not re-useable if you want them to seal, the band is the part that wraps around the jar and screws into place).

I don’t have a dishwasher, so I used a pot of boiling water and boiled for about ten minutes.

StrawberryJamSecondTime-3

I love lemon zest, so I opted to add a bunch for a hint of brightness, instead of only using lemon juice.

In general, if possible, any time I use a lemon, I zest it first. Why waste such goodness?! If there’s any extra, it goes into the freezer.

StrawberryJamSecondTime-2

Strawberry jam is a bit more of a process than blueberry. There’s hulling and chopping involved. 

It’s gonna be messy.

But it’s worth it.

StrawberryJamSecondTime-6

When I was making the strawberry, I forgot how much the stuff bubbles up. I had to move it to two pots, since the one was a bit too small.

I was wiser with the blueberries.

BlueberryJam-3

BlueberryJam-4

It’s not going to be thick thick, like jam made with pectin. But, it will thicken up a bit. Cook it until it’s as thick as you want it (you can test it by putting a plate in the freezer and putting a dollop of jam on it so it will cool quickly, then test to see how runny it is), even if that’s longer than the time listed in the recipe.

StrawberryJamSecondTime-1

BlueberryJam-5

Jars are filled and left to cool on the counter for a bit. You should hear the lids popping as they seal. Sealed or not, I like to store them in the freezer (after fully cooling in the fridge), even after they’re opened. (There are different opinions on how long properly canned homemade jam will last unrefrigerated. (1) Since I didn’t pressure cook or process the jam in boiling water after adding it to the jars, I opted to be extra safe and keep them in the freezer, even if they did seal. In my experience, they have lasted as long as it took to consume them – less than a year, in the freezer. I hope that this summer’s batch will last more than a year, stored in the freezer. Once opened, stored in the fridge, they usually are fine for a month or two, maybe more. Just keep an eye out for mold. Jams with less sugar and that aren’t commercially prepared tend to have a shorter shelf life. (1) So be mindful of that, and whether or not you have pressure cooked them, when deciding where to store them.)

This jam is perfect for the usual toast or English muffin, to top ice cream, or to be eaten by the spoonful by a hungry food blogger.

Happy Eating! 

Blueberry or Strawberry Jam
Recipe Type: Condiment, Fruit, Preserving, Canning
Author: Rachel Oberg – De Ma Cuisine
Ingredients
  • 12 C blueberries or strawberries (strawberries: hulled and chopped)
  • 4 C honey
  • 1 C maple syrup
  • 3 T lemon zest
  • 3/4 C lemon juice
Instructions
  1. Bring berries through lemon zest to a boil. Mash with a potato masher. Once it comes to a rapid boil, cook for 3-5 minutes.
  2. Reduce heat to a simmer and cook for about 20 minutes.
  3. Remove from heat, stir in lemon juice, and let stand for 5 minutes.
  4. Ladle into jars, leaving about 1/2″ of space at the top. Cover with the lid and let stand for 15-30 minutes.
  5. Store at room temperature if they’ve sealed, or in the freezer if they haven’t (or if you just want to).
  6. Makes about 6 pints (or 12 half pints).
Notes
To sanitize jars, place in a large pot and cover with water (about 1 inch over the top of jars). Bring to a boil and boil for about 10 minutes.
3.2.1303

(1) I have referenced this site for information on the shelf life of jam.

Friday

23

March 2012

13

COMMENTS

Natali’s “Sugar Dream” Cookies – Guest Post

Written by , Posted in Guest Posts, Thoughts

Natali is a friend of mine, a fellow blogger, and former co-worker of Tim’s from when we used to live in Central CA. She also loves to cook and eat. I’m going to be a guest over on her blog on Monday, and I thought it would be fun to have Nat over here to share with you.

Here’s Natali.

Growing up in Central California, there is one cookie shop that holds my sugar-lovin’ heart and that is Hungry Bear cookies. Hungry Bear makes a sugar cookie (the “Sugar Dream”) that is truly like no other. Buttery, rich, yet delicate — it truly melts in your mouth and preserves a bit of the granular property of the sugar, but is not at all gritty. I have been trying to duplicate this recipe for years, and finally came up with a real winning version of the recipe this past weekend. Now, keep in mind, this cookie is RICH. You may need a glass of milk, and it is not waistline friendly. But, really, it’s soooo worth it!

Natali’s Dream Sugar Cookies

(Recipe adapted by Natali from The Sugar Turntable.)

Directions

  • 2 sticks of butter (1/2 lb.)
  • 3 T cream cheese (full fat please)
  • 1 T milk (I used non-fat)
  • 1.5 t vanilla extract
  • 2 c. + 2 T sugar
  • 1 egg yolk
  • 1 c. vegetable oil
  • 1 t. baking soda
  • 1 t. salt
  • 4 c. flour

Instructions

  1. Cream together the butter, cream cheese, milk, vanilla and sugar until well blended. (About 3 minutes on medium speed)
  2. Add the egg yolk and oil, mixing on low speed.
  3. Once the previous ingredients are incorporated, add the baking soda salt and flour. It is best to mix the baking soda and salt into the flour with a whisk prior to adding to the mixing bowl.
  4. Refrigerate the dough for 2-4 hours.
  5. Pre-heat the oven to 400 degrees F.
  6. Roll the dough into balls and press to flatten slightly on a cookie sheet lined with either parchment paper or a silicone baking sheet. You want the cookies to be a pretty good size, abound 2 inches or a little larger. Space cookies at least an inch apart.
  7. Bake for approximately nine minutes. The cookies should be only slightly golden on the edges. Overcooking this recipe significantly alters the texture of the cookie, so be sure to set a timer and check by eight minutes.
  8. Allow the cookies to cool for 2-3 minutes before moving to a cooling rack to avoid breakage.
  9. Enjoy!