Veggie and Garbanzo Bean Shakshuka
Written by Rachel, Posted in Beans, Breakfast, Brunch, Dinner, Eggs, Fruit, Gluten Free, Herbs, Lunch, Main Dishes, One Dish Dinners, Quick and Easy, Vegetables, Vegetarian
If there’s not a carton of eggs in my refrigerator, I feel a little lost when it comes to meal planning. I use eggs for all of the regular things, like adding them to pancakes, using them in an egg wash for a Chicken Pot Pie or Fish Wellingtons, or whisking them into a silky mayonnaise. But, I also count on them as a staple for our meals.
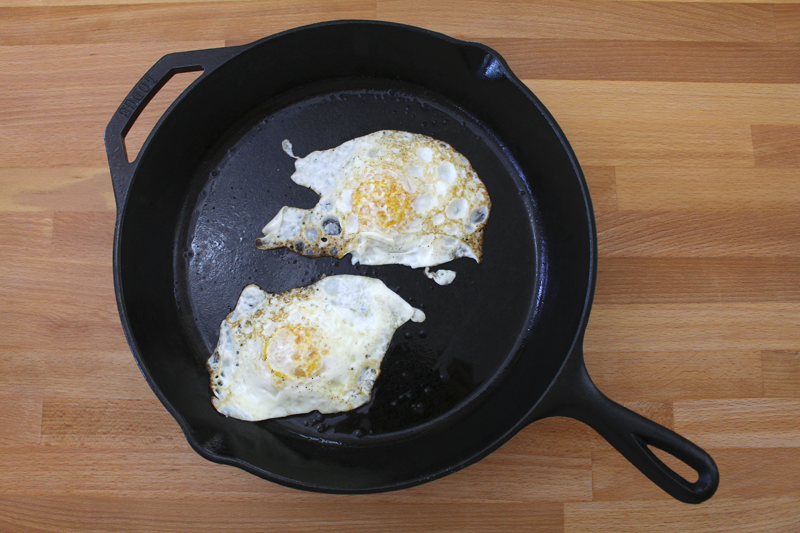
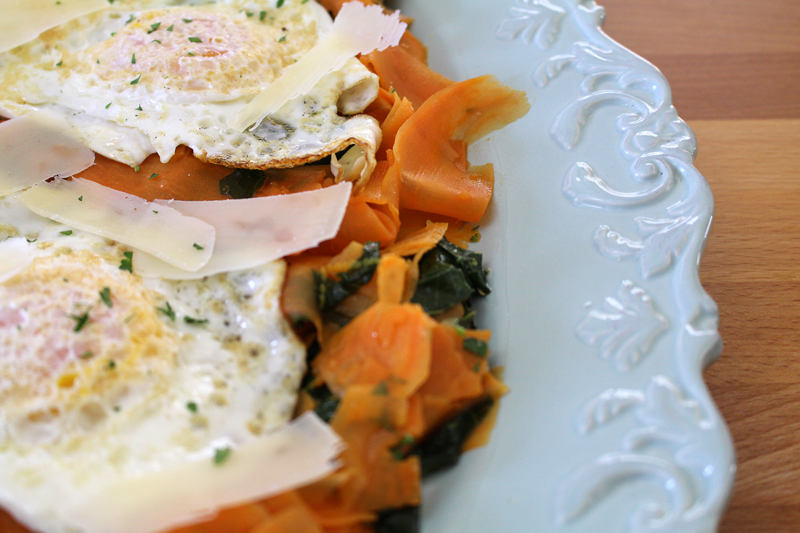
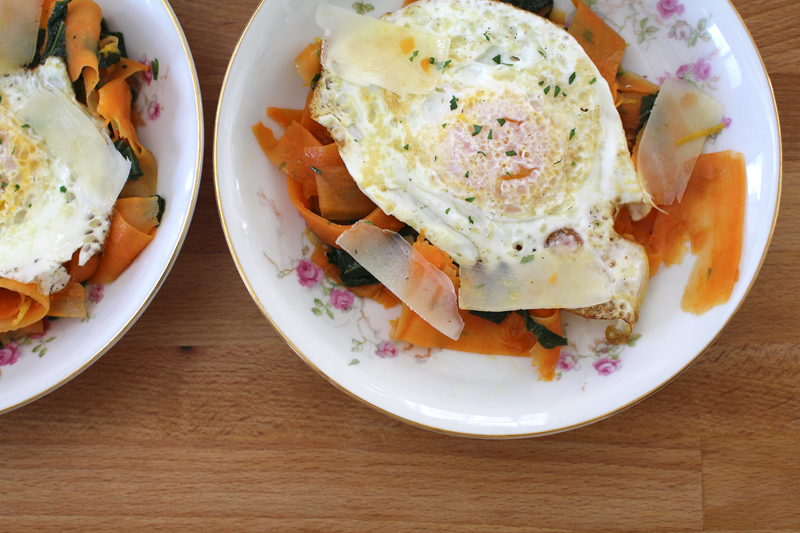
Fried eggs are one of my favorite foods. I love it when the yolk is still runny (I’m an “over-medium” order) and it spills over the food it’s covering, creating a creamy sauce. They’ve created a way for me to love some foods that I didn’t think I even liked (turnips!). Eggs for the win!
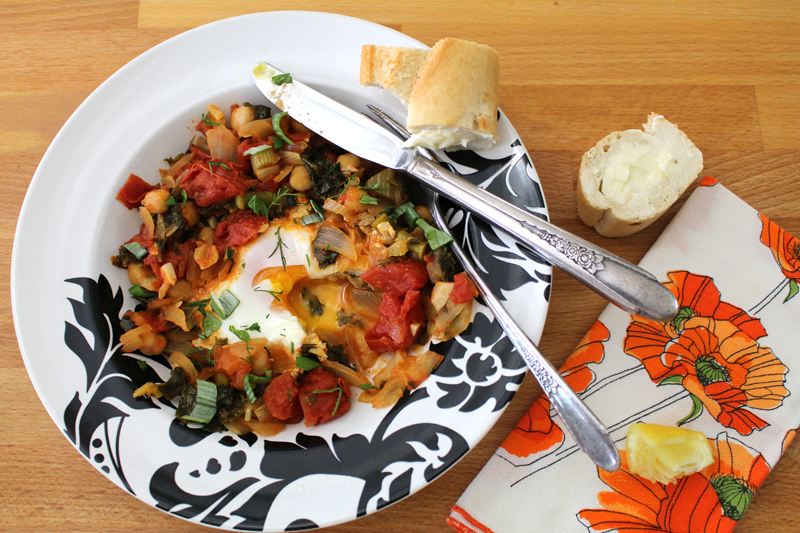
One of the meals I’ve discovered over the past year or so is called Shakshuka. I love it because it feels like an old world dish, similar to peasant food. It’s simple and straightforward, but also super versatile.
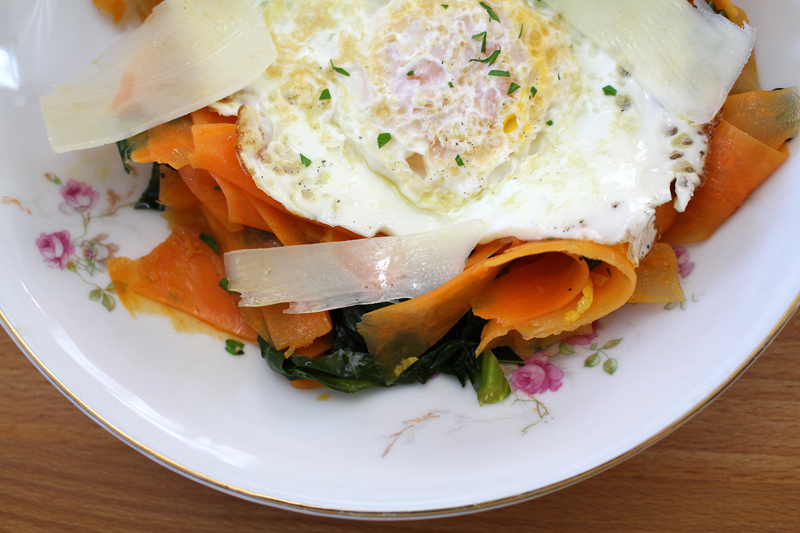
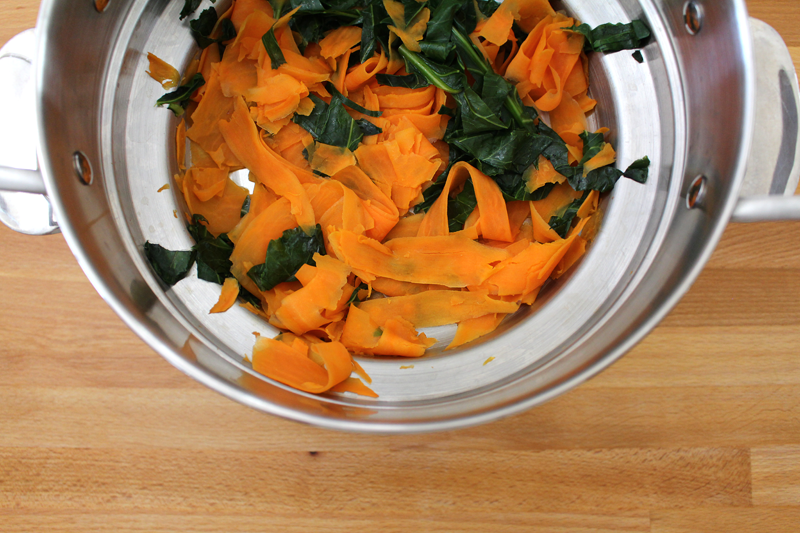
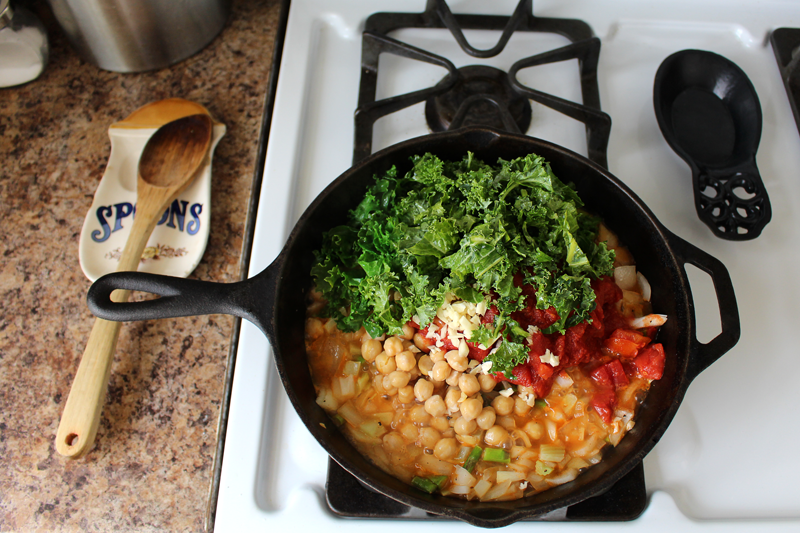
You can make it with just tomatoes, onions, garlic, and olive oil. But, if you want to add more to it, you can add tons of veggies. This time I wanted to pack it with a little extra oomph. I added greens, fennel, and asparagus to the usual. And then, garbonzo beans. It’s a dish that’s loaded with nutrients, protein, and great flavor.
I could eat it everyday.
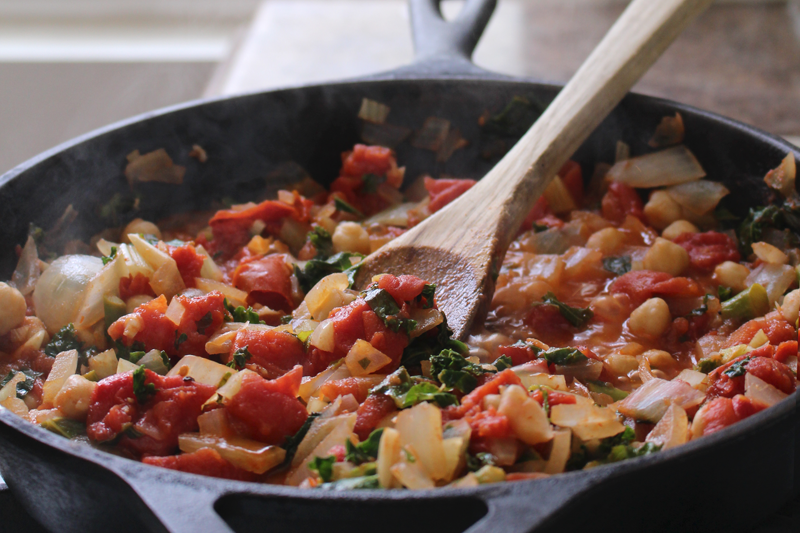
The veggies and beans don’t need to cook for too long – a little under 20 minutes will do. They just kinda stew there in the olive oil, getting all soft, flavors combining… man I’m hungry!
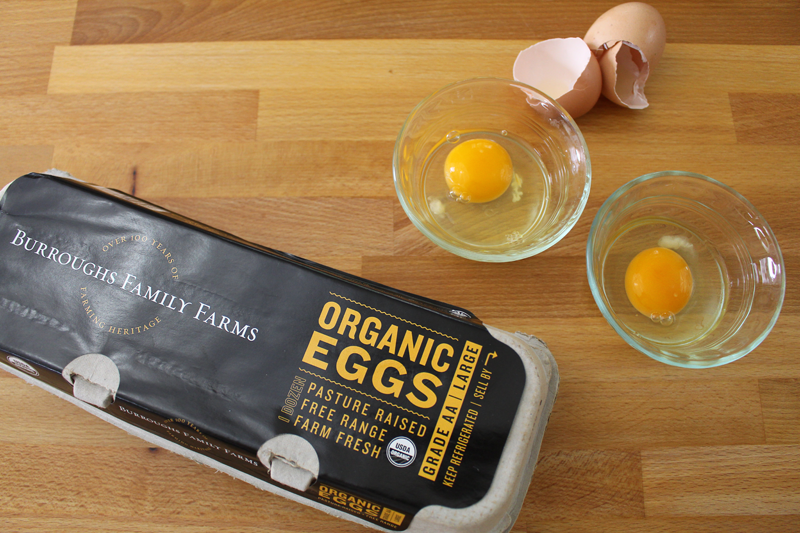
And then the eggs are added. Normally, when I fry eggs, I do it in a screaming hot cast iron. But, since there are other components in the pan, for this dish, I turn the heat down, add the eggs, and cover (so the whites will set).
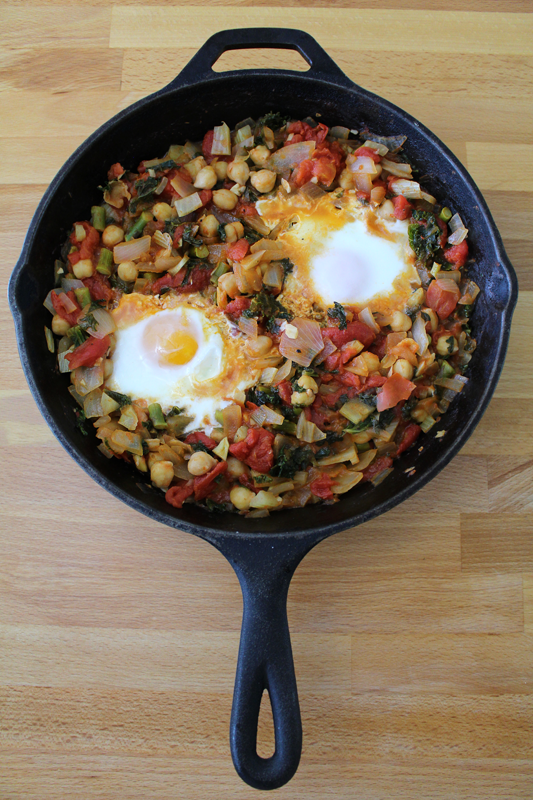
Eggs, veggies, beans, cast iron… be quiet my grumbling stomach!
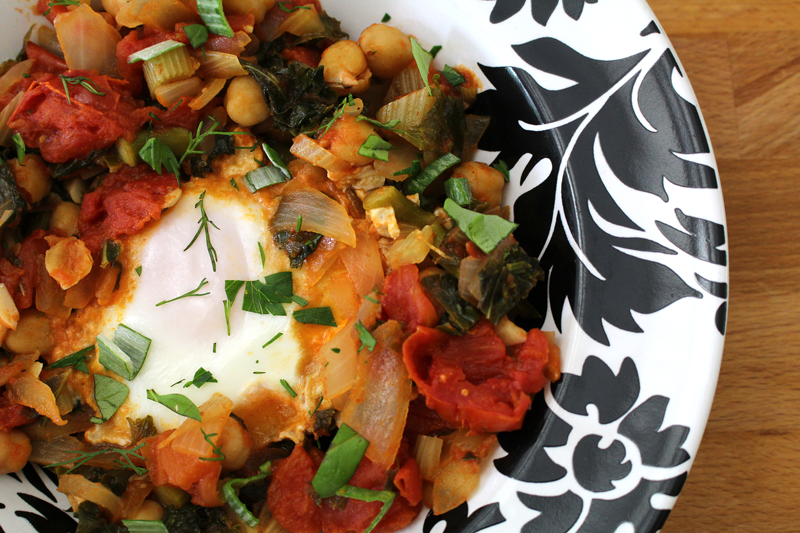
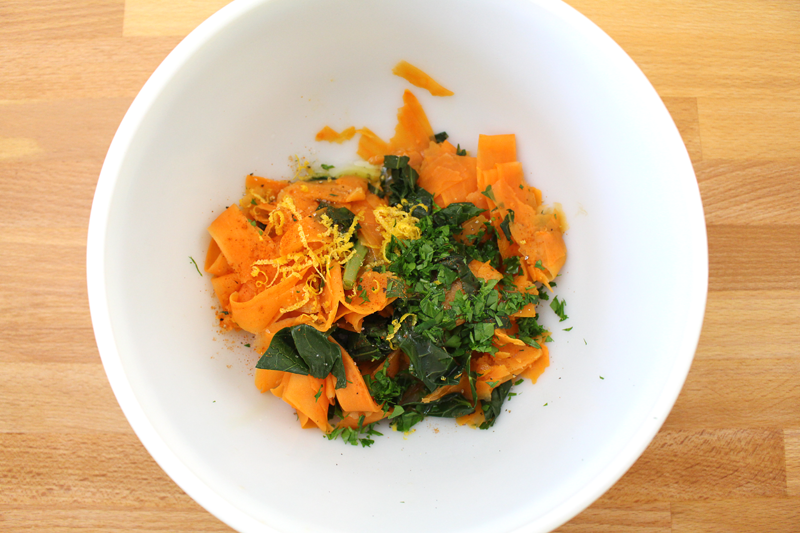
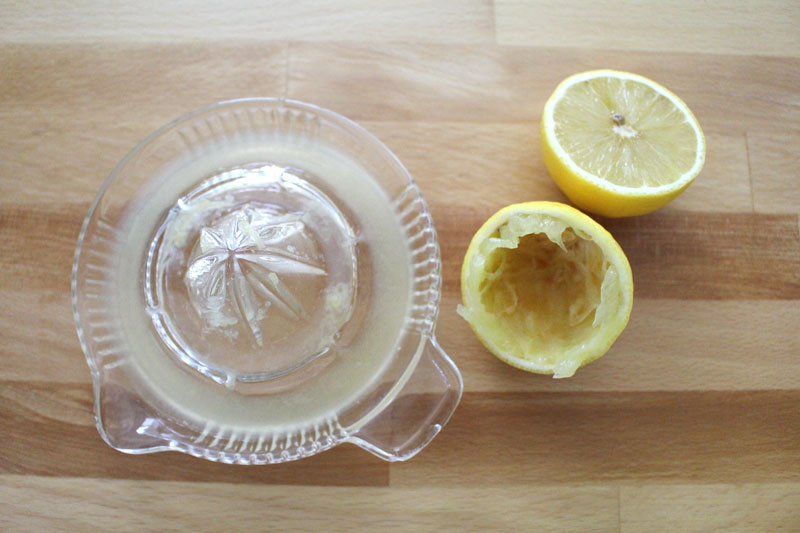
And if you thought things couldn’t get any better, it gets topped with fresh herbs and a squeeze of lemon. That’s what I’m talkin’ about!
Happy Eating!

Ingredients
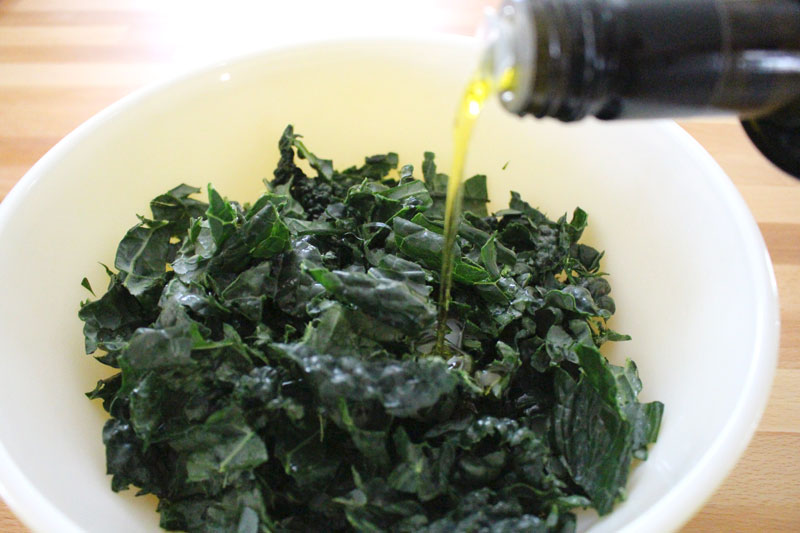
- 1 T olive oil
- 1 medium onion or leek, chopped
- 1 C assorted veggies (like fennel, asparagus, zucchini, eggplant, and mushrooms), chopped
- to taste salt
- to taste pepper
- 2 cloves garlic, chopped
- 1-2 C tomatoes (fresh or canned), diced
- 1 C garbonzo beans
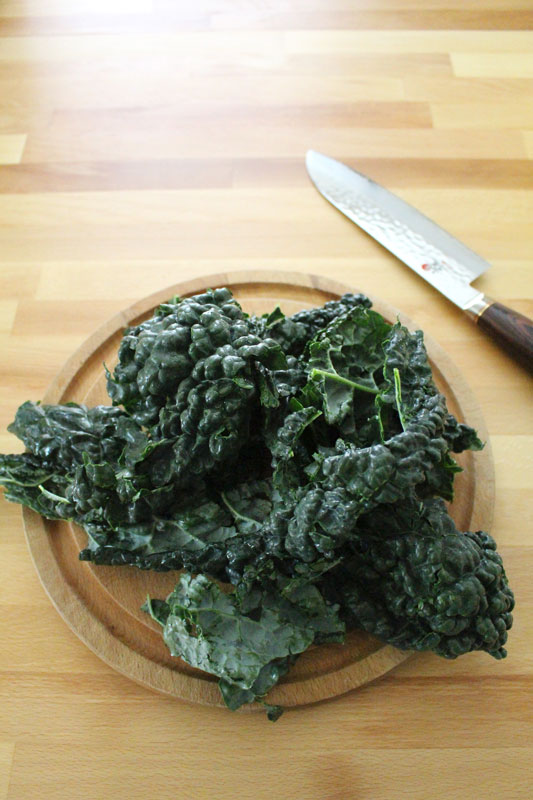
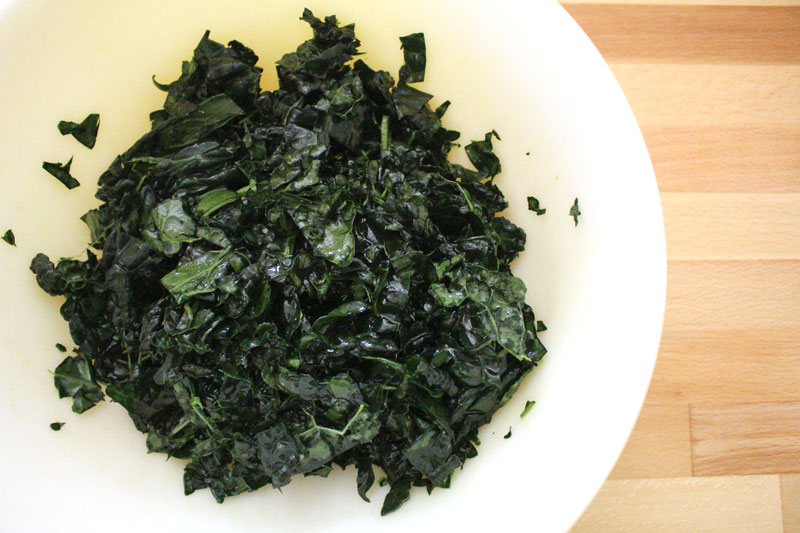
- 2 C greens (chard, kale, collards, spinach etc...), roughly chopped
- 1-2 eggs/serving
- to taste salt
- fresh herbs (dill, parsley, chives, basil), chopped, for serving
- lemon slices, for serving
Instructions
- Heat skillet then add oil. When oil is hot, add onion through pepper. Cook for about 3 minutes over medium-low heat, stirring occasionally.
- Add garlic through greens and cook for 10-15 minutes, stirring occasionally. Taste and adjust seasoning if desired.
- Turn the heat down to low and make a small well for each egg. Add eggs, one per well. Season with salt. Cook covered until eggs are done (about 3-6 minutes, depending on how runny you like the yolk).
- Serve topped with fresh herbs and a squeeze of lemon.