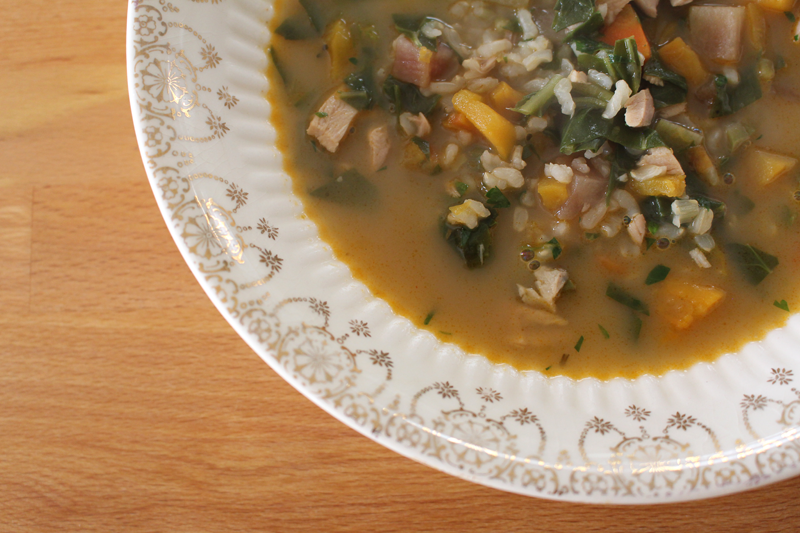
Loaded Chicken and Rice Soup
Written by Rachel, Posted in Dinner, Fruit, Gluten Free, Herbs, Leftovers, Lunch, Main Dishes, Meat, One Dish Dinners, Poultry, Quick and Easy, Rice, Soups, Vegetables
I’m a sucker for a good bowl of soup. I think we’ve had three different kinds over the past four days. I love it. I can’t get enough of it. It can be hearty and filling, or a light start to a meal. It can be simple, like French Onion, or have a myriad of ingredients. Soups are a great way to get loads of veggies into a meal, and they’re a fabulous place to hide leftovers. Yes, soups are my favorite.

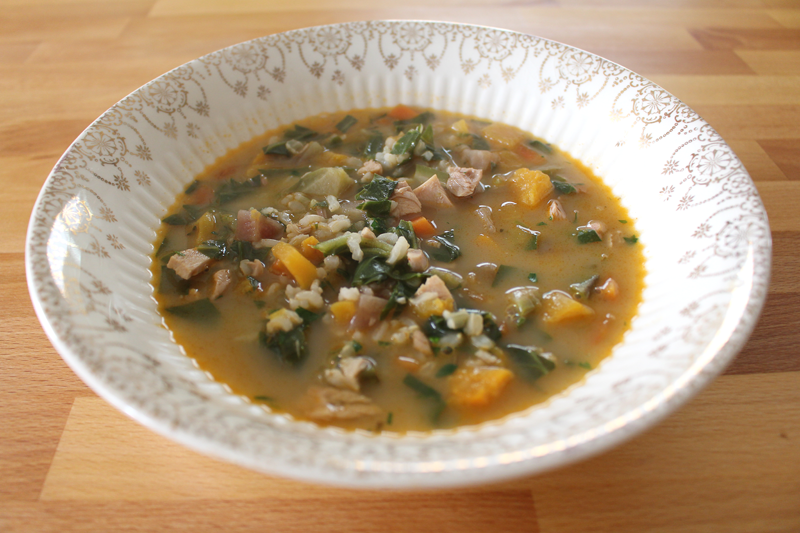
This one is no different. The goal was to make a veggie laden, leftover using, Chicken and Rice Soup.
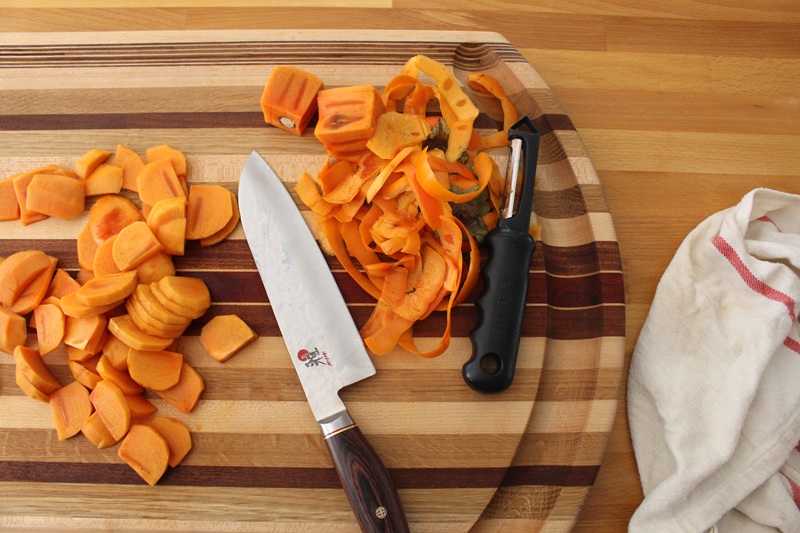
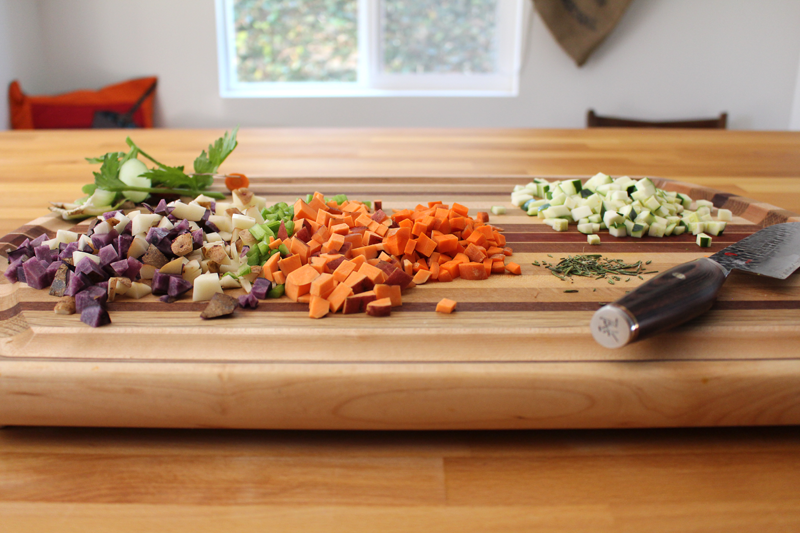
It started with carrots and radishes. The carrots were fresh from this week’s box of produce. The radishes were extra from another meal, that I’d chopped and frozen so they wouldn’t go to waste.
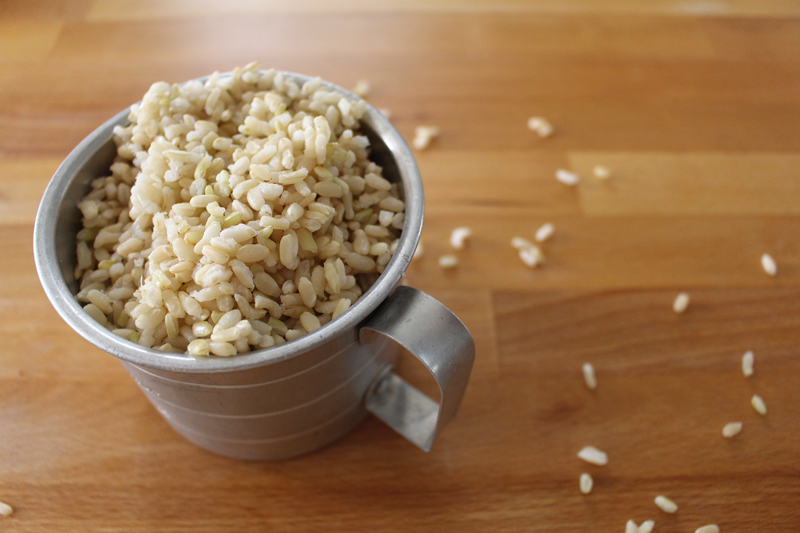
We’re getting so many greens in our boxes that I’ve been making a lot of Stir Fry, like this Red Choi Stir Fry from the other week. I’d planned ahead and made double the rice, so there were leftovers for the soup.
Winner winner, chicken and rice soup for dinner.
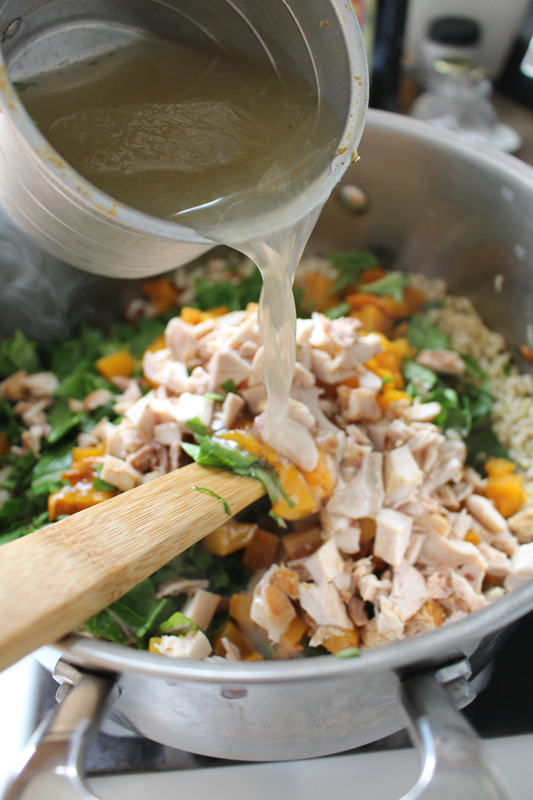
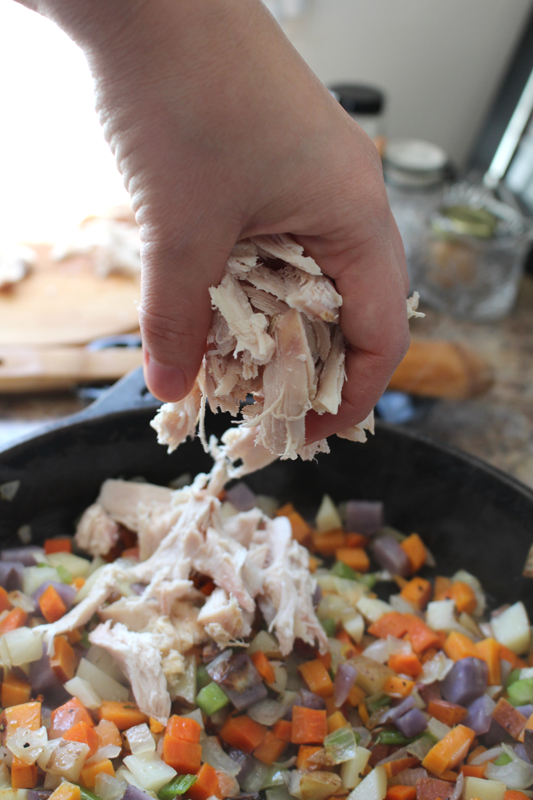
After the initial veggies were fairly tender, everything else joined them in the soup pot. I made some Sliced Roasted Butternut Squash for dinner last night, to go along with some chicken thighs that I par-cooked on the stovetop, then finished in the oven. I used the leftovers from both in the soup.
Leftovers 0, Rach 3.
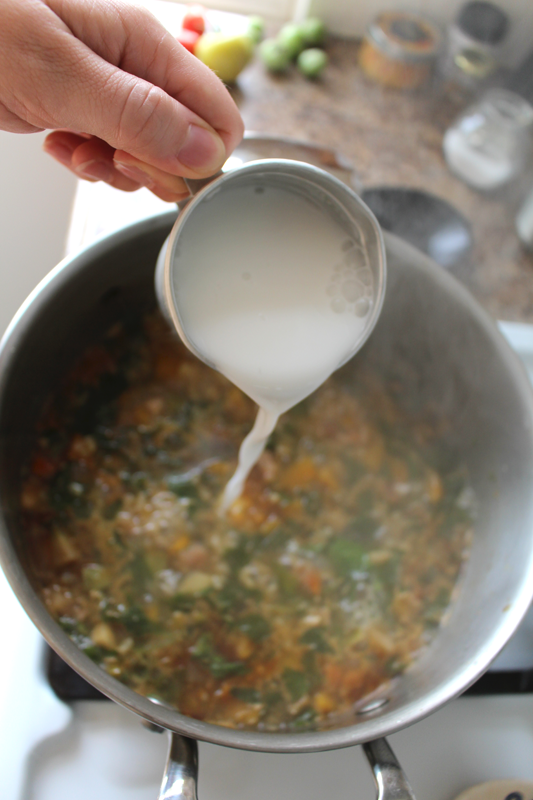
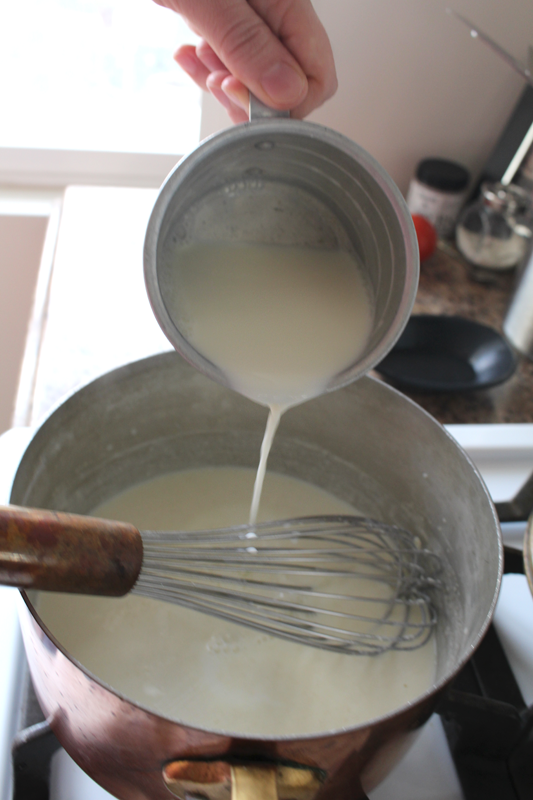
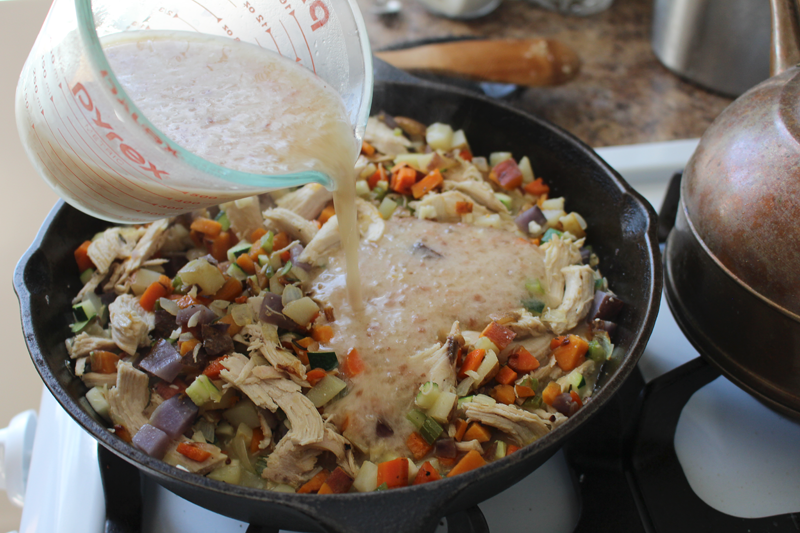
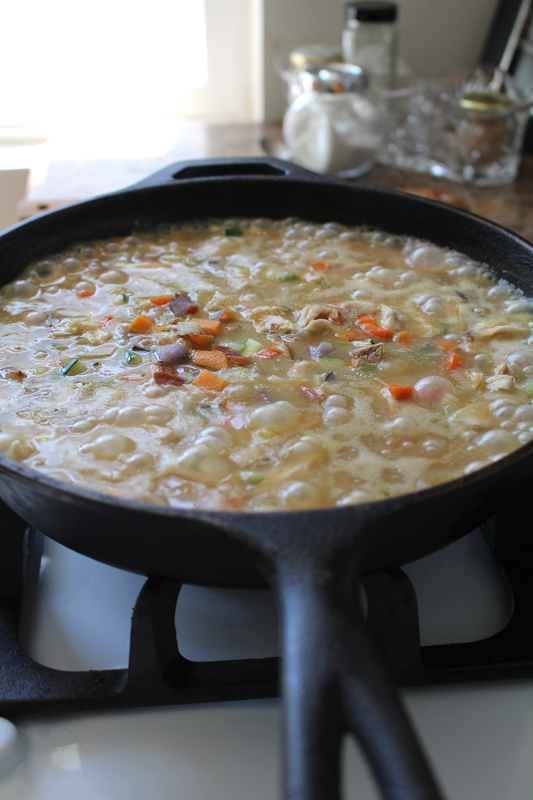
After everything bubbled around for a while (but not too long, since it was all cooked already), I added some milk. I used coconut milk, because I had some that I needed to use up. Use whatever kind you have on hand. The milk just needs to warm through for a minute or two. Don’t let it boil, or the soup may break.
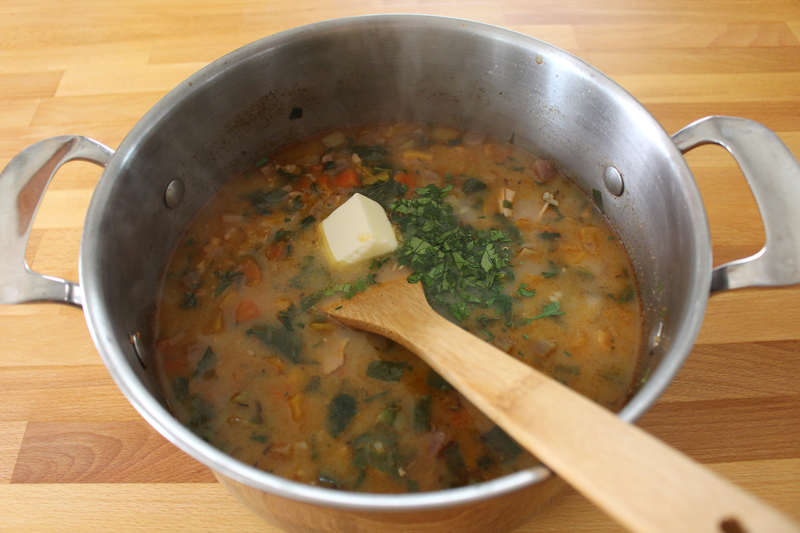
And then, for the finishing touches, I stirred in some fresh parsley and a knob of butter.
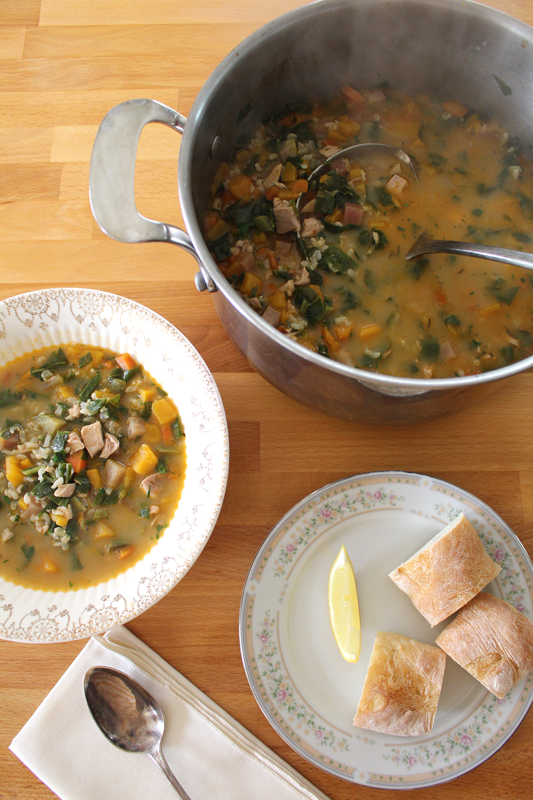
This soup is best eaten with your favorite someone or alone standing at the kitchen island while you read a book. Fresh bread is essential for dipping and sopping up anything the spoon leaves behind. A slice of lemon is a perfect way to brighten a bit – just squeeze over top right before eating.
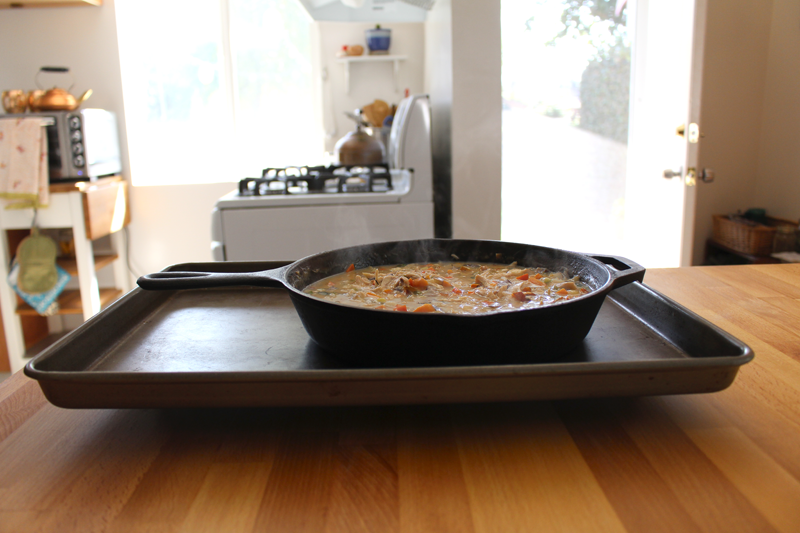
And, if it’s possible, this soup may be even better the next day (or a few days later – it freezes well).
Happy Eating!
Ingredients
- 1-2 T olive oil
- 1 C carrot (or parsnip), chopped
- 1 C radish (or cauliflower), chopped
- to taste, salt
- 3 cloves garlic, diced
- 2 T balsamic vinegar
- 1/2 t dried rosemary (or 1 t fresh), broken or chopped
- 1 t fresh thyme (or 1/2 t dried)
- 1/2 t paprika
- 1 C cooked chicken, chopped or shredded (I used leftovers)*
- 2 C rice, cooked (I used leftovers)***
- 2-3 C greens (like hon tsai tai, komatsuna, Tokyo bekana, chard, kale, collards, or spinach), chopped
- 1 1/2-2 C winter squash, chopped (I used leftovers)**
- 5-6 C chicken stock
- 1 C milk (any kind)
- 1-2 T fresh parsley, chopped
- 1 T unsalted butter (optional)
- lemon wedges, for serving
Instructions
- (*If you're not using leftover chicken, cook it now, let it cool slightly, remove from bones and shred or chop.)
- Heat a soup pot over medium-low heat. Add the oil and when it's hot, add the carrots through salt (**unless you're using uncooked winter squash - if you are, add it now). Cook for 7-9 minutes, or until veggies are relatively tender. Add the garlic and cook for 1 minute more. Stir in balsamic vinegar, cook for 1 minute.
- Add rosemary through stock. Bring to a boil, then reduce to a simmer and cook for about 13 minutes, or until veggies are tender (***if you're not using leftover rice, also add 1/2 C raw brown rice now, along with an extra 1 C stock and cook until rice is tender). Add milk and cook for 2 minutes more (do not boil).
- Remove from heat and stir in parsley and butter. Taste and adjust seasoning if needed. Serve with a squeeze of lemon.