De Ma Cuisine

Lemon Zest Archive

Thursday

6

November 2014

0

COMMENTS

How to Make Pesto – Part 2 – Kale Pesto

Written by , Posted in Cheese, Condiments, Fruit, Gluten Free, How To, Quick and Easy, Sauces, Vegetables, Vegetarian

KalePesto-5

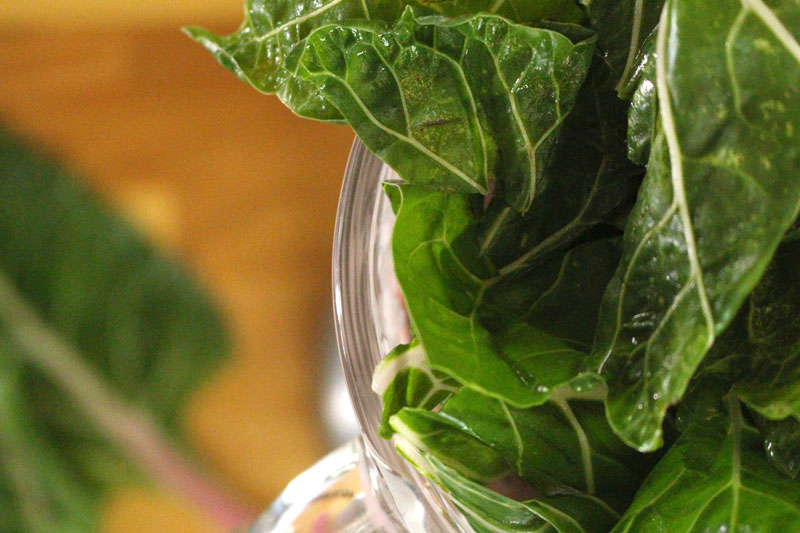
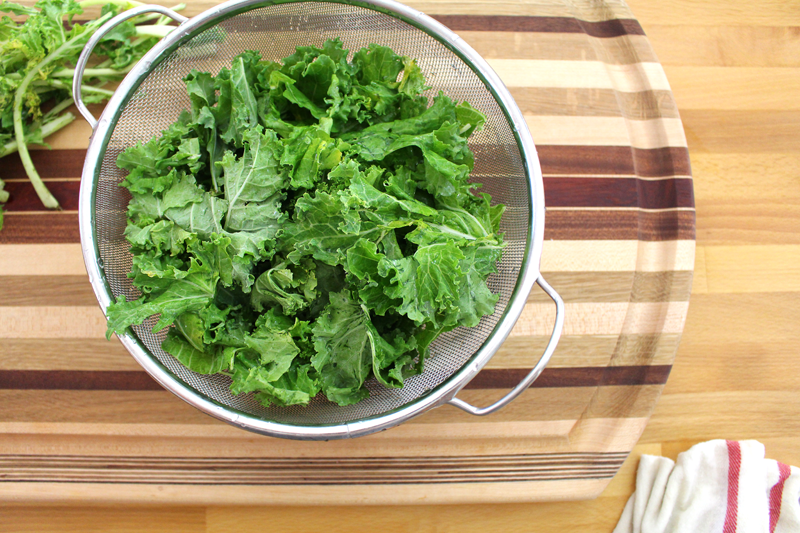
Kale is one of my favorite greens. No offense to spinach, chard, and collards. I just extra love kale. I love that it’s sturdy enough to be turned into chips, but that it’s softness can be brought out in a Massaged Kale Salad.

Plus, it’s an awesome shade of green. I love green.

KalePesto-1

This pesto comes together so quickly. I changed things up a bit from the Basil Pesto in part one of the pesto series. But, if you wanted to, you could just sub the kale for the basil in that recipe.

KalePesto-2

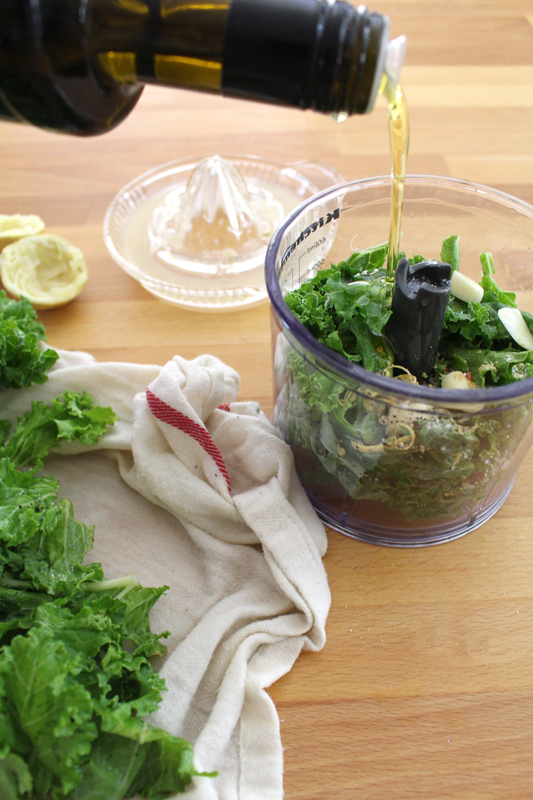
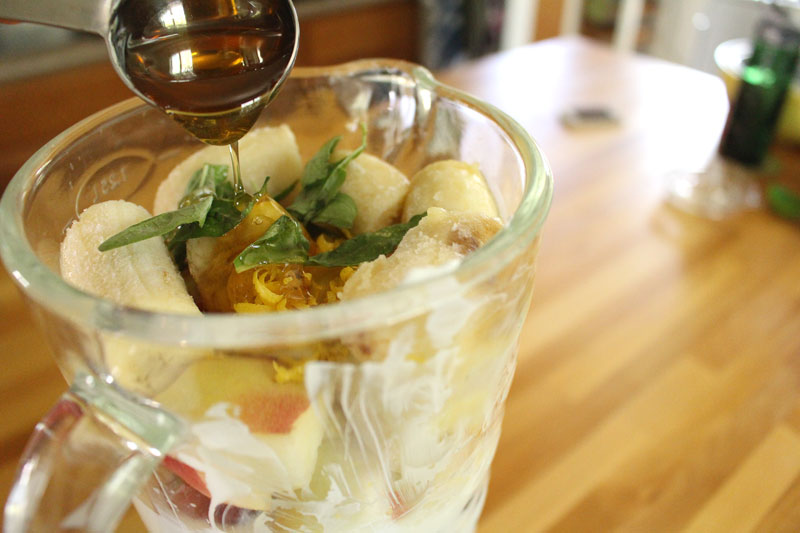
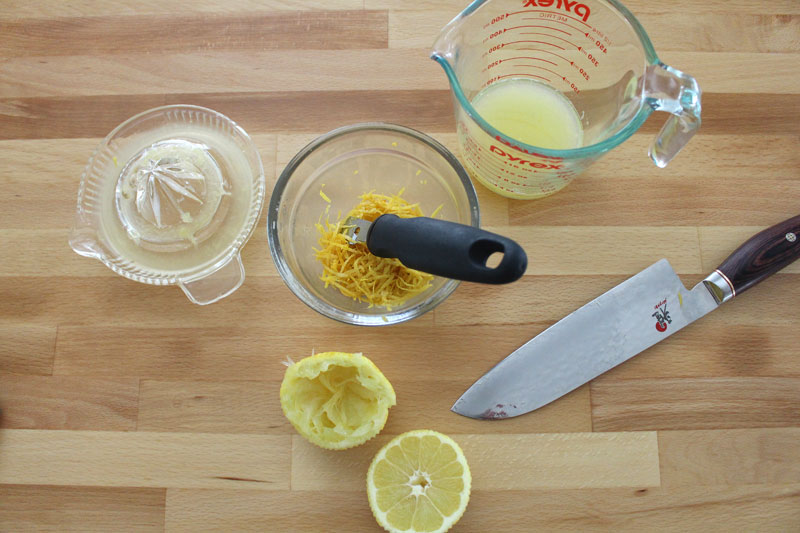
The main difference with the Kale Pesto is I omitted the nuts. Nothing wrong with nuts, just wanted to try something different. I also added some lemon (zest and juice) and some spices.

KalePesto-3

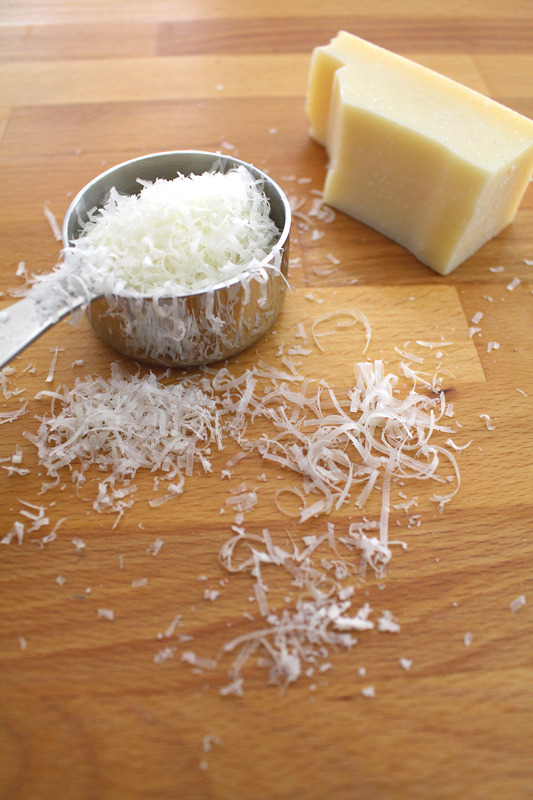
Other than those changes, the rest is the same. Lots of garlic, some parmesan, and olive oil.

KalePesto-4

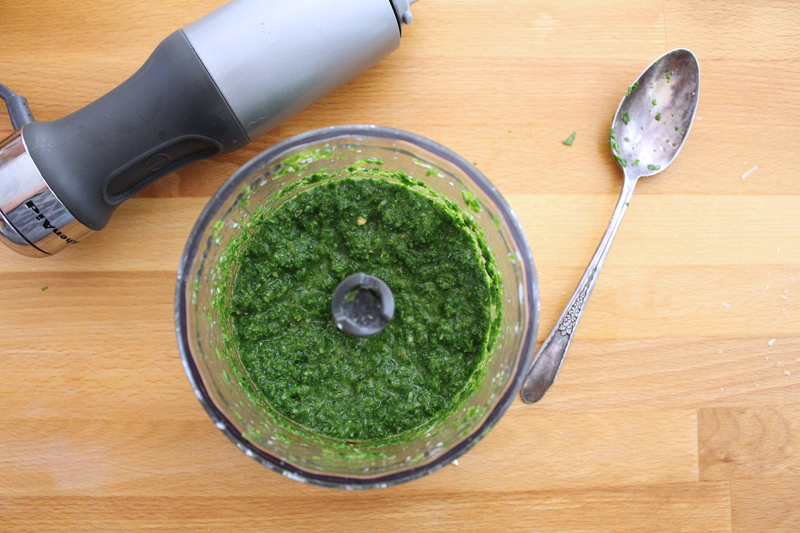
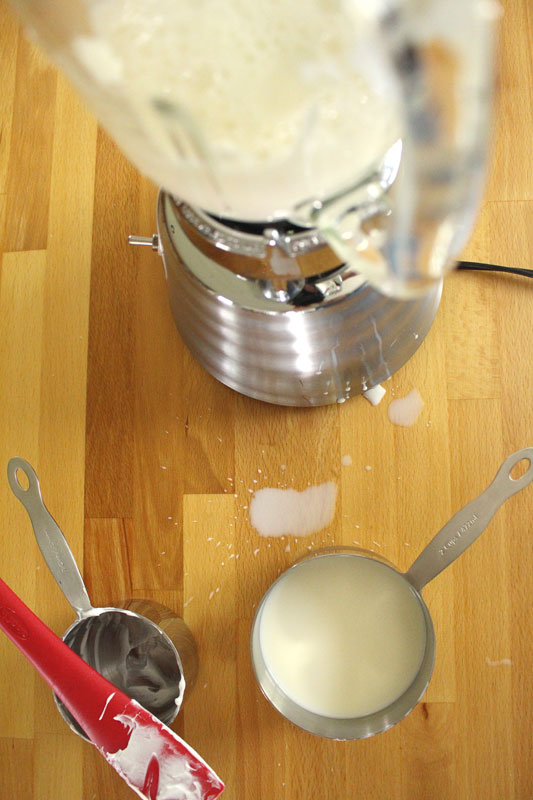
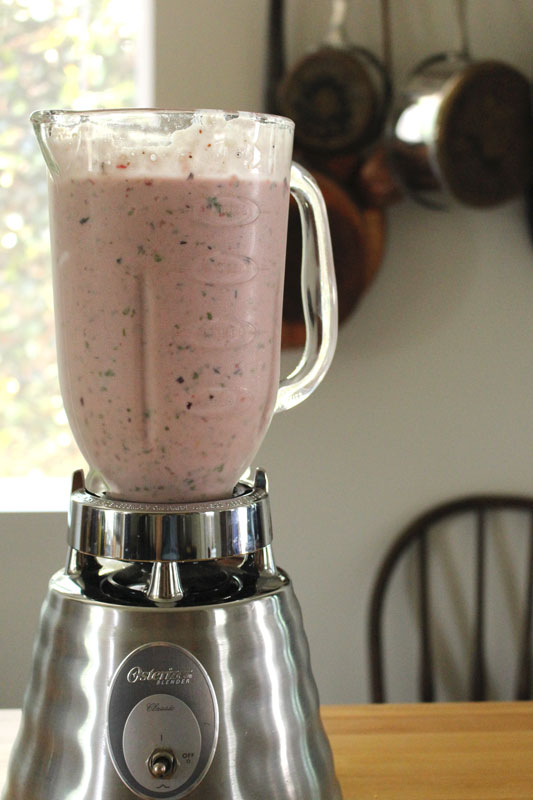
I like to use my awesome KitchenAid hand blender, but a food processor or regular blender would work just fine.

KalePesto-6

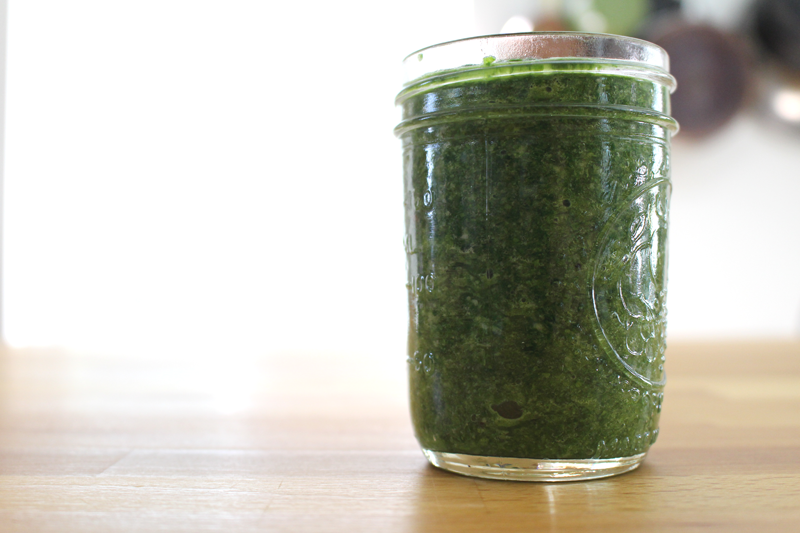
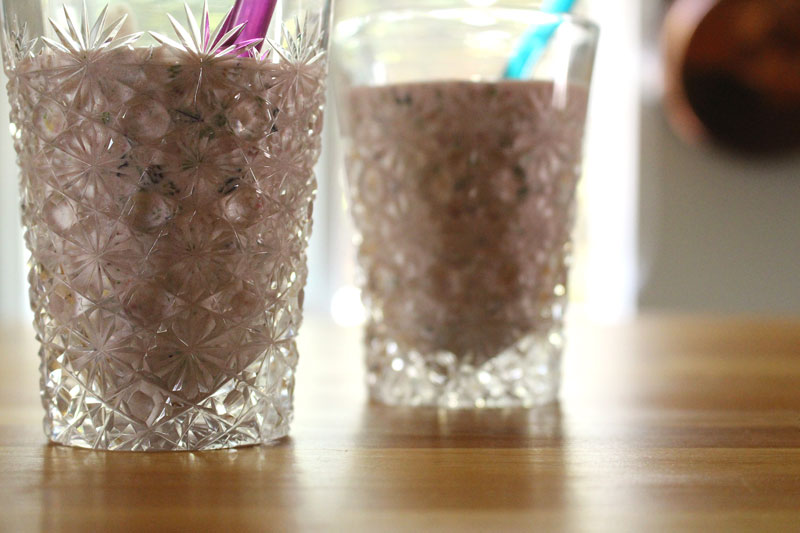
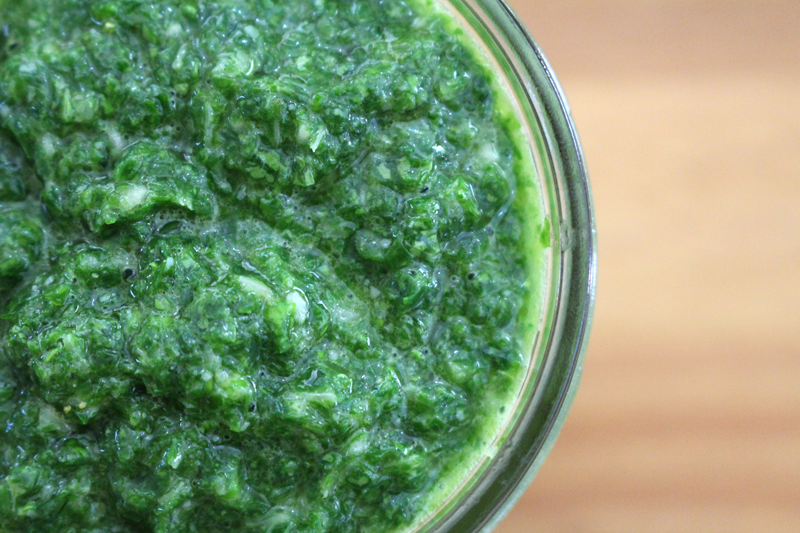
It made enough to overflow this little jar, so I used a few scoops on the Spicy Twice Baked Sweet Potatoes that I’d made the same day.

Do this. Today.

You’re welcome.

Other ways to use your pesto could be:

Roasted Chicken and some Crispy Potatoes (or hello, with the Spicy Twice Baked Sweet Potatoes!).

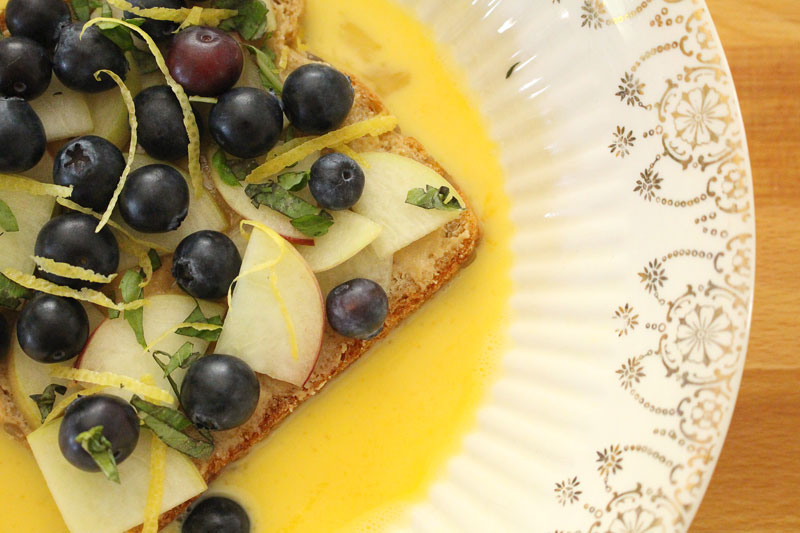
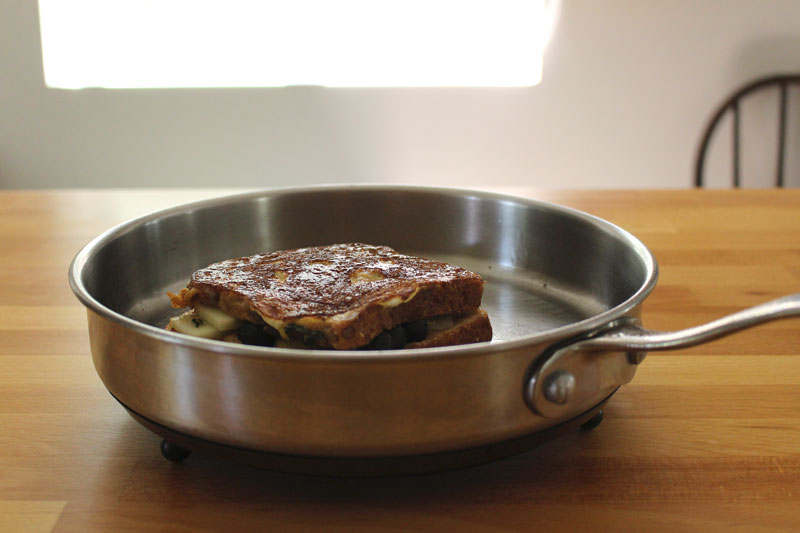
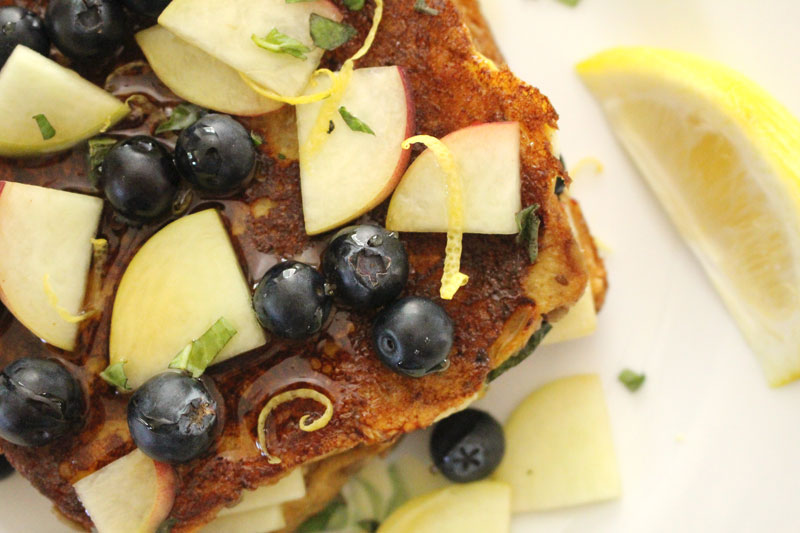
Cheddar and Pesto Grilled Cheese Sandwich and dip it into some Roasted Tomato Soup. (Shoot! I’ve already eaten lunch! Why didn’t I make this?!)

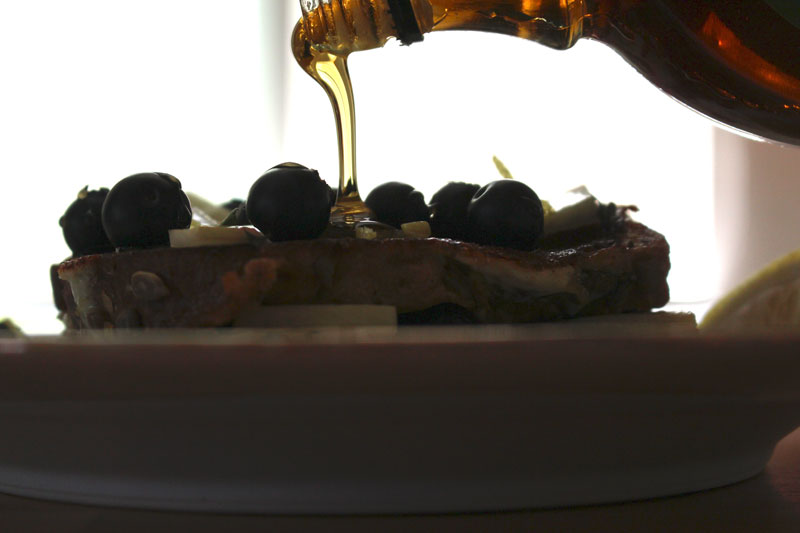
Kidney Bean and Kale Chili (with plenty of spicy chile peppers) – serve with a dollop of Greek yogurt, a spoonful of pesto, and a slice of lemon for squeezing over the top.

Sauté mushrooms and onions and top with pesto once cooked.

Roasted Pesto Topped Potatoes (new potatoes, or larger potatoes cut into bigger chunks, tossed with olive oil, salt, pepper, cayenne, and chili powder, roasted until crispy outside, tender inside – 350F, 25-40 minutes, depending on the size of the chunks, serve topped with pesto).

Happy Eating!

Kale Pesto

Kale Pesto

Ingredients

  • 1 bunch kale, washed well and stripped from stems (save stems for stock)
  • 2 cloves garlic
  • 1/4 C olive oil
  • to taste salt
  • 1/4 C parmesan cheese
  • dash cayenne or red pepper flakes
  • pinch lemon zest
  • pinch ginger
  • 1 lemon, juiced

Instructions

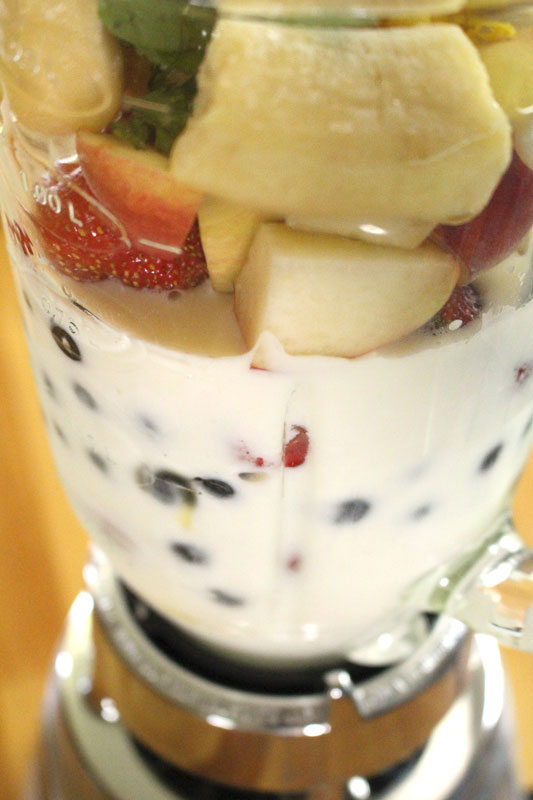
  1. Place all ingredients in a blending apparatus. Blend for at least 60 seconds, stopping and scraping down the sides if needed.
  2. Taste and adjust seasoning if desired.
http://www.de-ma-cuisine.com/how-to-make-pesto-part-2-kale-pesto/

Thursday

31

July 2014

0

COMMENTS

Summer Smoothies

Written by , Posted in Breakfast, Brunch, Drinks, Fruit, Gluten Free, Herbs, Lunch, Quick and Easy, Snacks, Vegetables, Vegetarian

SummerSmoothie-7

At Williams-Sonoma, they’re celebrating Smoothie Week. Are you celebrating too?! Smoothies are a celebration of delicious ingredients that blend up to make a wonderful drink.

We have all these amazing goodies to eat right now. Their flavors are fresh, cheerful, and fun.

It’s the season for light and bright (not to be confused with the child’s toy Lite Brite). For berries, peaches, and fresh basil.

A smoothie seems like the perfect way to collect all of this goodness in one place.

SummerSmoothie-2

Starting with some milk and Greek yogurt. Any kind of milk will do. Same with the yogurt. You could start with just a little bit of milk, and add more later depending on how thick you like your smoothies.

I like them kinda thick.

SummerSmoothie-1

Since I just had two small frozen bananas, I froze half of the berries too. That’s not necessary, but I like a really cold smoothie. Just my preference.

To freeze or not to freeze… it’s up to you.

Any frozen fruit that you don’t use, keep frozen to use in your favorite summer drinks.

SummerSmoothie-4

I haven’t used my blender in about 5 years. I made some tomato soup and didn’t know that you’re supposed to take the plug out of the lid when blending hot liquids… I know now! So I got an immersion/hand blender and have been using it ever since. But this recipe, it needed a blender, because I wanted to make a lot!

SummerSmoothie-3

I added a touch of honey and some lemon zest too. Because I can. Because I’m a little bit obsessed with lemon zest, basil, and fruit right now. It just tastes so gooooood!

SummerSmoothie-5

Chard, for a little extra green. Spinach, kale, even lettuce can also be substituted. It may seem a little crazy to add vegetables to a sweet smoothie, but trust me, then blend right in. 😉

SummerSmoothie-6

You could simplify and make this just a peaches and cream smoothie (with the basil, of course). You could just do berries. You could add more greens… But, I love all that the many ingredients bring to this drink. Not just in taste, but health benefits too. We’re supposed to eat a rainbow of fruits and veggies… this smoothie brings color to the table.

In the fall and winter months, you could choose fruits that are in season, like pears and apples, and change the basil out for mint.

SummerSmoothie-8

SummerSmoothie-9

Make a big batch and share with your friends. Add it to your family’s breakfast. Serve it alongside a special brunch where you’re eating Squash’n Eggs or Fresh Fruit and Basil Stuffed French Toast. Or freeze some for other breakfasts. Pop ’em in to the fridge the night before and they’ll be ready in the morning. Nice and cold, but not so frozen solid… and if they are still frozen solid, they work well as a popsicle on a hot day (you can freeze in a popsicle mold or ice cube tray with toothpicks too).

Happy Eating!

Summer Smoothie
Recipe Type: Breakfast, Dessert, Drinks, Smoothies, Gluten-Free, Kale, Chard, Spinach, Kid-Friendly, Lunch, Quick and Easy, Raw, Recipes, Snacks, Vegetarian
Author: Rachel Oberg – De Ma Cuisine
Prep time:
Total time:
Serves: 4-5
Ingredients
  • 1 C Greek yogurt (or any yogurt)
  • 1/2 to 1 C milk (any type)
  • 1 C peaches, roughly chopped
  • 3/4 C strawberries, fresh
  • 1/2 C strawberries, frozen
  • 1/4 C blueberries, frozen
  • 1/2 C blueberries, fresh
  • 1 large or 2 small bananas, frozen, broken into chunks
  • 1 T honey
  • 1 C greens (swiss chard, spinach, or kale), roughly chopped
  • 1 t lemon zest
  • 1/2 t fresh basil
Instructions
  1. Combine all ingredients in a blender. Blend to desired consistency (adding more milk if desired).
  2. Freeze leftovers in half pint jars.


Monday

7

July 2014

0

COMMENTS

Fresh Fruit and Basil Stuffed French Toast

Written by , Posted in Bread, Breakfast, Brunch, Dinner, Eggs, Fruit, Herbs, Kid-Friendly, Lunch, Quick and Easy, Sandwiches, Vegetarian

StuffedFrenchToast-9

So far, summer has found me kinda obsessed with lemon zest and basil with summer fruit. I love summer produce! (Ahem, lemons are one of the few fruits/veggies that I will buy out of season – I need lemons all the time!)

I just can’t get enough.

I made two different meals today that included them and have more planned for later in the week.

Since it’s summer and all, (even though it’s felt like summer for two months now!) we’re eating all things warm weather inspired. Drinks are summerysalads are, well, in and of themselves summery, so they don’t really need any help there… and French toast is a perfect summer lunch (or breakfast or dinner… you choose).

StuffedFrenchToast-1

I made this for one, feel free to double or quadruple the recipe, and share with friends and family. Since it was for one, I just needed a single egg. You can kinda play with the egg mixture depending on how soggy you want the bread to be when it goes into the pan. For my taste, this was just perfect. (Any extra eggs when you’re done: scramble and serve alongside the French toast).

StuffedFrenchToast-3

If you don’t like peanut butter, any nut butter will do.

If you don’t like nut butters, can’t eat them, don’t feel like it, you can totally omit this step.

For those that do (me me me!), it’s going on the inside of the stuffed toast… It’s gon’ be good!

StuffedFrenchToast-2

The PB is topped with whatever seasonal fruit you have on hand. I used blueberries and peaches. You could use plums, apricots, strawberries, blackberries, raspberries… or in the winter, mix it up and do apples, pears, persimmons… this is a flexible dish.

StuffedFrenchToast-4

Lemon zest and basil are sprinkled over the peanut buttery fruited bread that’s still soaking up the egg. Be careful when you flip it over to let the other side soak too, if you left it for too long it may be pretty soggy (cough cough, I did that).

StuffedFrenchToast-5

I stood by the window and cooked this up in some coconut oil while I watched the tree branches sway in the summer breeze.

This picture, with the light from the window streaming in, makes me happy.

StuffedFrenchToast-6

If you like maple syrup, glug it on. Mmmm syrup.

StuffedFrenchToast-7

I squeezed a lemon slice over top. I wanted a bit more citrus. With the basil, berries, peaches, and zest, this French Toast is so bright, light, and cheerful. I just love it!

StuffedFrenchToast-8

I didn’t save you any. I’m sorry. You’ll have to make your own. 😉

Happy Eating!

Fresh Fruit and Basil Stuffed French Toast
Recipe Type: Breakfast, Lunch, Dinner, Main Dish, Quick and Easy, Fruit, Eggs, Vegetarian, Herbs
Author: Rachel Oberg – De Ma Cuisine
Serves: 1
Ingredients
  • 1 egg
  • 1 T milk
  • pinch salt
  • 1 T peanut butter
  • 2 slices bread
  • 1/4 C peach, thinly sliced, divided
  • 1/4 C blueberries, divided
  • 1/4 t lemon zest, divided
  • 1/2 t fresh basil, chopped, divided
  • 1 T coconut oil
  • maple syrup, for topping
  • lemon slice, for topping
Instructions
  1. In a shallow bowl, whisk egg with milk and salt.
  2. Spread peanut butter onto one piece of bread. Place un-peanut buttered side down into the egg mixture and top with some of the peach, blueberry, lemon zest, and basil. Top with the second slice of bread. Squish down and flip, so second slice absorbs remaining egg.
  3. Heat skillet. Add coconut oil. When oil is hot, add eggy bread. Cover and cook over medium-low heat for 3-4 minutes. Flip and cook for 3-5 minutes more, or until it’s done.
  4. Serve topped with remaining peaches, blueberries, zest, basil, a drizzle of maple syrup, and a squeeze of lemon juice.
3.2.1303

Thursday

3

July 2014

0

COMMENTS

Honey and Maple Syrup Sweetened Berry Jam

Written by , Posted in Breakfast, Brunch, Canning, Condiments, Dairy-Free, Dessert, Fruit, Gluten Free, Kid-Friendly, Vegetarian

StrawberryJamSecondTime-5One of my favorite things about summer is the fruit. The nectarines are amazing, the plums are incredible, and the berries… they are the best!

We had raspberries in the garden growing up, so they are my emotional favorite. Tim’s family has blackberries, so they’re a favorite too. But there’s just something about blueberries and strawberries… I love ’em.

I’m always so sad when their season ends (as it is ending now). I’m thankful for the others, don’t get me wrong. But, I want berry season to last as long as possible.

BlueberryJam-2

There are plenty of ways to preserve these summer treasures. You can freeze washed berries, pitted cherries, and halved stone fruit on a baking sheet, and then pop them into a bag. You can make tons of crisps and cobblers and wrap them up really well and freeze them for November. You can make sauces and smoothies to be pulled out when the weather has turned cold.

And, you can make jam.

Last summer I decided that I would try. Surprisingly, it turned out. The catch was that I wanted to make it sans pectin and sugar. I didn’t know if you could, but I wanted to.

And I did.

I made three kinds: cherry, strawberry, and blueberry.

We ran out a few months ago. This year, I don’t intend to run out. So I made a ton. First strawberry (which follows the same recipe), then blueberry.

StrawberryJamSecondTime-4

Before you start, make sure you have clean jars and lids (the lid is the flat piece, and is not re-useable if you want them to seal, the band is the part that wraps around the jar and screws into place).

I don’t have a dishwasher, so I used a pot of boiling water and boiled for about ten minutes.

StrawberryJamSecondTime-3

I love lemon zest, so I opted to add a bunch for a hint of brightness, instead of only using lemon juice.

In general, if possible, any time I use a lemon, I zest it first. Why waste such goodness?! If there’s any extra, it goes into the freezer.

StrawberryJamSecondTime-2

Strawberry jam is a bit more of a process than blueberry. There’s hulling and chopping involved. 

It’s gonna be messy.

But it’s worth it.

StrawberryJamSecondTime-6

When I was making the strawberry, I forgot how much the stuff bubbles up. I had to move it to two pots, since the one was a bit too small.

I was wiser with the blueberries.

BlueberryJam-3

BlueberryJam-4

It’s not going to be thick thick, like jam made with pectin. But, it will thicken up a bit. Cook it until it’s as thick as you want it (you can test it by putting a plate in the freezer and putting a dollop of jam on it so it will cool quickly, then test to see how runny it is), even if that’s longer than the time listed in the recipe.

StrawberryJamSecondTime-1

BlueberryJam-5

Jars are filled and left to cool on the counter for a bit. You should hear the lids popping as they seal. Sealed or not, I like to store them in the freezer (after fully cooling in the fridge), even after they’re opened. (There are different opinions on how long properly canned homemade jam will last unrefrigerated. (1) Since I didn’t pressure cook or process the jam in boiling water after adding it to the jars, I opted to be extra safe and keep them in the freezer, even if they did seal. In my experience, they have lasted as long as it took to consume them – less than a year, in the freezer. I hope that this summer’s batch will last more than a year, stored in the freezer. Once opened, stored in the fridge, they usually are fine for a month or two, maybe more. Just keep an eye out for mold. Jams with less sugar and that aren’t commercially prepared tend to have a shorter shelf life. (1) So be mindful of that, and whether or not you have pressure cooked them, when deciding where to store them.)

This jam is perfect for the usual toast or English muffin, to top ice cream, or to be eaten by the spoonful by a hungry food blogger.

Happy Eating! 

Blueberry or Strawberry Jam
Recipe Type: Condiment, Fruit, Preserving, Canning
Author: Rachel Oberg – De Ma Cuisine
Ingredients
  • 12 C blueberries or strawberries (strawberries: hulled and chopped)
  • 4 C honey
  • 1 C maple syrup
  • 3 T lemon zest
  • 3/4 C lemon juice
Instructions
  1. Bring berries through lemon zest to a boil. Mash with a potato masher. Once it comes to a rapid boil, cook for 3-5 minutes.
  2. Reduce heat to a simmer and cook for about 20 minutes.
  3. Remove from heat, stir in lemon juice, and let stand for 5 minutes.
  4. Ladle into jars, leaving about 1/2″ of space at the top. Cover with the lid and let stand for 15-30 minutes.
  5. Store at room temperature if they’ve sealed, or in the freezer if they haven’t (or if you just want to).
  6. Makes about 6 pints (or 12 half pints).
Notes
To sanitize jars, place in a large pot and cover with water (about 1 inch over the top of jars). Bring to a boil and boil for about 10 minutes.
3.2.1303

(1) I have referenced this site for information on the shelf life of jam.