De Ma Cuisine

legumes Archive

Monday

10

August 2015

0

COMMENTS

Chile Pepper Poppers

Written by , Posted in Appetizers, Cheese, Dairy-Free, Dinner, Gluten Free, Grains, Herbs, Legumes, Lentils, Quinoa, Rice, Roasting, Sides, Vegan, Vegetables, Vegetarian

StuffedHotPeppers-4

Try saying “chile pepper poppers” over and over again. I like how it feels to say it. Kinda like how I like the feel of the word “cake”. I think I like the word “cake” more than I actually like cake itself.

I’m done now.

I’ve seen different varieties of pepper poppers before, but never actually tried to make them. They’re often filled with cheese. Yum! But, I wondered if maybe they could be filled with something a little more nutrient dense. Cheese, I’m down with, but let’s add a little more.

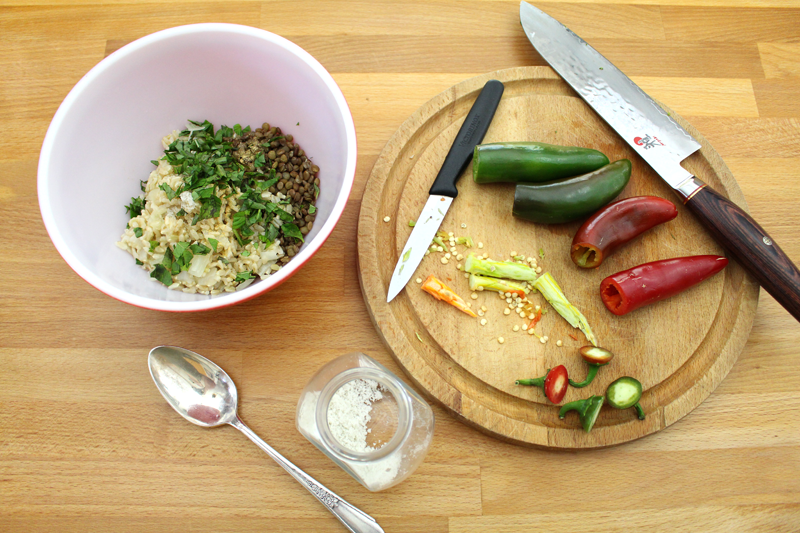
StuffedHotPeppers-1

I opted for green lentils, which I’m totally digging right now, and brown rice.  Along with mint and basil for a cool and fresh taste.

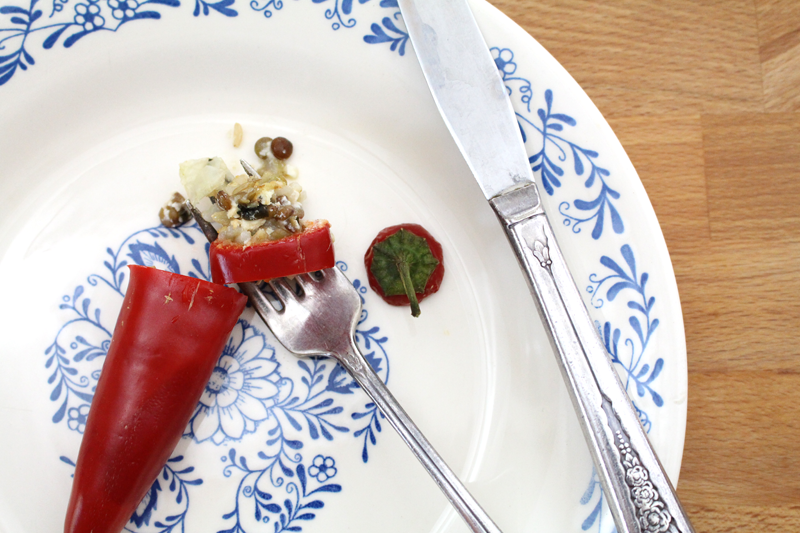
I used jalapeños this time. And to be honest, for me, they were too spicy. But, I used what I had on hand (and then drank a big glass of milk after I ate a whole one and my mouth burned up). Next time, I’d opt for a much milder pepper.

The tricky thing about these is since the pepper is staying almost whole, it’s hard to be sure that all the ribs and seeds are gone. I mean, I did the best I could, but there might have been more heat left in there then if I’d halved it and taken the ribs and seeds out that way.

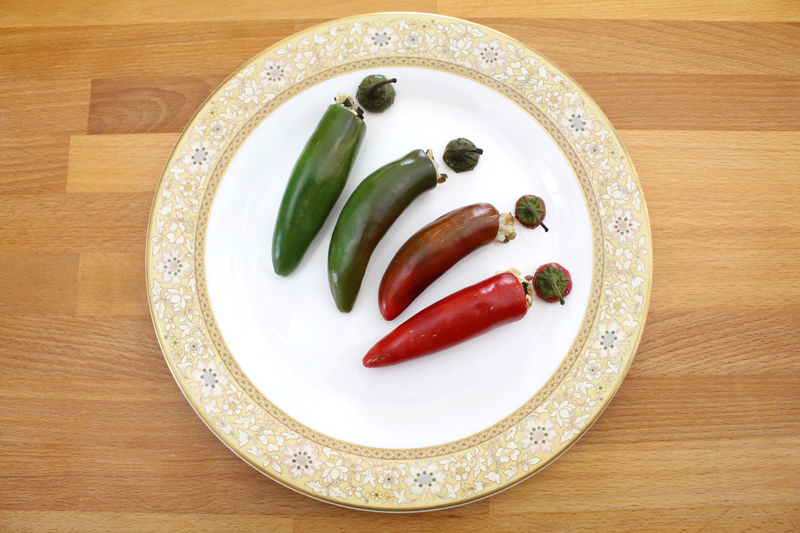
On the Scoville scale, Chipotle, Fresno peppers, jalapeños, and wax peppers (like the Hungarian wax pepper) are rated at 3,500-10,000 Scoville Heat Units. Milder peppers are: Jalapeños (yes, they appear in two categories), Anaheim peppers, and poblano peppers (or ancho), at 1,000-4,000 SHU. And milder still: banana peppers, peperoncini, and pimentos come in at 100-900. Bell peppers are rated at a 0. The spectrum ranges from a pepper called the Carolina reaper at 2,200,000 SHU to the banana, paprika, Cubanelle, peperoncini, and pimento peppers are 100-900 SHU. (1) That’s a big range.

I use jalapeños all the time, buuuuut I don’t usually (ever) eat a whole one… in one sitting… in a three minute time period. They’re usually diced and added to dips, or Succotash, or Tacos. The heat is dispersed.

Next time I’d probably choose an Anaheim pepper or something even milder. A bell pepper would be nice. Or if you’ve got more tomatoes than you know what to do with, stuff those.

Lesson learned.

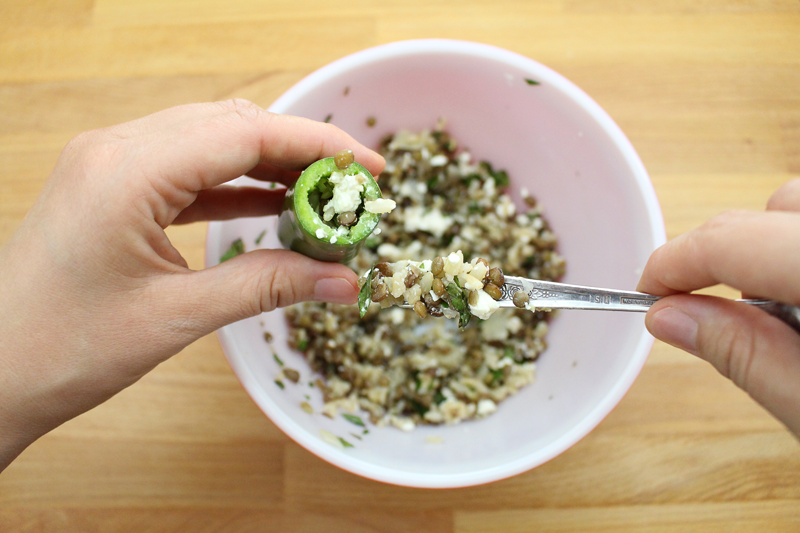
StuffedHotPeppers-2

I’m usually ok on my own for these posts. I’ve figured out how to photograph with one hand, while the other works. But today I needed both hands, and I needed a picture of it from above. I did consider trying to hold the camera with my chin and shoulder. I thought better of it and asked Tim, who now does freelance work from home too, for help instead. (Don’t tell him what I was thinking of doing, m’kay? 😉 )

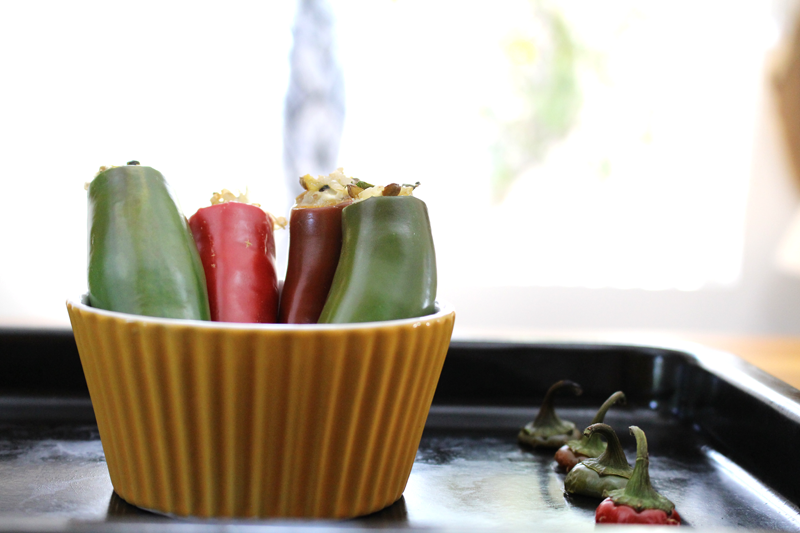
StuffedHotPeppers-3

Once I settled on trying to shove the filling in with the handle of a spoon (after a few failed attempts with other utensils), I got the poppers roasting. I opted for the toaster oven, since it’s one bazillion degrees out right now. And my toaster oven opted to crap out on me, resulting in partially roasted pepper poppers. But, they were done enough, they were hot and bubbly, just not quite as soft as I would have liked (hence the 30-60 minute suggestion in the recipe – that way you can have ’em how you want ’em).

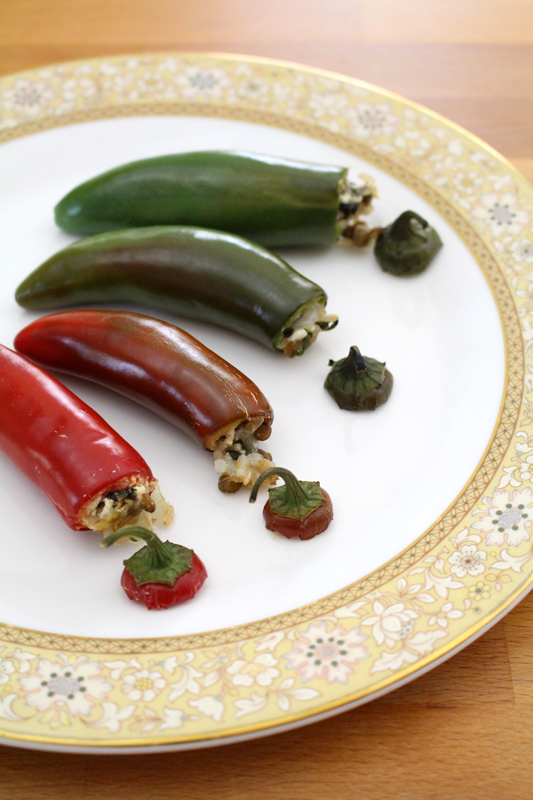
StuffedHotPeppers-5

With the right pepper for you, these are a nice little treat. Appetizer, lunch, side at dinner… There was a lot more filling than I ended up needing. But, I chopped up the leftover peppers, with filling, and added them to some green beans and summer squash that were sautéeing in olive oil. The filling got a little crispy (which makes me happy), the chopped up peppers added just a kick of heat, the lentils were there for protein, the rice to get in some grains. Oh and then I topped it with a fried egg. So, I’d make all the filling, if you’re ok with leftovers*. You can pop it in the freezer if you’re not going to eat it in a few days. Winner winner we just made tomorrow’s dinner.

StuffedHotPeppers-6

Happy Eating!

Chile Pepper Poppers

Prep Time: 15 minutes

Cook Time: 1 hour, 30 minutes

Total Time: 1 hour, 45 minutes

Yield: 3-5 (chile peppers) or 2-4 (bell peppers)

Serving Size: 2 chile peppers or 1 bell pepper

Chile Pepper Poppers

Ingredients

  • 1/2 C uncooked green lentils (need about 1/2 C cooked)
  • 1 1/2 C water
  • 1/2 C uncooked brown rice (or quinoa) (need about 1/2 C cooked)
  • 1 C water
  • 1 C onion (or shallot), chopped
  • to taste salt
  • pinch ginger
  • 1 T fresh Thai basil (or any variety basil), chopped
  • 1 T fresh mint, chopped
  • 1-2 T feta or extra firm tofu, crumbled
  • 6-10 large hot peppers* (or 2-4 bell peppers), stem sliced off, ribs and seeds removed using a paring knife (do not use fingernails)

Instructions

  1. Cook lentils with water (about 15-20 minutes, or according to package's instructions) (don't overcook). Drain if there is extra water.
  2. Cook rice (according to package's instructions), after about 15 minutes stir in onions. Continue to cook until rice is done (don't overcook).
  3. Pre-heat the oven to 350F.
  4. Mix lentils and rice with salt through mint. Taste and adjust seasoning if needed. Mix in feta or tofu. Stuff into peppers using the end of a spoon. Stand in a small ramekin (and place on a baking sheet) or lay flat on a baking sheet (some filling may spill out). Roast for about 30-60 minutes, or until peppers have softened slightly.

Notes

Filling may yield more than needed. Leftovers are great reheated in a skillet with some olive oil, veggies, and topped with a fried egg or piece of crispy tofu. *Use peppers as hot as you would like. On the Scoville scale, Chipotle, Fresno peppers, jalapeños, and wax peppers (like Hungarian wax pepper) are rated at 3,500-10,000 Scoville Heat Units. Milder peppers are: Jalapeños, Anaheim peppers, poblano (or ancho), at 1,000-4,000 SHU. And milder still: banana peppers, peperoncini, and pimentos come in at 100-900. Bell peppers are rated at a 0.

http://www.de-ma-cuisine.com/chile-pepper-poppers/

*To cool leftover rice, here’s what I like to do: Let it cool on the counter for a bit, then put it in the fridge, stirring every once in a while, keeping it fluffy (and not too packed into the container so it will cool properly).

(1) https://en.wikipedia.org/wiki/Scoville_scale

Monday

15

June 2015

0

COMMENTS

Bean and Veggie Mélange

Written by , Posted in Appetizers, Beans, Breakfast, Brunch, Dairy-Free, Dinner, Fruit, Gluten Free, Herbs, Legumes, Lunch, Potlucks, Quick and Easy, Salads, Sides, Snacks, Vegan, Vegetables, Vegetarian

BeanVeggieSaladDip-7

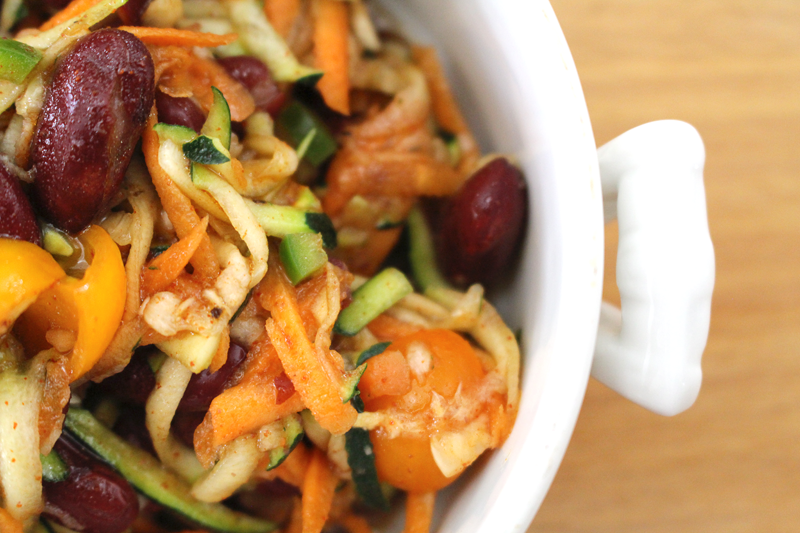
I called this a “mélange”, which is French for “mixture”. It seems so versatile that I don’t want to limit it by calling it a dip or a salad. A dip implies the need for some sort of scooper. Corn chips would work well. I’m planning to try this tonight. A salad or a side implies that it’s a dish meant to compliment something else. Served alongside some grilled chicken or pan seared tofu would be fabulous. It could be a topping for brown rice/quinoa/bulgur wheat, breakfast burritos, fried eggs, or crispy potatoes. It could be a part of a taco salad. It could become an appetizer and top a garlic rubbed crostini.

This makes enough for about 4-5 servings, so I’m looking forward to trying as many of these as possible.

BeanVeggieSaladDip-1

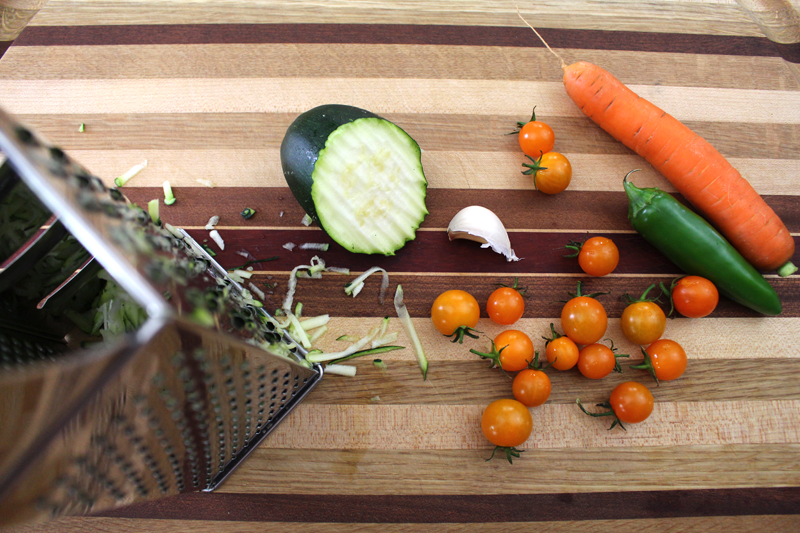
The magic all starts with the fruits and veggies. I chose summer squash, carrot, garlic, jalapeño, and these fabulous Kingsburg Gold cherry tomatoes that I’ve been waiting a year for.

Seriously.

Cherry tomatoes are one of my favorite things about summer. They bring back memories of eating tomatoes, still warm from the sun, from our garden when I was growing up. No matter how large or small my garden is, I always try to grow tomatoes. I plan to save some seeds from these Kingsburg Golds to plant next year.

If you want to swap out any of the veggies, I have a few suggestions: eggplant (finely chopped), corn (fresh off the cob), bell pepper (in place of or in addition to the jalapeño), red onion (I don’t have any on hand, or I would have added it), radish (finely grated – don’t use too much so it doesn’t overpower), and avocado (ripe, but not too).

BeanVeggieSaladDip-2

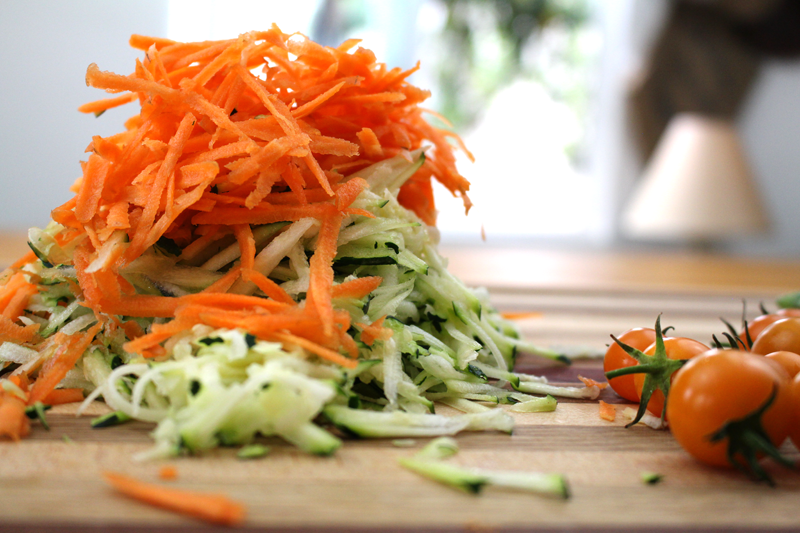
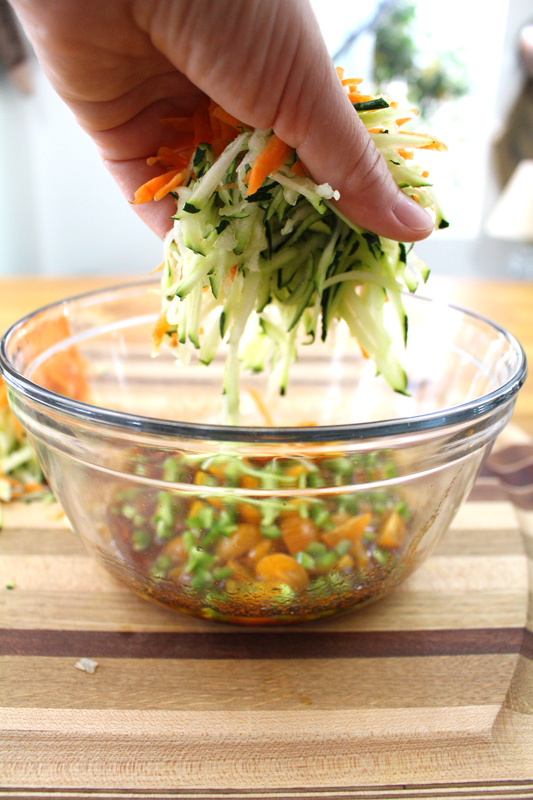
I like to grate carrots when they’re in a salad or a dip. I thought they’d be easier to scoop up than chunks. Plus they’re a little less in your face with the crunch. Grating tames them a bit. If you like chunks, chop away.

BeanVeggieSaladDip-3

It’s all so super simple. A quick oil and vinegar dressing with some paprika for fun flavor. It’s one of my favorite spices. If you don’t love it, chili powder would be great, cumin could be good, or you could just stick to salt and pepper and add a few fresh herbs (like basil and parsley, and maybe even cilantro).

BeanVeggieSaladDip-4

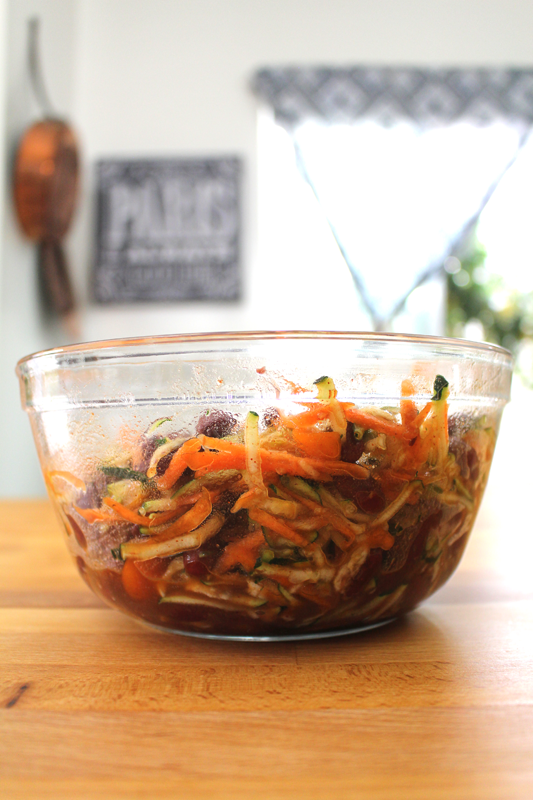
Everyone gets tossed around, then they get to stand for a few minutes to marinate a bit.

BeanVeggieSaladDip-5

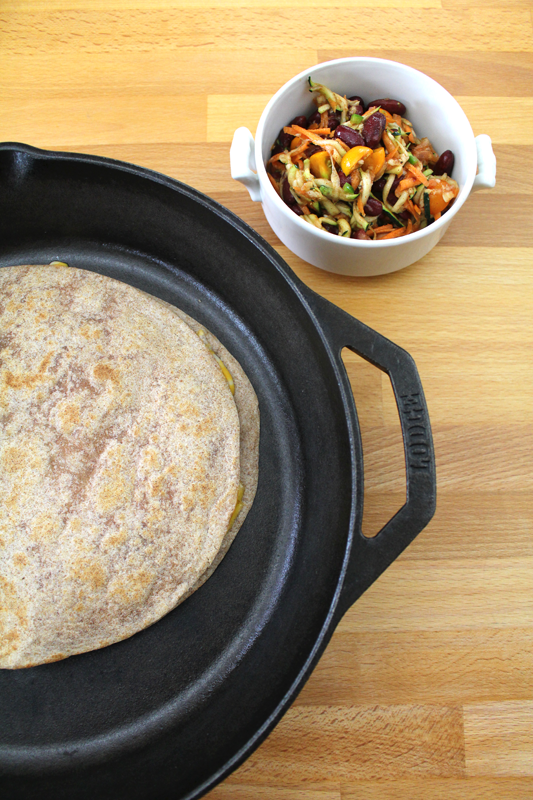
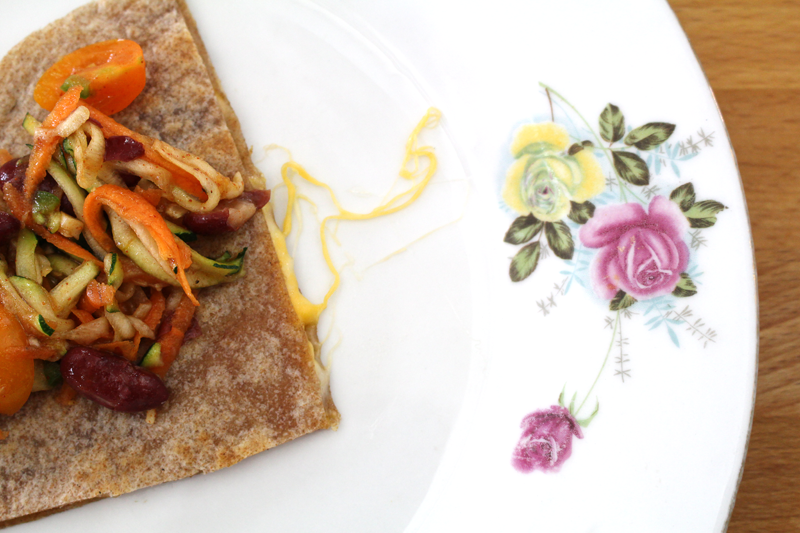
We ate this for lunch with plain old cheese quesadillas. The fridge is a little bare right now, so we’re all out of the usual quesadilla toppings (salsa and Greek yogurt). But, let me tell you, I may just skip them from now on. I liked this better.

BeanVeggieSaladDip-6

I think dinner tonight will be corn chips with this little mélange. That counts as dinner, right? And then breakfast burritos tomorrow… I wonder if I’ll ever get sick of it. 😉

Happy Eating

Bean and Veggie Mélange

Prep Time: 10 minutes

Total Time: 10 minutes

Yield: 4

Bean and Veggie Mélange

Ingredients

  • 2-3 T balsamic vinegar
  • 1 clove garlic, minced
  • 2 T chives, minced
  • 1 t paprika
  • to taste salt
  • to taste pepper
  • 2-3 T olive oil
  • 1 1/2 - 2 C beans (black, kidney, white, garbonzo), drained and rinsed if canned, cooked and cooled if dried
  • 2 C zucchini, grated
  • 1 C carrot, grated
  • 1/2 to 1 C tomatoes, chopped
  • 1/2 jalapeño (about 1-2 T - use more for more heat), ribs and seeds removed if desired, minced
  • could also add: bell pepper, red onion, radish, corn, avocado, or eggplant

Instructions

  1. Whisk together balsamic through pepper. Stream in olive oil as you whisk some more.
  2. Toss beans and veggies with dressing. Taste and adjust seasoning if needed.
  3. Let stand about 10 minutes before serving.

Notes

Wash hands after cutting jalapeño and be careful not to touch eyes while cutting. Serve this dish on its own, as a side, or with corn chips for dipping. Use it to top rice/quinoa/bulgur wheat, breakfast burritos, fried eggs, crispy potatoes, taco salad, or crostini.

http://www.de-ma-cuisine.com/bean-and-veggie-melange/

Thursday

28

May 2015

0

COMMENTS

Customizable Panzanella Salad

Written by , Posted in Beans, Beef, Bread, Cheese, Condiments, Dairy-Free, Dinner, Eggs, Fish, Fruit, Gluten Free, Grains, Herbs, Legumes, Low Carb, Lunch, Main Dishes, Meat, Nuts, Pork, Poultry, Quick and Easy, Quinoa, Salads, Sides, Toasting, Vegan, Vegetables, Vegetarian

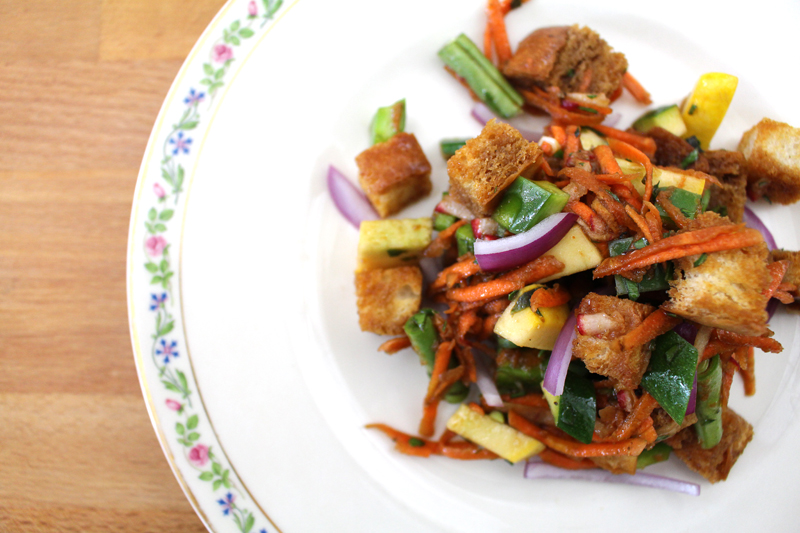
PanzanellaSalad2015-6

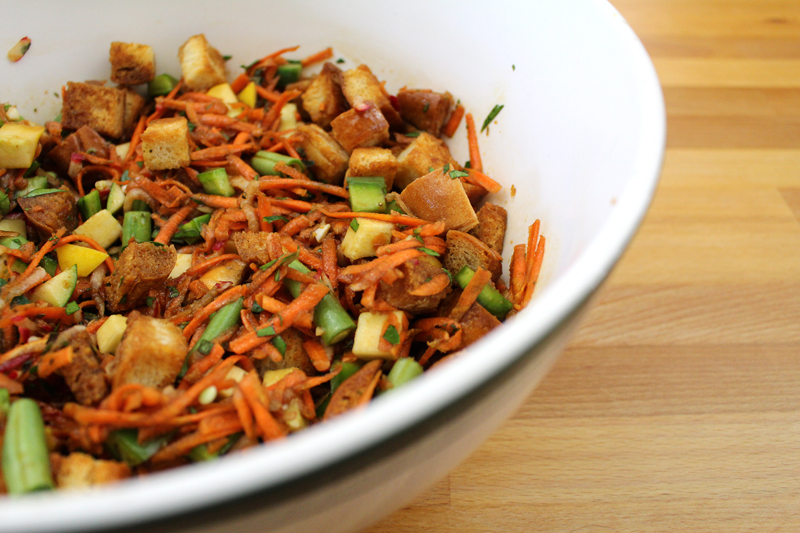
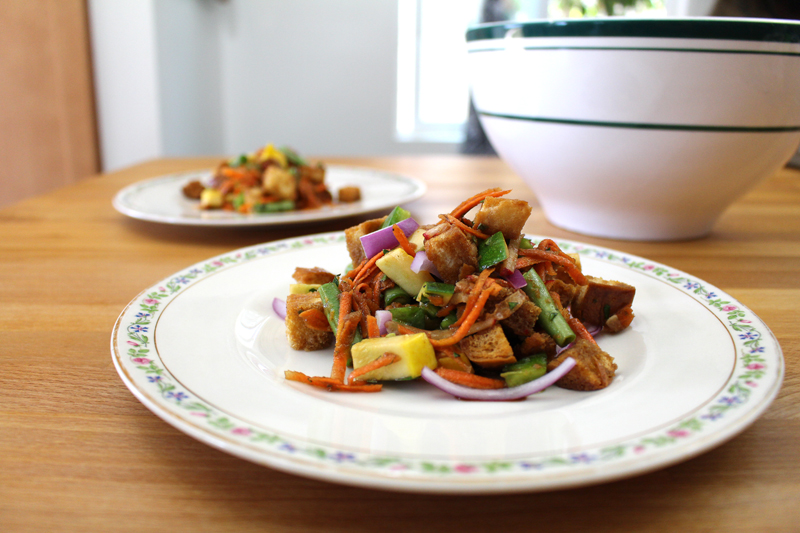
There are so many things that this salad can be. It can be vegan, paleo, low-carb, gluten-free, high-protein… It all depends on what you add to it.

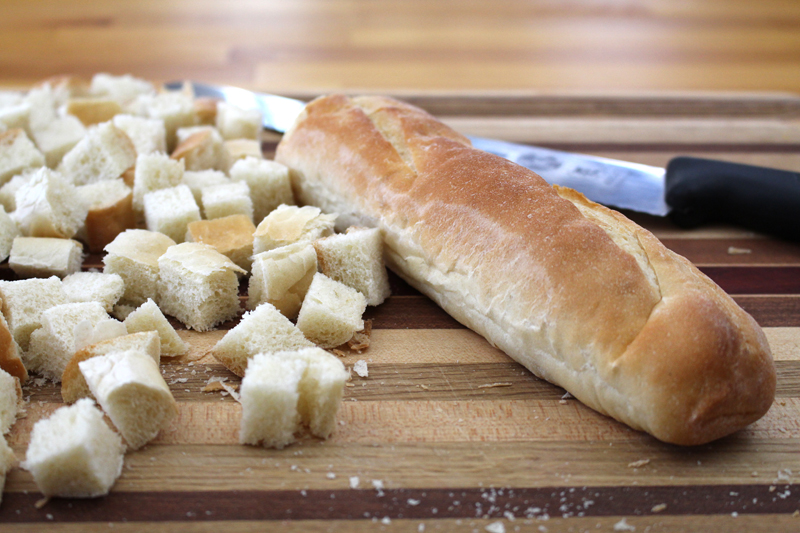
PanzanellaSalad2015-1

I made some baguettes a few weeks ago that I wasn’t thrilled with. They’re prefect for croutons though. If you prefer to avoid bread, quinoa or tofu would be great bread replacers. Or, if you’re eating gluten-free, your best gluten-free bread will be just perfect.

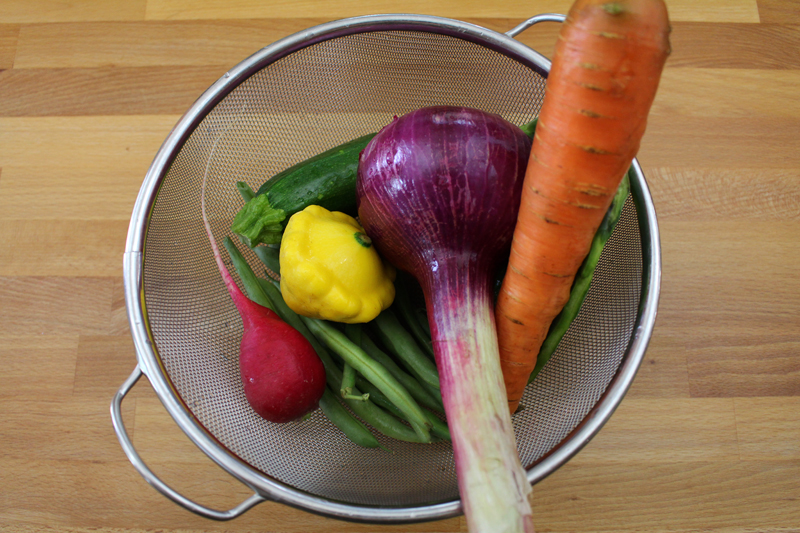
PanzanellaSalad2015-2

To make up the bulk of this salad, I opened this week’s Abundant Harvest Organics box then pulled a few things from the produce drawer. But this is where there are so many ways you can make this salad your own.

Beyond tons of veggie options, here are a few ways you could adapt this dish:

Protein a Plenty: Add beans, quinoa (instead of or alongside the bread), tofu, hard boiled eggs, meat (tuna, beef, chicken, turkey, pork), nuts, cheese.

Paleo: Add eggs, meat, and nuts instead of the bread.

Vegan: Leave as is, or add quinoa or tofu.

Gluten-Free: Use your favorite gluten-free bread, or swap out the bread for quinoa.

All the Veggies: I used nopales, onion, carrot, green beans, radish, and summer squash. You could also add: snap peas, greens, tomatoes, bell peppers, corn, eggplant, cucumber… or any other veggies that are in season and you think would taste great.

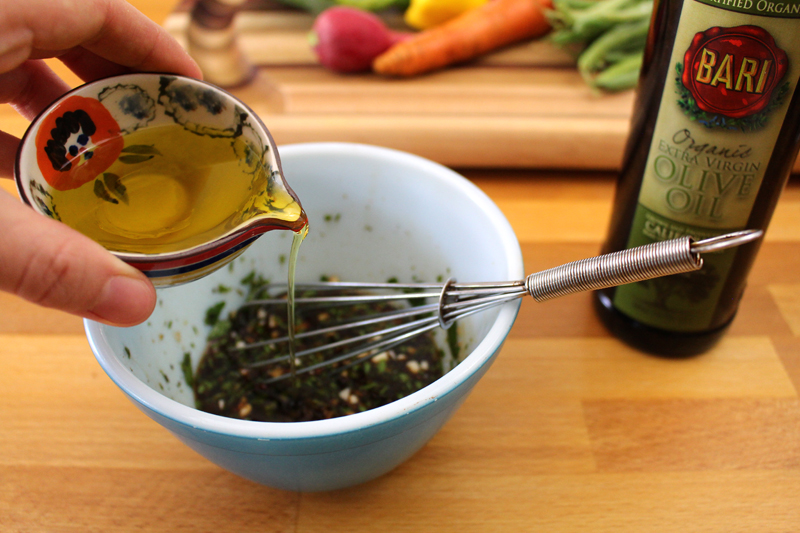
PanzanellaSalad2015-3

I love the combination of a really good quality olive oil like Bari’s along with balsamic vinegar. But, a mixture of red wine vinegar and lemon juice, or balsamic and lemon juice would also be great. Customize it to make it your own!

PanzanellaSalad2015-4

Riiiiiight before serving add the bread. Or to really avoid soggy bread, put the bread on the plate and top it with salad, letting the dressing soak in slowly. The lesson I learned today: only add as much bread as you’re going to eat. The leftovers will get way soggy (#freetofail).

PanzanellaSalad2015-5

This is one of my favorite ways to welcome summer. But, come fall or winter, just trade the summer veggies for some roasted winter ones and you’ve got a winner all year round.

Happy Eating!

Customizable Panzanella Salad

Prep Time: 15 minutes

Cook Time: 15 minutes

Total Time: 30 minutes

Yield: 4

Customizable Panzanella Salad

Ingredients

  • 3-4 C stale bread (any kind - or could sub 2-3 C quinoa or tofu), cubed
  • 1 t olive oil
  • to taste salt
  • to taste pepper
  • 1/4 to 1/2 C balsamic or red wine vinegar (or half vinegar half lemon juice)*
  • 1 1/2 t dijon mustard
  • pinch cayenne (optional)
  • 2 cloves garlic, diced
  • to taste salt
  • to taste pepper
  • 2 T to 1/4 C olive oil*
  • 3-4 T fresh herbs (basil, parsley, chives, oregano, thyme), chopped
  • 4-6 C any of the following (cubed, chopped, grated, or torn): summer squash, nopales, snap peas, green beans, greens, radishes, tomatoes, bell peppers, corn, eggplant, cucumbers, red onions, nuts, hard boiled eggs, nuts, chicken, beef, tuna, pork, mozzarella, parmesan, cannellini beans, garbonzo beans)

Instructions

  1. Pre-heat the oven to 400F. Toss bread with 1 t olive oil, salt, and pepper, Place on a baking sheet, bake for 10 minutes, flip, and bake for about 5 minutes more (or until they're golden and toasty).
  2. Whisk balsamic vinegar through pepper. Stream in oil as you whisk. Taste and adjust seasoning if desired.
  3. Toss salad contents (except bread, if using quinoa or tofu, add it now) with dressing. Add bread just before serving.
http://www.de-ma-cuisine.com/customizable-panzanella-salad/

Monday

18

May 2015

5

COMMENTS

Veggie and Garbanzo Bean Shakshuka

Written by , Posted in Beans, Breakfast, Brunch, Dinner, Eggs, Fruit, Gluten Free, Herbs, Lunch, Main Dishes, One Dish Dinners, Quick and Easy, Vegetables, Vegetarian

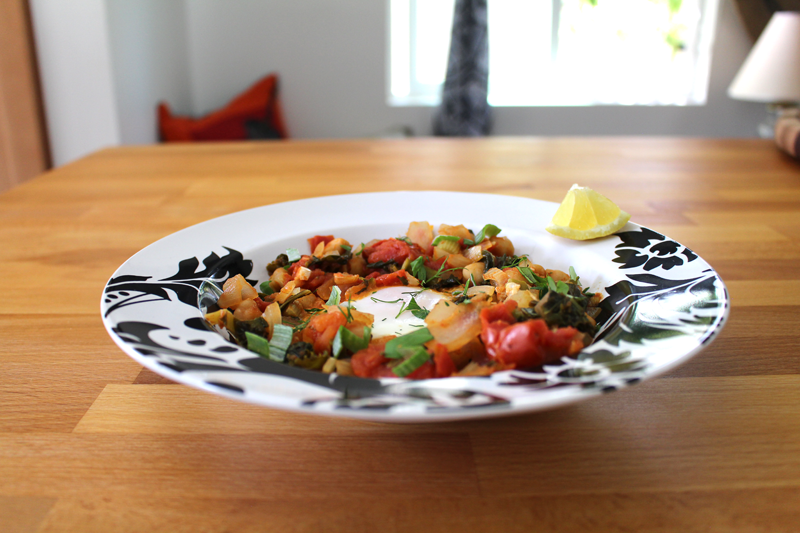
Shakshouka-8

If there’s not a carton of eggs in my refrigerator, I feel a little lost when it comes to meal planning. I use eggs for all of the regular things, like adding them to pancakes, using them in an egg wash for a Chicken Pot Pie or Fish Wellingtons, or whisking them into a silky mayonnaise. But, I also count on them as a staple for our meals.

Fried eggs are one of my favorite foods. I love it when the yolk is still runny (I’m an “over-medium” order) and it spills over the food it’s covering, creating a creamy sauce. They’ve created a way for me to love some foods that I didn’t think I even liked (turnips!). Eggs for the win!

Shakshouka-1

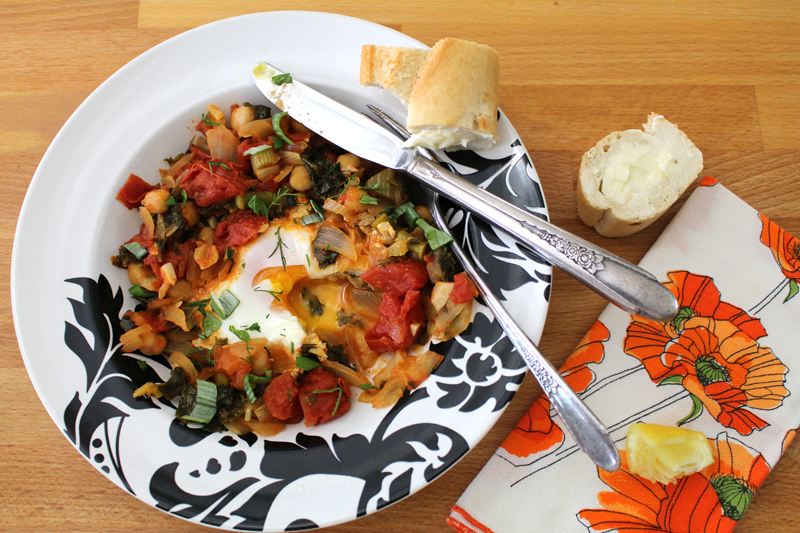
One of the meals I’ve discovered over the past year or so is called Shakshuka. I love it because it feels like an old world dish, similar to peasant food. It’s simple and straightforward, but also super versatile.

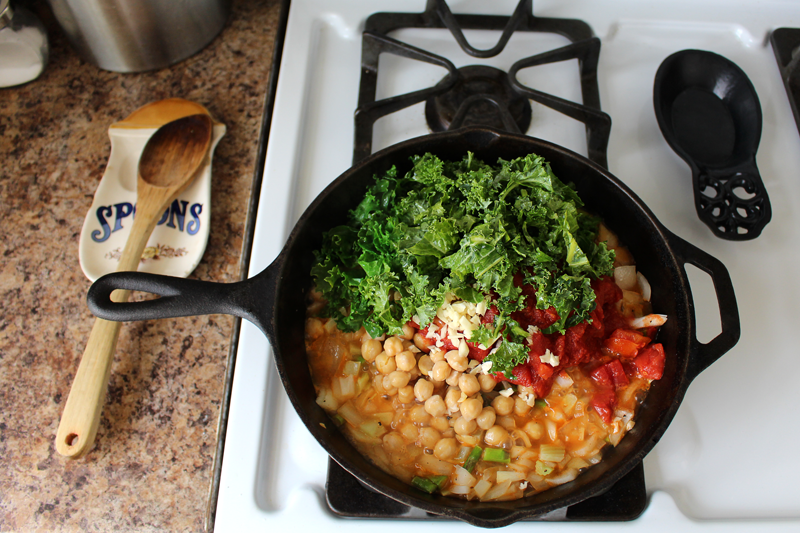
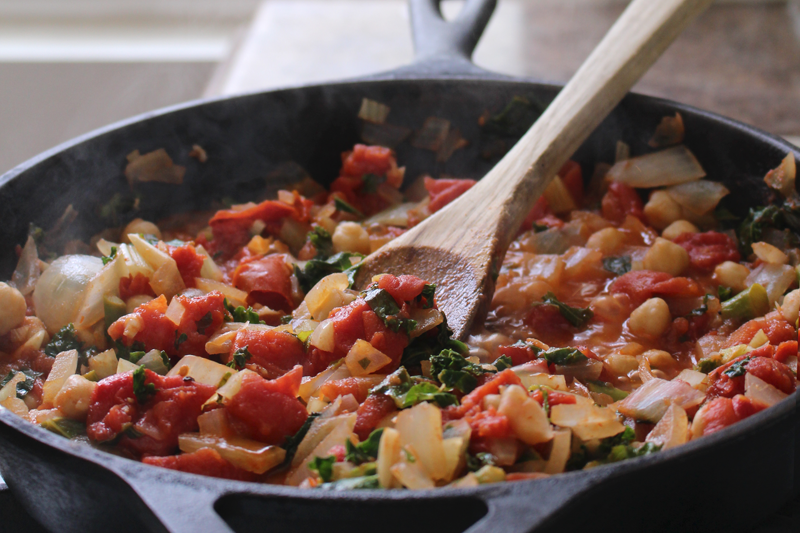
You can make it with just tomatoes, onions, garlic, and olive oil. But, if you want to add more to it, you can add tons of veggies. This time I wanted to pack it with a little extra oomph. I added greens, fennel, and asparagus to the usual. And then, garbonzo beans. It’s a dish that’s loaded with nutrients, protein, and great flavor.

I could eat it everyday.

Shakshouka-3

The veggies and beans don’t need to cook for too long – a little under 20 minutes will do. They just kinda stew there in the olive oil, getting all soft, flavors combining… man I’m hungry!

Shakshouka-4

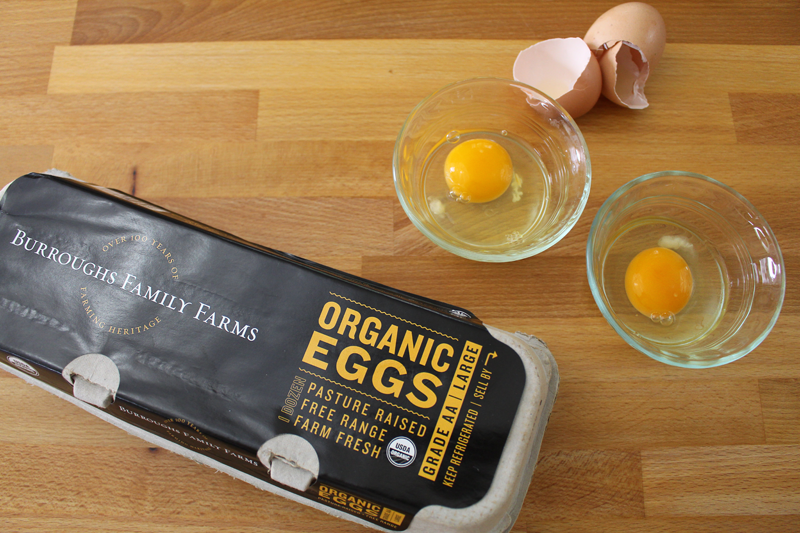
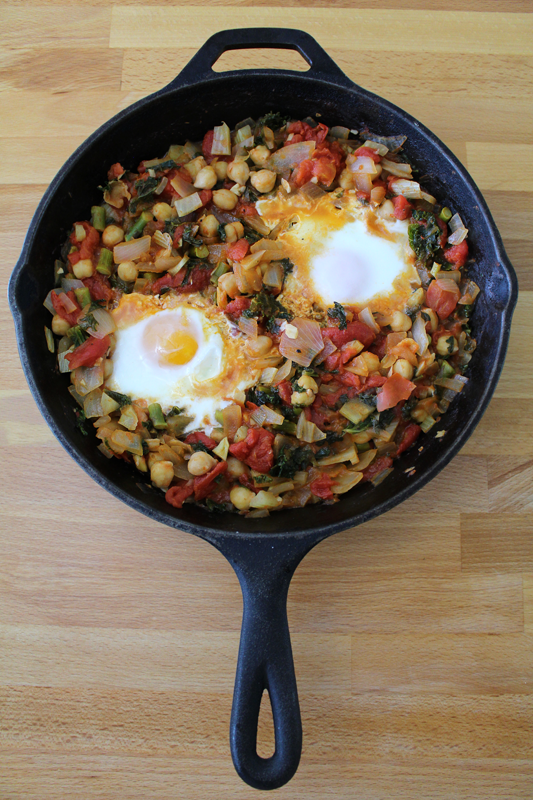
And then the eggs are added. Normally, when I fry eggs, I do it in a screaming hot cast iron. But, since there are other components in the pan, for this dish, I turn the heat down, add the eggs, and cover (so the whites will set).

Shakshouka-5

Eggs, veggies, beans, cast iron… be quiet my grumbling stomach!

Shakshouka-6

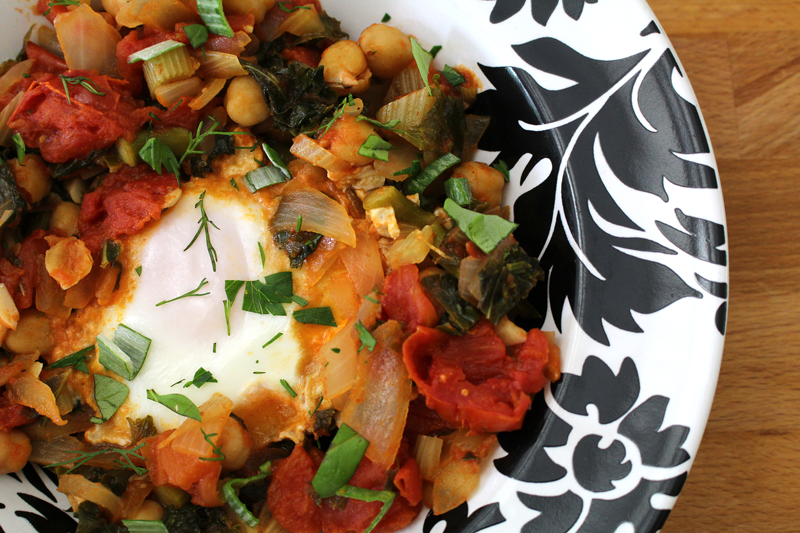
And if you thought things couldn’t get any better, it gets topped with fresh herbs and a squeeze of lemon. That’s what I’m talkin’ about!

Happy Eating!

Veggie and Garbonzo Bean Shakshuka

Prep Time: 10 minutes

Cook Time: 24 minutes

Total Time: 34 minutes

Yield: 2-4

Veggie and Garbonzo Bean Shakshuka

Ingredients

  • 1 T olive oil
  • 1 medium onion or leek, chopped
  • 1 C assorted veggies (like fennel, asparagus, zucchini, eggplant, and mushrooms), chopped
  • to taste salt
  • to taste pepper
  • 2 cloves garlic, chopped
  • 1-2 C tomatoes (fresh or canned), diced
  • 1 C garbonzo beans
  • 2 C greens (chard, kale, collards, spinach etc...), roughly chopped
  • 1-2 eggs/serving
  • to taste salt
  • fresh herbs (dill, parsley, chives, basil), chopped, for serving
  • lemon slices, for serving

Instructions

  1. Heat skillet then add oil. When oil is hot, add onion through pepper. Cook for about 3 minutes over medium-low heat, stirring occasionally.
  2. Add garlic through greens and cook for 10-15 minutes, stirring occasionally. Taste and adjust seasoning if desired.
  3. Turn the heat down to low and make a small well for each egg. Add eggs, one per well. Season with salt. Cook covered until eggs are done (about 3-6 minutes, depending on how runny you like the yolk).
  4. Serve topped with fresh herbs and a squeeze of lemon.
http://www.de-ma-cuisine.com/veggie-and-garbonzo-bean-shakshuka/

Wednesday

18

March 2015

0

COMMENTS

Crispy Tofu with Black Bean Purée and Microgreens

Written by , Posted in Appetizers, Beans, Dairy-Free, Dinner, Fruit, Gluten Free, Herbs, Legumes, Lunch, Main Dishes, Quick and Easy, Sandwiches, Sides, Snacks, Vegan, Vegetables, Vegetarian

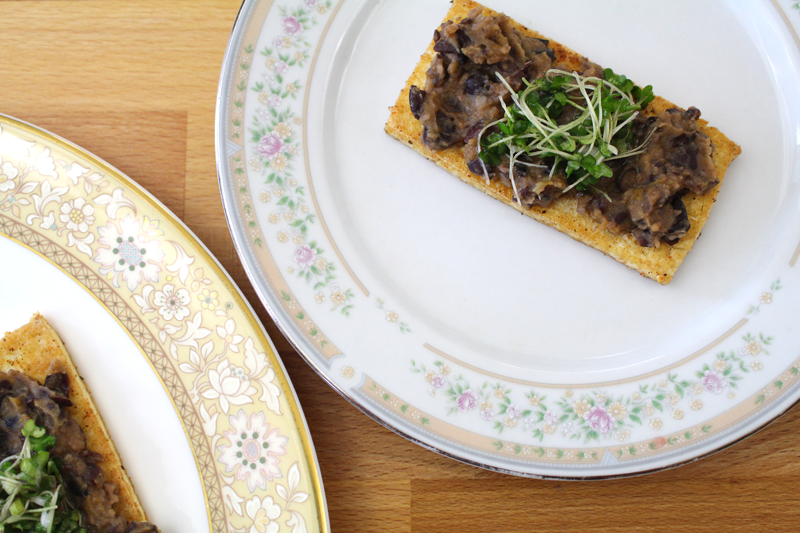
CrispyTofuBlackBeanPureeMicrogreens-8

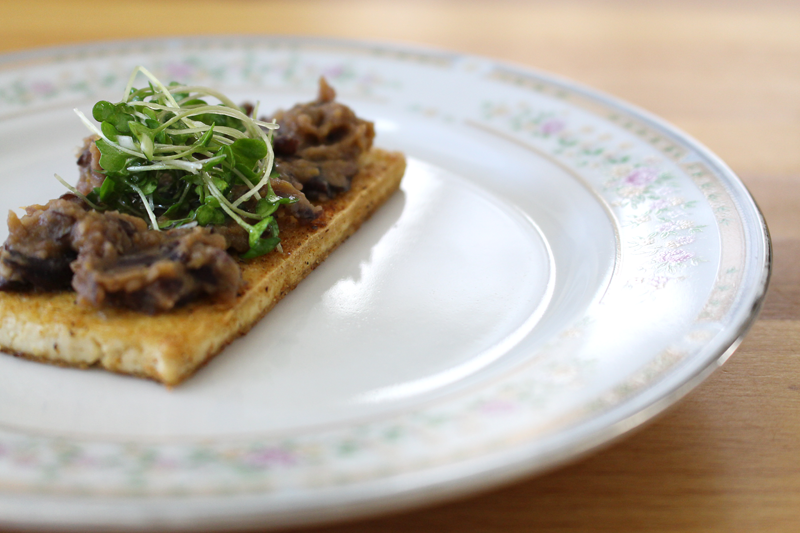
I think of this dish as a sort of open faced sandwich. We eat bread in our house. We also eat gluten. But, there are plenty of folks who don’t. There are also plenty of vegan-loving people out there. This is a shout out to all of you. But, but but but, not just for you GF+V friends! Because let me tell you, as a carnivore and gluten-eater, I loved this meal. So much so that I re-heated the leftovers and ate it again for dinner the day that I made it.

CrispyTofuBlackBeanPureeMicrogreens-1

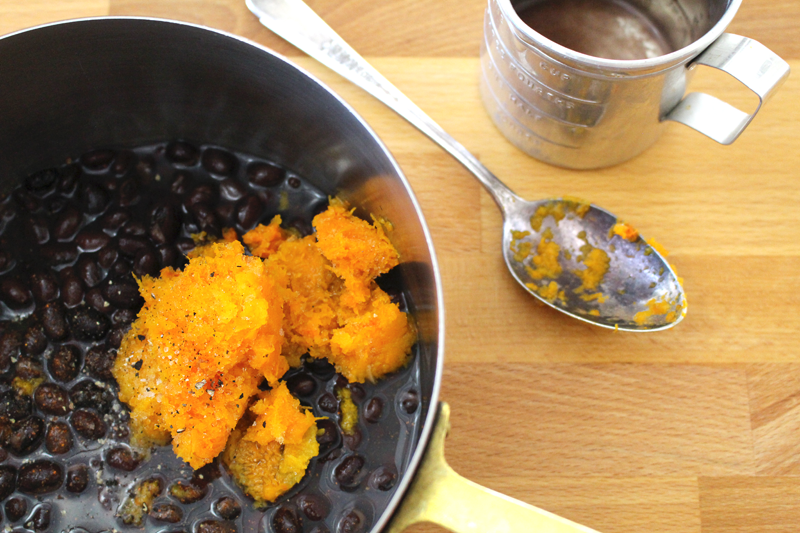
My goal was to make a bean purée (ish) topping. I love to eat beans. They’re full of protein and add so much to most any dish. But, I didn’t want it to taste like I’d just opened a can of beans and mashed them up. So I added things like a touch of lemon and vinegar for acidity and brightness, butternut squash for creamy richness, and cayenne for a hint of spice.

CrispyTofuBlackBeanPureeMicrogreens-2

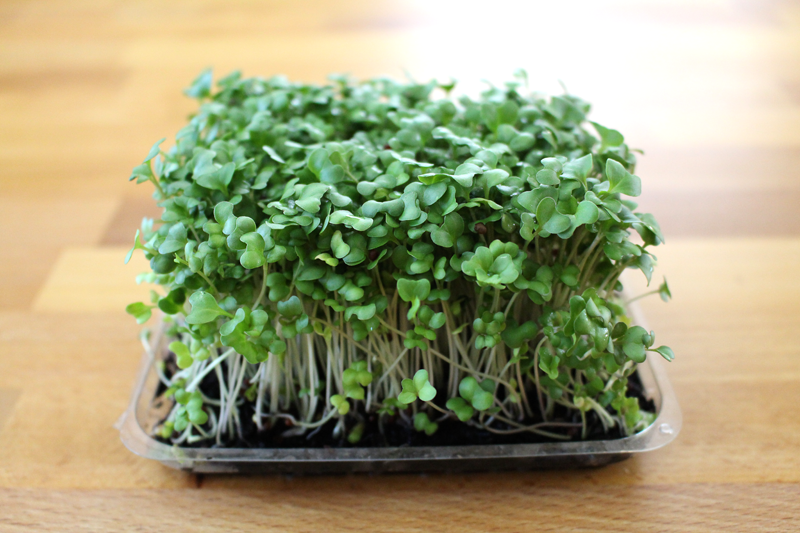
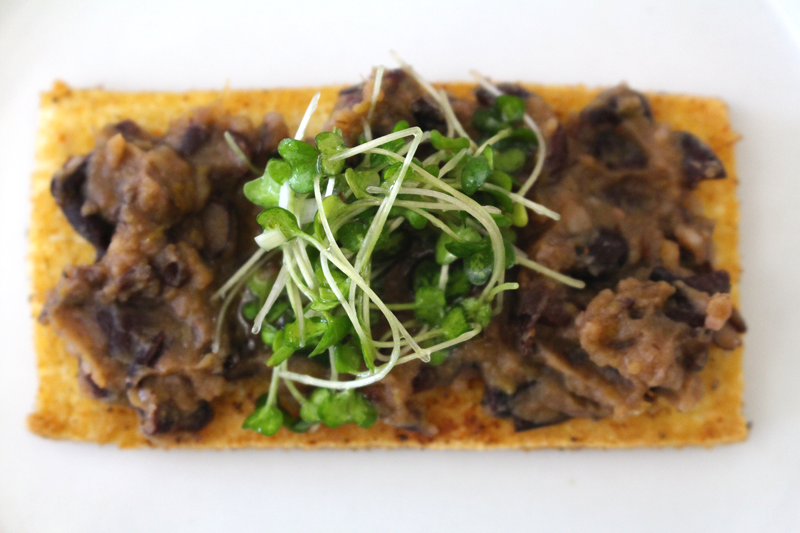
Which all tasted great topped with these super cute microgreens. Hello yum! Hello packed with nutrients!

CrispyTofuBlackBeanPureeMicrogreens-3

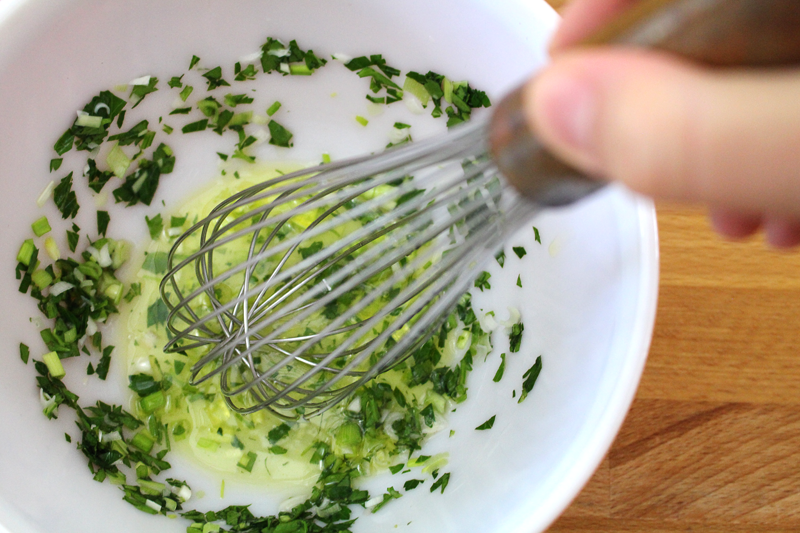
I mixed up a lemony dressing to toss the microgreens in. Note: wait until right before serving to toss them. They will wilt if left too long (lesson learned). If you have extra dressing, just save it for tomorrow’s lunch, use it for drizzling on some soup, or make a double batch of these yummy treats and have a party!

CrispyTofuBlackBeanPureeMicrogreens-4

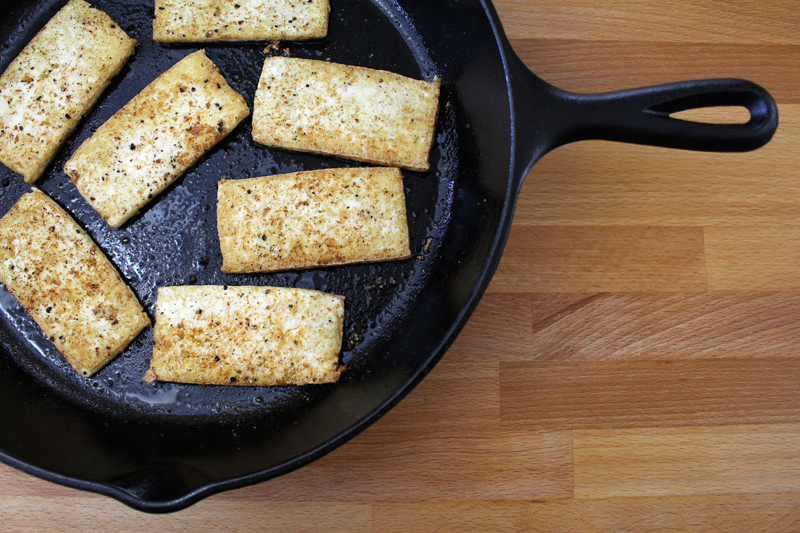
I’m seriously digging crispy pan fried tofu these days. I love to sprinkle it with lots of cayenne and a bit of ginger (plus salt and pepper). In a super hot pan they’ll cook in no time at all.

CrispyTofuBlackBeanPureeMicrogreens-7

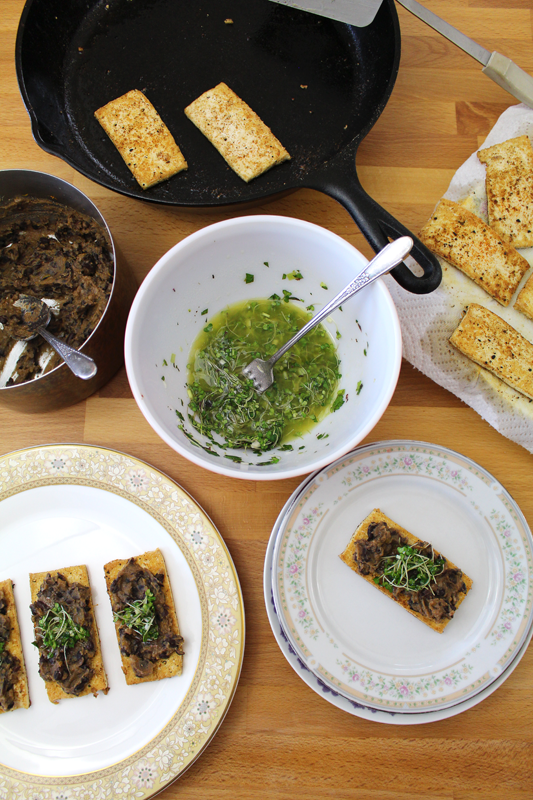
The tofu gets spread with beans and topped with the microgreens (mine were kinda swimming in the dressing, so I had to quickly consume as many as possible – not a problem).

CrispyTofuBlackBeanPureeMicrogreens-5

The perfect little gluten-free, vegan treat for lunch, dinner, snack, appetizer… maybe even for breakfast!

Happy Eating!

Crispy Tofu with Black Bean Purée and Microgreens

Prep Time: 10 minutes

Cook Time: 22 minutes

Total Time: 32 minutes

Yield: 2-3

Crispy Tofu with Black Bean Purée and Microgreens

Ingredients

  • 1 C black beans (if canned, drained and rinsed)
  • 1/4 C water
  • 1 T lemon juice
  • 1 t rice vinegar
  • sprinkle cayenne
  • 1/4 C mashed butternut squash or sweet potato
  • to taste salt
  • to taste pepper
  • 1/4 C lemon juice
  • 1 T parsley, minced
  • 1 t mint, minced
  • 1 T green garlic/green onion/chives/garlic, minced
  • to taste salt
  • 2-3 T olive oil
  • 1-2 C microgreens
  • olive oil, for frying
  • 14 oz. tofu (extra firm or firm)
  • to taste salt
  • to taste pepper
  • to taste cayenne
  • to taste ground ginger

Instructions

  1. Heat beans, water, 1 T lemon juice, rice vinegar, cayenne, squash, salt, and pepper in a saucepan over medium-low heat for about 10 minutes, stirring occasionally. Mash, taste and adjust seasoning if needed, and set aside and keep warm.
  2. Whisk lemon juice, parsley, mint, green garlic, and salt. Stream in olive oil while whisking. Taste and adjust seasoning if needed. Set aside.
  3. Heat a large skillet over medium-high. Add olive oil. Add tofu and sprinkle with salt, pepper, cayenne, and ginger. Cook for about 2-3 minutes per side, or until golden brown and crispy. Work in batches so the pan isn't overcrowded, adding more oil as needed. Set on a paper towel lined plate as they are done.
  4. Spread beans on top of tofu, toss microgreens with dressing (right before serving, being careful not to overdress, as they will get soggy) and place them on top of the beans.
http://www.de-ma-cuisine.com/crispy-tofu-with-black-bean-puree-and-microgreens/