De Ma Cuisine

apples Archive

Monday

6

April 2015

0

COMMENTS

Warm Beet Salad with Fruit and Nuts

Written by , Posted in Cheese, Dairy-Free, Dinner, Fruit, Gluten Free, Herbs, Lunch, Nuts, Quick and Easy, Salads, Sides, Vegan, Vegetables, Vegetarian

SauteedBeetsRicottaNuts-5

It’s spring. It’s time for flip flops and tank tops, warm breezes and sunshine, and a change in fruits and veggies. But, before we get to all things spring, let’s compromise with winter a bit. Let’s ask her to stay a while longer before we rush in to summer.

SauteedBeetsRicottaNuts-1

I want to keep eating beets, oranges, and apples. But, I’m starting to crave salads and lighter foods. So, this dish is a happy medium.

SauteedBeetsRicottaNuts-2

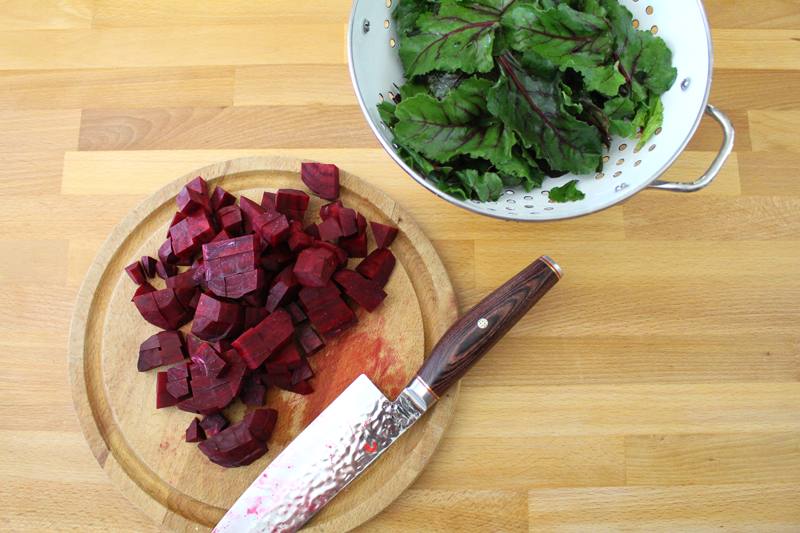
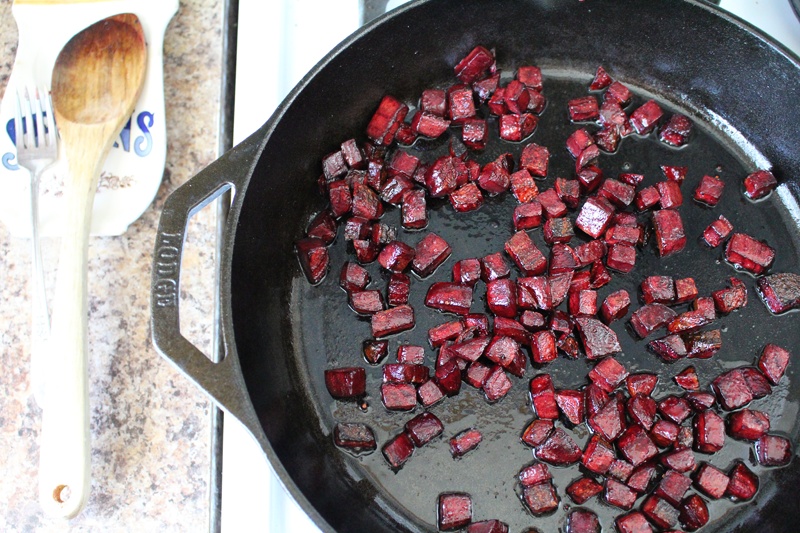
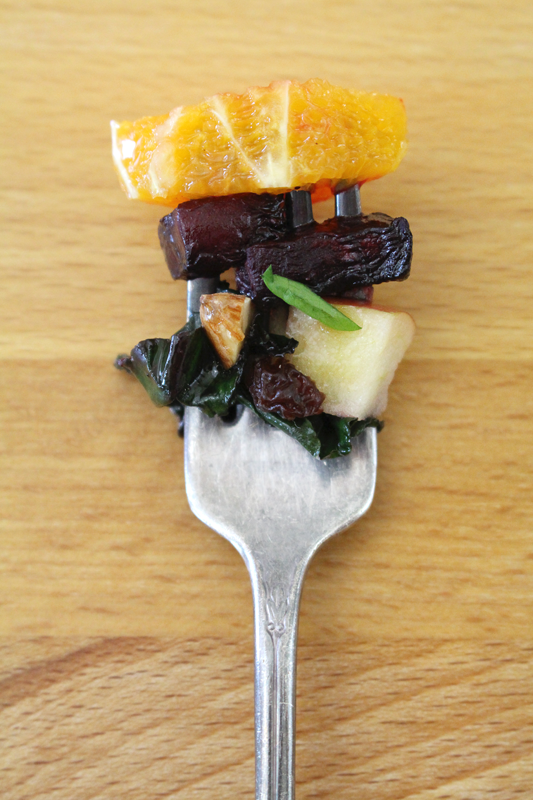
Beets are sautéed in some olive oil with salt and pepper. Simple. They taste similar to the way they do when they’re roasted, with a little less crunch. But, they still retain that kinda crispy outside, tender inside quality that I love for food to take on.

SauteedBeetsRicottaNuts-4

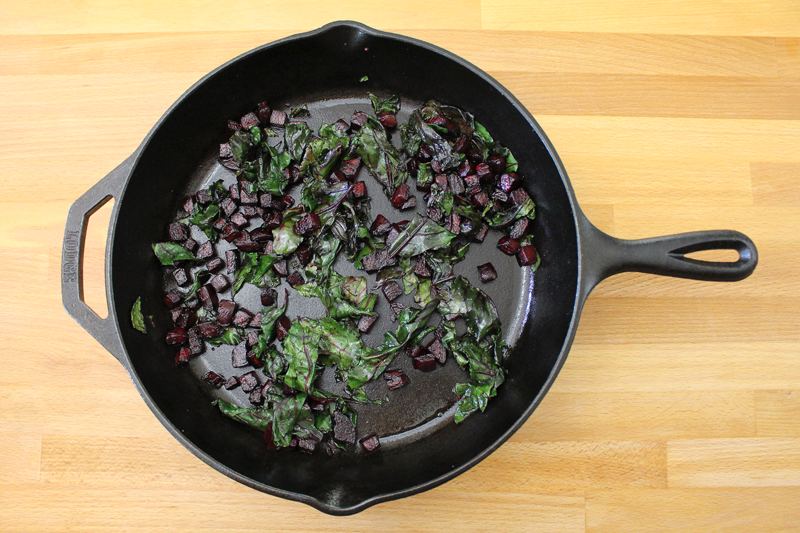
Then the greens are added. I like the taste of beet greens. If you don’t have any on hand, kale, chard, or spinach would also work well.

SauteedBeetsRicottaNuts-3

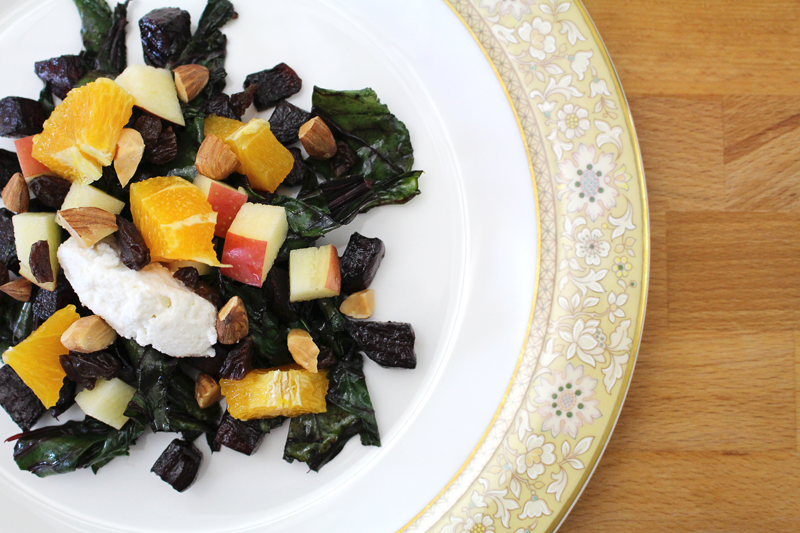
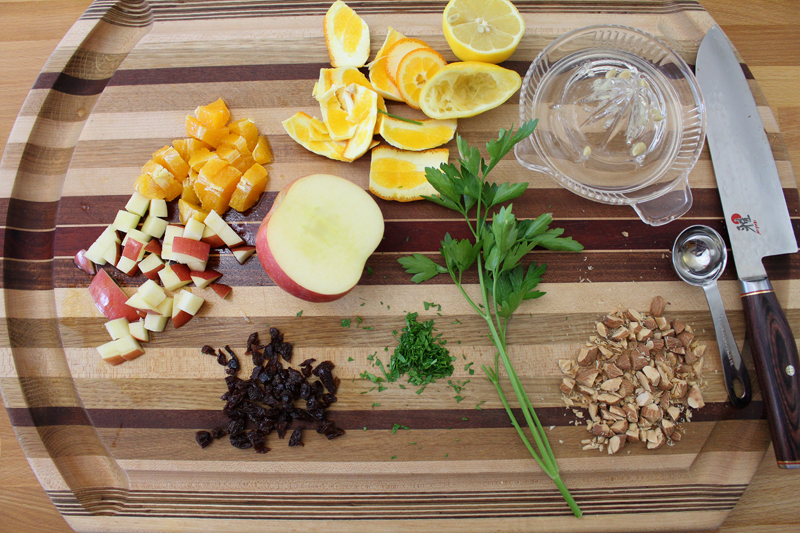
After the greens are wilted down, all that’s left to do is drizzle everyone with a bit of dressing and add some toppings. Apples, oranges, nuts, and raisins were perfect. You can vary it depending on what’s in season and what you like. You could use fresh blackberries and grapefruit, or maybe some watermelon. You could use almonds, or switch them up for sunflower or pumpkin seeds.

SauteedBeetsRicottaNuts-6

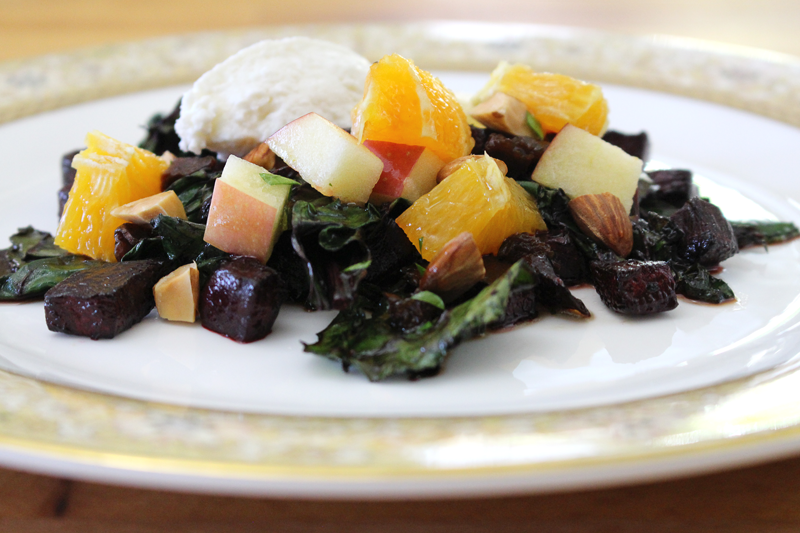
I topped it with some ricotta and the dressing has honey. If you want to make this a vegan dish, you could try some silken tofu and sweeten things up with maple syrup instead of honey. Easy changes to make.

SauteedBeetsRicottaNuts-7

This one feels simple and light. Bright, but with depth. Perfect for a warm spring day.

Happy Eating!

Warm Beet Salad with Fruit and Nuts

Prep Time: 10 minutes

Cook Time: 13 minutes

Total Time: 23 minutes

Yield: 2

Warm Beet Salad with Fruit and Nuts

Ingredients

  • 1 T olive oil
  • 2 beets, peeled and chopped
  • to taste salt
  • to taste pepper
  • 1 T lemon juice
  • 1 T balsamic vinegar
  • 1/2 t honey or maple syrup
  • to taste salt
  • to taste pepper
  • 1/4 to 1/2 t fresh parsley, chopped
  • 1 T olive oil
  • 1 bunch beet greens, de-stemmed and torn
  • 1/4 C orange, chopped
  • 1/4 C apple, chopped
  • 2 T almonds (or pumpkin seeds or sunflower seeds), chopped
  • 2 T raisins, chopped
  • 1/4 C ricotta (optional) (or silken tofu - sweetened, if desired)

Instructions

  1. Heat skillet, add olive oil, add beets, salt, and pepper. Cook over medium-low heat for about 10 minutes, or until the beets are tender, stirring occasionally. Add the greens and wilt down, about 3 minutes.
  2. Whisk lemon juice through parsley, stream in olive oil and whisk. Taste and adjust seasoning if needed.
  3. Top beets and greens with fruit, nuts/seeds, and raisins. Drizzle with dressing and top with ricotta/tofu.
http://www.de-ma-cuisine.com/warm-beet-salad-fruit-nuts/

Monday

10

November 2014

0

COMMENTS

Apple Rosemary Flatbread

Written by , Posted in Appetizers, Baking, Bread, Breakfast, Cheese, Fruit, Herbs, Kid-Friendly, Lunch, Pizza, Quick and Easy, Sides, Snacks, Vegetarian

AppleRosemaryFlatbread-1

I love when it’s apple season. I think I say that every season about something. I love the changing of the seasons and the promise of something new that comes with it.
I especially love fall.

There are things to love and things to be ready to be done with no matter what season we’re in. But, after a long summer, today’s cool breeze and cloudy sky is a literal breath of fresh air. Combine that with an apple or pear, eaten out of hand, while at my desk editing photos, and that makes for quite a nice fall day.

AppleRosemaryFlatbread-6

The day I made this flatbread it was still hot and sunny. Today I want to eat all the soup.

This flatbread would go nicely with soup. Apples pair nicely with winter squash, so this might be delicious alongside a Vegan Roasted Butternut Squash Soup, a Browned Butter and Four Cheese Broccoli Soup, or a Leek and Potato Soup. I always want bread with my soup. Often it’s some sliced homemade baguettes with salted butter. But, sometimes I want bread with a little bit more. This flatbread meets that requirement.

AppleRosemaryFlatbread-2

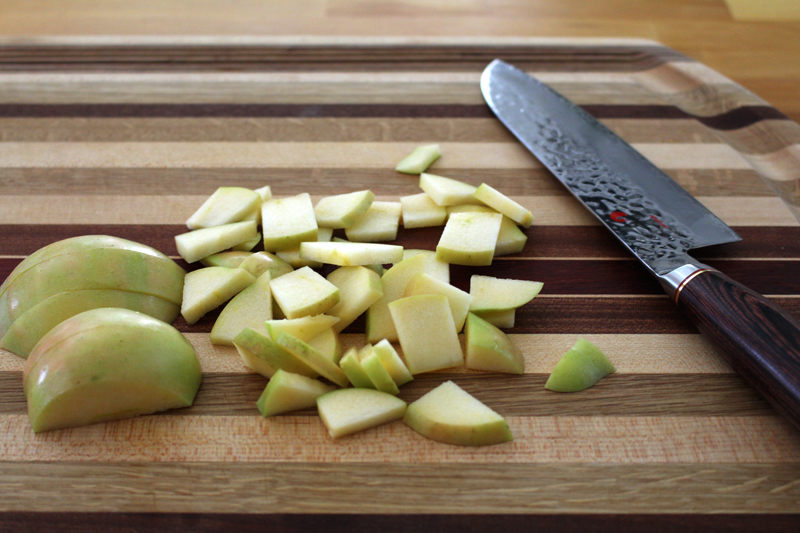
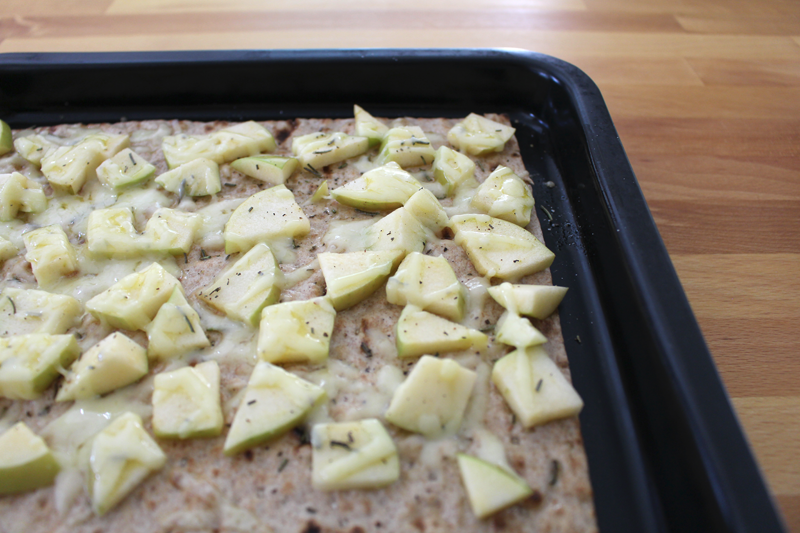
Apples are usually just eaten raw at our house. We love them as a snack. They’re full of fiber and are a great way to tide me over when I’m already starving and it’s not nearly time for the next meal.

In this case though, they’re thinly sliced and then chopped.

AppleRosemaryFlatbread-3

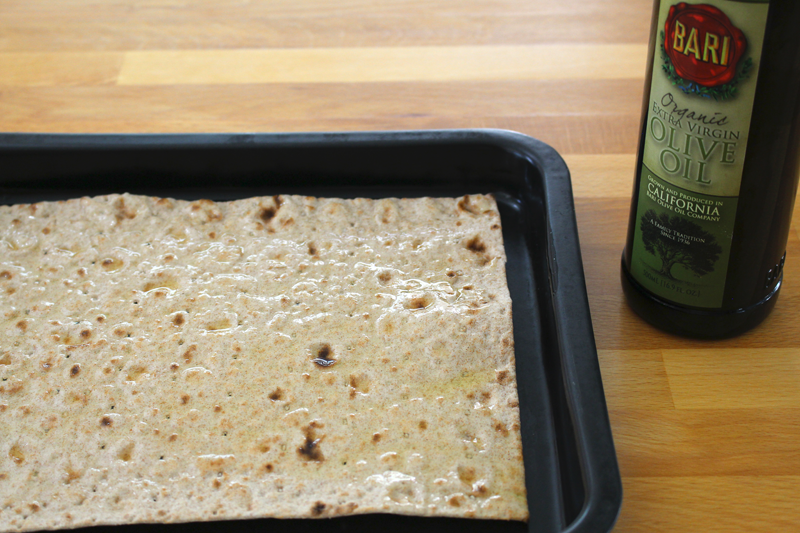
They’re going to top this lavash (you could also use whole wheat or regular tortillas, or a par-baked pizza crust). But first, some olive oil.

AppleRosemaryFlatbread-4

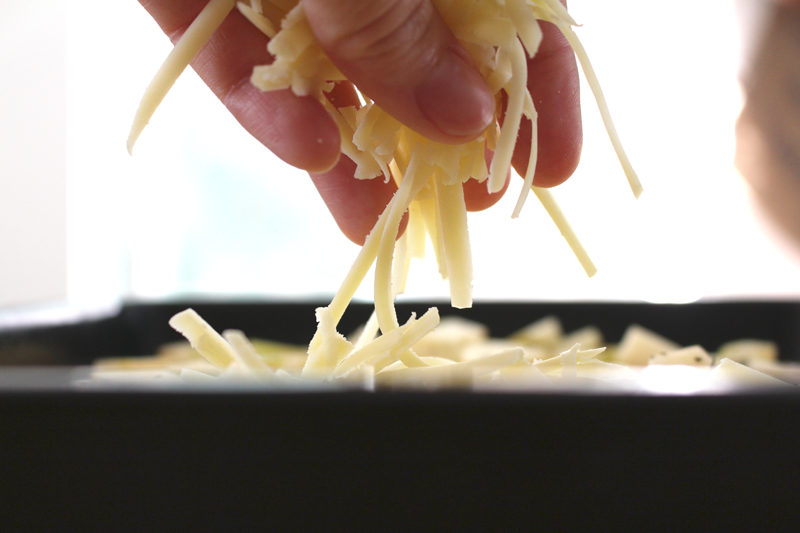
Then a good handful of cheddar. Cheddar is probably my favorite cheese to pair with apples. And to eat with some crackers after a good workout… or any time of the day or night.

AppleRosemaryFlatbread-5

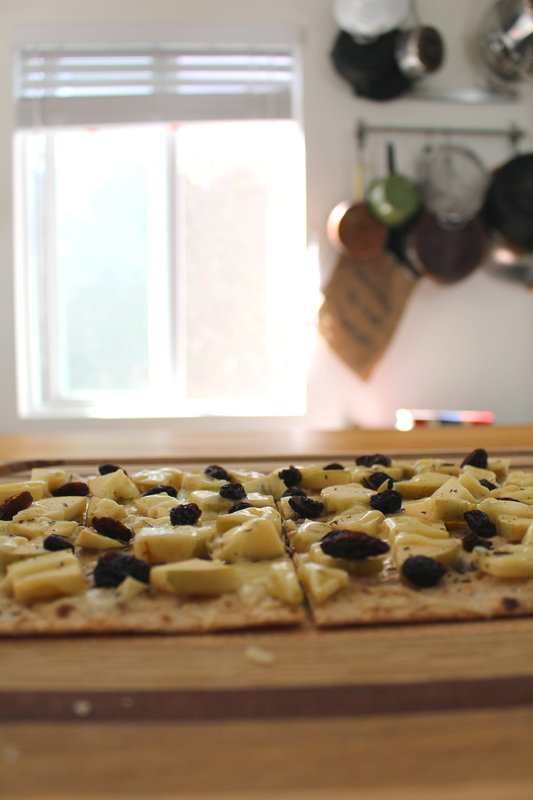
The cheese is topped with rosemary, salt, and pepper, then baked for a little bit, just to get things started.

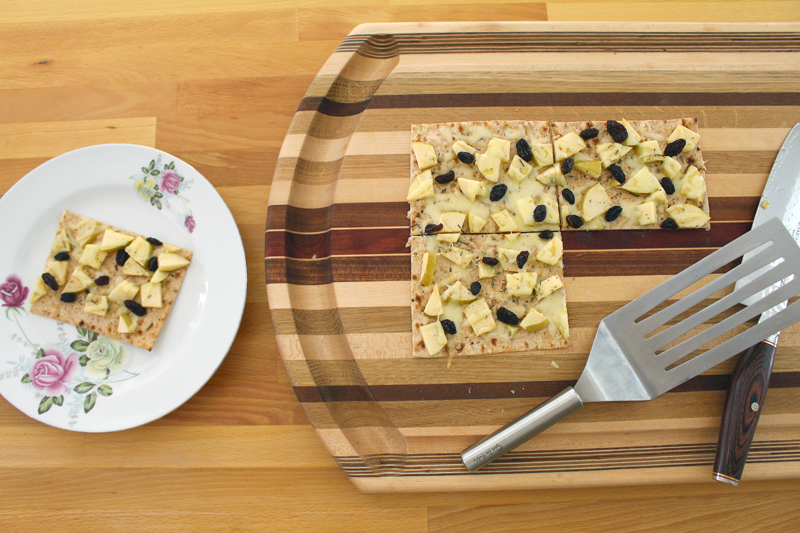
AppleRosemaryFlatbread-7

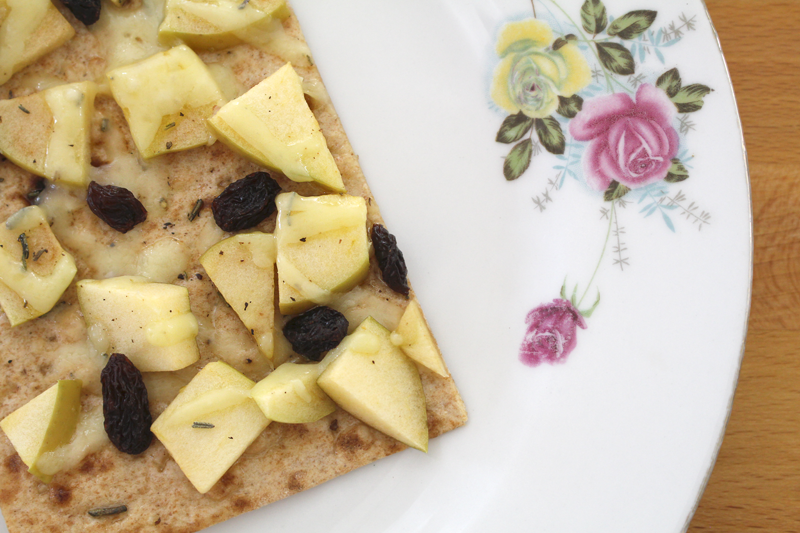
Raisins are added about two minutes before the end of the baking time. They get just a bit soft and warm.

AppleRosemaryFlatbread-8

And that’s it. Easy, peasy, apple peel… I dunno.

Happy Eating!

Apple Rosemary Flatbread
Recipe Type: Appetizer, Side, Bread, Snack
Author: Rachel Oberg – De Ma Cuisine
Prep time: 5 mins
Cook time: 7 mins
Total time: 12 mins
Serves: 2-4
Ingredients
  • 1 flatbread or large whole wheat tortilla (I used lavash, you could also use a par-baked pizza crust)
  • 1 t olive oil
  • to taste salt
  • 1 small apple, thinly sliced and chopped
  • to taste pepper
  • 1/4 to 1/2 t dried (or 1 t fresh) rosemary, chopped
  • 1/4 C cheddar cheese, grated
  • 1-2 T raisins
Instructions
  1. Pre-heat oven to 350F.
  2. Top lavash with olive oil and brush over surface. Sprinkle with salt. Top with apple, rosemary, pepper, and cheese. Bake for about 5 minutes, or until the cheese has mostly melted.
  3. Remove from the oven and sprinkle with raisins. Return to the oven and bake for 2 minutes more.
3.2.2802

Monday

15

September 2014

0

COMMENTS

Cheesy Chicken and Grapes with Rice

Written by , Posted in Braising, Cheese, Dinner, Fruit, Gluten Free, Grains, Kid-Friendly, Lunch, Main Dishes, Meat, Poultry, Rice

CheesyChickenAndGrapesWithRice-7

We don’t usually have a problem finishing off the grapes (or most any fruit that comes our way from Abundant Harvest Organics). We usually eat it raw. But, sometimes it’s super fun to try something new.

Like grapes with chicken and rice.

Oh yes I did.

CheesyChickenAndGrapesWithRice-1

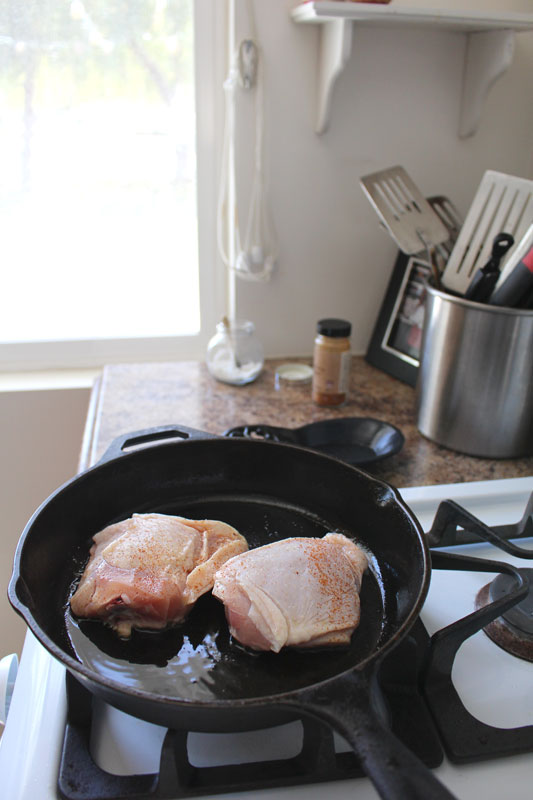
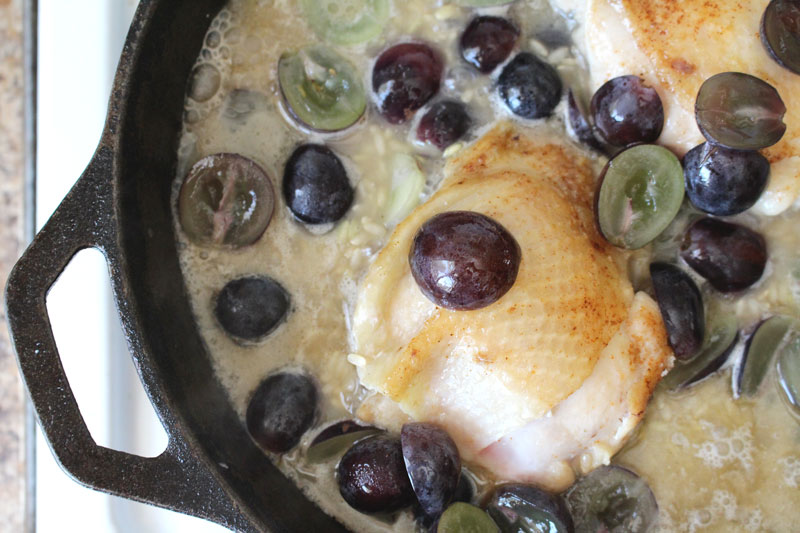
It all starts with some thighs. I had a package of two, so that’s what I used. Add more (using a larger skillet) if your family needs more.

It’s seasoned simply, with cayenne and salt. This is gonna be a simple, humble dish, where the flavors really shine.

Shine chicken shine.

Go grape! Go grape! It’s grrrrrrrrrrrrape!

(I don’t know… Sorrynotsorry. I blame it on the Christmas music I’m listening to, in the 100 degree weather, to prepare for a concert in December… Not really. But, the heat makes my brain a little kooky.)

CheesyChickenAndGrapesWithRice-2

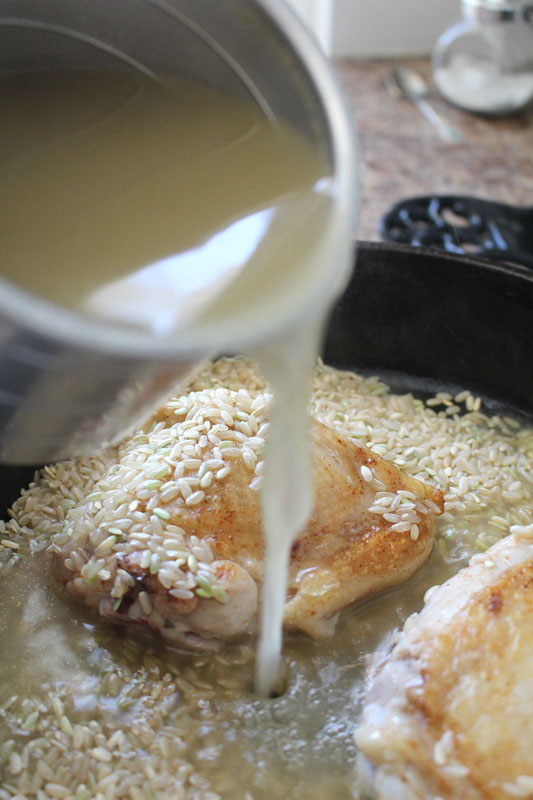
I made chicken stock the other day and then froze it. So, to quickly defrost the stock, I brought it to a boil. I don’t normally use hot stock when cooking rice (except when making risotto). So, you could use cold stock, if you’ve planned ahead and put it in the fridge overnight. I didn’t. Just adjust the cooking time as needed.

CheesyChickenAndGrapesWithRice-3

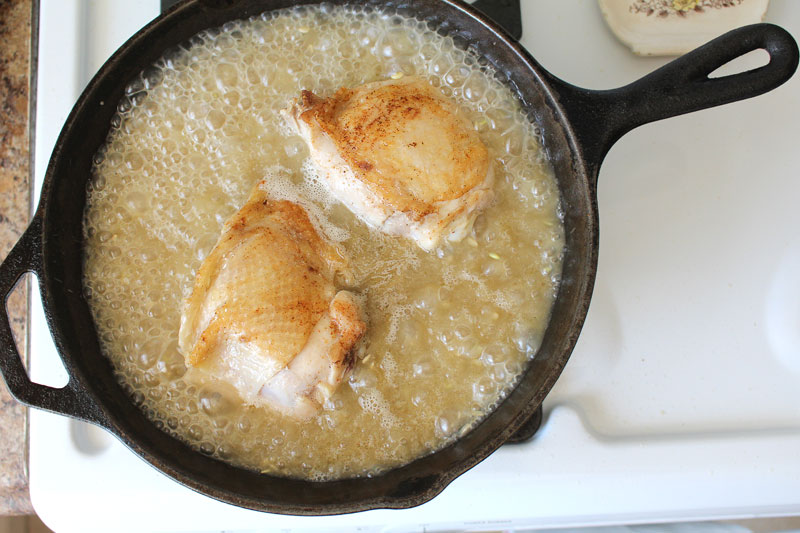
Once the stock + rice + chicken comes to a boil, reduce to a simmer and cook for a few minutes.

CheesyChickenAndGrapesWithRice-4

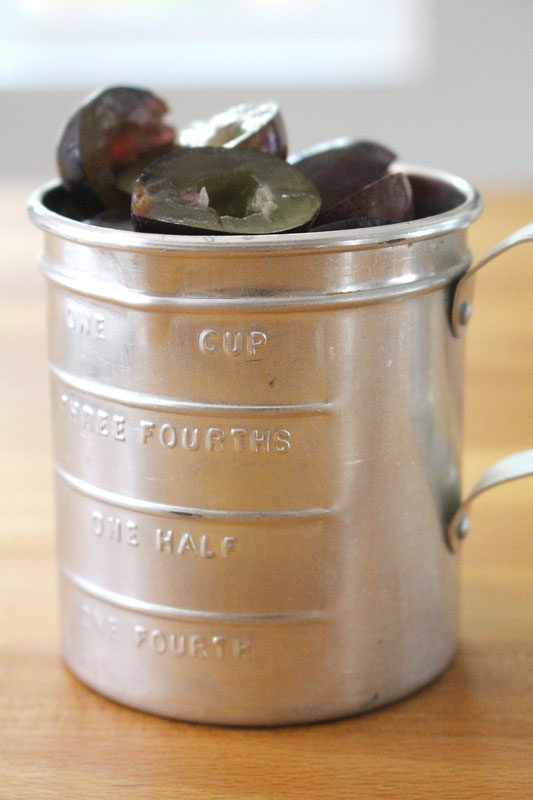
While these few minutes pass, halve and de-seed some grapes.

Eat them all.

Halve and de-seed some more.

CheesyChickenAndGrapesWithRice-5

Add the grapes to the skillet. Pick them off the top of the chicken, and stir slightly into the rice. Then cook for a good long while (you know, until the rice is done and the chicken is hot). You may need to add more liquid partway through, and stir every once in a while.

CheesyChickenAndGrapesWithRice-6

Is one of your favorite snacks crackers and cheese with grapes? Do you wait expectantly for fall to arrive, so you can eat this snack as often as possible?

I do.

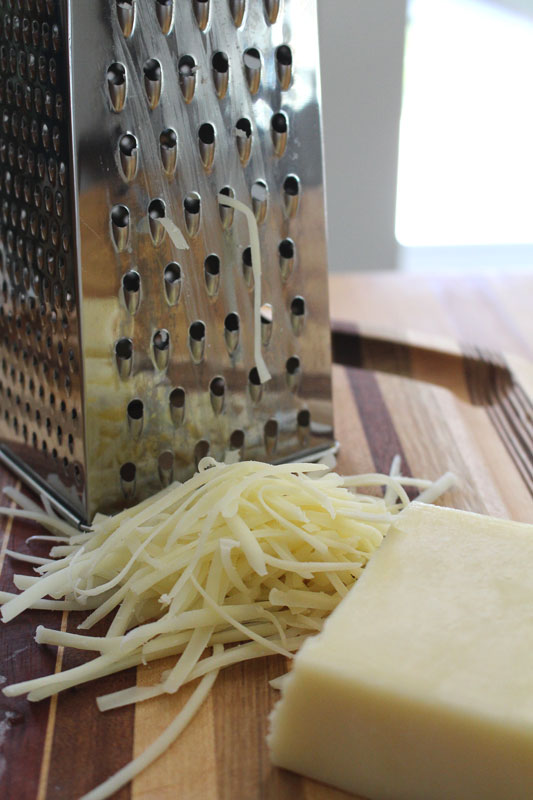
So, why not add some cheddar to the mix? Right?!

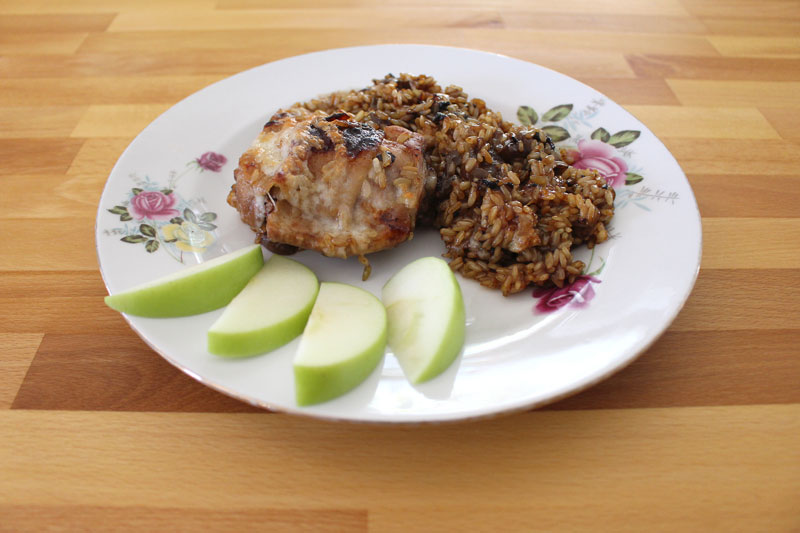
CheesyChickenAndGrapesWithRice-8

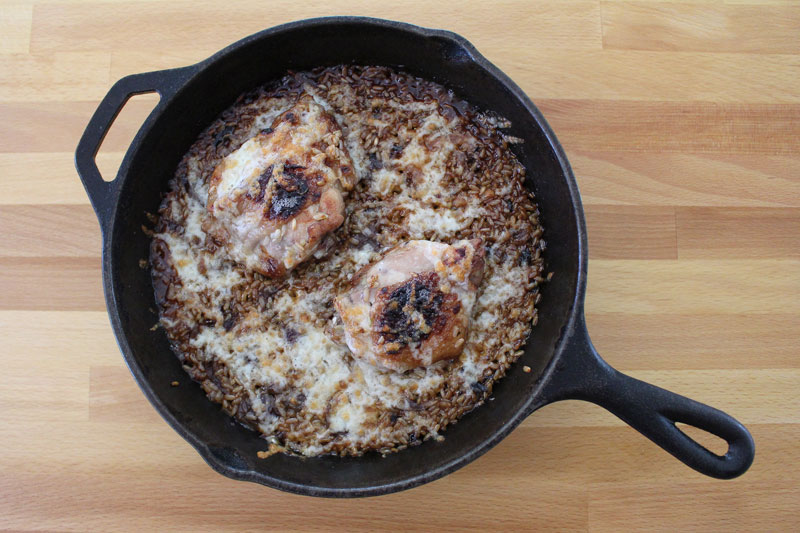
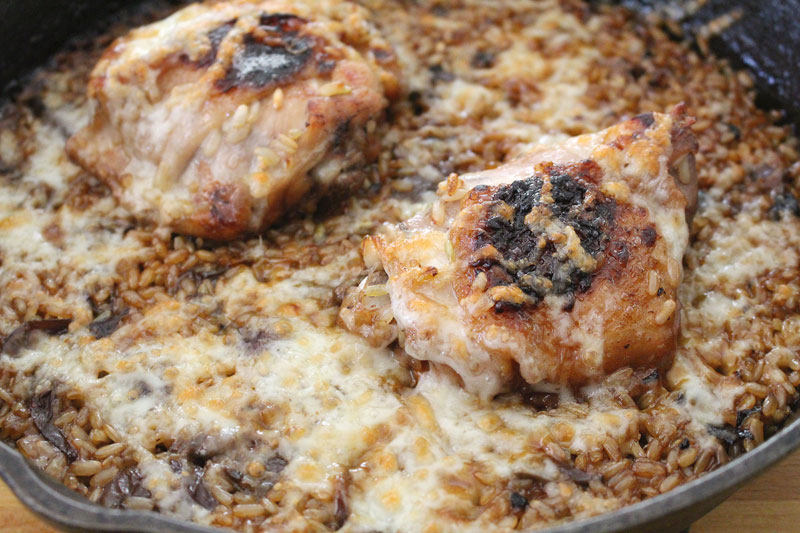
It’s sprinkled on and popped in to the broiler for just about 3 minutes. It’s like a bazillion degrees in there, so it’s not gonna take long. Don’t leave the kitchen to go wash your hair while it broils. You may have a smoky situation on your hands if you do.

Also, you remembered to use an ovenproof skillet, right? I know you did. But, just making sure. ‘Cause if you decided to not use one AND wash your hair while it broils, well, that’d be just disastrous. Let’s avoid kitchen catastrophes when possible.

CheesyChickenAndGrapesWithRice-9

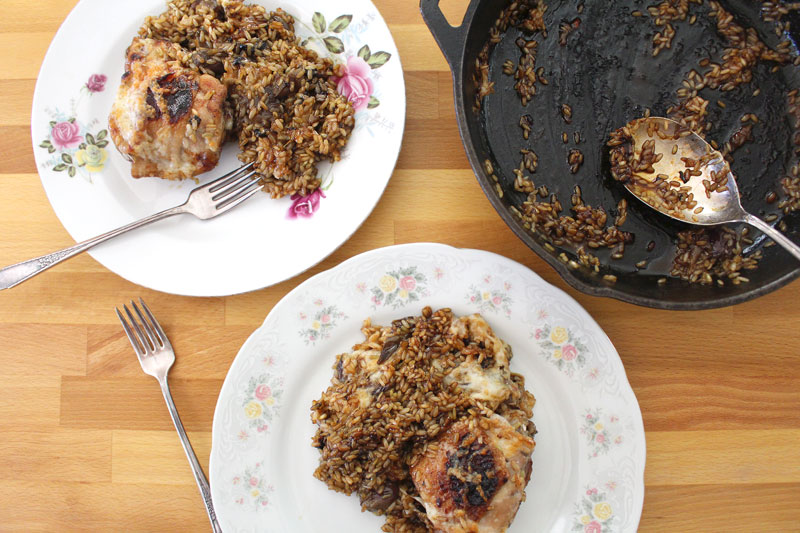
Once the rice is cooked, the chicken and rice all kinda brown a bit, creating this amazing sauce that I just want to soak up with a piece of crusty bread.

CheesyChickenAndGrapesWithRice-10

Apples go so nicely with grapes and cheese, so serve some (on their own, or in a salad) with this easy, comforting dish that welcomes fall (cough cough, seriously, fall, let’s do this now, enough with the hundred degree weather).

Happy Eating!

Cheesy Chicken and Grapes with Rice
Recipe Type: Dinner, Main Dish, Meat, Chicken, Fruit, Grapes
Author: Rachel Oberg – De Ma Cuisine
Prep time: 10 mins
Cook time: 96 mins
Total time: 1 hour 46 mins
Serves: 2-3
Ingredients
  • 2 T olive oil
  • 2-3 chicken thighs
  • to taste salt
  • dash cayenne
  • 2-3 C hot chicken or vegetable stock (or water)
  • 1 C brown rice
  • 1 C grapes, halved, seeds removed
  • 1 C cheddar cheese, grated
  • 1 apple, sliced, for serving
Instructions
  1. Heat an ovenproof skillet over medium heat. When it’s hot, add olive oil. When oil is hot, add chicken. Sprinkle with salt and cayenne. Sear on each side for 3 minutes.
  2. Add 2 C stock, rice, and salt. Stir gently around chicken (make sure all rice is in stock, not on top of chicken). Bring to a boil, then reduce to a simmer for 10 minutes.
  3. Add grapes, and simmer, adding more liquid if needed, cooking until chicken reaches 180F and rice is to desired tenderness, about 45-50 minutes (cooking uncovered, until the last 20-30 minutes), stirring occasionally.
  4. Taste and adjust seasoning if needed. Top with cheese and broil for 3 minutes.
  5. Serve with a side of apples.
3.2.1311

Monday

8

September 2014

0

COMMENTS

Massaged Kale and Tuna Salad

Written by , Posted in Dairy-Free, Dinner, Fish, Fruit, Gluten Free, Lunch, Main Dishes, Meat, Quick and Easy, Salads, Sides, Vegetables


MassagedKaleTunaSalad-6Sometimes I just need a good salad. Salads are versatile and delicious, but sometimes aren’t hearty enough to be considered a main course. So I like to add a bit of protein so there’s a bit more to it.

For this salad, I chose tuna. Because it’s what I had. Because I like it. I used canned for this one. But, then a few weeks later I discovered fresh tuna at the grocery store, and the leftovers from that dinner would work just as well (maybe better, hello, fresh!).

You could also use chicken, turkey, ham, quinoa, garbonzo beans, or lentils.

‘Cause why not?!

MassagedKaleTunaSalad-1

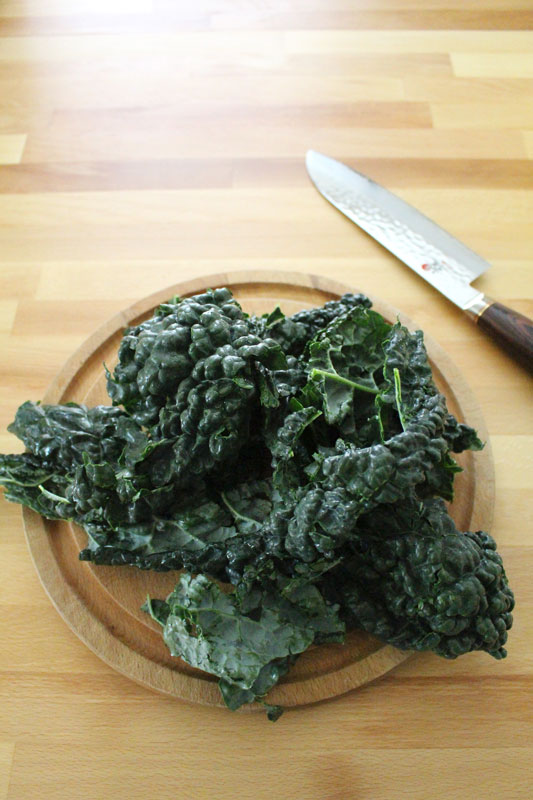
Then there’s the kale. It’s one of my favorite green veggies. But, I also love chard and spinach too. If you don’t have any of these dark green goodies, regular lettuce will work fine too (just don’t do the massaging step). A hearty butter lettuce works great, but use what you have in your fridge.

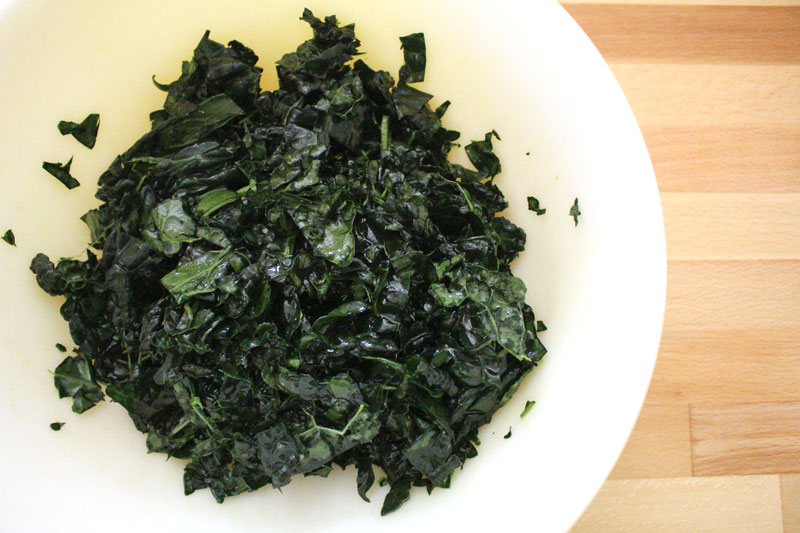
MassagedKaleTunaSalad-2

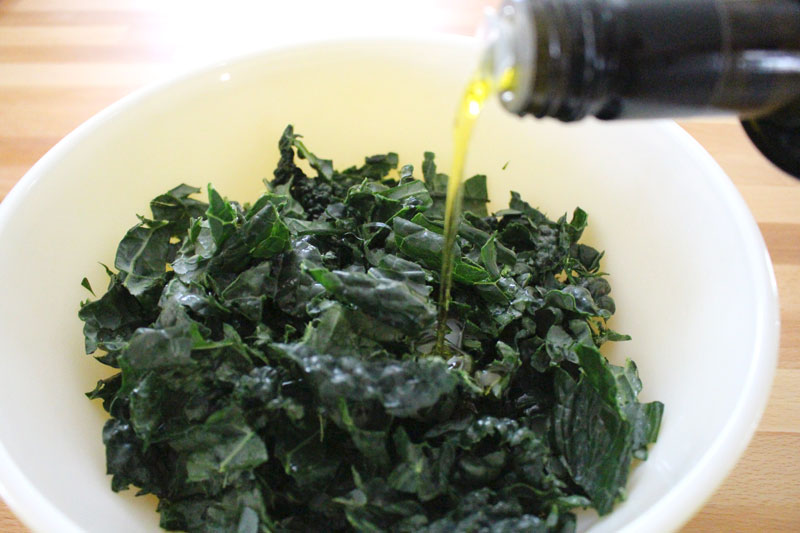
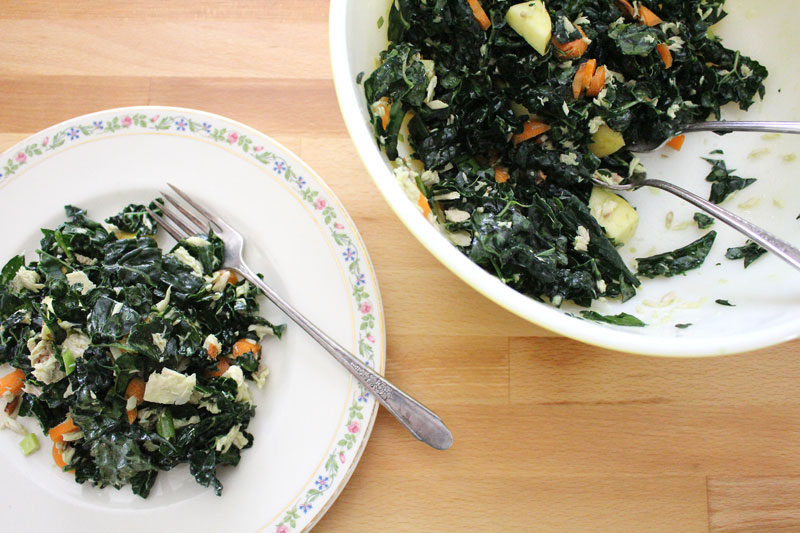
Kale is tossed with a bit of olive oil and some salt, then massaged for a few minutes. Your hands will turn green. That’s normal.

MassagedKaleTunaSalad-3

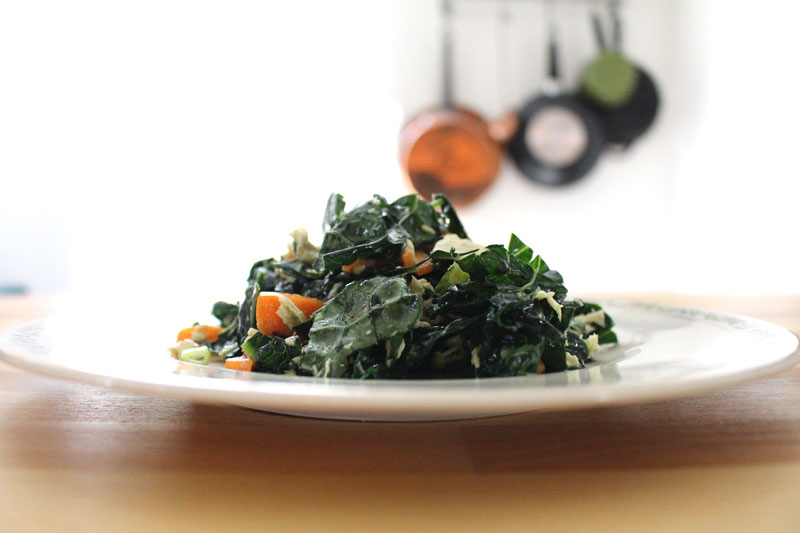
It will get darker and feel a bit limp, like it does when it’s cooked. I love kale this way. Easier to digest and super yummy.

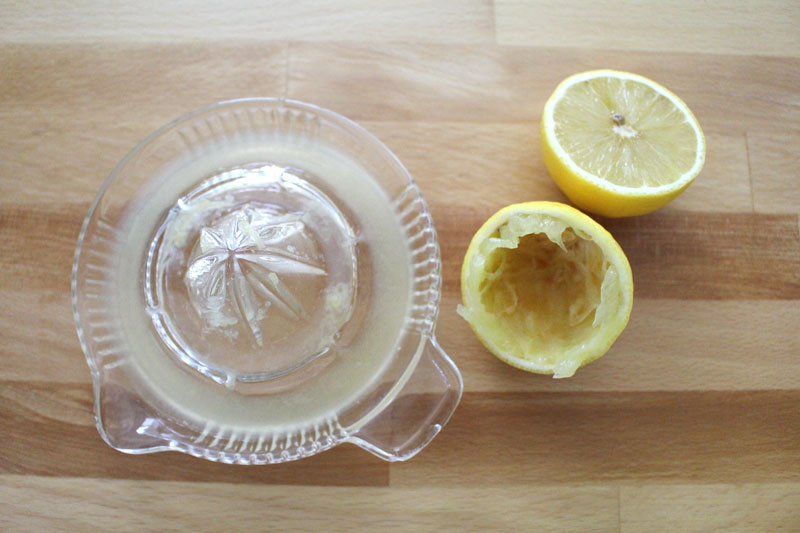
MassagedKaleTunaSalad-4You can really use whatever dressing you’d like. Although I’d suggest some sort of vinaigrette or something lemony. I just squeezed some lemon and drizzled a bit of balsamic over top. Perfect with the olive oil that was already all over the kale.

MassagedKaleTunaSalad-5

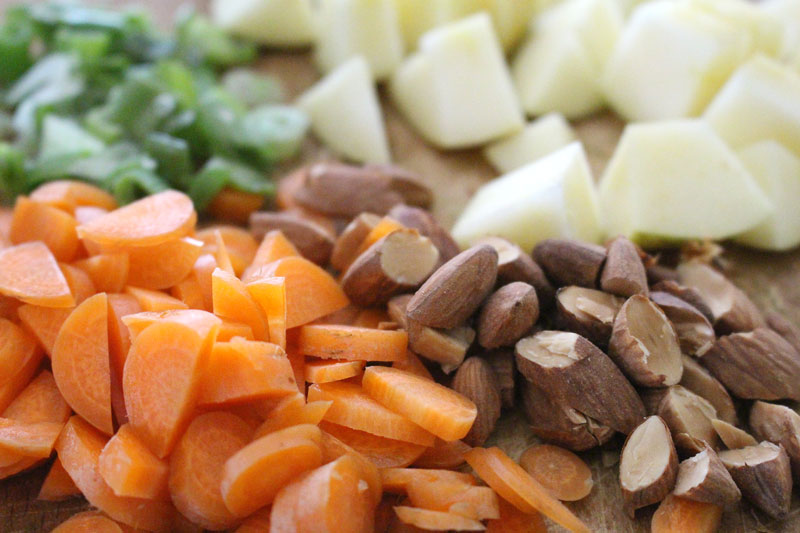
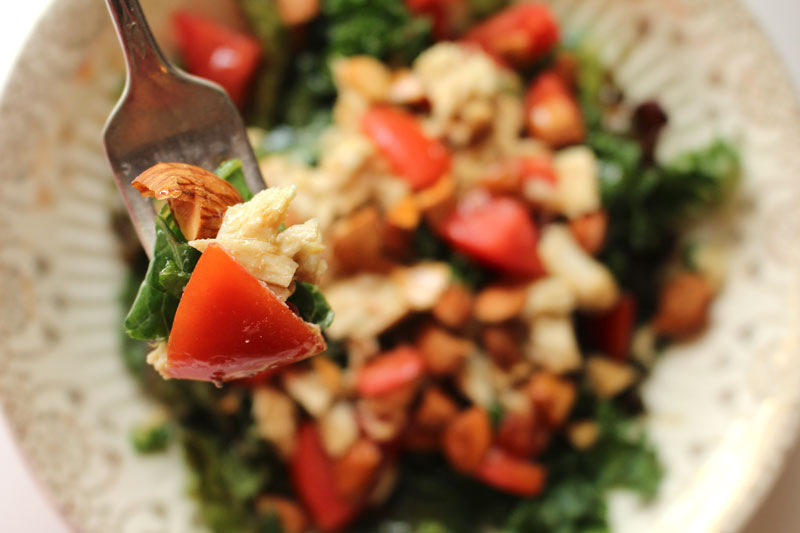
I like a lotta crunch in my salads. Usually nuts and carrots do the trick. Sometimes croutons are added. Here I’ve also got apples, because I happened to have some on hand. But, again, use what you have (and what goes well with tuna, or whatever protein you’ve chosen).

ButterLettuceFruitTunaSalad_1

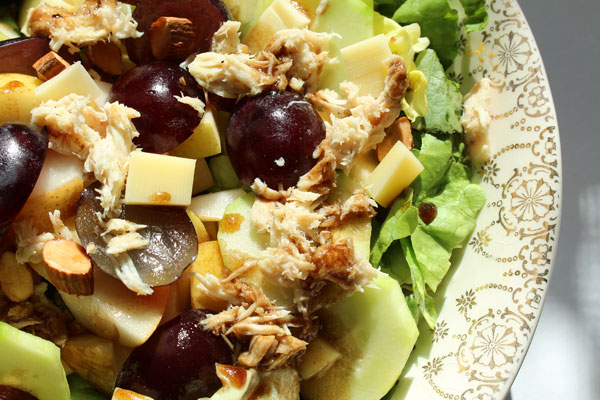
At other times, I’ve also used grapes (in season now, so yummy with tuna!), cucumber, apples, cheddar, and almonds. This is one of my favorite combinations. It would go well with a nice butter lettuce, or the massaged kale.

Tuna-Salad

Tomato is also a good addition.

Use what’s in season and what will compliment the other ingredients, and you’re sure to find a winning combination.

MassagedKaleTunaSalad-7

However you toss it together, this hearty salad will hold up well prepared the night before for a work or school lunch. But, like most foods, it’s best eaten fresh, right after you’ve made it, standing at the kitchen island, out of the serving bowl… or maybe that’s just me.

Happy Eating!

Massaged Kale and Tuna Salad
Recipe Type: Main, Lunch, Side, Salad, Fish
Author: Rachel Oberg – De Ma Cuisine
Prep time:
Total time:
Serves: 2
Ingredients
  • Tuna: 1 can tuna, drained (or about 5-6 oz. leftover cooked tuna)
  • 1/2 lemon, juiced
  • 1 t olive oil
  • pinch cayenne
  • to taste salt
  • to taste pepper
  • 2 T green onions, chopped
  • Salad: 3 C kale, torn into small pieces
  • 1-2 T olive oil
  • 1-2 T lemon juice
  • 1/2 to 1 T balsamic vinegar
  • to taste salt
  • to taste pepper
  • 1/4 C carrot, thinly sliced into rounds (or instead of carrots and green onions, try: grapes, cheddar cheese, cucumber, and apple)
  • 1 apple, roughly chopped
  • 1/4 C roasted and salted almonds, roughly chopped
  • (could also add chopped tomato)
Instructions
  1. Combine all tuna ingredients together. Taste and adjust seasoning if needed.
  2. Pour 1 T oil and a bit of salt onto kale. Massage with hands for 2-3 minutes (or until kale looks darker, wiltier, and a bit like it is cooked).
  3. Top kale with tuna and remaining ingredients.


Friday

27

June 2014

2

COMMENTS

Vegan Fruit Crisp

Written by , Posted in Baking, Breakfast, Brunch, Dairy-Free, Dessert, Fruit, Gluten Free, Kid-Friendly, Quick and Easy, Vegan, Vegetarian


VeganFruitCrisp-8

A few weeks ago we were invited to a barbecue at the house of some friends. I brought the dessert. The only dessert.

One of my favorite go-to desserts is fruit crisp. I like to make it because it’s easy and because my mom used to make it all the time when I was growing up, so I have a sentimental attachment to it.

For this particular evening, I chose to make it because the friends who hosted are vegans. I wasn’t sure about trying to make a vegan cake. So I went with simple, and adapted my crisp to suit them.

Their son, Theo, was not impressed. He was expecting dessert. To a three year old, dessert means cake.

Oops.

The still warm crisp was dished out. Generous helpings. I was anxious to know if they liked it. As Theo was handed his plate his little face just crumpled and the cutest three year old voice says, “That’s not desse-wrt! Where’s the cake?”

Thankfully his parents liked it. 😉

VeganFruitCrisp-1

It’s the perfect dessert for whatever fruit is in season. Spring and summer: berries and stone fruit. Fall and winter: apples, pears, persimmons, and grapes. And it makes a fabulous breakfast the next day. Cold with some Greek yogurt, that’s how I like it. Or just standing in front of the fridge with the door open, shoveling spoonfuls into my mouth as I try to decide what to make for dinner. (I know, I know, I’m not supposed to decide with the fridge door open… My mom has told me a thousand times…)

VeganFruitCrisp-2

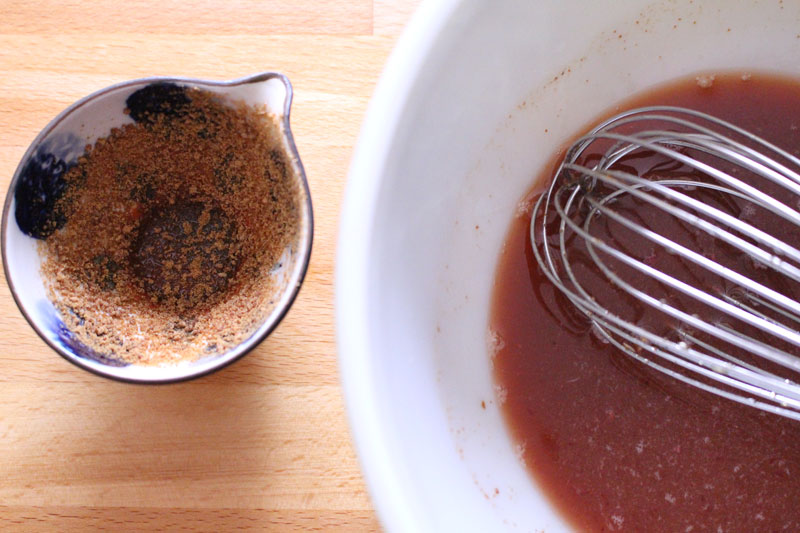
Sugars and juice are whisked together. Sweet sweet. But, it’s honey, maple syrup, and coconut palm sugar. No refined white sugar here. You can use white or brown sugar if you prefer. This is how I like it though.

VeganFruitCrisp-3

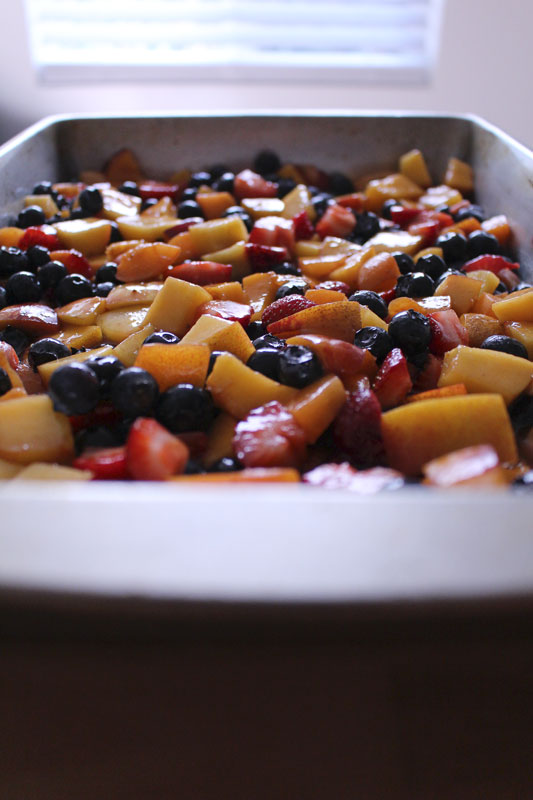
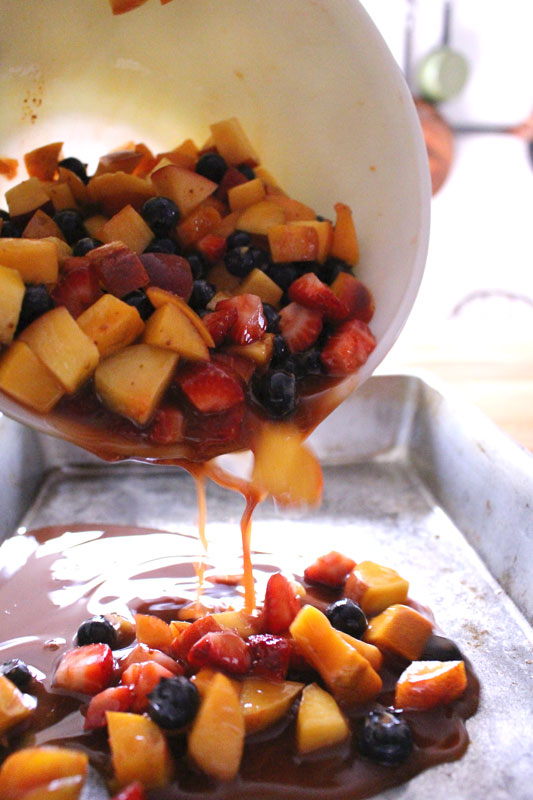
Super sweet and juicy, the fruit is tossed with the liquid and poured into a greased baking dish.

VeganFruitCrisp-4

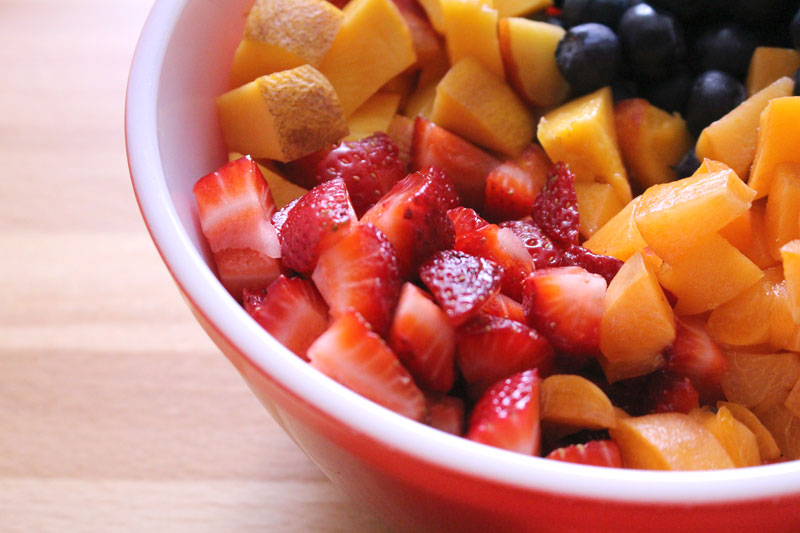
I opted for summer fruits, because that’s what’s in season. Aren’t the colors pretty?

VeganFruitCrisp-5

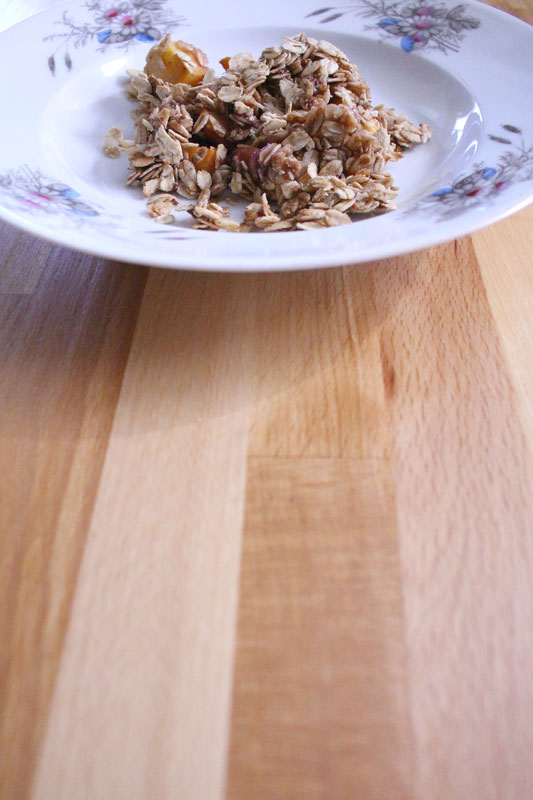
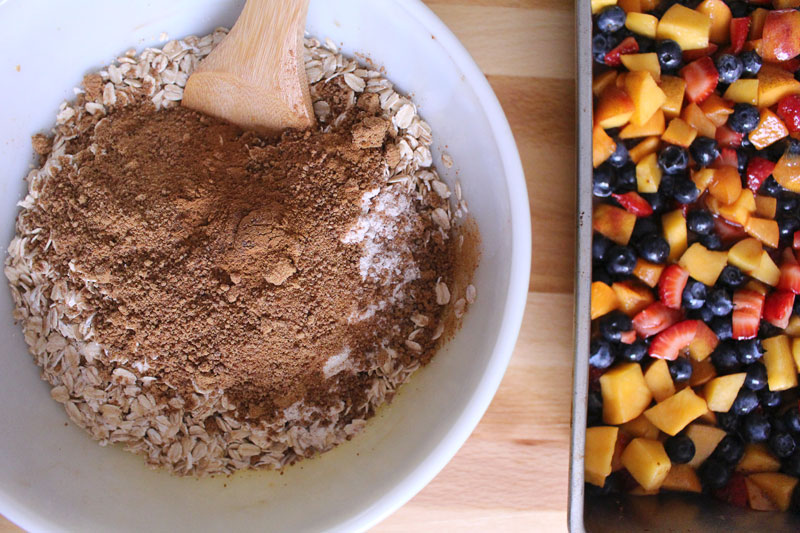
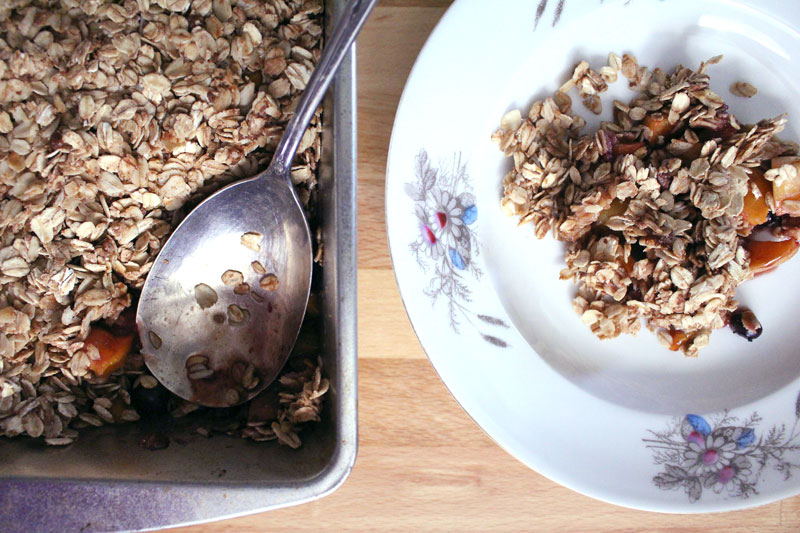
A slightly less sweet, oaty, crumbly mixture will top the fruit.

VeganFruitCrisp-6

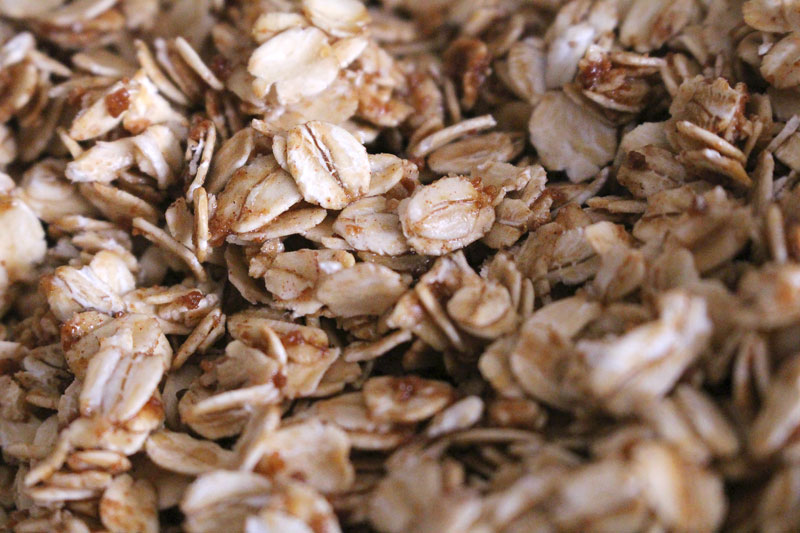
Oats for hearty goodness. And to make this a perfectly acceptable next day breakfast.

VeganFruitCrisp-7

Invite your favorite people over, or bring this to a barbecue.

Just be sure to remind them that it’s not cake.

(Sorry Theo.)

Happy Eating!

Vegan Fruit Crisp
 
Recipe Type: Dessert, Vegan, Fruit
Author: Rachel Oberg – De Ma Cuisine
Prep time:
Cook time:
Total time:
Serves: 8-10
Perfect for any time of year, for vegans and non-vegans alike.
Ingredients
  • 2 C blueberries
  • 1 C strawberries (could sub blackberries), chopped
  • 2 C (heaping) nectarines (could sub apples, pears, plums, persimmons), chopped
  • 1/2 C apriums/apricots (could sub peaches), chopped
  • 1 T cornstarch
  • 1 t vanilla extract
  • 3 T orange juice
  • pinch salt
  • 1/3 C honey
  • 1/3 C coconut palm sugar (honey, maple syrup, or brown sugar will work too)
  • 1/3 C maple syrup (or honey)
  • 4 C oats
  • 1/3 C coconut palm sugar
  • 2 T whole wheat or Gluten-free flour
  • 1 t cinnamon
  • dash nutmeg
  • pinch allspice
  • 1/3 C maple syrup
  • 3 T coconut oil, melted
  • 2 T honey
  • 1 T coconut oil, plus more for greasing the pan
Instructions
  1. Pre-heat the oven to 350F.
  2. Combine fruit in a bowl.
  3. Whisk together cornstarch, vanilla, orange juice, salt, honey, coconut palm sugar, and maple syrup. Toss with fruit.
  4. Combine oats, flour, coconut palm sugar, cinnamon, nutmeg, and allspice. Add maple syrup, oil, and honey.
  5. Pour fruit into a greased 9×13 baking dish. Top with oat mixture. Press down slightly with a spatula. Bake for about 45 minutes, or until bubbly and hot.
  6. Let stand for at least 10 minutes before serving – it’s best just a little warmer than room temperature.
 
Notes
If you’d prefer a non-vegan crisp, use butter instead of coconut oil. If you have vegan friends who don’t eat honey, just use maple syrup. For gluten-free, use your favorite GF flour and oats.