Food ‘n Friendship
Written by Rachel, Posted in Thoughts
I wrote a few months ago about how difficult it was to make and then leave behind dear friends when we moved. Our friends are important, aren’t they?! They support, encourage, uplift us. They share joy and laughter, frustrations and tears. I’m blessed to have wonderful friends.
One of those friends is Christy. She has been a guest contributor on here a few times (as have two of her kids, Katy and Will!). She’s shared how to make yogurt in the Crock Pot, and a yummy Pea Tendrils dish. She loves food and cooking as much as I do. We have great conversations about it. I think we would talk for hours and hours if we were could. Last week, before our weekly lunch, we decided to attempt to make homemade pasta. Neither of us had made it before and we both really wanted to. If I hadn’t committed to making it with her, I doubt it would have happened. I would have made some excuse to not do it, had I been left to my own devices at home. But, I went to her place, arms laden with eggs and flour, and we got to work.
The reason we wanted to make this pasta was we’d both read about it in a Cook’s Illustrated magazine. It was a recipe that didn’t require a pasta machine! It calls for a bit of olive oil, flour, and lots of egg yolks. And, you guys, it turned out perfectly! (I don’t mean that it looked perfect or anything – mine definitely had some rips and wrinkles and some were awkwardly long or way too skinny.) It was so fun to try this out. And it turned out way better than I could have hoped. After I use up the pasta that’s in our cupboard I may never buy pasta again. It was that good. It does take some time, and admittedly a lot of eggs (8 in total, 6 are yolks), but I’d totally recommend this to anyone who wants to try it for themselves.
Here are a few photos of the process.
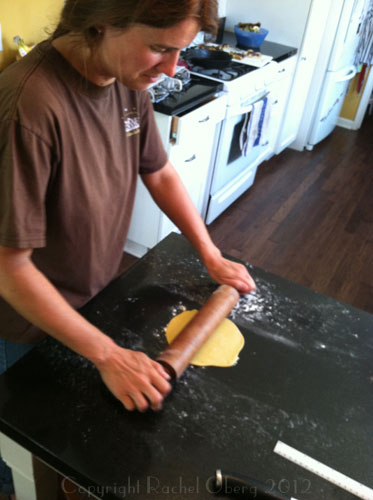
Christy, rolling out a 6″ “square”.
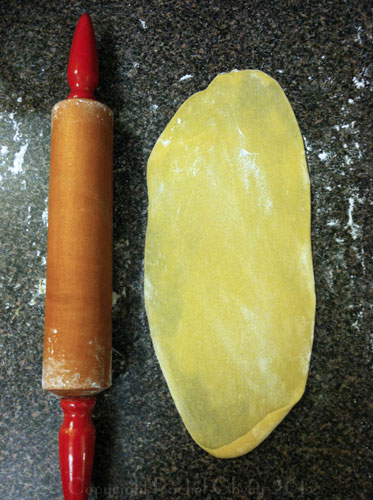
Pasta gets rolled out to 12″x6″.
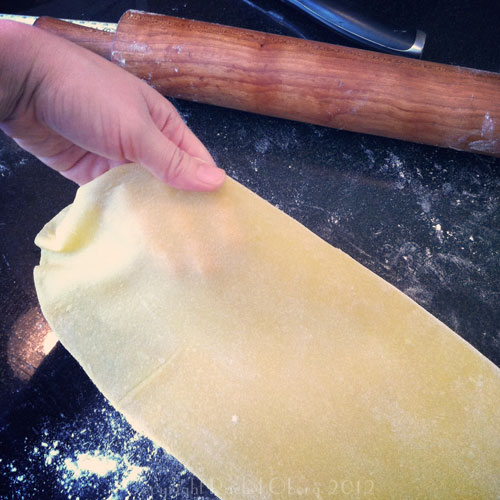
Thin enough to see my fingers through, just like the recipe said!
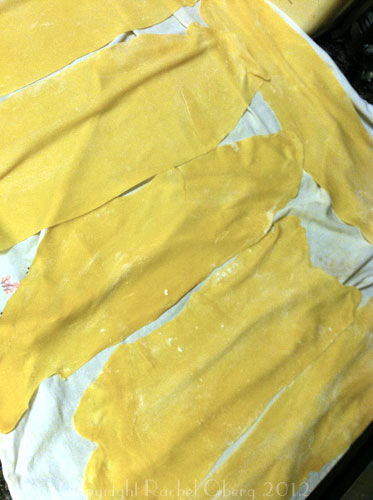
Drying slightly on a tea towel, when it’s 20″x6″.
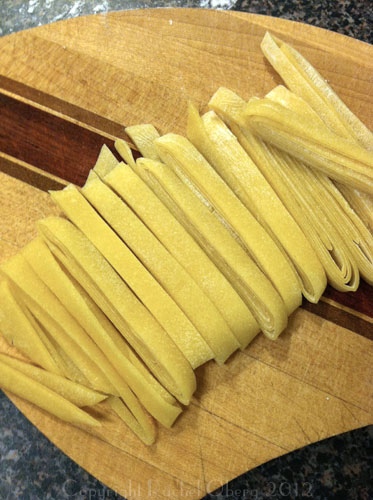
Once the edges were a bit firm, it gets folded and cut.
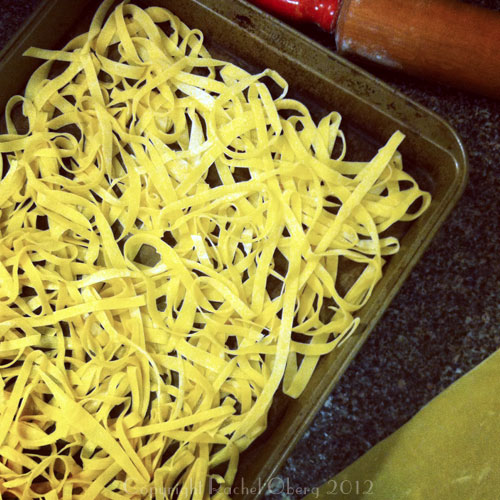
Unfurled on a baking sheet.
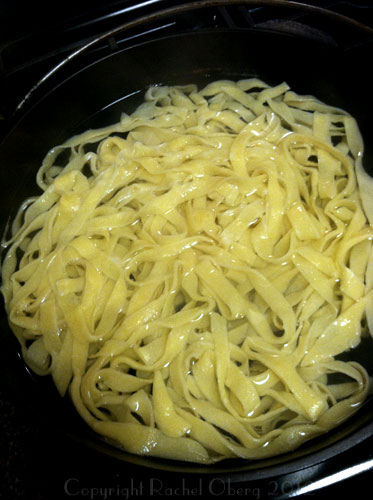
Boiled for 3 minutes.
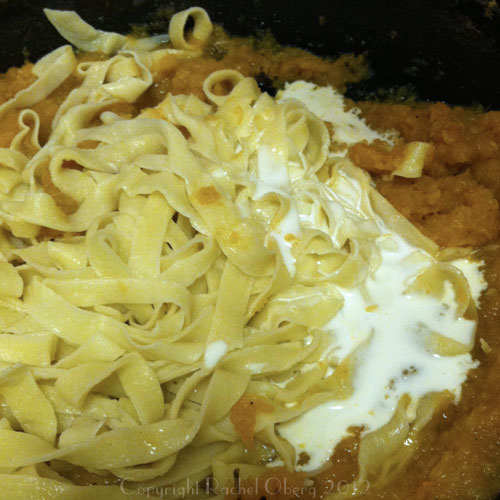
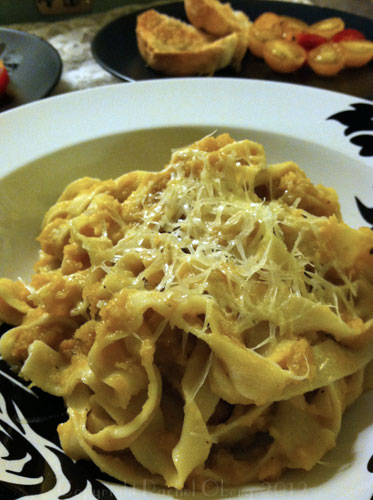
Combined with squash and cream.
Topped with Gruyère, served, enjoyed.Â
The recipe is on p. 13 of the May & June issue of Cook’s Illustrated. (It’s also on CooksIllustrated.com and it’s free for 14 days if you sign up for a trial.) I’d recommend reading the article and trying the pasta, if you can get your hands on it! (It’s totally going on my Christmas list! I learn so much every time I read it!!)
Now here’s what I did with it… I made a sauce with roasted butternut squash and garlic, and browned butter. I added a touch of cream just before serving, and a sprinkle of Gruyère. It was simply divine. I can’t wait to make this again. I wish I was eating it right now… there is some in the fridge… but I promised Husband that he could take it for lunch. And I’m not hungry. I just want to eat it.
Browned Butter and Roasted Butternut Squash Pasta
Last modified on 2012-09-10 22:57:01 GMT. 0 comments. Top.
| Browned Butter and Roasted Butternut Squash Pasta |
- 4 T cream
- 4 T butter, unsalted
- 1 1/2 butternut squash
- 4-6 cloves garlic
- 3/4 to 1 t salt
- 1/4 t pepper
- 1t balsamic vinegar
- 6 fresh sage leaves
- 3/4 to 1 C pasta water
- Gruyère, finely grated, for topping
- 1/2 lb. fresh, homemade pasta
- Heat oven to 350F. Halve squash, scrape out seeds. Drizzle with olive oil. Place cut side down. Bake for 1 hour, or until flesh is soft. Let cool and scrape flesh from skin.
- Cut tips off garlic cloves. Drizzle with olive oil and wrap with foil. Bake for 45 minutes to 1 hour. Let cool and squeeze pulp from skin.
- Over med-low heat, cook butter, with sage leaves, until it’s browned (I usually partially cover it because it tends to splatter a lot). Add squash and garlic, mash in with a fork. Add salt, pepper, vinegar, and cook over low heat for a few minutes. Remove from heat.
- Cook pasta for about 3 minutes.
- Add pasta water to sauce, stir.
- Drain pasta, add to sauce, add cream; combine.
- Serve topped with Gruyère.

