De Ma Cuisine

Bacon Archive

Monday

30

March 2020

0

COMMENTS

Peanut Butter Bacon and Cheddar Dog Cookies

Written by , Posted in Baking, Cheese, Cookies, Dog, Dog Treat, Gluten Free, Grains, Pets

In my life, I haven’t experienced another relationship like the one between a dog and their humans. Can you imagine what life would be like if we got as excited as they do when our favorite person came home from work, or asked us if we wanted to take a walk with them? They forgive our bad attitudes and forget the grumpy mornings. They just want to be around us. Their tails flap excitedly when we walk into the room. They love us so much.

It was our best dog’s birthday the other day. He turned twelve. We tried to return some of the love he has shown us for all these years with treats and homemade cookies. And we let him dictate the plan for the day, which meant everyone lounged around until like 6pm then got hyper and went for a walk.

I winged it with the cookies. I’m not a baker, but sometimes I try. I’ve baked enough that I’ve got a general idea of what to do to make a cookie. Still, it’s a bit of a guessing game.
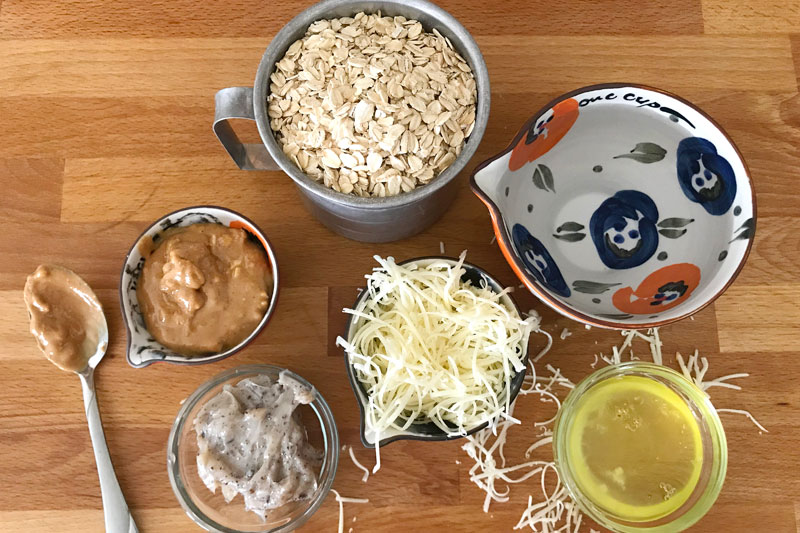
I wanted to incorporate some of Brando’s favorite things: bacon, cheese, and peanut butter. We don’t have a lot of flour left, so I did without. I made oats into oatmeal. And I used egg whites to bind it all together.

Brando ate his cookies while we watched the tiger show. Are you watching it? I can’t decide if I’m glad that we did. I guess it’s given us something to think about besides the Coronavirus. ¯\_(ツ)_/¯

(Singing and clapping) “THIS IS YOUR BIRTHDAY SONG. IT ISN’T VERY LONG.” Happy birthday Brando. We love you a lot!!
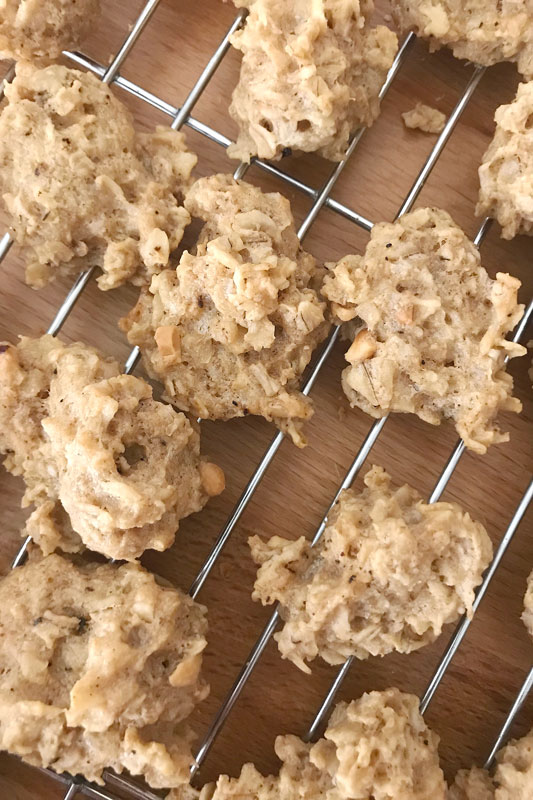
Peanut Butter Bacon and Cheddar Dog Cookies

Yield: 40 small cookies

Ingredients

  • 2 cups rolled oats
  • 2 cups water
  • 1/4 cup crunchy peanut butter
  • 3-4 tablespoons egg whites
  • 2 1/2 tablespoons bacon grease (or olive oil)
  • 1/3 cup grated cheddar cheese

Directions

  1. Pre-heat the oven to 300°F with an oven rack in the middle position.
  2. Cook the oats and the water in a medium-sized saucepan until the oats have softened, about 10 minutes.
  3. In a medium-sized bowl, whisk together the peanut butter, egg whites, and bacon grease. Then add the cheese. Fold in the cooked oats and mix until combined.
  4. Using a spoon, drop the dough onto un-greased baking sheets, about 1 1/2 tablespoons per cookie. Leave a bit of space between cookies, but they don’t need too much. Bake until the cookies are set and a bit browned, about 35-45 minutes, rotating the pans every 15 minutes. Cool for 5-10 minutes on the baking sheet, then transfer to a cooling rack to cool completely, about an hour.

Thursday

21

November 2019

1

COMMENTS

Roasted Brussels and Bacon

Written by , Posted in Dairy-Free, Dinner, Gluten Free, Holiday, Main Dishes, Meat, Pork, Quick and Easy, Roasting, Sides, Vegetables, Vegetarian

As I park the brussels in the oven, my mind goes to what I can do while they cook. I could start the laundry, do the dishes, plan next week’s Thanksgiving table decor… Dishes first. Then laundry. Then some quick pics of the dish before it inevitably becomes my lunch. Such is the life of a food writer who works from home. I’m constantly torn between the work and home to-do lists.

I can’t imagine that this is uncommon, for those who work from home. I have a dedicated office space. But, it’s in our house. So, I will hear the washer stop washing and know it’s time to change the load. I will see the full dishwasher and empty it.

This isn’t a complaint. I love working from home. I just need to be better at prioritizing work during work time, and home stuff during home time. I’m getting there. Slowly.

This dish is a mish mash of work and home. It may end up on our Thanksgiving table. But, I wanted to share it here in case you need some help with your menu. It’ll be great alongside the turkey and stuffing. But, it will also make a great, easy weeknight dinner. I might serve it alongside some polenta, or with a big salad and some cornbread.

If you’re gonna make it for Thanksgiving, it may be the easiest Thanksgiving side dish. Ever. Unless you’re a can of cranberry sauce lover. Are you? I’m not, but I’ll eat it gladly if it’s served to me.

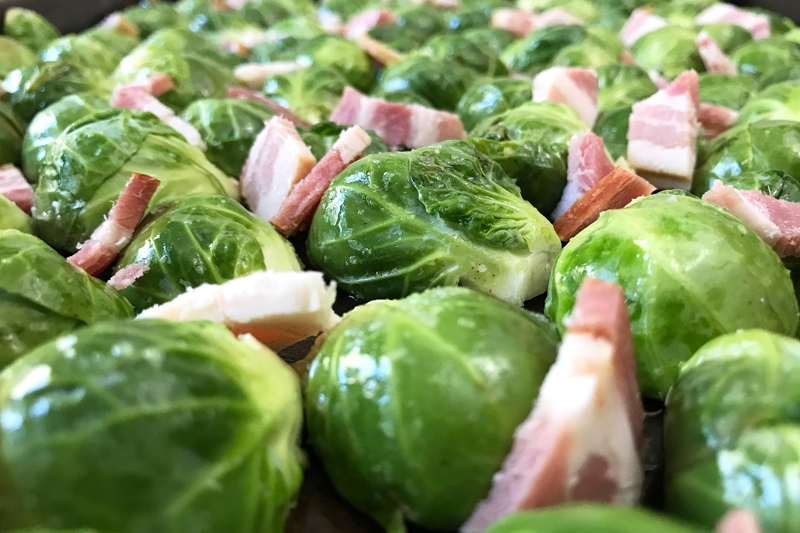
I tossed some halved brussels sprouts with oil and salt. Then I added some chopped bacon. Optional, but delicious. If you don’t eat bacon, you could throw in some tempeh bacon at the end.

My brussles were a little old. Read: farty smelling. Opt for the freshest brussels possible.

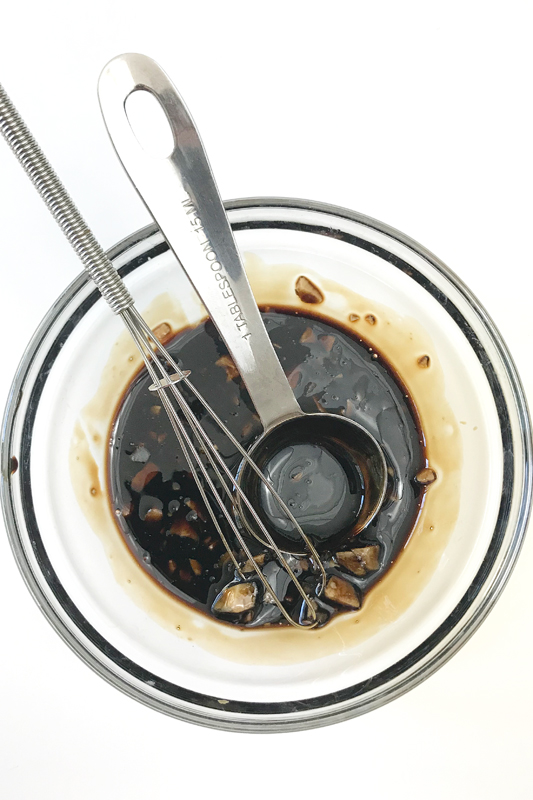
I roasted them on high heat for a bit, then tossed them with some balsamic vinegar, maple syrup, and garlic.

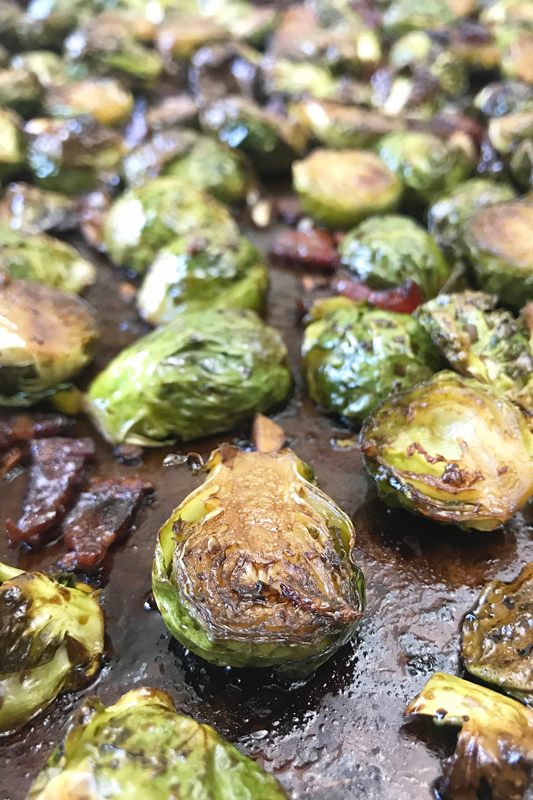
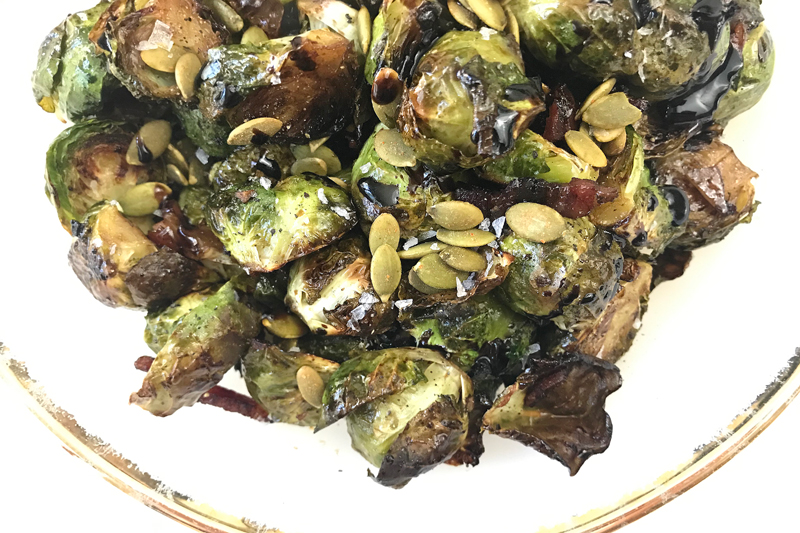
After their tossing, they roasted for a bit longer. Then, done. I added a bit more balsamic, some spicy pepitas, and a bit of Maldon salt. It made for an easy, sweet and savory dish.

Happy Eating!

Roasted Brussels and Bacon

Serves: 4

Ingredients

  • 1.5 pounds brussels sprouts, ends trimmed, halved
  • 1 tablespoon oil (I used grapeseed)
  • 1 teaspoon salt
  • 4 strips bacon, chopped (optional)
  • 1/4 cup balsamic vinegar
  • 1 tablespoon maple syrup
  • 1 tablespoon minced garlic
  • topping: more balsamic vinegar, Maldon salt, spicy pepitas

Directions

  1. Pre-heat the oven to 425°F.
  2. Toss the brussels sprouts with the oil and salt. Lay them cut-side down on a baking sheet and sprinkle the bacon around the pan. Roast until they’re beginning to brown, about 15 minutes.
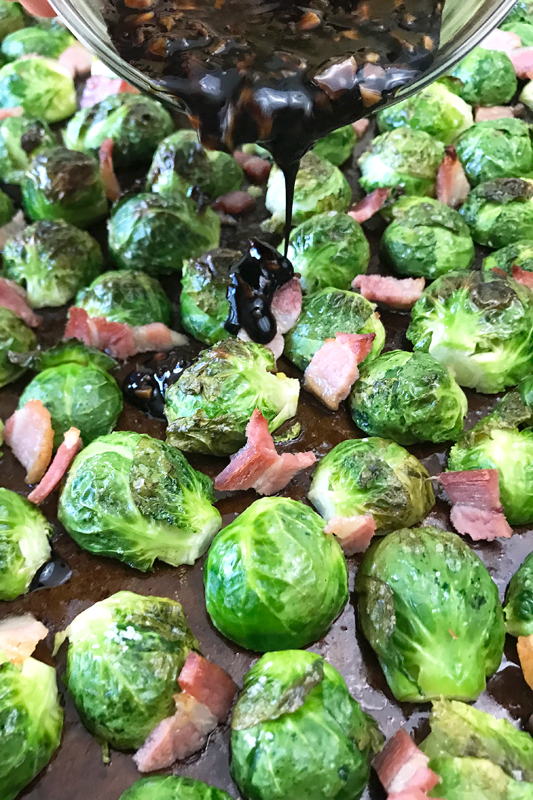
  3. Whisk the balsamic vinegar, maple syrup, and garlic. Pour over the brussels sprouts and toss so they’re evenly coated and spaced out. Return to the oven and bake until sprouts and bacon are crispy, about 10 minutes more.
  4. Serve topped with a drizzle of balsamic vinegar, a sprinkle of Maldon salt, and some spicy pepitas.

Tuesday

10

September 2019

0

COMMENTS

Kale and Farro Salad with Bacon

Written by , Posted in Dairy-Free, Dinner, Fruit, Grains, Lunch, Main Dishes, Meat, Pork, Quick and Easy, Salads, Vegetables

I have eighteen kale plants in my garden. That’s a lot for a family where only one of us likes kale. I’ve got everything from huge three foot wide plants, to a couple that I transplanted later in the season that are still pretty small. It was definitely the most successful thing I planted this summer.

I have plenty of uses for kale on here. Some of my favorites are: Massaged Kale and Tuna Salad, Hearty Kale and White Bean Quesadillas, and turning it into pesto to go alongside Spicy Twice Baked Sweet Potatoes. I prefer it when it’s smaller, tender, baby kale. Tim, I believe, prefers it when it’s not served at all.

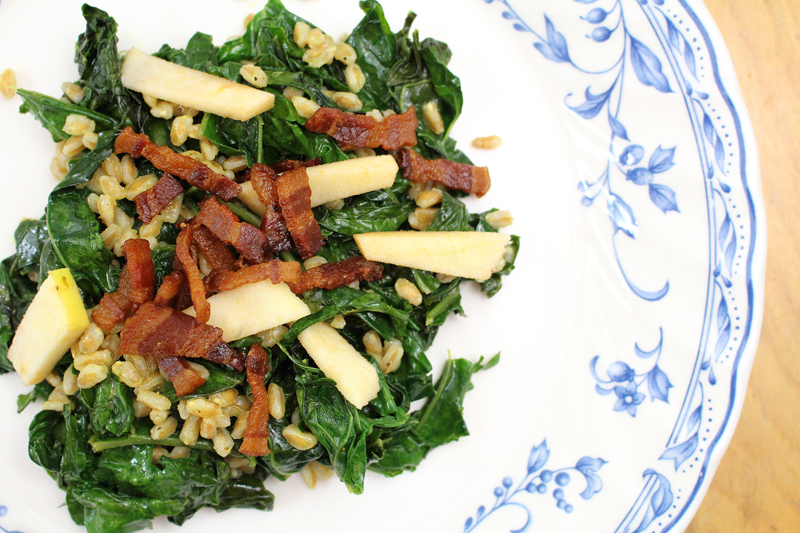
Today, I’m craving bacon, but feel a bit guilty about how much kale I have grown and not eaten. So, I’m gonna use them together. They’ll go alongside farro and some apples from our tree to make a quick lunch.

The dog is reverse hiccuping. Anyone else have a dog that does this? It freaks me out, even though our vet says it’s not dangerous.

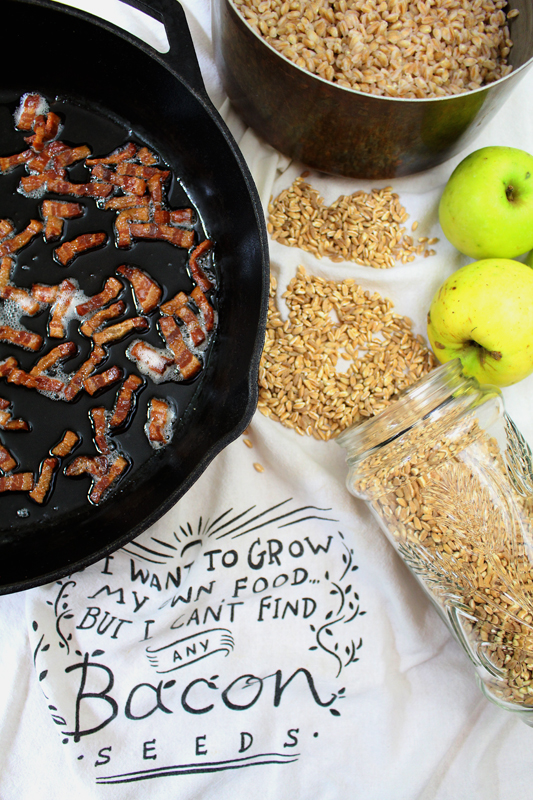
I got advice for farro cooking from Bon Appètit. Their technique treats it like pasta. I can do that. I started with six cups of water, added a good amount of salt, and brought it to a boil. I toasted the farro in a dry skillet while the water heated. It ended up taking five minutes. Oh, and I rinsed the farro, before I toasted it (just gonna work backwards for a sec). I’m not sure if I was supposed to. But, I think that’s a thing with other grains, so I did it. I’m quite the authority on food.

I may not know a lot about farro, but when it comes to bacon, I know what I like: Mazzeo’s Danish bacon, cut pretty thick. Prefect for BLTs or cutting into lardons, like I did today. I totally didn’t cook enough though. I made two slices. I should have done six. What even was I thinking?!

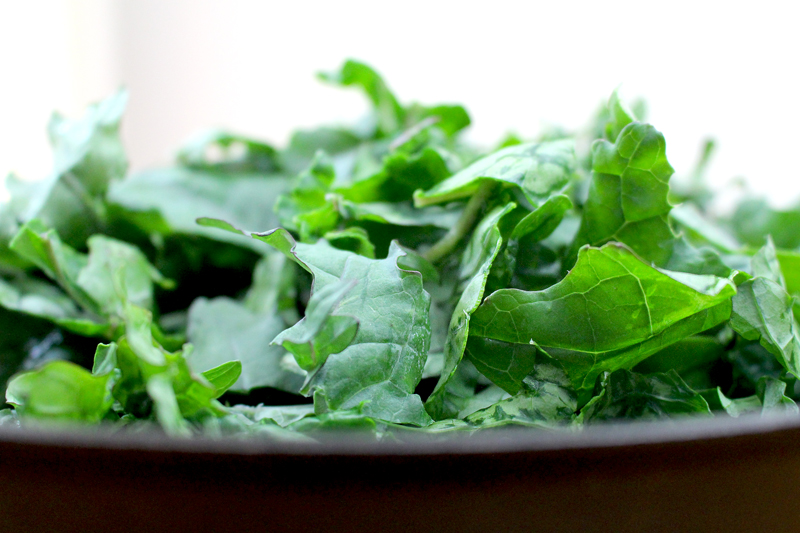
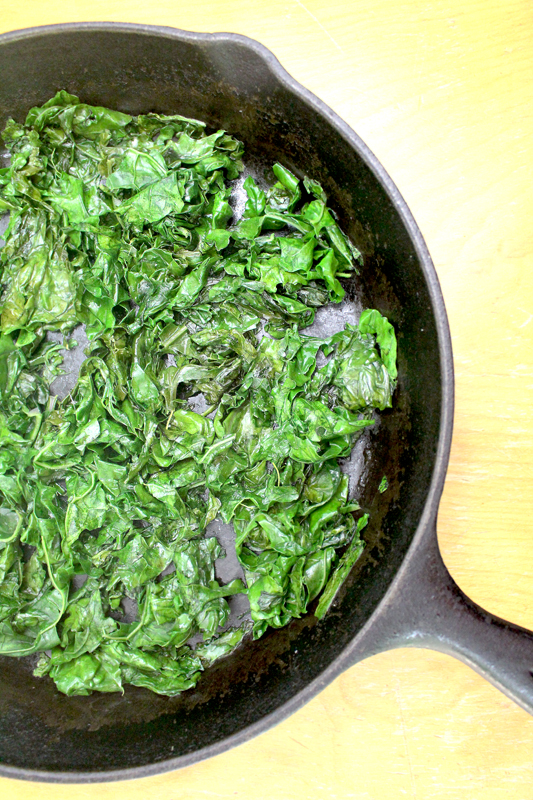
I cooked the bacon and left about a tablespoon of the grease for the kale. I know that kale will wilt down considerably, but still I second guess myself when I add the whole salad spinner’s worth of kale to the pan. It will work. Right?!

Yes. It will.

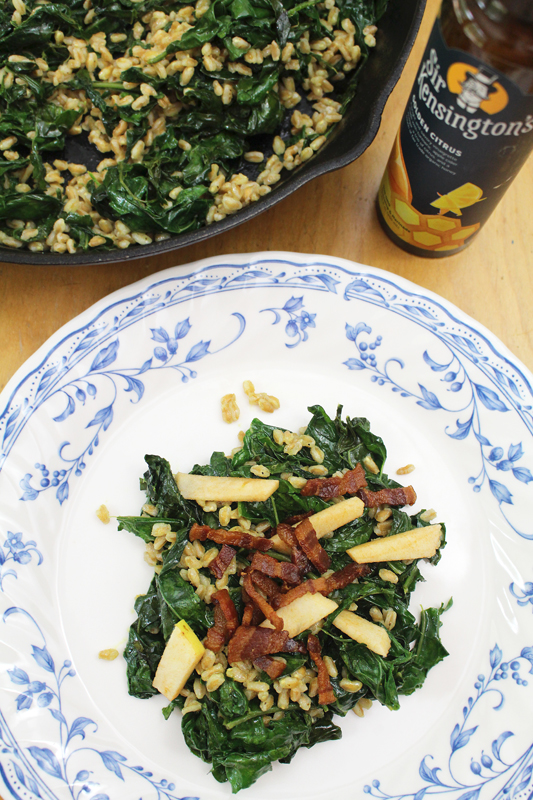
Here’s what I like about this salad: the kale is bitter. Wait, I don’t like that. But, bitter kale, when accompanied by sweet apples, nutty farro, and salty, crispy bacon, mellows. And then I do like it.

If I’m honest, I mostly just want to eat the bacon. But, the rest of it is pretty good too. Ok, really good.

Top it all with Sir Kensington’s Golden Citrus Vinaigrette and, well, you’re golden… (are puns still allowed?). If you can get your hands on Sir Kensington’s products, I’d strongly recommend them. If you can’t, I’d whisk together some lemon juice, balsamic vinegar, and extra virgin olive oil. I’d add a splash of maple syrup, a plomp of dijon mustard, and a pinch of salt. That’s my go-to dressing and I think it would taste great here too.

Sometimes after I eat a meal like this I feel so healthy that it makes me want to eat a huge pizza. You know, for balance.

Happy Eating!

Kale and Farro Salad with Bacon

Serves 2

Ingredients

  • 1 C rinsed farro
  • 6 C water
  • 1-2 T salt
  • 2-4 bacon slices, cut into lardons
  • 6-8 C kale, stems removed, leaves washed and torn
  • 1/2 t salt
  • 1/4 C Sir Kensington’s Golden Citrus Vinaigrette
  • (Or whisk together some lemon juice, balsamic vinegar, and extra virgin olive oil. Add a splash of maple syrup, a plomp of dijon mustard, and a pinch of salt.)
  • 1 chopped apple, for topping

Directions

  1. Bring the 6 cups of water and 1-2 tablespoons salt to a boil. While it’s heating, toast the farro in a dry skillet until it gets a bit nutty smelling, about 3-5 minutes. Add the farro to the boiling water and cook until it tastes good, about 15-30 minutes (yeah, it can vary a lot – for me, 15 minutes was perfect). Drain the farro and set it aside.
  2. While the farro cooks, cook the bacon. Then drain on a paper towel lined plate. Reserve 1 T of the bacon grease and leave it in the pan.
  3. To the grease add the kale and sprinkle with 1/2 teaspoon salt. Toss it until it wilts down (it will, I promise) and gets darker green and tender.
  4. Toss the kale with the farro and 1/4 cup of dressing. Top with bacon and apple slices.

Monday

26

October 2015

1

COMMENTS

Pumpkin Pasta

Written by , Posted in Cheese, Dinner, Eggs, Gluten Free, Herbs, Kid-Friendly, Main Dishes, Meat, Nuts, Pasta, Pork, Roasting, Vegetables, Vegetarian

PumpkinPasta-6

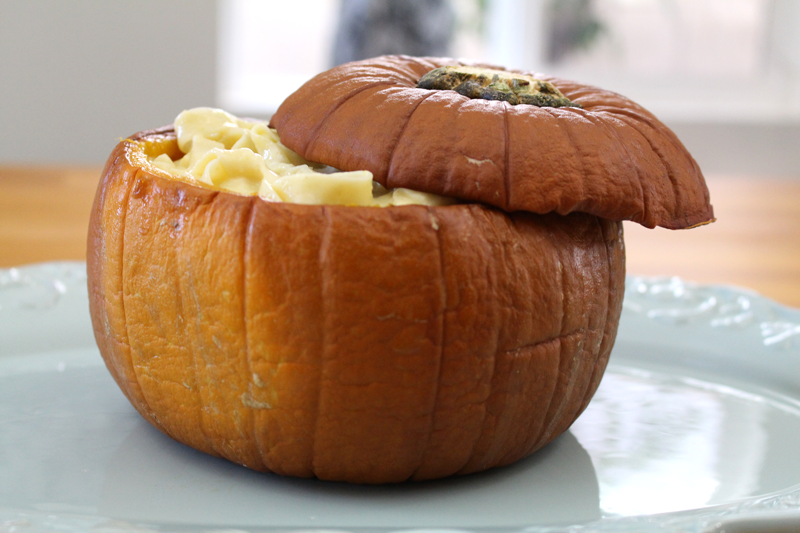
I’m eating this pasta as I type. I refrained from eating more than a bite or two while I was photographing so I could save it for dinner. It’s creamy, has a hint of spice, and it tastes like fall. It feels like the kind of food that should be enjoyed on a cold night with loved ones at your table… Lost in thought, I was envisioning my next dinner party when an errant noodle flung pasta sauce on to the floor. Distraction over.

PumpkinPasta-1

It’s pumpkin season and I’m so glad. I love all that there is to do with pumpkins (like I talked about in my Ten Ways to Use Pumpkins post from the other day). They’re versatile and yummy.

PumpkinPasta-2

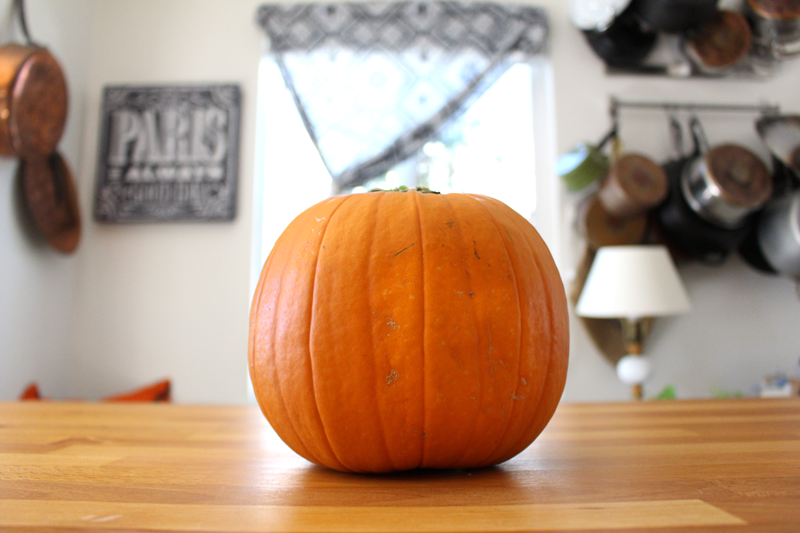
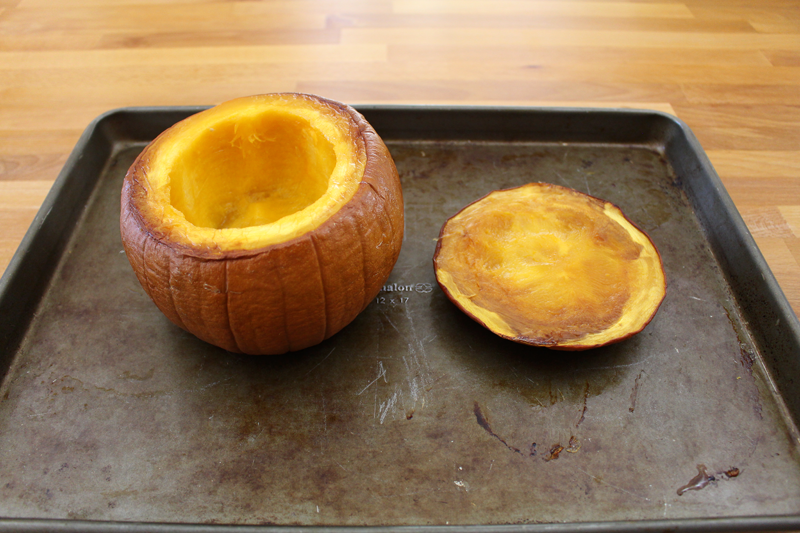
For this recipe I roasted the pumpkin almost whole so that I could serve the pasta in it. It’s as simple as a little olive oil on the inside, flip it upside down, and roast for about an hour. I wanted to save some of the roasted pumpkin for a few other dishes, but if you wanted to use it all, you could totally do that.
Pumpkin isn’t the only option. If you’ve got other varieties of winter squash they’d be great too. I might avoid the spaghetti squashes (and those like them), but other than that, whatever you’ve got on hand should be great.

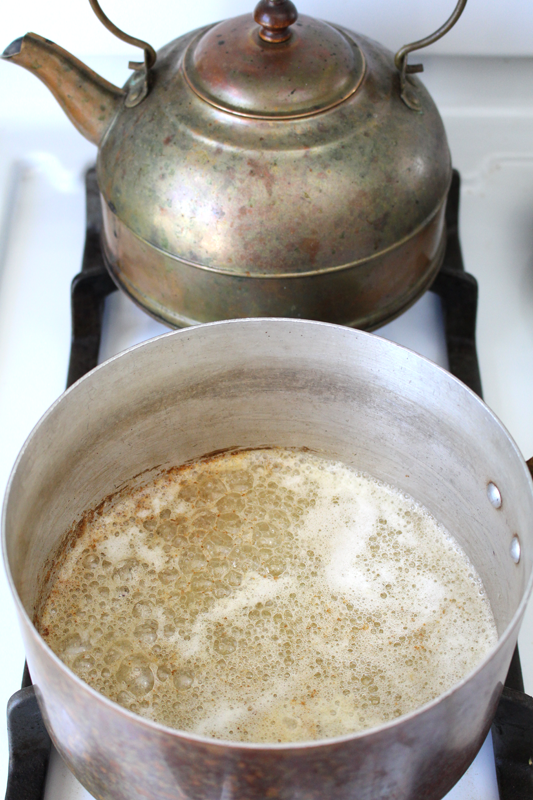
PumpkinPasta-3

Pumpkin (or winter squash) and browned butter are good friends. As they should be. You can use butter or not, olive oil is a great option as well. Equal parts butter/olive oil and all purpose flour work together to make a nice roux. Or, if you want to skip it all together (and for a gluten-free option), milk and cornstarch will thicken up nicely.

PumpkinPasta-4

PumpkinPasta-5

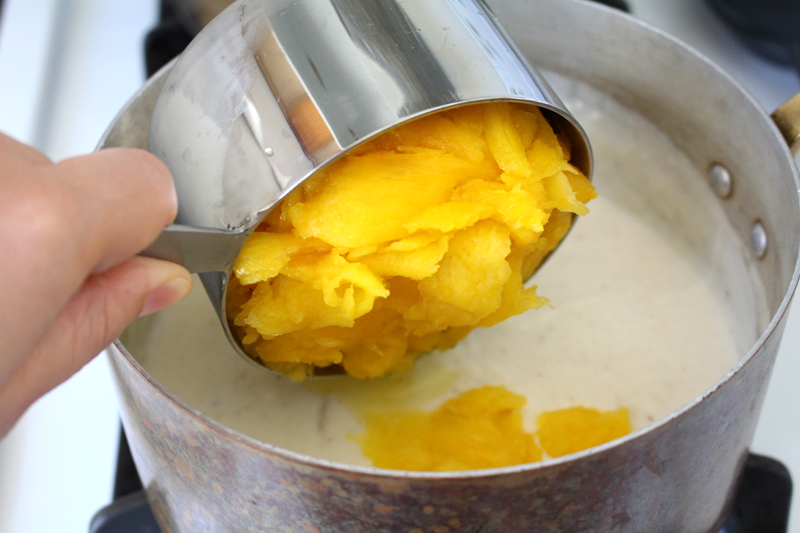
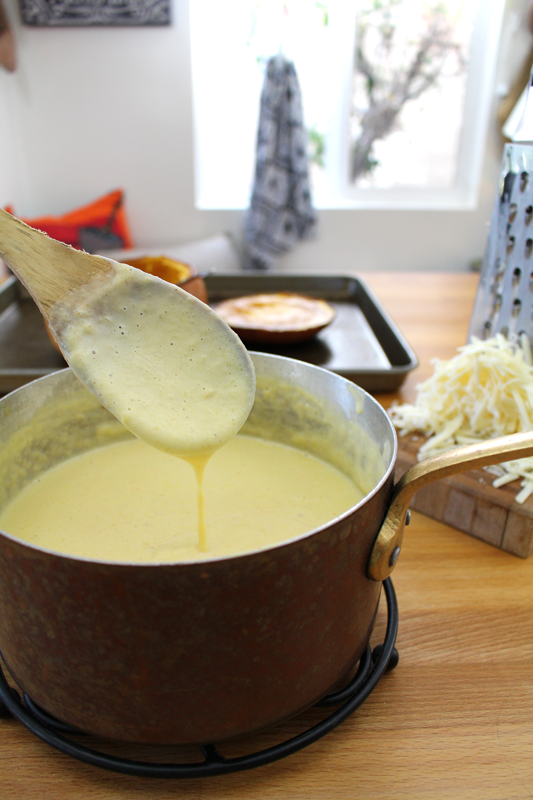
The pumpkin, milk, and thickener heat slowly on the stove until they’re nice and thick. Then cheese and some seasonings are added and everyone gets blended together until you’ve got a nice smooth sauce.

PumpkinPasta-7

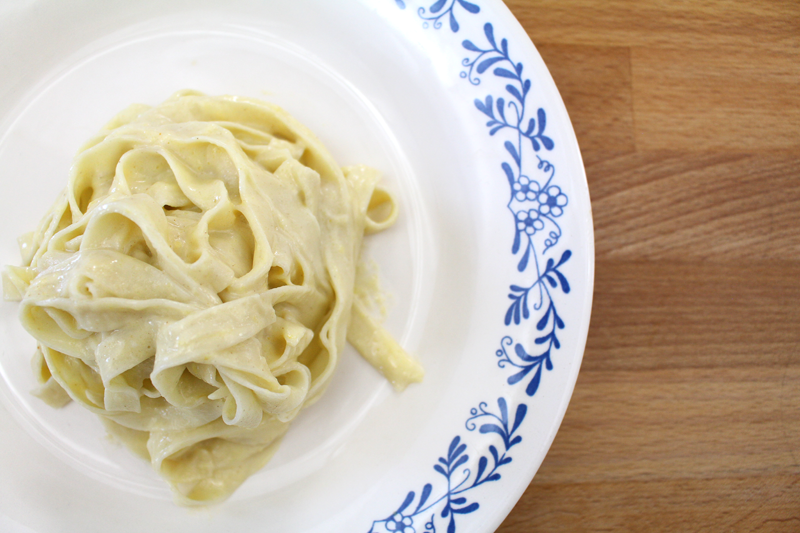
Whatever pasta you prefer will work perfectly. I made some fresh pasta today, cut in a fettuccine (ish) width, so that’s what I wanted to use. But, elbows, spaghetti, or fusilli would be great too. I opted for a creamy sauce without any add ins or toppings. Sometimes I just don’t want anything extra. But, next time I think I’m gonna try it with some mushrooms, greens, and sage… or maybe corn, crispy shallots, and bacon.

Happy Eating!

Pumpkin Pasta

Prep Time: 15 minutes

Cook Time: 1 hour, 11 minutes

Total Time: 1 hour, 26 minutes

Yield: 6

Pumpkin Pasta

Ingredients

  • 1 small pumpkin or small to medium winter squash (any except spaghetti squash) (about 2-3 C cooked) (could also use roasted or steamed carrots or cauliflower)
  • 1 t olive oil
  • 1/4 C butter or olive oil (optional)
  • 1/4 C all purpose flour or 1 T cornstarch
  • 2 C milk (any kind)
  • 1/2 C plain yogurt
  • pinch cayenne
  • to taste salt
  • good pinch coriander
  • good pinch ginger
  • 1 C cheese (Parmesan, cheddar, or Gruyère), grated
  • (could also mix in: 2-4 cloves roasted garlic, sautéed mushrooms, greens, sage, onion, leek, shallot, corn, lemon zest)
  • 6 servings pasta
  • toppings optional: fresh herbs, chopped; poached eggs, bacon, or nuts

Instructions

  1. Pre-heat the oven to 350F. Cut the lid off the pumpkin (if you're going to serve in it, if not you could just slice in half), scrape out seeds. Rub the inside with 1 t olive oil. Roast for about 1 hour.
  2. Heat a medium sized saucepan over medium-low heat. Add butter, if using. When it starts to brown, whisk in flour. Cook for 30-60 seconds. If doing gluten-free, skip the butter and flour and whisk milk with cornstarch. Pour in milk (with or without the cornstarch), whisking as you do. Add pumpkin. Cook over low heat for about 10 minutes, or until thickened (it should coat a spoon without all running off), stirring occasionally with a wooden spoon.
  3. Remove from heat and stir in yogurt. Season with cayenne through ginger. Stir in cheese. Blend with a hand blender (or in batches in a regular blender with the center plug removed and the hole covered with a clean tea towel) until smooth. Taste and adjust seasoning if desired. Stir in any additional mix ins.
  4. Cook pasta. Drain and toss with sauce. Serve topped with desired toppings, or just serve as it is.

http://www.de-ma-cuisine.com/pumpkin-pasta/

Monday

19

October 2015

1

COMMENTS

Deviled Eggs with Parmesan Crisps and Fresh Herbs

Written by , Posted in Appetizers, Cheese, Eggs, Gluten Free, Herbs, Kid-Friendly, Low Carb, Lunch, Meat, Pork, Potlucks, Quick and Easy, Sides, Snacks, Vegetarian

DeviledEggs-5

It’s taken me a while to get back into the swing of things since our trip. The first week we were back things were in a state of chaos. Half unpacked suitcases, piles of laundry, my brain still wanting to be with family. Then I was sick most of the next week, so I’m finally getting back into things today. What this meant was that I made mayonnaise. One step in the right direction of not eating quesadillas for every single meal. Tim asked if there were any leftovers to take for lunch today. Nope. Well, there are now: Deviled Eggs (minus the ones that I couldn’t resist), and the beans with rice and peas that was dinner. I feel better already.

I can’t remember the last time I made deviled eggs. If I’m hard boiling eggs, they don’t usually last long enough to be made into anything else. A sprinkle of salt is all they really need.

Until now.

JKWeddingTrip-1

My youngest brother got married a month ago in Ontario, Canada (where I grew up). They were married at my mom and dad’s place, a picturesque country home with plenty of room for their grown kids to come and stay. But, their home isn’t just where they live. They have a commercial kitchen where mom cooks for groups and for their bakery & cafe. This kitchen is a little bit of heaven for me. I get to cook with family in a great big kitchen.

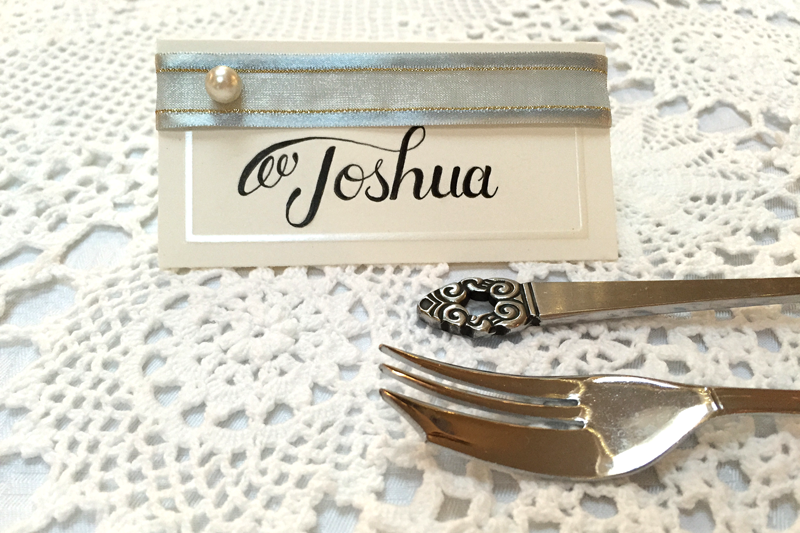
Josh and Karensa asked my brother Jake and I to take care of the appetizers for the wedding. One of those was Deviled Eggs with Bacon and Chives, that was dreamed up for Josh. I just knew he’d love them (and I was right).

DeviledEggs-1

This recipe is a slight variation on the eggs that we made for Josh. Mostly because I have basil, not chives, and I don’t have any bacon. Oh, and I used 6 eggs rather than the 36 used for the wedding. I didn’t think I’d need thaaaaat many leftovers for lunches this week.

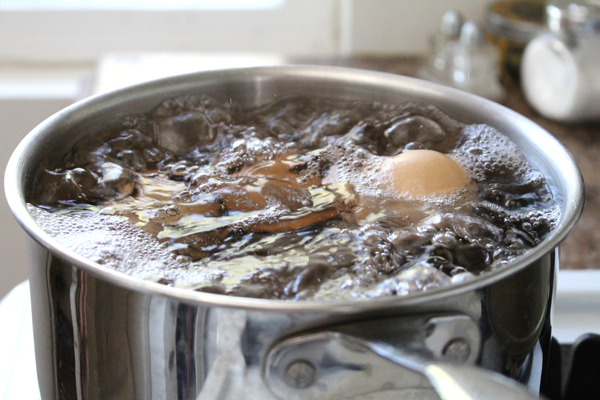
I boiled ’em. Simple. The way mom taught me. Boil water, add some vinegar (in case a shell cracks – it’s supposed to keep the whites from spreading too much), cook 15 minutes, cool, then peel. If you do it differently, that’s great. Do what works for you.

DeviledEggs-2

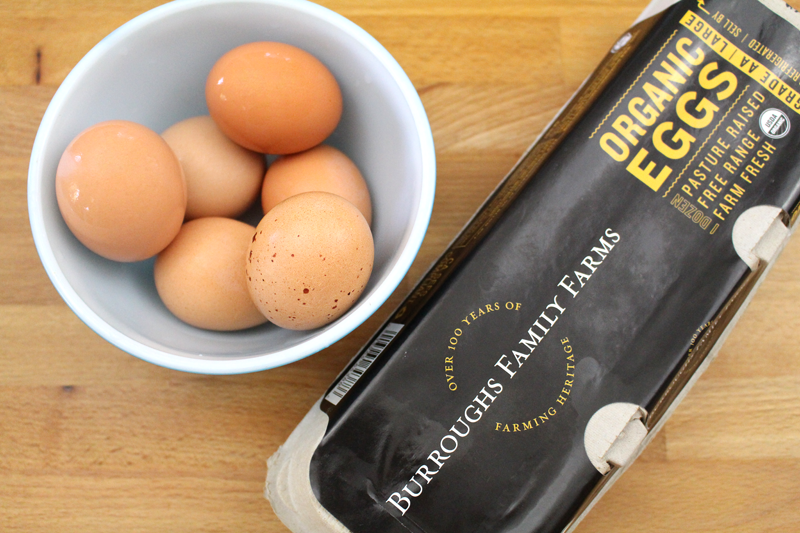
I’ve heard that it’s best to peel the eggs right away. I did, and they were perfect. I didn’t lose any of the white part. I’ve also heard that you’re supposed to use older eggs for hard boiled. I didn’t. I just got these today. So, who knows about these things that “they” say.

DeviledEggs-3

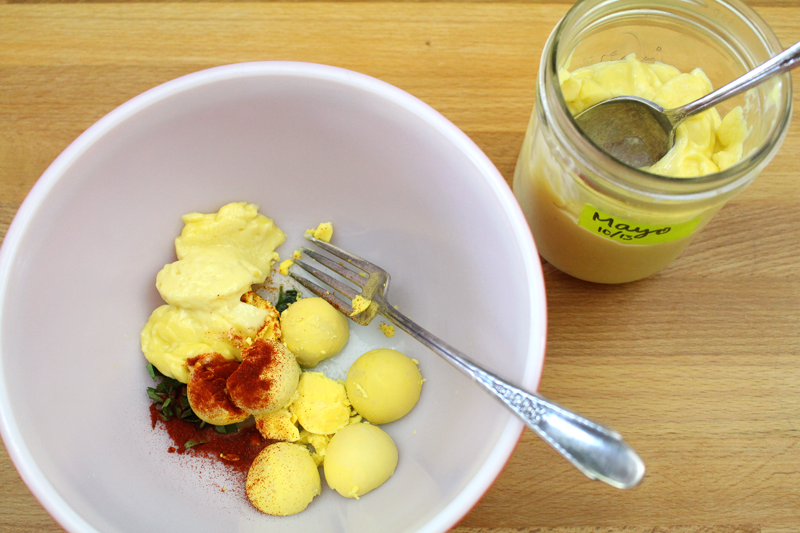
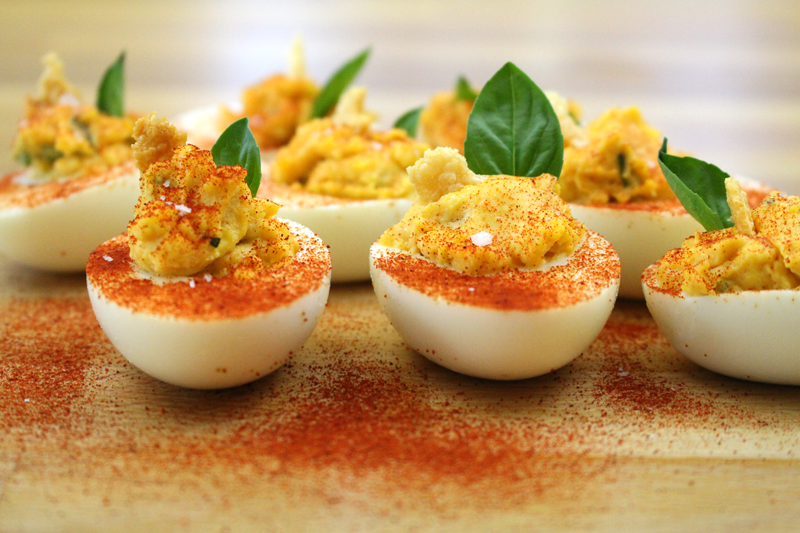
I try to keep homemade mayo on hand. Partly because I love it, partly because it’s so easy to make. Along with some paprika, basil, salt, and olive oil, it’s a fabulous mix-in for deviled eggs.

DeviledEggs-4

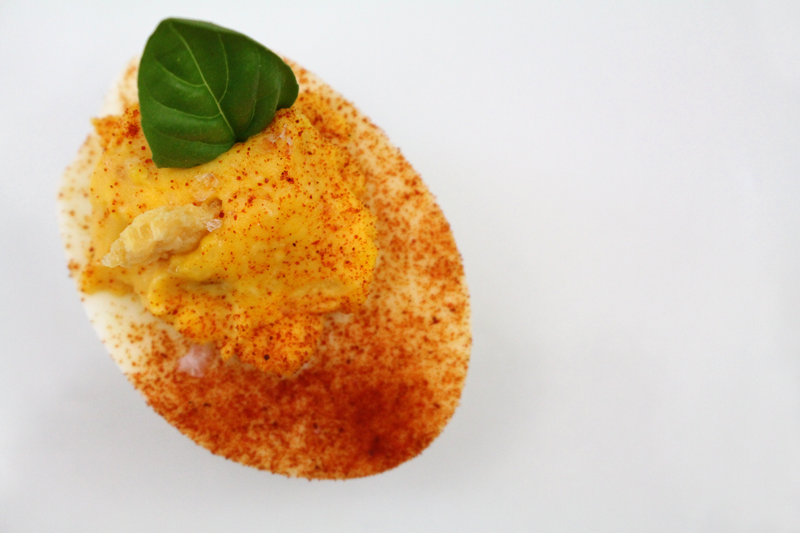
I topped each one with a parmesan crisp and a tiny basil leaf. You could opt for bacon and chives, or switch it up and use dill and skip the bacon altogether. So far, no matter how they’ve been topped, these eggs are irresistible and they won’t last long before they’re snatched up by hungry guests (or by a hungry blogger who is about to go raid the fridge).

Happy Eating!

Deviled Eggs with Parmesan Crisps and Fresh Herbs

Prep Time: 10 minutes

Cook Time: 25 minutes

Total Time: 35 minutes

Yield: 6

Serving Size: 1 whole egg

Deviled Eggs with Parmesan Crisps and Fresh Herbs

Ingredients

  • 6 eggs
  • 1 T white vinegar
  • 1/4 C parmesan cheese, grated
  • (optional) 1 slice bacon, cooked and crumbled
  • 1 T fresh herbs (basil, chives, dill, tarragon), 12 left whole, remaining chopped
  • 1 t olive oil
  • to taste salt
  • 1/2 t paprika
  • 2 T mayonnaise
  • coarse salt

Instructions

  1. Pre-heat oven to 350F.
  2. Boil water. Add vinegar. Add eggs and boil for 15 minutes. Cool under cold water or in an ice bath. Peel as soon as they are cool.
  3. If using bacon, cook, then drain on a paper towel lined plate. Crumble.
  4. Drop a pinch of parmesan on a parchment paper lined baking sheet. Repeat until all has been used up. (If you make too many, store in an air tight container in the fridge.) Bake for 7-8 minutes, or until crispy. Cool and remove from baking sheet.
  5. Halve eggs. Gently pop out the yolks and mash with the herbs through mayonnaise. Taste and adjust seasoning if desired. Return the yolk mixture to the whites (use two small spoons, a piping bag, or a plastic bag with the corner snipped off). Top each with one herb leaf, one parmesan crisp, and, if using, one small piece of bacon. Sprinkle with a bit of coarse salt.

http://www.de-ma-cuisine.com/deviled-eggs/