De Ma Cuisine

Main Dishes Archive

Monday

11

May 2015

0

COMMENTS

Nopales Wraps

Written by , Posted in Dairy-Free, Dinner, Eggs, Fruit, Gluten Free, Herbs, Low Carb, Lunch, Main Dishes, One Dish Dinners, Quick and Easy, Vegetables, Vegetarian

NopalesWraps-5

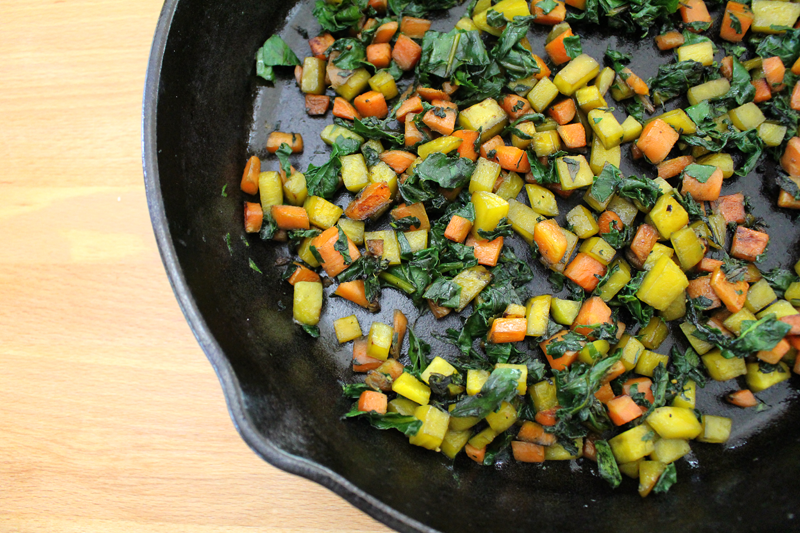
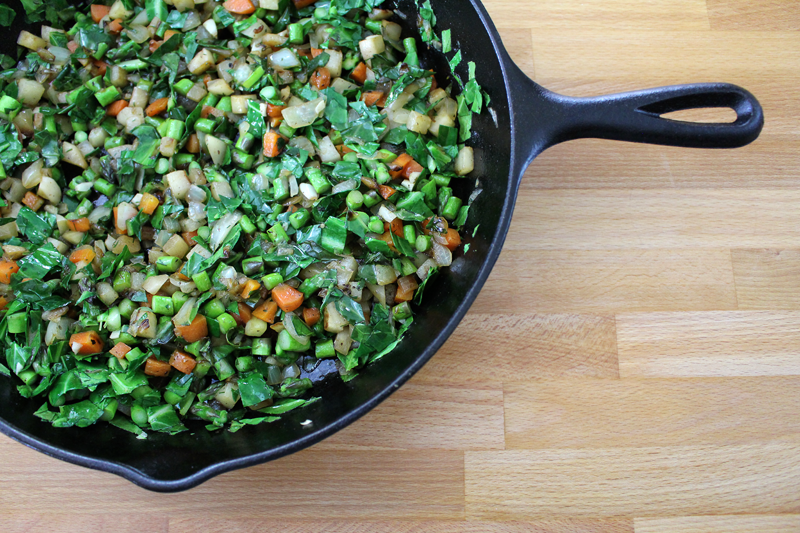
It’s nopales time again! Who knew that cactus leaves could be so fun to eat?! Last week I made them into a relish. I also used them in Borscht. Today, I’ve sautéed them with onions, added scrambled eggs, and wrapped it all in a lettuce leaf.

NopalesWraps-1

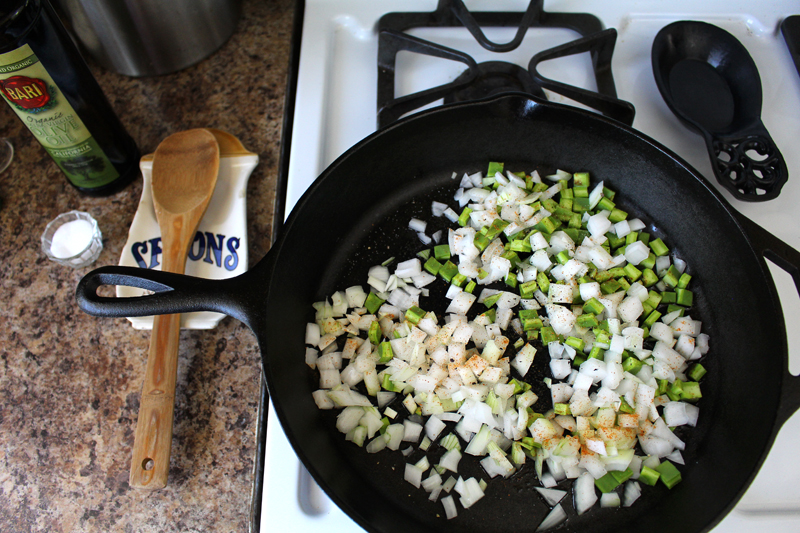
Nopales have an interesting taste. Kinda like if a green bell pepper was crossed with a green bean, okra, and a lemon. They’re bright, citrusy, and oh so slimy. You can boil them to take away the slime. Or, if you don’t care too much, just pop ’em in the pan. Totally up to you. I wanted to keep this one super quick and easy, so I didn’t bother with boiling.

NopalesWraps-2

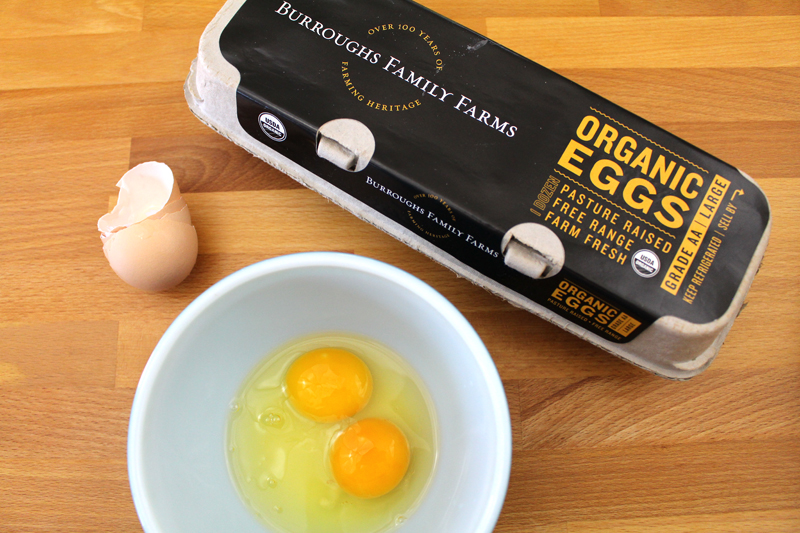
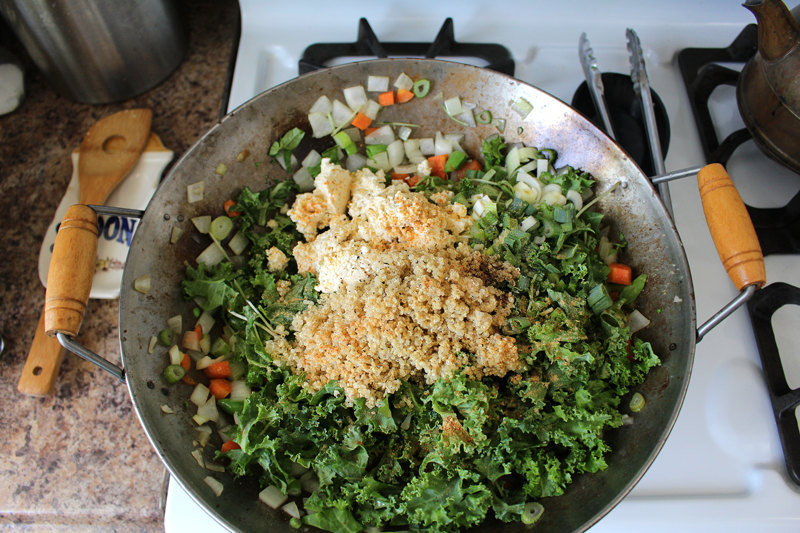
I really wanted eggs with this dish. But, you could totally make this a vegan dish by crumbling some tofu into the veggies.

NopalesWraps-3

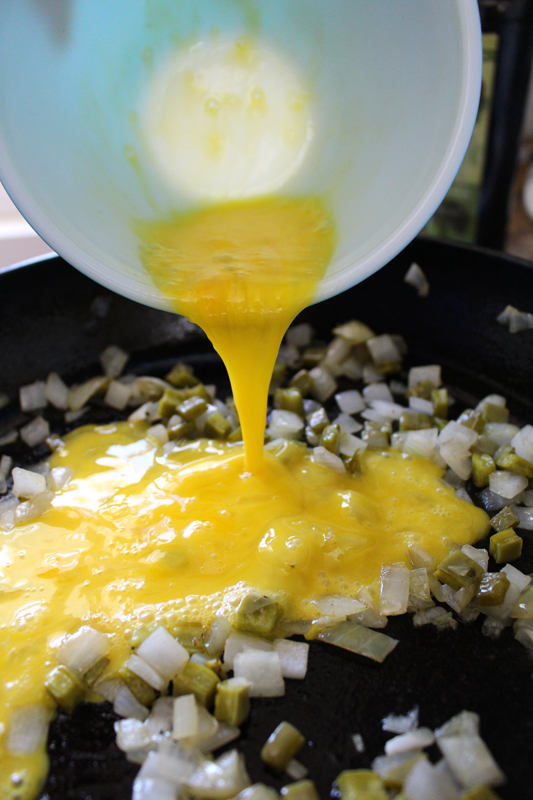
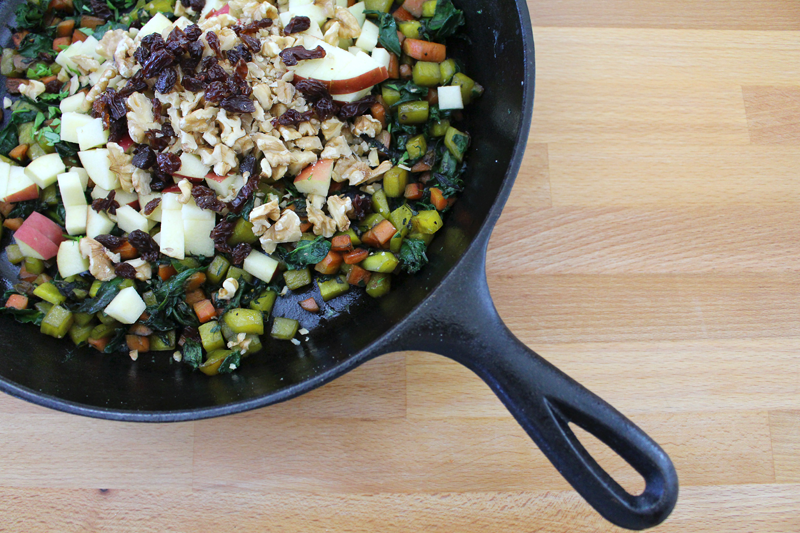
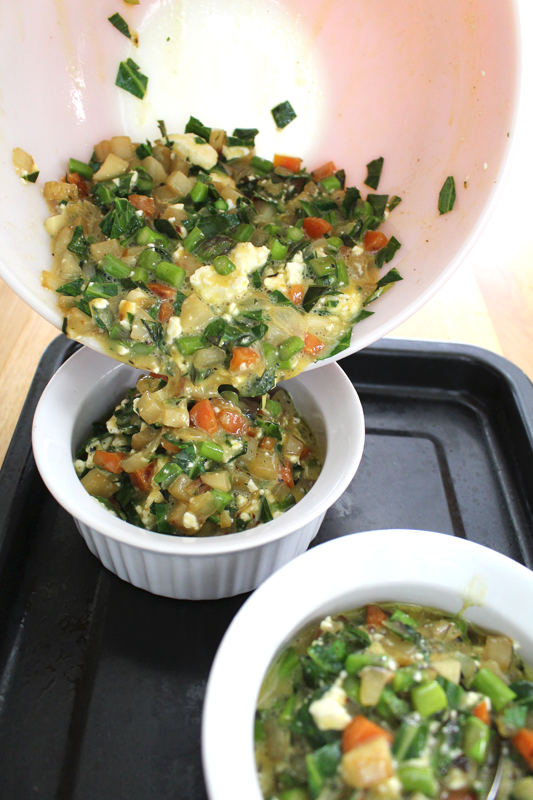
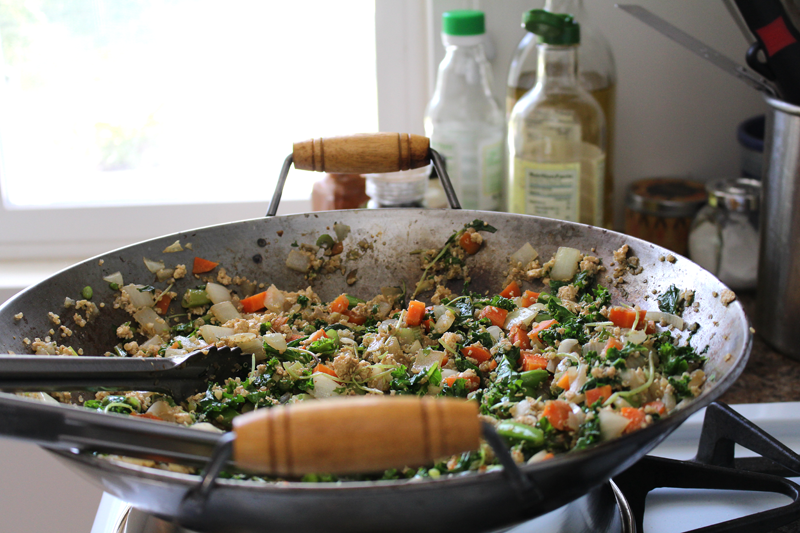
All there is to it is to crack the eggs, whisk them to combine, and add to the cooked veggies in the skillet.

We’re on our way to a super simple meal!

NopalesWraps-4

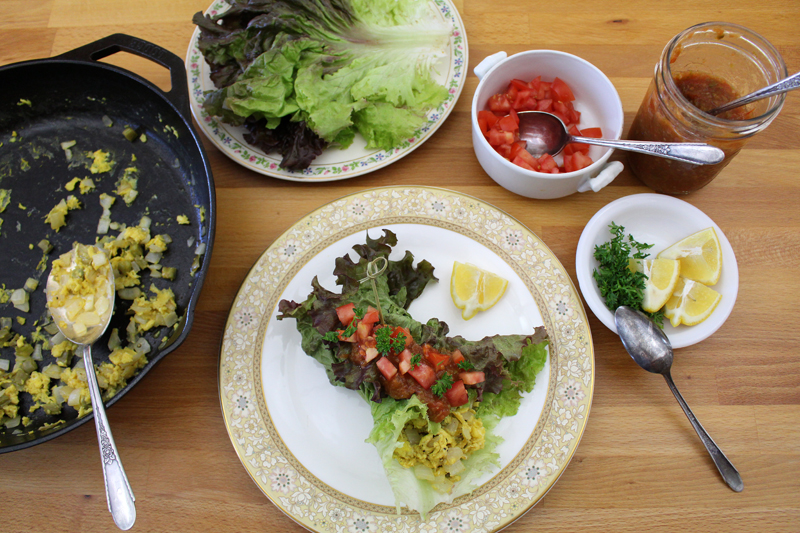
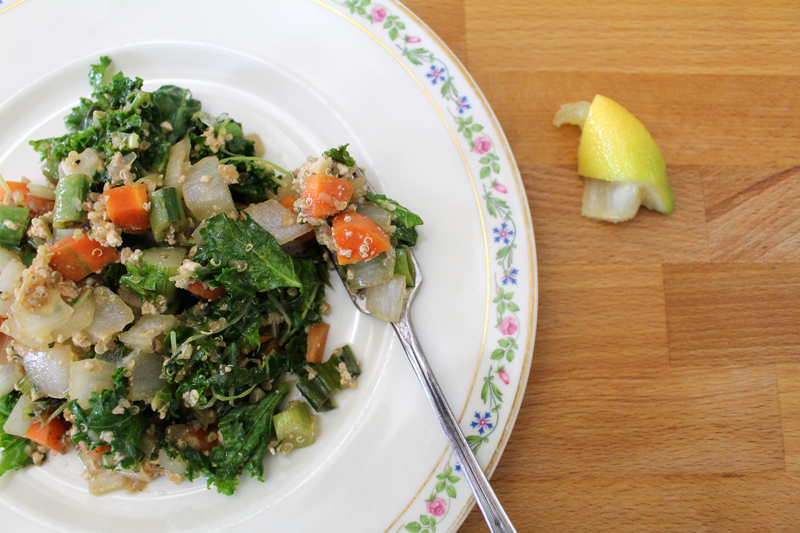
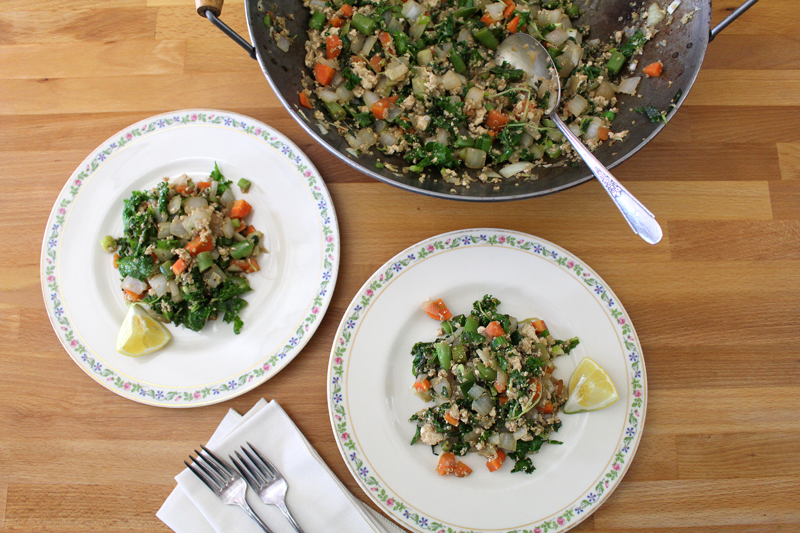
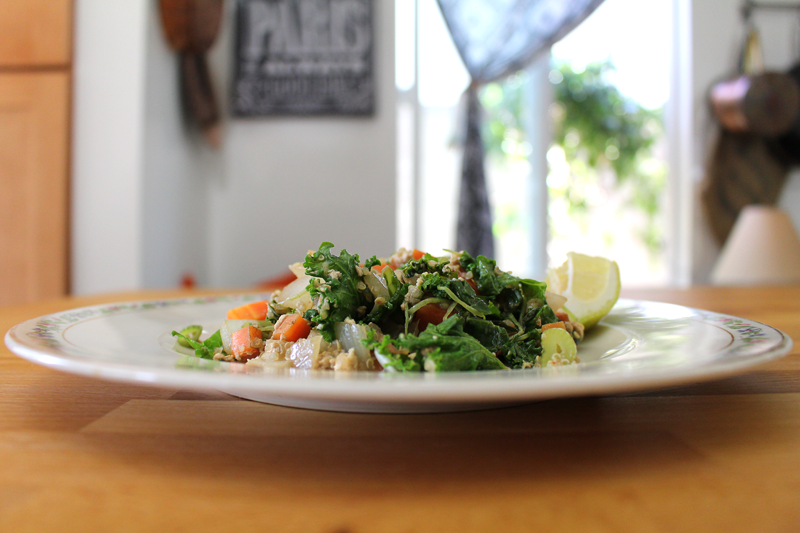
I used lettuce for wrapping this time. But, of course tortillas would be a great option too, depending on what you’re craving. If you don’t have lettuce or tortillas, another large, sturdy green leaf will do (like chard or kale). Whether or not you will need a fork and knife will depend on the sturdiness of the wrapping device. With this lettuce picking it up wasn’t an option. The messiness factor was heightened by topping the wrap with Nopales and Tomato Relish, fresh tomatoes, and parsley, rather than adding them to the filling.

NopalesWraps-6

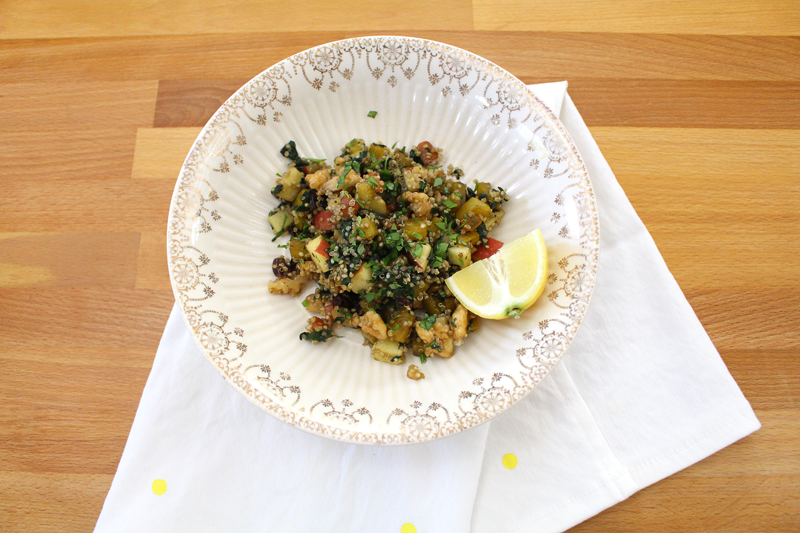
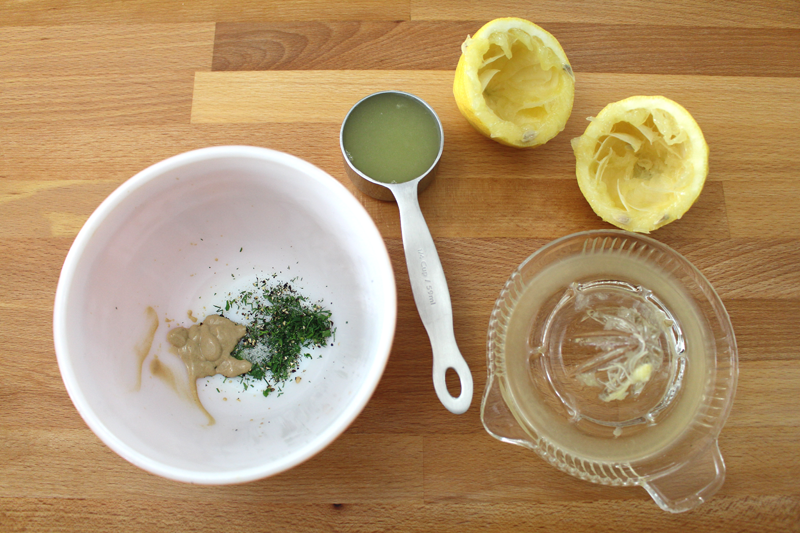
A squeeze of lemon is one of my favorite ways to finish off a dish. And this one’s no different. Bright and citrusy, it’s a great way to complete an interesting and fun take on nopales.

Happy Eating!

Nopales Wraps

Prep Time: 10 minutes

Cook Time: 15 minutes

Total Time: 25 minutes

Yield: 2

Nopales Wraps

Ingredients

  • 1 T olive oil
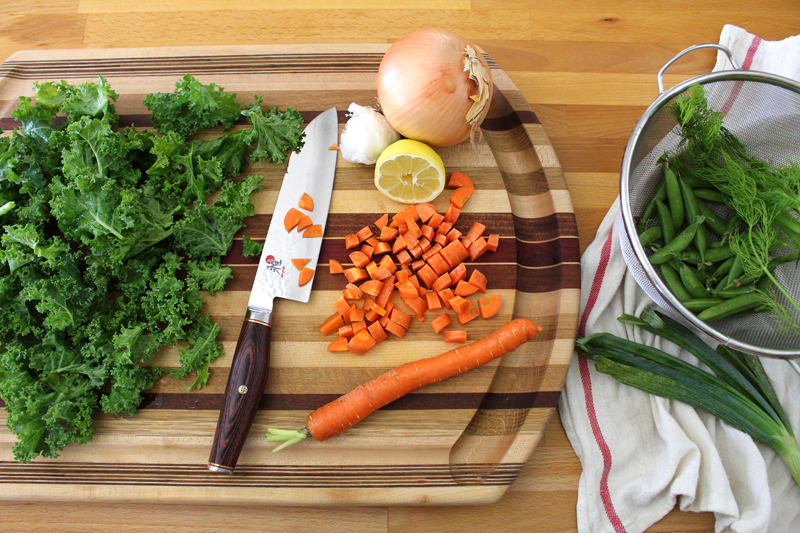
  • 1/2 to 1 C nopales (or bell pepper), chopped
  • 1 onion, chopped
  • to taste salt
  • to taste pepper
  • pinch cayenne
  • 2 eggs/person (or 7 oz. firm tofu, drained and crumbled)
  • pinch salt
  • 2-4 lettuce leaves, washed and dried (tortillas, chard, or kale could also be used)
  • 1 tomato, chopped, for topping
  • fresh parsley, chopped, for topping
  • Nopales Relish, for topping
  • lemon wedges, for serving

Instructions

  1. Heat a skillet over medium-low. Add oil. Once oil is hot, add nopales through cayenne. Cook for about 10 minutes, or until veggies are tender, stirring occasionally.
  2. Turn heat to low. Whisk together eggs. Pour into skillet. Sprinkle with salt and stir gently until eggs are cooked and set (about 3-5 minutes).
  3. Divide filling between lettuce leaves. Secure with a toothpick. Top with relish, parsley, and a squeeze of lemon.
http://www.de-ma-cuisine.com/nopales-wraps/

Friday

24

April 2015

0

COMMENTS

Chamomile and Honey Pancakes

Written by , Posted in Breakfast, Brunch, Dinner, Eggs, Fruit, Gluten Free, Herbs, Kid-Friendly, Lunch, Main Dishes, One Dish Dinners, Quick and Easy, Vegetarian

ChamomilePancakes-6

I’ll let you in on a secret. I don’t really love tea. Ugh, I know. It annoys me too. I try. And really, I’ve come a long way. I drink it occasionally and usually enjoy it. But, the problem, especially with chamomile tea, is that I drink it when I’m sick. Negative association issues here.

So, I needed something to do with chamomile that doesn’t involve sickness, sniffles, or a stuffy head.

ChamomilePancakes-1

I’m pretty excited about this recipe, because it can be hard to be creative with something that’s we only use for one thing. I took my ideal chamomile tea, which always has a big scoop of honey, and a good squeeze of lemon, and turned it into gluten-free cornmeal pancakes.

This is an idea I can get behind.

ChamomilePancakes-2

I used my basic cornmeal pancake recipe, but used honey instead of maple syrup. The batter comes together in no time. It’s a simple dry ingredients whisked together first, wet ingredients whisked together second kinda recipe. They get mixed separately so that they combine properly – no pockets of baking soda please!

ChamomilePancakes-3

They don’t need long to cook, so this makes for a super quick meal. About a minute or less per side will do.

ChamomilePancakes-4

I like to make them small, so they’re easier to flip. About 2-3 T of batter will is perfect. You could even do less and make super minis. The kids might like that. Ok, I’d like that too. Then you can eat like 8 of them, which is way more fun to say than saying you ate 2.

ChamomilePancakes-5

For serving, I liked them with just honey and lemon, but they were even tastier with some homemade Blueberry Jam, chopped apples (or whatever fruit is in season), a drizzle of honey, and a squeeze of lemon. They were also great the next day with some nut butter, Greek yogurt, and jam.

ChamomilePancakes-7

I think pancakes make for a great meal any time of the day. They’re quick, easy, and you can customize them to suit your family’s tastes.

Happy Eating!

Chamomile and Honey Pancakes

Prep Time: 10 minutes

Cook Time: 4 minutes

Total Time: 14 minutes

Yield: 2

Chamomile and Honey Pancakes

Ingredients

  • 1/2 C cornmeal
  • 1/2 t baking soda
  • 1 t baking powder
  • 1 T lemon zest, diced
  • pinch salt
  • 1 t dried chamomile
  • 1 egg
  • 1/2 T honey
  • 1 t coconut oil (plus more for cooking)
  • 1/4 C buttermilk (or 1 T white vinegar and pour in milk to 1/4 C, stir with a fork and let sit 5 min)
  • jam, for serving
  • apple (or cherries, berries, peach, plum, orange, apricot) chopped, for serving
  • lemon juice, for serving
  • honey, for serving

Instructions

  1. Whisk together cornmeal through chamomile. In a separate bowl whisk egg through buttermilk. Add wet ingredients to dry. Stir to combine.
  2. Heat a skillet over medium-low heat. Add a bit of coconut oil. When oil is hot add about 2-3 T of the batter (to make each one about 2" diameter). Cook for about 1 minute on first side (or until bubbles form and do not pop), then another minute (or less) on the second side. Cook in batches until all batter has been used.
  3. Serve topped with jam, fruit, lemon juice, and honey.
http://www.de-ma-cuisine.com/chamomile-and-honey-pancakes/

Monday

20

April 2015

1

COMMENTS

Warm Beet and Walnut Salad

Written by , Posted in Dairy-Free, Dinner, Fruit, Gluten Free, Grains, Herbs, Lunch, Main Dishes, Nuts, Potlucks, Quick and Easy, Quinoa, Rice, Salads, Sides, Vegan, Vegetables, Vegetarian

 WarmBeetWalutSalad-11

It’s spring. But, here in L.A. it seems like the weather’s not sure what it wants to do. One week it feels like summer, the next, we’re back to our winter weather.

But, this salad can be eaten rain or shine.

It’s a simple one. And it goes kinda like this…

You start with a grain: Quinoa, brown rice, bulgur wheat, wild rice, or couscous.

You choose your veggies (any or all): Beets, carrots, greens, tomatoes (ok, technically a fruit), or summer squash.

Then you choose your add ins: Walnuts, almonds, raisins, apples, pumpkin seeds, or sunflower seeds.

Fresh herbs are added: Parsley, basil, or thyme.

And you’re ready to eat!

WarmBeetWalutSalad-2

Since we get beets year round here, we can eat this hearty salad whenever we want. I had golden beets on hand, but red beets would work well too.

WarmBeetWalutSalad-3

I love the feeling of sunshine that golden beets bring to my kitchen. They’re such a happy root veggie.

WarmBeetWalutSalad-5

Veggies are cooked in a skillet – easy! Beets are a pretty dense root veggie, so be sure to give them enough time to cook (20 minutes or so seemed to do the trick for me).

WarmBeetWalutSalad-6

I love raw walnuts, so they were a perfect choice. Some raisins and apples added a bit of sweetness to the already sweet beets and carrots. Sweet, but not too.

WarmBeetWalutSalad-7

For my grain, I chose quinoa. Packed with protein, it seemed like a great fit for a vegan dish.

WarmBeetWalutSalad-8

Some quality olive oil and a good squeeze of lemon brighten and round out the dish.

WarmBeetWalutSalad-9

The finished product is a warm salad. The beets warm the add ins slightly, while the add ins cool the cooked veggies. You could also refrigerate and eat it a few hours later.

Quick and easy to prepare, packed with nutrients and protein, this one was a hit at our house. Even Tim, who isn’t crazy about beets, thought it was really good.

Happy Eating!

Warm Beet and Walnut Salad

Prep Time: 10 minutes

Cook Time: 35 minutes

Total Time: 45 minutes

Yield: 3-4

Warm Beet and Walnut Salad

Ingredients

  • 1 C water or vegetable stock
  • 1/2 C uncooked quinoa (rinsed) (or couscous, wild rice, bulgur wheat, or brown rice with appropriate amount of water)
  • 1 T olive oil
  • 1 C golden beets (red beets would work great too), peeled and chopped
  • 1 C carrots (or summer squash), chopped
  • to taste salt
  • to taste pepper
  • 3 C greens (like spinach, chard, or kale), chopped
  • sprinkle cayenne
  • 1 t fresh parsley, chopped (divided)
  • 1 t fresh basil, chopped (divided)
  • 2 T raisins, chopped
  • 1/4 C apple, chopped
  • 1 C walnuts, chopped
  • 1/2 C pumpkin seeds (optional)
  • 1 T olive oil
  • 2 T lemon juice
  • lemon wedges, for serving

Instructions

  1. Bring the water to a boil. Add the quinoa. Bring back to a boil, then reduce to a simmer and cook for about 15 minutes, or until done. (If using other grains, cook according to package's instructions.)
  2. Heat a skillet over medium-low. Add olive oil. When the oil is hot add the beets through pepper. Cook for about 20 minutes (or until veggies are tender), adding greens after about 10-15 minutes (depending on type of greens - more tender greens will require less time to cook).
  3. Remove skillet from the heat. Stir in half of the herbs (reserving the rest for topping), and then raisins through lemon juice, and cooked quinoa. Taste and adjust seasoning if desired.
  4. Serve warm, at room temperature, or cold, with a lemon wedge for squeezing over.
http://www.de-ma-cuisine.com/warm-beet-and-walnut-salad/

Thursday

16

April 2015

3

COMMENTS

Bacon and Feta Frittatas

Written by , Posted in Baking, Breakfast, Brunch, Cheese, Condiments, Dinner, Eggs, Fruit, Gluten Free, Herbs, Lunch, Main Dishes, Meat, Pork, Potatoes, Vegetables

BaconFetaFrittata-11

Many of my favorite foods are those loaded with veggies and a little something else. I do this with pasta, soups, and stir fry. In this case, it was with bacon, eggs, and a little bit of feta cheese.

BaconFetaFrittata-1

This is a use what’s in season type of meal. I had asparagus, turnip, kohlrabi, carrot, and collard greens on hand. But, you could use bell peppers, tomatoes, mushrooms, potatoes, radishes, and any other greens that sound good to you.

BaconFetaFrittata-4

I cooked the bacon and when it was done and resting on a plate, I added some olive oil to the bacon grease in the skillet. If you want to wipe out the skillet after the bacon is done, that’s cool too. Add some butter or extra olive oil instead of the bacon grease. Don’t want to use bacon at all? That’s fine. I like the crunch that it adds to the frittata, but it’s not absolutely essential.

BaconFetaFrittata-2

While the veggies cook, whisk together some of your favorite eggs with a bit of milk. I needed just three eggs, since there were so many veggies. You can adjust the recipe according to your needs, keeping in mind that the cooking time may change depending on the number of eggs used.

BaconFetaFrittata-5

The eggs and veggies are combined and some feta is added. Like pretty much everything else in this recipe, you can change up the cheese if you want. Gouda would be a yummy choice, if you’re not using feta.

BaconFetaFrittata-7

Once the frittatas are done (I like to use a food thermometer to take the guesswork out of it), they get to stand around and rest for about 10 minutes. In that time, you can whisk up a lemony dressing that will be drizzled over the top.

BaconFetaFrittata-8

BaconFetaFrittata-10

And then finally, it’s time for a bite. With that crunchy bacon, delicious veggies, and flecks of feta, it’s as delicious as I’d hoped it would be.

BaconFetaFrittata-12

Frittatas are perfect any time of the day, any day of the week. They’re especially good when shared with a loved one. But, if you’re having a meal by yourself, the second frittata can be refrigerated (or frozen and thawed in the fridge over night) and reheated another day.

Happy Eating!

Bacon and Feta Frittatas

Prep Time: 20 minutes

Cook Time: 43 minutes

Total Time: 1 hour, 3 minutes

Yield: 2

Bacon and Feta Frittatas

Ingredients

  • 4-5 slices bacon
  • bacon grease (or 1 T butter)
  • 1 T olive oil
  • 3/4 C kohlrabi (or potatoes, fennel bulb, or mushrooms), chopped
  • 3/4 C turnip (or radish), chopped
  • 1 1/2 C onion, chopped
  • 3/4 C carrot, chopped
  • to taste salt
  • to taste pepper
  • 1/2 t dried thyme (or 1/2 T fresh)
  • 1/2 t dried basil (or 1/2 T fresh)
  • 1 C asparagus (or peas), stems snapped off and discarded, chopped
  • 2 cloves garlic, diced
  • 1 C greens, chopped
  • 1 T fresh parsley, chopped
  • 1 T fresh dill, chopped
  • 3 eggs
  • 1/4 C milk
  • to taste salt
  • to taste pepper
  • 1/2 C feta, crumbled
  • Dressing: 1/2 t honey
  • 1 t dijon mustard
  • 1/4 C lemon juice
  • 1 t fresh parsley, chopped
  • 1/2 t fresh dill, chopped
  • to taste salt
  • to taste pepper
  • 2 T olive oil

Instructions

  1. Preheat the oven to 375F. Place two greased 5" (diameter) by 2" (tall) ramekins or oven safe dishes on a baking sheet and into the oven while it preheats.
  2. Cook bacon to desired crispness. Remove from skillet and place on a paper towel lined plate. Crumble when cool enough to handle.
  3. Heat bacon skillet. Add olive oil (and butter if you've wiped it out and discarded the bacon grease). When it's hot, add the kohlrabi through basil (if you're using dried herbs). Cook covered over medium-low heat for 10 minutes, stirring occasionally. Add asparagus through dill (adding basil and thyme if you're using fresh) and cook for 3 minutes more. Remove from heat and taste and adjust seasoning if desired.
  4. Whisk eggs with milk, salt, and pepper. Stir in veggies and feta. Pour into the hot, greased ramekins (still on the baking sheet). Bake for about 30 minutes, or until the eggs are set and have come to 160F. Let stand for 10 minutes before serving.
  5. While frittatas rest, whisk together dressing ingredients, streaming in the olive oil last, while you whisk. Taste and adjust seasoning if desired.
  6. Serve frittatas topped with bacon and dressing.
http://www.de-ma-cuisine.com/bacon-and-feta-frittatas/

Monday

13

April 2015

0

COMMENTS

Vegan Tofu Fried Quinoa

Written by , Posted in Dairy-Free, Dinner, Fruit, Gluten Free, Grains, Leftovers, Lunch, Main Dishes, One Dish Dinners, Quick and Easy, Quinoa, Rice, Vegan, Vegetables, Vegetarian

VeganTofuFriedQuinoa-6

We don’t eat a lot of meat. We enjoy it, but it’s expensive, and we’ve found that there are plenty of other ways to get enough protein in our diet. So the meals containing meat are few and far between, and we fill in the gaps with meals like this take on Fried Rice.

VeganTofuFriedQuinoa-1

It starts with some seasonal veggies. Right now we’ve got greens like kale, chard, and mei qing choi. There are carrots, snap peas, and spring onions. And we’ve got the most delicious spring onions.

If you wanted to adapt this to suit another season, you could try some of these options:

Spring: Radishes, green beans, asparagus, fava beans, garlic scapes, or kohlrabi.

Summer: Zucchini/summer squash, tomatoes, bell peppers, eggplant, or sinqua.

Fall: Beets, arugula, cabbage, celery, chard, fennel, or radicchio.

Winter: Broccoli, cauliflower, winter squash, bok choy, mustard greens, or daikon radishes.

VeganTofuFriedQuinoa-2

No matter the veggies, it’s going to come together super quickly, so I’d suggest having all of the components ready to go before you begin cooking. Stir fry type dishes generally tend to cook over pretty high heat, which means they need to be stirred almost constantly. This doesn’t leave time for chopping up the next ingredients while the first ones cook.

VeganTofuFriedQuinoa-3

I’d made some quinoa the day before, and used the leftovers in this dish. You could also use bulgur wheat, rice noodles, or regular brown rice (cook according to the package’s directions).

VeganTofuFriedQuinoa-4

The quinoa takes the place of brown rice, since it has a bit more protein. The tofu mimics the egg, to make it vegan. I asked Tim if he could tell that there weren’t eggs in here. He said that it wasn’t noticeable.

VeganTofuFriedQuinoa-5

Like a lot of things, I enjoy this served with a wedge of lemon to squeeze over top. The brightness that it adds is the perfect way to complete this dish.

Happy Eating!

Vegan Tofu Fried Quinoa

Prep Time: 20 minutes

Cook Time: 10 minutes

Total Time: 30 minutes

Yield: 4

Vegan Tofu Fried Quinoa

Ingredients

  • 2 T oil
  • 1 C snap peas (or green beans), strings removed, chopped
  • 1 C carrots, chopped
  • 1/2 C fennel (or celery), chopped
  • 1 C onion, chopped
  • 2 C greens, chopped
  • sprinkle ginger
  • to taste salt
  • to taste pepper
  • sprinkle cayenne
  • 2 cloves garlic, diced
  • 2 T soy sauce or gluten-free aminos
  • 2 T rice vinegar
  • 1 C quinoa (or bulgur wheat, brown rice, or rice noodles) (cooked)
  • 7 oz. tofu (firm), drained and crumbled
  • 1/4 C green or spring onions, chopped
  • 1/2 to 1 C microgreens
  • lemon wedges, for serving

Instructions

  1. Heat a wok, add oil over medium-high heat. Add snap peas through cayenne and cook for 3-5 minutes, turning constantly.
  2. Add greens through microgreens (if microgreens are very delicate, wait to add them until 1 minute before you finish cooking) and cook for 3-5 minutes, stirring constantly.Taste and adjust seasoning if needed.
  3. Serve with lemon wedges for squeezing.
http://www.de-ma-cuisine.com/vegan-tofu-fried-quinoa/