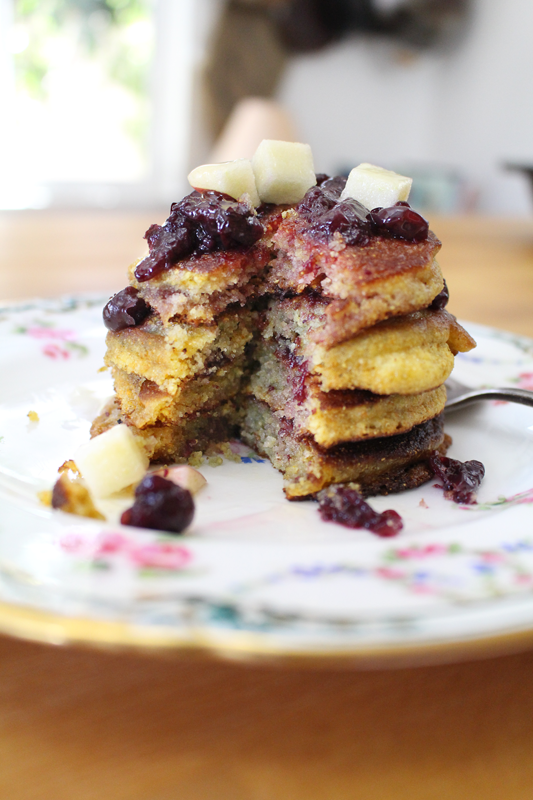
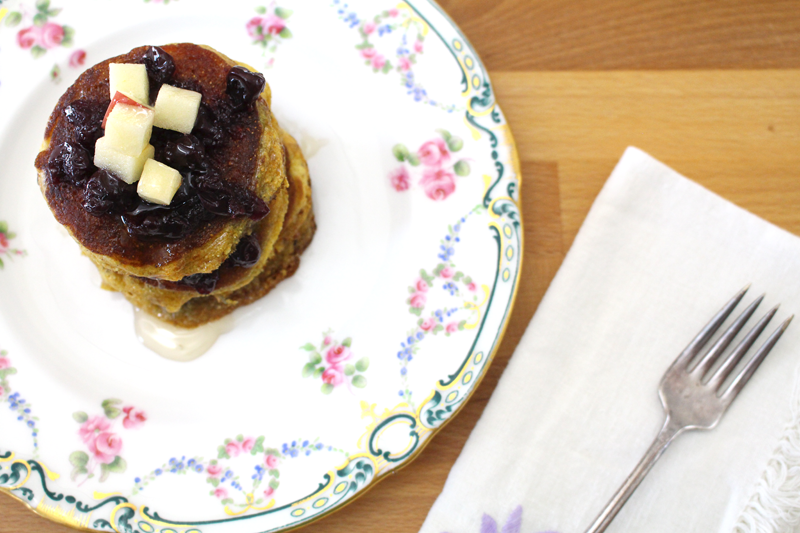
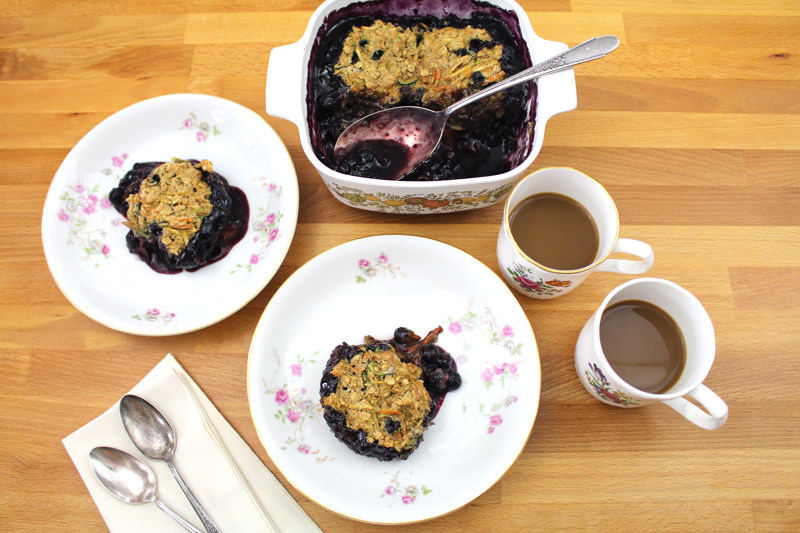
Blueberry Cobbler
Written by Rachel, Posted in Baking, Breakfast, Brunch, Dessert, Eggs, Fruit, Gluten Free, Holiday, Kid-Friendly, Vegetables, Vegetarian
My husband, Tim, is the sweets person in our home. I can devour an entire tray of roasted summer squash, a bag of salt and vinegar potato chips, or a plate of bruschetta. But, when it comes to desserts I just don’t really need them all that often (except the lemon curd with strawberries and meringue that we had for dessert on my birthday… or the homemade vanilla mascarpone and chocolate swirl ice cream bon bons that Tim made for my birthday… I need those right now). So when Tim hollers from the other room that a sweet treat that I’ve made is really good, that’s when I know it’s something worth sharing.
Since it’s tougher to experiment with baking than with regular cooking, I don’t do it all that often. There’s just too much room for error. But, I had success a few weeks ago when I made some whole wheat parsnip cookies, so I adapted those as a starting point for a blueberry cobbler.
Any fruit could be used, depending on what’s in season. But, it’s berry season right now, and we’ve got about 6 pounds of blueberries in the fridge. Some might end up as jam, a few in desserts, but most will just be eaten raw. That’s usually my preferred method for consuming berries.
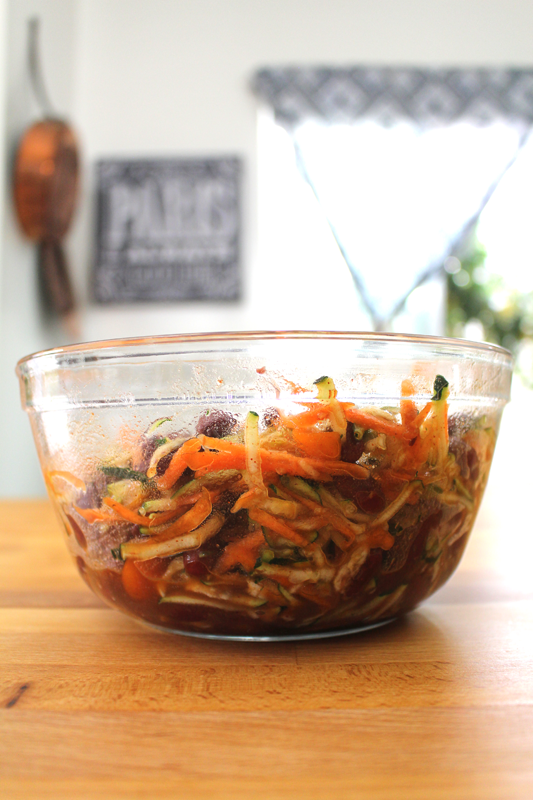
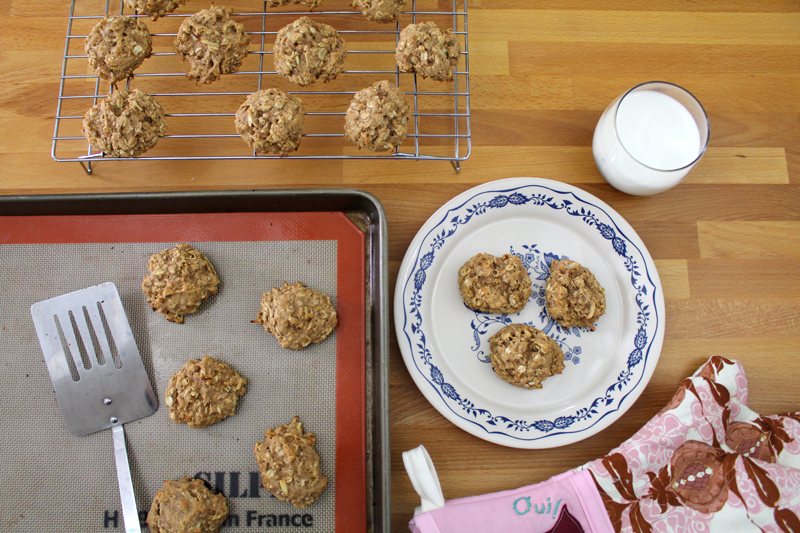
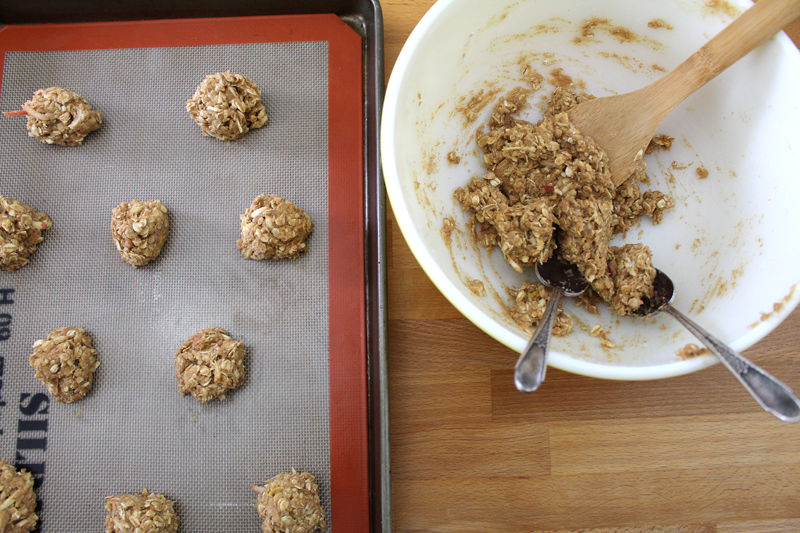
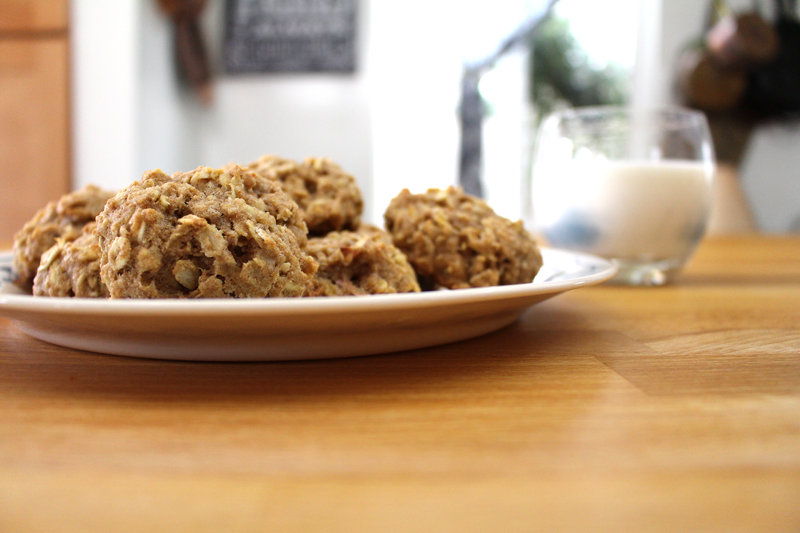
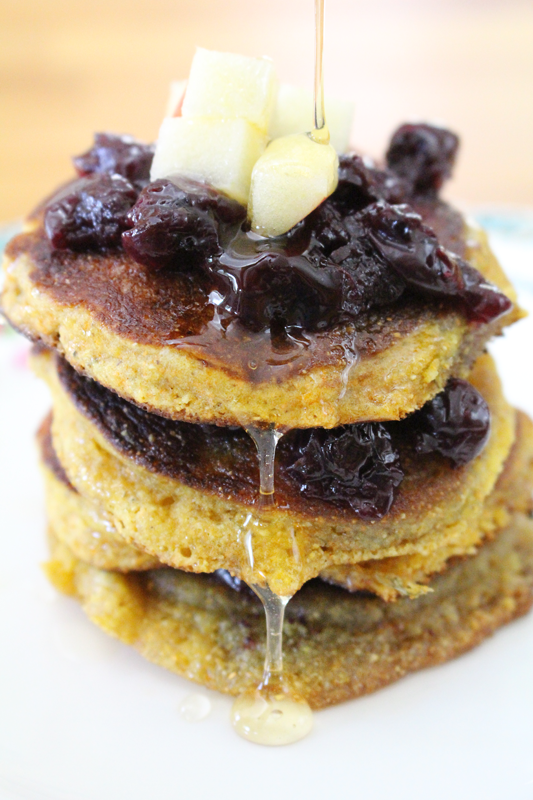
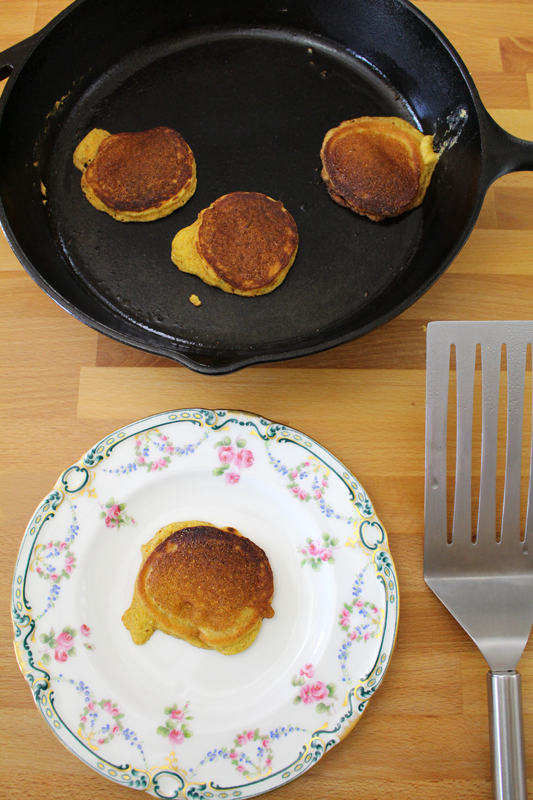
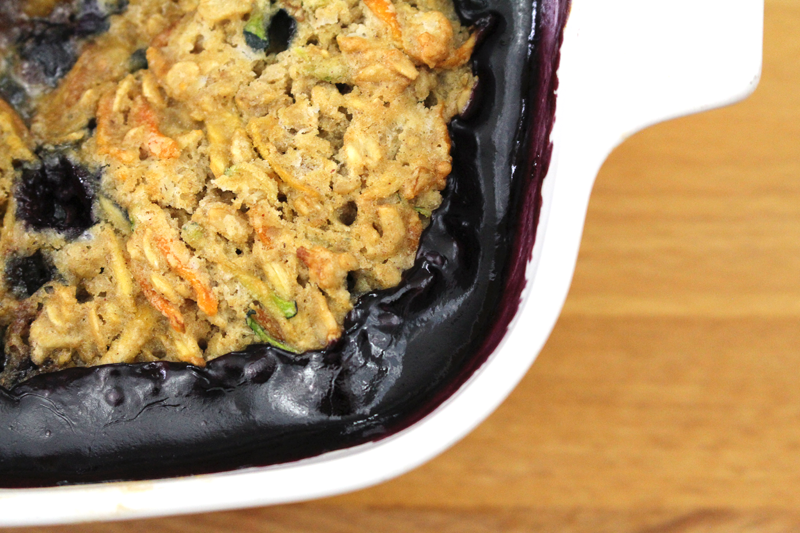
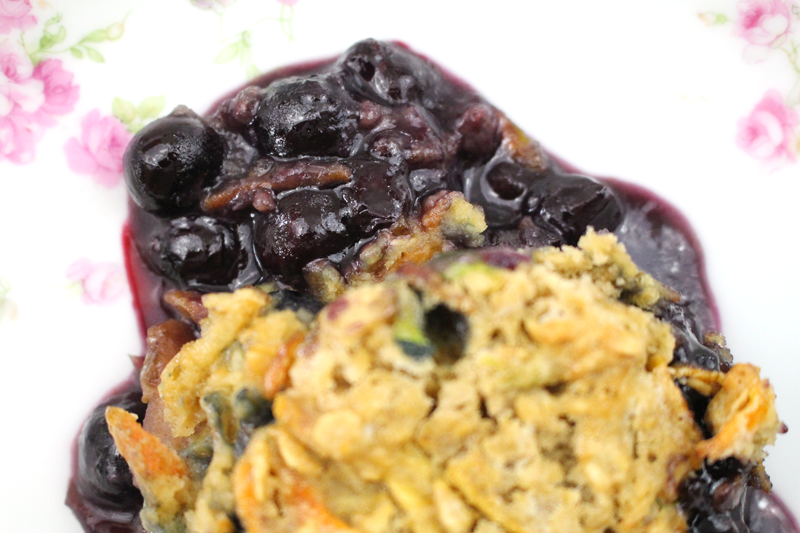
But, while raw is often best, this cobbler got super thick and syrupy. I might just eat the berry portion on their own if it weren’t for the yummy topping that I can’t get enough of. But, if there’s extra, may I suggest those berries over ice cream? And the cobbler topping, well if there’s extra (I had extra because I used a smaller pan), they make great cookies.
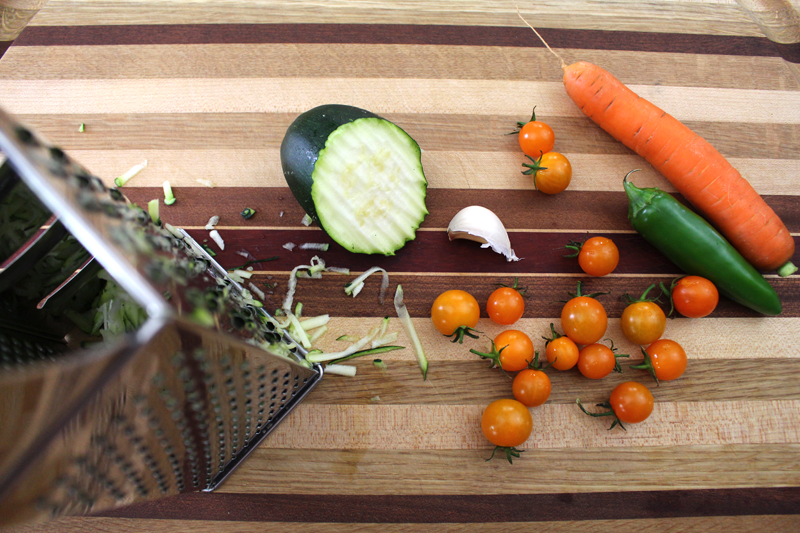
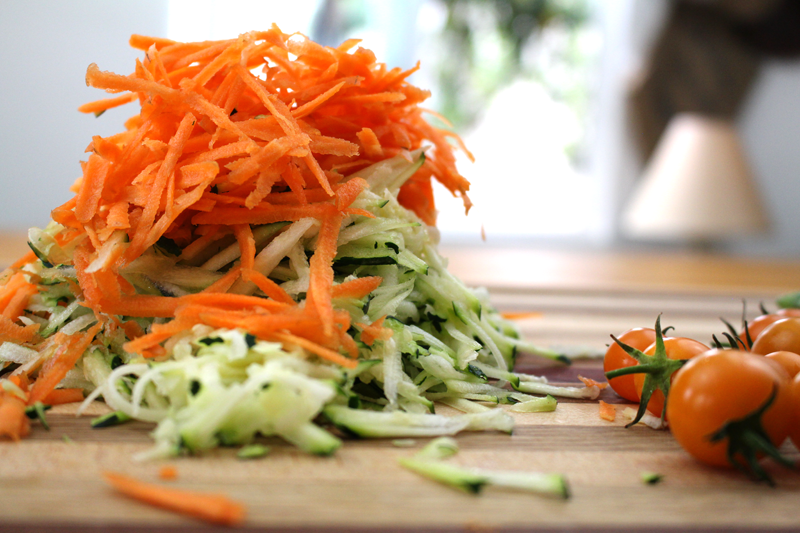
That topping has veggies. Sorrynotsorry. Tim yelled that there were squash and carrots in his cobbler. They won’t make your cobbler taste like vegetables, don’t worry. But, my suggestion is that if you have picky family members who don’t like to see anything green at dessert, just stick to parsnips. They’re not as noticeable.
Other items of note: I used a gluten-free flour blend (from Gluten-Free-Girl and The Chef). You can substitute whole wheat or all purpose if you prefer. I used maple syrup as the only sweetener. No refined white sugar here. I’ve been on a maple syrup kick as of late, using it to sweeten everything from yogurt to coffee. But, honey would be great too. Just remember that honey has a distinct taste and may be a bit sweeter than maple syrup, so adjust accordingly. I might go for half honey, half maple syrup to start.
This is a perfect summer dessert for your next barbecue or picnic, but it can also be enjoyed for breakfast. Just add a dollop of Greek yogurt.
Happy Eating!

Ingredients
- 1/2 C gluten-free flour
- 1/8 t salt
- 1/4 t baking powder, sifted
- 1/4 t baking soda, sifted
- 1/8 t cinnamon
- pinch ginger
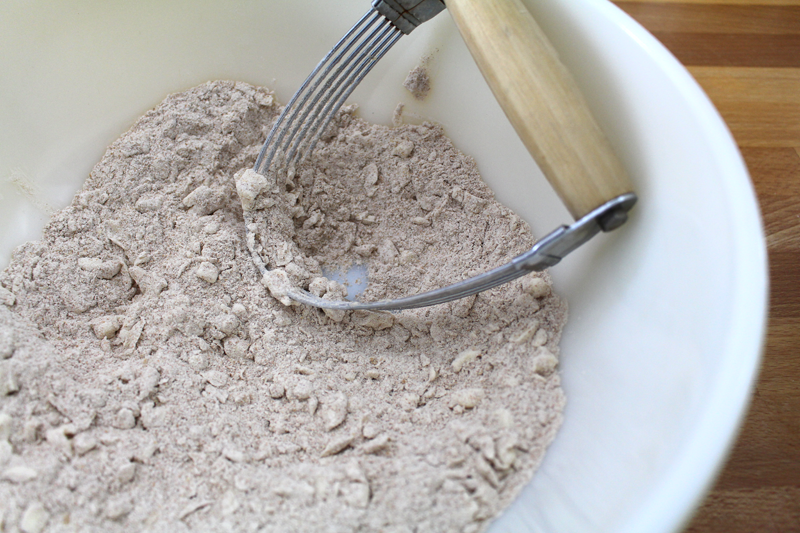
- 1/4 C butter, cold, cut into small cubes
- 1/2 C oats
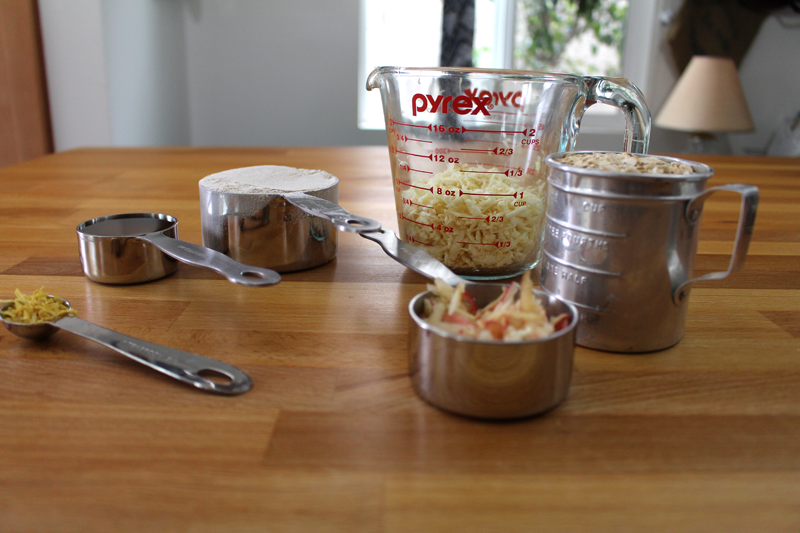
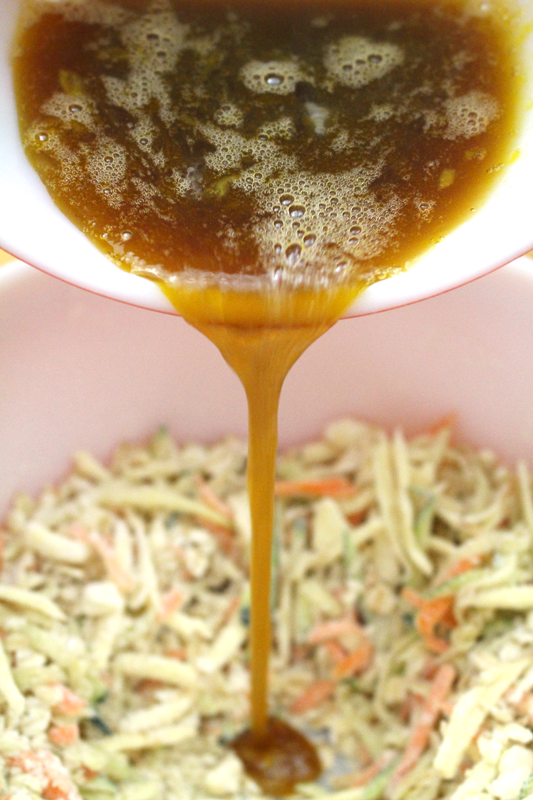
- 1 C combination of parsnips, carrots, and summer squash (for picky eaters: parsnips are the least visible), grated
- 1 t lemon zest, chopped
- 1/4 C maple syrup
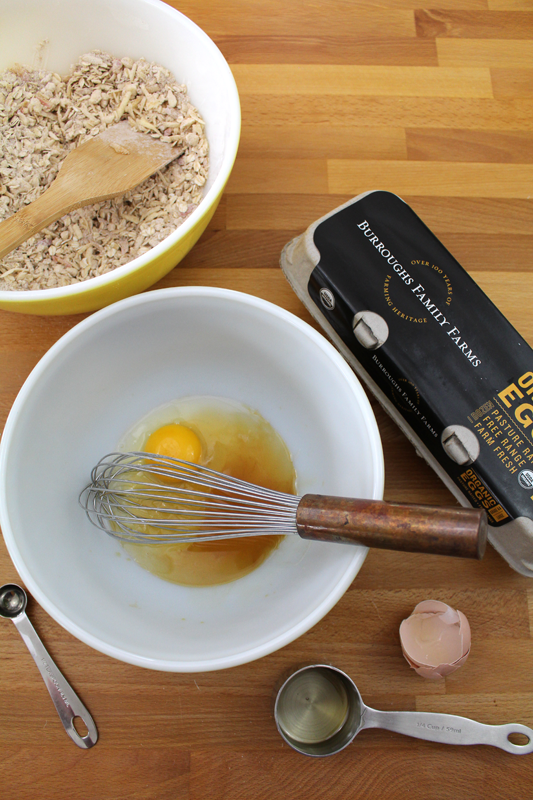
- 1 egg
- 1 t vanilla extract
- 1 T cornstarch
- 1 t vanilla extract
- 3 T orange juice
- pinch salt
- 1/2 C maple syrup
- 1/4 t cinnamon
- 2 1/2 C blueberries (strawberries, peaches, nectarines, plums, blackberries, apricots, apples, pears, or persimmons may also be used - chopped if larger fruit)
Instructions
- Pre-heat the oven to 350F. Place a rack in the lower third of the oven.
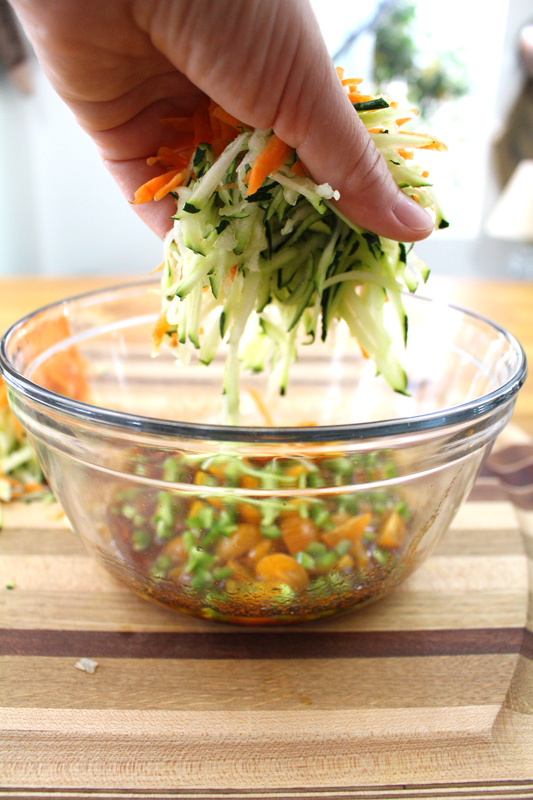
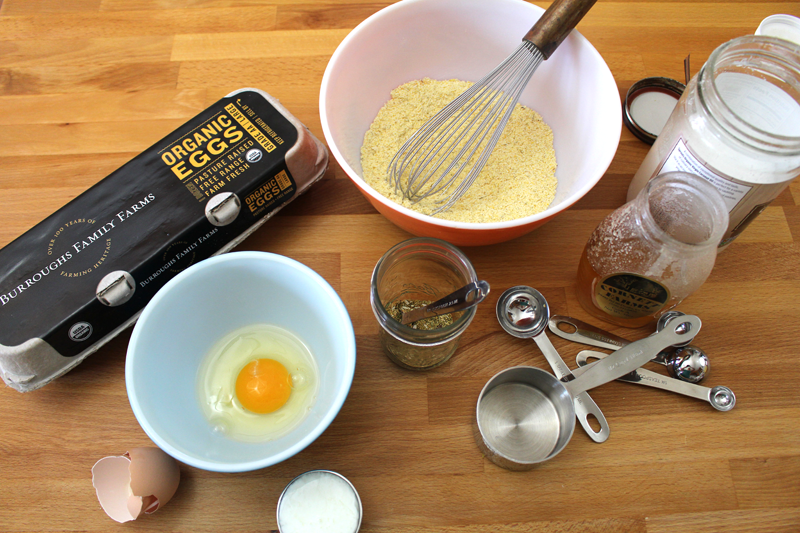
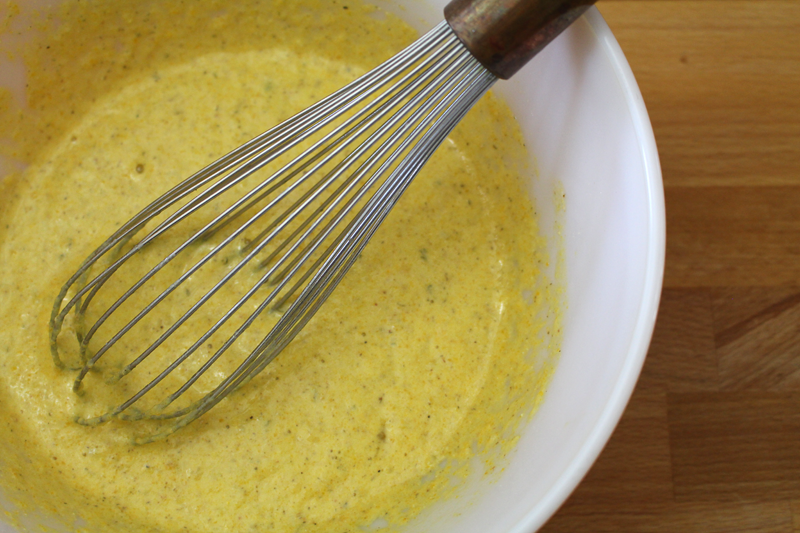
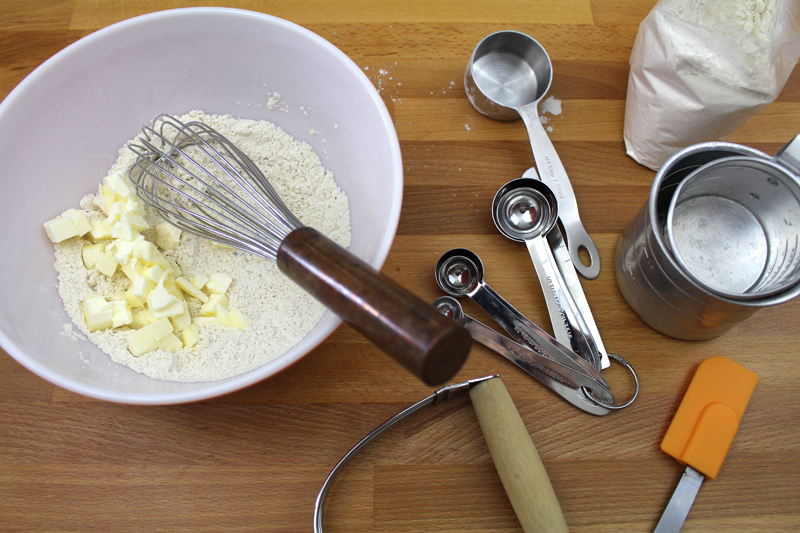
- Whisk flour through ginger. Mix in butter with a pastry blender or fingers until chunks of butter are pea sized or smaller. Add oats through parsnips (if veggies weren't grated already, place butter mixture in the freezer while you grate).
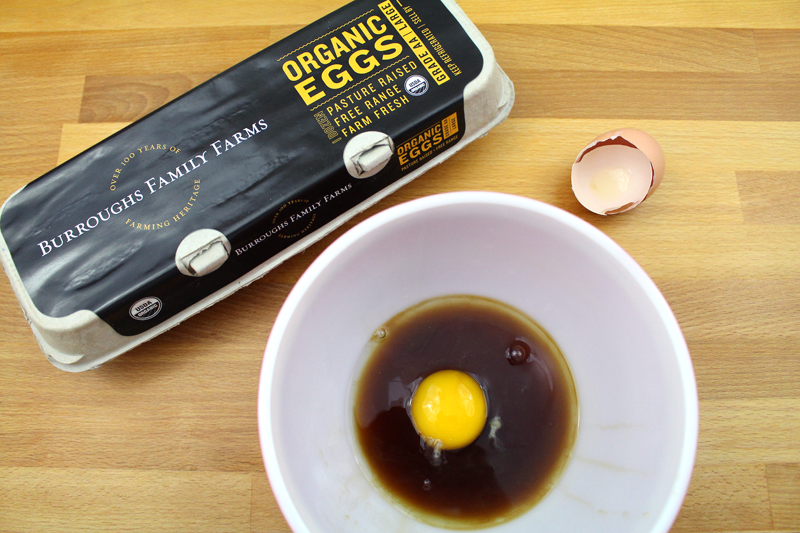
- In a separate bowl whisk together maple syrup, egg, and 1 t vanilla extract. Make a well in the dry ingredients and add the wet. Stir to combine. Set dough in the fridge while you do the next step.
- Whisk cornstarch through 1/4 t cinnamon. Toss with the fruit. Pour fruit in a greased 6x6 or 8x8 baking dish. Top with a large spoonfuls of dough*. Bake for 50-60 minutes, or until topping is no longer gooey and fruit is bubbly and hot (baking time may vary depending on the size of the dish - I used a 6x6 dish). Let stand for 10-20 minutes before serving.
Notes
* Extra dough may be dropped onto an ungreased baking sheet and baked for 12 minutes, cooled for 5 min on the baking sheet, and then cooled on a cooling rack.