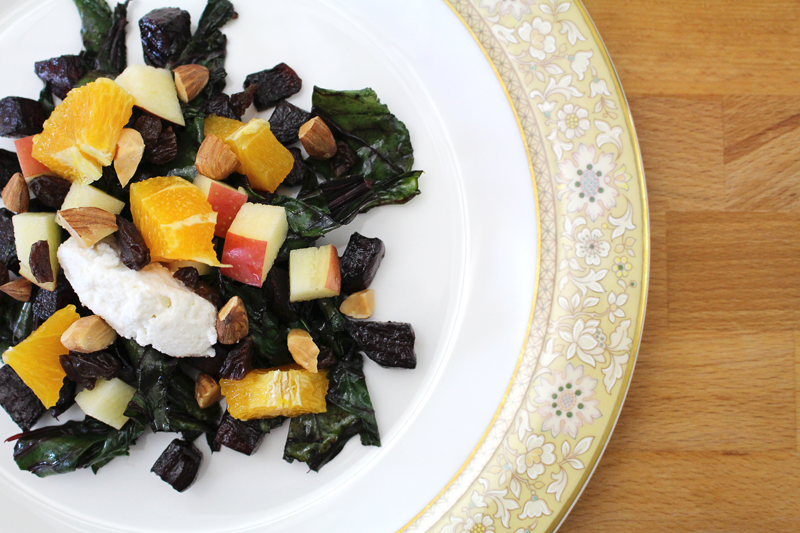
Warm Beet Salad with Fruit and Nuts
Written by Rachel, Posted in Cheese, Dairy-Free, Dinner, Fruit, Gluten Free, Herbs, Lunch, Nuts, Quick and Easy, Salads, Sides, Vegan, Vegetables, Vegetarian
It’s spring. It’s time for flip flops and tank tops, warm breezes and sunshine, and a change in fruits and veggies. But, before we get to all things spring, let’s compromise with winter a bit. Let’s ask her to stay a while longer before we rush in to summer.
I want to keep eating beets, oranges, and apples. But, I’m starting to crave salads and lighter foods. So, this dish is a happy medium.
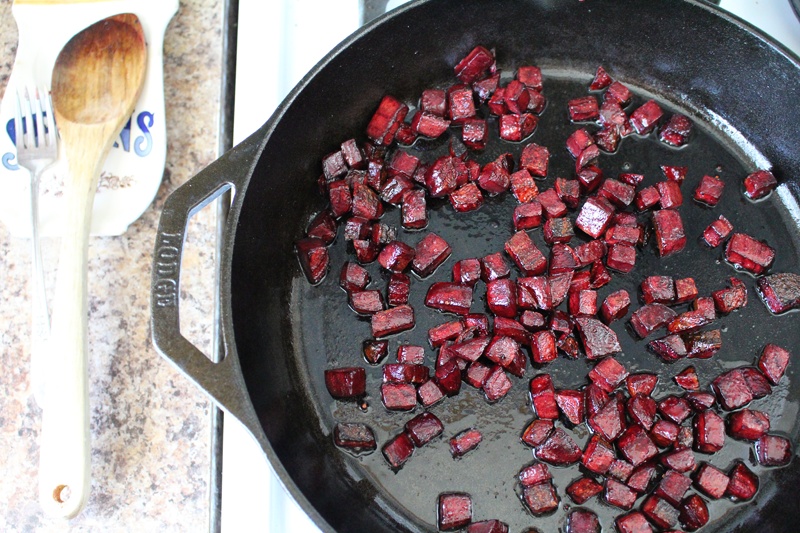
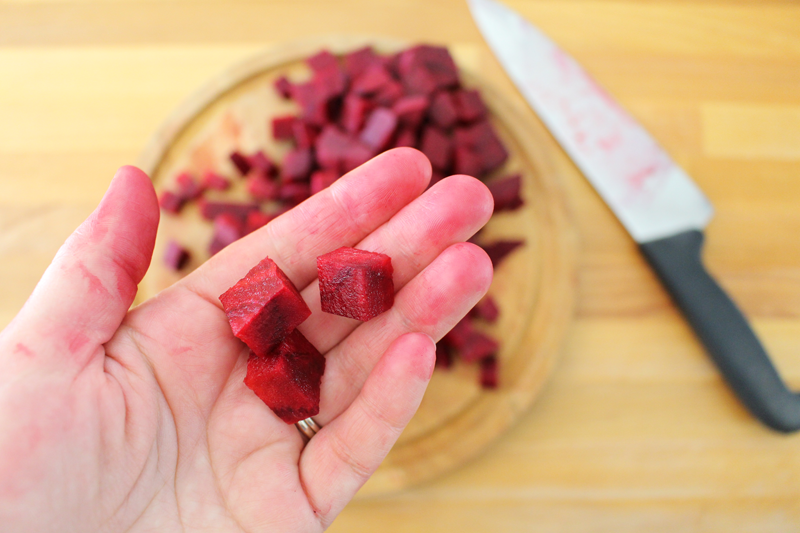
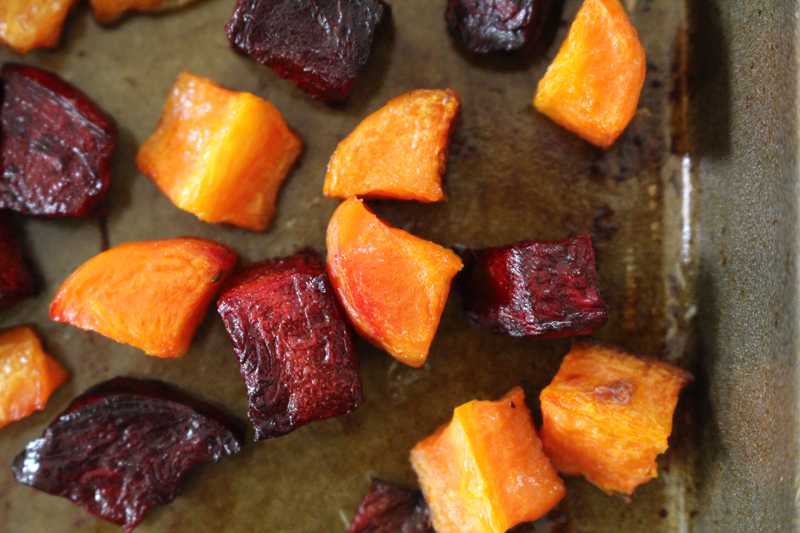
Beets are sautéed in some olive oil with salt and pepper. Simple. They taste similar to the way they do when they’re roasted, with a little less crunch. But, they still retain that kinda crispy outside, tender inside quality that I love for food to take on.
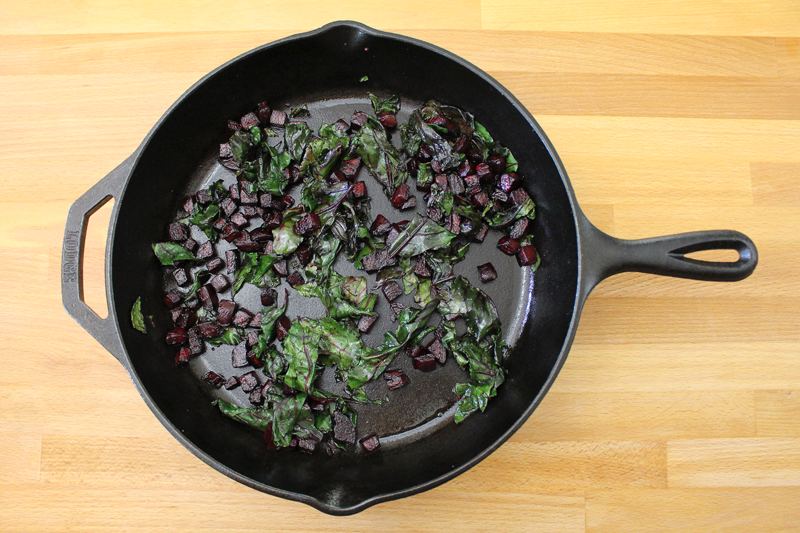
Then the greens are added. I like the taste of beet greens. If you don’t have any on hand, kale, chard, or spinach would also work well.
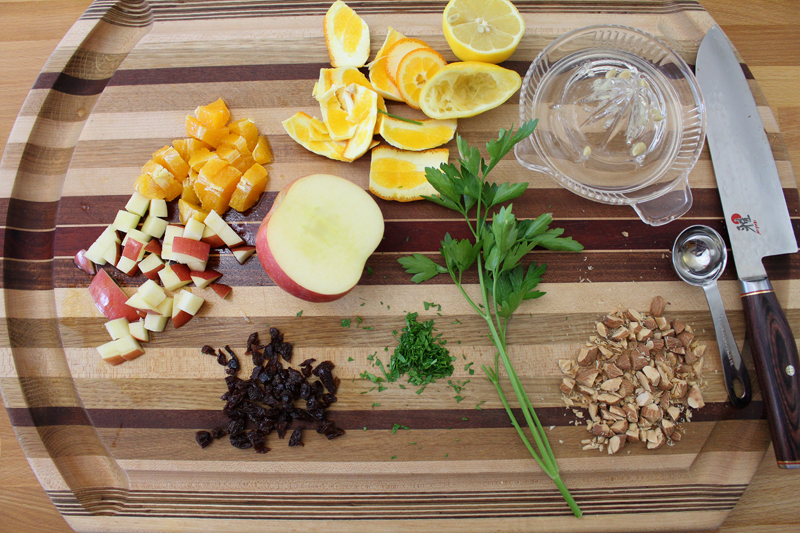
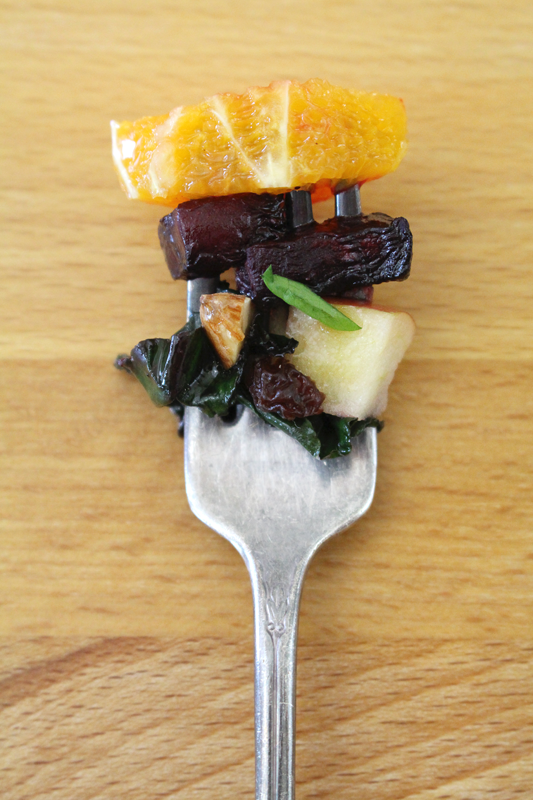
After the greens are wilted down, all that’s left to do is drizzle everyone with a bit of dressing and add some toppings. Apples, oranges, nuts, and raisins were perfect. You can vary it depending on what’s in season and what you like. You could use fresh blackberries and grapefruit, or maybe some watermelon. You could use almonds, or switch them up for sunflower or pumpkin seeds.
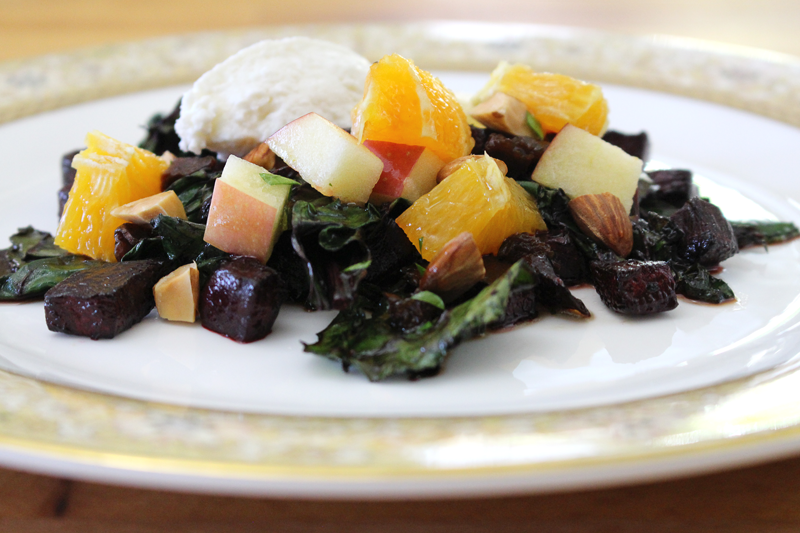
I topped it with some ricotta and the dressing has honey. If you want to make this a vegan dish, you could try some silken tofu and sweeten things up with maple syrup instead of honey. Easy changes to make.
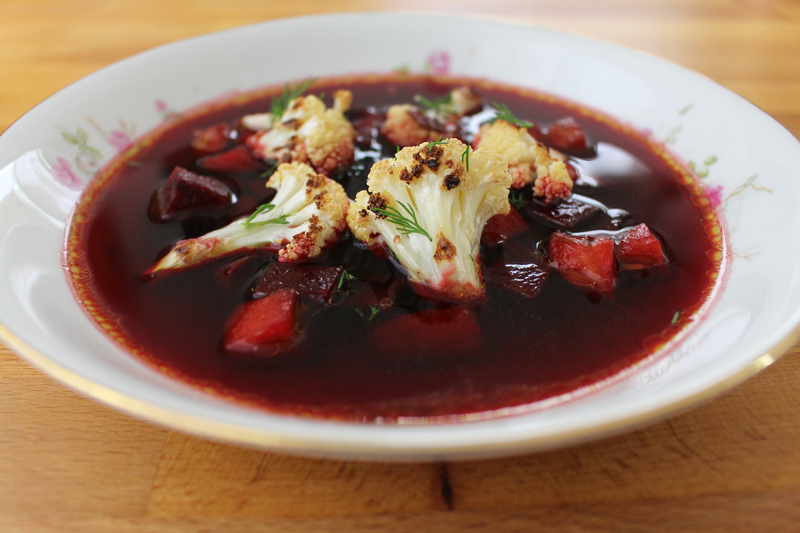
This one feels simple and light. Bright, but with depth. Perfect for a warm spring day.
Happy Eating!
Ingredients
- 1 T olive oil
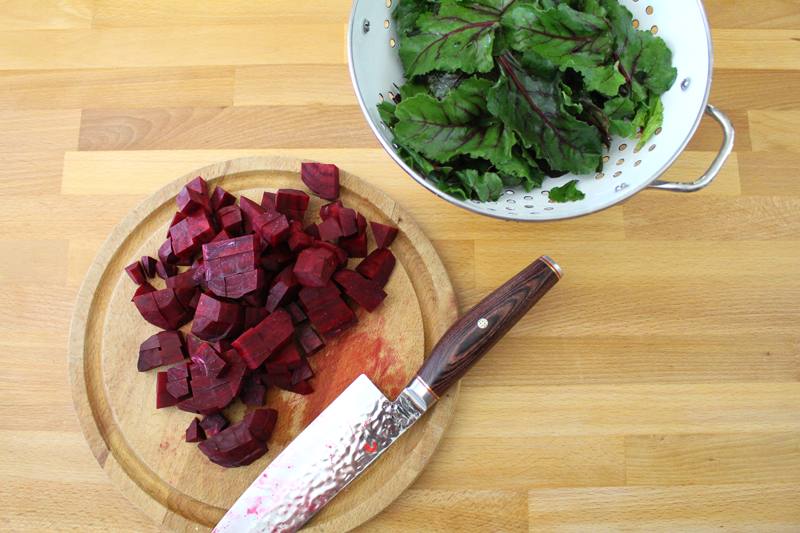
- 2 beets, peeled and chopped
- to taste salt
- to taste pepper
- 1 T lemon juice
- 1 T balsamic vinegar
- 1/2 t honey or maple syrup
- to taste salt
- to taste pepper
- 1/4 to 1/2 t fresh parsley, chopped
- 1 T olive oil
- 1 bunch beet greens, de-stemmed and torn
- 1/4 C orange, chopped
- 1/4 C apple, chopped
- 2 T almonds (or pumpkin seeds or sunflower seeds), chopped
- 2 T raisins, chopped
- 1/4 C ricotta (optional) (or silken tofu - sweetened, if desired)
Instructions
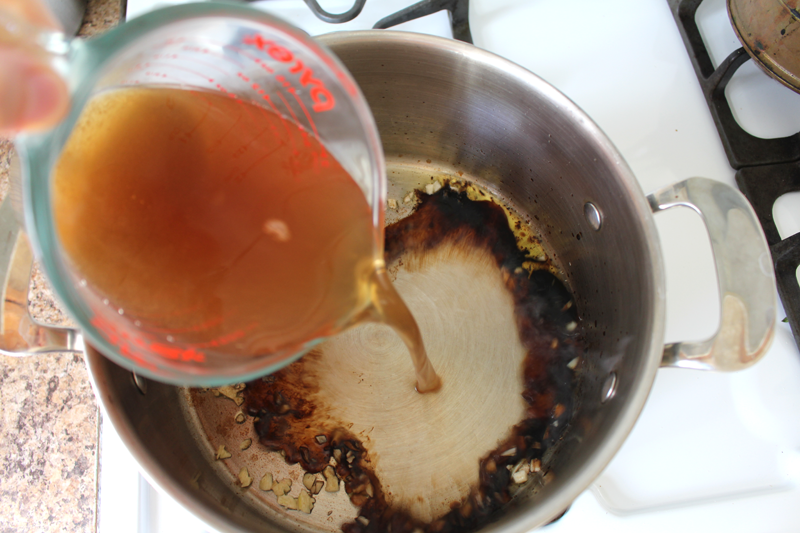
- Heat skillet, add olive oil, add beets, salt, and pepper. Cook over medium-low heat for about 10 minutes, or until the beets are tender, stirring occasionally. Add the greens and wilt down, about 3 minutes.
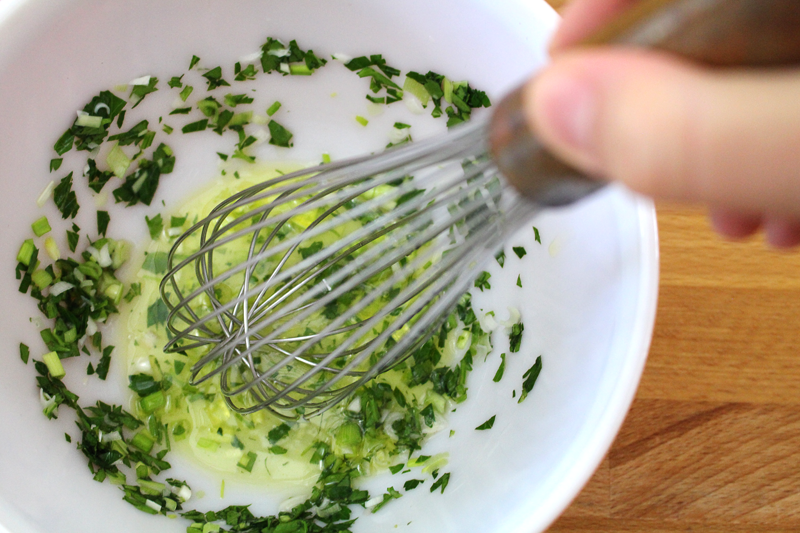
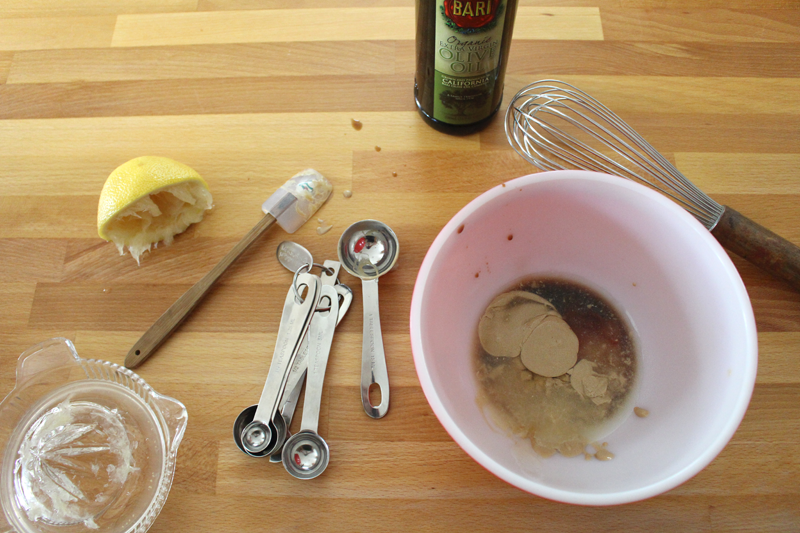
- Whisk lemon juice through parsley, stream in olive oil and whisk. Taste and adjust seasoning if needed.
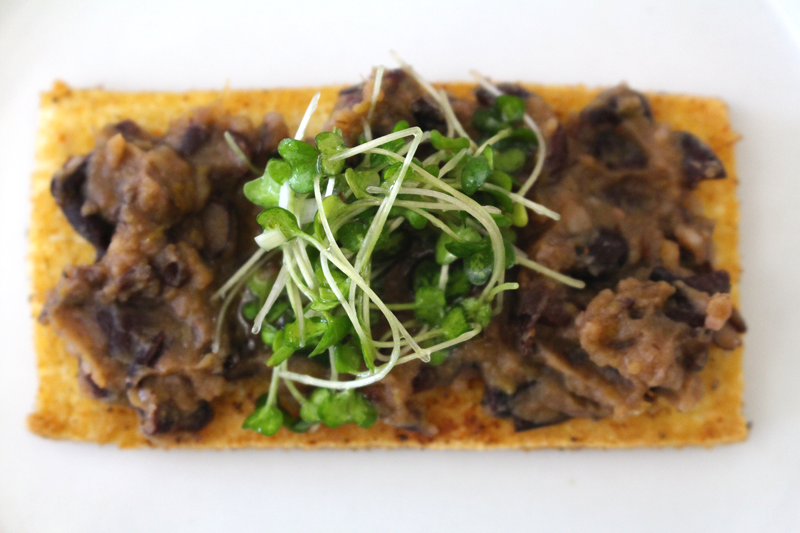
- Top beets and greens with fruit, nuts/seeds, and raisins. Drizzle with dressing and top with ricotta/tofu.