De Ma Cuisine

Friday

8

May 2015

0

COMMENTS

Whole Wheat Parsnip Cookies

Written by , Posted in Baking, Breakfast, Cookies, Dessert, Eggs, Fruit, Grains, Kid-Friendly, Quick and Easy, Snacks, Vegetarian

ParsnipCookies-6

I’m not much of a baker. It’s just not something that comes naturally to me. With baking it’s important to follow the recipe. There’s a reason that each ingredient is there. I can’t just add what I have on hand and substitute something if I feel like it. Because it’s all science.

I was never great at science in school. I do wonder if I might have done a little better if there had been experiments that involved cooking. You know, let us make cookies with whatever we wanted to. See what works and what doesn’t. Then learn about why. Since that class wasn’t offered at my school, I’m learning now, slowly…ParsnipCookies-1

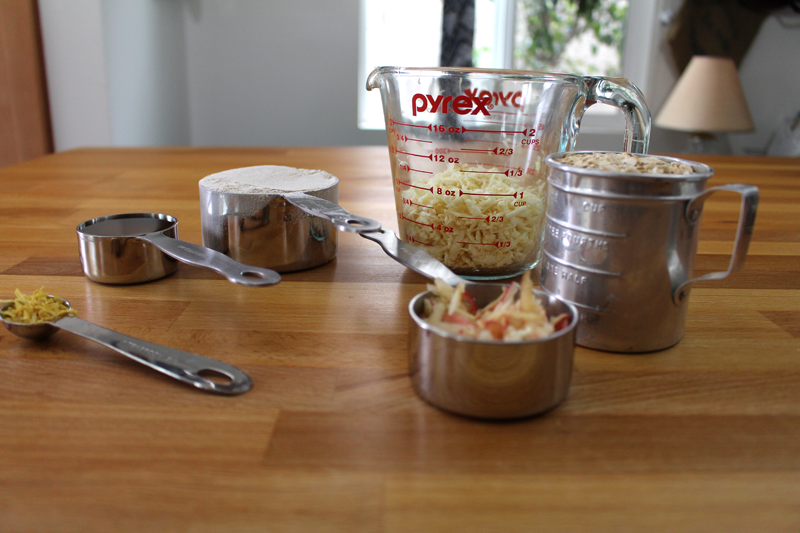
I think that my first substitution attempt when baking might have been when I figured that using the same amount of honey in place of granulated sugar would be fine. Wrong. I ended up with a burned outside and still liquid inside banana bread. That was disappointing. But, I learned from my mistake. Freedom to fail.

So this time I played it safe. I figured out what I thought would make up a good cookie. I think I know what the dough should be like, so it seemed like a good place to start.

I still wasn’t expecting them to turn out, but I was gonna do my best.

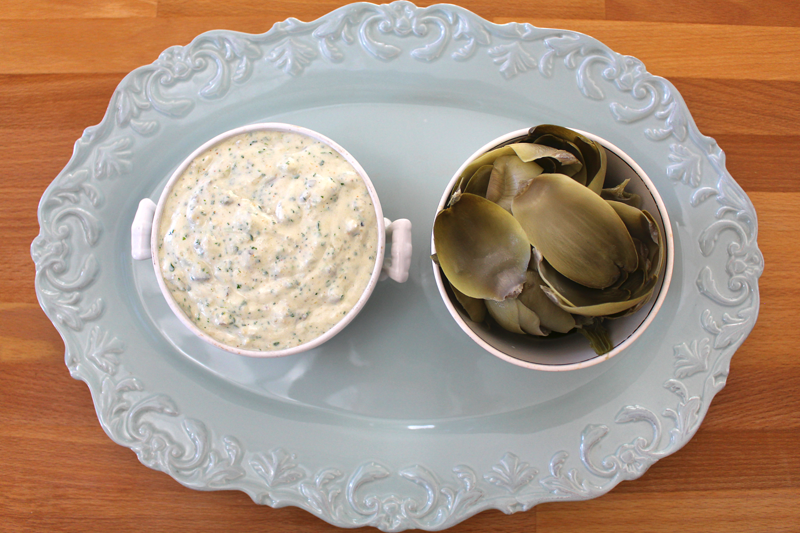
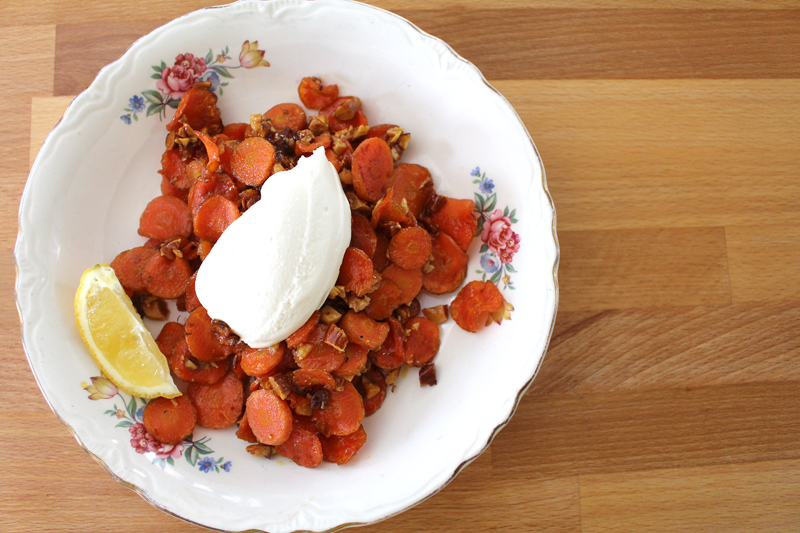
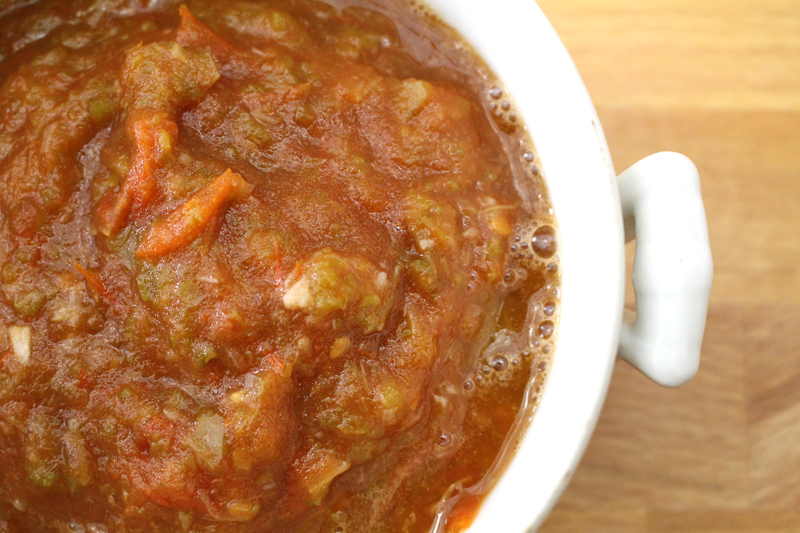
I wanted to incorporate parsnips. Parsnips are wonderful when roasted and dipped into a creamy sauce. But, what about something sweet, almost like what you’d do with carrots in a carrot cake? I figured it was worth a try.

ParsnipCookies-2

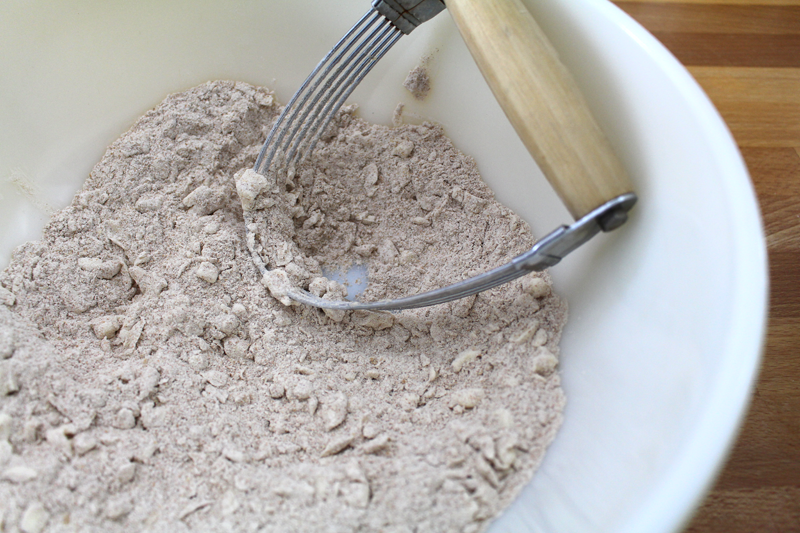
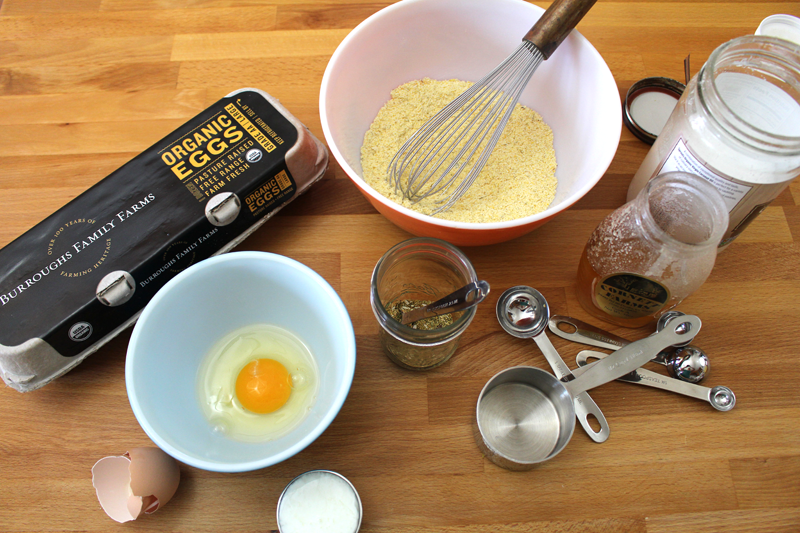
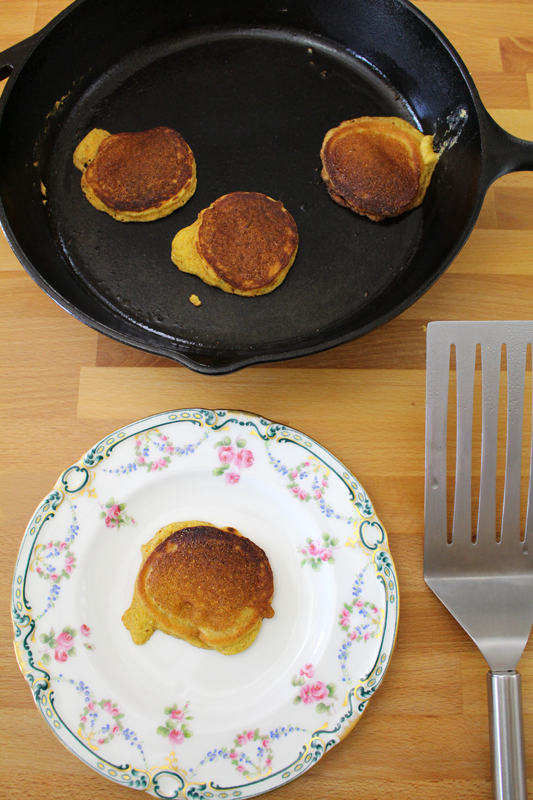
I don’t make very many cookies. I’m just not a sweets person. But, I think normally recipes will have you cream the butter and sugar together. I went for more of a scone technique, where the butter was cold and added to the already combined dry ingredients.

ParsnipCookies-3

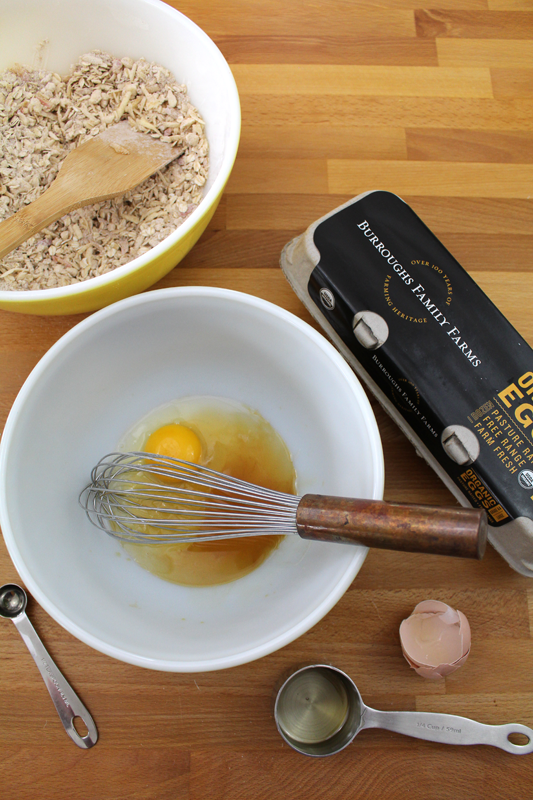
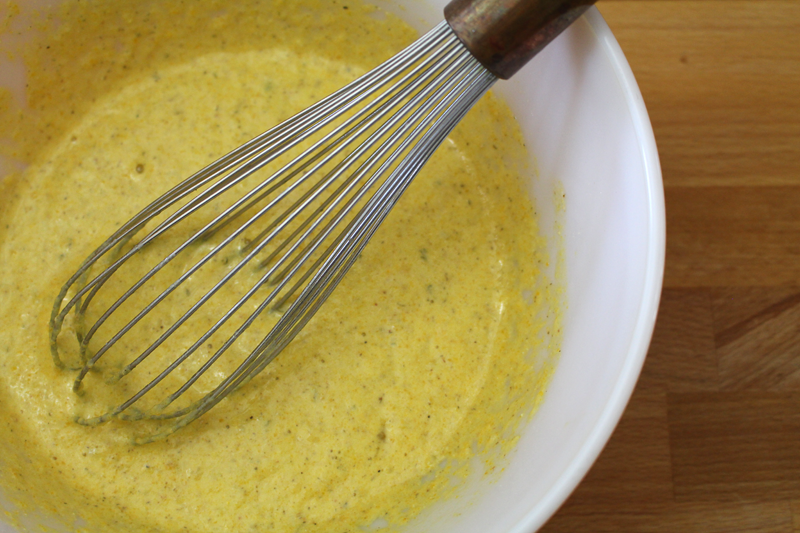
The parsnips, apple, and some lemon zest were added to the butter-flour mixture. I figured they might do well when coated with flour. And then once the wet ingredients were whisked together, they were added too. To make what looked like cookie batter to me!

ParsnipCookies-4

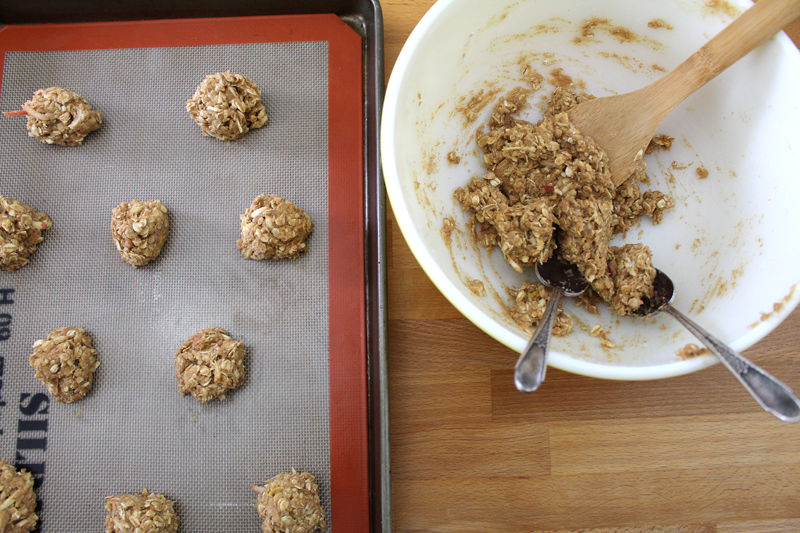
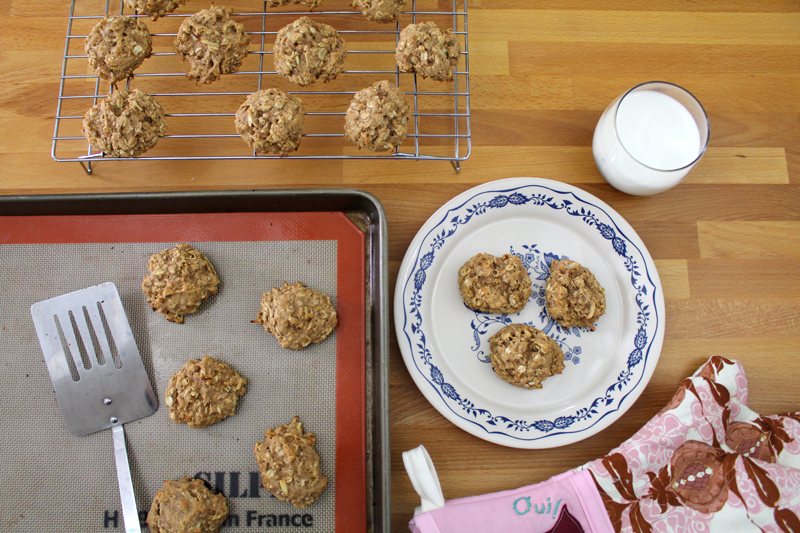
When I used to make cookies with my mom as a kid, we’d use two spoons to scoop the dough out. You could also just use your hands and roll a ball of dough between your palms. Whatever works. The spoons keep the hands clean and you don’t waste the batter that covers them.

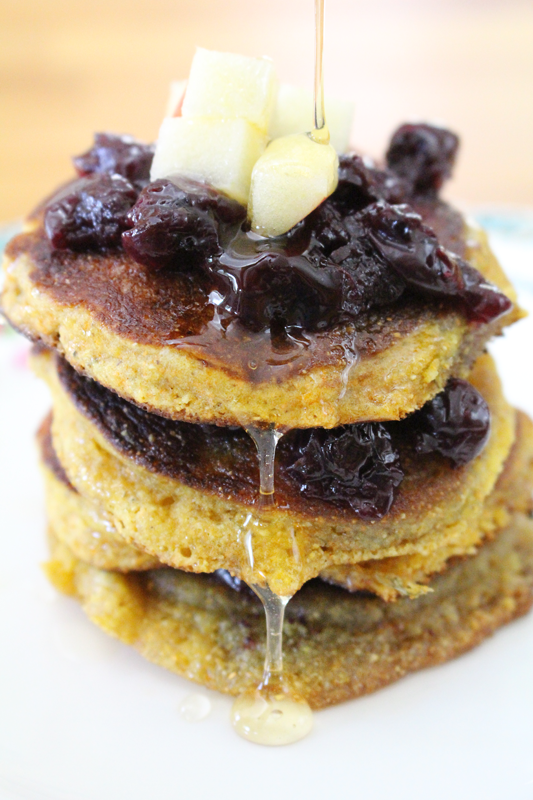
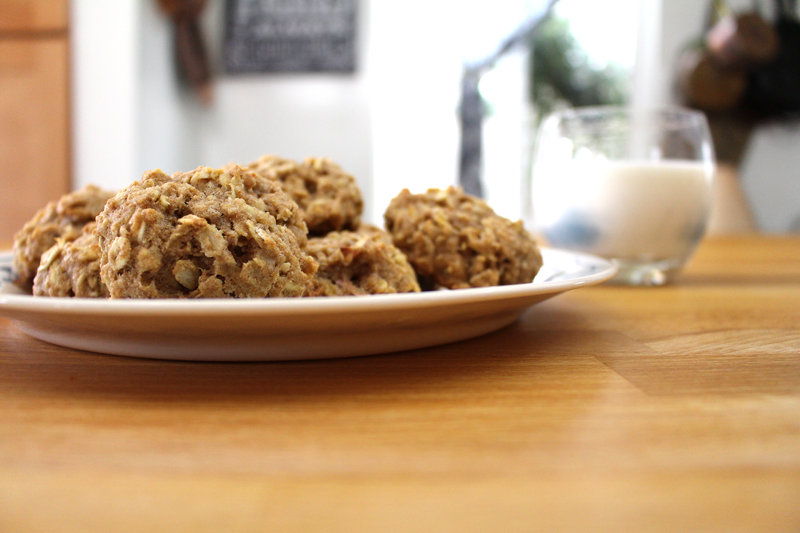
I like fluffy, puffy, soft cookies over thin crispy ones. So I didn’t press them down.

ParsnipCookies-5

I thought about trying to make these vegan, but decided against it since making a cookie recipe was already enough of a risk. But, here are some ways that you could adapt it, if you wanted to (at your own risk 😉 ).

Carrots or summer squash instead of parsnips.

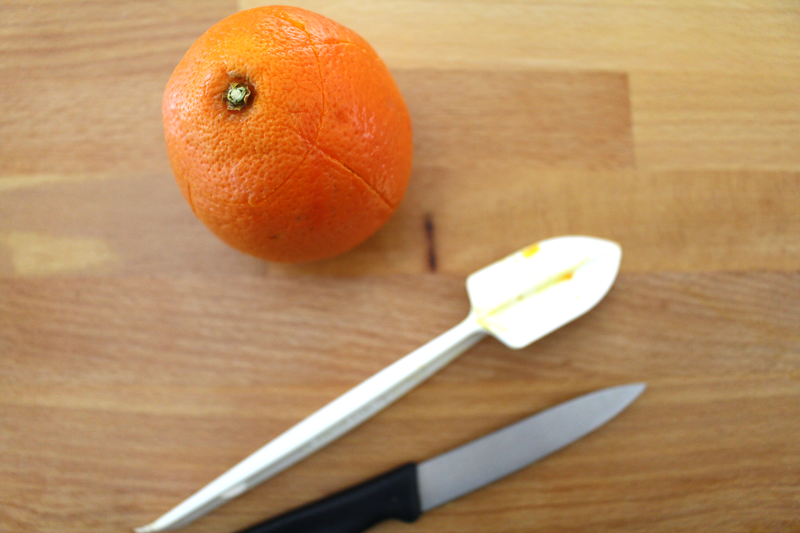
Orange zest instead of lemon zest.

Coconut oil instead of butter (treat it the same way – make sure it’s cold, then work very quickly).

Flax seeds and water instead of egg.

Maple syrup instead of honey.

Just keep in mind that it’s science and your changes may result in cookies slightly different from mine. But, we’re free to fail, free to learn from our mistakes, free to keep on trying. If I’d stopped at ruined banana bread, I’d never have known the loveliness of these cookies. They may be my new favorite. Not too sweet, super soft, and made with whole wheat flour and honey, so I feel fine about the three that I’ve eaten this afternoon.

Happy Eating!

Whole Wheat Parsnip Cookies

Prep Time: 15 minutes

Cook Time: 12 minutes

Total Time: 27 minutes

Yield: 19-20 cookies

Whole Wheat Parsnip Cookies

Ingredients

  • 1 C whole wheat flour
  • 1/4 t salt
  • 1/2 t baking powder, sifted
  • 1/2 t baking soda, sifted
  • 1/4 t cinnamon
  • pinch all spice
  • pinch nutmeg
  • 1 C oats
  • 1 t lemon zest (or orange zest), chopped
  • 1/3 C apples, grated and chopped
  • 1 C parsnips (or carrots or summer squash), grated, and chopped
  • 1/2 C butter, cold, cut into small chunks
  • 1/2 C honey
  • 1 egg
  • 1 t apple cider vinegar
  • 1 t vanilla extract

Instructions

  1. Pre-heat the oven to 350F. Place a rack in the lower third of the oven. Line two baking sheets with parchment paper (or silpat mats).
  2. Whisk together flour through nutmeg. Mix in butter with a pastry blender or hands until pea sized chunks remain. Stir in oats, lemon zest, apples, and parsnips.
  3. In a separate bowl whisk together honey through vanilla. Add to dry ingredients and stir to combine.
  4. Scoop batter using two tablespoons, or hands and drop onto prepared baking sheets (do not flatten). Bake for 12 minutes, or until cookies are mostly set and golden around the edges (they will keep cooking for a bit as they cool). Cool on a cooling rack for at least 10 minutes before serving.
https://www.de-ma-cuisine.com/whole-wheat-parsnip-cookies/

Monday

4

May 2015

0

COMMENTS

Love People. Cook Them Tasty Food.

Written by , Posted in Thoughts

DinnerParty-3

There’s a magnet hanging on my fridge that reads, “Love people. Cook them tasty food.” Cooking is one of my favorite ways to show love. Sometimes it’s the only thing I can think of to do to help. Be it in the form of a meal for new parents, a birthday dinner with homemade chili, or a girls night with homemade pizza.

It’s by far my favorite thing to do when gathering with loved ones. Cook together. Eat together. Break bread.

My husband, Tim, and I live far from both of our families. But, the community that we have come to be a part of has become a wonderful stand-in. We gather together to celebrate the moments that life brings us. The good, the bad, the in-between. We gather together around food.

TimHalfBirthday-2

A dinner party on our lawn is a regular occurrence. Our house is tiny and without a proper dining space (we usually just eat on the couch). As it often happens, we might gather first in the kitchen. Then once the food is ready, we make our way outdoors. Tim will have lights strung and music playing. He does hand lettering, so there may be place cards painstakingly drawn. There are drinks on the vintage table that we found online. The dining table, usually borrowed from one of the guests, or stolen from under our computer, might be covered with a tablecloth that once belonged to my Oma. It’s topped with mismatched china that I’ve collected over the years, silverware that belonged to Tim’s grandma, and centerpieces that are really just plants from our yard.

TimHalfBirthday-14

We gather our community together. There’s usually too much talking and laughing going on for me to tell them what’s for dinner. An introvert, I feel uncomfortable trying to get everyone to focus on me. Eventually, they’ll pause long enough for me to tell them what we’re having and who made it, if I wasn’t the only cook. My favorite is when people bring something that’s special to them – Tiramisu made by a friend’s mom who was in town from Italy, Corn Pudding that another grew up eating, a cake from someone’s favorite cookbook… We share our lives through food.

ArtichokeHeartDip-10

We may have already nibbled on this Artichoke Heart Dip‘s creamy, salty, deliciousness as drinks were poured, hugs shared, and something finished up at the last minute. The prefect bite to tide everyone over until the main course. Artichoke leaves are the ideal dunking tools, as are crackers, corn chips, and raw veggies (carrots, celery, radishes, broccoli, cauliflower…).

It’s vegetarian, but could be topped with crispy, crumbled bacon. It could also be made vegan by using silken tofu instead of the ricotta and Greek yogurt. Think of it like a Hummus alternative. There are chickpeas, olive oil, and garlic, but no tahini. Instead there’s that creamy cheese and yogurt. It can be made the day before your dinner party, so the day-of all it will need is a stir.

ChardWraps-1

Once everyone’s seated, out comes the main course. Family style is my favorite – passing food around the table brings back memories of dinners growing up. Chard Wraps with Quinoa and Walnuts are a healthy, nutritious addition to any menu. They’re packed with protein because they’ve got both quinoa and nuts. They’re vegan, but they don’t have to be – you could add a dollop of butter and even add in some of your favorite ground meat (I think beef would be fabulous). They’re not too complicated – the filling is cooked up, then rolled up in the chard leaves. Quick, easy, ready for your loved ones to enjoy.

RoastedCarrotsWithHoneyAndAlmonds-4

To compliment the wraps, I might serve Roasted Carrots with Honey and Almonds. They’re topped with a plomp of ricotta and a squeeze of lemon for an earthy, bright, creamy dish that feels like it could tell a story. It’s simple and rustic. A dish for the ages.

Carrots are sliced and roasted. Partway through their roasting time they’re tossed with honey, garlic, and almonds. Sweet, sticky, and garlicky. Serve them with a wedge of lemon so each guest can add the finishing touch to their own dish.

Alongside the carrots and the wraps one might find a Simple Green Salad and some French Baguettes with salted butter. Either because I just can’t resist a good baguette, or because I like to take the phrase “breaking bread” literally.

ApricotBlackPepperGalette-11

An Apricot and Black Pepper Galette is a beautifully rustic dessert. It’s perfect on its own, but if you’re so inclined, a scoop of vanilla bean ice cream would just be divine.

The galette can be made regardless of the time of year. Apricots can be replaced with berries or other stone fruit, or in the cooler months, persimmons, apples, or pears would be just right. A sweet, flaky, perfect ending to a meal.

TimHalfBirthday-6

At our dinner parties on the lawn, I typically spend a bit of time running back and forth from the kitchen to the table. But, I really don’t mind. The food is my expression of love for our community. And it gives me a chance to pause at the kitchen window and look out at our loved ones as they enjoy being together. It usually brings tears of gratitude to my eyes as I hear the sweet laughter, think of the moments being shared, and the memories being made. Like the songwriter Sara Groves says, “I’ll take every moment, and every minute that you’ll give me.”

Your dinner party will be one of a kind. Because it’s hosted by you, with recipes tweaked to suit your tastes and ideas. Your community is like none other. Your home, your table, your centerpiece unique. As you sit back, savoring that last bite of galette, let your eyes scan the faces around the table. Drink it in. The beauty of the moment, the taste of the food, the sweetness of the company.

Loving these people. Cooking them tasty food. That’s what we celebrate, even when there’s nothing special on the calendar.

Thursday

30

April 2015

0

COMMENTS

My Top 10 Kitchen Hacks

Written by , Posted in How To, Storage/Prep, Thoughts

The more we do something, the more we know about it. It’s just that simple. I started cooking on a more regular basis when I moved away from home. I subbed for my roommate on her day off at the school we worked at a few times. My roommate was a trained chef. I was not. I’d learned a few things from my mom, who is also a great cook. But, I hadn’t done a lot of cooking.

So, I learned the hard way that you really should soak dried beans before adding them to the pot of Spicy Chicken Chili. It’s easier than having to pick them out by hand after you’ve added the beans. I learned about a year into marriage that putting hot soup into a blender and not removing the plug in the lid will result in the plug falling into the soup and blending with it. A clean tea towel over the hole in the lid works much better.

I’ve learned a lot over the years. And I’m so happy to be able to share these things with you!

Here, in no particular order, are my top 10 kitchen hacks:

KitchenHacks-7

1. Tea Towel in the Produce Drawer

I like to place a clean tea towel in the bottom of the produce drawers. I change it each week, and I think it helps cut down on moisture and mold. Plus, having to remove what’s still in the drawers each week lets me wipe out the drawers, and see what’s in there and make a note of what needs to be used up in the week’s menu.

KitchenHacks-8

2. Wrap Greens in a Tea Towel Before Bagging

I used to just pop the lettuce or greens into a zip top bag. That works fine if they’re going to be eaten quickly. But, sometimes we don’t go through it as quickly as I’d like. So, I started wrapping each head of lettuce (and chard, kale, collards etc…) fairly tightly in a clean tea towel, then putting it into the zip top bag (and sealing every few inches of the top). When I was photographing for this post I realized that I had three heads of lettuce in the fridge. One from March 24th, one from March 31st, and one from April 14th. They were still all edible – the older ones had a few leaves that went into the compost, but other than that, they were still good. I think that the moisture that the tea towel absorbs helps to delay the decay of the greens.

KitchenHacks-9

3. Compost Bowl in the Fridge

We’ve been composting for years, but it wasn’t until we moved into a home with a yard that we were able to really take advantage of it. One thing that I’ve always been great at is collecting fruit flies. So, I’ve started keeping a bowl in the fridge where anything compostable sits, sans flies. Our composter is just a few steps outside the door, so it’s not such a chore to empty it often.

KitchenHacks-1

4. Homemade Buttermilk

I don’t think I’ve ever bought buttermilk. It just seems like I’d have to buy too much for what I usually need. Instead, I pour 1 T white vinegar into the measuring cup and fill to the desired amount of milk (you may need a bit more vinegar if you’re doing more than 2 cups of milk). I’ve heard that lemon juice also works.

KitchenHacks-1

5. Boil Water with the Lid On

This one’s simple – when boiling water, stock, soups etc., they will come to a boil faster if the lid is on. Yeeeeeah science!!

KitchenHacks-2

6. Use Salt and Oil to Clean a Cast Iron

I usually just use a scrub brush and hot water to clean a cast iron. But, sometimes I forget to clean it right away and it sits. Or something just gets really stuck on there. What’s worked for me is some coarse salt (table salt works too), oil, and a paper towel or a clean rag. Scrub, scrub, scrub, then rinse and dry. Make sure it’s cooled down before you handle the oil soaked towel. That oil will get hot if the cast iron is still hot, and that hot oil will soak through the towel quickly.

Another cast iron tip – save one for sweet dishes only. That way, if you’re making pancakes or a cake, they won’t taste like onions and garlic.

KitchenHacks-3

7. Use a Tea Towel to Keep Your Cutting Board From Slipping

Ever start chopping only to have your cutting board slide away? Annoying and super dangerous. Many cutting boards come with non-slip feet, but I have a few that are older – warped by water and time, and they slide and tip. Placing them on a tea towel helps to eliminate both.

KitchenHacks-4

8. Cut the Bottom off Round Fruits and Veggies to Stabilize for Chopping

You know how it is, you set your potato down to chop it up and it rolls away. Since you’re probably going to slice a few bits off anyways (did you know that you can plant those eyes?), the simple solution is to slice off the bottom of the potato, giving it a stable bottom.

KitchenHacks-5

9. Designate a Cutting Board for Onions and Garlic

I love onions and garlic. I do not love it when I’ve cut fruit on what I think is a clean cutting board, but when I’m eating it, it tastes like onion and garlic. Nope. No thank you. So I have two cutting boards with a small X marked on the bottom. Those, and those alone, may be used for cutting onions and garlic. I use the same concept with my wooden spoons. Rounded spoons are for savory foods, squared ones are for sweet.

KitchenHacks-6

10. Score an Orange so it’s Easier to Peel

We’re just finishing up citrus season, but I’ve still got a fridge full of oranges. I find it easiest to peel them when they’ve been scored with a paring knife, or a special orange knife. Then the flaps can easily be lifted up, so the peel can be removed.

These are some of my favorites. Do you have any tips, tricks, and hacks to share?

Happy Eating!

Monday

27

April 2015

0

COMMENTS

Nopales and Tomato Relish

Written by , Posted in Appetizers, Condiments, Dairy-Free, Fruit, Gluten Free, Quick and Easy, Sauces, Snacks, Vegan, Vegetables, Vegetarian

NoplaesTomatoRelish-1

After eight years of subscribing to Abundant Harvest Organics, one might expect that I’d know all the fruits and veggies. There wouldn’t be any that I still needed to try… right?! Wrong.

Nopales.

The nopal is the pad or leaf of the cactus. It has a bit of an aloe vera or okra like feel to it. You could eat it raw, with tomatoes, in a salad. But, I wanted to do a little something more.

NoplaesTomatoRelish-2

I’ve heard of people making tomato jam. That intrigues me. There are relishes, chutneys, confit, fruit butters, conserves… I wanted to try something fun like this with the nopales. We got tomatoes in our box this week – the first of the season for us. I love when tomatoes are in full swing. There’s nothing quite like a ripe tomato still warm from the sun. These tomatoes weren’t warm. Nor was it sunny. But, they were the perfect compliment to the nopales.

NoplaesTomatoRelish-3

This is a super simple recipe. It’s a little like a salsa as there are tomatoes, onions, garlic, and a bit of heat. But, I also added a bit of sweetness. It really could be almost any of those aforementioned condiments, but I think it’s most like a relish.

NoplaesTomatoRelish-4

I brought it to a quick boil, then let it simmer and reduce down for about 15 minutes. After just a quick chop for the tomatoes and nopales, spring onions and fresh garlic, all you really have to do is give it the occasional stir and mash it a few times. Easy.

NoplaesTomatoRelish-5

You could just leave it chunky, but I like my salsas and jams a little smoother, so I blended it up a bit with a hand blender (a regular blender or food processor would work fine too).

NoplaesTomatoRelish-6

After that, all that’s left to do is decide what to serve it with. May I suggest serving the relish atop avocados on toast, on crostini, like salsa (for quesadillas, taco salad, or corn chips), with brie and crackers, or use it to top fried tofu, chicken, or beef.

Happy Eating!

Nopales and Tomato Relish

Prep Time: 10 minutes

Cook Time: 24 minutes

Total Time: 34 minutes

Yield: 18 oz.

Nopales and Tomato Relish

Ingredients

  • 3 1/2 C tomatoes, chopped
  • 1 1/2 C nopales, chopped
  • 1/2 C spring onion (or green or regular onion), chopped
  • 2-3 T chopped fresh garlic (or 2-3 garlic cloves), diced
  • to taste salt
  • good sprinkle cayenne
  • 1 T plus 1 t lemon juice, divided
  • 3 t maple syrup (or 2 t maple syrup and 1 t honey)

Instructions

  1. Place the tomatoes through maple syrup in a medium saucepan. Bring it to a simmer over medium-low heat. After about 5 minutes/once tomatoes have released some of their juices, mash (with a potato masher), bring to a rolling boil and cook for about 1 minute. Reduce to a simmer and cook until thickened about 15-18 minutes. Remove from heat and stir in remaining lemon juice.
  2. Optional: Blend with hand blender (or regular blender or food processor) (it can also be left chunky). Taste and adjust seasoning if needed.
  3. Serve warm, cold, or at room temperature.

Notes

Serve with avocados on toast, on crostini, like salsa (for quesadillas, taco salad, or corn chips), with brie and crackers, or use it to top fried tofu, chicken, or beef.

https://www.de-ma-cuisine.com/nopales-and-tomato-relish/

Friday

24

April 2015

0

COMMENTS

Chamomile and Honey Pancakes

Written by , Posted in Breakfast, Brunch, Dinner, Eggs, Fruit, Gluten Free, Herbs, Kid-Friendly, Lunch, Main Dishes, One Dish Dinners, Quick and Easy, Vegetarian

ChamomilePancakes-6

I’ll let you in on a secret. I don’t really love tea. Ugh, I know. It annoys me too. I try. And really, I’ve come a long way. I drink it occasionally and usually enjoy it. But, the problem, especially with chamomile tea, is that I drink it when I’m sick. Negative association issues here.

So, I needed something to do with chamomile that doesn’t involve sickness, sniffles, or a stuffy head.

ChamomilePancakes-1

I’m pretty excited about this recipe, because it can be hard to be creative with something that’s we only use for one thing. I took my ideal chamomile tea, which always has a big scoop of honey, and a good squeeze of lemon, and turned it into gluten-free cornmeal pancakes.

This is an idea I can get behind.

ChamomilePancakes-2

I used my basic cornmeal pancake recipe, but used honey instead of maple syrup. The batter comes together in no time. It’s a simple dry ingredients whisked together first, wet ingredients whisked together second kinda recipe. They get mixed separately so that they combine properly – no pockets of baking soda please!

ChamomilePancakes-3

They don’t need long to cook, so this makes for a super quick meal. About a minute or less per side will do.

ChamomilePancakes-4

I like to make them small, so they’re easier to flip. About 2-3 T of batter will is perfect. You could even do less and make super minis. The kids might like that. Ok, I’d like that too. Then you can eat like 8 of them, which is way more fun to say than saying you ate 2.

ChamomilePancakes-5

For serving, I liked them with just honey and lemon, but they were even tastier with some homemade Blueberry Jam, chopped apples (or whatever fruit is in season), a drizzle of honey, and a squeeze of lemon. They were also great the next day with some nut butter, Greek yogurt, and jam.

ChamomilePancakes-7

I think pancakes make for a great meal any time of the day. They’re quick, easy, and you can customize them to suit your family’s tastes.

Happy Eating!

Chamomile and Honey Pancakes

Prep Time: 10 minutes

Cook Time: 4 minutes

Total Time: 14 minutes

Yield: 2

Chamomile and Honey Pancakes

Ingredients

  • 1/2 C cornmeal
  • 1/2 t baking soda
  • 1 t baking powder
  • 1 T lemon zest, diced
  • pinch salt
  • 1 t dried chamomile
  • 1 egg
  • 1/2 T honey
  • 1 t coconut oil (plus more for cooking)
  • 1/4 C buttermilk (or 1 T white vinegar and pour in milk to 1/4 C, stir with a fork and let sit 5 min)
  • jam, for serving
  • apple (or cherries, berries, peach, plum, orange, apricot) chopped, for serving
  • lemon juice, for serving
  • honey, for serving

Instructions

  1. Whisk together cornmeal through chamomile. In a separate bowl whisk egg through buttermilk. Add wet ingredients to dry. Stir to combine.
  2. Heat a skillet over medium-low heat. Add a bit of coconut oil. When oil is hot add about 2-3 T of the batter (to make each one about 2" diameter). Cook for about 1 minute on first side (or until bubbles form and do not pop), then another minute (or less) on the second side. Cook in batches until all batter has been used.
  3. Serve topped with jam, fruit, lemon juice, and honey.
https://www.de-ma-cuisine.com/chamomile-and-honey-pancakes/