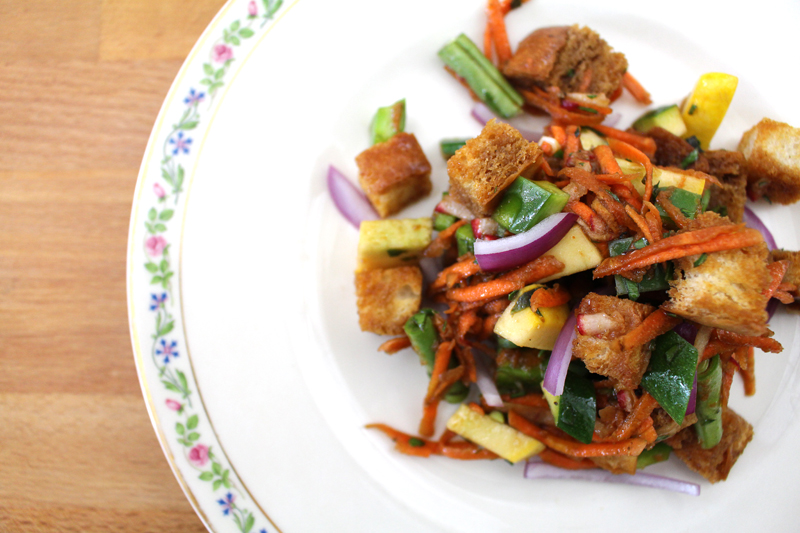
Bean and Veggie Mélange
Written by Rachel, Posted in Appetizers, Beans, Breakfast, Brunch, Dairy-Free, Dinner, Fruit, Gluten Free, Herbs, Legumes, Lunch, Potlucks, Quick and Easy, Salads, Sides, Snacks, Vegan, Vegetables, Vegetarian

I called this a “mélange”, which is French for “mixture”. It seems so versatile that I don’t want to limit it by calling it a dip or a salad. A dip implies the need for some sort of scooper. Corn chips would work well. I’m planning to try this tonight. A salad or a side implies that it’s a dish meant to compliment something else. Served alongside some grilled chicken or pan seared tofu would be fabulous. It could be a topping for brown rice/quinoa/bulgur wheat, breakfast burritos, fried eggs, or crispy potatoes. It could be a part of a taco salad. It could become an appetizer and top a garlic rubbed crostini.
This makes enough for about 4-5 servings, so I’m looking forward to trying as many of these as possible.
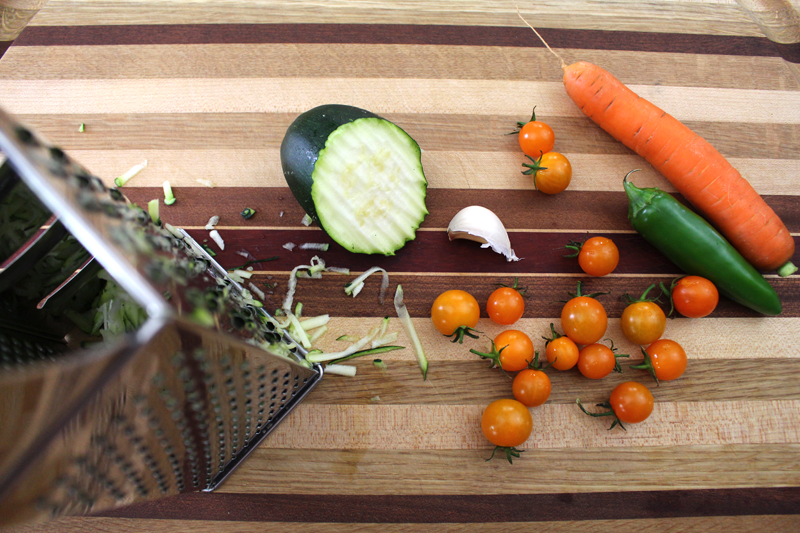
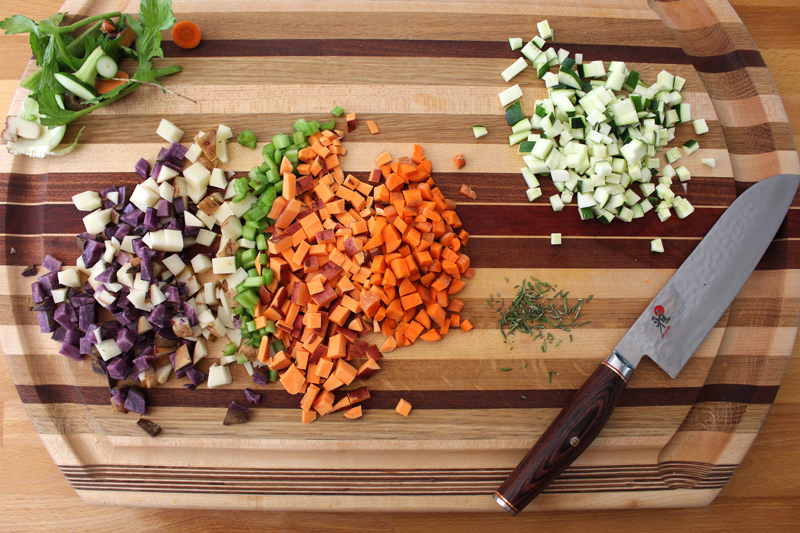
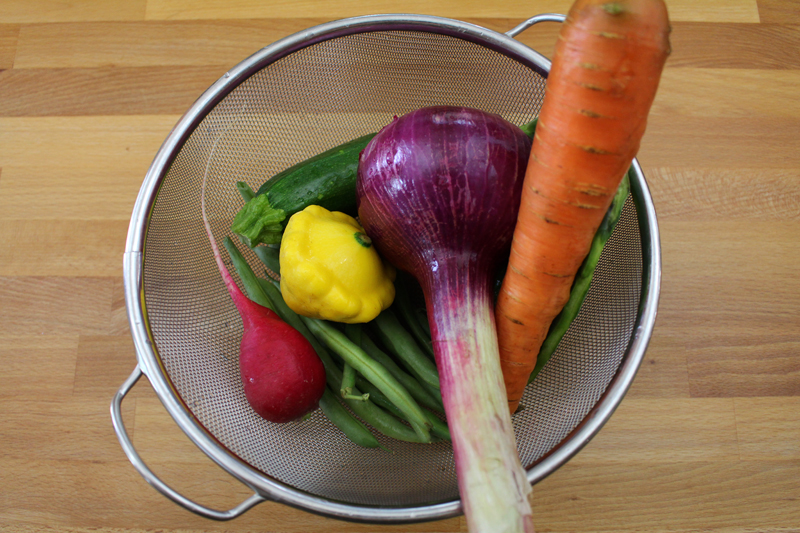
The magic all starts with the fruits and veggies. I chose summer squash, carrot, garlic, jalapeño, and these fabulous Kingsburg Gold cherry tomatoes that I’ve been waiting a year for.
Seriously.
Cherry tomatoes are one of my favorite things about summer. They bring back memories of eating tomatoes, still warm from the sun, from our garden when I was growing up. No matter how large or small my garden is, I always try to grow tomatoes. I plan to save some seeds from these Kingsburg Golds to plant next year.
If you want to swap out any of the veggies, I have a few suggestions: eggplant (finely chopped), corn (fresh off the cob), bell pepper (in place of or in addition to the jalapeño), red onion (I don’t have any on hand, or I would have added it), radish (finely grated – don’t use too much so it doesn’t overpower), and avocado (ripe, but not too).
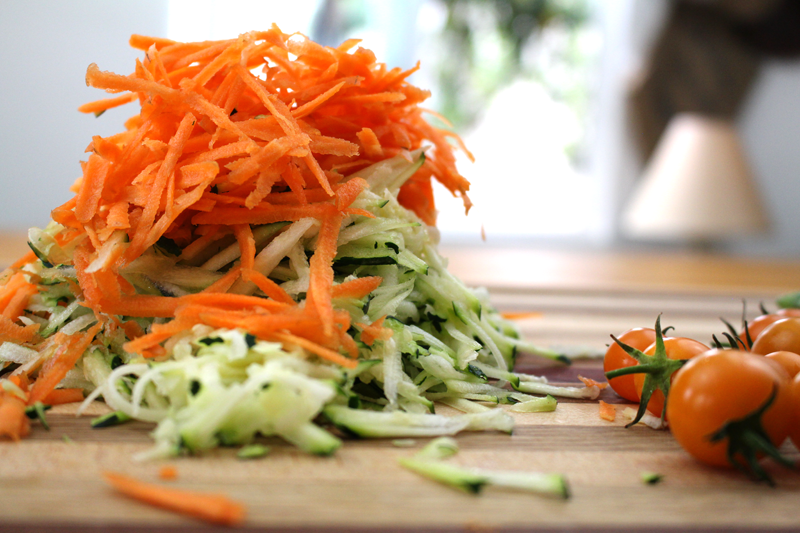
I like to grate carrots when they’re in a salad or a dip. I thought they’d be easier to scoop up than chunks. Plus they’re a little less in your face with the crunch. Grating tames them a bit. If you like chunks, chop away.
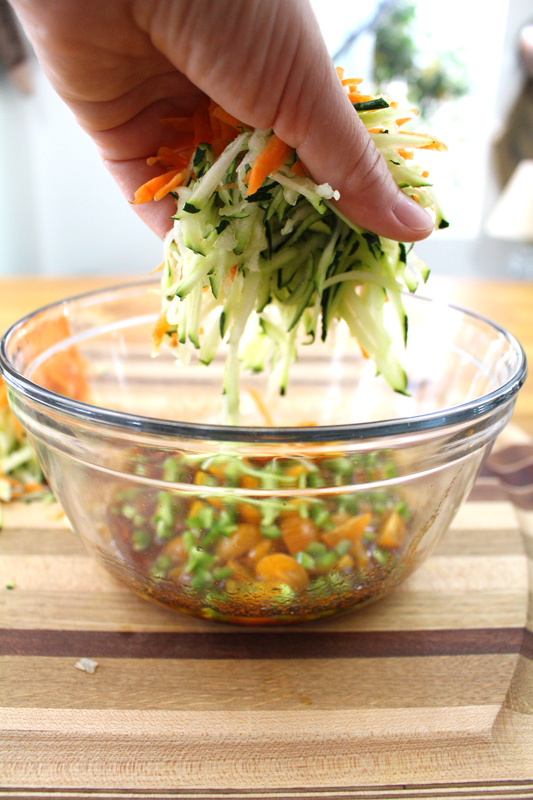
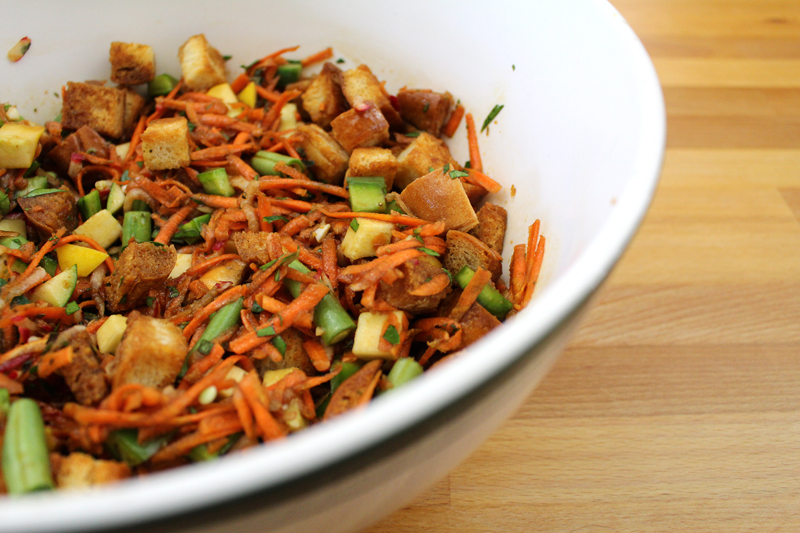
It’s all so super simple. A quick oil and vinegar dressing with some paprika for fun flavor. It’s one of my favorite spices. If you don’t love it, chili powder would be great, cumin could be good, or you could just stick to salt and pepper and add a few fresh herbs (like basil and parsley, and maybe even cilantro).
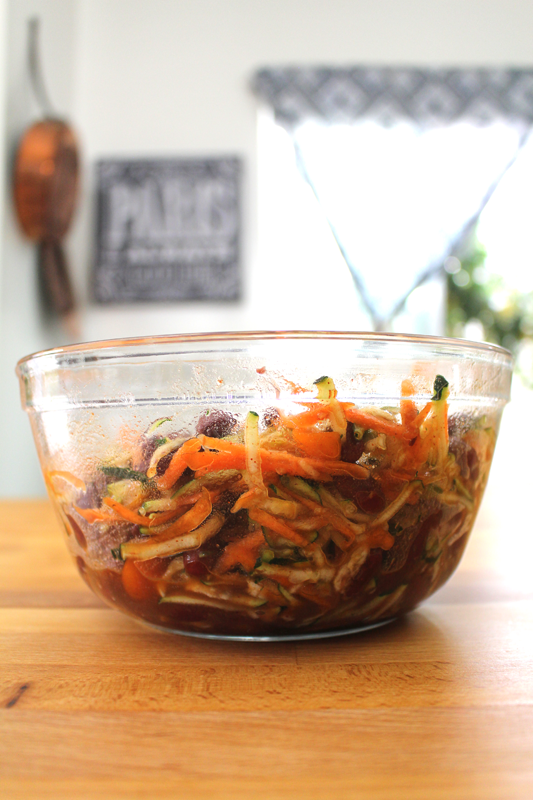
Everyone gets tossed around, then they get to stand for a few minutes to marinate a bit.
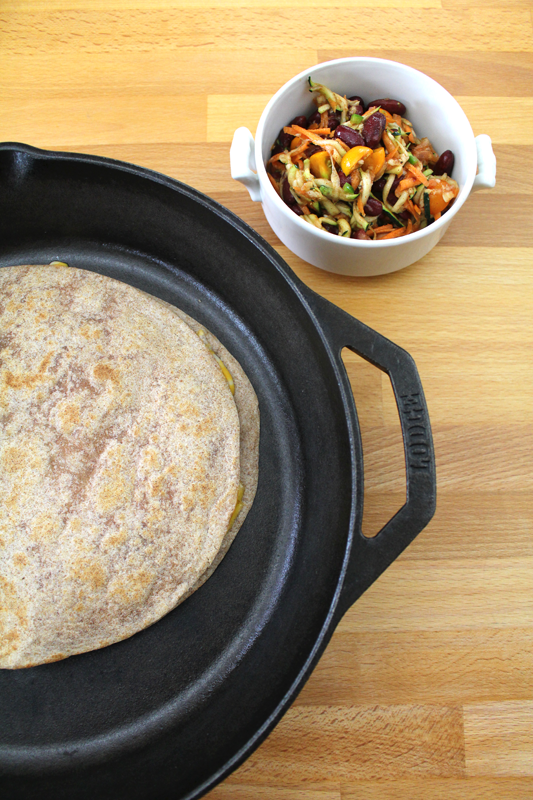
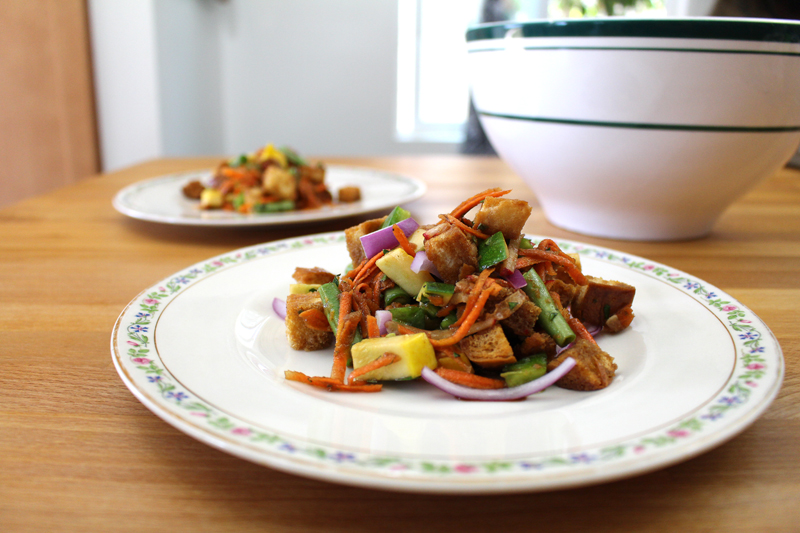
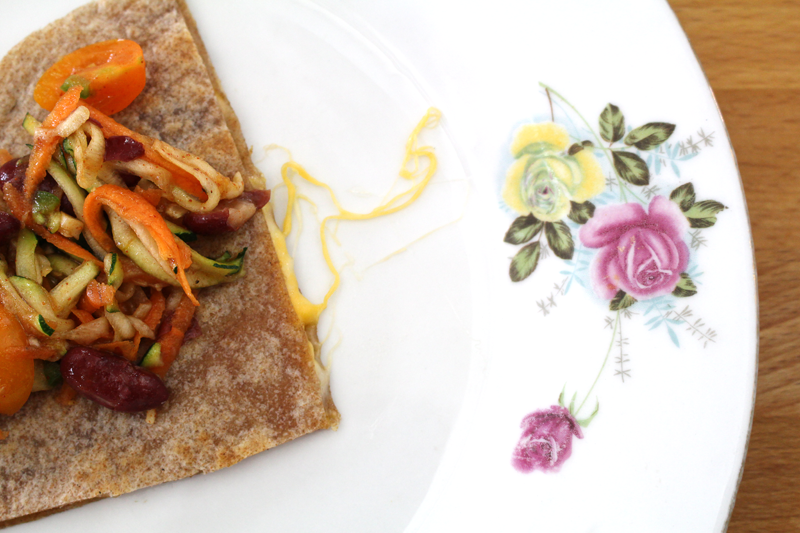
We ate this for lunch with plain old cheese quesadillas. The fridge is a little bare right now, so we’re all out of the usual quesadilla toppings (salsa and Greek yogurt). But, let me tell you, I may just skip them from now on. I liked this better.
I think dinner tonight will be corn chips with this little mélange. That counts as dinner, right? And then breakfast burritos tomorrow… I wonder if I’ll ever get sick of it. 😉
Happy Eating
Ingredients
- 2-3 T balsamic vinegar
- 1 clove garlic, minced
- 2 T chives, minced
- 1 t paprika
- to taste salt
- to taste pepper
- 2-3 T olive oil
- 1 1/2 - 2 C beans (black, kidney, white, garbonzo), drained and rinsed if canned, cooked and cooled if dried
- 2 C zucchini, grated
- 1 C carrot, grated
- 1/2 to 1 C tomatoes, chopped
- 1/2 jalapeño (about 1-2 T - use more for more heat), ribs and seeds removed if desired, minced
- could also add: bell pepper, red onion, radish, corn, avocado, or eggplant
Instructions
- Whisk together balsamic through pepper. Stream in olive oil as you whisk some more.
- Toss beans and veggies with dressing. Taste and adjust seasoning if needed.
- Let stand about 10 minutes before serving.
Notes
Wash hands after cutting jalapeño and be careful not to touch eyes while cutting. Serve this dish on its own, as a side, or with corn chips for dipping. Use it to top rice/quinoa/bulgur wheat, breakfast burritos, fried eggs, crispy potatoes, taco salad, or crostini.